

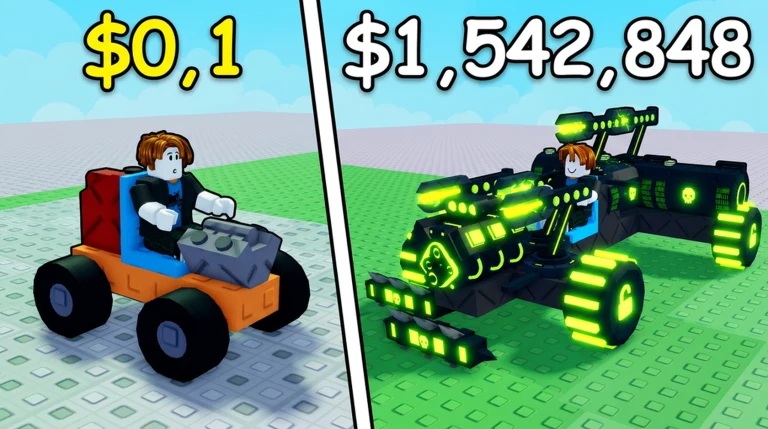
A starter kart in Build and Kill Zombies dies fast. It runs out of fuel somewhere around 582 studs, gets stuck in a crowd of basic zombies, and earns almost nothing. The gap between that and a car that clears 17,000 studs is not one lucky roll — it is a specific order of upgrades, and most of that order is decided in the skill tree rather than at the roll machines.
Quick answer: Build wide on Carbon Fiber, pair one Mythical engine with stacked Hacker Fuel, front-mount every weapon you own, and unlock More Support VI for seven support slots.
The five part types that decide a run
Every car is assembled from four vehicle categories plus whatever you bolt on for offense. Parts are not bought from a shelf — they come out of two roll machines, and each machine has its own pool.
| Category | What it controls | Machine |
|---|---|---|
| Blocks | Chassis shape, width, armor | CAR PARTS |
| Engines | Top speed and acceleration | CAR PARTS |
| Wheels | Handling and wheel load strain | CAR PARTS |
| Fuels | Distance before the run ends | CAR PARTS |
| Weapons and supports | Kill rate and cash per run | SUPPORTS |
Distance is the currency here. The further you get, the more zombies you pass through and the more cash you bank, which is what pays for the next roll. That makes fuel and engine tier the two stats worth chasing before anything cosmetic. You can find the experience on the official Build and Kill Zombies page.
How to roll parts and mount them
Q to cycle the category. Pick Fuels early — a Small Tank does more for your cash-per-run than a flashy weapon you cannot afford to feed.E to roll. The SUPPORTS machine works identically, and it is where weapons like the Barrel Gun, Shredder, Crossbow and Mini Missile come from.P to bring up the parts menu, then select Build Mode. The VEHICLE tab contains blocks, engines, wheels and fuel, while the WEAPONS tab contains everything that shoots or cuts.F to deploy.Change one part per run. If the “New distance record” banner stops appearing after a tweak, the tweak made the car worse — revert it.
Engines and fuel have to be bought as a pair
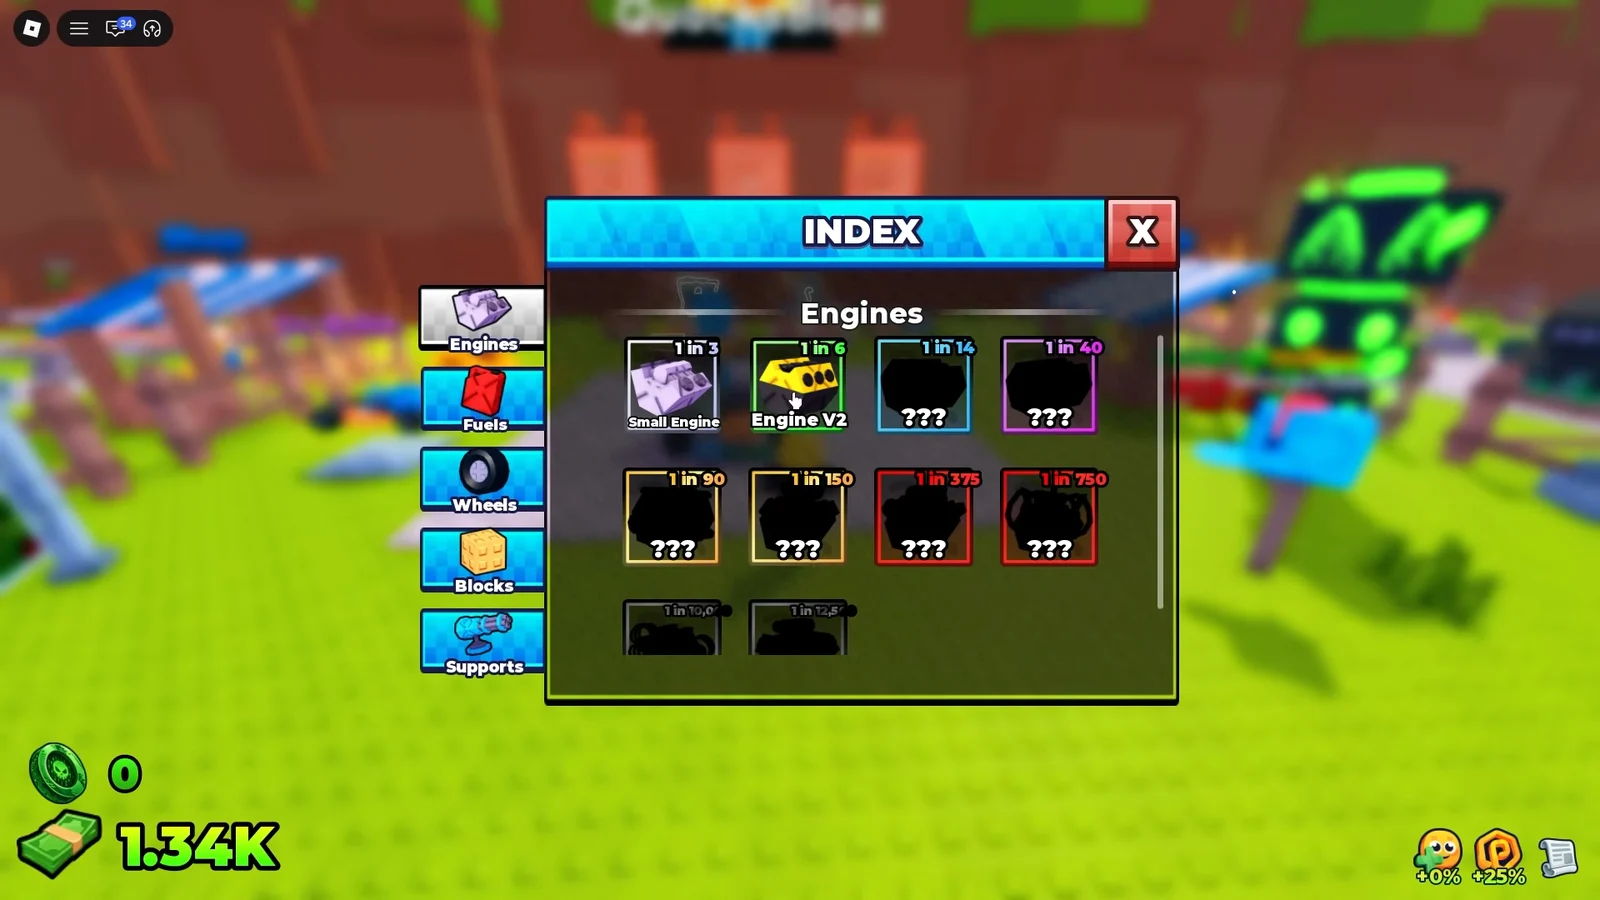
A strong engine on a small tank just burns your distance faster. The early fix is cheap — a Small Engine, then Engine V2, then Dual Fuel to stop the car dying halfway through the city. Rubber Wheels are worth rolling at the same point, because they relieve wheel load strain once the chassis starts gaining mass.
The step up is the Mythical tier. The Cyber Liquid V is a 1 in 750 engine that costs 15.2K cash and pushes the car past 180 studs/s. The Ivy Turbo X sits above it and clears 200 studs/s on city tracks. A Rocket Turbo mounted on the rear adds a spacebar boost that is useful for clearing ramps and gaps rather than raw top speed.
Skill tree priority: support slots, then luck
Open the Index to see which engines, fuels and weapons you have unlocked, then switch to the upgrade tree. This is where cash converts into permanent power, and the order matters more than the total spend.
- More Support I costs 3.70K and unlocks a third weapon slot — buy it before any luck node.
- Keep buying support ranks up to More Support VI, which brings the total to seven slots.
- Super Luck I, II and III push luck above +275%.
- Mega Luck II takes it to +325%, which is where high-rarity rolls stop feeling random.
Luck only pays off once you can actually mount what you roll, which is why slots come first. Paid multipliers stack on top of this if you want them: 2x Cash runs 144 Robux, 2x Permanent Luck is 120 Robux, and 4x Permanent Luck is 184 Robux.
Weapons worth mounting, in order
| Weapon | Rarity / cost | Role |
|---|---|---|
| Glass Cylinder | Uncommon, $15 | Slot filler, minimal drag |
| Shredder | Uncommon, $250 | Front-mounted crowd cutter |
| Crossbow | Dedicated station | Ranged chip damage |
| Mini Missile | Legendary | Long-range splash |
| Mounted Gun | Support roll | Stacks; the endgame staple |
| Electro Glitch | 11.0K | Top-tier laser |
Early on, one forward shredder plus a Barrel Gun handles basic crowds without slowing the car. The Mini Missile changes how far you can push because its splash clears clusters before they ever touch the chassis. Once support slots open up, Mounted Guns are the parts to duplicate — three across the front and more along the sides is a normal endgame layout. Spikes and Legendary Spiked Wheels fill the gaps and widen the car’s effective kill box.
Hacker Event parts and the 1x1x1x1 boss
The Hacker Event drops you into a boss arena against 1x1x1x1, with red telegraph zones marking incoming attacks. Clearing it and completing the event quest milestones pays out Hacker Tokens, which spend in the Event Shop.
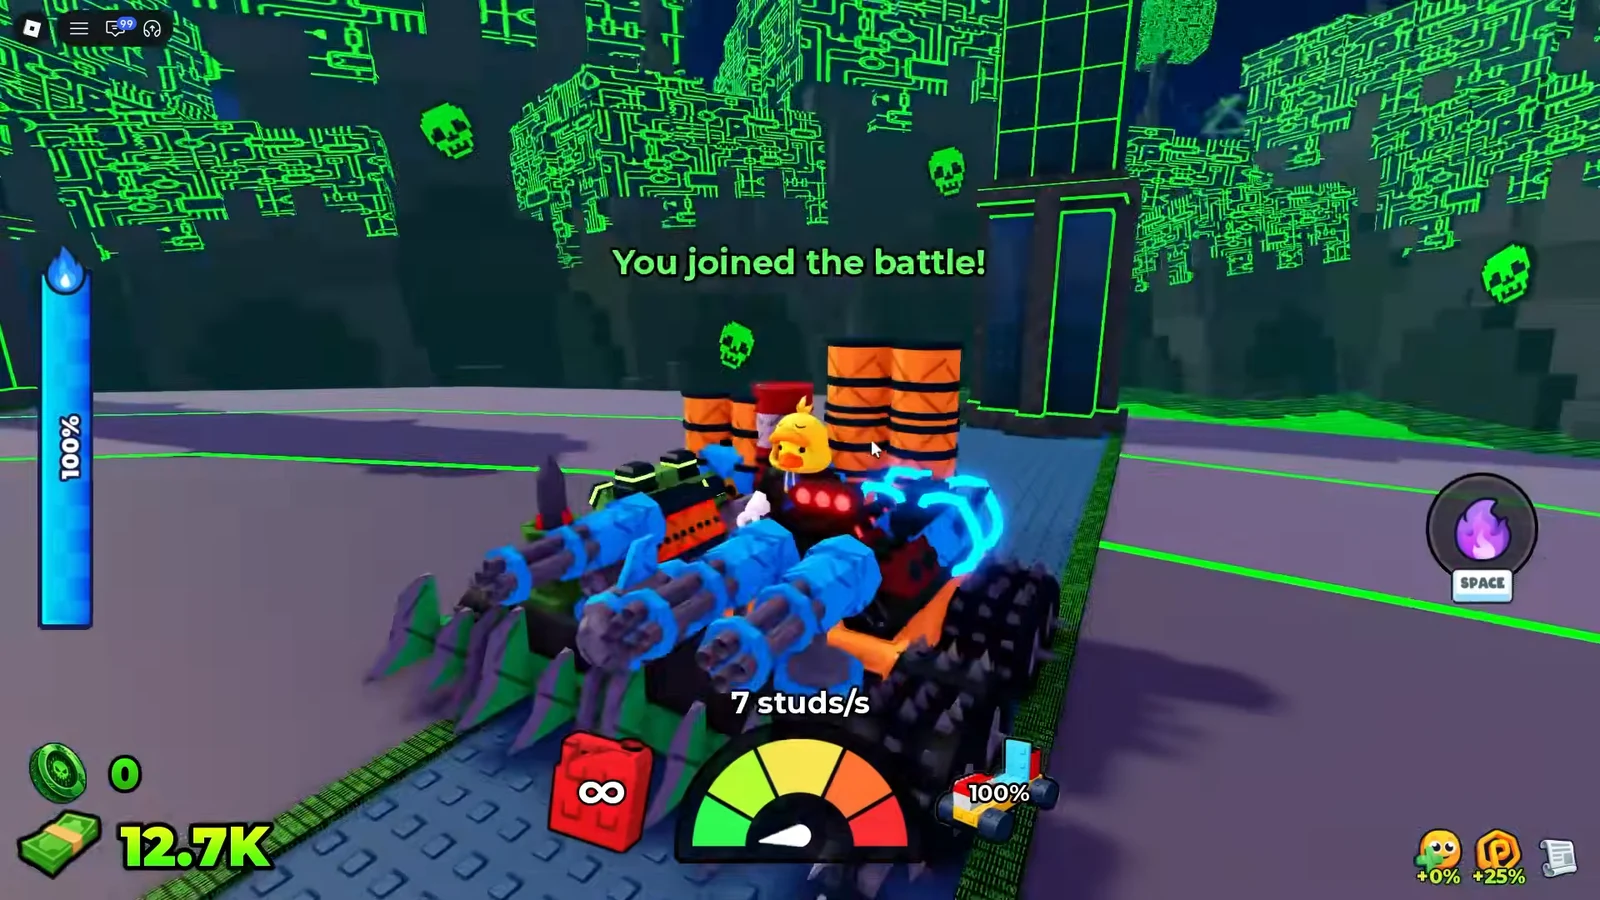
The Event Shop sells Hacker Wheels and Hacker Bumpers, which go around the vehicle perimeter, plus Hacker Fuel — the single biggest range upgrade in the game. Four Hacker Fuel barrels crammed into the core of a tank is what turns a 6,000-stud run into an 11,000-stud one. Tokens can also be topped up with Ultra Token Packs bought with Robux.
The final tank layout
The endgame car is not a car. Clear the plot entirely and build a wide Carbon Fiber slab — buy blocks in bulk, because width is what keeps the structure alive when a horde hits one corner. Ring the whole perimeter with bumpers, fit spiked wheels, then fill the interior with fuel.
Weapons go on last. Mounted Guns across the front and both sides, Rocket Turbos at the rear, spikes wherever there is leftover surface, and the Electro Glitch laser with Error Lasers once the skill tree is maxed. At that point the build is sustaining 200+ studs/s through cities, caves and magma without stopping.
| Distance | What you are driving through |
|---|---|
| 582 | Starter road, level 1 kart runs dry |
| 1,200+ | Urban street zone |
| 2,000+ | Safari terrain, faster zombie variants |
| 3,000+ | Crystal mine, high-bounty mutants |
| 4,700+ | Underwater glass tunnel, desert pyramids |
| 6,000+ | Ice Age zone |
| 11,400+ | Toxic sludge, looped biomes |
You know the build is finished when running out of fuel stops being a failure state. Park a fully armed tank at distance and the automated turrets keep firing into the swarm on their own, generating thousands in cash per minute with no input. A maxed run stopping at 17,205 studs in the desert is still earning long after the engine is dead.
Build a Car to Kill Zombies: the checkpoint variant
The other build-a-car zombie game on Roblox works on completely different rules. There are no roll machines — parts are bought outright from the World Shop — and cash comes from delivering cargo crates to checkpoints rather than from raw distance. The Build a Car to Kill Zombies experience caps at six players per server.
Buying parts in the World Shop
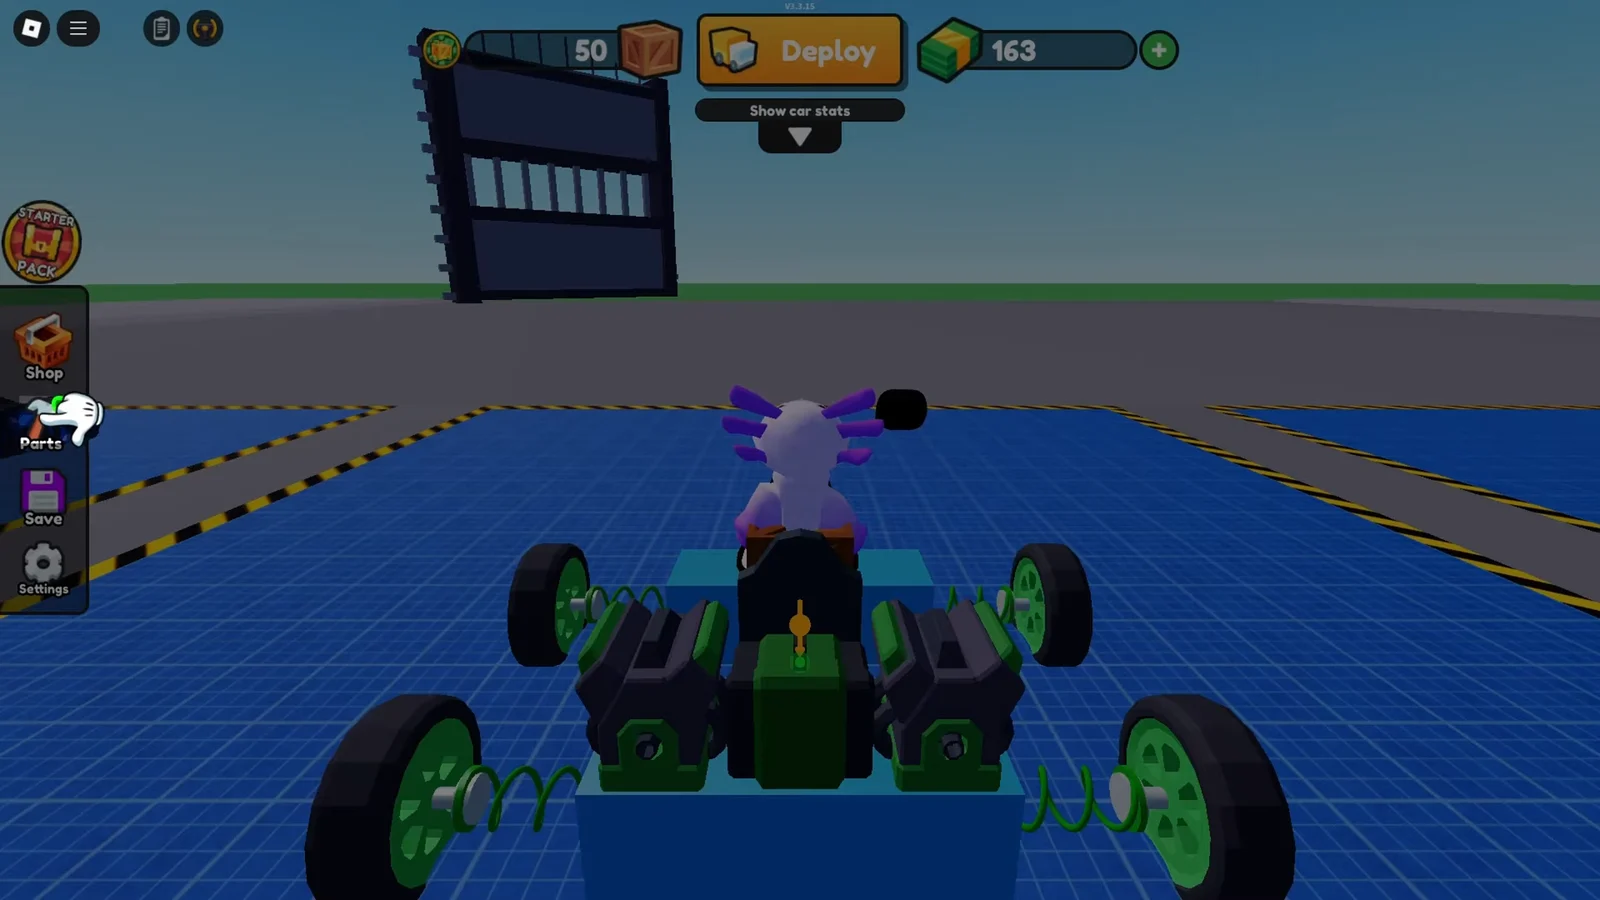
Everything starts with a Basic Motor at $150. From there the shop sells Basic Wheels ($125), Green Suspensions ($100), Plastic Blocks ($100) and a Standard Canister ($150) that raises fuel capacity to 1,500. Later chapters unlock wooden blocks ($2,000) and blue suspensions ($2,250).
Weight is the stat that breaks builds
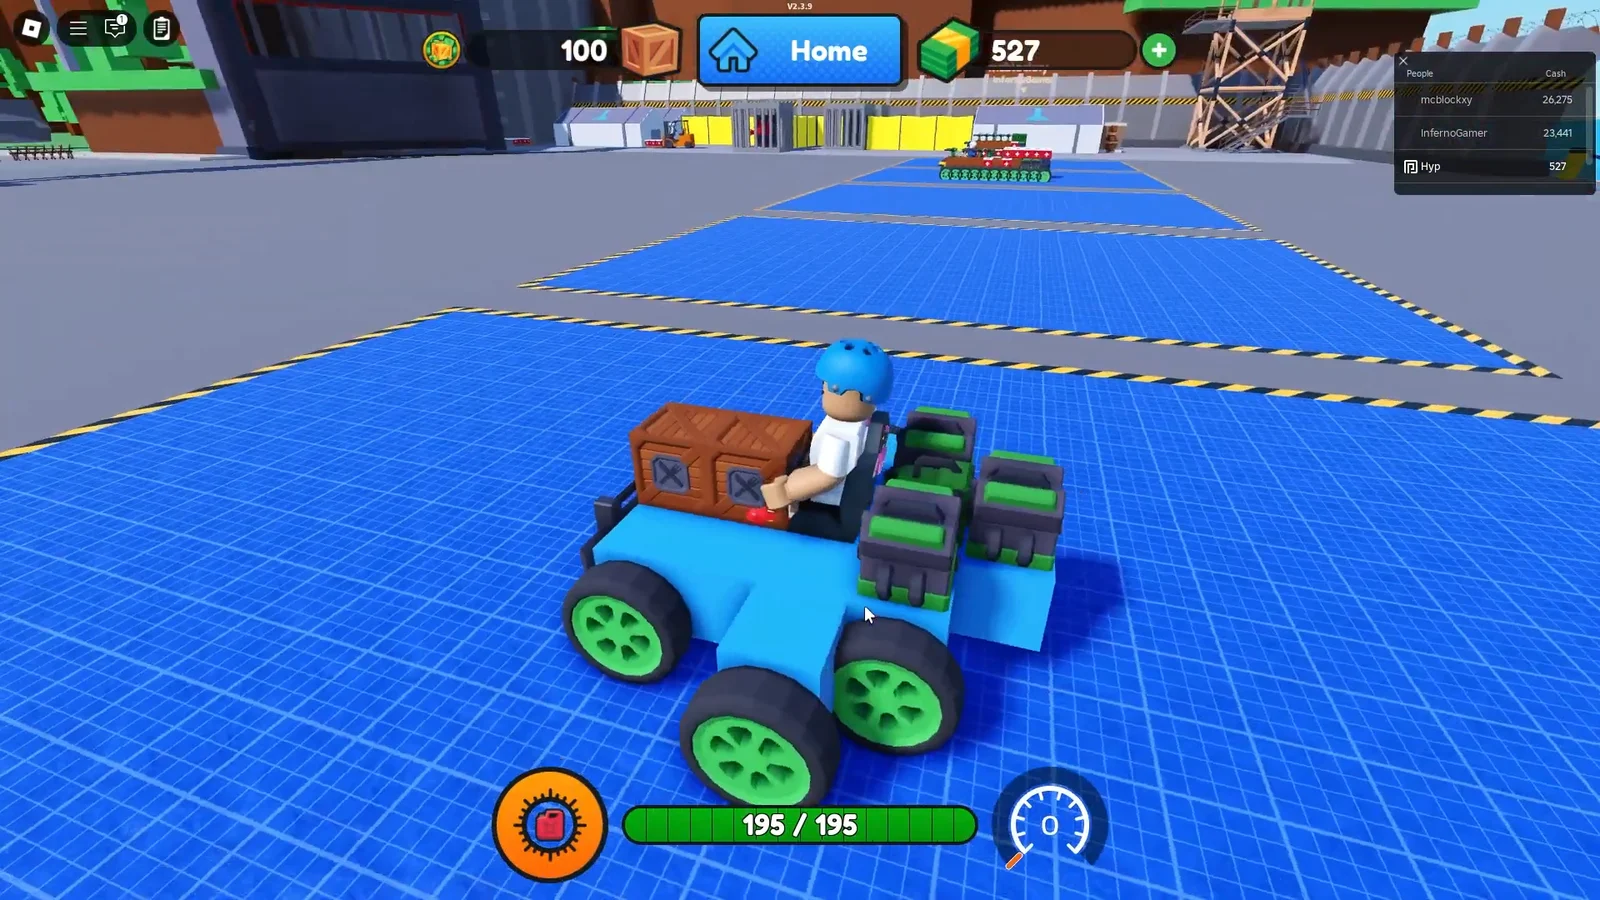
Stack too many crates and the game throws a “car is too heavy” warning; six crates caps speed at roughly 18 km/h, while dropping to four brings it back up to 70 km/h. More motors raise speed, but each one needs suspensions and wheels underneath to carry the mass.
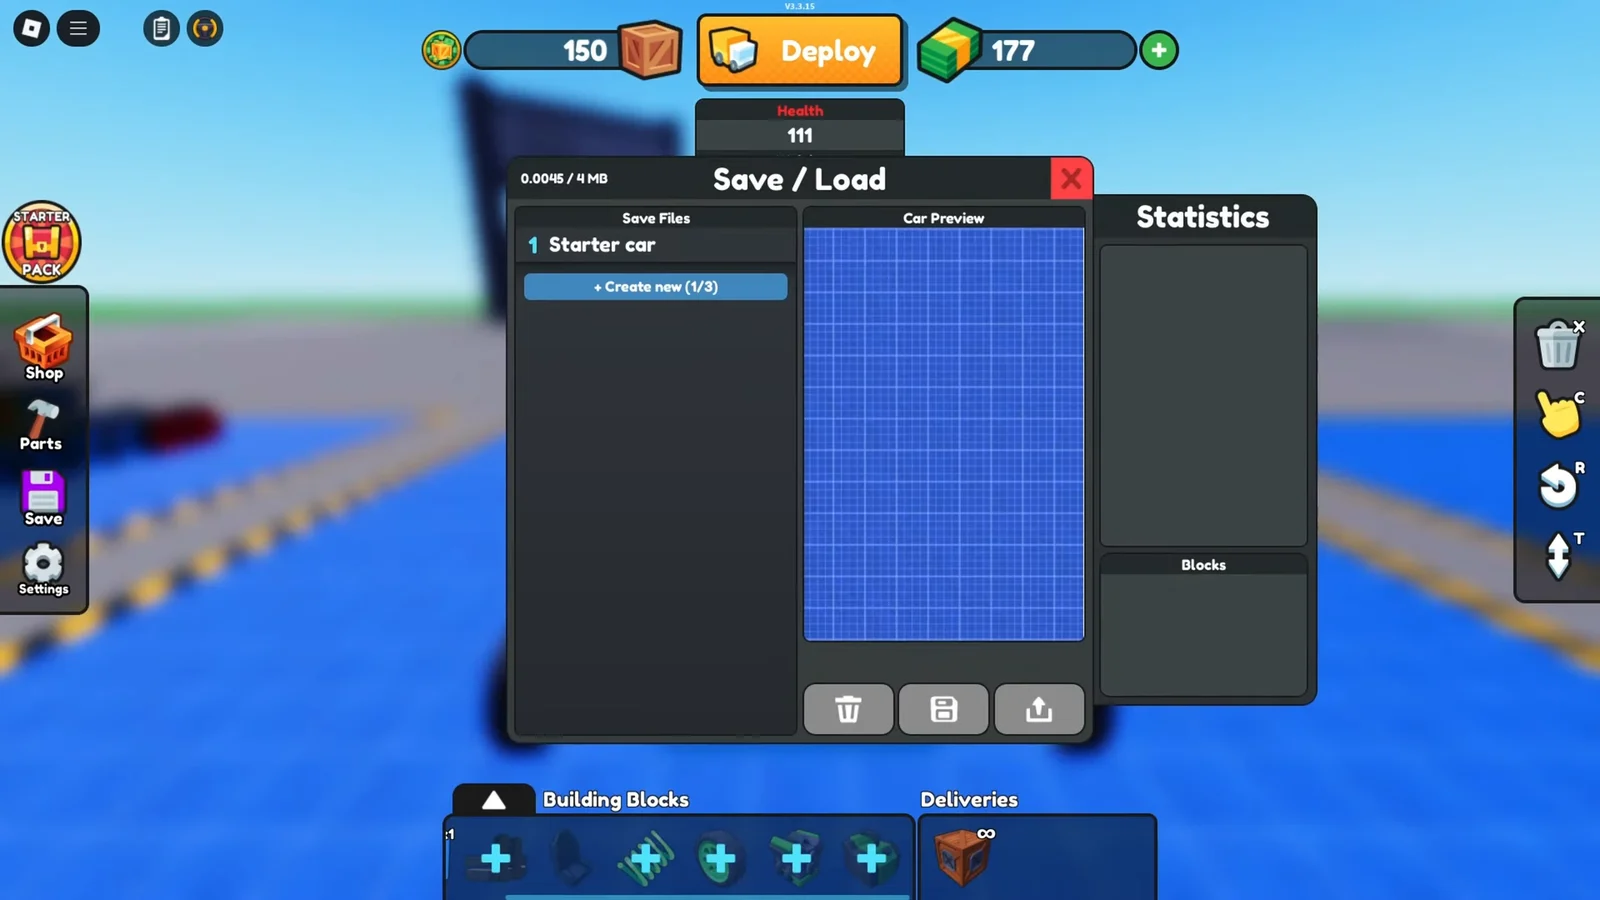
The Save/Load menu is worth checking before every deploy. Block placement affects balance as much as total mass, and a top-heavy build tips on the first obstacle.
Turrets, ammo and the tank chassis
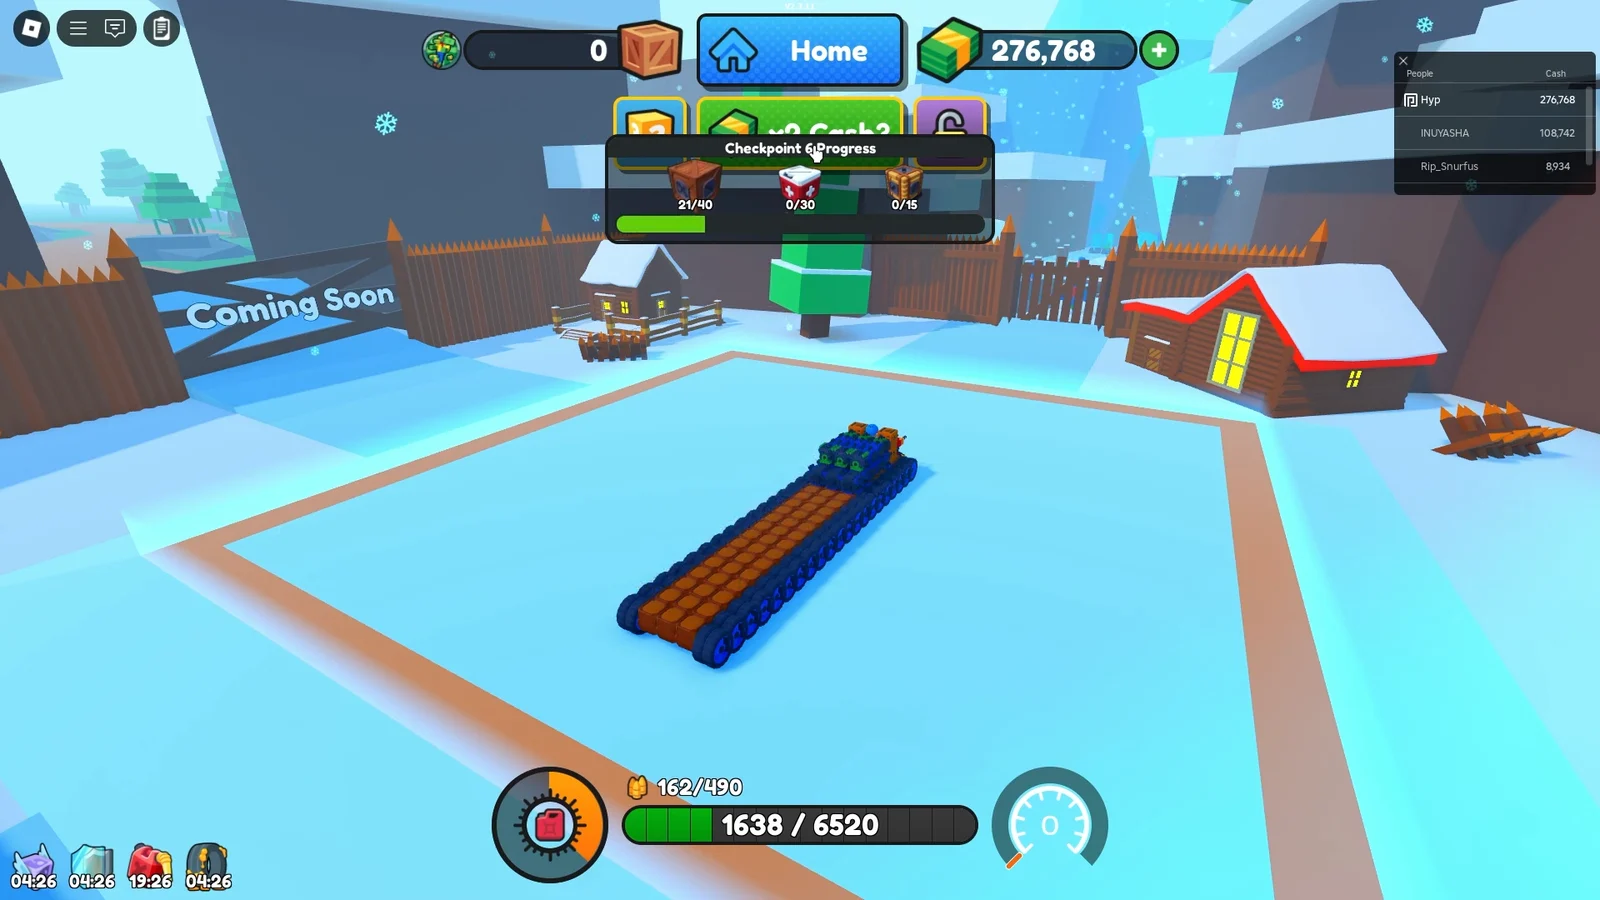
A machine gun turret costs $1,000 and an ammo box $600. Turrets fire automatically at zombies along the road, but they burn through rounds fast — 30 rounds disappears in a single stretch, so multiple ammo boxes are mandatory on any serious build. Other players’ tank designs in the garage are a useful reference for how wide a chassis can get.
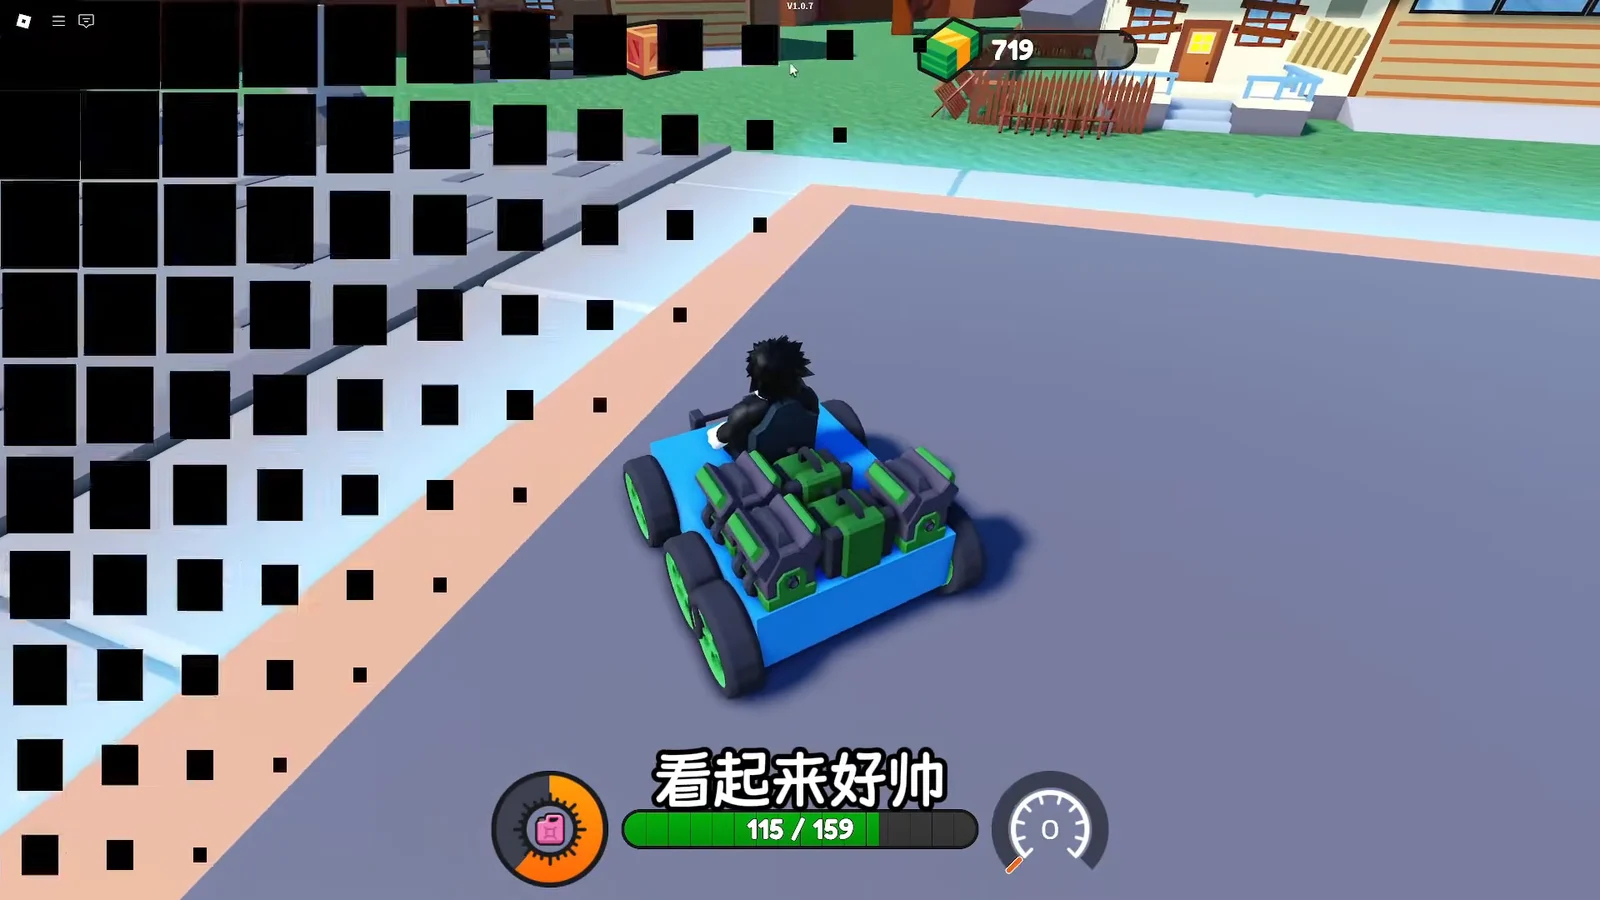
A 24-wheel dual-lane tank with five turrets, multiple engines and 300 rounds clears the desert canyon where skeleton mummies and giant zombies destroy smaller vehicles. Delivering high-value medical cargo at Checkpoint 3 pays a 4x bonus worth over $4,000 in one drop, compared with 1.2x at Checkpoint 2.
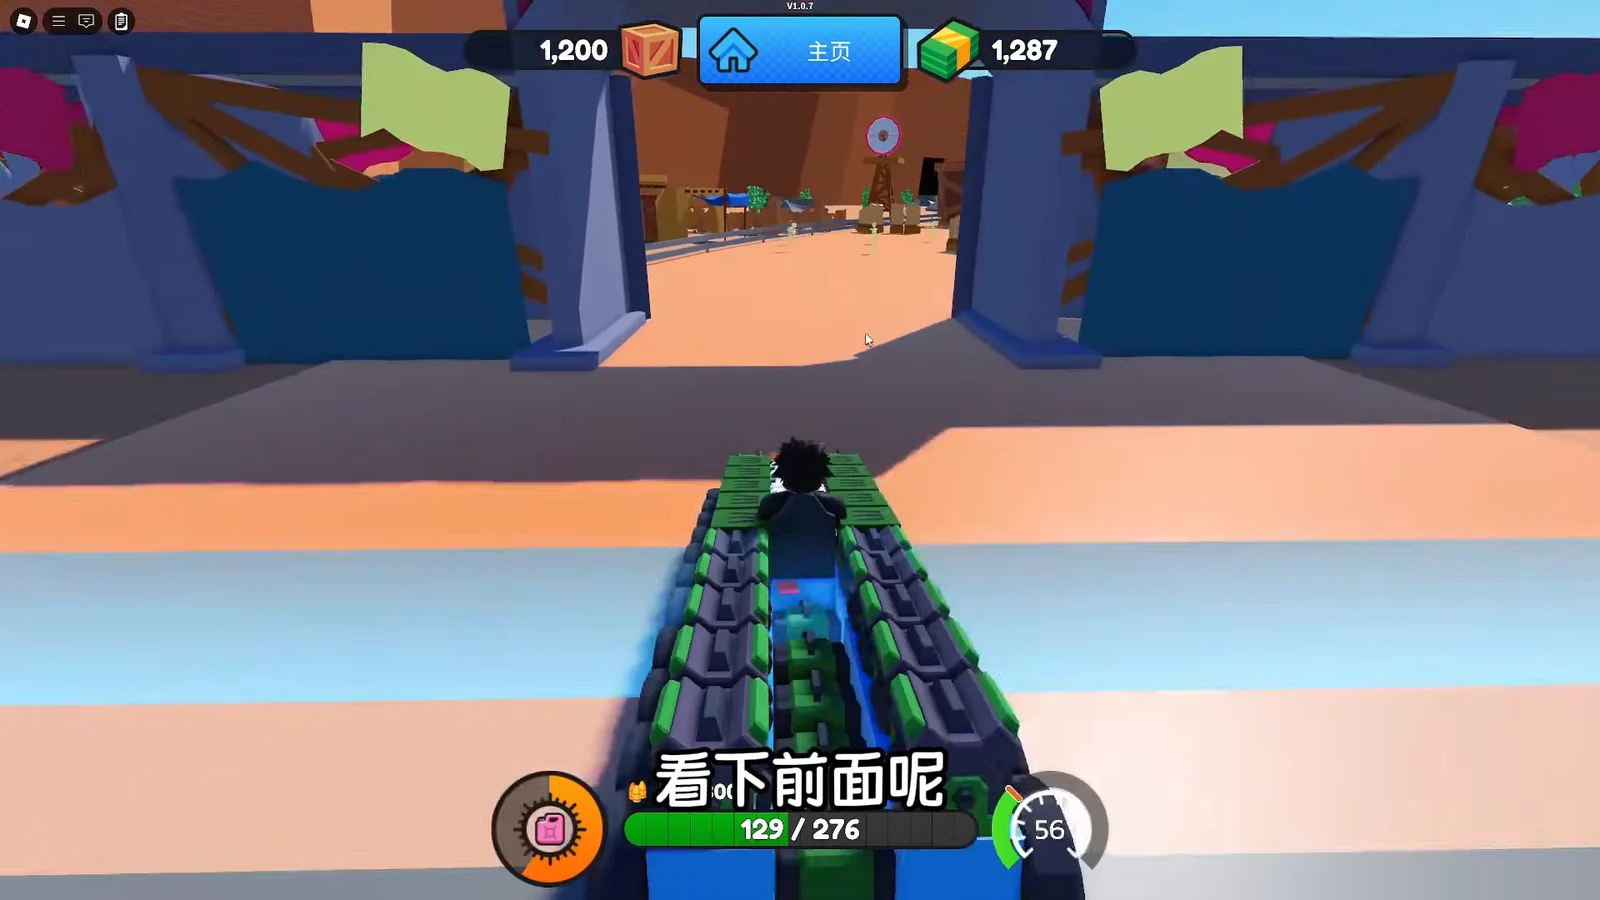
Very long vehicles cannot steer on the narrow mountain path past Checkpoint 3. A compact square chassis with the same five turrets handles the broken bridge and cliff road where a train-length build falls off.
Speed builds and game passes
Stripping the cargo entirely and packing engines into a small frame produces speeds above 300, enough to blast through whole zones — and enough to launch off the map edge if you miss a turn.
| Game pass | Robux |
|---|---|
| Starter Pack | 49 |
| Advanced Pack | 99 |
| x2 Boost Duration | 125 |
| x2 Cash For Zombie Kills | 125 |
| Insane Steering | 299 |
| x2 Deliver Cash | 450 |
Both games reward the same instinct in the end. Width buys survivability, front-mounted weapons buy income, and fuel buys the distance that pays for everything else — the difference is only whether you earn it by rolling for Mythical parts or by hauling crates to a checkpoint.





