Gaming Guide

Buy Cheap, Never Sleep Walkthrough in Star Wars Zero Company (Full Mission)

Secure the Separatist tech, hold the safecracker for three turns, and evacuate all four operators with Kabb alive.

Secure the Separatist tech, hold the safecracker for three turns, and evacuate all four operators with Kabb alive.

Buy Cheap, Never Sleep is a critical tactical mission in the Smugglers and Slugrats chapter of Star Wars Zero Company, set on Anaxes. The job breaks into three linked objectives that fire in order: secure the Separatist tech, crack a security chest and defend it, then evacuate every operator off the rooftop. Kabb must survive the whole mission, so protecting him takes priority over trading blows.

Quick answer: Clear the droids around the chest, move a safecracker onto it to start the hack, hold the position for three turns while overwatch covers the reinforcement door, then retreat up the structure and step every operator into the yellow extraction zone. The mission completes only when all four survive.


Mission objectives and win conditions

The objective banner changes as you advance. Each new goal only appears after the previous one is done, so there is no way to skip ahead. Kabb’s survival is a hard fail condition throughout, which shapes how far forward you can push him.

ObjectiveWhat it requires
Secure the Separatist techClear enemy droids from the area around the security chest
Use Safecracker on security chestMove an operator with Safecracker onto the chest to begin the hack
Defend the safecrackerHold the position for three turns while the hack runs
Evacuate all operatorsMove every squad member into the rooftop extraction zone
Kabb must surviveActive for the entire mission; losing Kabb fails the run

Enemy droids you will face

The Separatist garrison arrives in stages. Early waves are light B1 Battle Droids, but reinforcements introduce armored and long-range threats that can quickly down an exposed operator.

EnemyThreat
B1 Battle DroidBasic infantry; appears in groups guarding the chest
BX Droid SniperLong-range shots from rooftops and upper tiers
BX Droid CommandoAggressive flanker; can throw grenades that damage multiple units
B2 Super Battle DroidHeavily armored reinforcement that spawns from the blast door

Phase 1: Secure the tech around the chest
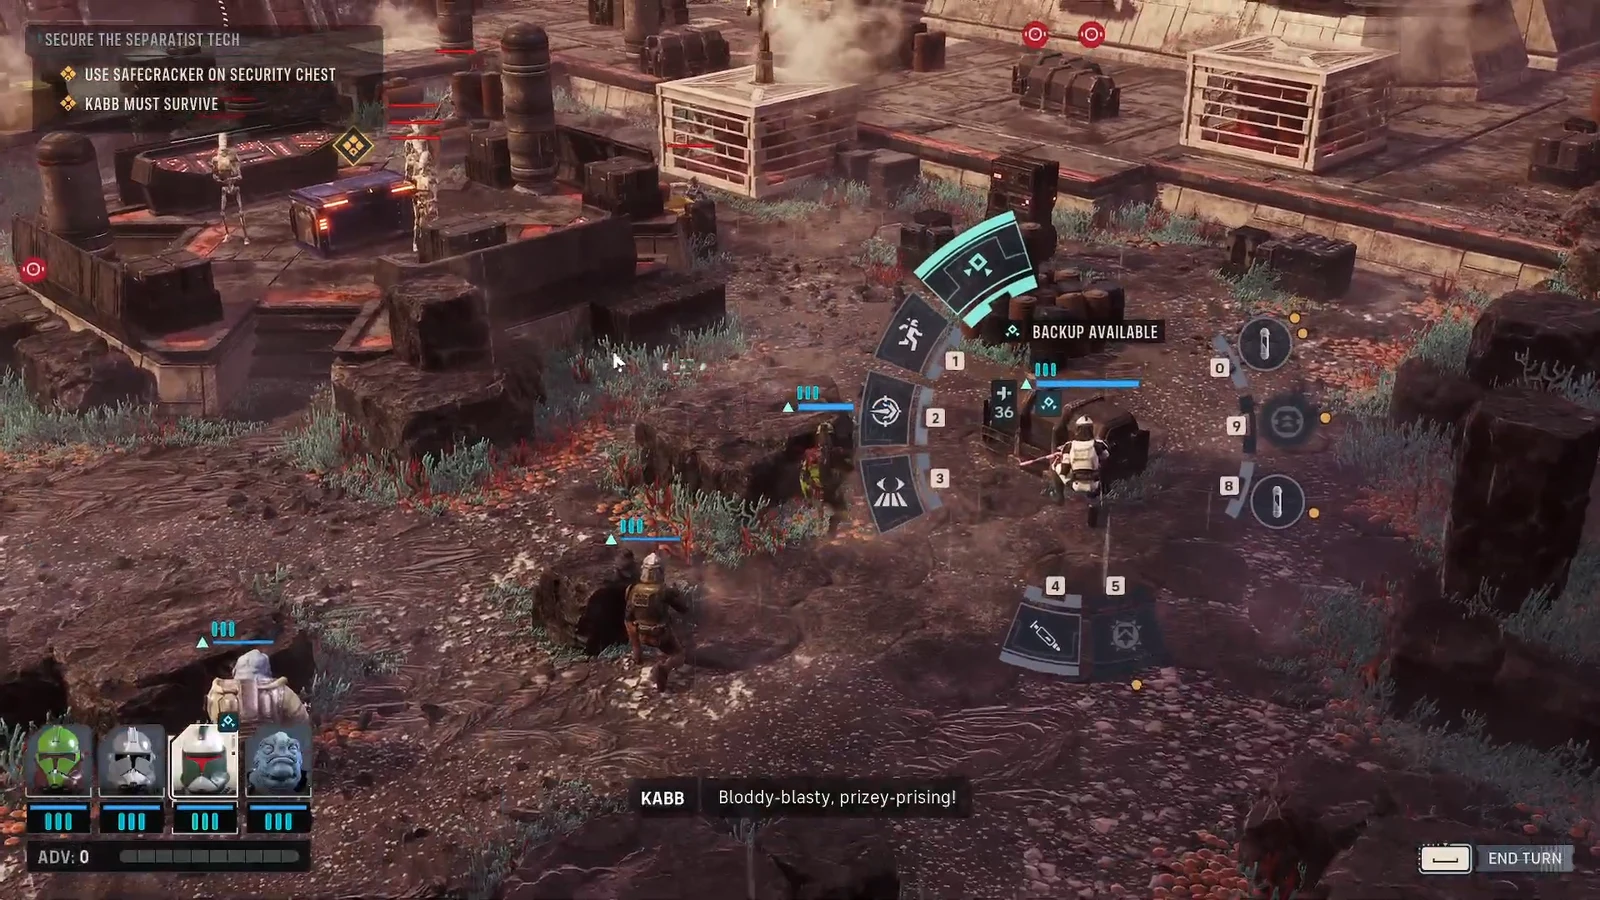
Open with area damage on the cluster of B1 Battle Droids next to the security chest. An impact bomb thrown by Trick clears several at once, thinning the first line before they can react.
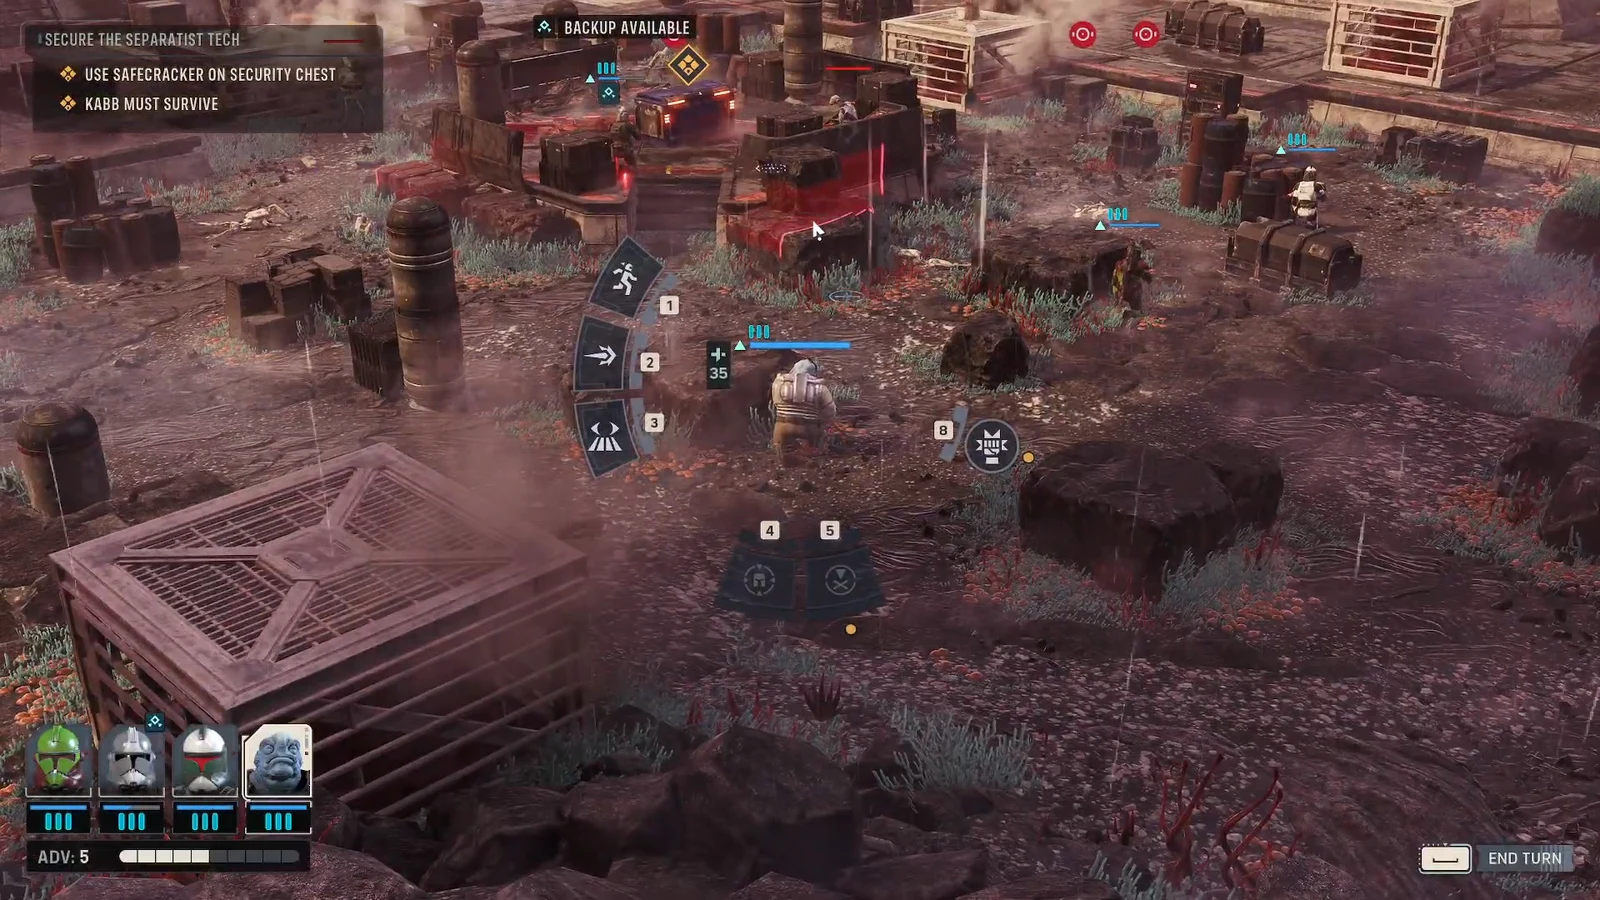
Tactical ability wheel with Backup Available selected as the squad moves to secure the tech
The ability wheel with a backup call available while the squad closes on the Separatist tech. Image: EA
Fan the rest of the squad out to hold the perimeter. Use Hawks and Kabb to pick off flanking droids, and have Hawks focus any sniper sitting on the roof so it cannot chip at Kabb.
Heal early. When a droid commando lobs a grenade into the group, Desi’s medpac restores anyone caught in the blast. Keeping health topped up now prevents a chain of injuries during the longer defense phase.
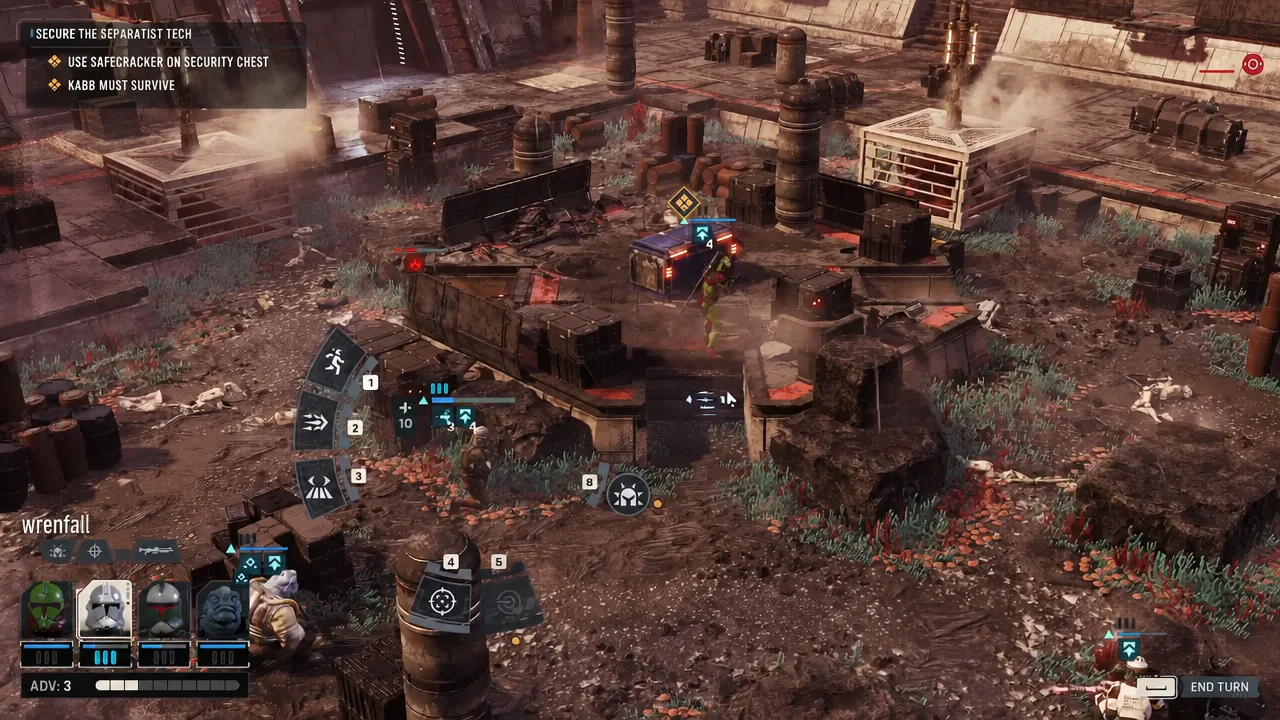
Squad positioned near the security chest with the End Turn button available
The squad set up around the chest with actions spent and the turn ready to end. Image: EA

Phase 2: Start the Safecracker hack

Once the area is clear, move your safecracking operator onto the security chest and activate Safecracker. This flips the objective to Defend the Safecracker and starts a three-turn timer.
Security chest highlighted as the Safecracker target on the tactical screen
The security chest marked as the Safecracker target. Image: EA
Do not send the hacker off to fight. Keep that operator locked on the chest and let the rest of the squad screen for them. Every turn the safecracker survives counts down toward completion.

Phase 3: Hold the position for three turns
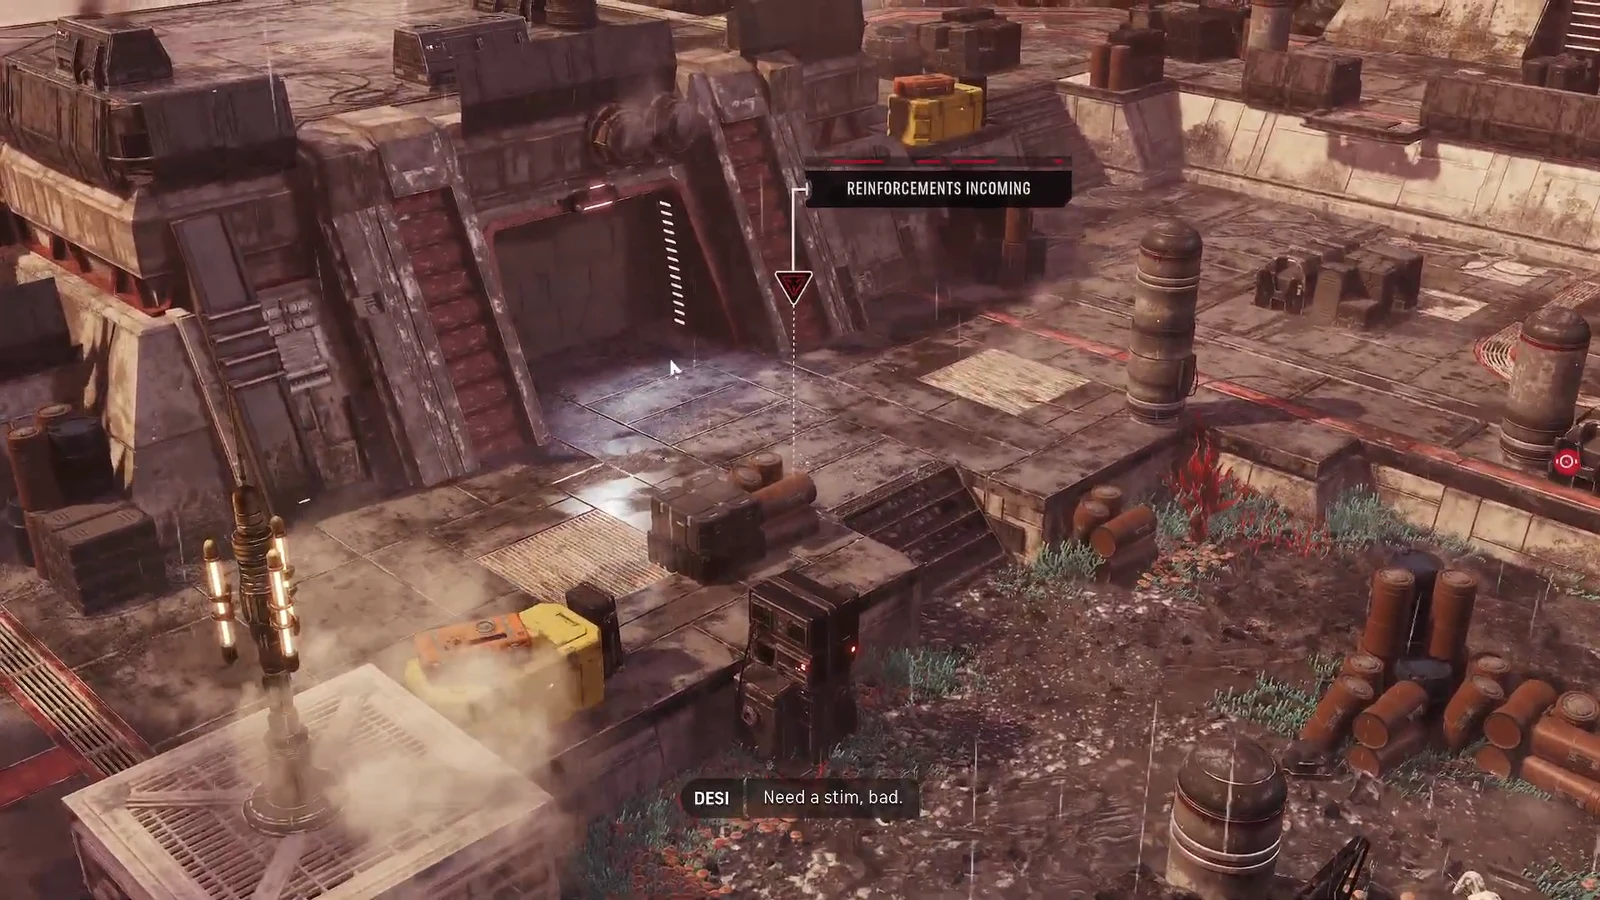
Buff before the wave lands. Stack Combat Stim II and Morale Boost on your frontline to raise action points and health ahead of the reinforcements, so nobody is caught short when the blast door opens.
Reinforcements Incoming warning and deployment marker on the battlefield
The Reinforcements Incoming warning and its deployment marker. Image: EA
Set overwatch cones over the reinforcement doorway. When B2 Super Battle Droids and commandos emerge, they take automatic fire on the way in, which either kills them early or interrupts their advance. Because overwatch ends an operator’s turn, use it as the last action after moving into cover.
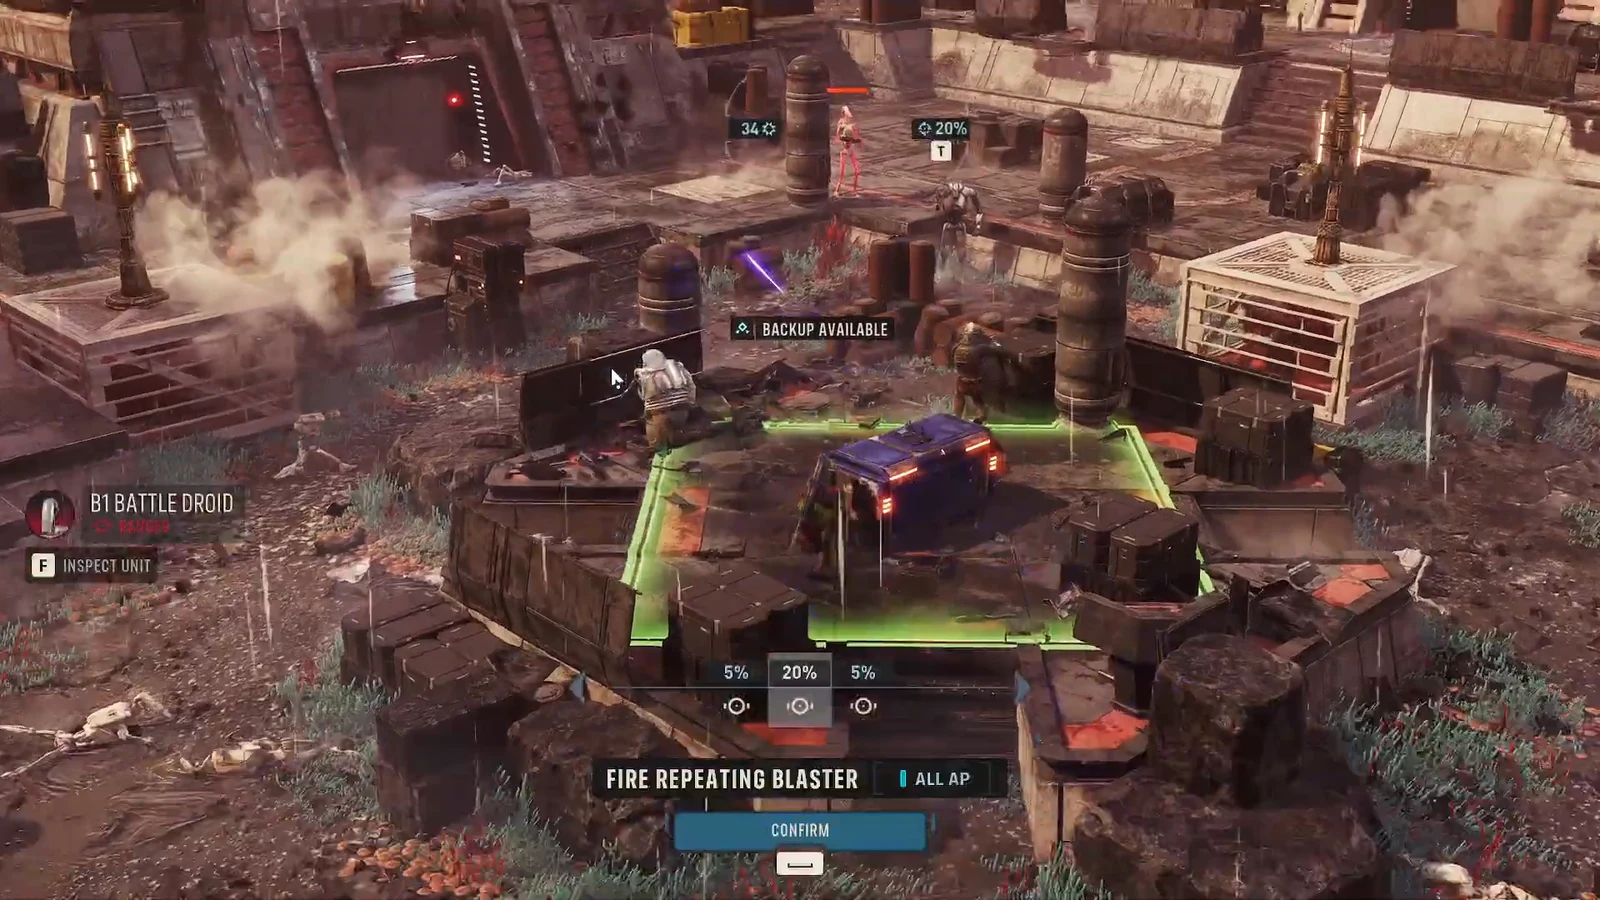
B1 Battle Droid Fire Repeating Blaster attack selected with hit chances and Confirm button
A repeating blaster attack lined up with hit chances shown before confirming. Image: EA
Focus fire the B2 Super Battle Droids as they close. Concentrating attacks on a single armored target removes it faster than spreading damage. When the third turn ends, the hack finishes and the objective updates to Evacuate All Operators.

Note: The chest is done when the banner switches to the evacuation objective. If the timer stalls, check that your safecracker is still alive and standing on the chest rather than having been pushed off or downed.


Phase 4: Evacuate all operators to the rooftop
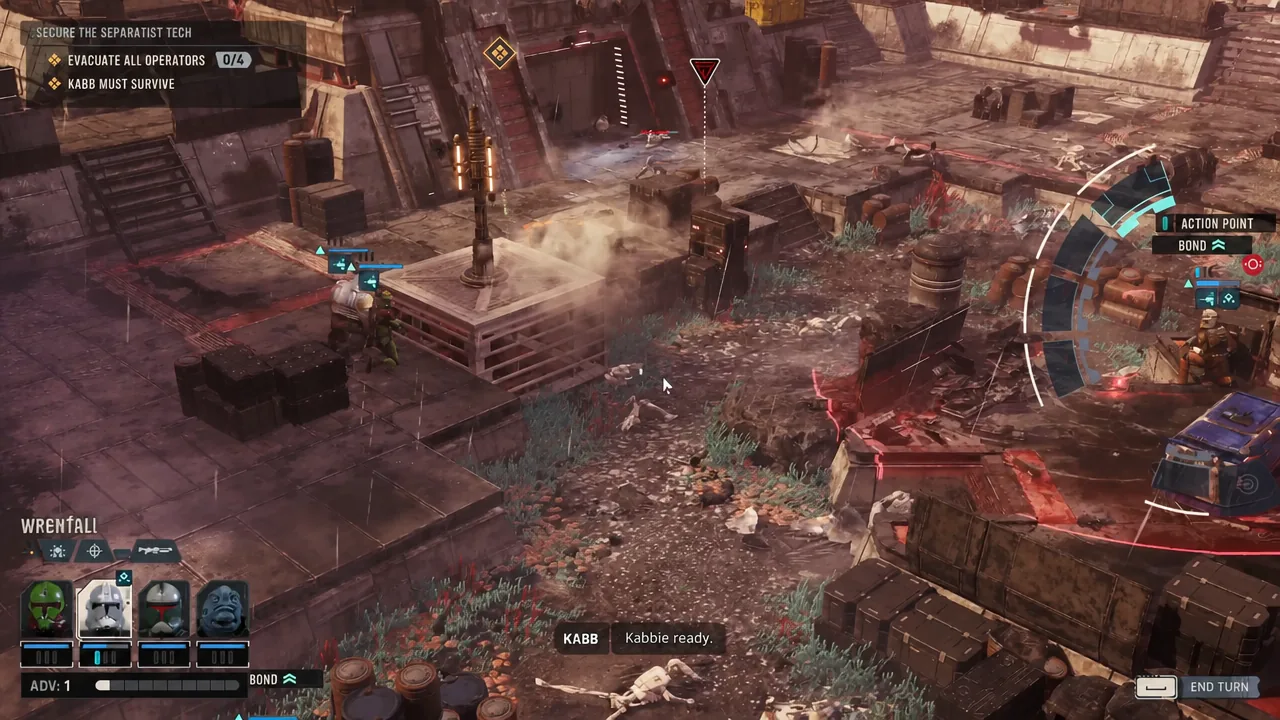
Retreat up the structure toward the extraction landing pad. Move in short bounds and drop overwatch behind you each turn so pursuing droids take fire as they chase.
Squad moving up the structure while setting overwatch to cover the retreat
The squad climbing the structure while overwatch covers the pullback. Image: EA
Clear anything blocking the stairs. Kabb’s Uppercut II melee knocks a commando aside and opens the path, and it can refund the action point if it defeats the target. Heal with a medpac if an operator is close to going down.
Step each operator, one by one, into the marked evacuation area on the upper platform. Droids will breach the landing zone in the final turns, so deal with close-range threats before committing the last squad members.

The mission succeeds once all four operators reach the pad. A cutscene plays as the transport lands and lifts the squad off Anaxes, followed by the results screen and the return to the Den on the Ring of Kafrene.


Common reasons the mission fails

  • Kabb is downed and lost, which fails the run regardless of the other objectives.
  • The safecracker is knocked off the chest or downed, stopping the three-turn hack timer.
  • Operators sit in the open against BX Droid Snipers instead of using cover and higher ground.
  • The squad lingers to kill every droid during evacuation instead of moving to the extraction zone.

Treat the second half as a fighting retreat rather than a clearing job. Once the hack is complete, the goal is to leave with your whole squad intact, and Kabb specifically has to walk out. Prioritize the extraction marker over kills and the mission resolves cleanly.