In Castlevania: Belmont’s Curse, Brave Heart Fragments are the only way to increase Rose’s health bar. The game has 24: three in each of eight areas spread across Paris and Dracula’s Castle. Most are tucked behind movement abilities you won’t possess on your first visit. Mark their locations and plan to return.
Quick answer: Find three Brave Heart Fragments in every one of the eight areas listed below. Each set of four grants a Brave Heart and +20 max health; all 24 yield six upgrades and 220 max health.
How Brave Heart Fragments raise Rose’s max health
A lone fragment won’t change anything. Collect four to earn a Brave Heart, which permanently increases Rose’s max health by 20. Since Rose begins with 100 health, the full 24-fragment collection adds 120. Healing potions restore 40 percent of max health, meaning each upgrade boosts the amount a potion restores, too.
| Brave Hearts completed | Fragments collected | Max health |
|---|---|---|
| 0 | 0 | 100 |
| 1 | 4 | 120 |
| 2 | 8 | 140 |
| 3 | 12 | 160 |
| 4 | 16 | 180 |
| 5 | 20 | 200 |
| 6 | 24 | 220 |
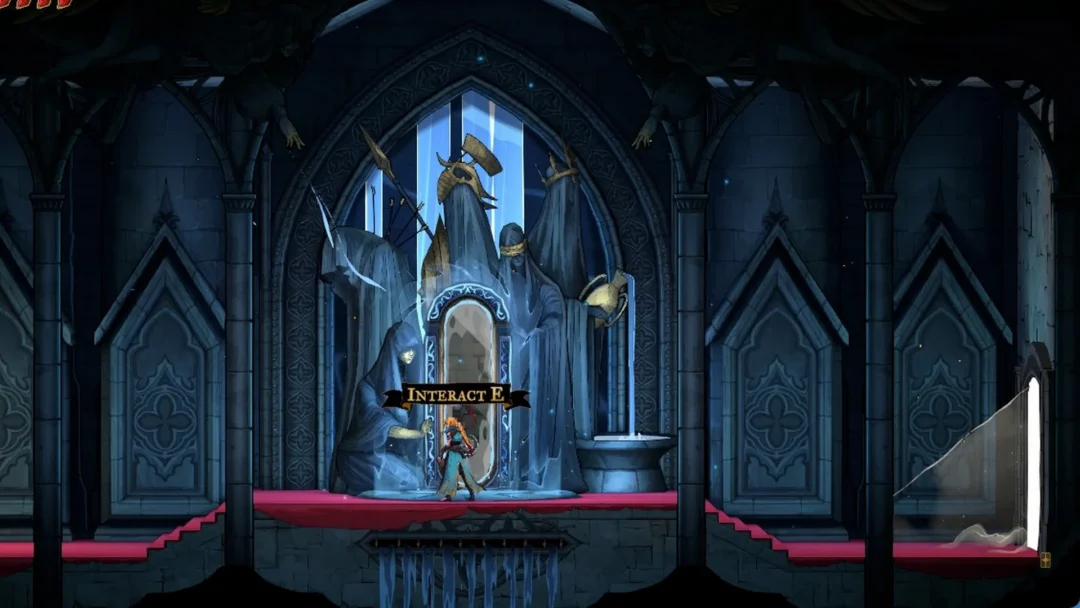
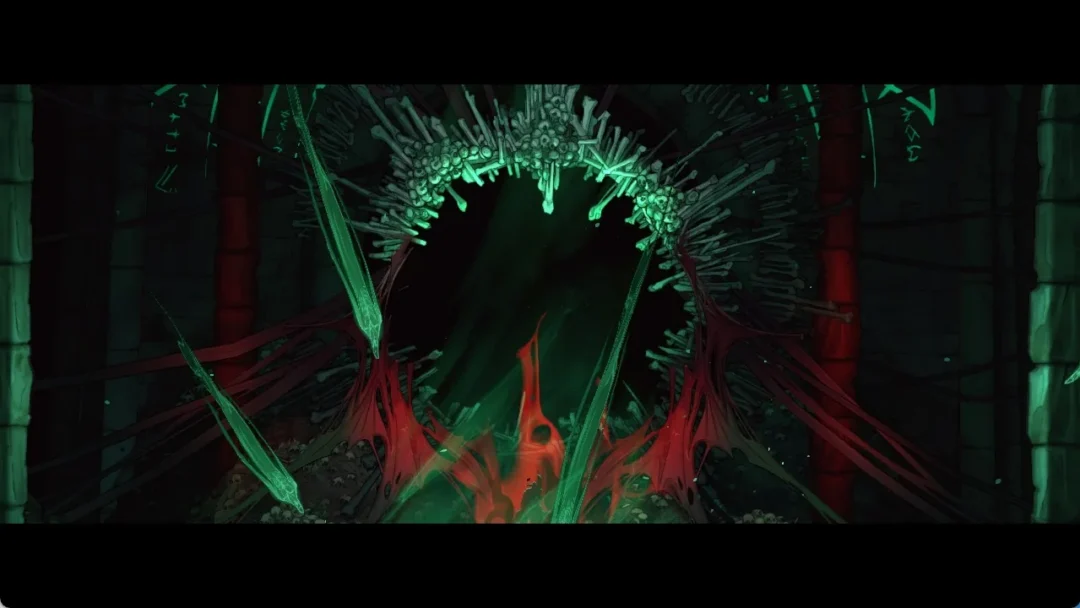
Brave Heart Fragments appear in the world as pulsing shrines covered in eyes. Press interact beside one (R1 on PlayStation) to collect it. Wise Heart Fragments, which provide mana, look exactly the same and appear in the same quantities, but their glow is blue. Each fragment area contains three Wise Hearts as well, so collect both kinds during your visit.
Abilities that unlock the HP upgrades
Plenty of shrines are visible long before you can reach them. If one is out of reach, it’s almost always waiting on one of these:
- Arcane Whip lets Rose grapple onto glowing anchor points and swing over gaps.
- Double Jump and wall jumps cover raised ledges and narrow shafts.
- Aerial Rush is the air-dash for long gaps over spikes and blood falls.
- Holy Light lets Rose pass through Chaos Shards.
- Smash breaks golden-cracked floors and blocks with an airborne Down + Jump.
Teleporter mirrors also come into play, mostly in the Main Hall puzzle rooms.
Brave Heart Fragments per area
Each area containing fragments has three, no more and no less. The final section of Dracula’s Castle, Master’s Quarters, contains zero; skip the search there. Mirrors of Life serve as save spots and fast-travel hubs, letting you travel between fragment hunts.
| Area | World part | Fragments | Mirrors of Life |
|---|---|---|---|
| Paris Streets | City of Paris | 3 | 5 |
| Holy Innocents’ Cemetery | City of Paris | 3 | 4 |
| Catacombs of Paris | City of Paris | 3 | 2 |
| Main Hall | Dracula’s Castle | 3 | 9 |
| Library | Dracula’s Castle | 3 | 2 |
| Notre-Dame | Dracula’s Castle | 3 | 3 |
| Clock Tower | Dracula’s Castle | 3 | 3 |
| Hall of Mirrors | Dracula’s Castle | 3 | 5 |
| Master’s Quarters | Dracula’s Castle | 0 | 1 |
City of Paris HP upgrade locations (1–9)
Paris Streets
- #1, Undercity: Look by the boundary with Holy Innocents’ Cemetery. Use the Arcane Whip to traverse a series of grapple points.
- #2, Prison Tower: At the end of a spike-lined platforming challenge in the far west of the district, right of the Burned District. Needs the Arcane Whip.
- #3, Court of Justice: Wall-jump upward and break the walls along the way. Needs the Arcane Whip and Holy Light.
Holy Innocents’ Cemetery
- #4, Ancient Sewers: Use Smash to open a path from Sepulcher of the Knight, then platform through the sewers. The shrine sits next to the northeast room, and a DEF UP book shares the district.
- #5, Ossuary of the Innocents: A raised shrine platform you can spot easily. Reach it with the Arcane Whip and a double jump.
- #6, Mausoleum of the Kings: Hit the timed lever in the northeast corner, then race through spike shafts and breakable blocks to the shrine in the southwest before the door shuts.
Catacombs of Paris
- #7, Circle of Greed: Past the Gate of Flesh, through corridors of rotating blades.
- #8, Blood Pits: Enter the hidden area at the bottom, wall-jump up the Chaos Shards, and trigger Holy Light at the top to slip through. Expect dashes and air-dashes across the blood falls.
- #9, Catacomb Entrance: Clear the buzz-saw platforming challenge in the room above. Needs the Arcane Whip and Holy Light.
Dracula’s Castle HP upgrade locations (10–24)
Main Hall
- #10, Armoury: Follow a route of mirrors and armored guards, then take the secret sliding path. You have to lower part of the floor with the room’s levers first.
- #11, Mirror Rooms: Enter from the Grand Hall and tackle an extended sequence of reflective puzzles, buzz saws, and fire jets.
- #12, Balcony: Only reachable through the Torture Chambers. Break the destructible block in the Servants’ Quarters with Smash, drop through, and clear the challenge room. A Wise Heart Fragment waits here too.
Library
- #13, Poetry Shelves: Find the secret passage in the ceiling on the eastern side, then jump the spike section.
- #14, Library Foyer: At the end of a hidden path, up a series of grapple rings.
- #15, Planetarium: Draw the star pattern from the nearby hint on the puzzle below. That spawns a bouncy orb to reach the secret room on the upper northwest ledge.
Notre-Dame
- #16, Tree of Saints: Enter via the Small Tower and ride the rising platforms to the shrine on the eastern wall.
- #17, The Forest: Take the entrance at the eastern end of the long corridor, dodge the lasers through the inner section, and come out in a church chamber directly above the Mirror of Life.
- #18, La Flèche: At the very top of the spire, up the wooden rafters to the exterior roof. Come back with Double Jump, since the lasers are gone by then and the climb goes faster.
Clock Tower
- #19, Serpent Pinion: At the very top, in a cog alcove. Strike the cog to open the Gear Door below, then use the Arcane Whip.
- #20, Eastern Steps: Climb the stairs, drop down the second-to-last path, and use Holy Light into Aerial Rush heading west. Grab the anchor point past the Chaos Shards and keep going west.
- #21, The Gauntlet: Activate the clock at the top of the Steps of Time, then run The Gauntlet before the gate closes. Drop down from Master’s Quarters or take the elevator at Daedalus Crossing to get there.
Hall of Mirrors
- #22, Looping Hallways: At the lowest point of the district, in a curtained room.
- #23, Steps of Misdirection: At the top of the district, reached from below after a long saw-blade platforming section.
- #24, Nightmare Atrium: Past a run of saw platforms and fireball traps.
Confirming each Brave Heart and the Collector achievement
Collecting the first fragment brings up a message about four fragments increasing Rose’s health. Later pickups update the count, displaying “1/4 Brave Heart’s Fragments!” and then “3/4 Brave Heart’s Fragments!” On the fourth, the message reads “Brave Heart Completed!” and Rose’s health bar grows immediately. A max health value of 220 confirms that you’ve collected all six Brave Hearts.
The visible Collector achievement requires the complete set of 24 Brave Heart Fragments along with all 24 Wise Heart Fragments; reaching max health on its own isn’t enough.
The trophy pops only when you pick up the last fragment of whichever set you finish second. If it doesn’t appear after your final Brave Heart, check how many Wise Hearts you still have to find.