The Main Hall is the first area of Dracula’s Castle that Rose reaches in Castlevania: Belmont’s Curse, and it is also the biggest. It holds more collectibles than any route through it makes obvious. Most of the good stuff sits behind false walls, mirror puzzles, and saw-blade gauntlets, and a few pickups are blocked off until you come back from a different direction.
Quick answer: The Main Hall has 37 Secret Areas, 21 XP statues, 9 Mirrors of Life, 7 relics, 4 weapons, 3 Brave and 3 Wise Heart Fragments, 2 ATK UP books, 2 DEF UP books, and 3 whole meat.
Main Hall collectible totals
| Collectible | Count in Main Hall |
|---|---|
| Secret Areas | 37 |
| XP statues | 21 (250 XP each) |
| Mirrors of Life | 9 |
| Relics | 7 |
| Weapons | 4 |
| Brave Heart Fragments | 3 |
| Wise Heart Fragments | 3 |
| ATK UP books | 2 |
| DEF UP books | 2 |
| Whole meat | 3 |
| Breakable walls | 2 |
| Ferryman’s Wharf | 1 |
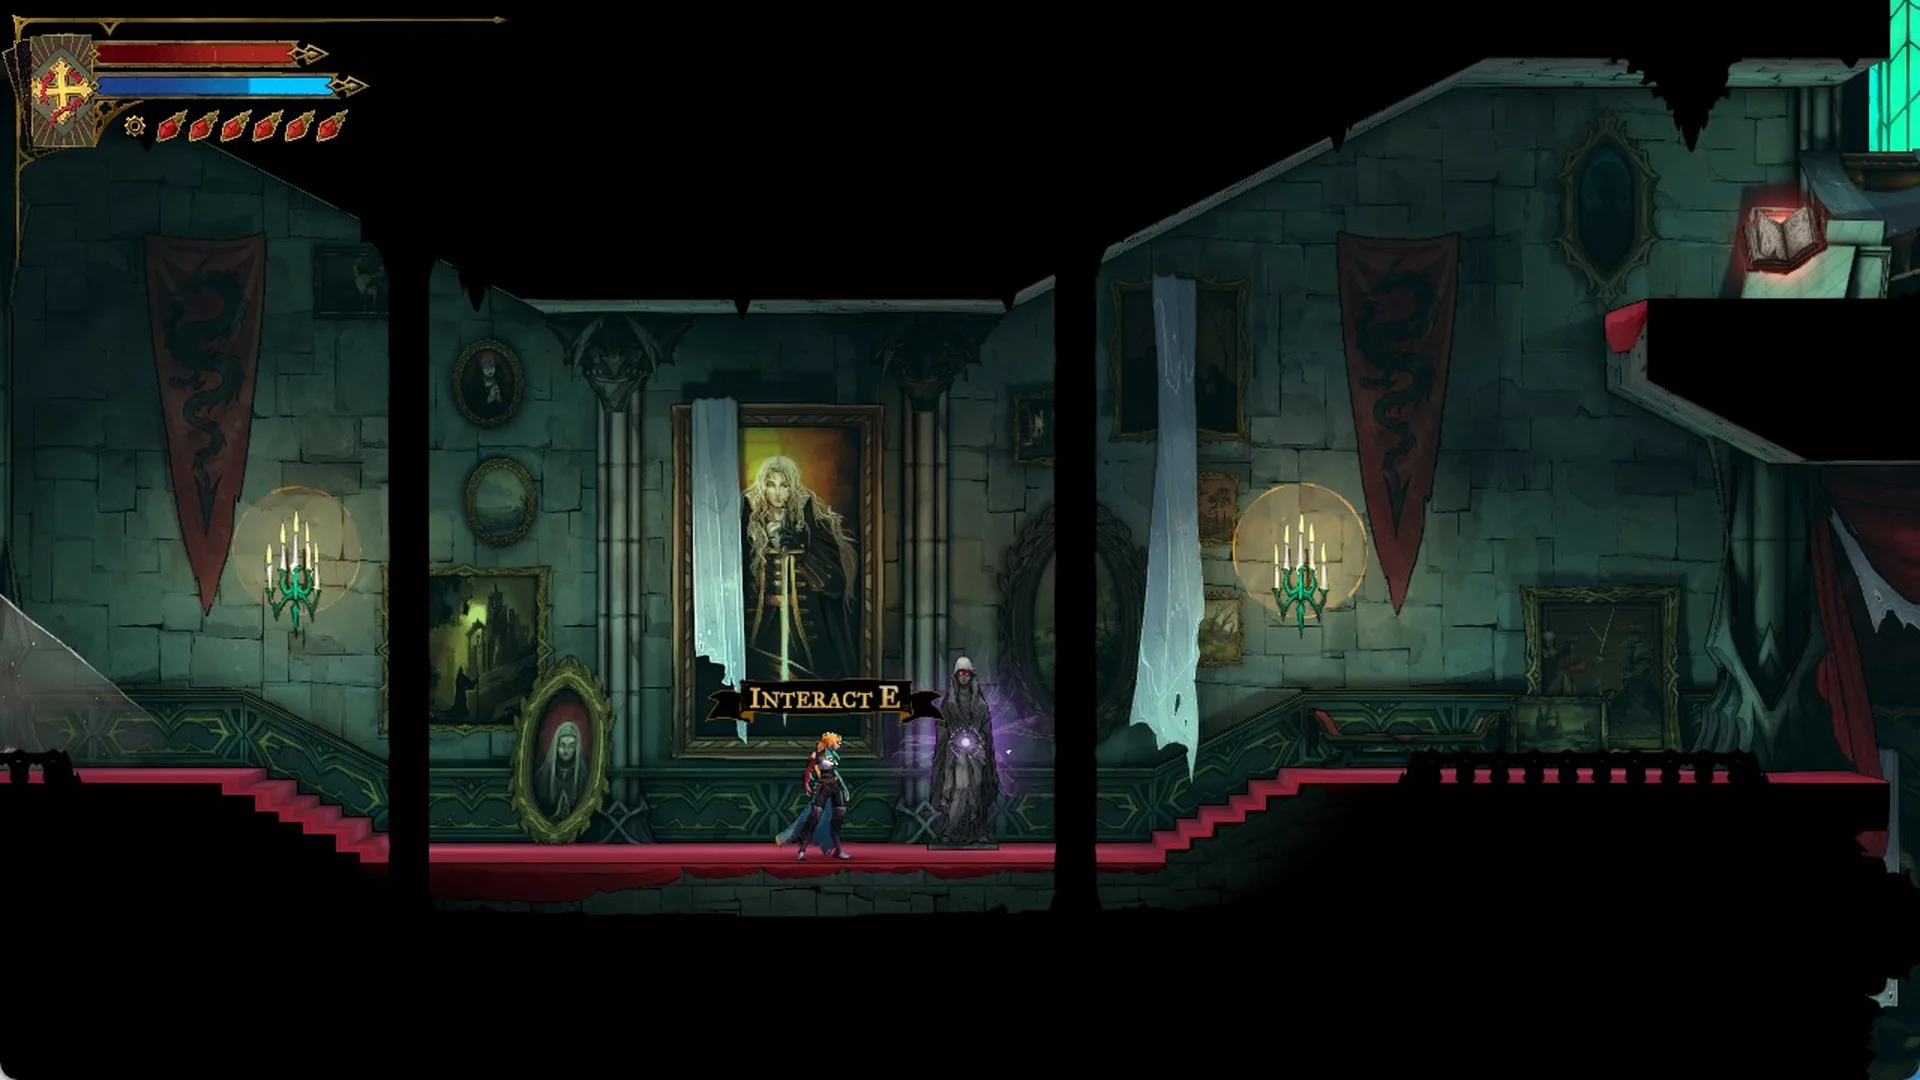
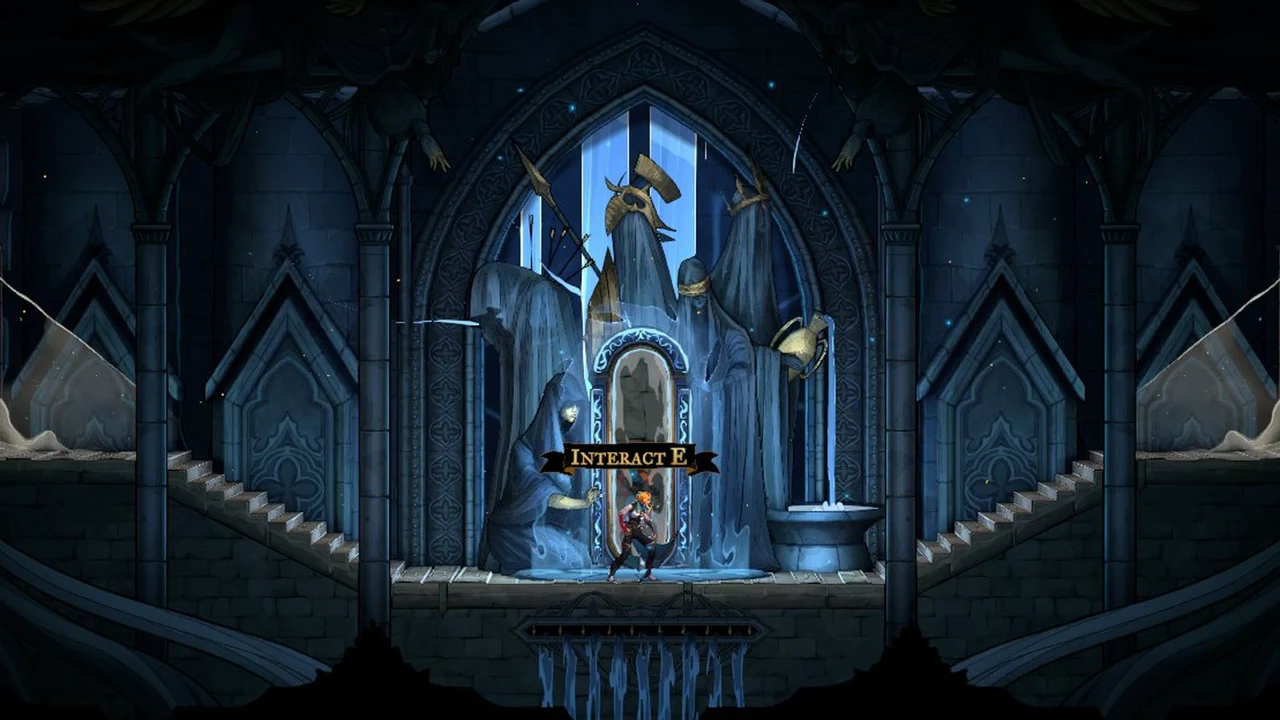
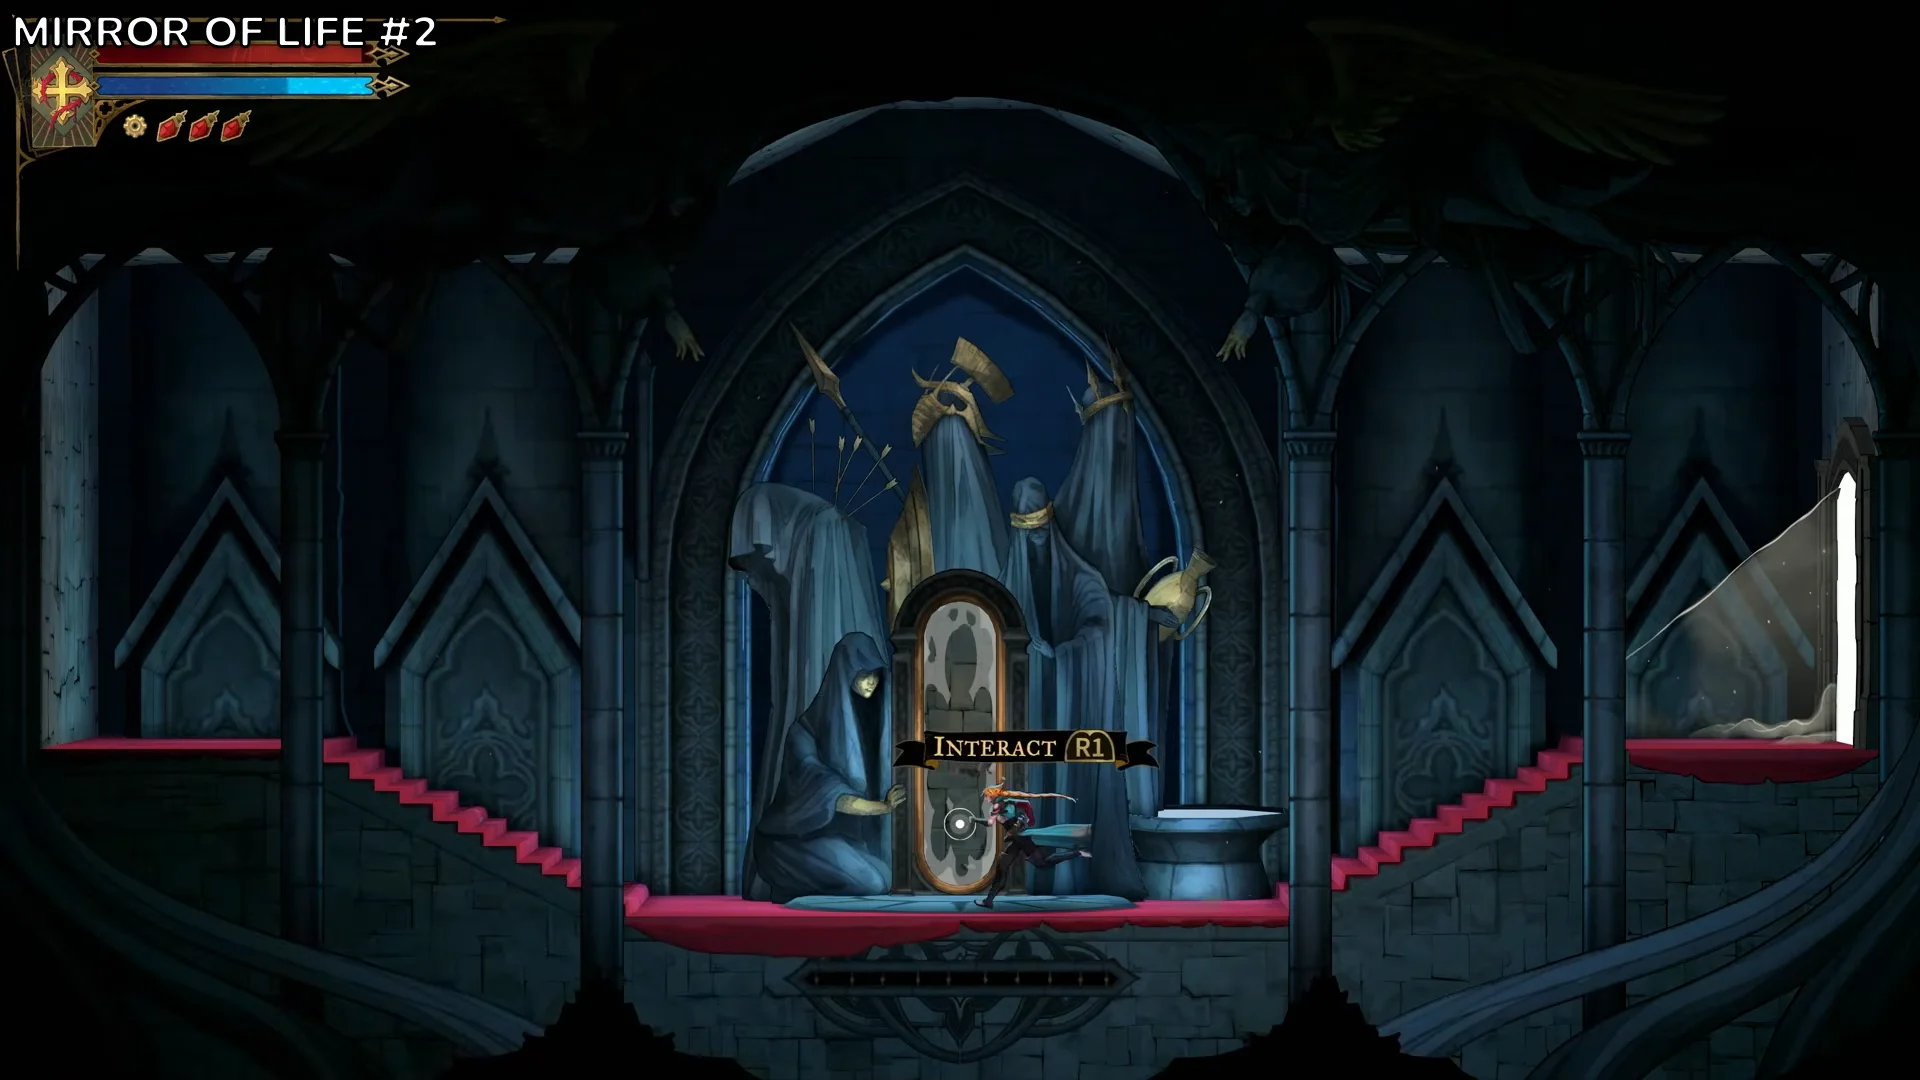
Nine Mirrors of Life is the highest count of any area in Dracula’s Castle. Each one is a save point and a fast travel stop, and walking up to one brings up an interact prompt. Activate every mirror as you pass it, since respawns send Rose back to the last one she used.
How Secret Areas open in the Main Hall
The game’s tutorial card warns that some secrets sit behind walls and give off visual and audio tells. In the Main Hall, nearly every one of the 37 Secret Areas is a fake wall that Rose simply walks through. The rest fall into a few types.
- Hidden passage: a false wall Rose passes straight through.
- Breakable wall: a damaged patch of wall that yields after you strike it with your weapon. There are two in the Main Hall.
- Lever gate: a barrier guarding the secret; pull the lever nearby to open it.
- Smash floor: a floor you break with Smash. Thicker floors need a higher fall, because Stomp gains power levels with the distance Rose drops.
Collecting all 37 contributes to the Masterpiece spell, explained further down. Exploring gradually reveals the map, and you can place up to 50 markers at locations you cannot reach yet. Press Square on PlayStation or Space on PC to place a marker.
The Gloomstone relic flags when Rose is near a secret. It sits in the Master’s Quarters, so it only helps on a cleanup pass.
Main Hall collectibles by district
The tables below group each district by the Mirror of Life you will warp to before clearing it. “Secret” marks an item that sits inside a Secret Area.
Near the Entrance Corridor mirror
| District | Collectibles | XP statues | Secret Areas |
|---|---|---|---|
| Entrance Corridor (mirror) | Wise Heart Fragment (secret), whole meat behind breakable wall | 2 | 4 |
| Notre-Dame Bridge | Whole meat (secret) | 0 | 1 |
| Inner Courtyard |  Morning Star (chest) | 0 | 1 |
| West Hall | 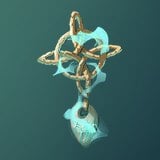 Witch’s Knot (chest) | 1 | 2 |
| Armoury | Brave Heart Fragment (secret), Ferryman’s Wharf | 1 | 3 |
The West Hall statue sits on a high chandelier balcony that you reach by teleporting through mirrors. Witch’s Knot is in the same district, behind a spike and mirror puzzle that ends with a switch opening the chest. The Morning Star chest is out on an exterior balcony past the rotating gears and mirrors of the Storerooms gauntlet.
Near the Ballrooms mirror
| District | Collectibles | XP statues | Secret Areas |
|---|---|---|---|
| Ballrooms (mirror) | None beyond statues | 2 | 1 |
| Abandoned Workshop |  Ghostly Pendant (secret, upper room) | 0 | 1 |
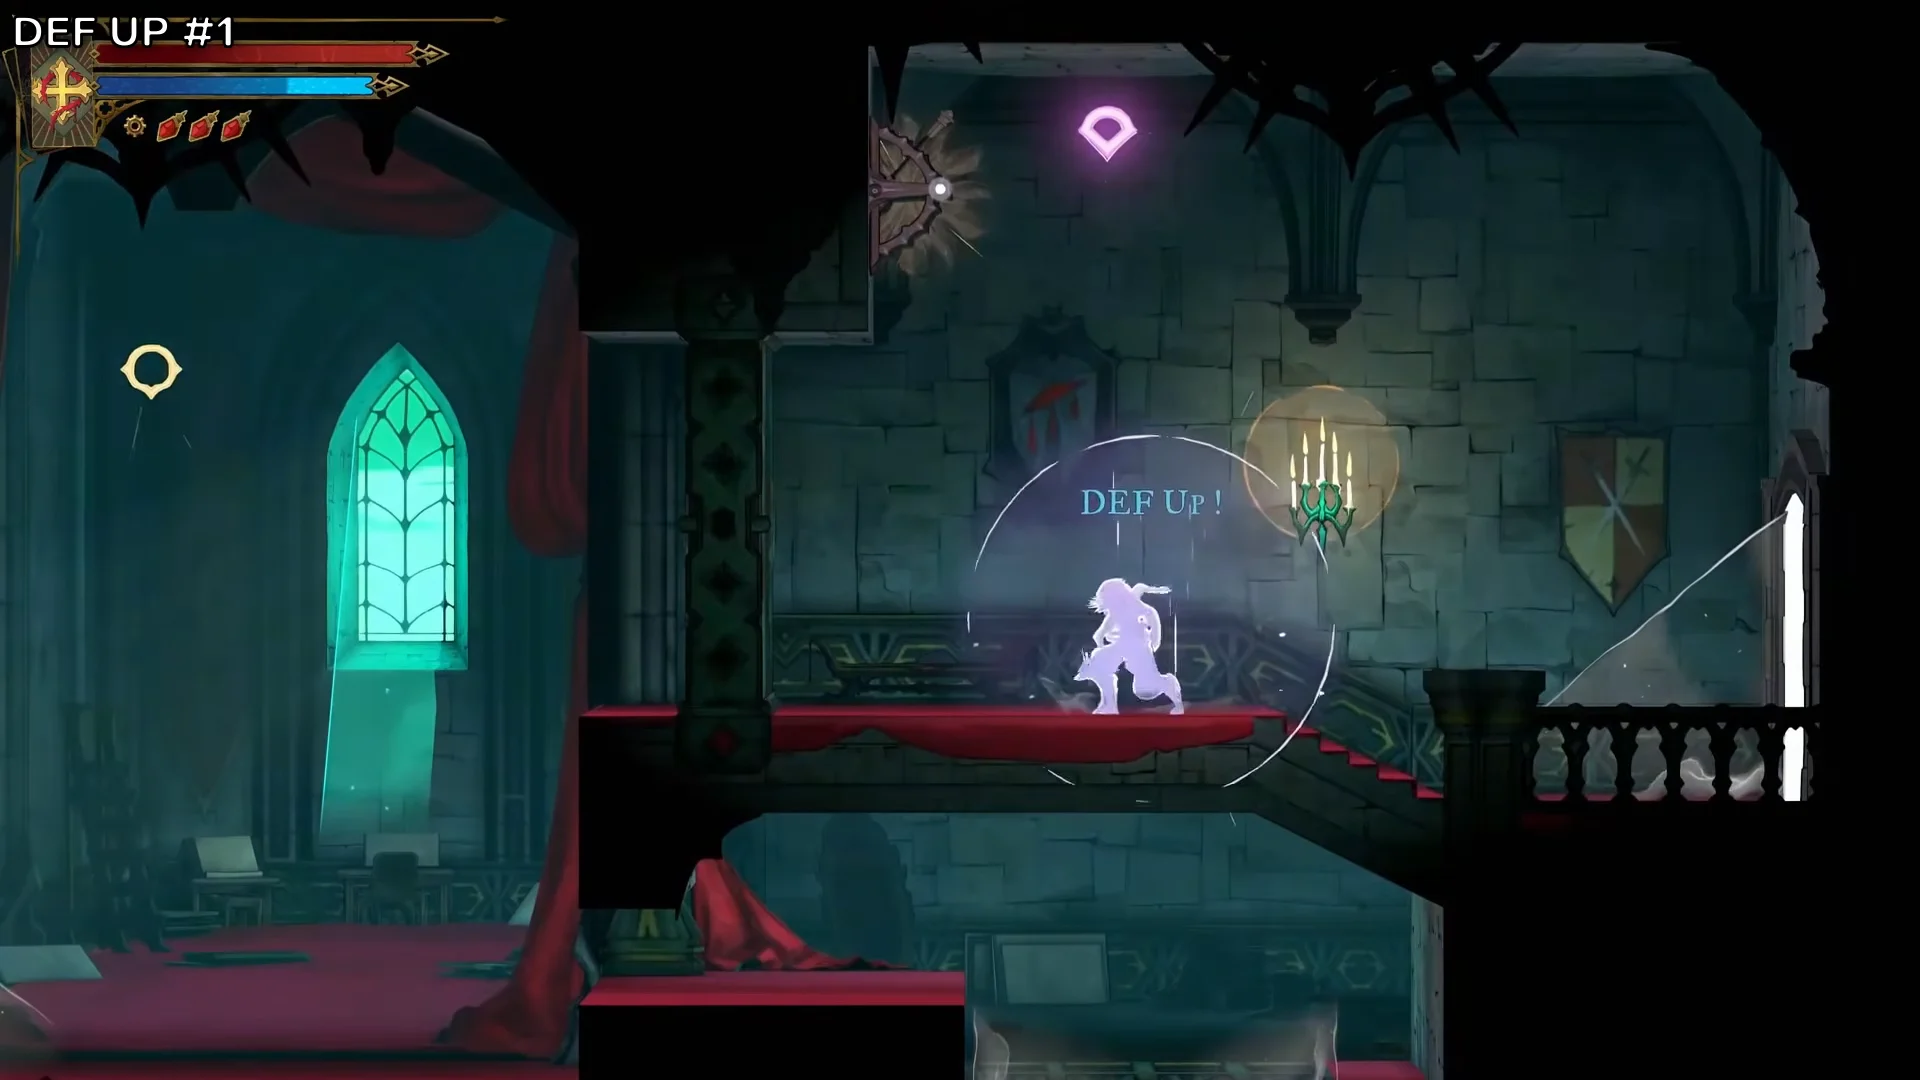
| Mirror Rooms | Brave Heart Fragment, DEF UP book (secret) | 0 | 1 |
| Old Gallery | Jewel Knuckles and ATK UP book (secret) | 0 | 3 |
| Balcony | Wise Heart and Brave Heart Fragments | 0 | 1 |
| Alucard’s Tower | 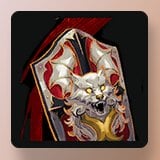 Alucard’s Sword and Shield (chest) | 0 | 0 |
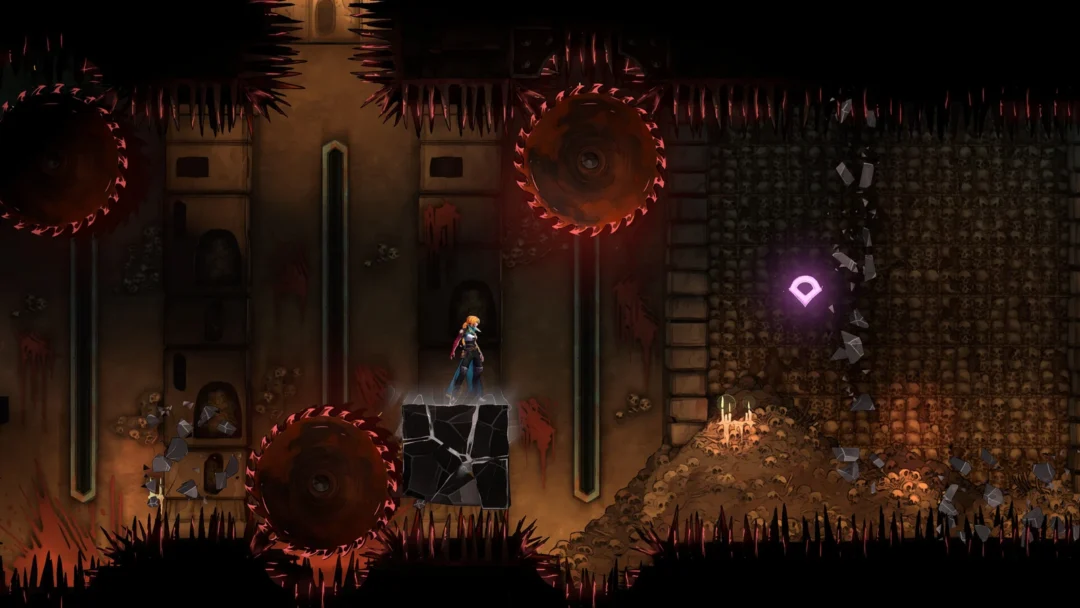
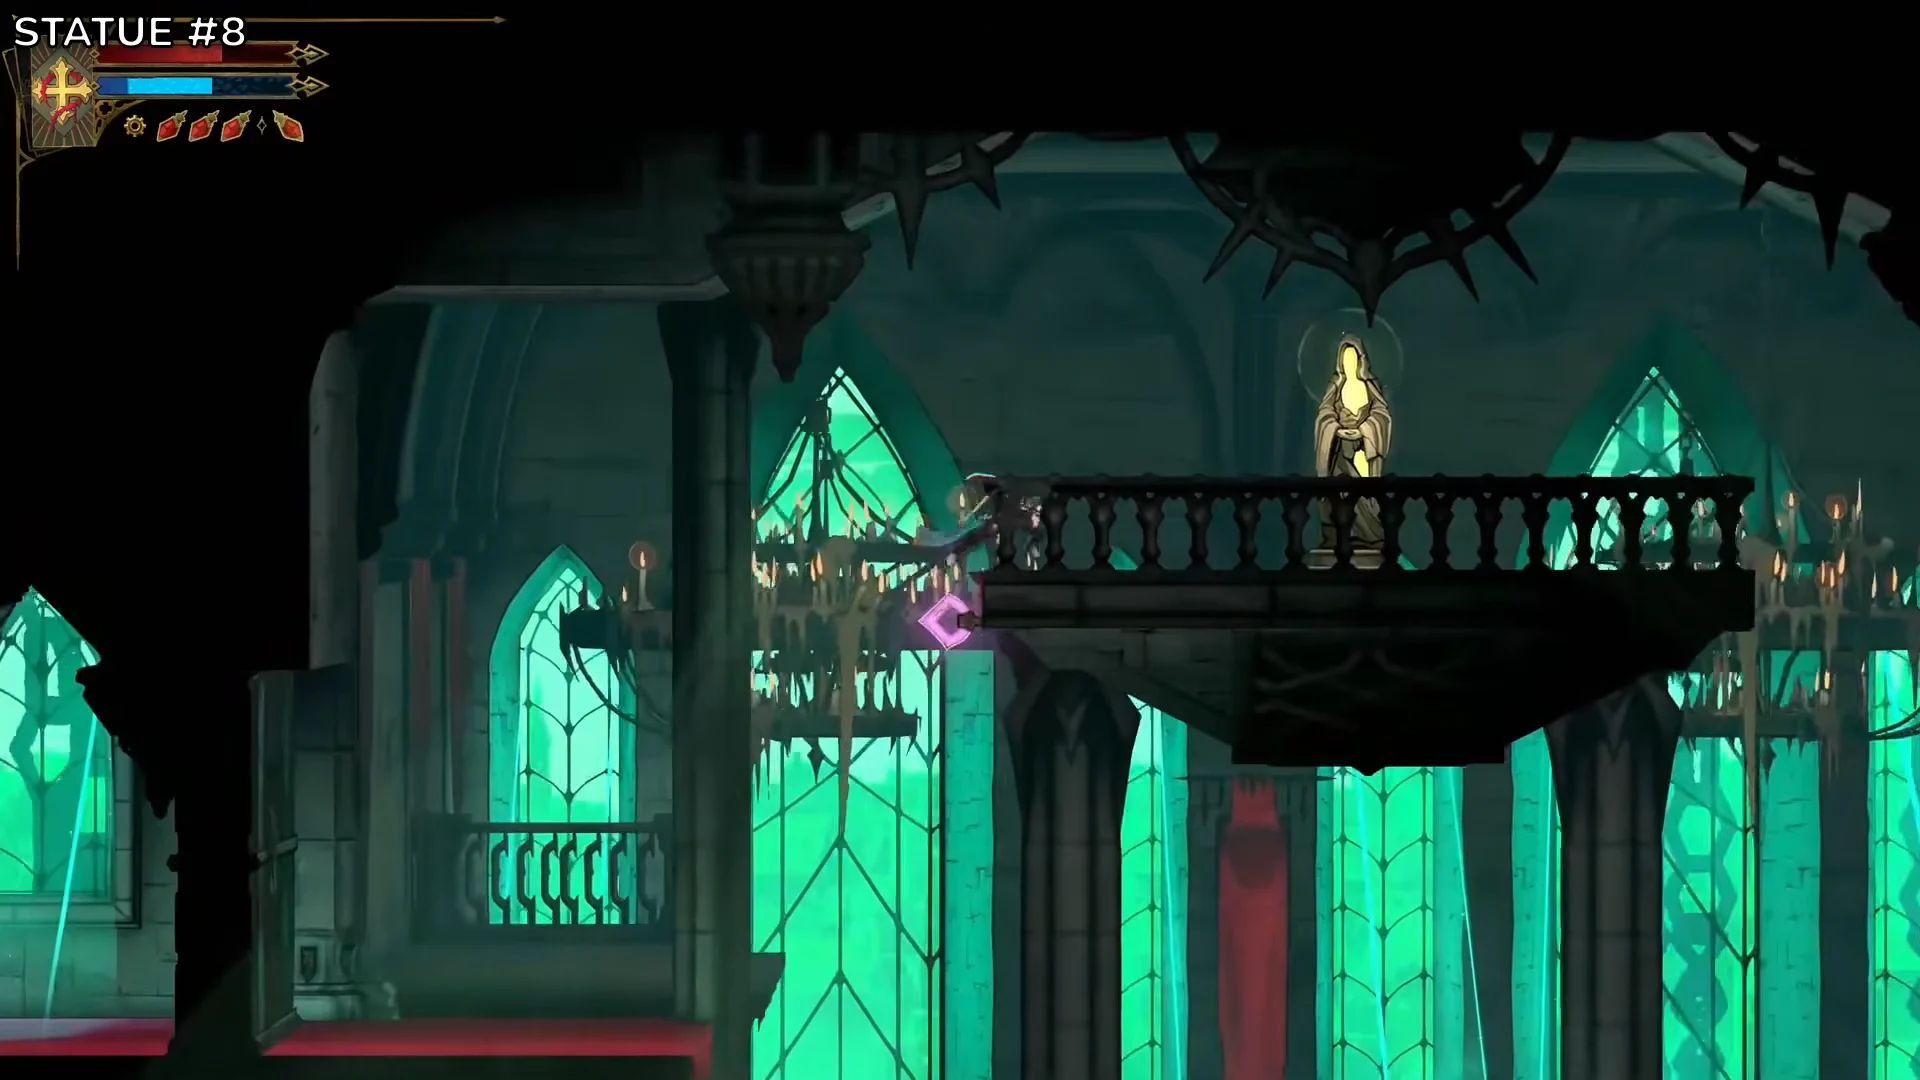
In the Ballrooms, the Mirror of Life sits on a shelf halfway up the shaft’s left side. Begin at the painting below, leap straight upward, catch the pink diamond with your whip, and land on the shelf. Both XP statues in the Ballrooms are found on routes crowded with fireballs, chandeliers, mirror warps, and moving spike traps.
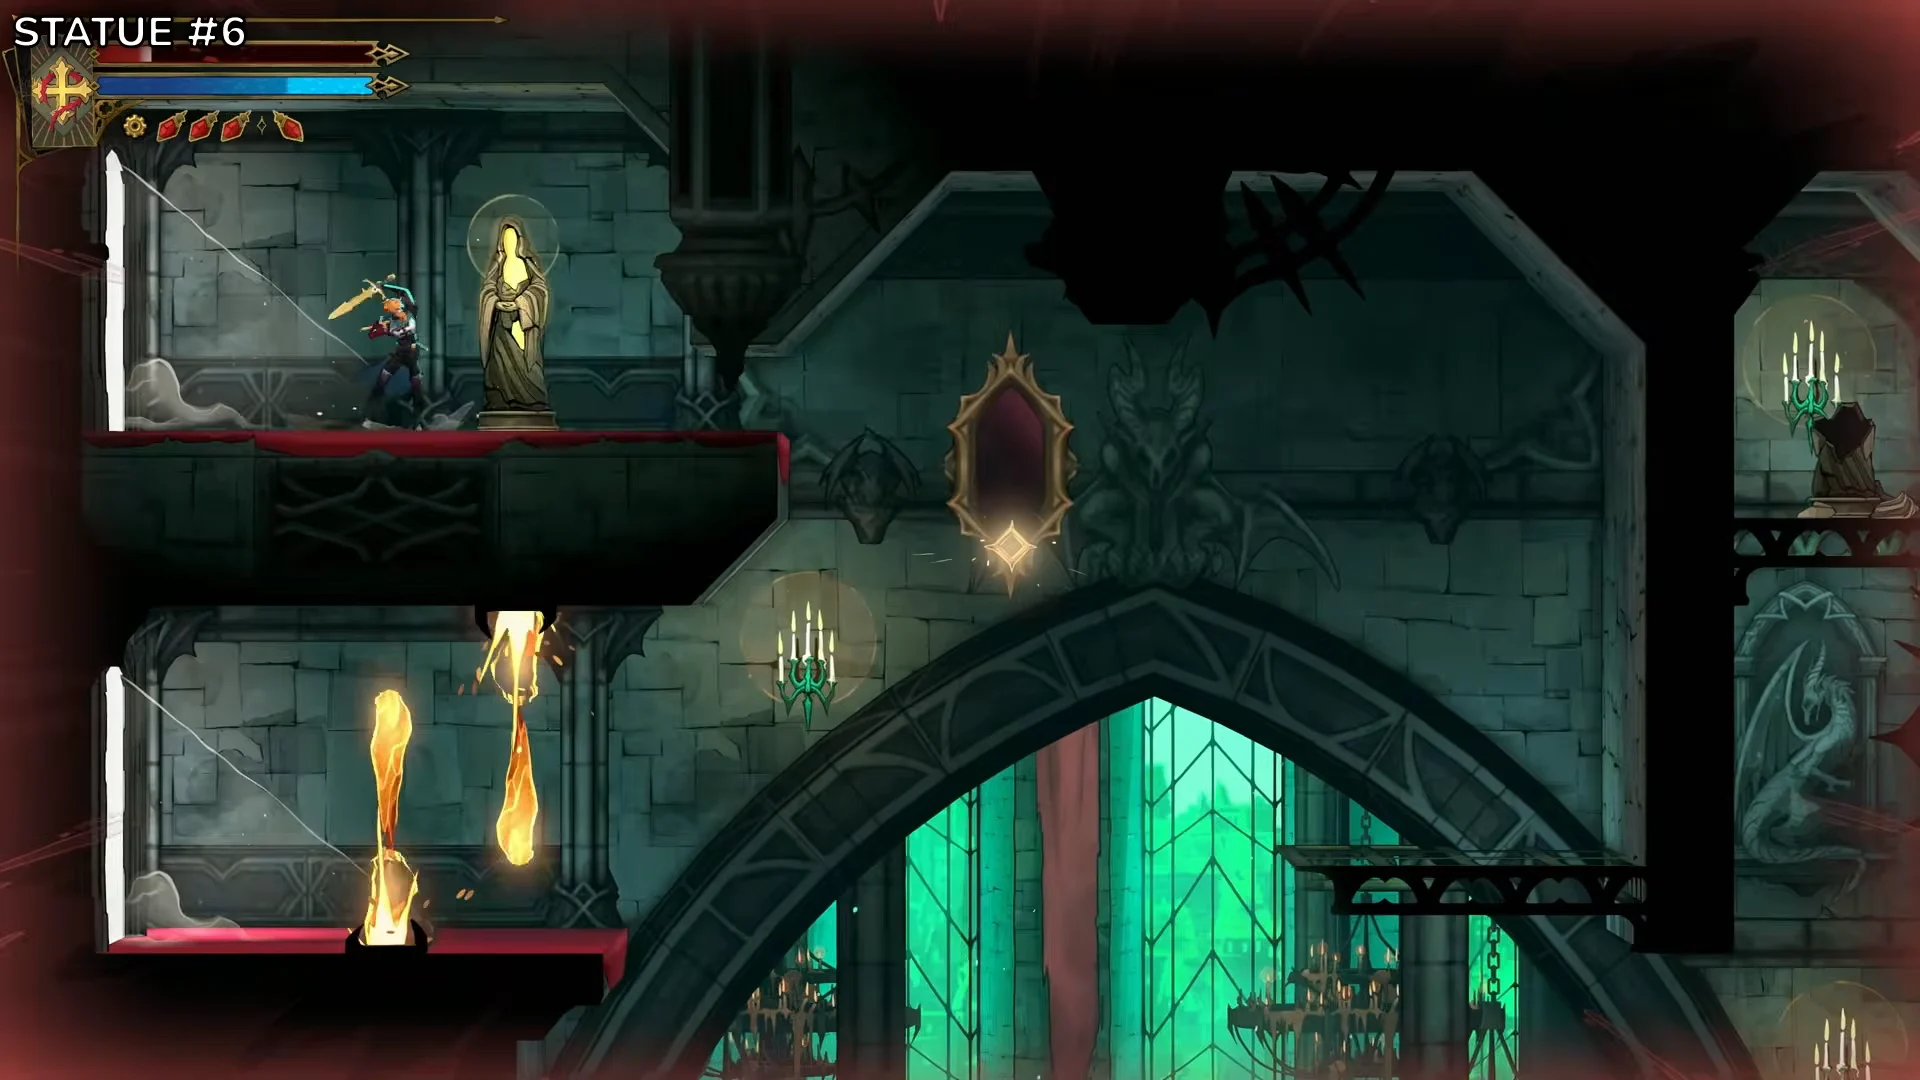
The Jewel Knuckles chest is on the balcony to the right, above the red teleport door in the Old Gallery. The Ghostly Pendant chest is above the Abandoned Workshop, past pillars of skeletal serpents.
Near the Elevator Tower mirror
| District | Collectibles | XP statues | Secret Areas |
|---|---|---|---|
| Elevator Tower (mirror) | Clue for The Artist, 2 elevators | 0 | 0 |
| Grand Hall | Whole meat (secret) | 5 | 7 |
| Watch Tower | 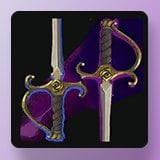 Rapiers (chest) | 0 | 0 |
| Abandoned Staircase | 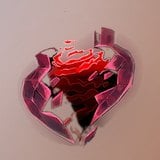 Blackened Heart (chest) | 0 | 0 |
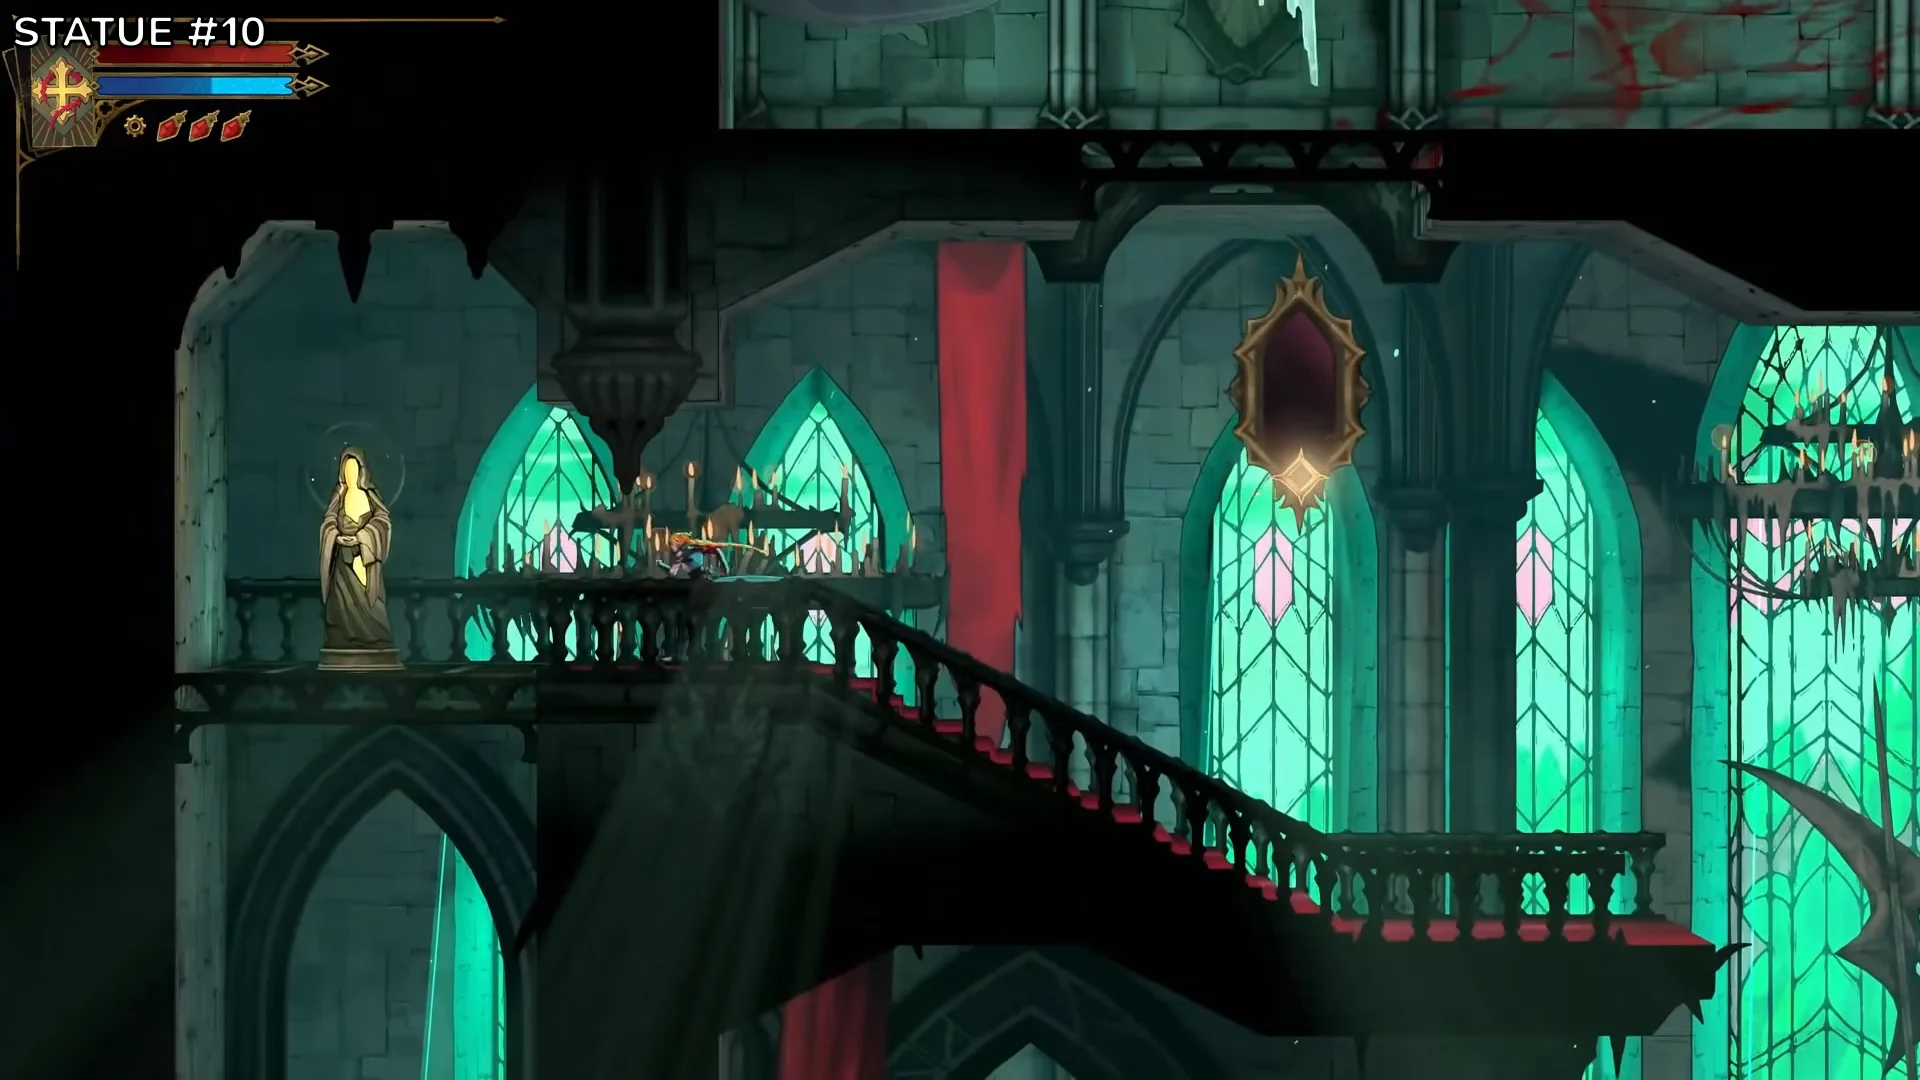
The Grand Hall packs in more Secret Areas than any other district, and two of its five statues are inside hidden passages. One statue needs a series of vertical mirror jumps.
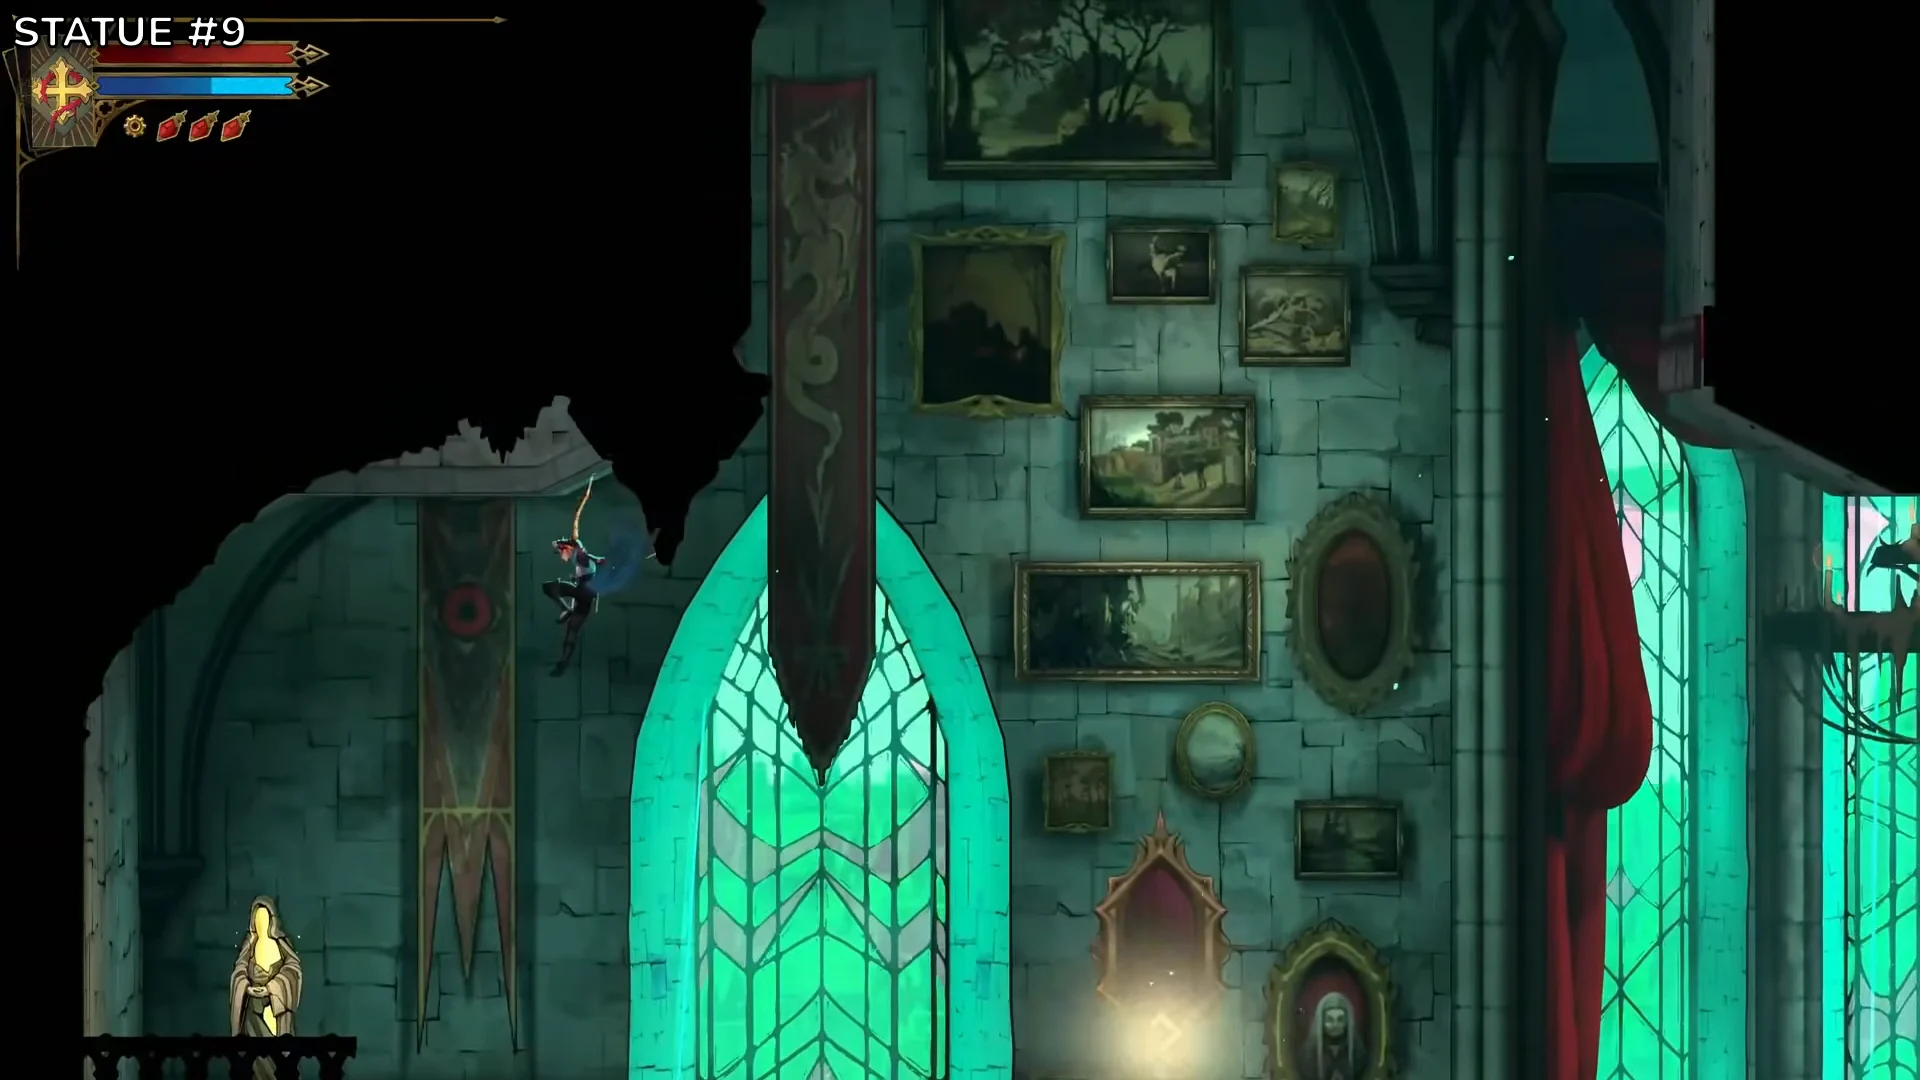
Another statue waits on the landing at the top of the Grand Hall staircase. Dropping through the mirror below that landing leads to one more, tucked in a niche in the lower gallery.
The Rapiers chest is in the portrait chamber off the Watch Tower’s spike corridor, in the lower-right corner and boxed in by spikes. Blackened Heart takes a trip past the Abandoned Staircase spike traps and a lever before its chest opens.
Near the Archives and Storerooms mirrors
| District | Collectibles | XP statues | Secret Areas |
|---|---|---|---|
| Archives (mirror) |  Blood Vial (chest) | 0 | 0 |
| Dungeon | Statues only | 5 | 2 |
| Crematorium |  Grim Token (chest) | 0 | 0 |
| Storerooms (mirror) | Route to the Morning Star | 0 | 0 |
| Wine Cellar | Cursed Coin, Wise Heart Fragment (secret), ATK UP book (secret) | 1 | 3 |
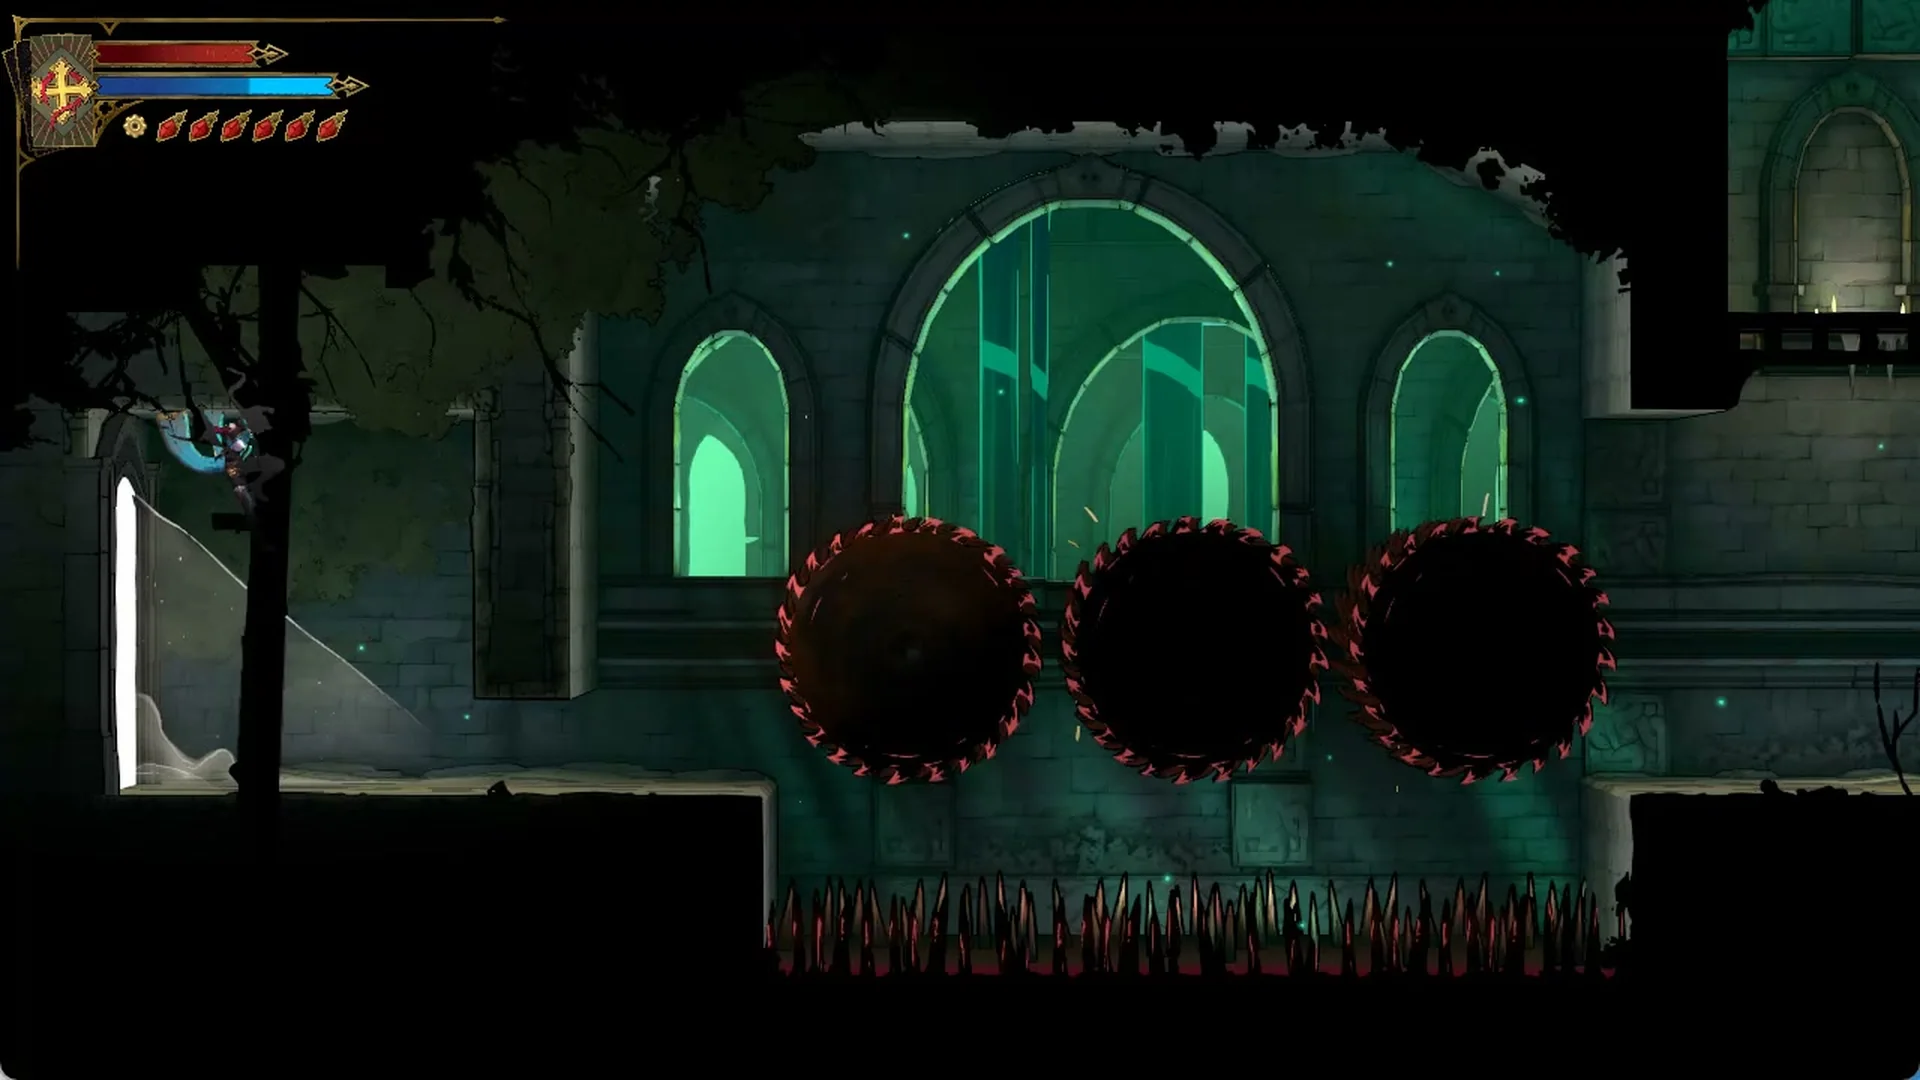
The Dungeon statues sit behind a barrier you slide under, spiked gaps you cross with mirror jumps, and moving circular saws. Blood Vial sits high in the Archives behind lever and rotating mirror puzzles, and Grim Token is in a raised Crematorium chest past more saw blades. In the Wine Cellar, the ATK UP book is on a top-left perch you reach by floating up on chandeliers. The Wise Heart Fragment is on an overhead walkway through a side room. Cursed Coin is on an upper ledge that you have to grapple to, and the cellar’s statue is behind its breakable wall.
Districts with their own Mirror of Life
| District | Collectibles | XP statues | Secret Areas |
|---|---|---|---|
| Boudoirs | Statue in a hidden passage | 1 | 1 |
| Servants’ Quarters | Banshee’s Wail (secret), DEF UP book | 0 | 1 |
| Torture Chambers | Exit to the Balcony | 3 | 1 |
| Waterworks | One hidden passage, one lever gate | 0 | 2 |
| Brauner’s Atelier | The Artist Arcana | 0 | 2 |
The Boudoirs mirror is right next to a portal room, which makes it an easy early save. The Servants’ Quarters DEF UP book is at the end of a saw-and-mirror puzzle, and Banshee’s Wail is behind mirror traps guarded by a multi-headed serpent.
Hidden routes you can’t find by walking
The hidden hall below the Grand Hall
The Main Hall has two chained barricades between the Grand Hall and the Ballrooms, and each one only breaks from one side. Once both are down, you can move freely between the two districts.
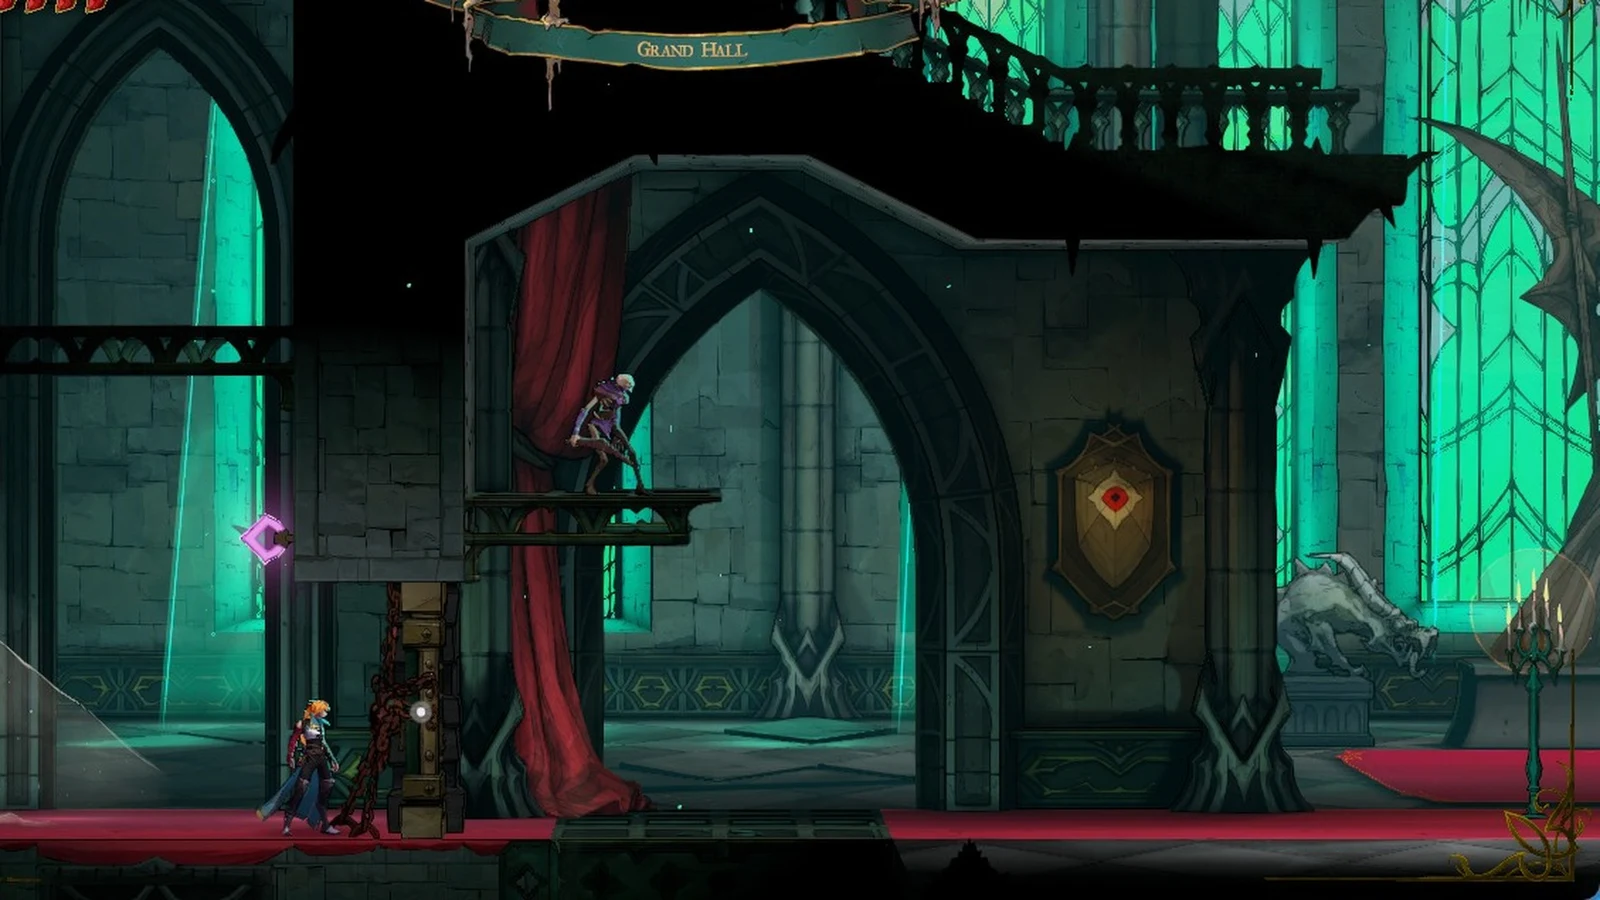
You’ll know you’re in the right place when “Map updated” appears on screen. The room has tall green stained-glass windows, statues of armored knights holding spears, and a large portrait of a white-haired swordsman.
The Balcony gate
Grappling into the gold-framed painting at the bottom of the Ballrooms shaft and launching right sends Rose out onto the Balcony, a rainy outdoor walkway with a dead tree. An ornate gate cuts the walkway in half, and a Wise Heart Fragment and Brave Heart Fragment sit just past it. Attacks, the whip, and Interact all do nothing to the gate from this side.
Skip both fragments for now. The other side of the Balcony opens from the Torture Chambers, and that is where you collect them.
The drop to Alucard’s Tower
Alucard’s Sword and Shield is the last weapon in the area. To reach it, jump off the Bridge of Knowledge into a long free fall. Then catch the grapple points in mid-air to swing across to Alucard’s Tower, where the chest is waiting. On PlayStation, opening it unlocks the “Armed to the Fangs” trophy.
Main Hall weapons and their stats
| Weapon | Rarity (tier) | ATK / attack power | Mana per hit |
|---|---|---|---|
| Alucard’s Sword and Shield | Legendary (4) | 100 / 33 | 4 |
| Morning Star | Masterpiece (3) | 75 / 35 | 3 |
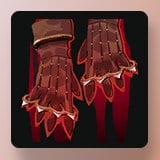 Jewel Knuckles | Refined (2) | 50 / 17 | 2 |
| Rapiers | Refined | 50 / — | — |
Alucard’s Sword and Shield, the Morning Star, and the Jewel Knuckles all have a stagger power of 30.
Alucard’s Sword and Shield is a sword-and-shield weapon that ends combos with a Shield bash. Holding Attack raises the shield and blocks hits from the front, and attacking with it can teleport Rose.
Morning Star is a whip with a Whip Drag finisher. Like other whips, it hits harder at the far end of its reach.
Jewel Knuckles are fast fist weapons that finish with an Uppercut. Their damage climbs the more you keep landing hits.
Rapiers use Blade Flurry as their finisher.
Main Hall relics and their effects
| Relic | District | Effect |
|---|---|---|
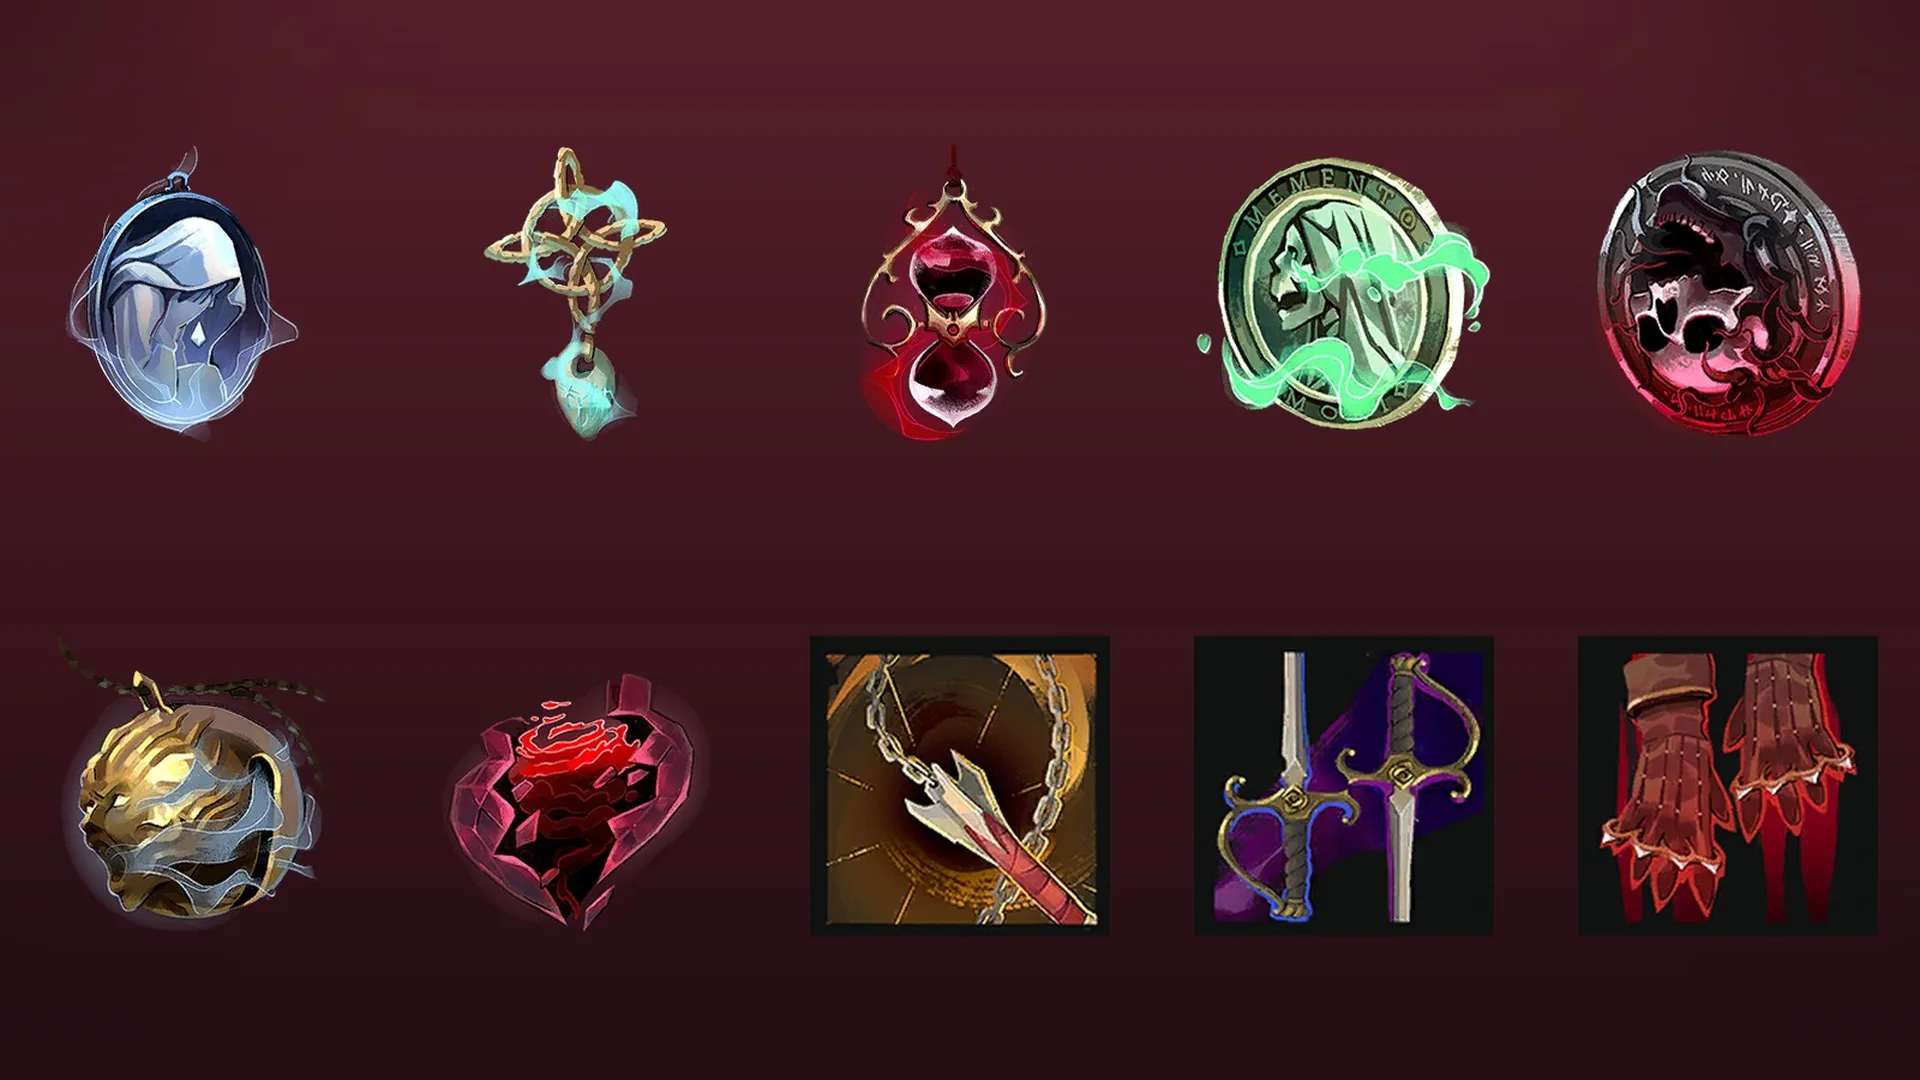
| Ghostly Pendant | Abandoned Workshop | Trap damage to Rose cut by 75% |
| Witch’s Knot | West Hall | Potions heal 100% of health |
| Blackened Heart | Abandoned Staircase | +1 health per hit, no potions |
| Blood Vial | Archives | Extra temporary vial after a save room |
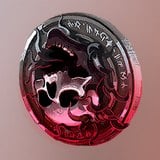 Cursed Coin | Wine Cellar | A parry increases damage by 20% for the following 3 seconds. |
| Grim Token | Crematorium | 5 mana per parry |
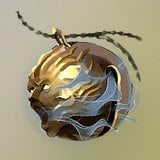 Banshee’s Wail | Servants’ Quarters | You regain 1 mana for each point of damage you take. |
Ghostly Pendant is worth grabbing early because so much of the Main Hall is spikes, saws, and fireballs. Witch’s Knot and Blackened Heart pull in opposite directions, since one makes potions heal fully and the other shuts potions off entirely.
Heart Fragments and stat books
Brave Heart Fragments increase Rose’s health limit, while Wise Heart Fragments expand her mana limit. Collect four of either type to complete a heart; the screen then displays “Brave Heart Completed!” or “Wise Heart Completed!”.
| Fragment | Per upgrade | Total in game | Maximum with all |
|---|---|---|---|
| Brave Heart | 4 fragments, +20 max health | 24 (6 upgrades) | 220 health |
| Wise Heart | 4 fragments, +20 max mana | 24 (6 upgrades) | 220 mana |
Every area that has fragments holds three of each type, so the Main Hall alone isn’t enough to finish an upgrade. You’ll need one more fragment from another area. The ATK UP and DEF UP books each give a permanent +1 to that stat, and the Main Hall has two of each. You’ll see “DEF UP!” or “ATK UP!” pop up when you collect one.
The Artist Arcana, Masterpiece spell, and Main Hall clues
Brauner is concealed in his Atelier. Use the wall gear in the lower corridor to open the gate into the statue chamber, then break the sculpture inside to trigger the encounter. Defeating Brauner seals him into The Artist Arcana and awards Rose the Masterpiece spell.
Masterpiece uses 60 mana and has 30 attack power. It calls forth a gargoyle to hover beside Rose and fireballs at enemies. Cast the spell again to make the gargoyle dive onto a nearby enemy. Its three Works of Mercy are:
- Kill 30 enemies with the Gargoyle Dive.
- Knock 5 enemies to their deaths with the Gargoyle Summoning Stone.
- Find all 37 secret zones in the Main Hall.
Its gifts add a second gargoyle, heal Rose each time a gargoyle fireball connects, and keep the gargoyle alive if a Gargoyle Dive kills at least one enemy.
Clues come from hooded statues, notes, and paintings scattered around the hall. Each one lands in the Tarot menu.
| Clue | Where | Points to |
|---|---|---|
| Builder Flees to the Clock Tower | Abandoned Workshop statue |  The Builder |
| Artist Hides in the Main Hall | Elevator Tower statue | 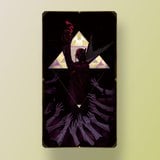 The Artist |
| Alucard Guides | Old Gallery statue | The Artist |
| Brauner’s “Masterpiece” | Brauner’s Atelier | The Artist |
| Carmilla in the Library | Note overlooking the Atelier |  The Occultist |
| A Strange Painting of Notre-Dame | Gallery of Eternal Night | The Artist |
The Main Hall connects to five other areas. The Notre-Dame Bridge leads to the Paris Streets, the Mirror Rooms to the Hall of Mirrors, the Bridge of Knowledge to the Library, and the Bridge to the Clock Tower to the Clock Tower. The Gallery of Eternal Night opens toward Notre-Dame.
Main Hall completion checklist
Main Hall completion counts 267 items, which is a lot more than the collectibles above. Most of the count comes from exploration zones, so filling in the map does most of the work.
| Completion part | Count |
|---|---|
| Exploration zones | 190 |
| Background doors | 22 |
| XP statues | 21 |
| Items | 17 |
| Area exits | 5 |
| Wise Heart Fragments | 3 |
| Brave Heart Fragments | 3 |
| ATK books | 2 |
| DEF books | 2 |
| Arcana absorbed | 1 |
| Ferryman’s Wharf | 1 |
The area also has 217 candles and 11 chests with items, spread across 32 districts. Its bosses are Brauner and Isaac. You’ll fight Axe Armor, Bats, Beam Skeletons, Bone Pillars, Boomerang Skeletons, Flea Men, Flying Skulls, Frozen Shades, Gargoyles, Harpies, Malphas, Mermen, Minotaurs, Peeping Eyes, Ruler Swords, Skeleton Soldiers, Spear Guards, Spittle Bones, Valkyries, Werewolves, and Zombies along the way. Once all 21 statues are broken, that’s 5,250 XP from statues alone, and every completion part above should be filled in on the map.