The Hall of Mirrors is the part of Dracula’s Castle in Castlevania: Belmont’s Curse that keeps sending Rose back to rooms she has already seen. It also hides a lot of loot behind walls, floors and lever gates that look like ordinary scenery. Here is every pickup in the area and the exact room it sits in, plus how each type of Secret Area opens.
Quick answer: The Hall of Mirrors holds 4 relics, Bernhard’s Wrath, 3 Brave and 3 Wise Heart Fragments, 2 ATK UP and 2 DEF UP books, 4 clues, 5 Mirrors of Life and 21 XP statues across 37 Secret Areas.
Hall of Mirrors collectibles checklist
Each permanent pickup in the area is listed below with its sub-area. If you plan to sweep the whole place in one trip, mark the Secret Area entries on your map first. Those are the ones you will walk past without noticing.
| Pickup | Sub-area | How to reach it |
|---|---|---|
 Bernhard’s Wrath | Level Deviled | Chest |
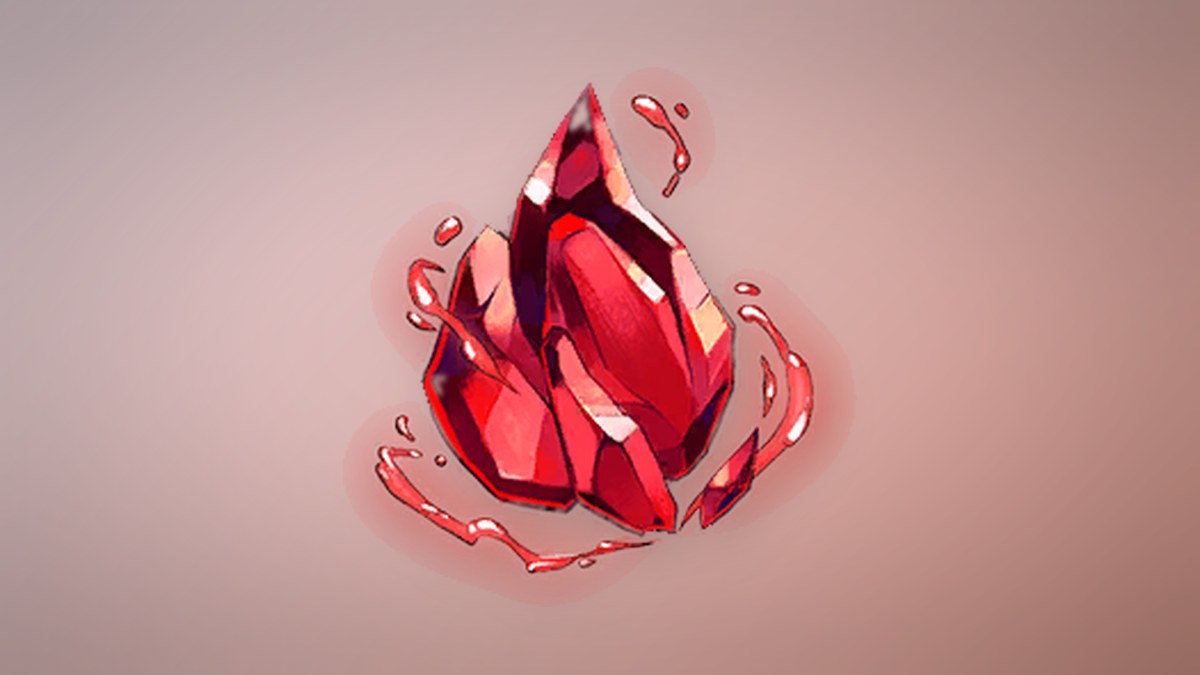
 Crystallized Blood | Dead-end Tower | Chest in the attic chamber |
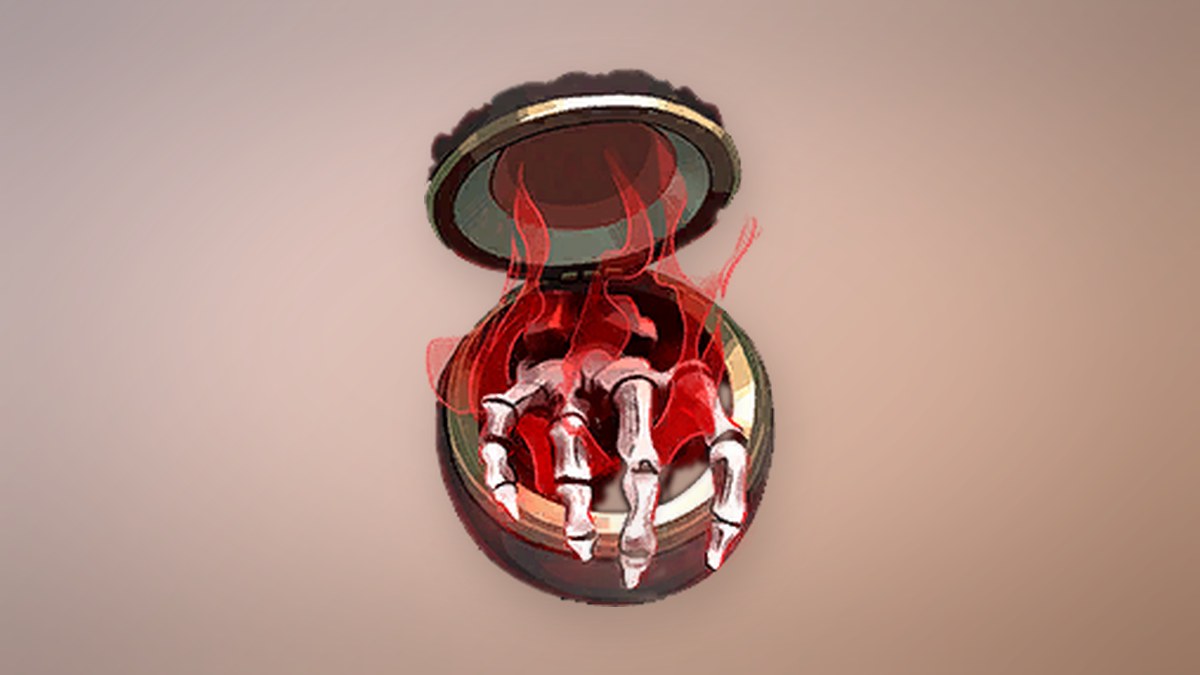
 Haunting Relic | Steps of Misdirection | Chest below the sawblade trap |
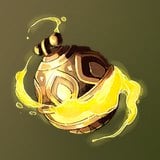 Sand Charm | Servants’ Refectory | Chest on the upper right balcony |
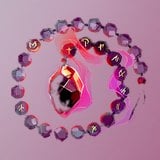 Dusk Amulet | Delived Level | Chest under a thick Smash floor |
| Brave Heart Fragment | Nightmare Atrium | Secret Area (hidden passage) |
| Brave Heart Fragment | Steps of Misdirection | Vertical saw corridor |
| Brave Heart Fragment | Looping Hallways | Secret Area (hidden passage) |
| Wise Heart Fragment | Chamber of Secrecy | Behind a cracked wall |
| Wise Heart Fragment | Ballroom of Terror | Past the saws to the right |
| Wise Heart Fragment | Boudoir of Bewilderment | In the room |
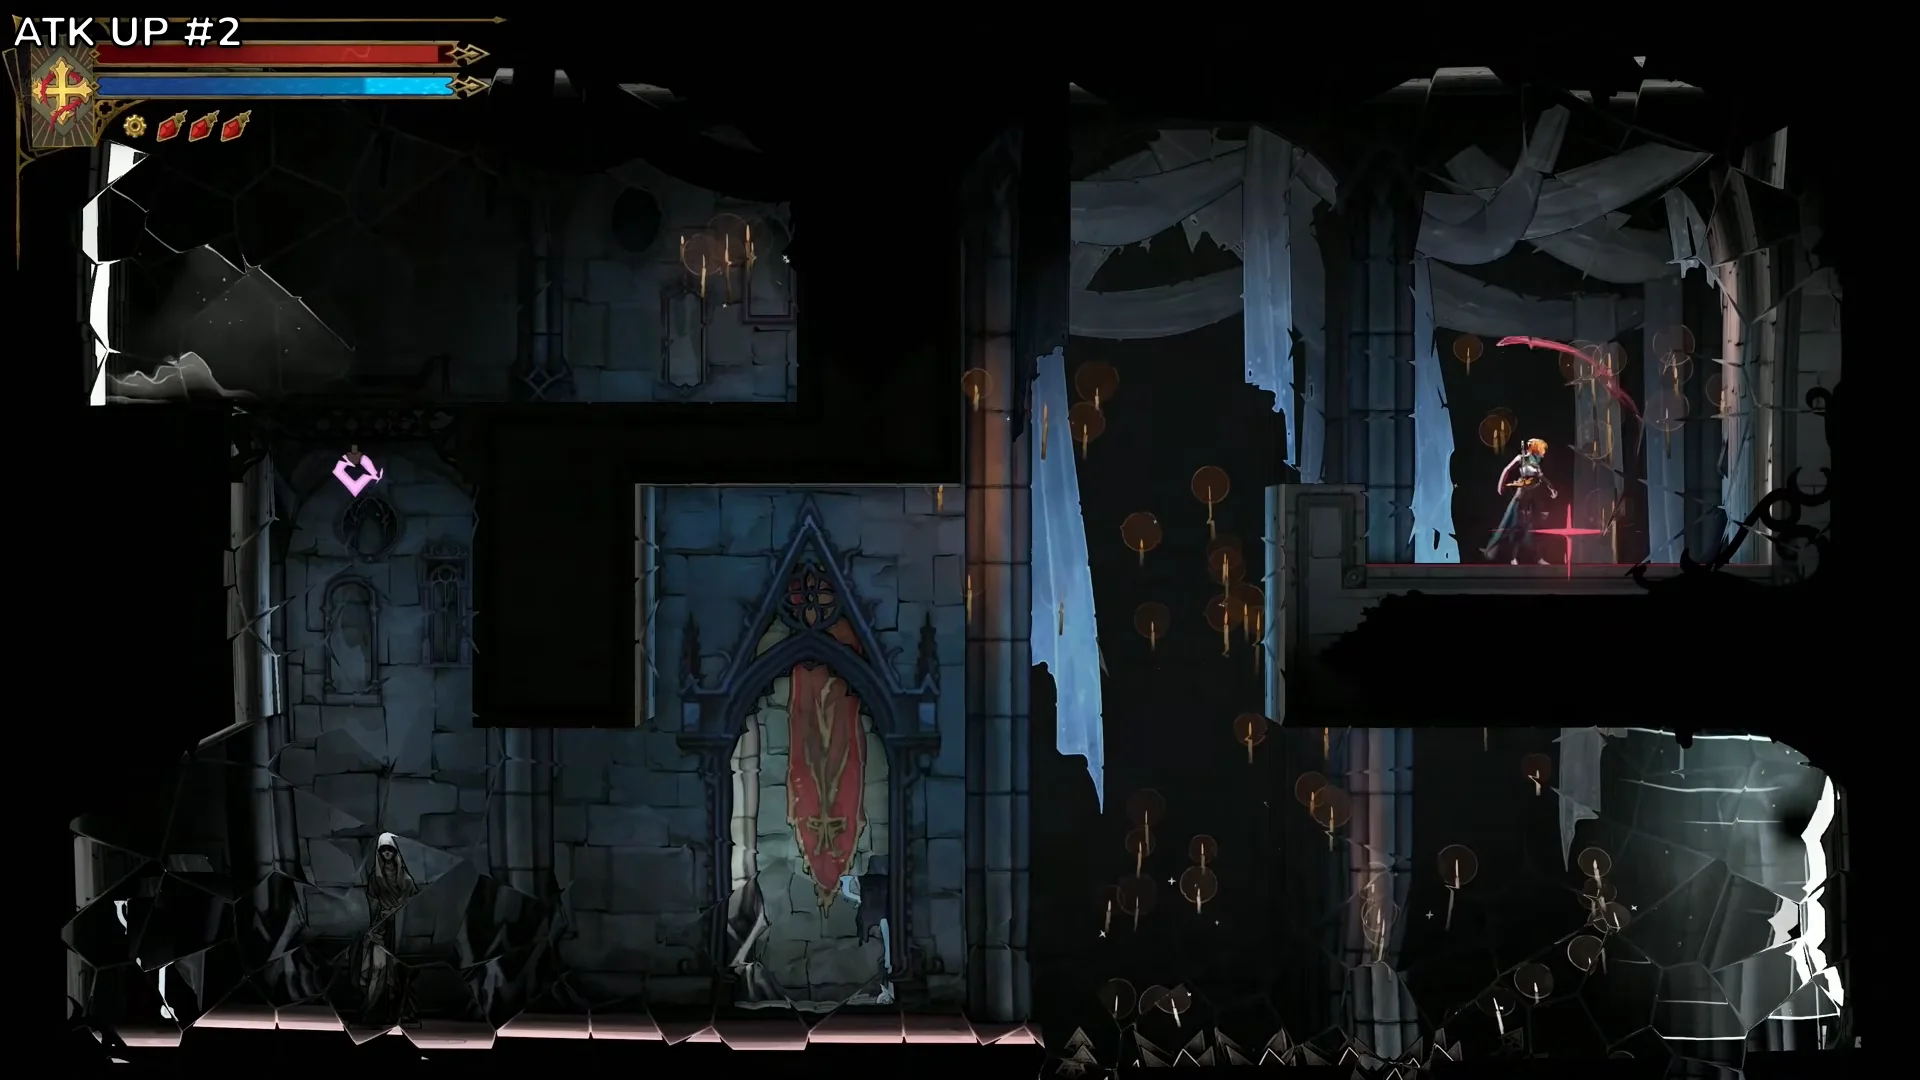
| ATK UP book | Ballroom of Terror | Secret Area (hidden passage) |
| ATK UP book | Looping Hallways | Secret Area (hidden passage) |
| DEF UP book | Corridor of Déjà Vu | Secret Area (hidden passage) |
| DEF UP book | Passage of Perplexity | Secret Area (hidden passage) |
| “Kneeling is the Way” | Looping Hallways | Secret Area (breakable wall) |
The area also has 10 pieces of meat for healing on the spot. They are listed with the Secret Areas further down.
Hall of Mirrors relics: Effects and chest locations
All four relics come from chests. Two of them affect movement speed, which makes them more useful for backtracking than they first look.
| Relic | Sub-area | Effect |
|---|---|---|
| Crystallized Blood | Dead-end Tower | More consumable drops from kills |
| Haunting Relic | Steps of Misdirection | +60% defense for 4s after a hit |
| Sand Charm | Servants’ Refectory | +35% speed for 30s after a save room or the Ferryman |
| Dusk Amulet | Delived Level | +35% speed while mana is at or below 15% of its maximum |
Crystallized Blood
Climb Dead-end Tower over the crumbling blocks and spinning saws until you reach the attic chamber at the top. The chest up there holds Crystallized Blood. Statue #5 is on the same climb, so break it on the way up.
Haunting Relic
Steps of Misdirection has a switch room built around a rotating sawblade trap. Clear the saw-dodging puzzle, then drop into the spiked chamber underneath to find the chest with the Haunting Relic.
Sand Charm
The Sand Charm chest is on the upper right balcony of Servants’ Refectory, and you reach it with the whip grapple. A hidden passage on the way leads to Statue #20. The relic pairs naturally with the Ferryman’s Wharf in the same wing, since every boat ride gives you its speed boost.
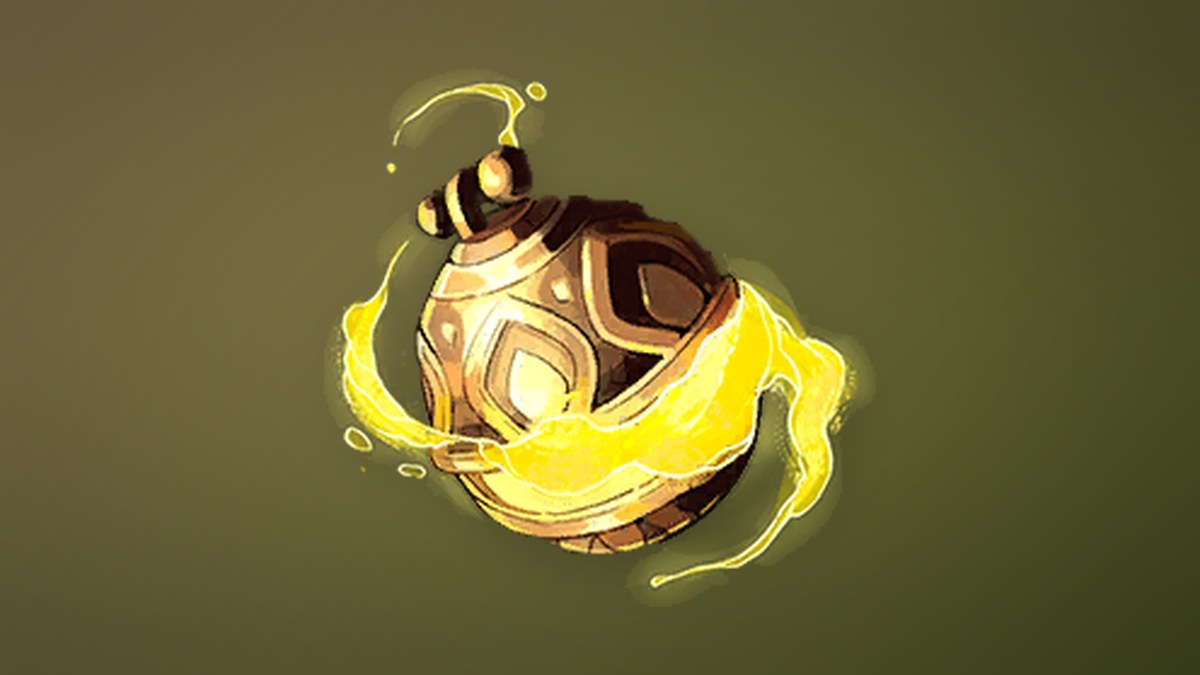
Dusk Amulet
The Dusk Amulet is under a thick Smash floor in Delived Level, the sub-area with the Ferryman’s Wharf. A normal Smash will not break it. Grapple up high, then fall from that height before you Smash so the impact is strong enough. The chest is in the room below.
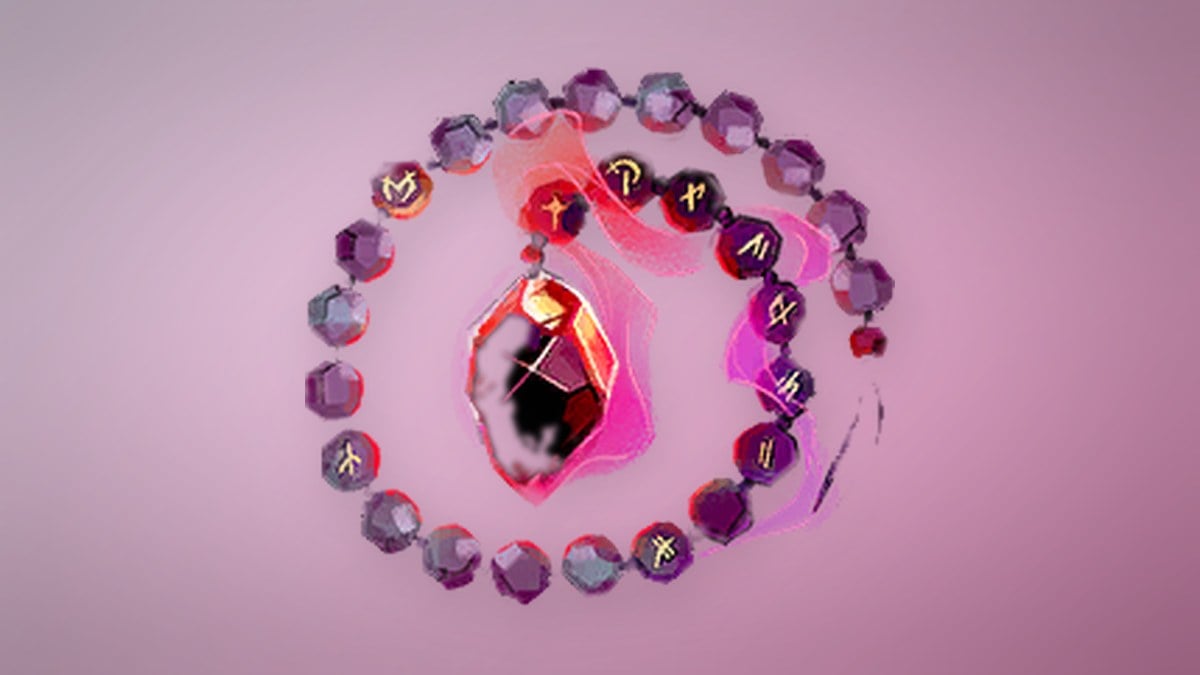
Bernhard’s Wrath (Legendary gauntlets)
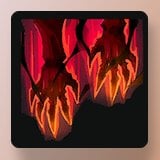
Bernhard’s Wrath is in a chest in Level Deviled. It is a pair of Legendary fists, and every hit you land raises the weapon’s damage. The gauntlets also heal Rose as her combo climbs, which rewards staying on the attack.
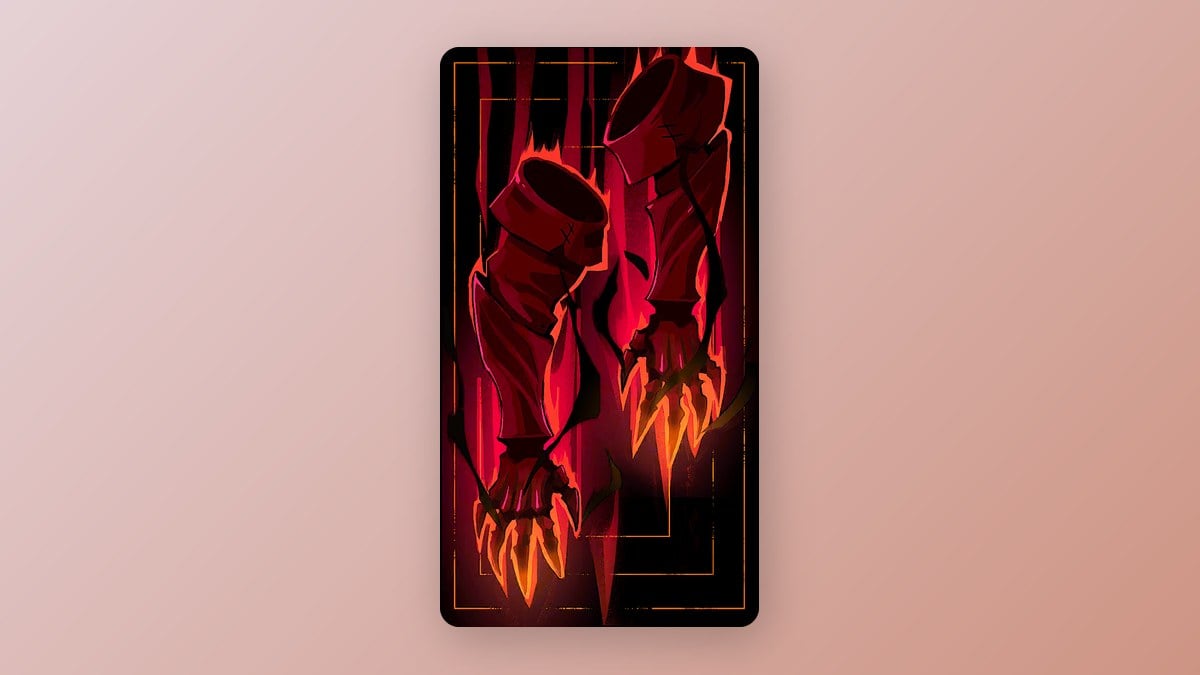
| Stat | Value |
|---|---|
| Rarity / tier | Legendary, tier 4 |
| Weapon type | Fists |
| ATK | 100 |
| Attack power | 26 |
| Stagger power | 30 |
| Mana per hit | 2 |
| Combo finisher | Uppercut |
Heart Fragment and stat book locations
Each region in Belmont’s Curse holds three Brave Heart Fragments and three Wise Heart Fragments, and the Hall of Mirrors follows that pattern. Four fragments of the same type complete one upgrade. That means the Hall’s three plus one from anywhere else get you a full heart.
| Pickup | Per upgrade | In the game | Max with all |
|---|---|---|---|
| Brave Heart Fragment | 4 fragments, +20 max health | 24 (6 upgrades) | 220 health |
| Wise Heart Fragment | 4 fragments, +20 max mana | 24 (6 upgrades) | 220 mana |
| ATK UP book | +1 ATK each | 14 | — |
| DEF UP book | +1 DEF each | 14 | — |
You can confirm each pickup on screen. The fourth fragment of a set shows “Brave Heart Completed!” or “Wise Heart Completed!”, and each book shows “ATK Up!” or “DEF Up!” as soon as you touch it.
Brave Heart Fragments
- Nightmare Atrium: along the high passage, inside a hidden-passage Secret Area.
- Steps of Misdirection: at the end of a vertical corridor lined with saws.
- Looping Hallways: past the lower spikes, inside a hidden-passage Secret Area.
Wise Heart Fragments
- Chamber of Secrecy: get past the saws and through a tangle of vines, then break the cracked wall.
- Ballroom of Terror: thread the saw blades heading right.
- Boudoir of Bewilderment: out in the room, next to Statue #21.
ATK UP and DEF UP books
All four books are behind hidden passages, so you have to look for an opening in the wall, not a lever. In Corridor of Déjà Vu, the first DEF UP book is at the end of a run of spinning saws.
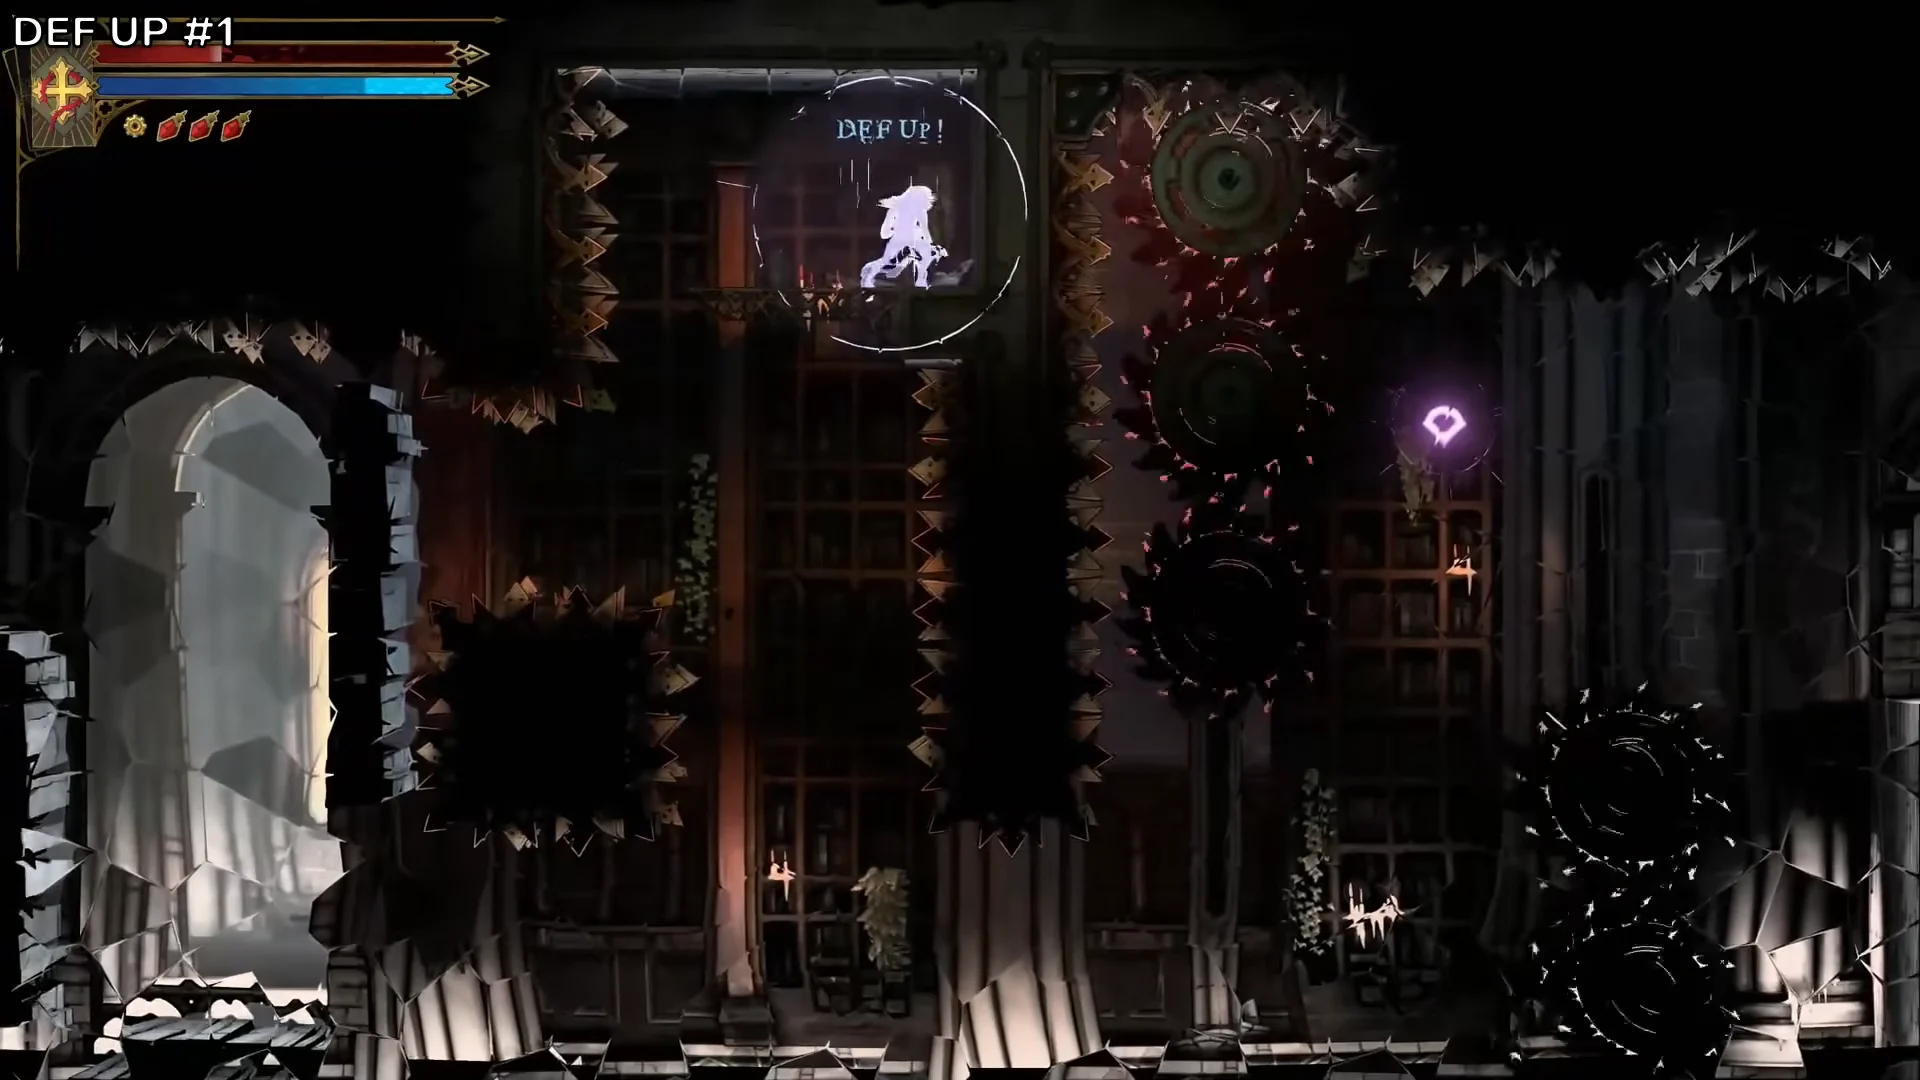
The second DEF UP book is at the top of a tall chandelier shaft in Passage of Perplexity. In Ballroom of Terror, an ATK UP book floats above a pedestal circled by rotating saw blades. The last ATK UP book is in Looping Hallways, on the platforms above the room with the clue statue.
Clues, the Succubus and The Temptress Arcana
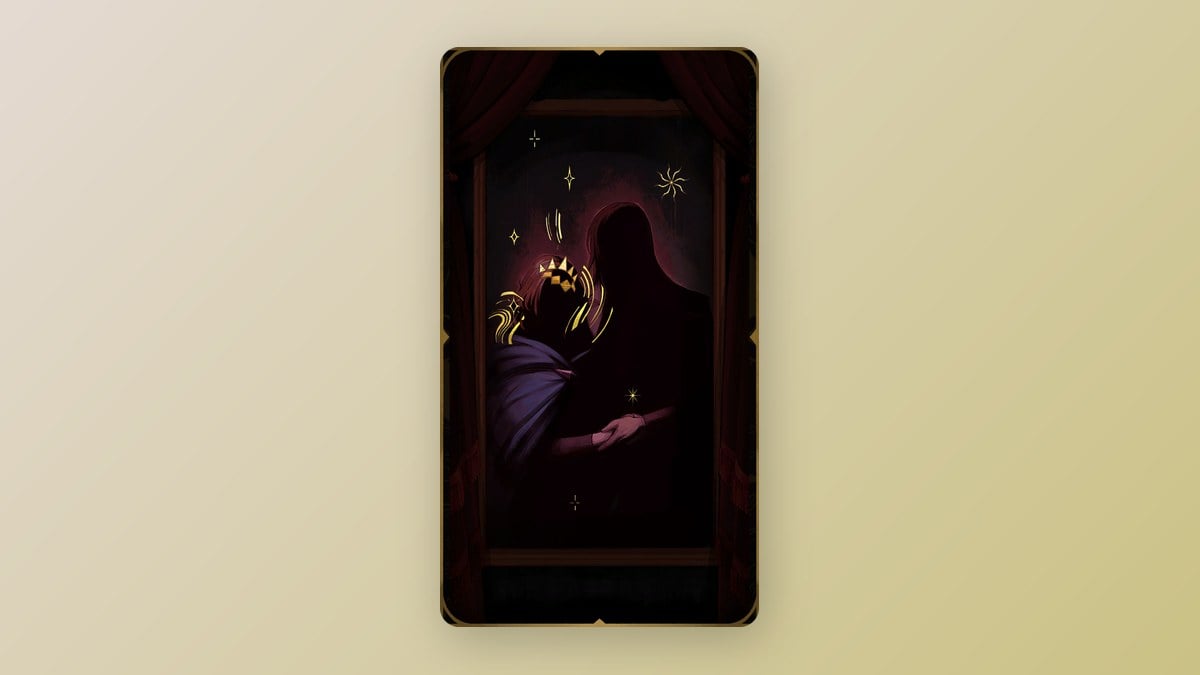
Four clues are spread around the Hall. Three of them add to The Sage’s card, and one adds to The Temptress. When you pick one up, a “New clue about The Sage” or “New clue about The Temptress” banner confirms it.
| Clue | Arcana | Sub-area | Source |
|---|---|---|---|
| The Reflection Deceives |  The Sage | Steps of Misdirection | Hooded statue |
| Eleanor Flees to the Cemetary | The Sage | Heart of the Maze | Queen Eleanor’s note |
| The Hall of Mirrors is watched over by the Temptress |  The Temptress | Glass Gallery | Ghost past the saws |
| Kneeling is the Way | The Sage | Looping Hallways | Hooded statue, behind a breakable wall |
In her note, Queen Eleanor explains that the spell trapping her in the mirror broke. She has gone to her family mausoleum and asks Rose to meet her there. “Kneeling is the Way” is also the solution to the maze. When Rose’s reflection glows white, kneel in front of it and the reflection points toward the correct mirror. Deeper in, the reflections stop pointing. From then on, the correct mirror is the one normal reflection among the mirrors showing shades.
The Succubus is the boss of the Hall, and she waits in Belmont Manor. The nearest Mirror of Life is in Heart of the Maze. She swoops at Rose and dashes across the arena firing projectiles, so stay mobile and punish her after each dash. Beating her gives you “Arcana Found: The Temptress,” which comes with the Life Drain spell.
Mirrors of Life, Ferryman’s Wharf and the entrance seals
The Hall has five Mirrors of Life. Each one saves your game, restores your health and refills your potions. The first is in The Descent Into Memory.
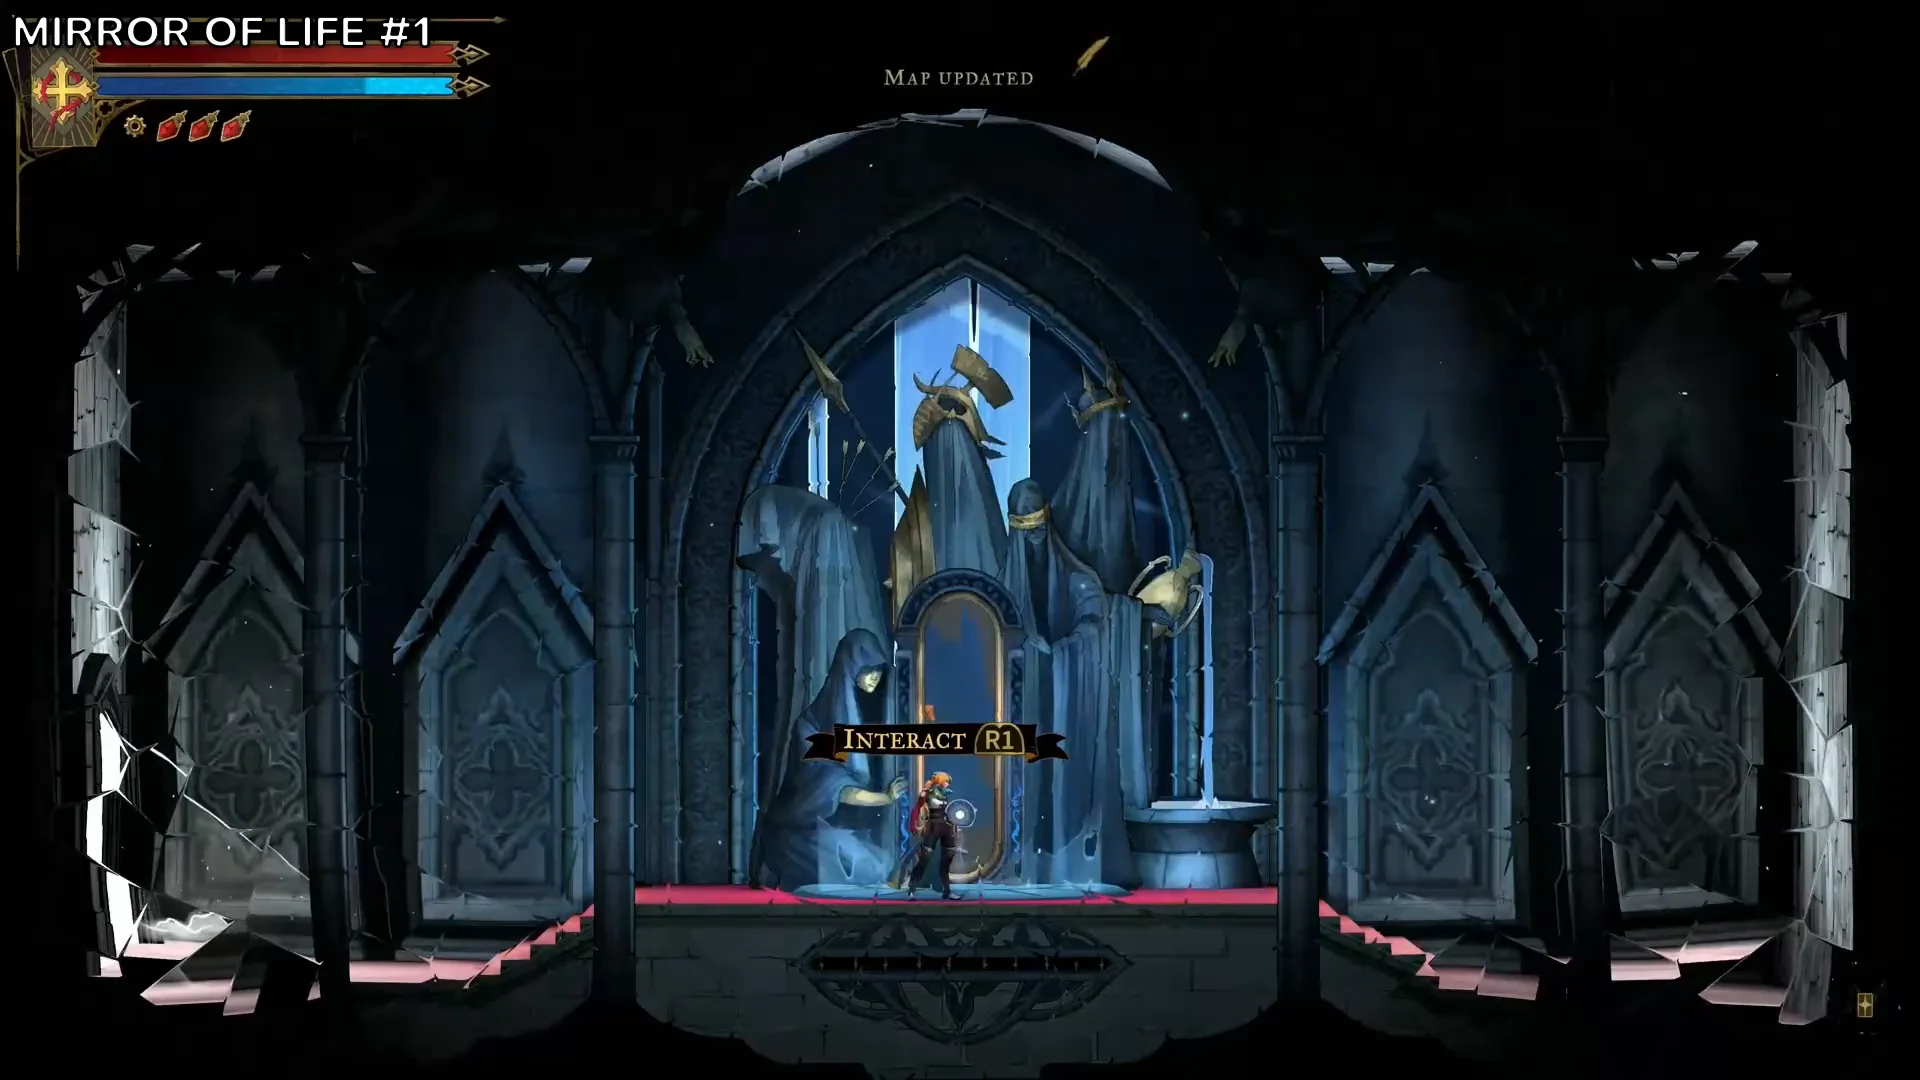
- The Descent Into Memory
- Heart of the Maze, the closest mirror to the Succubus
- Familiar Way, in a secret room
- Nightmare Atrium, in the lower passage
- Threshold of Vision
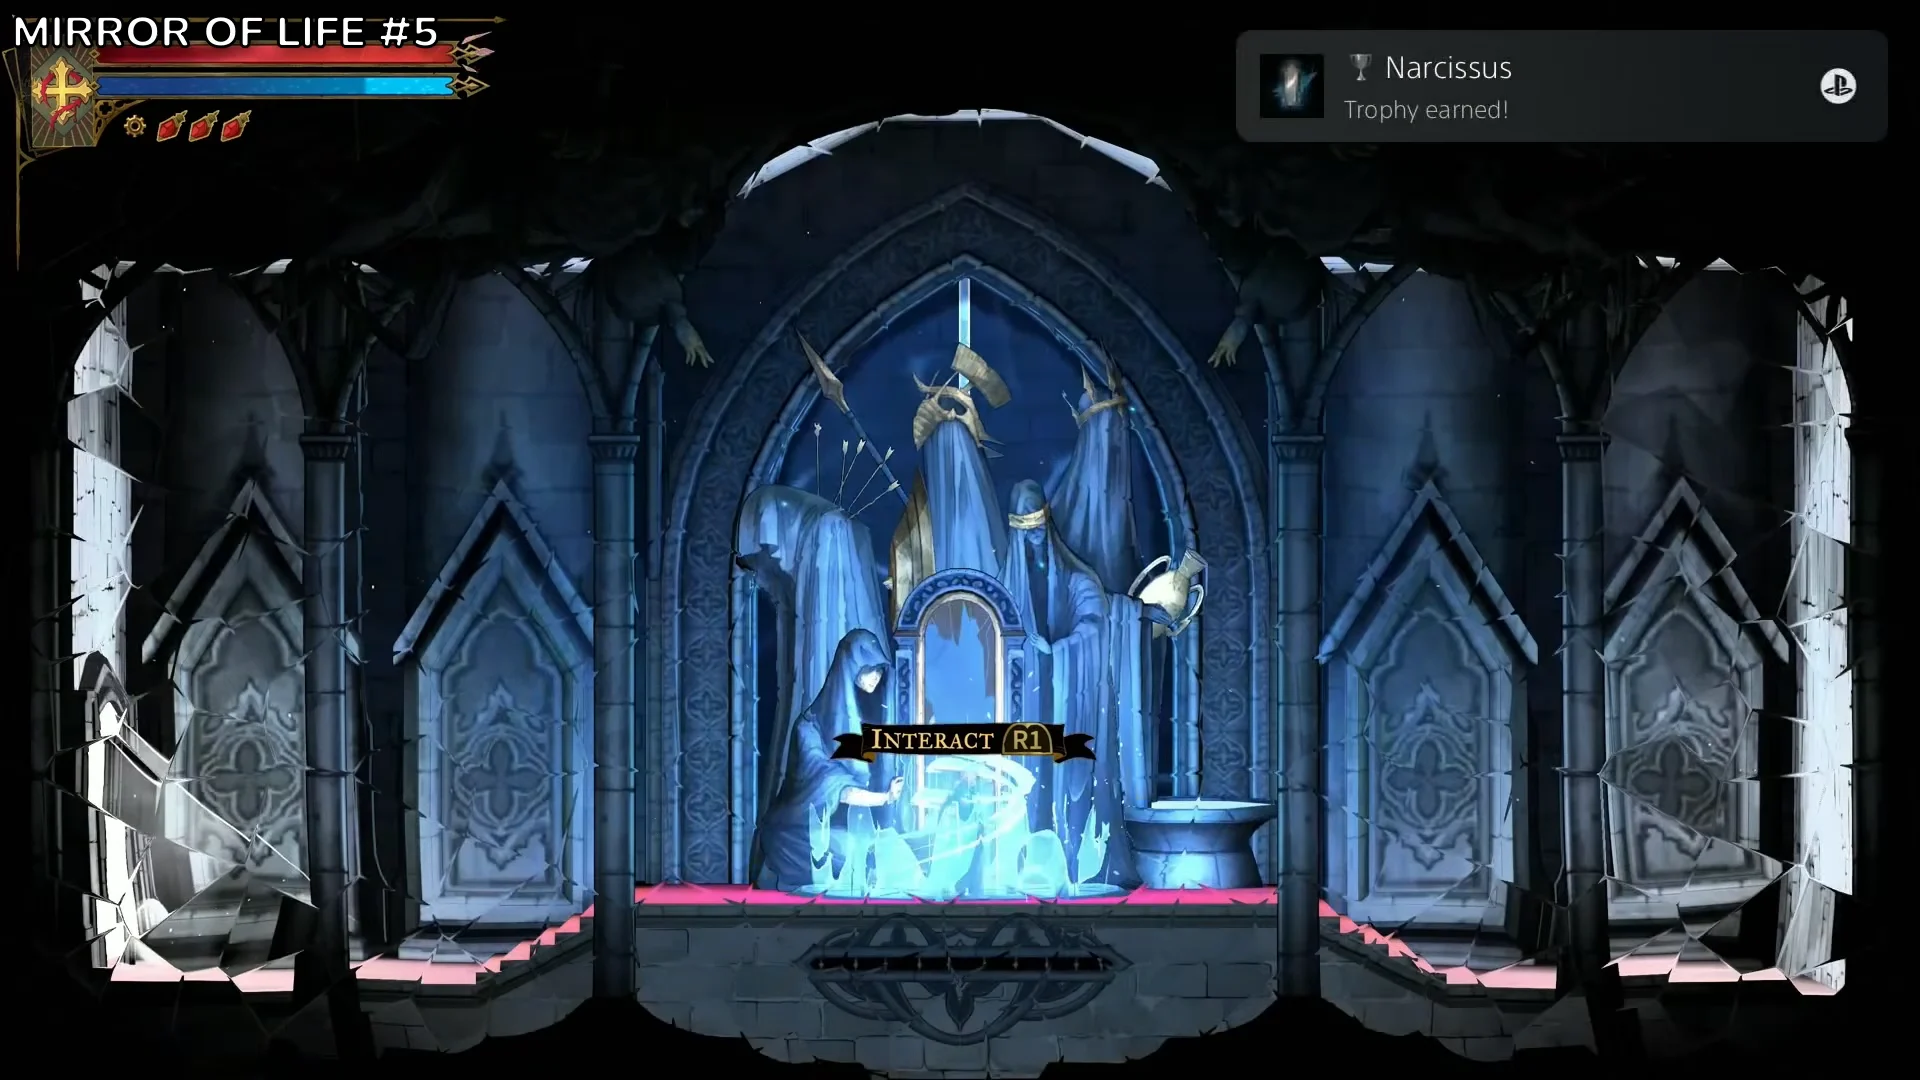
Once all five mirrors are active, the Narcissus trophy unlocks. In a full clear, Threshold of Vision is usually the last one you reach.
In Delived Level, ring the bell at the Ferryman’s Wharf to summon the boat for travel to other areas. Four seals are set above mirrors in the entrance chamber, Hall of Mirrors Entrance. You can reach those mirrors from a Mirror of Life at one of these locations: Prison Tower in Paris Streets, the Archives in Main Hall, Mechanic’s Ascent in Clock Tower, or the East Gallery in Notre-Dame. Destroying a seal triggers an ambush. Defeat every wave, and the mirror returns you.
All 21 XP statues in the Hall of Mirrors
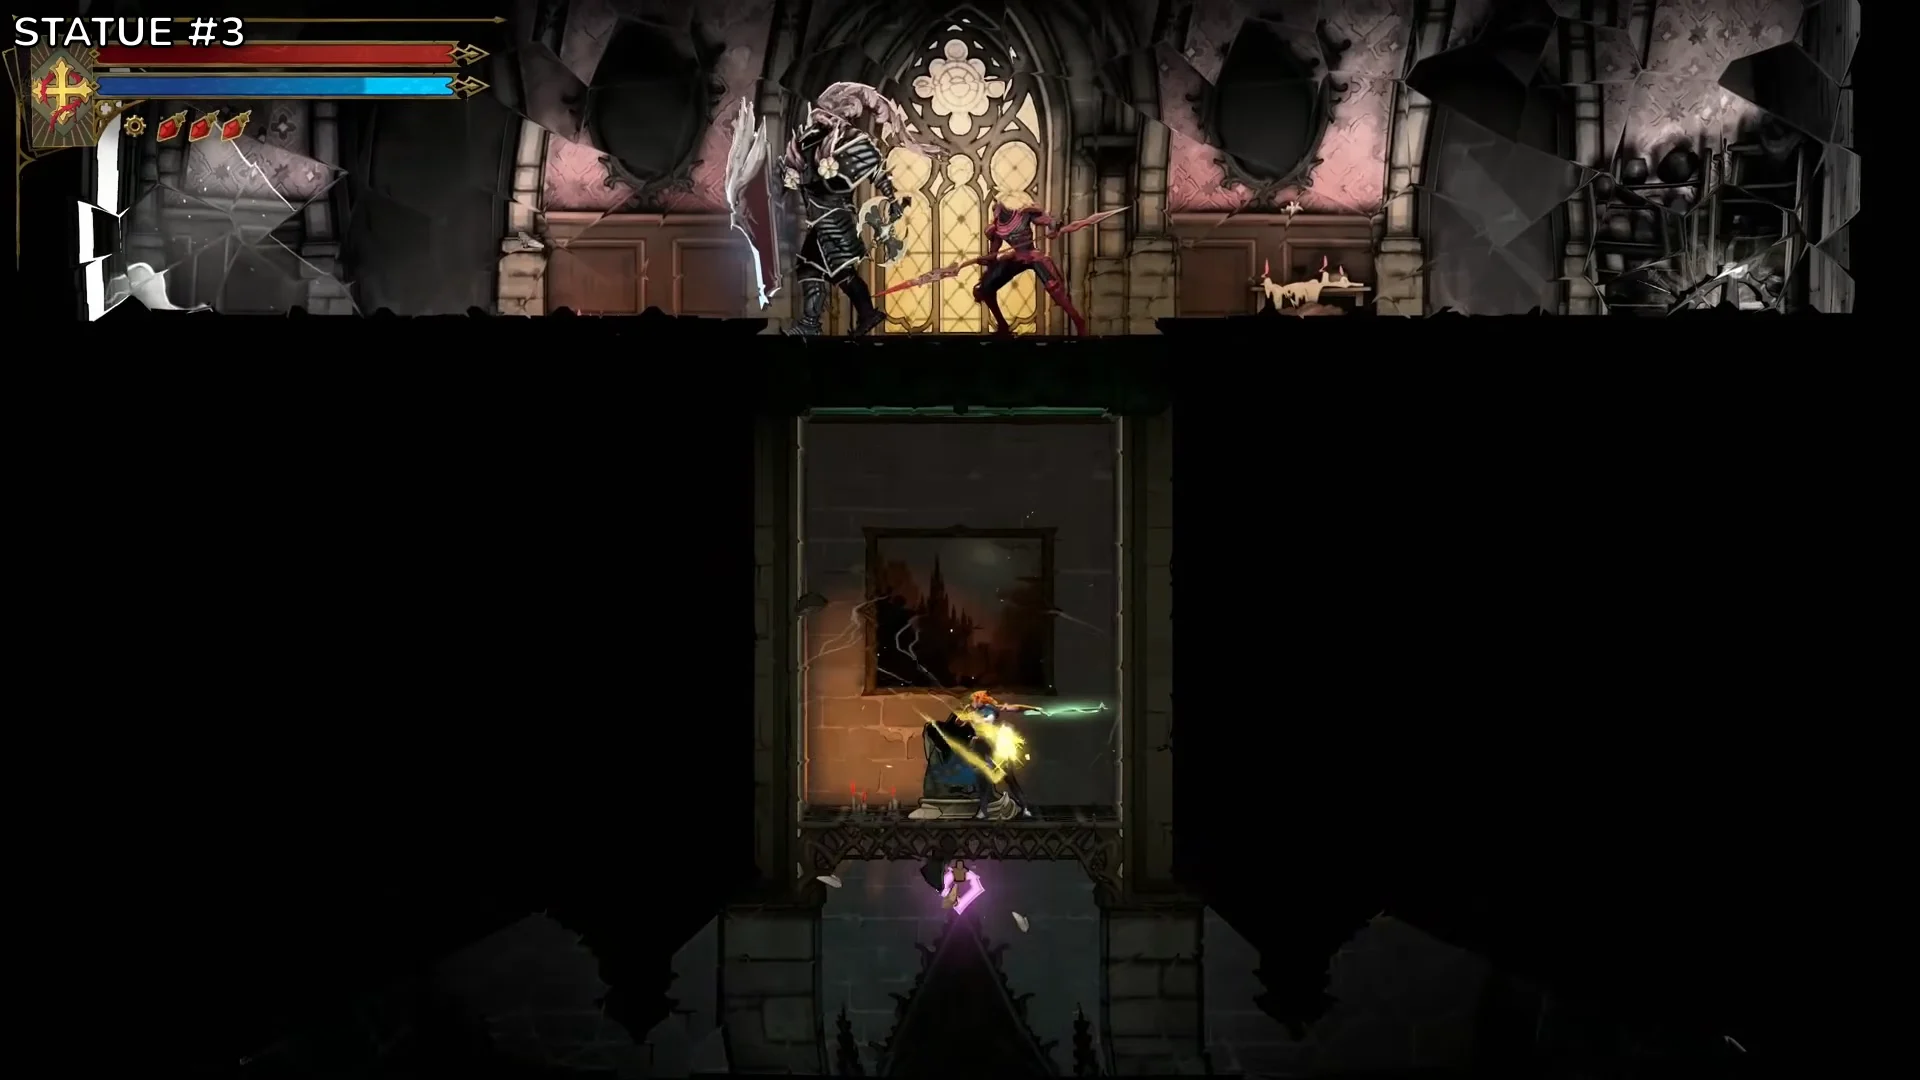
A few strikes will shatter each golden statue, and every statue in the Hall awards 300 experience. Almost half are gathered in one tower.
| Sub-area | Statues | Where |
|---|---|---|
| Tower of Worldly Reflection | 8 | Via the linked mirror portals |
| Steps of Misdirection | 2 | Beside the clue statue, in Secret Areas |
| Looping Hallways | 2 | Upper platforms and lower level |
| Servants’ Refectory | 1 | Past the swinging spike mirror |
| Threshold of Vision | 1 | In the sub-area |
| Boudoir of Bewilderment | 1 | Next to the Wise Heart Fragment |
| Passage of Perplexity | 1 | Upper alcove |
| Familiar Way | 1 | Behind a wall |
| Gallery of Glass | 1 | Across the saw platforms |
| Nightmare Atrium | 1 | Upper-left platform |
| Dead-end Tower | 1 | On the crumbling-block climb |
| Level Deviled | 1 | High ledge |
The Passage of Perplexity statue is easy to miss because it sits in a narrow alcove above the main path.
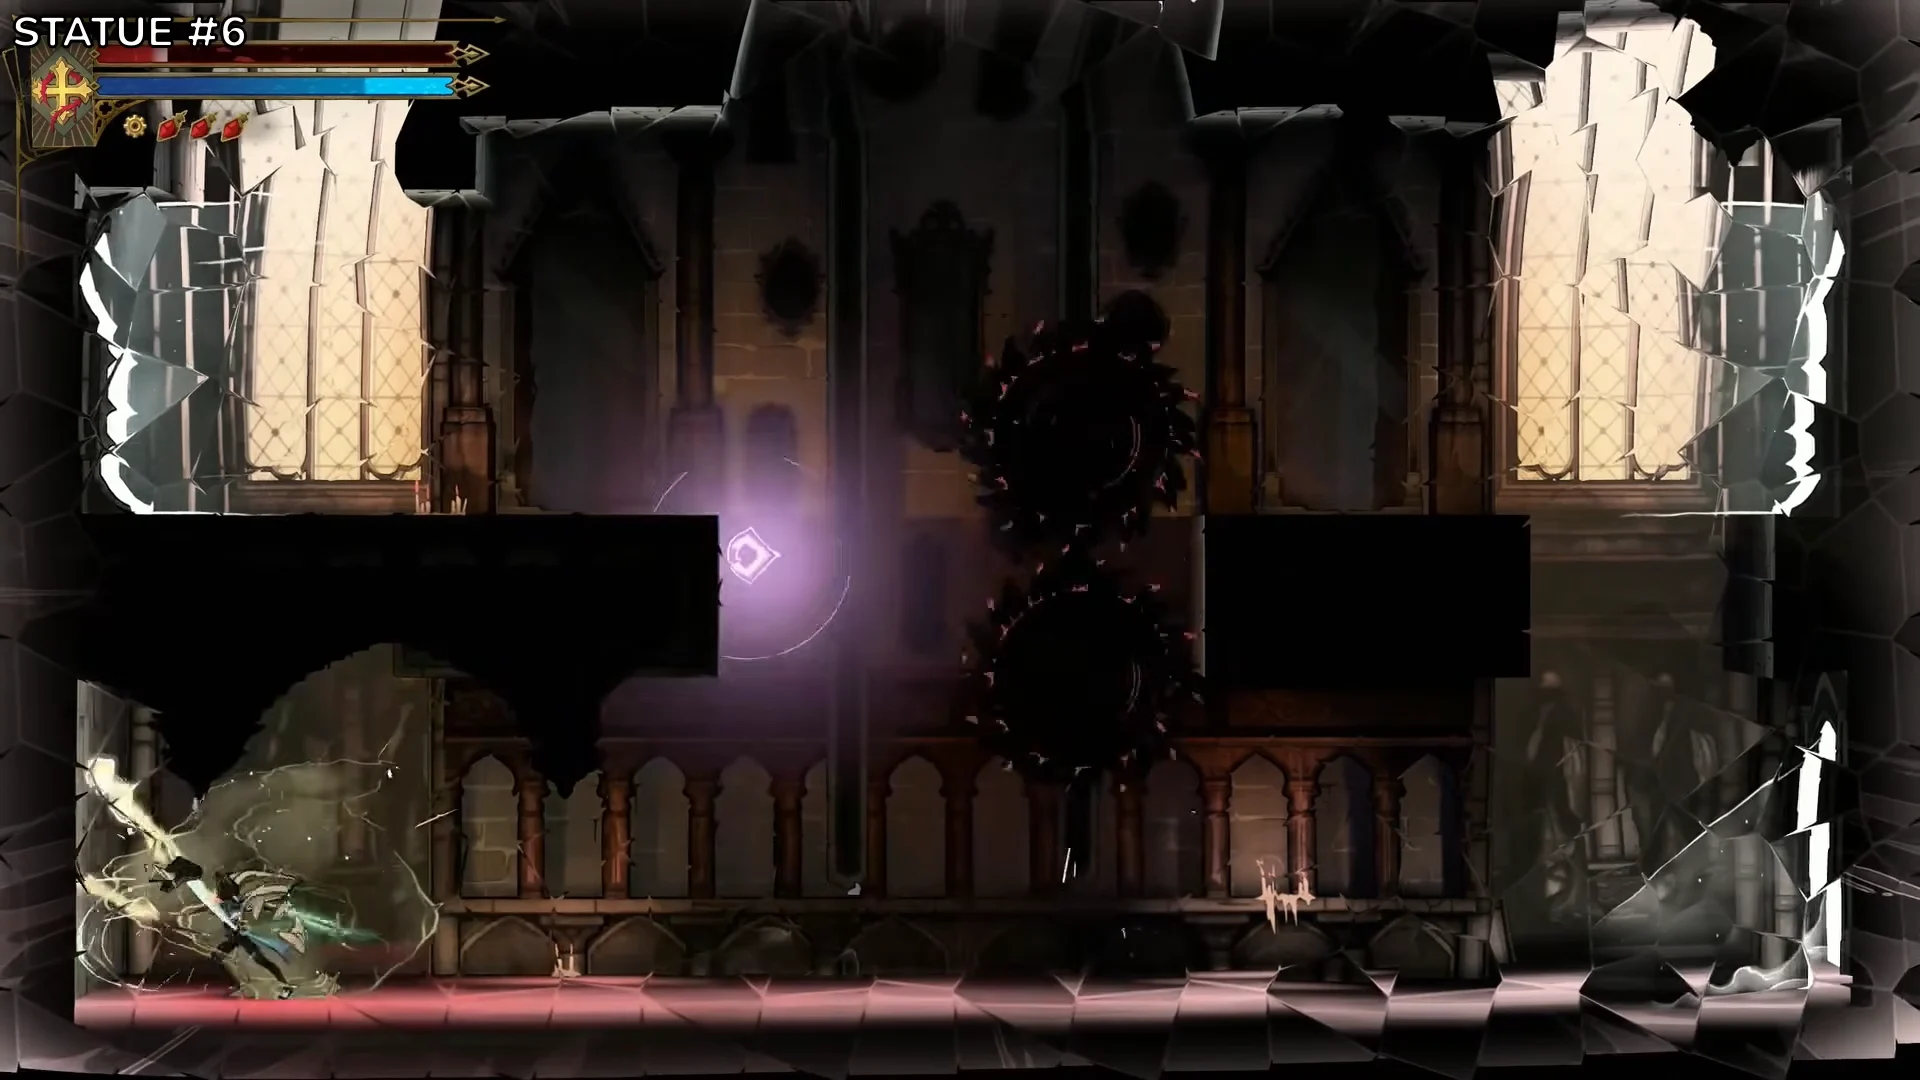
In Gallery of Glass, the statue is at the end of a short platforming section under two spinning saws.
How Secret Areas open in the Hall of Mirrors
All four types of Secret Area appear in the Hall, and each one opens a different way.
- Hidden passage: no switch or crack. Watch and listen for hints that a wall is fake, then walk through it.
- Breakable wall: Find the cracked part of the wall and keep striking it with your weapon until it opens.
- Lever gate: Press Interact to operate the lever; PlayStation uses R1, while PC uses E.
- Smash floor: a floor with golden cracks. Press Down + Jump in mid-air (Down + Cross on PlayStation, S + Space on PC) to slam through it. Smash is unlocked in the Clock Tower’s Final Trap.
Smash gets stronger the farther Rose falls. Thick floors, like the one above the Dusk Amulet, only break with a Smash from a high jump or drop.
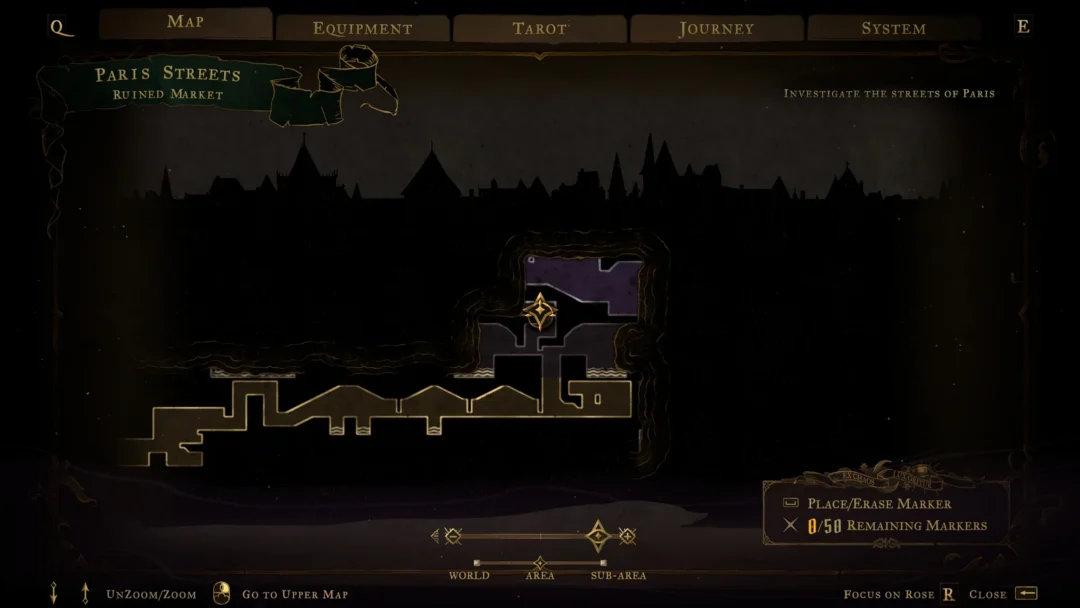
Put a marker on any secret you cannot reach yet so you can find it again later. On PC, hover over the spot on the map and press Space.
All 37 Secret Areas by sub-area
Only 21 of the 37 Secret Areas have anything inside. Use the table below to skip the empty ones, and to check that you have not missed a full one.
| Sub-area | Count | Opened by | Inside |
|---|---|---|---|
| Looping Hallways | 4 | 2 hidden, 1 lever, 1 wall | Brave Heart, ATK UP, clue, statue, meat |
| Steps of Misdirection | 4 | 3 hidden, 1 wall | 2 statues, meat (2 empty) |
| Familiar Way | 4 | 3 walls, 1 hidden | Statue, 2 meat (1 empty) |
| In-between | 4 | 4 levers | All empty |
| Servants’ Refectory | 3 | 2 hidden, 1 wall | Statue (2 empty) |
| Corridor of Déjà Vu | 2 | 2 hidden | DEF UP (1 empty) |
| Nightmare Atrium | 2 | 2 hidden | Brave Heart, meat |
| Chamber of Secrecy | 2 | 2 hidden | Meat (1 empty) |
| Dead-end Tower | 2 | 2 hidden | Statue (1 empty) |
| Delived Level | 1 | Thick Smash floor | Dusk Amulet |
| Passage of Perplexity | 1 | Hidden | DEF UP |
| Ballroom of Terror | 1 | Hidden | ATK UP |
| Gallery of Glass | 1 | Hidden | Meat |
| Hall of Hallucination | 1 | Hidden | Meat |
| Stairway to Nowhere | 1 | Wall | Meat |
| Threshold of Vision | 1 | Hidden | Empty |
| Tower of Worldly Reflection | 1 | Hidden | Empty |
| Boudoir of Bewilderment | 1 | Hidden | Empty |
| Level Deviled | 1 | Hidden | Empty |
The one meat in Glass Gallery is out in the open, not in a Secret Area. Glass Gallery, Heart of the Maze, Belmont Manor and Hall of Mirrors Entrance have no Secret Areas at all.
Hall of Mirrors trophies and achievements
Three trophies can unlock during a full sweep of the Hall:
- Narcissus: activate all five Mirrors of Life.
- The Greatest Detective: unlocked when reading “Kneeling is the Way,” the Hall’s fourth clue.
- Collector: unlocked when picking up the Boudoir of Bewilderment Wise Heart Fragment, the Hall’s third.
Each one shows a “Trophy earned!” notification as soon as it unlocks. If all three have appeared, The Temptress is in your Arcana deck, and every row in the checklist is ticked off, the Hall of Mirrors is finished.