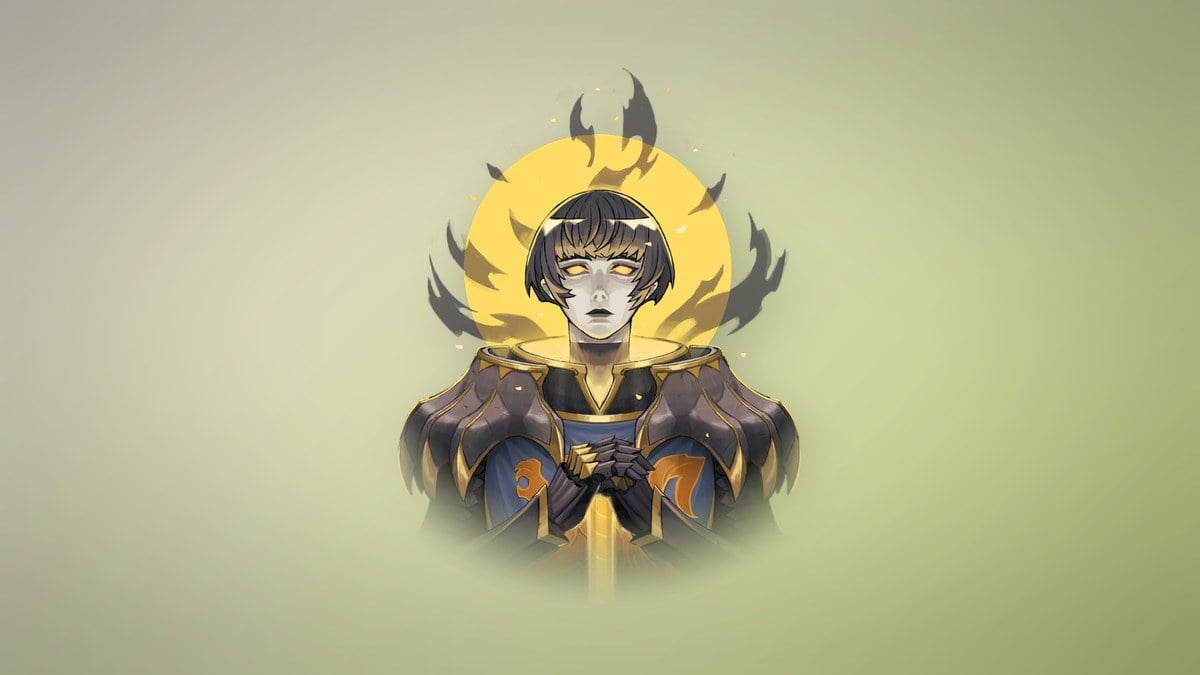
Joan of Arc is a sword duel you fight twice in Castlevania: Belmont’s Curse, with the boss bar reading “JOAN” both times. She has a tight set of repeating moves, so beating her is about reading each wind-up and getting to her back before she recovers. The first duel is on a burning tower roof over Paris, and the second is a rematch inside Notre-Dame where she shifts into golden form partway through.
Quick answer: Stay close and dash or slide behind Joan right after each swing, step into the gap between her fire pillars, and run clear of where her leap lands. Win the tower fight for The Warrior’s Key, then win the rematch for the blessing of Courage.
Fight 1: The tower roof in Paris
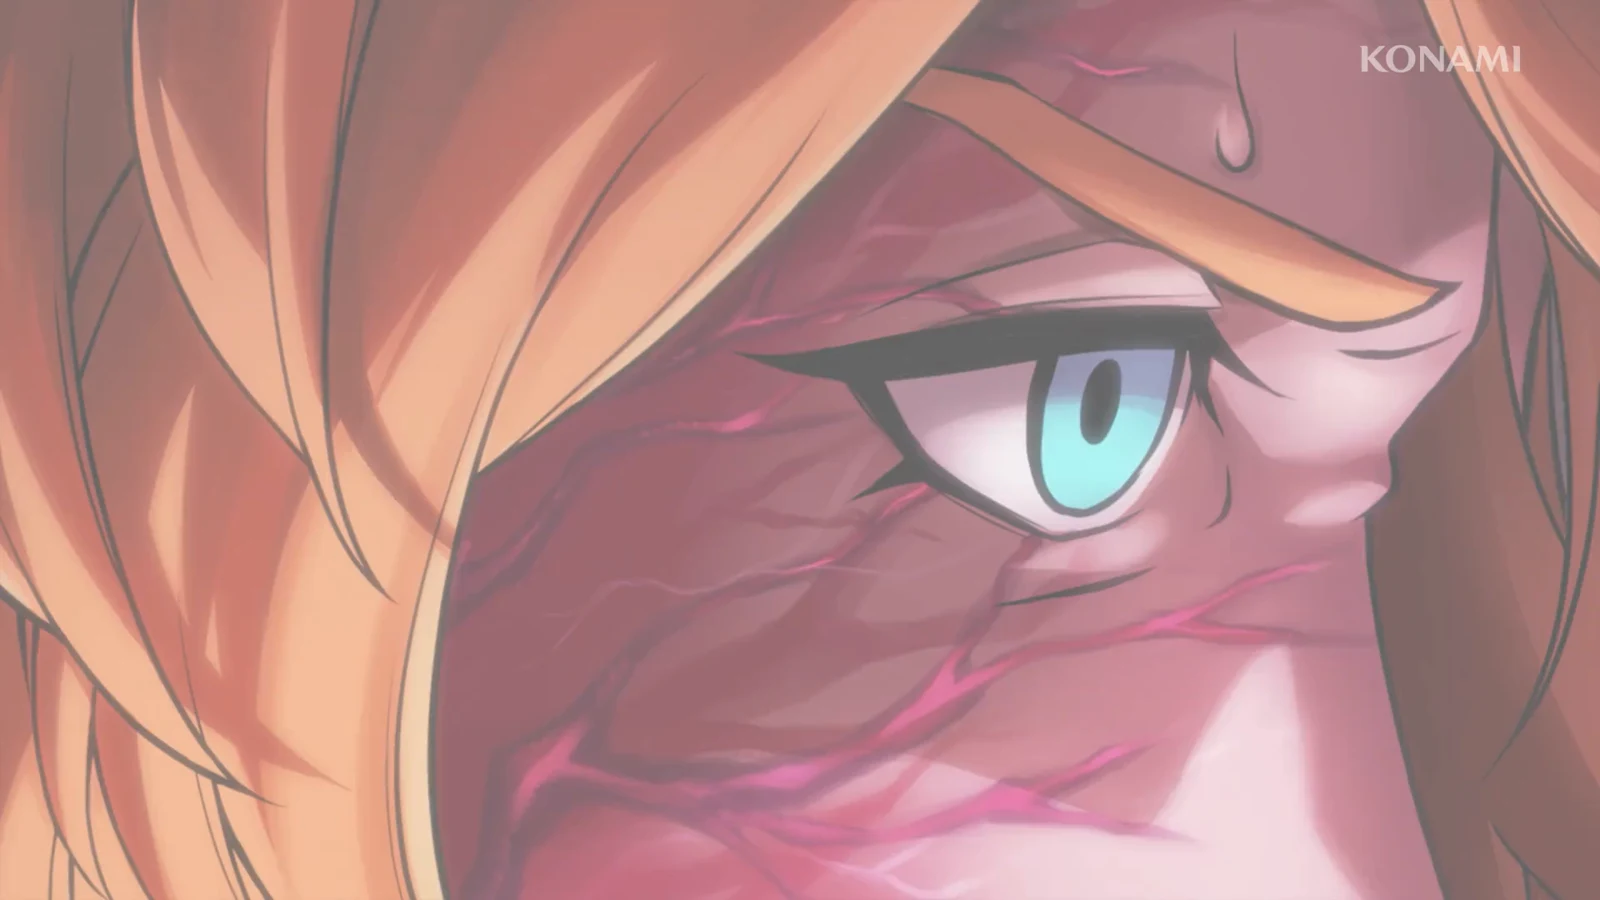
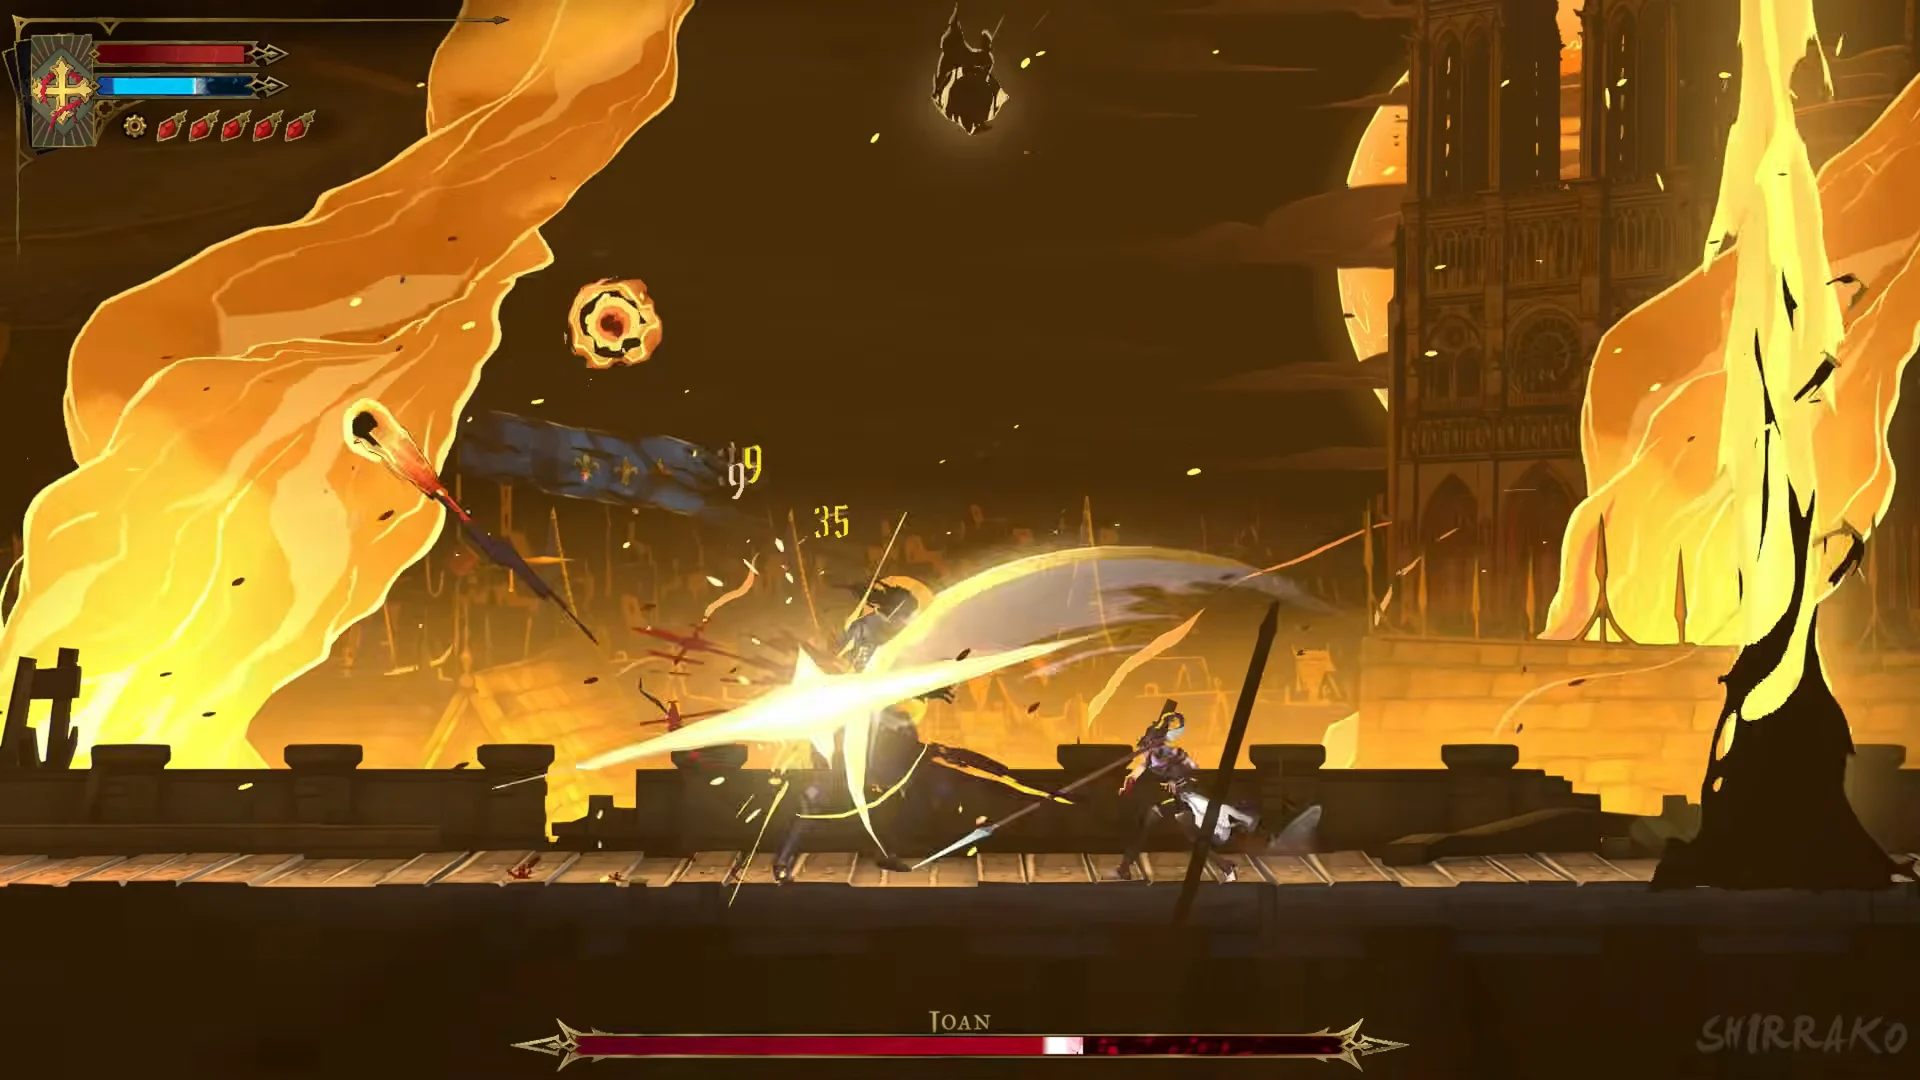
Climb the Prison Tower up to the Upper Tower and cross the Roof of the Tower. A sunset cutscene shows Paris burning and Joan kneeling on the ramparts, and the duel starts on the rampart floor at the “STAIRS TO THE TOWER ROOF” with Notre-Dame behind her. She has one red health bar named “JOAN” and her pattern changes at 50% and again at 25% of her health, when powered-up versions of her moves come in.
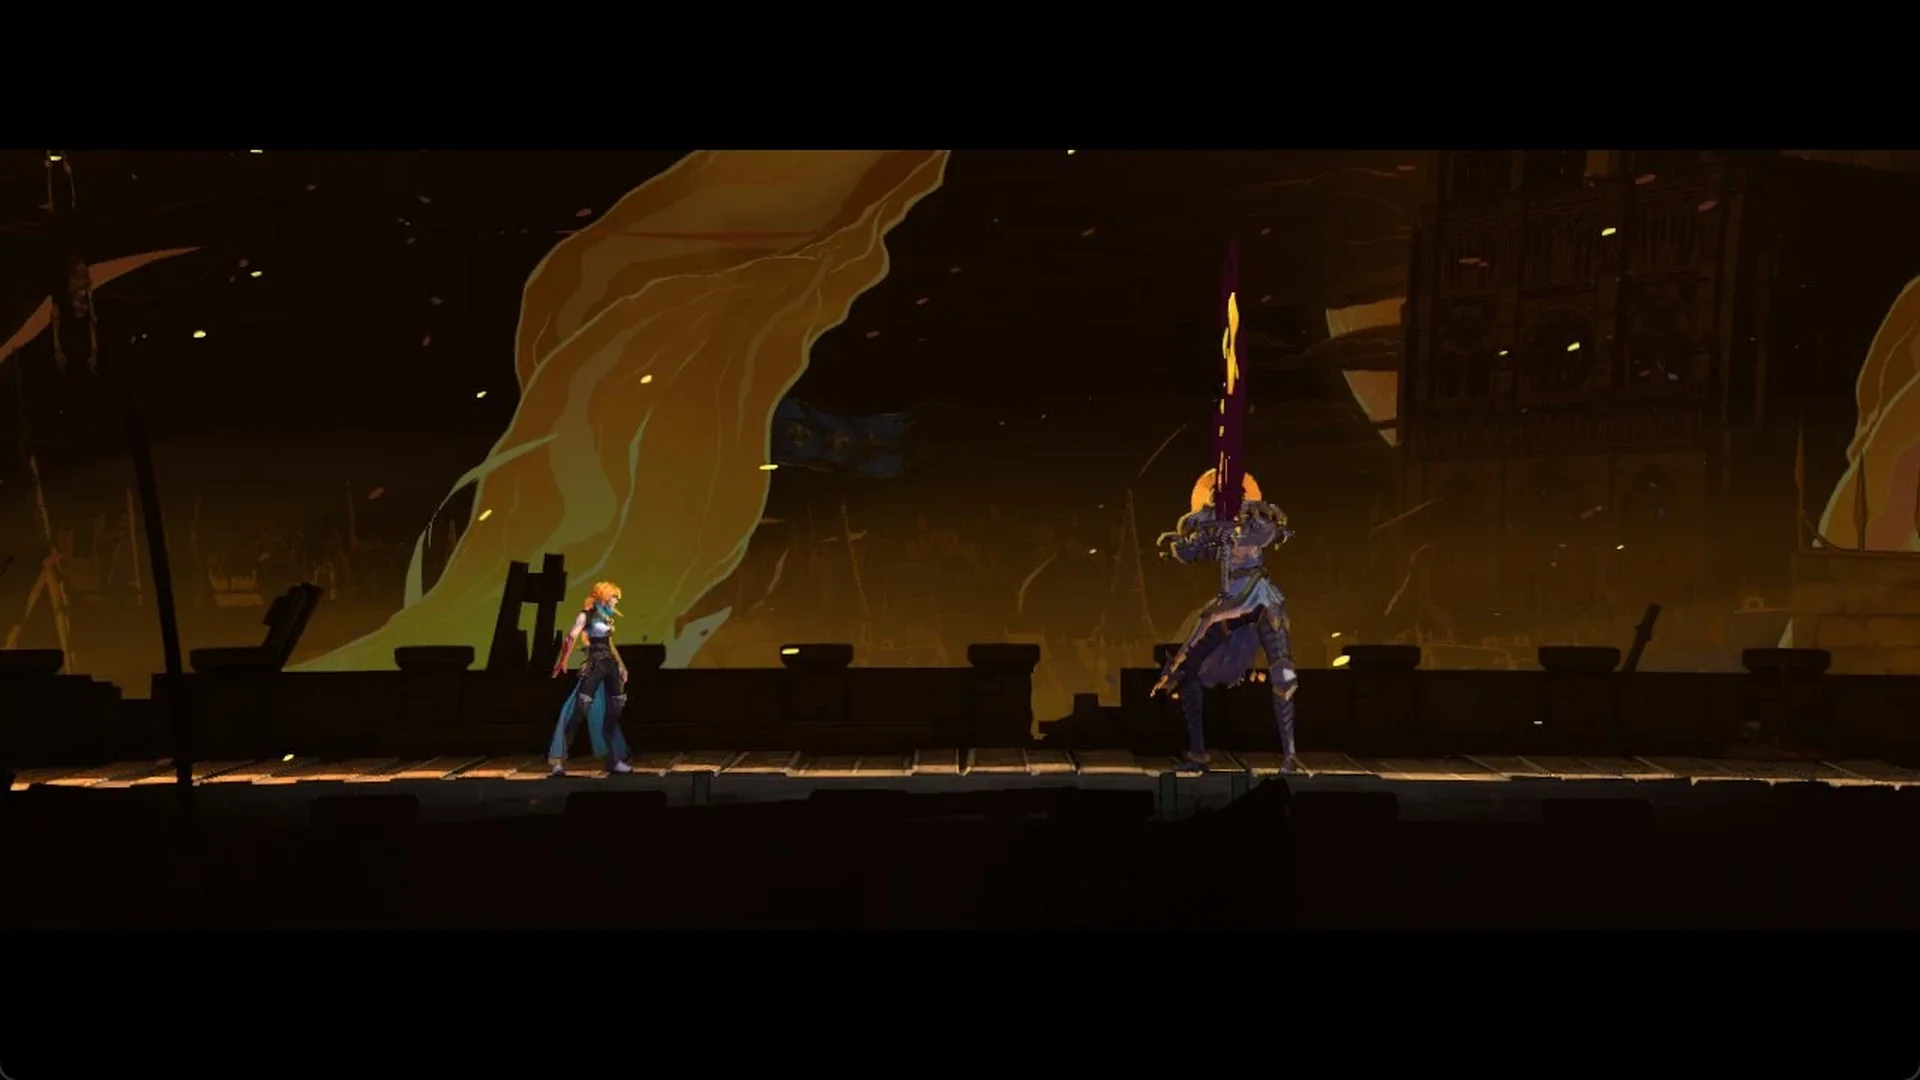
Maintain close pressure: stay beside her, dash past or circle around her attacks, then hit her back during recovery. Holy Light is not unlocked yet in this fight (it unlocks right after it), so dodging is your only defence. The final hit plays a monochrome slash cut-in.
Joan’s attacks and how to answer them
- Sword dash slash: She dips forward with her blade near the ground and charges across the floor. Dash or roll past her to reach her back, then attack.
- Fire pillars: She points her sword upward, causing glowing glyph circles to appear above her before fire columns burst out below. Move into an opening between the pillars, wait for them to pass, then strike.
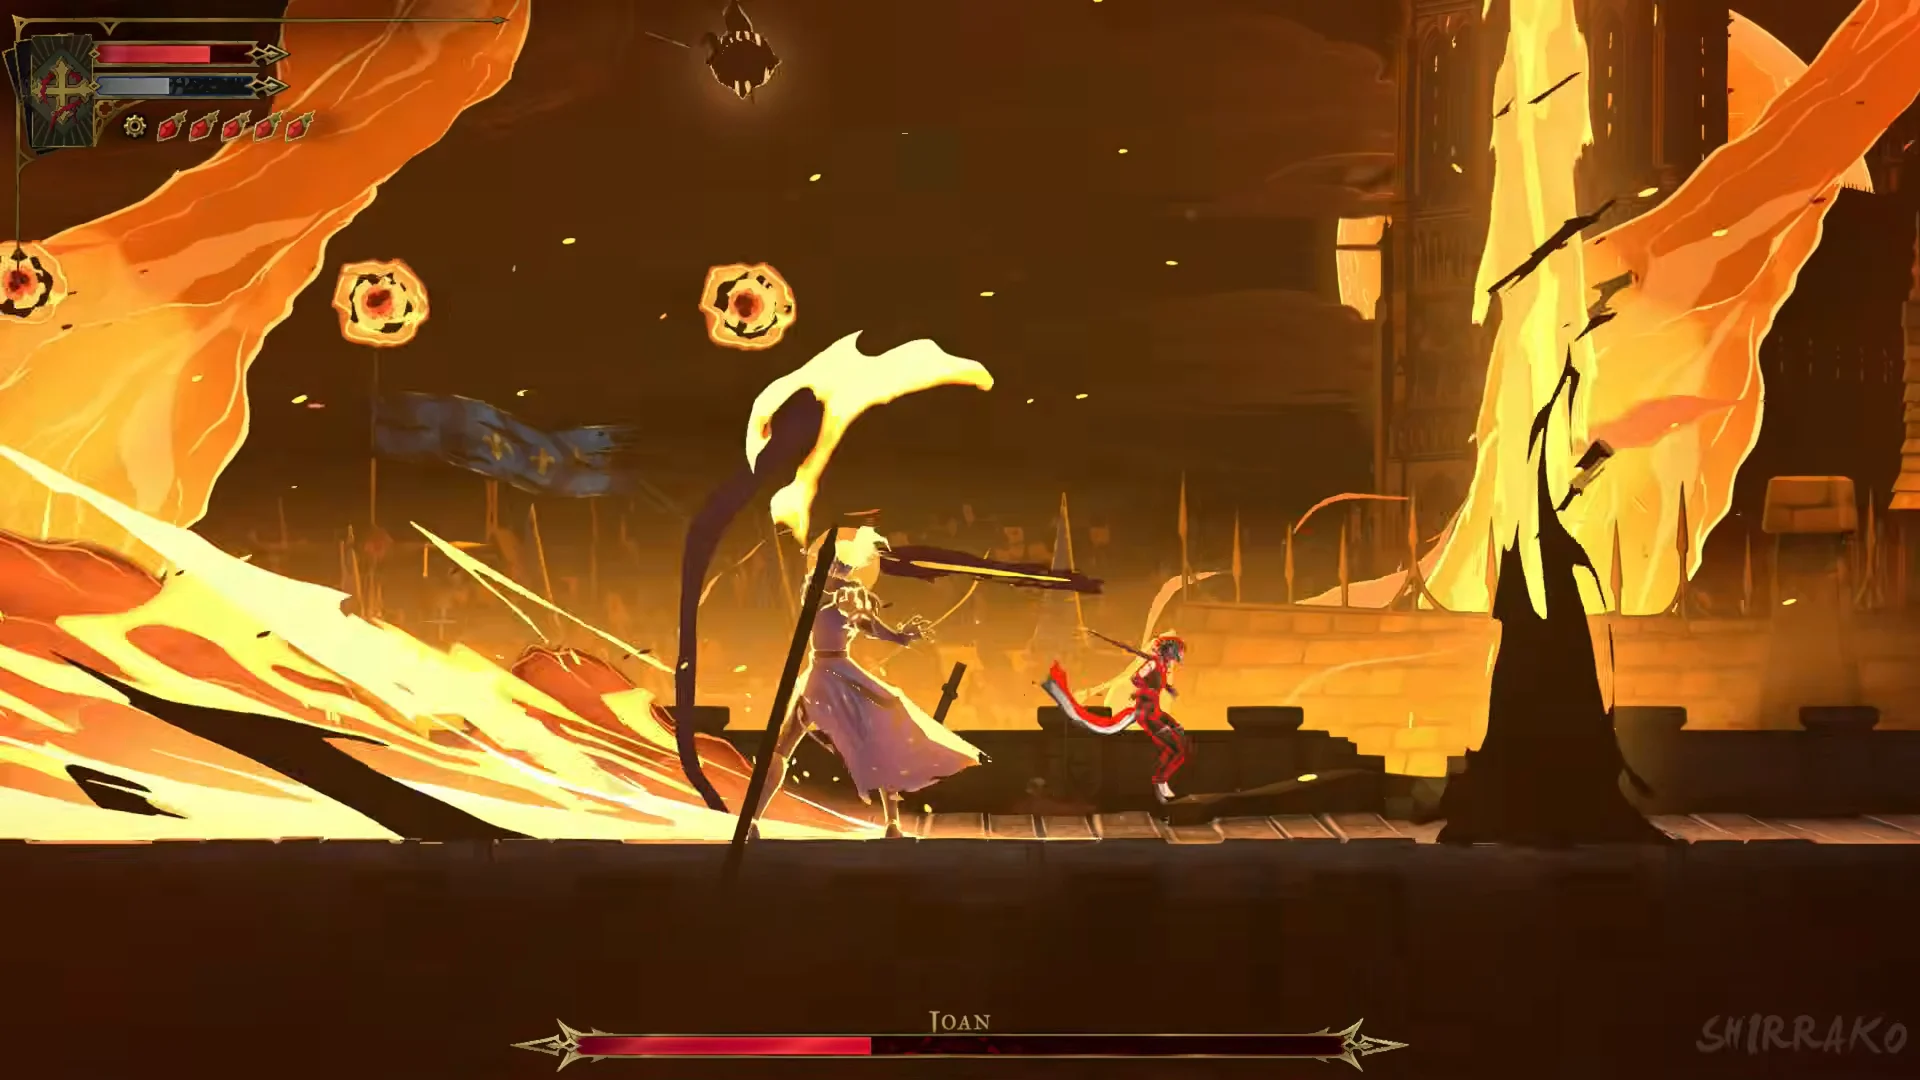
- Leap and fire sphere: She rises as an enormous sun-like sphere forms, then drops and sends flames along the floor. Clear the spot where she lands and jump over the wave of fire.
- Downward plunge: She vaults high into the air with her sword aimed downward. Move beneath her and hit her when she lands.
- Overhead chop: With her blade raised above her head, she steps toward you. Slide past to her back and deliver a combo.
Rewards and how to confirm the win
The trophy “Flammable or inflammable?” pops the moment you land the final blow. You receive The Warrior Arcana card, which holds the spell Infernal Pyre, along with The Warrior’s Key. Its description reads: “One of three keys needed to open the sealed door to the Catacombs. Obtained by defeating JOAN OF ARC.” The arena on the Roof of the Tower also holds the Burnt Sword of Fierbois, a sword stuck in the ground that you take after the fight.
Fight 2: The Notre-Dame rematch
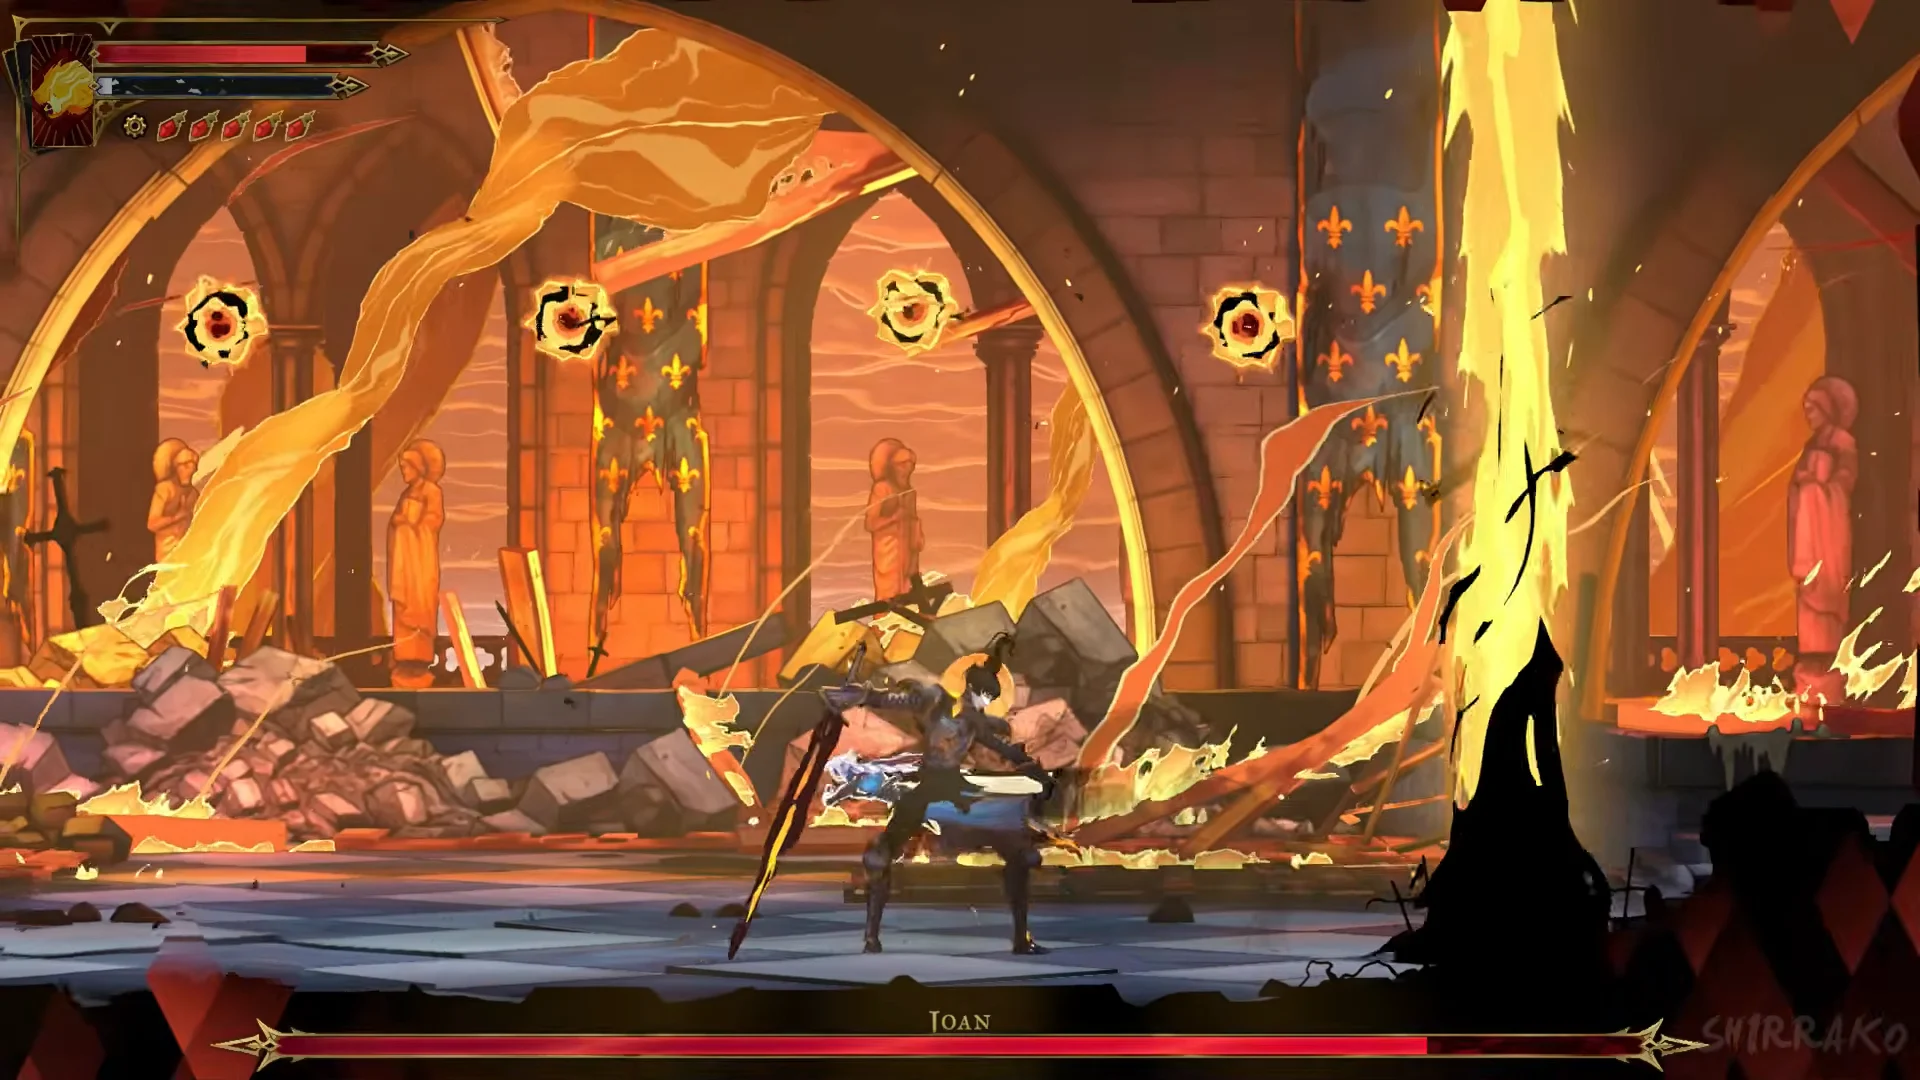
Head to the Gallery of the Four Virtues in Notre-Dame. Under the red stained-glass window of the Warrior, a carved inscription reads: “Hear the bell of Courage ring, / Mark the Warrior it hails…” Start by equipping Infernal Pyre, The Warrior’s spell; the Courage window responds only while it is equipped. Use R1 (PC: E) on the stained-glass window of Courage to access the trial chamber. The arena is a burning ruined hall full of rubble, arches and fleur-de-lis banners, with the red “JOAN” bar across the bottom.
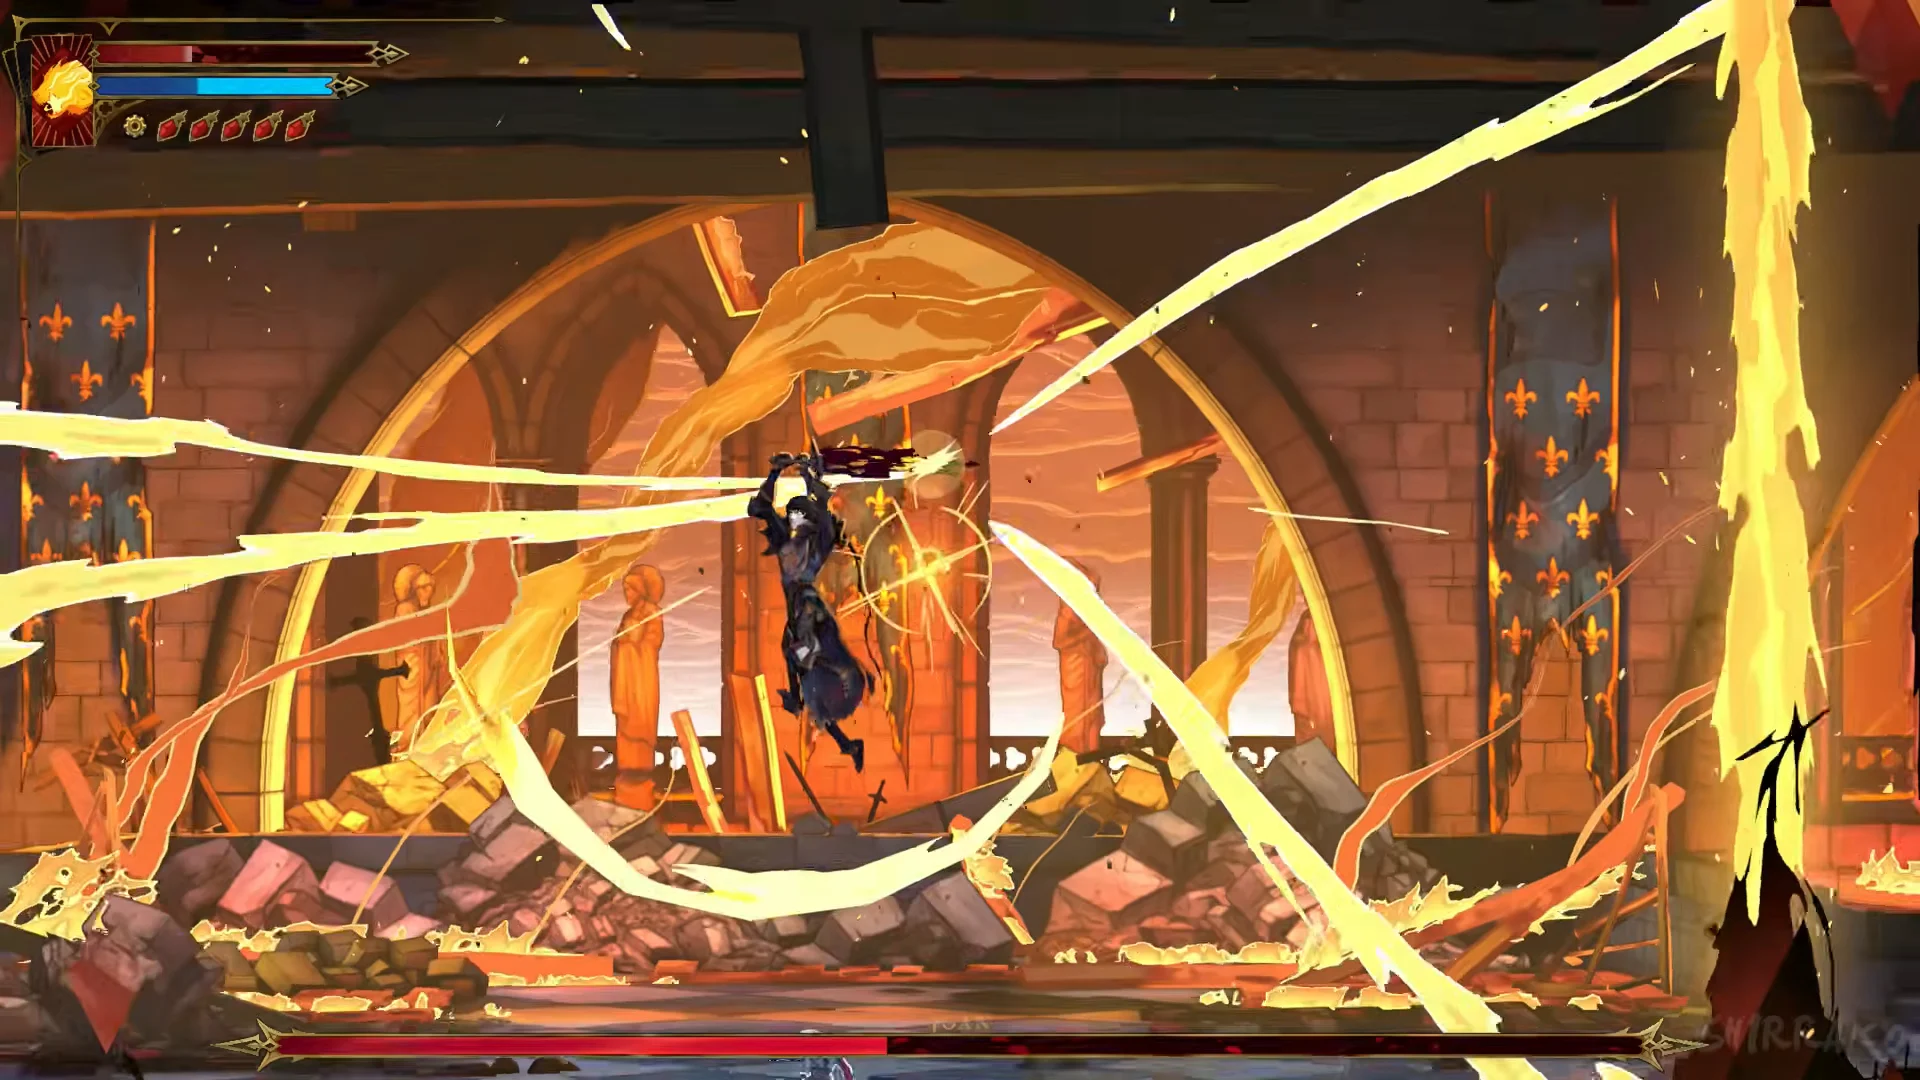
She opens in dark armour. At about halfway along her health bar she leaps up and crashes back down in a golden burst, then fights in gold with golden rings behind her and golden sweep waves. Holy Light (L2, PC: C) is unlocked by now and can parry her sword attacks here, but not her exploding fire pillars.
Rematch attacks and how to answer them
- Overhead slash and wide sweep: she lifts the blade overhead with flames swirling and sweeps, leaving fire trails. Dash back or roll through to her back.
- Floor runes and flame geysers: She drives her sword into the ground, making glowing runes appear on the floor before fire erupts. Jump between the pillars.
- Triple pillar barrage: Three golden vertical beams mark the floor beneath you, then erupt. Keep dashing out of the illuminated areas.
- Floating fire rings: When she lifts her sword overhead, rings appear in the air, followed by fireballs or pillars. Dash or slide over the floor to get behind her.
- Leaping dive: She springs high into the air amid golden rays, then strikes down with a golden shockwave. Run and slide beneath her, or get well away from where she lands.
- Rapid golden slashes: As she winds up, a golden arc trail coils behind her. Dash through the slashes or move back to make space, then counter.
How to confirm the rematch win
After the final hit, Joan speaks with Rose and grants her blessing of Courage. There is no Arcana card or key from this fight.
Joan of Arc: health, phases and damage in both fights
| Tower roof fight | Notre-Dame rematch | |
|---|---|---|
| Health | 1,800 | 11,431 |
| Phase changes | At 50% and 25% | At 50% (golden form) and 25% |
| Experience | 600 | 1,200 |
| Rewards |  Infernal Pyre spell (The Warrior card), The Warrior’s Key | Blessing of Courage |
| Immune to | Freeze, petrify, Chains of Justice; bleed and burn work | Freeze, petrify, Chains of Justice; bleed and burn work |
| Damage figures assume DEF | About 16 | About 75 |
The damage numbers below assume Rose has roughly the DEF shown in the table. With less DEF, attacks hurt more: at 20 DEF below that benchmark, they deal about 1.7 times as much damage. Extra DEF is less helpful; 20 above the benchmark reduces damage by only about 10%. Rose gains 1 DEF per level and per DEF UP book read. More on this in how damage works.
In each fight, her pattern shifts at 50% health and shifts again at 25%. In the rematch, she turns gold at the 50% mark.
- In the first fight, sword-combo hits deal 14 to 20 damage; after the phase changes, powered-up versions deal 20 to 24 per hit.
- In the first fight, her spinning slash deals 19 damage, or 24 when powered up.
- In the first encounter, the fire trail running over the floor deals 8 damage. Exploding fire pillars deal 24 damage and are impossible to parry or dodge.
- First fight, leaping plunge: 72, her hardest hit.
- In the first fight, the wind-up for her empowered strike deals 16 damage and cannot be slid through; the strike deals 24.
- In the rematch, each sword-combo hit deals 30 to 50 damage.
- In the rematch, the double-sweep wave deals 75 damage with its first wave and 50 with its second.
- Rematch, leaping plunge: 150.
- Rematch, empowered low strike: 40, with a wind-up of 32; neither can be slid through.
These figures assume a Rose with about 16 DEF in the first fight and about 75 DEF in the rematch.
Holy Light is unavailable in the first fight and unlocks immediately after it.
In the first fight the fire pillars cannot be parried or dodged and the empowered strike wind-up cannot be slid through; in the rematch her empowered low strike and its wind-up cannot be slid through.
In both fights, freeze and petrify have no effect on her. Chains of Justice’s root and stun and Chronomantic Dive’s slow also fail, while bleed and burn work.