Rose Belmont walks a lot in Castlevania: Belmont’s Curse, and the game is quiet about how to stop. It has two fast travel systems. The Ferryman carries you between regions, and the Mirrors of Life warp you between save rooms. You meet the Ferryman at the end of a long run through the Catacombs of Paris, and the mirror trick depends on that meeting, so the catacombs route comes first.
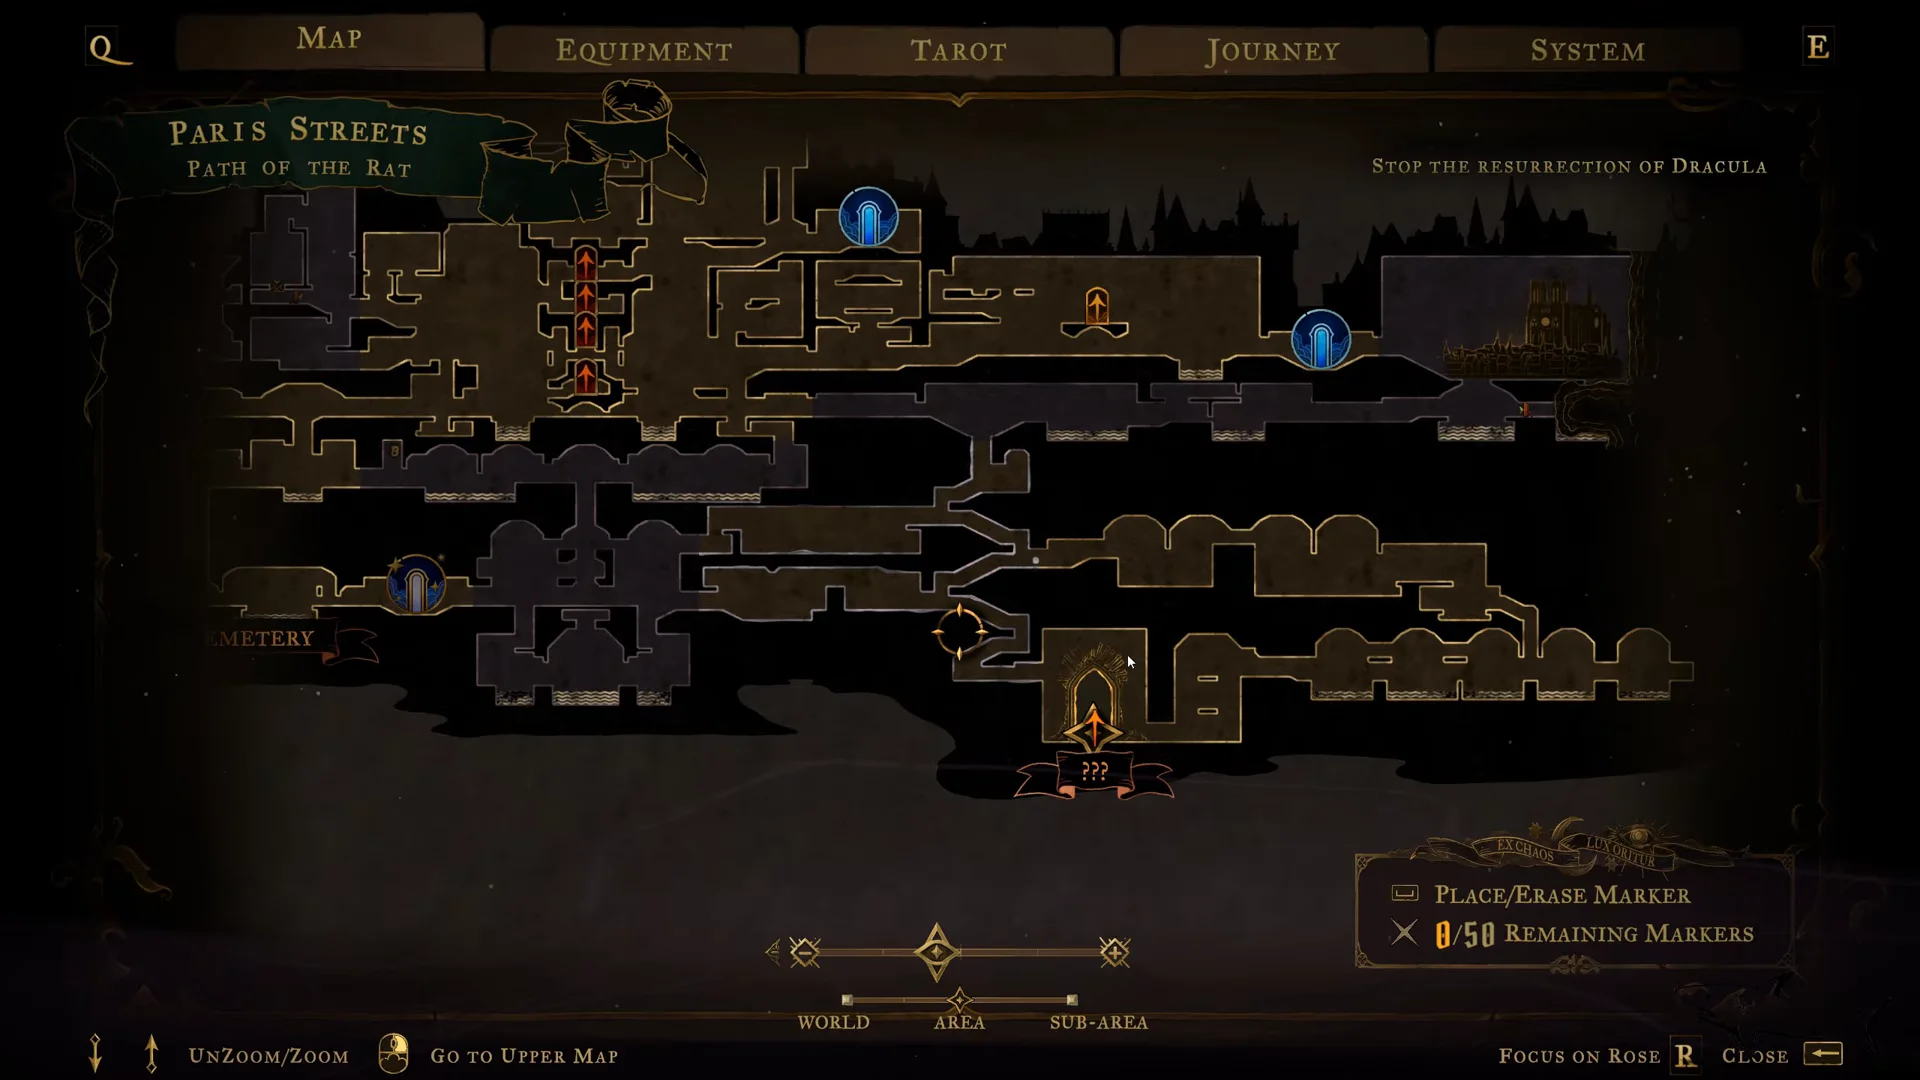
Quick answer: Beat Medusa, Joan, and The Fallen, then cross the Catacombs of Paris. After the Death encounter, climb the Collapsed Path of Orpheus and take the right exit to the glowing blue door.
Ferryman location in the Catacombs of Paris
The first Ferryman’s Wharf sits at the top of the Collapsed Path of Orpheus, the last stretch of the Catacombs of Paris. You can’t skip ahead to it. The meeting is part of the main story, so no side quest is involved, and most players get there about three to five hours into a run.
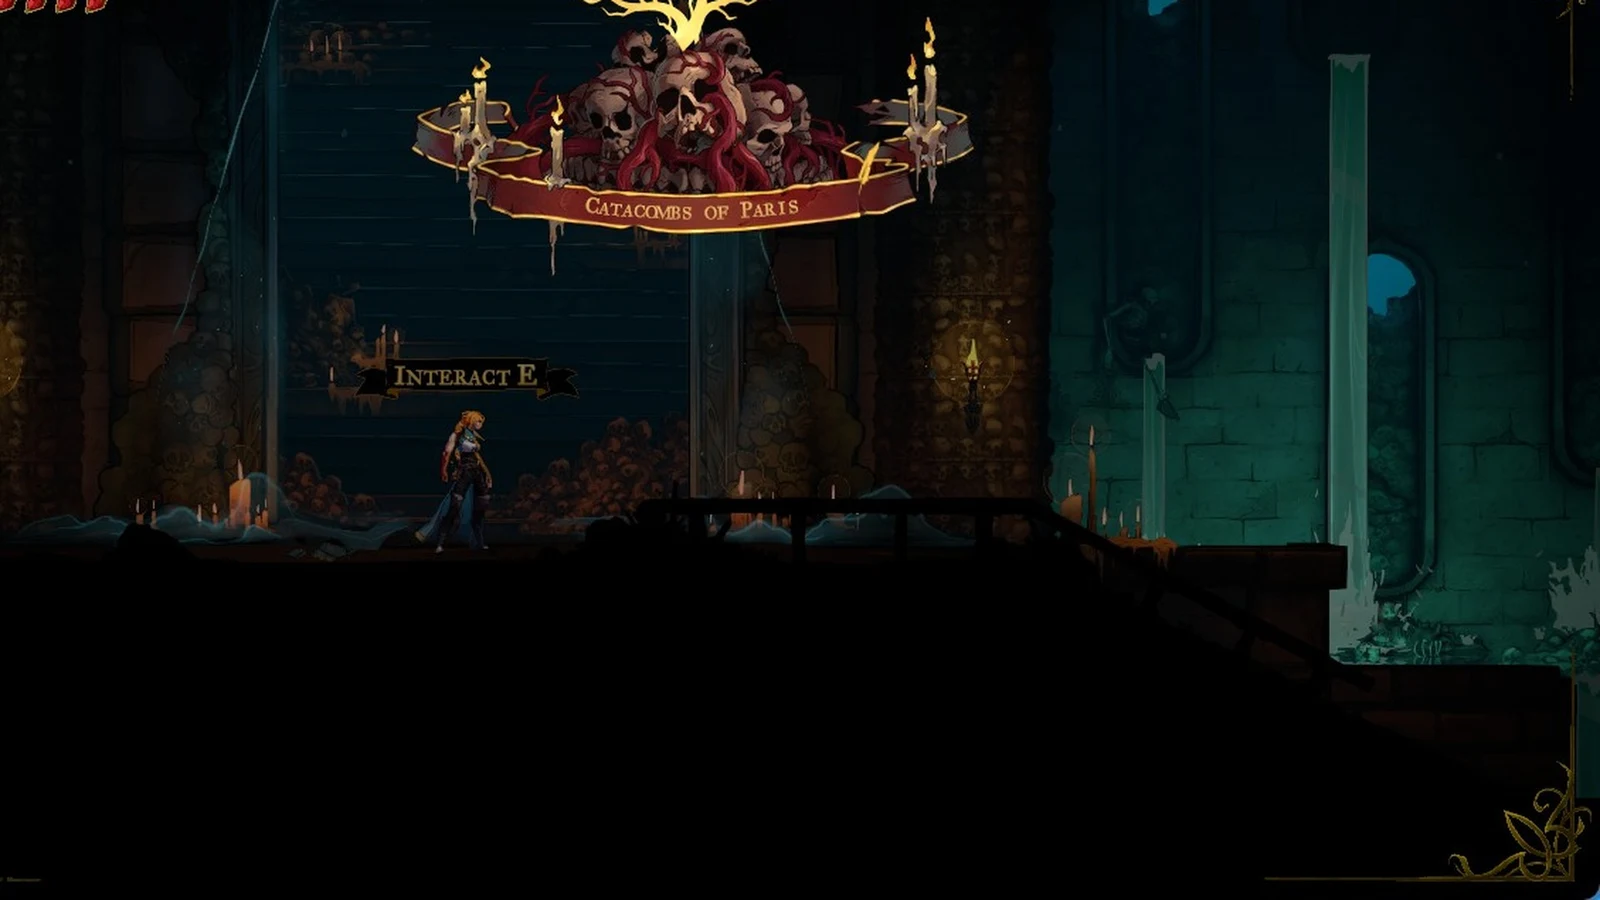
- Region: Catacombs of Paris, in the City of Paris
- Room: Ferryman’s Wharf, reached through a glowing blue doorway after traversing the Collapsed Path of Orpheus
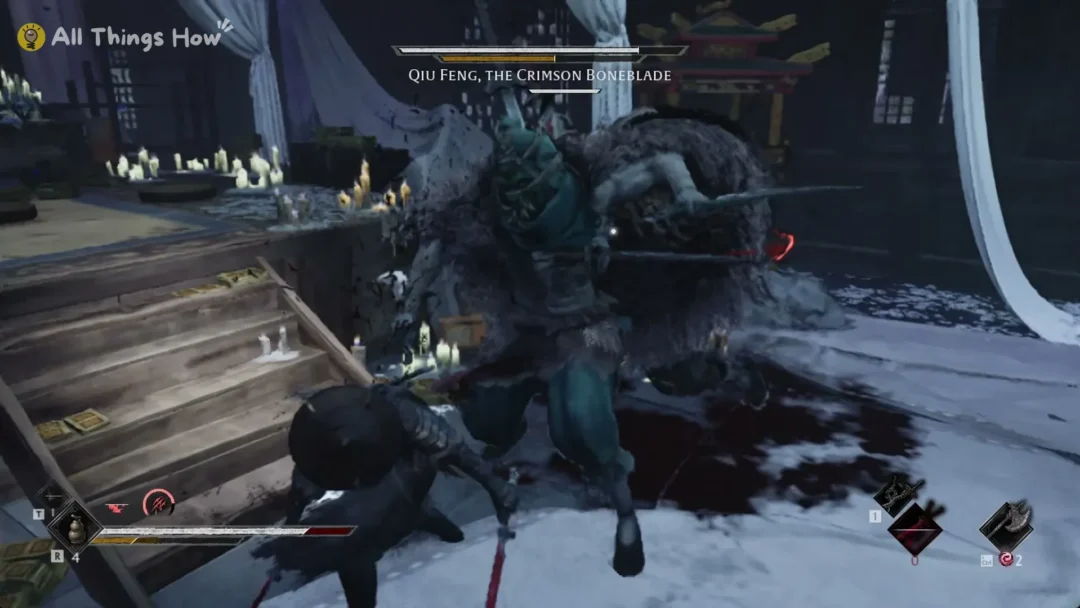
- Story trigger: the encounter with Death (The Shadow) partway through the catacombs
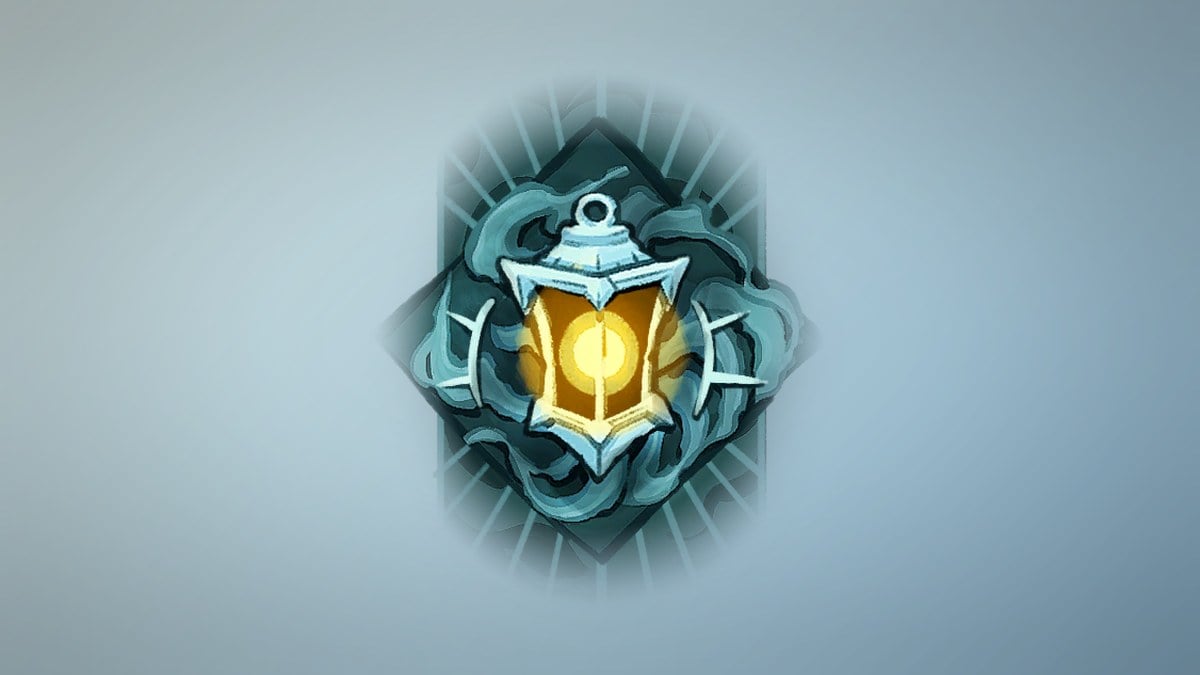
- Map marker for every wharf: a blue lantern icon
Opening the Gate to the Catacombs
The catacombs stay sealed until three bosses are down: Medusa, Joan, and The Fallen. Until then, the Gate to the Catacombs appears on the Paris Streets map as an unnamed marker. Each of these fights drops an arcana key, and the three keys together open the way down.
| Boss | Where fought | Health | Rewards |
|---|---|---|---|
 Medusa | Ossuary of the Innocents, Holy Innocents’ Cemetery | 1500 | Petrifying Gaze, The Prophetess’s Key |
 Joan | Roof of the Tower, Paris Streets | 1800 | Infernal Pyre, The Warrior’s Key |
 Leon (The Fallen) | Gate to the Catacombs, Paris Streets | 800 | Holy Cross, The Fallen’s Key |
The Fallen is Leon, and his arcana card is numbered 2. Joan’s card, The Warrior, is number 3. A clue in the Burned District points you to the top of the tower for Joan. Leon is fought right at the catacombs gate, so beating him usually puts you in front of the entrance.
Route to Ferryman’s Wharf, room by room
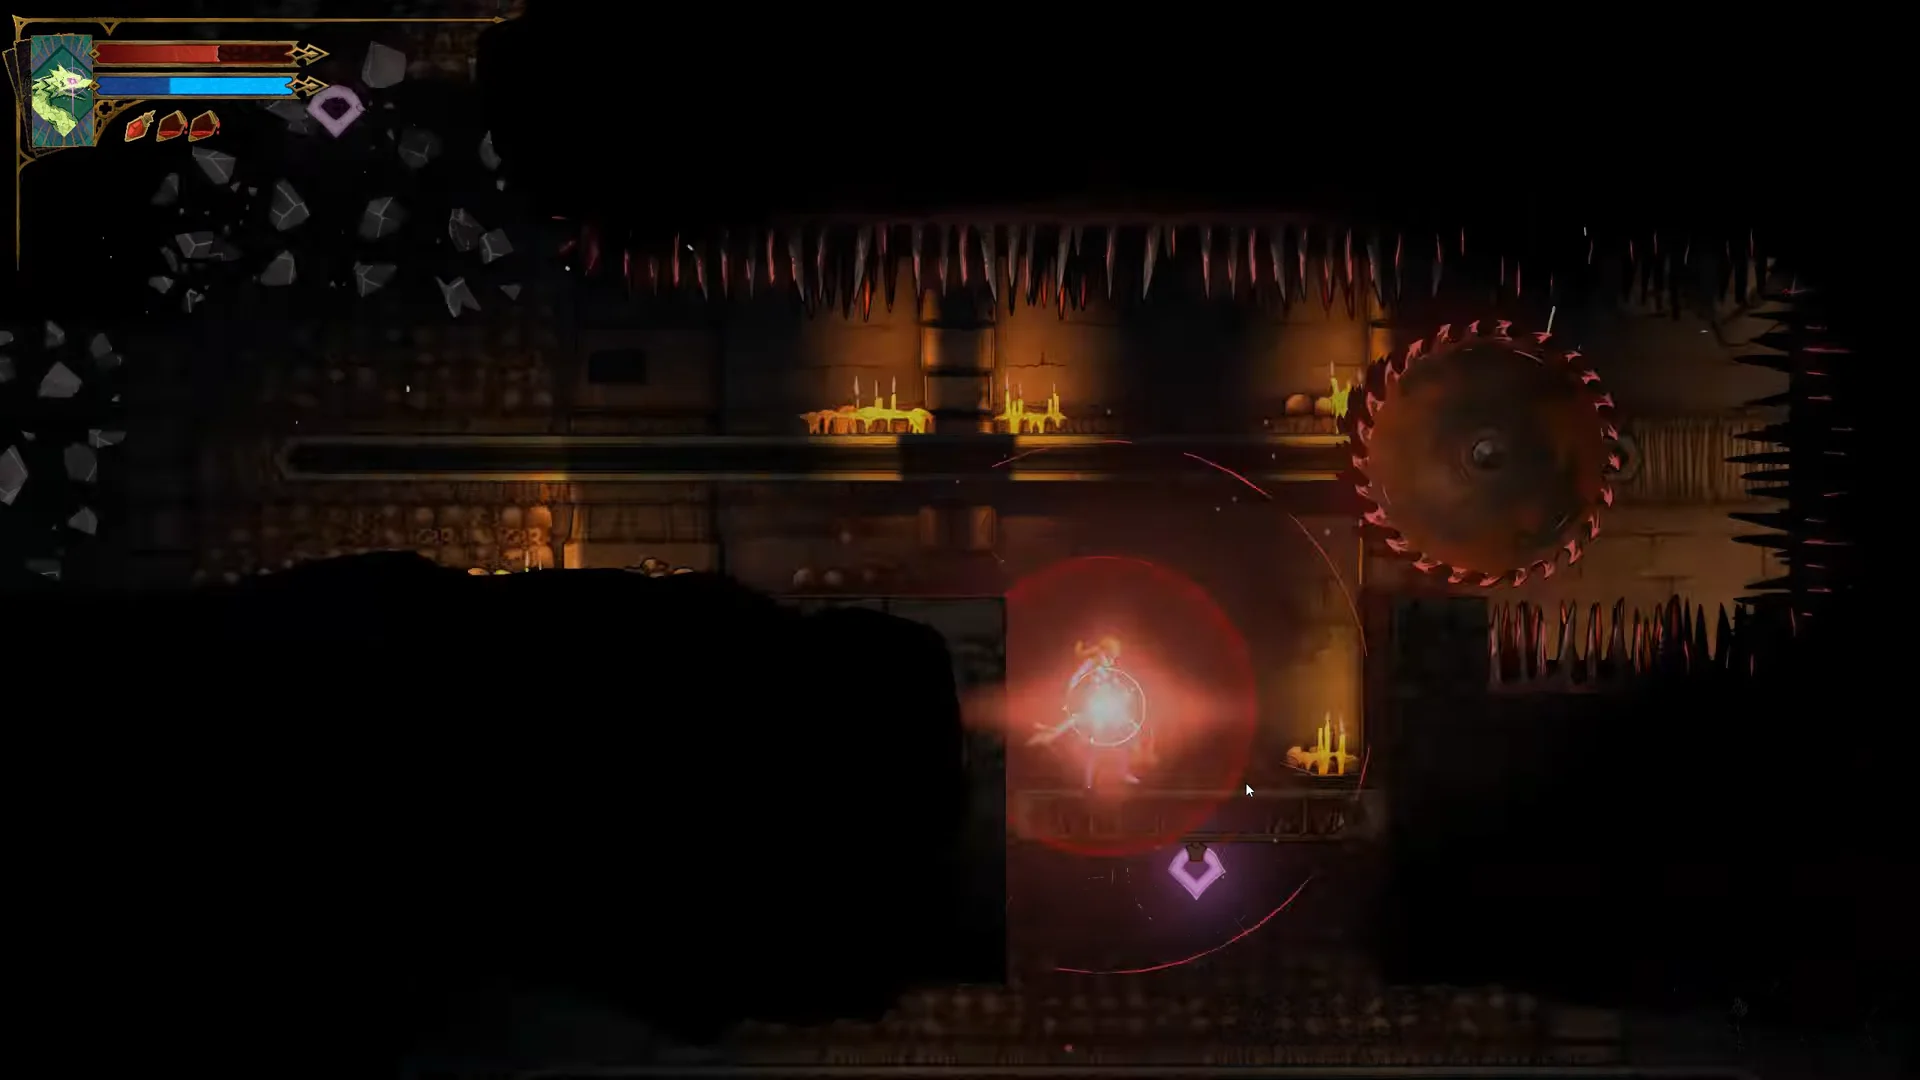
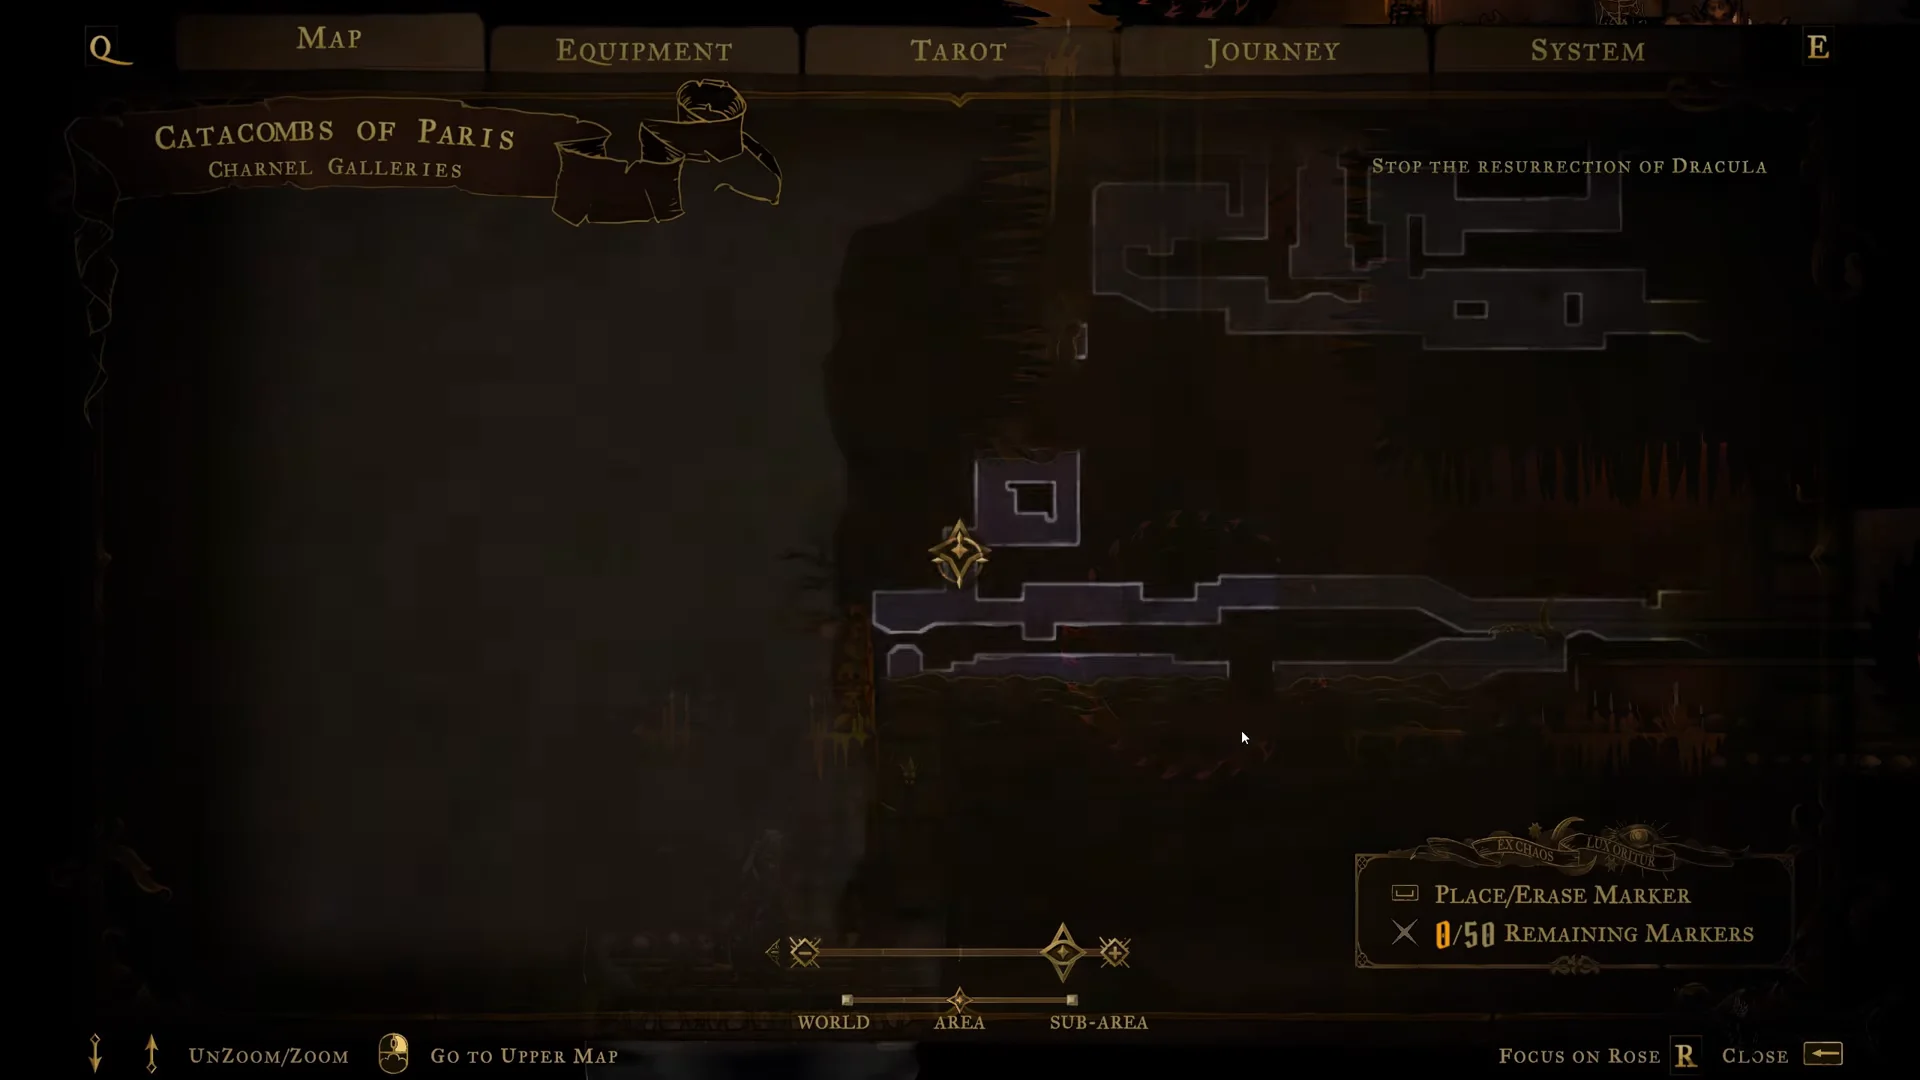
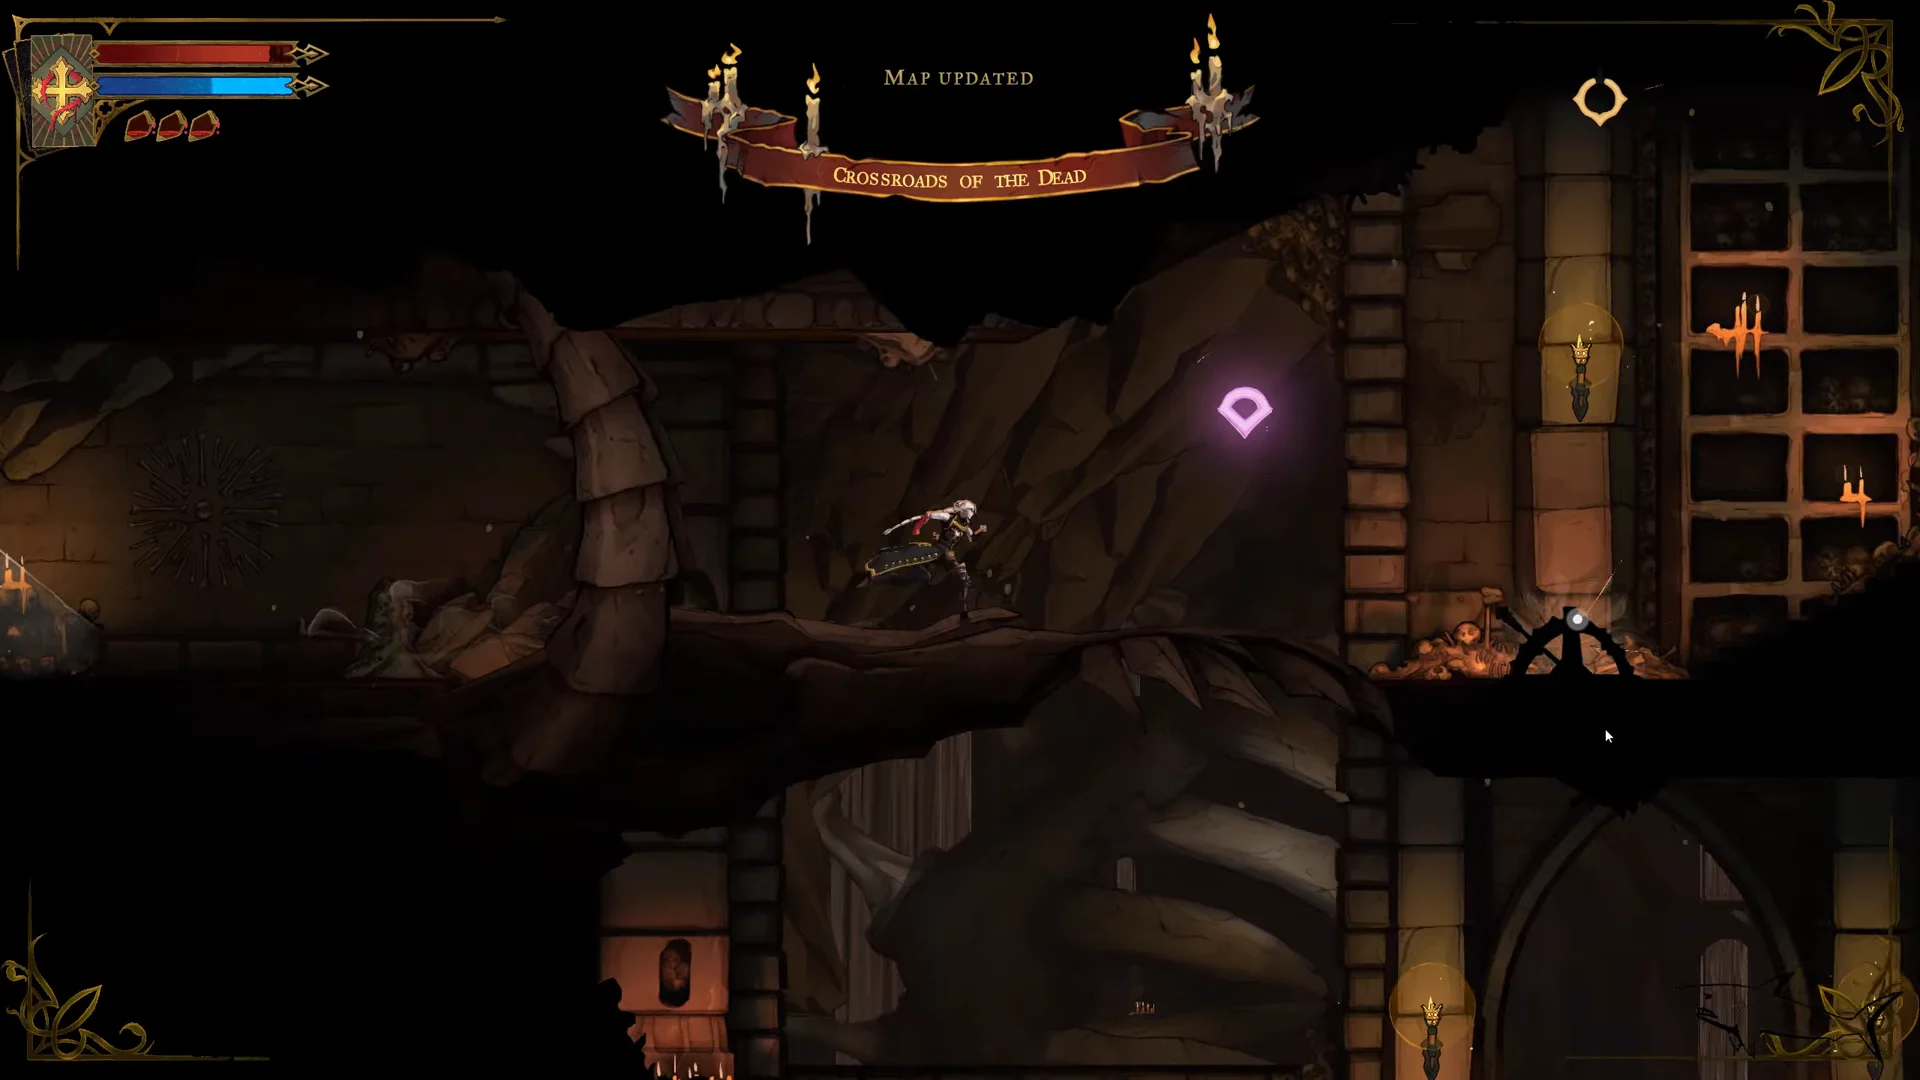
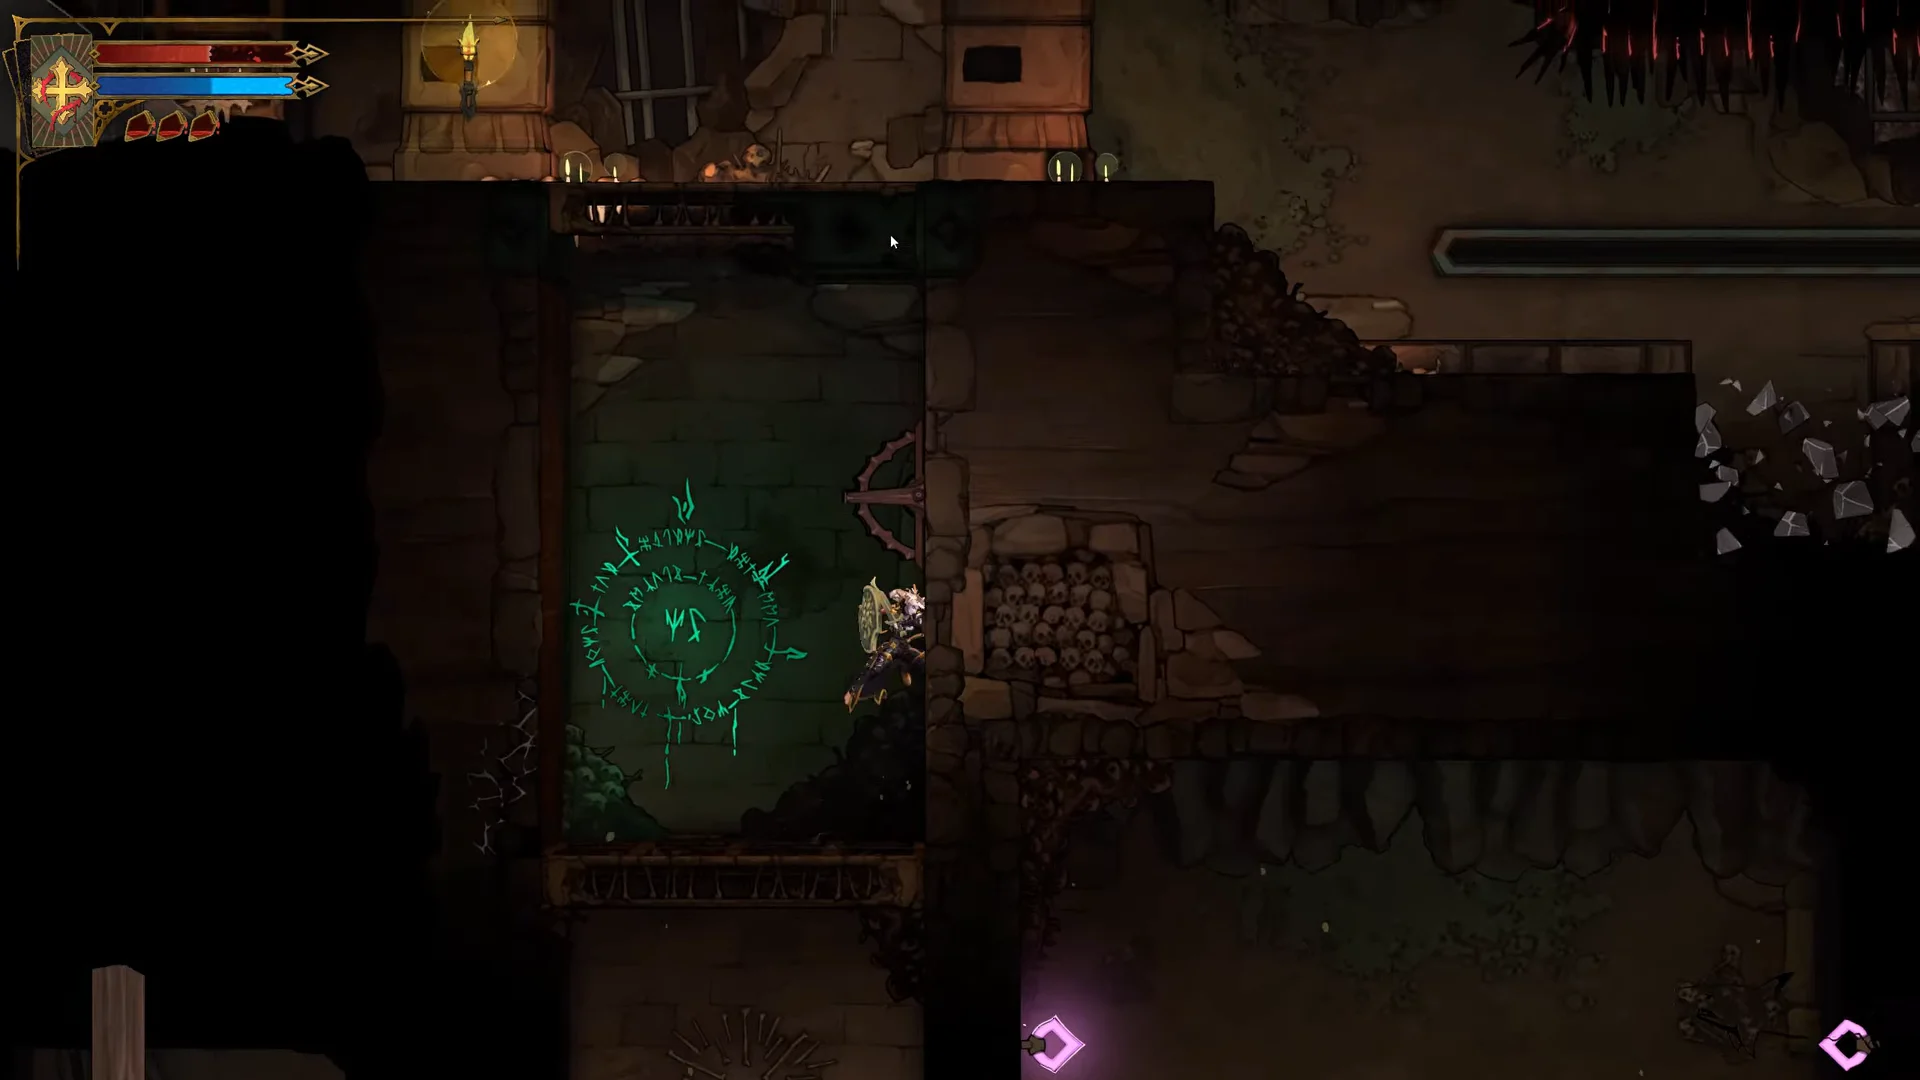
The catacombs are a long, mostly downhill crawl full of saws, spikes, and green rune doors. The Ferryman is near the top again on the far side. The steps below follow the order the areas appear in.
Upper catacombs: Catacomb Entrance to Chamber of Whispers
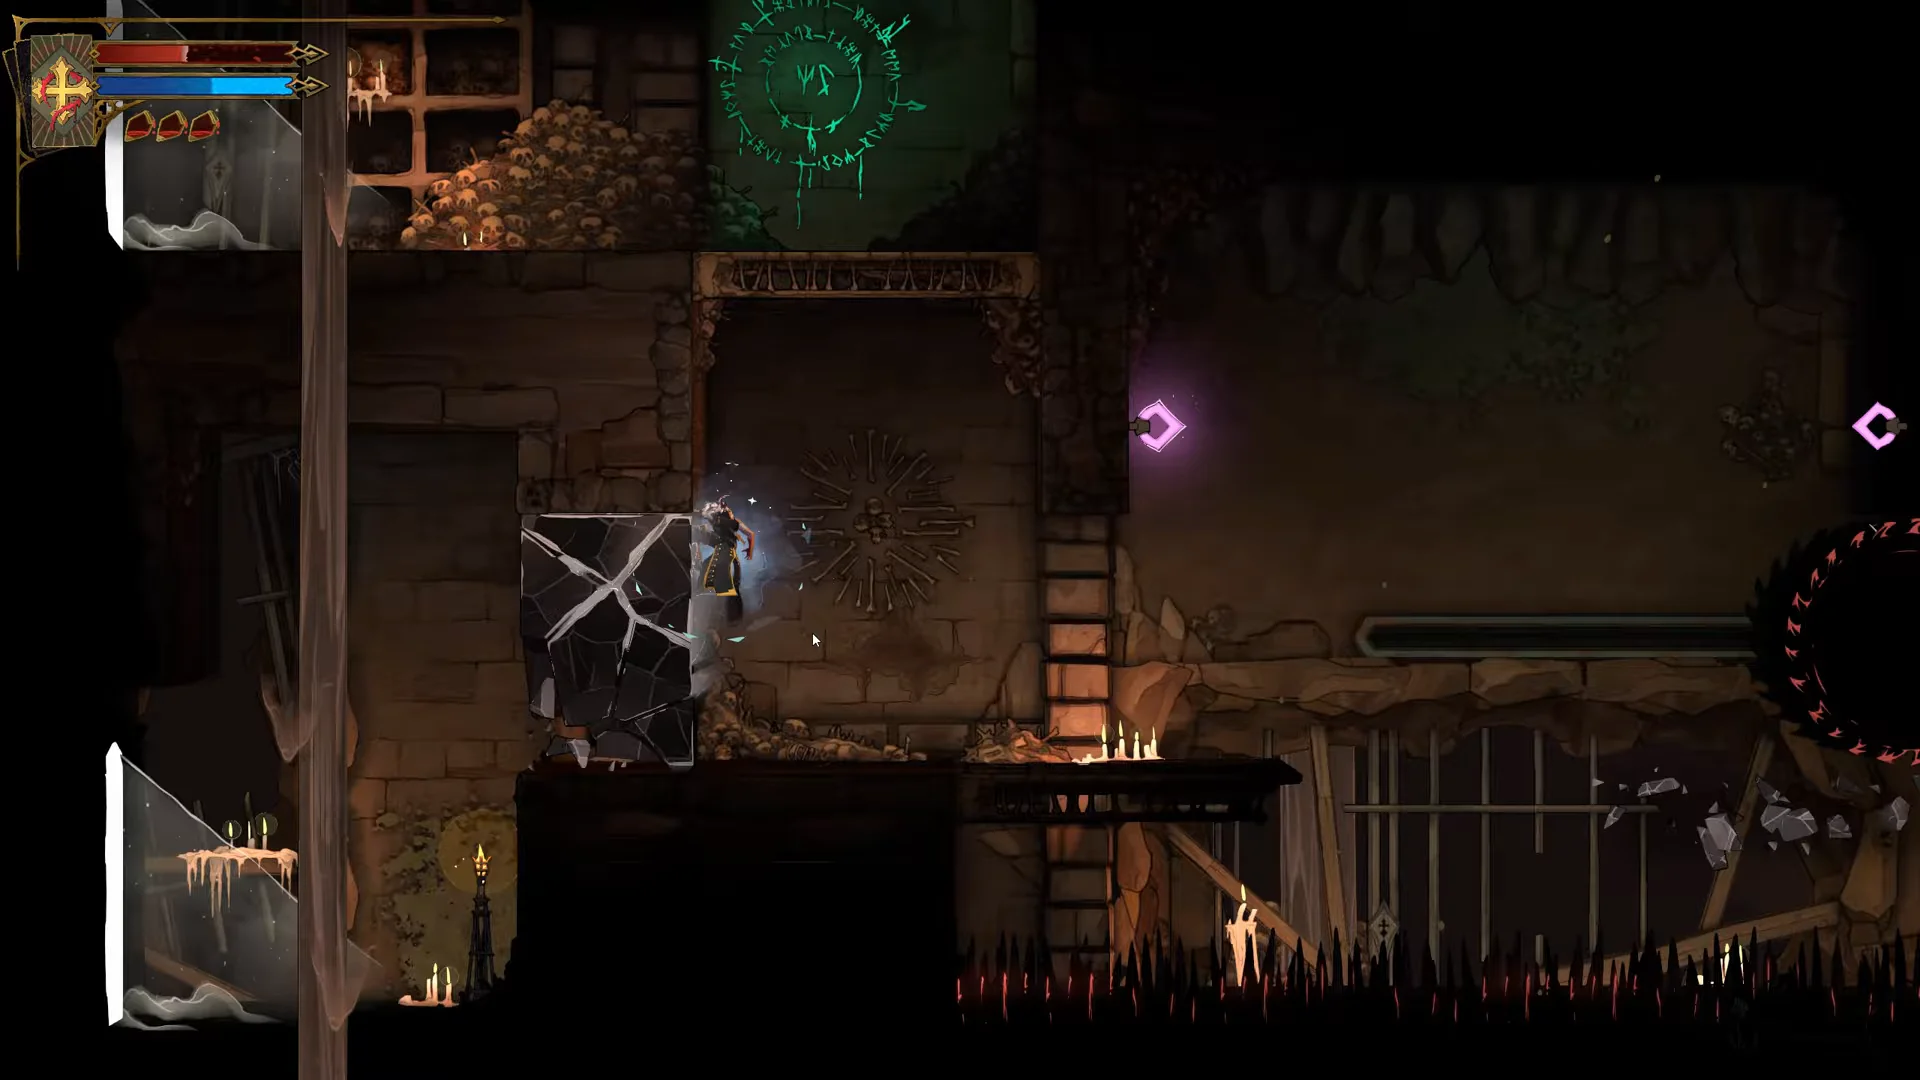
Lower catacombs: De Rafe Necropolis to Stairway to Hell
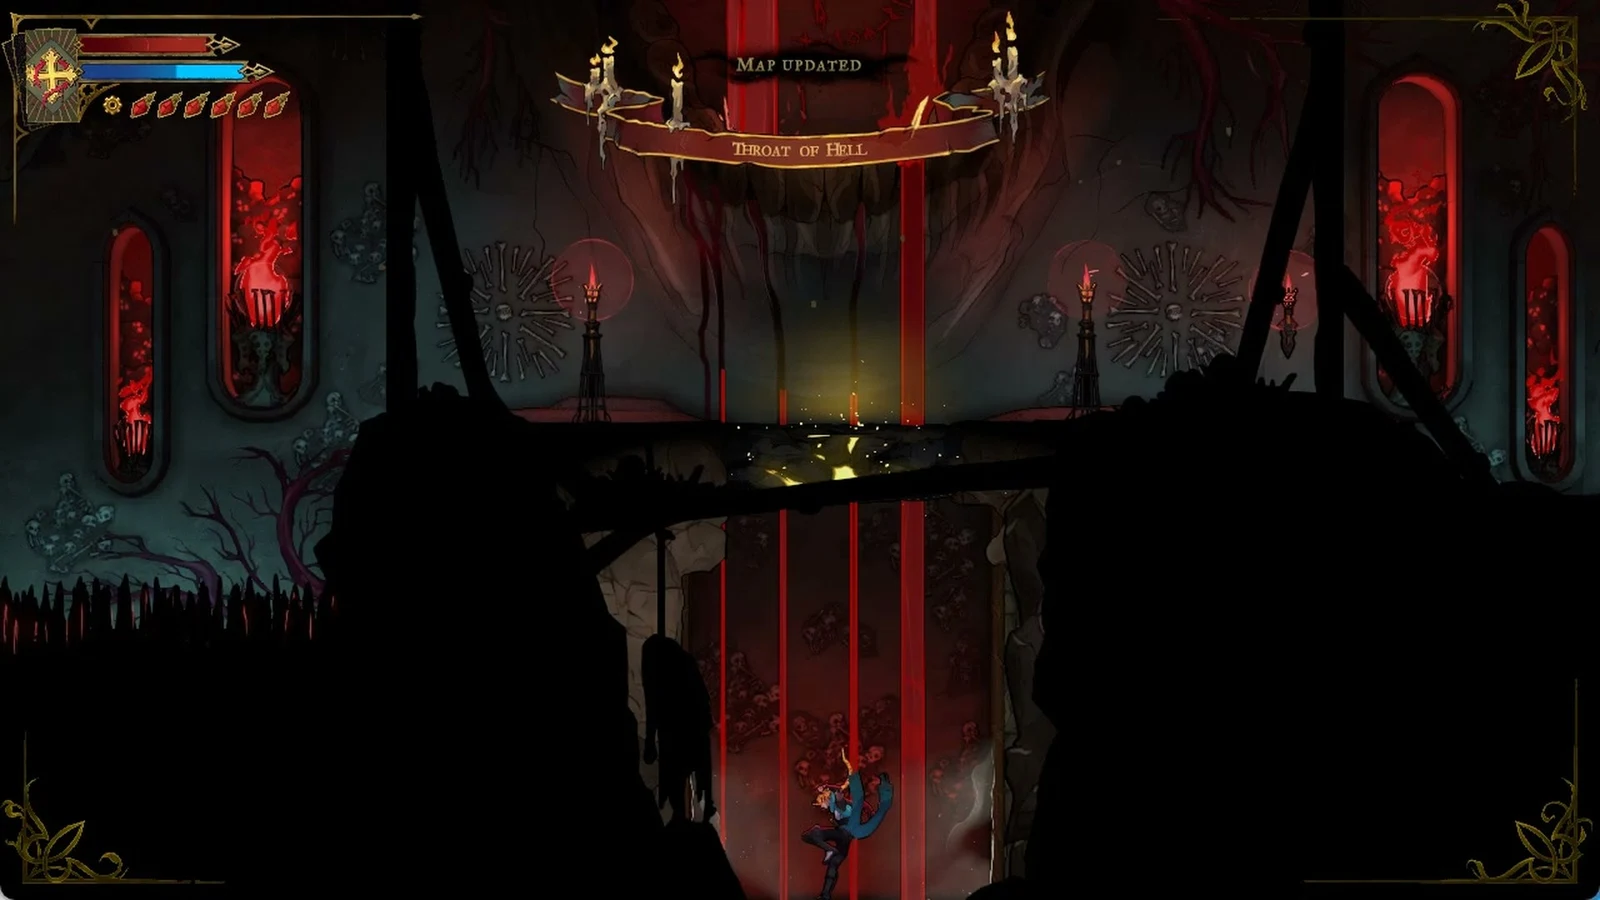
Collapsed Path of Orpheus to the Ferryman
You’ll know it worked when the Ferryman’s Wharf destination menu opens. It confirms that you can travel between the areas of the City of Paris and Dracula’s Castle you have already discovered. From this point on, a blue lantern icon on the map marks each wharf.
Relics, weapons, and fragments on the catacombs route
The walk to the Ferryman pays out three relics, two weapons, and a pair of heart fragments. None of them sit far off the main path.
| Pickup | Type | Where | Effect |
|---|---|---|---|
 Mourning Bead | Relic | Path of the Abyss chest | +35% move speed for 7s after a kill |
 Specter’s Whisper | Relic | Hidden chest, Crossroads of the Dead side | +30% damage below 20% life |
 Ebony Claw | Relic | Chest past Throat of Hell | Guard breaks stun 50% longer |
| Wise Heart’s Fragment | Fragment | Blue orb vessel, Chamber of Whispers return | One of four |
| Brave Heart’s Fragment | Fragment | Hidden alcove, Blood Pits | One of four |
The Mourning Bead keeps the pace up through the catacombs’ long corridors, since each kill gives Rose a burst of speed.
Specter’s Whisper is a low-health gamble. It adds damage only while Rose is close to death.
| Weapon | ATK / Attack power | Mana per hit | Combo finisher |
|---|---|---|---|
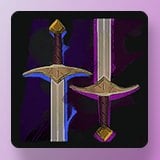 Pair of Longswords | 25 / 20 | 2 | Blade Flurry |
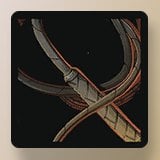 Whip | 25 / 24 | 3 | Whip Drag |
Pair of Longswords is a tier 1, Ordinary dual-sword weapon from the Crossroads of the Dead. If the previous swing connects, pressing attack again extends the combo.
Whip is also tier 1 and Ordinary, from the Hall of the Fallen Angels. Its hits do more damage at the far end of the lash. Both weapons have the same stagger power of 30. The Whip also counts toward The Fallen’s Work of Mercy that asks you to find three different whip-type weapons.
Catacombs of Paris districts for 100% completion
Several catacomb districts hide more than the main route shows. If you’re clearing the region for completion, these are the counts to check against your map.
| District | Secret areas | Breakable walls | Notable contents |
|---|---|---|---|
| Blood Pits | 9 | 4 | Brave Heart Fragment |
| Condemned Mineshaft | 2 | — | — |
| Circle of Greed | 1 | — | Brave Heart Fragment, Oozing Eye, a clue |
| Antechamber of Sin | — | — |  Forsaken Ring |
| Altar of Bones | — | — | 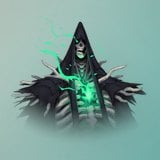 Death (boss) |
The Circle of Greed clue is called “A Door made of Flesh and Eyes.” The Death Mark clue from the spirit also points toward the Altar of Bones.
How Ferryman’s Wharf fast travel works
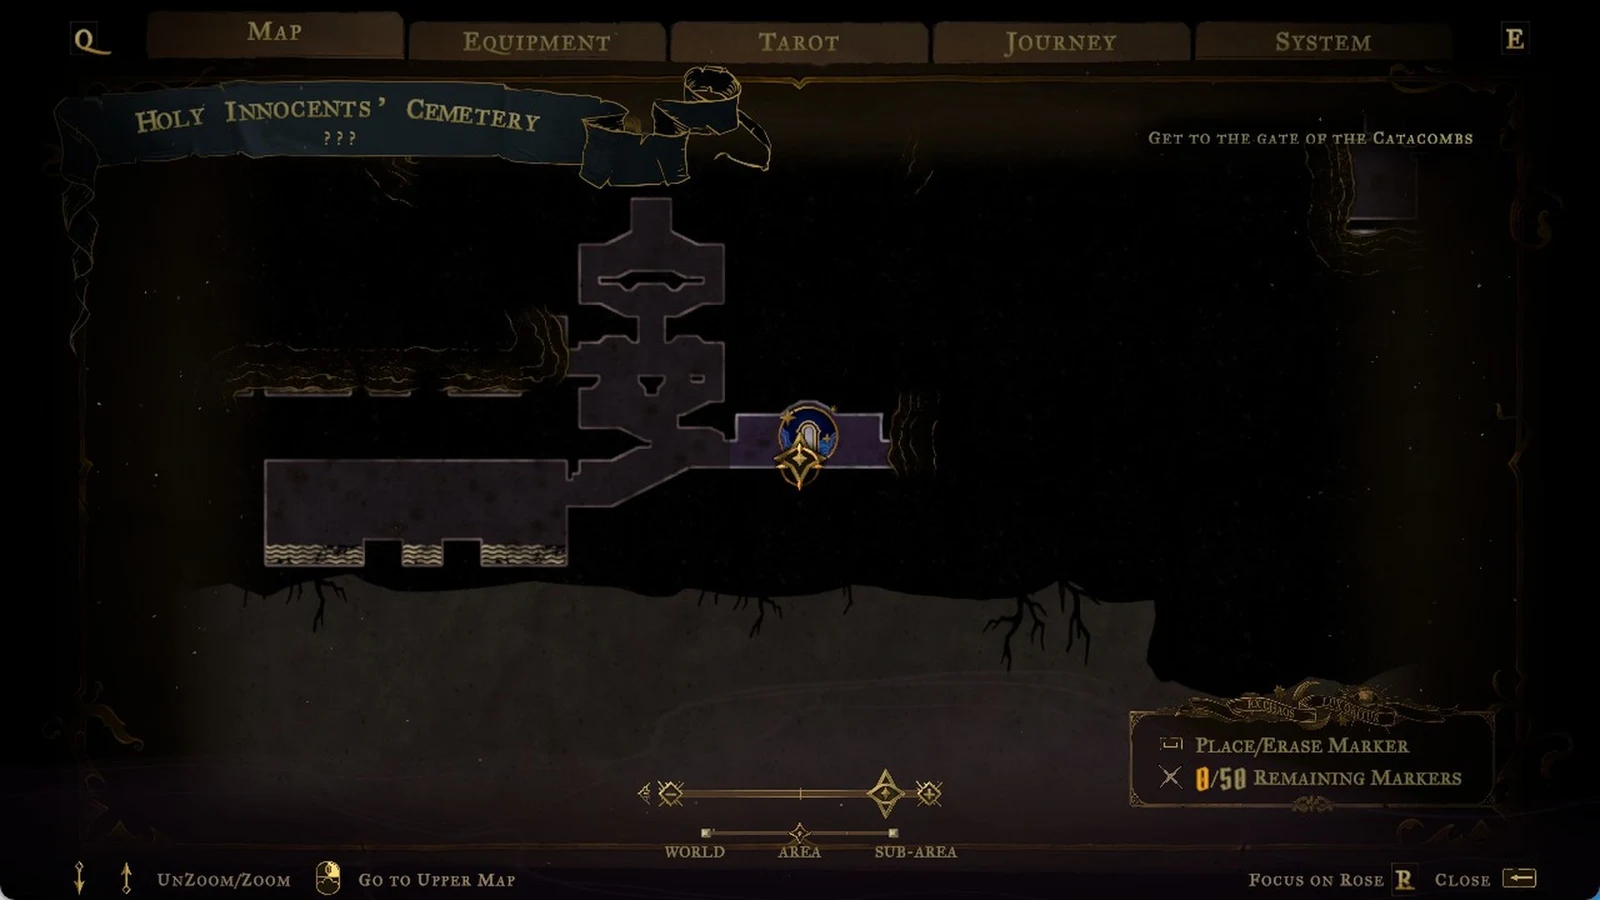
After meeting the Ferryman, matching glowing blue doors you encounter connect to other Ferryman’s Wharfs. Visit each wharf on foot once to make it available as a destination. The Ferryman cannot be summoned elsewhere, so every journey must begin at a wharf.
Immediately after your first meeting, the three destinations appear in this order: Holy Innocents’ Cemetery, Paris Streets, then Catacombs of Paris. The story picks up at the Paris Streets wharf, making it the sensible first destination.
| Region | Ferryman’s Wharf location |
|---|---|
| Paris Streets | Abandoned Sewers |
| Holy Innocents’ Cemetery | Ossuary of the Innocents |
| Catacombs of Paris | Collapsed Path of Orpheus |
| Main Hall | Armoury |
| Library | Bridge of Knowledge |
| Clock Tower | Forgotten Bridge |
| Notre-Dame | East Triforium |
| Hall of Mirrors | Delved Level |
| Master’s Quarters | Sanctuary of Solitude |
That makes nine wharves across the game. You don’t need them all for the network to be useful, but they’re spread thin, so step into any blue door your route passes.
The Ferryman’s coin quest and Freezing Path
Meeting the Ferryman adds him to the tarot cards and begins a quest to find his coins. Completing the quest unlocks Freezing Path, a spell linked to The Whisperer arcana card. It uses 35 mana and has 30 attack power. For 3 seconds, Rose can move through enemies while intangible; she also moves faster and freezes any enemy she crosses.
Its two Works of Mercy require killing 25 enemies by freeing them from freeze and passing through 5 enemies within 3 seconds. The gifts trigger a 5-meter frost burst when the effect expires and give a 10% speed increase for each enemy passed, stacking up to five times.
Mirrors of Life fast travel and the Hall of Mirrors
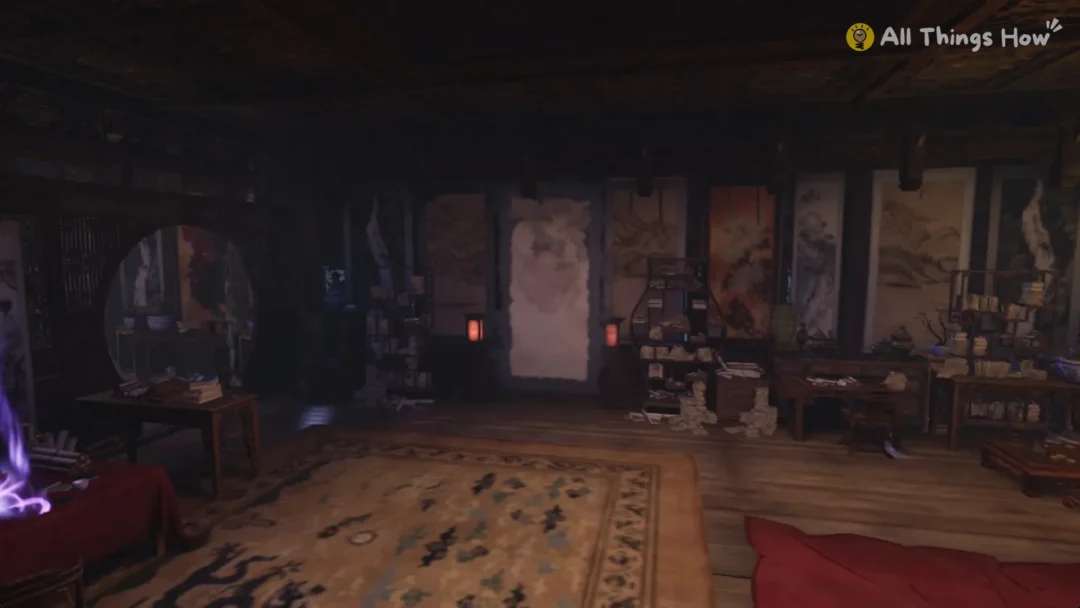
The big blue Mirrors of Life are Rose’s save rooms. They restore her health, refill potions, and set her respawn point. After you’ve met the Ferryman, they also work as warp points, though the game never says so.
The Hall of Mirrors has one level per region, and each level shows only that region’s mirrors. Unvisited mirrors are locked, and their names stay hidden. Moving between levels, and so between regions, only opens up late in the game. Until then, use mirrors for hops inside one region and the Ferryman for anything farther.
There are 34 Mirrors of Life; activate them all to unlock the Narcissus achievement. Eleanor provides the game’s only in-world clue to the warp trick. She is a queen imprisoned in the One-Way Mirror in the south-western section of the Main Hall, and she demands that Rose kneel. Kneeling before Eleanor herself has no effect, since rescuing her is a separate side quest.
Ferryman vs. Mirrors of Life
| Feature | Ferryman’s Wharf | Mirrors of Life |
|---|---|---|
| Range | Between major regions | Save rooms in the current region |
| How to start | Talk to the Ferryman | Crouch at a mirror |
| Destination screen | Wharf destination menu | Hall of Mirrors hub |
| Unlock | Meet him, then enter each blue door | Meet the Ferryman, activate each mirror |
| Total points | 9 wharves | 34 mirrors |
Together they cut out most backtracking, but not all of it. You still have to walk from the nearest wharf or mirror to whatever you missed, so activate every blue door and every mirror the first time you pass them.