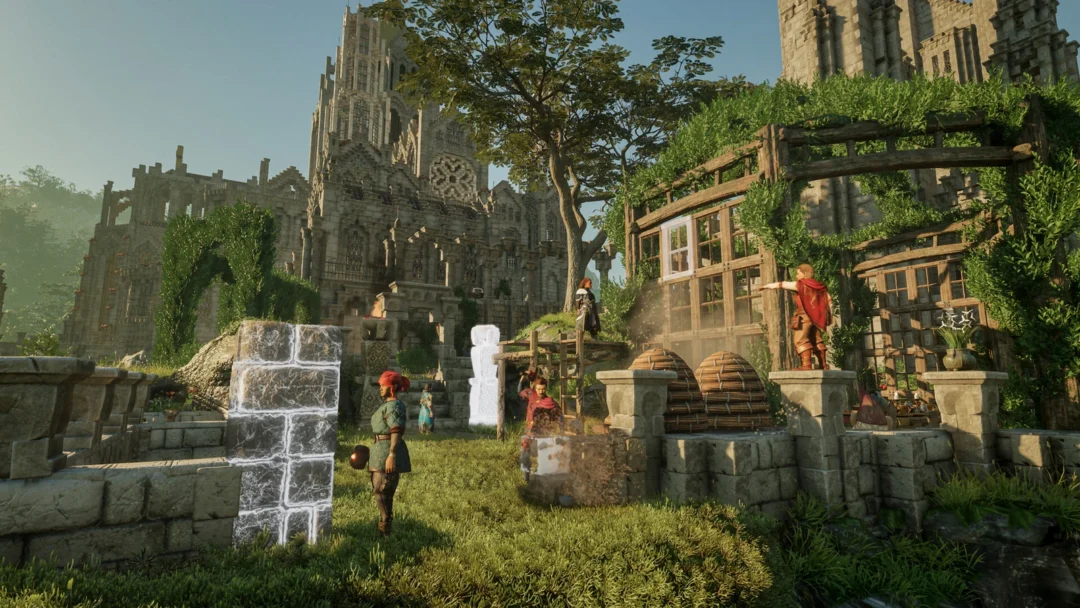
Medusa sits deep under Holy Innocents’ Cemetery in Castlevania: Belmont’s Curse. Getting to her means working your way down from the surface ruins, through the flooded Roman ruins below, and into the snake-filled tunnels that lead to her arena. The route is long, but it is linear once you know which drops and levers matter. Along the way you pick up two relics, a new weapon, and the four clues that point to her Arcana card, The Prophetess.
Quick answer: Medusa is in the Ossuary of the Innocents district of Holy Innocents’ Cemetery. Reach her by dropping from Pauper’s Grave into the Ruins Entrance, following the Roman Baths to Serpents’ Lair, and resting at the Mirror of Life outside her chamber.
Medusa boss location in Holy Innocents’ Cemetery
Holy Innocents’ Cemetery is one of the City of Paris areas, and Medusa is its only boss. The game places her fight in the Ossuary of the Innocents district. You cannot walk straight there from the surface, though. The way into her chamber runs underground, through the Ruins Entrance, Roman Aqueduct, Roman Baths and Hot Springs, and ends in Serpents’ Lair, where a Mirror of Life waits just outside the arena door.

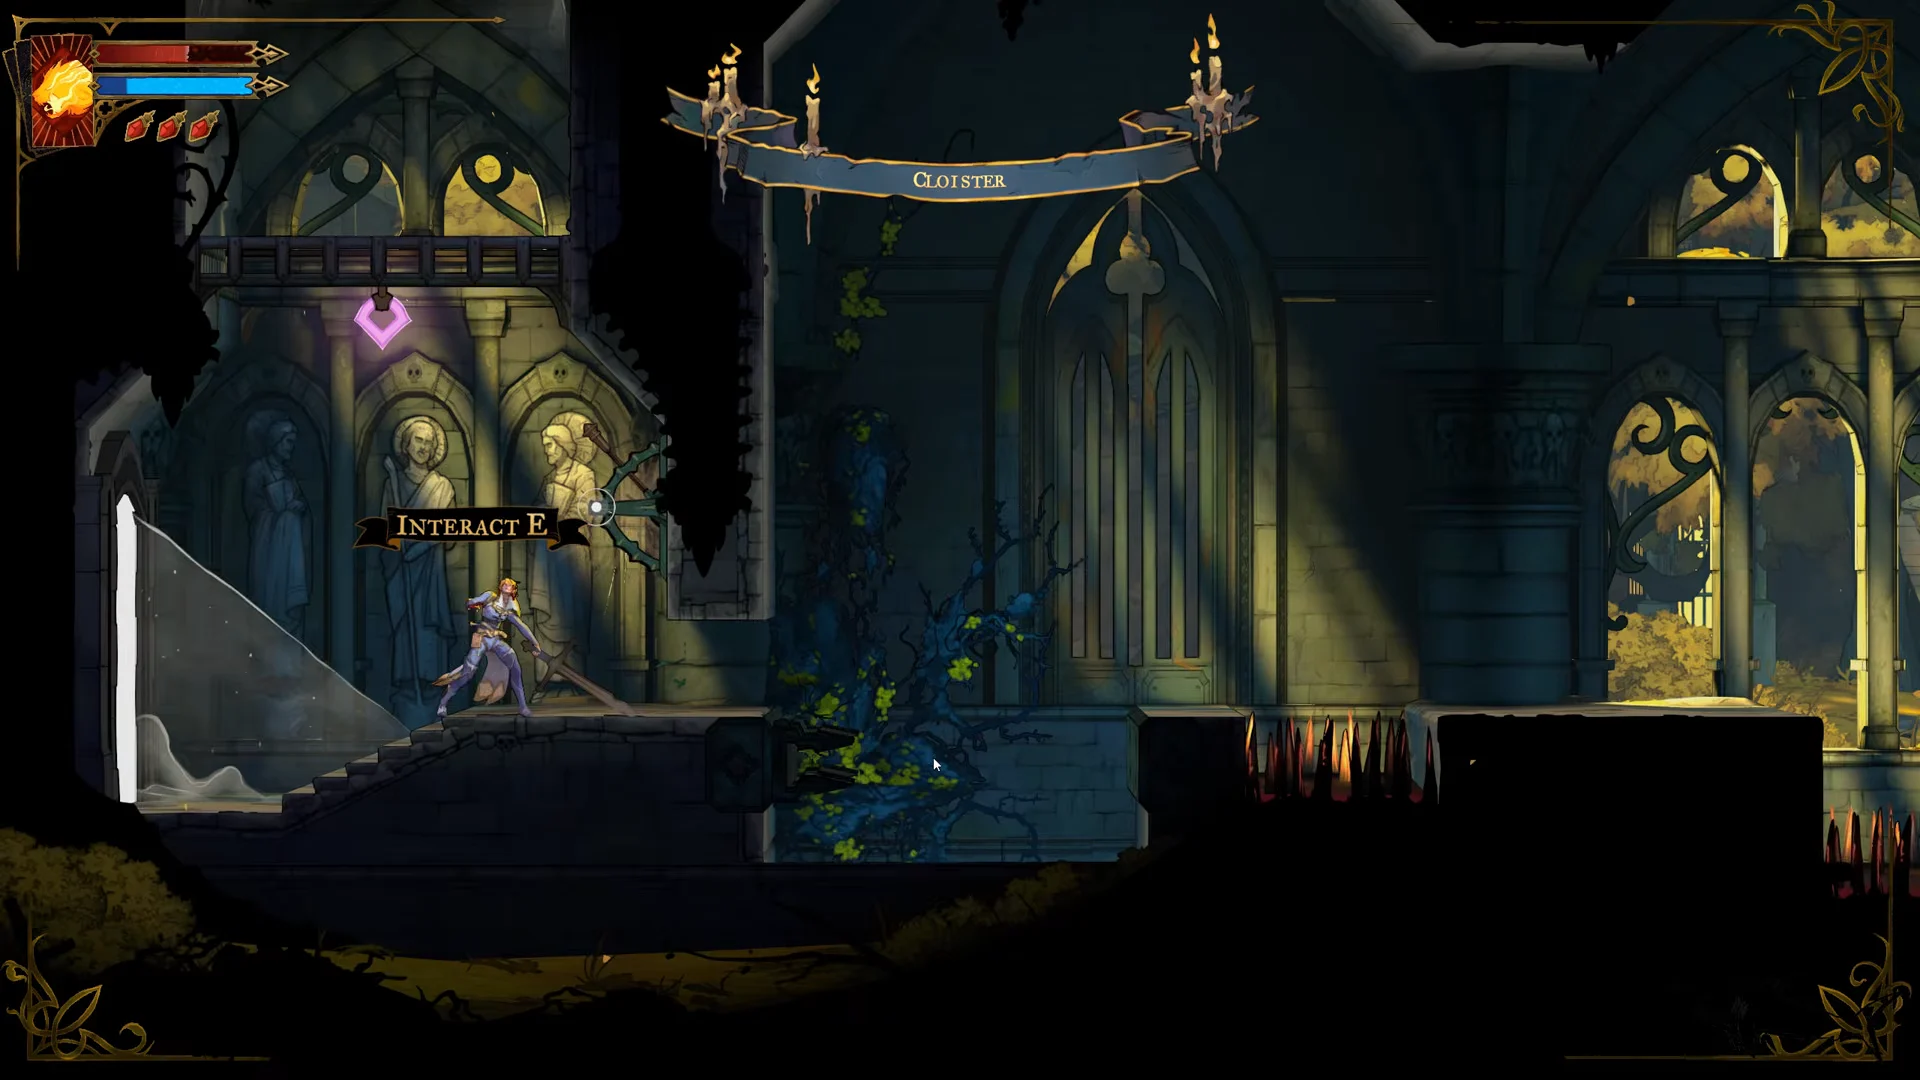
The cemetery has four Mirrors of Life in total. The route below uses three of them: the one in the Cloister where you start, one in Pauper’s Grave halfway through, and the last one before Medusa.
Route to Medusa from the Cloister Mirror of Life
Start at the Mirror of Life in the Cloister. Open your map once before you move off so you can see how the surface districts connect.
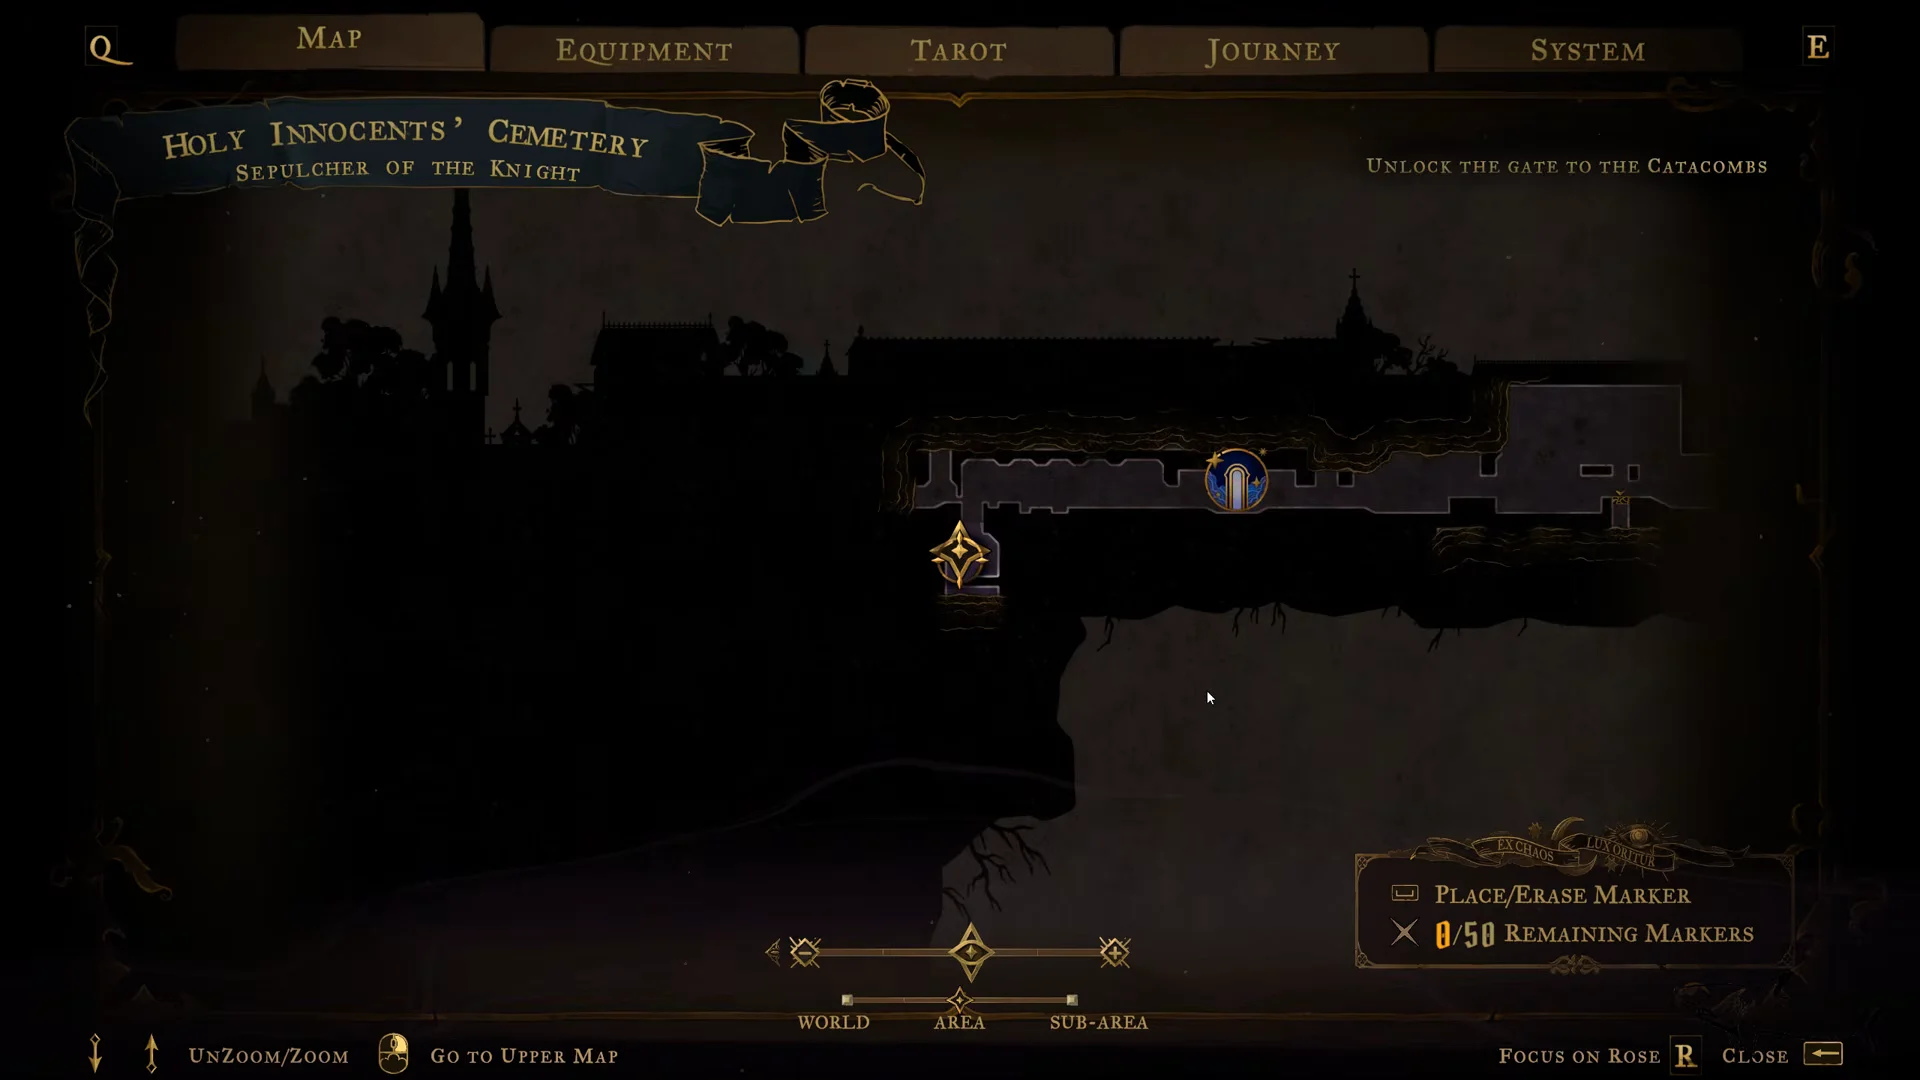
Cloister to the Fountain of the Innocents
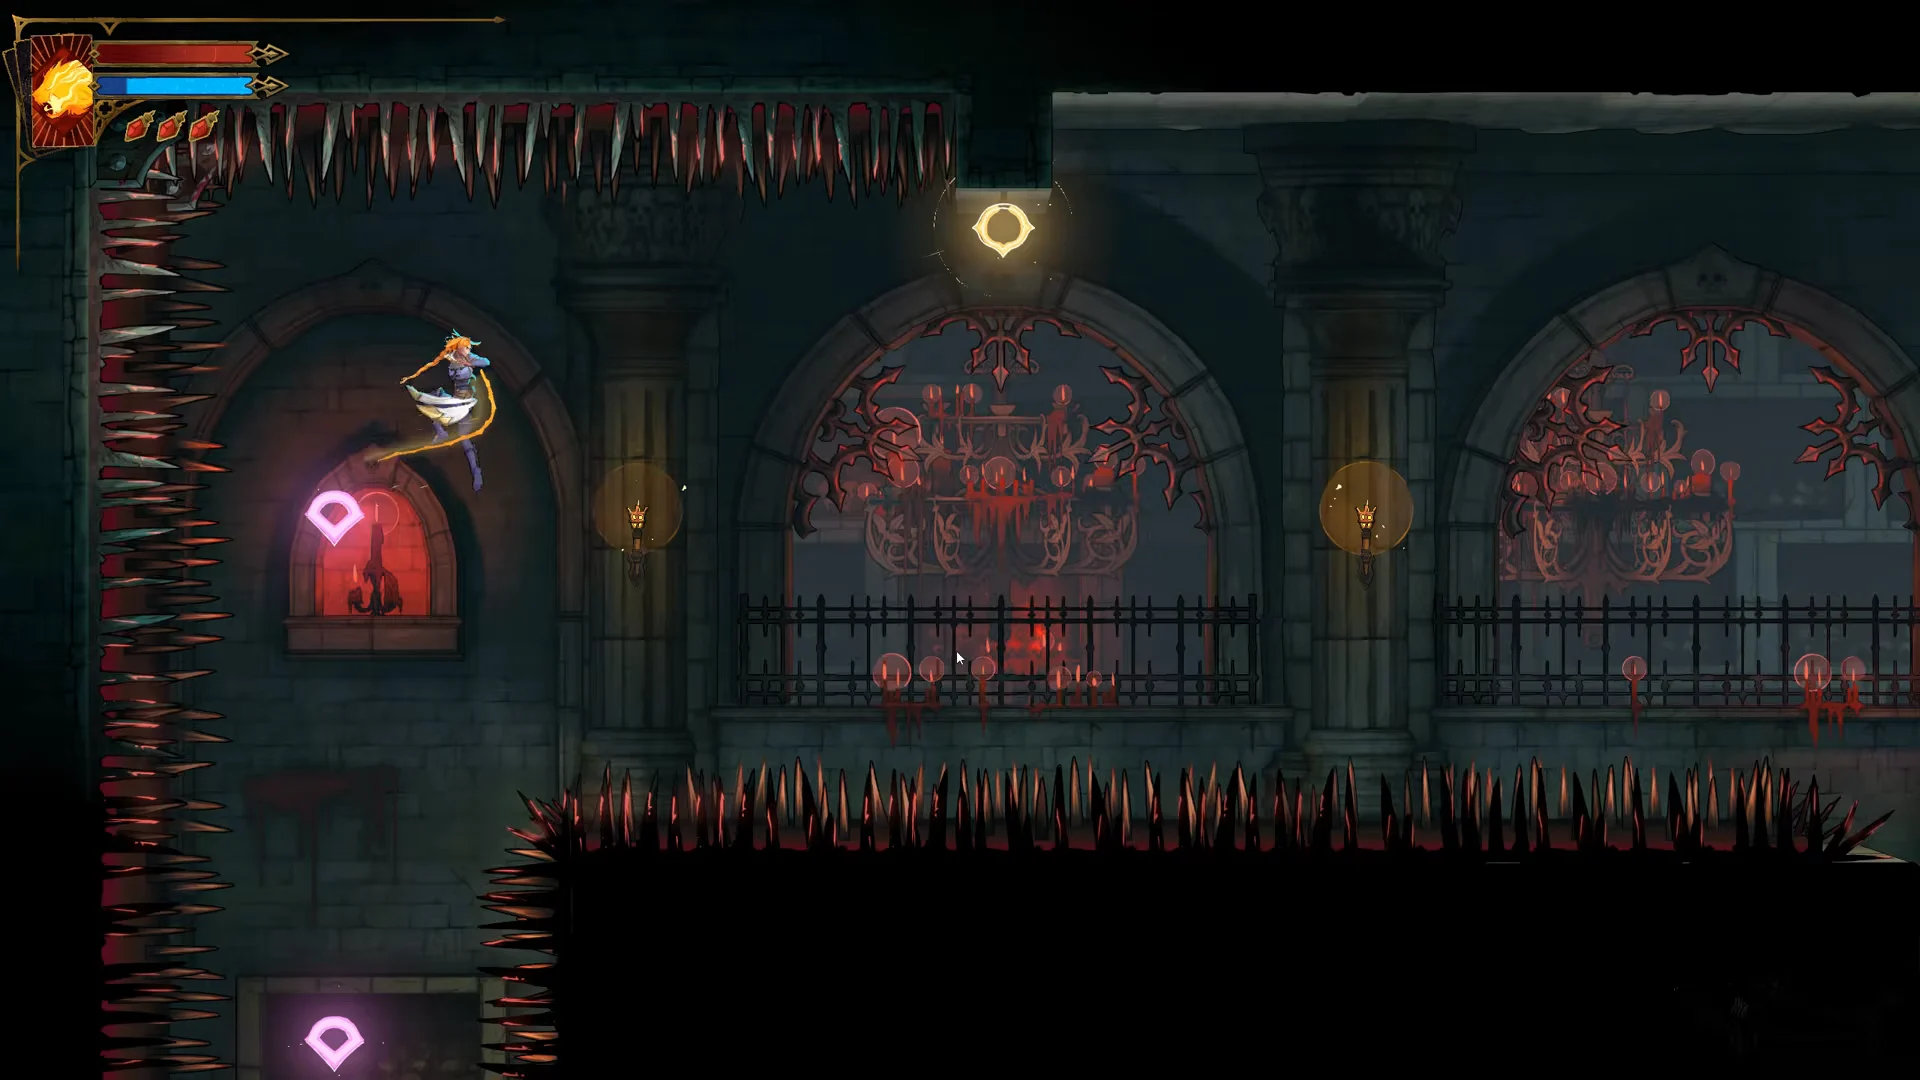
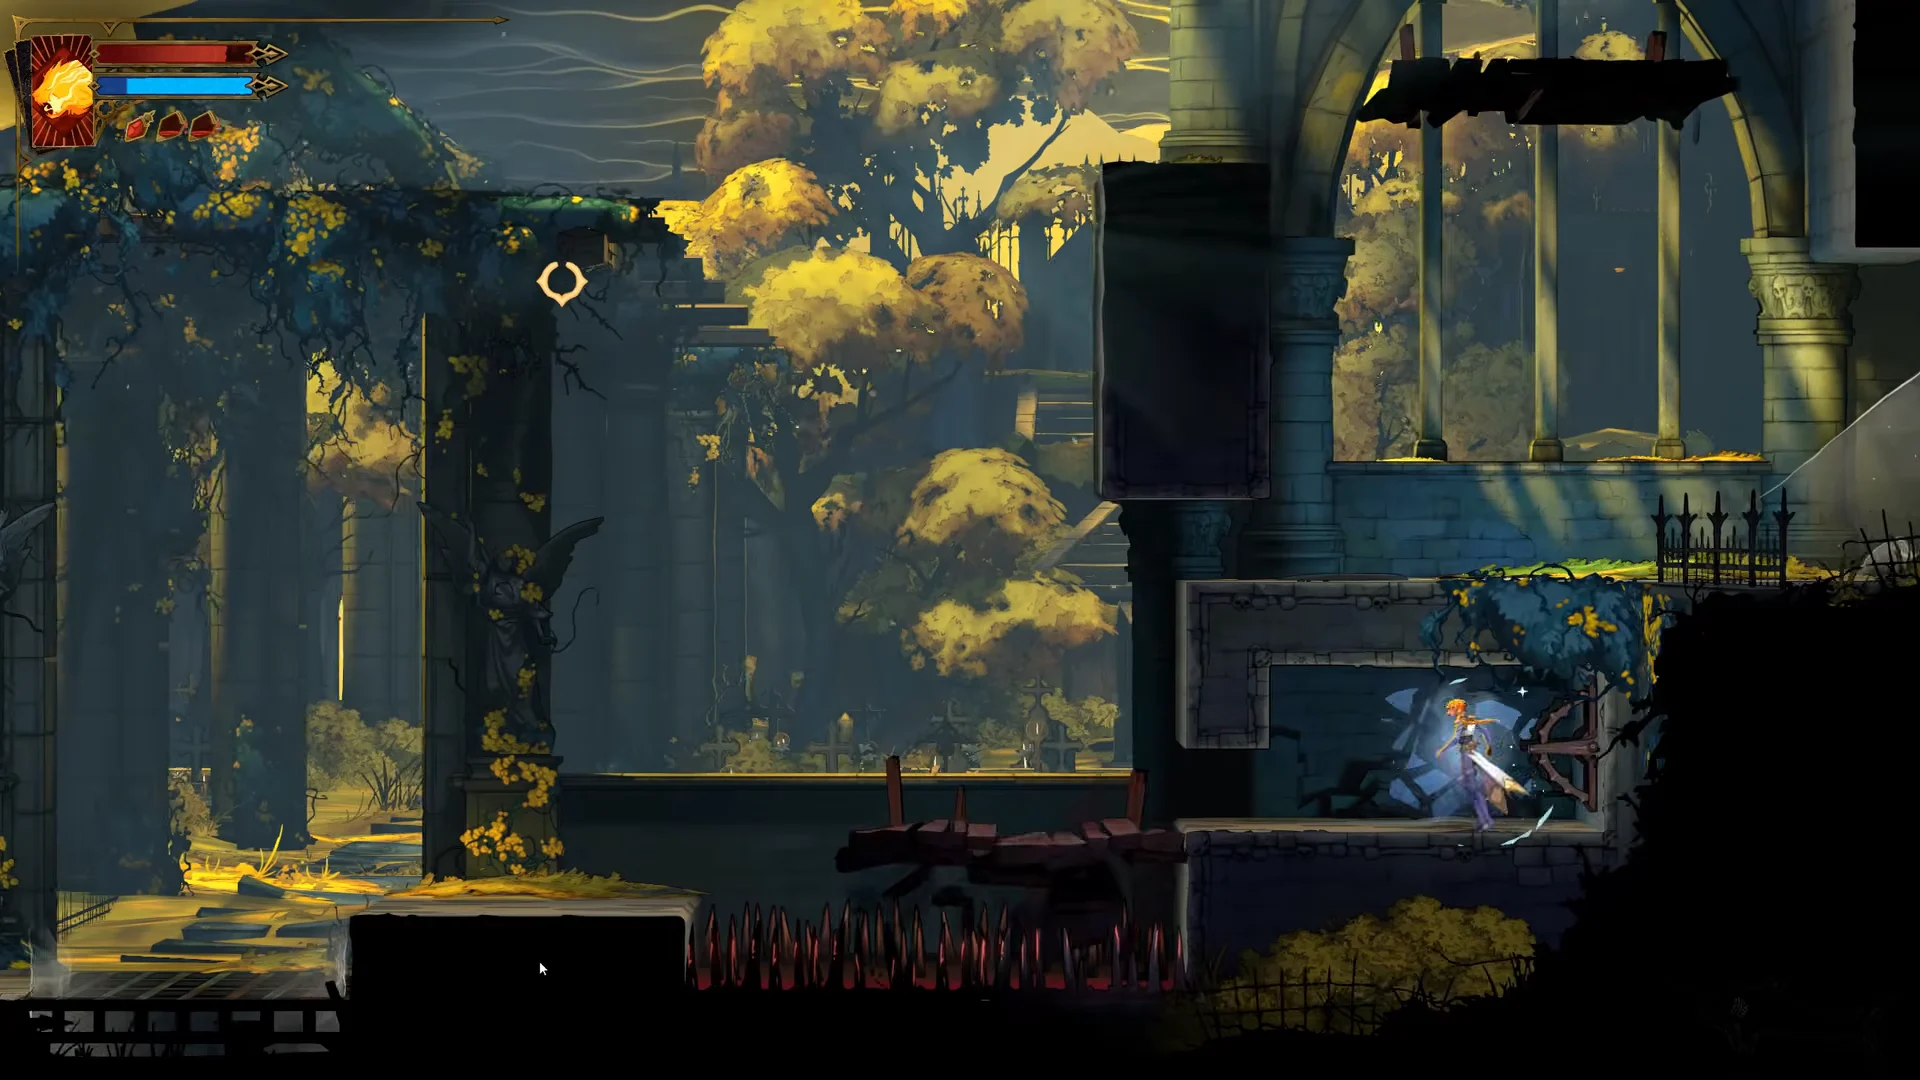
Iron gate, Ossuary and Pauper’s Grave
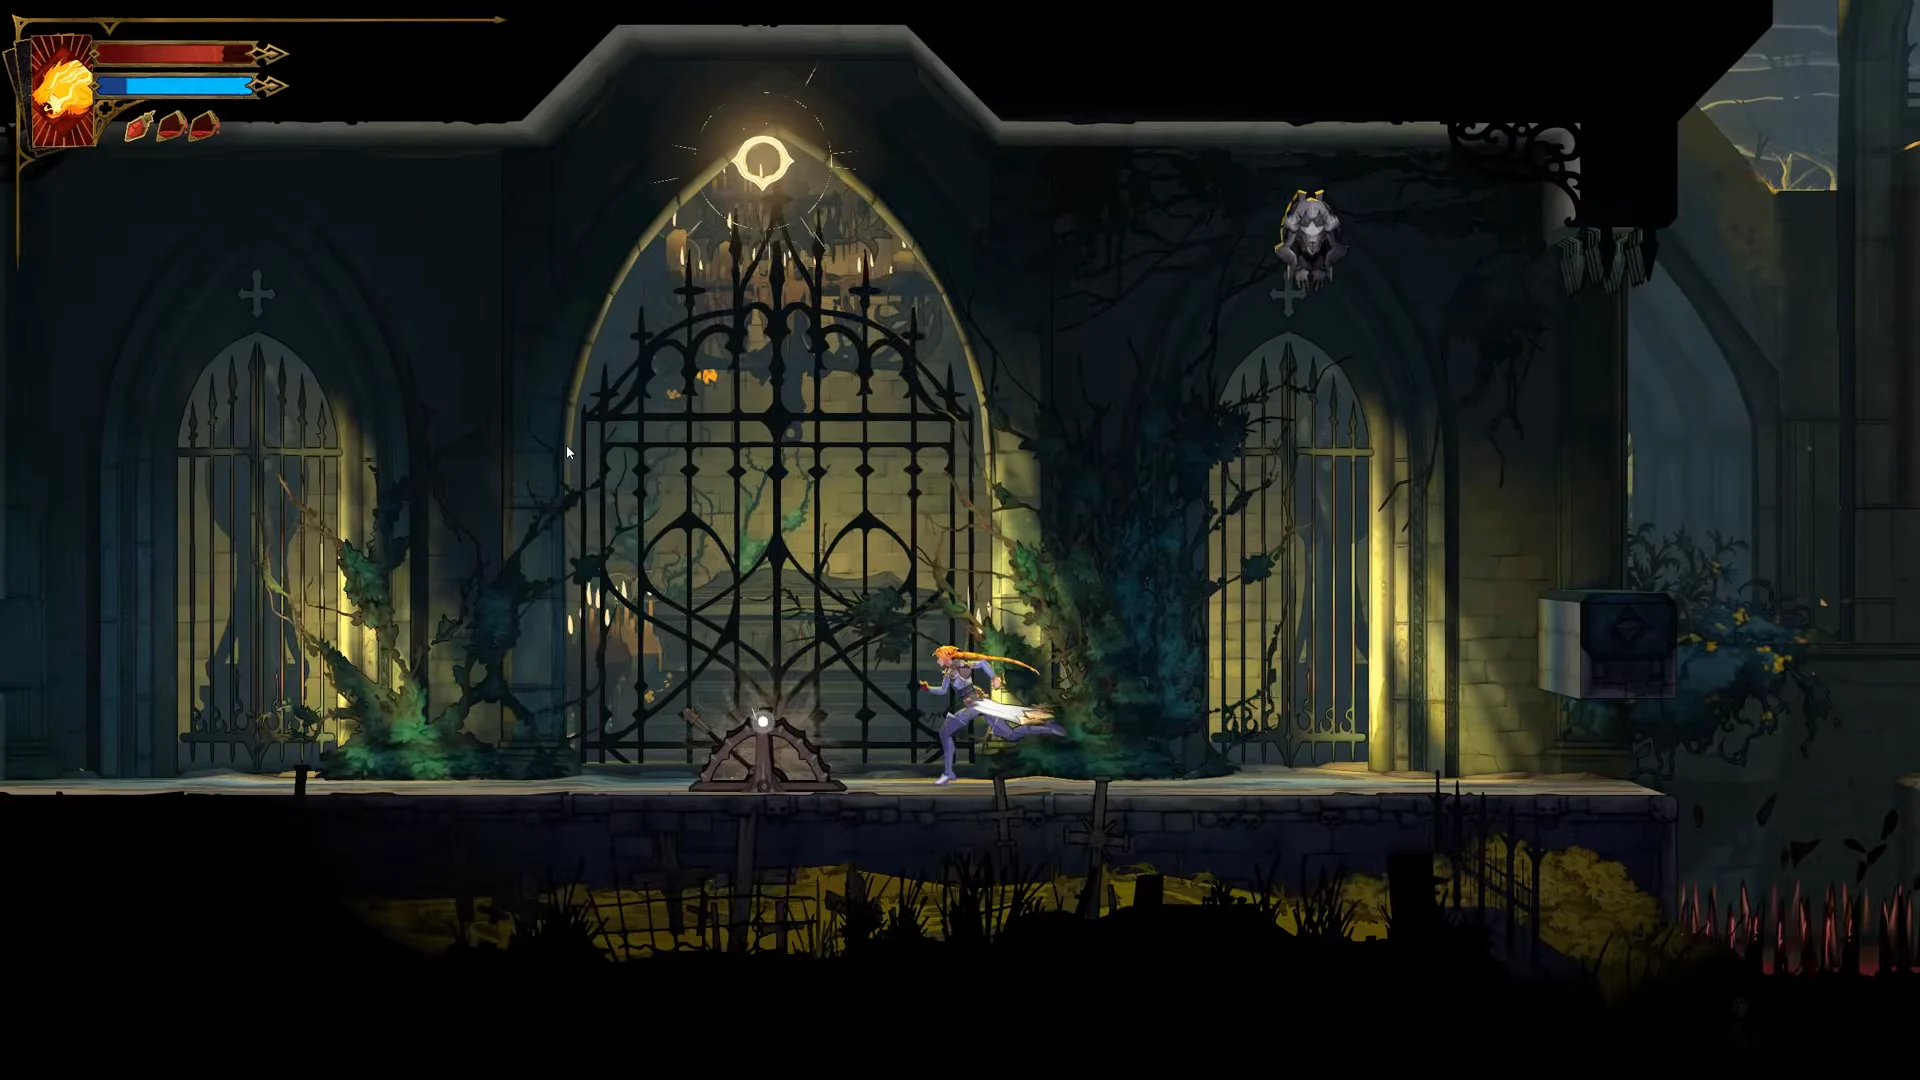
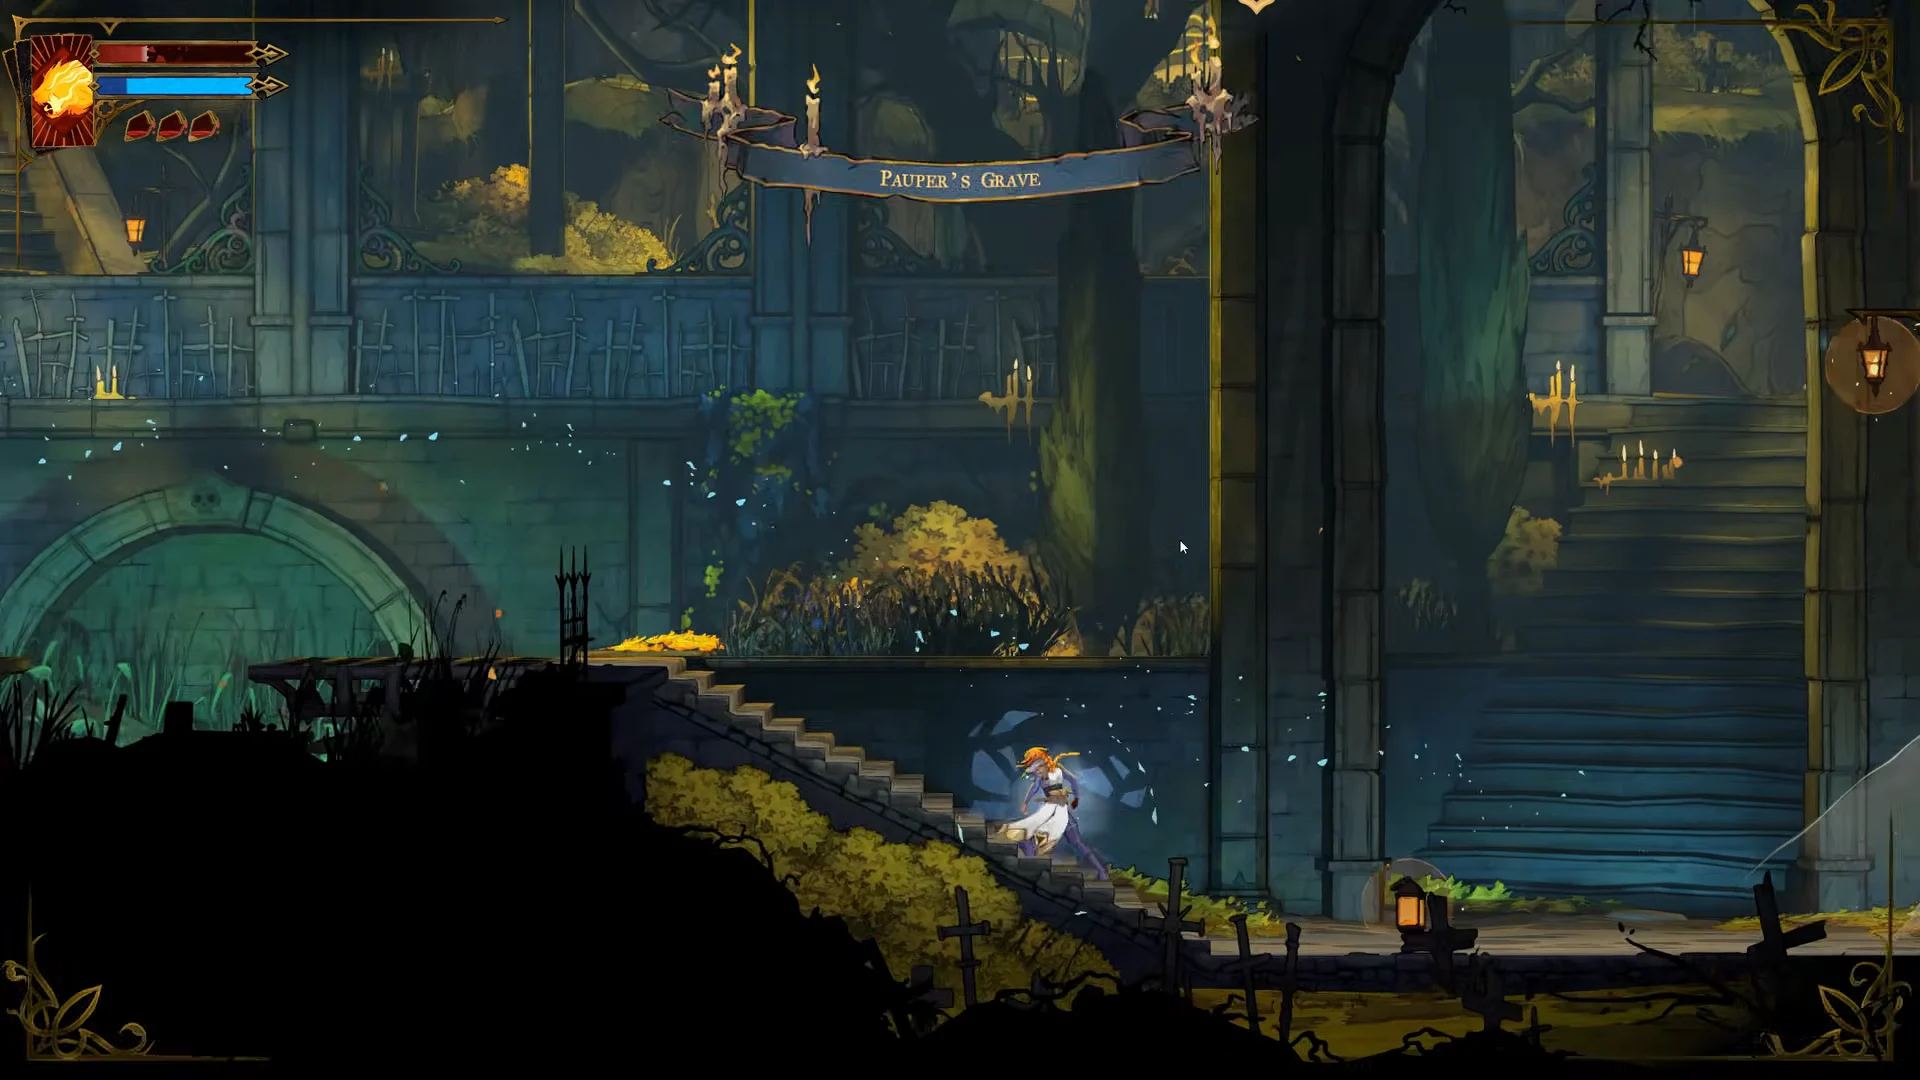
Underground: Roman Baths to Serpents’ Lair
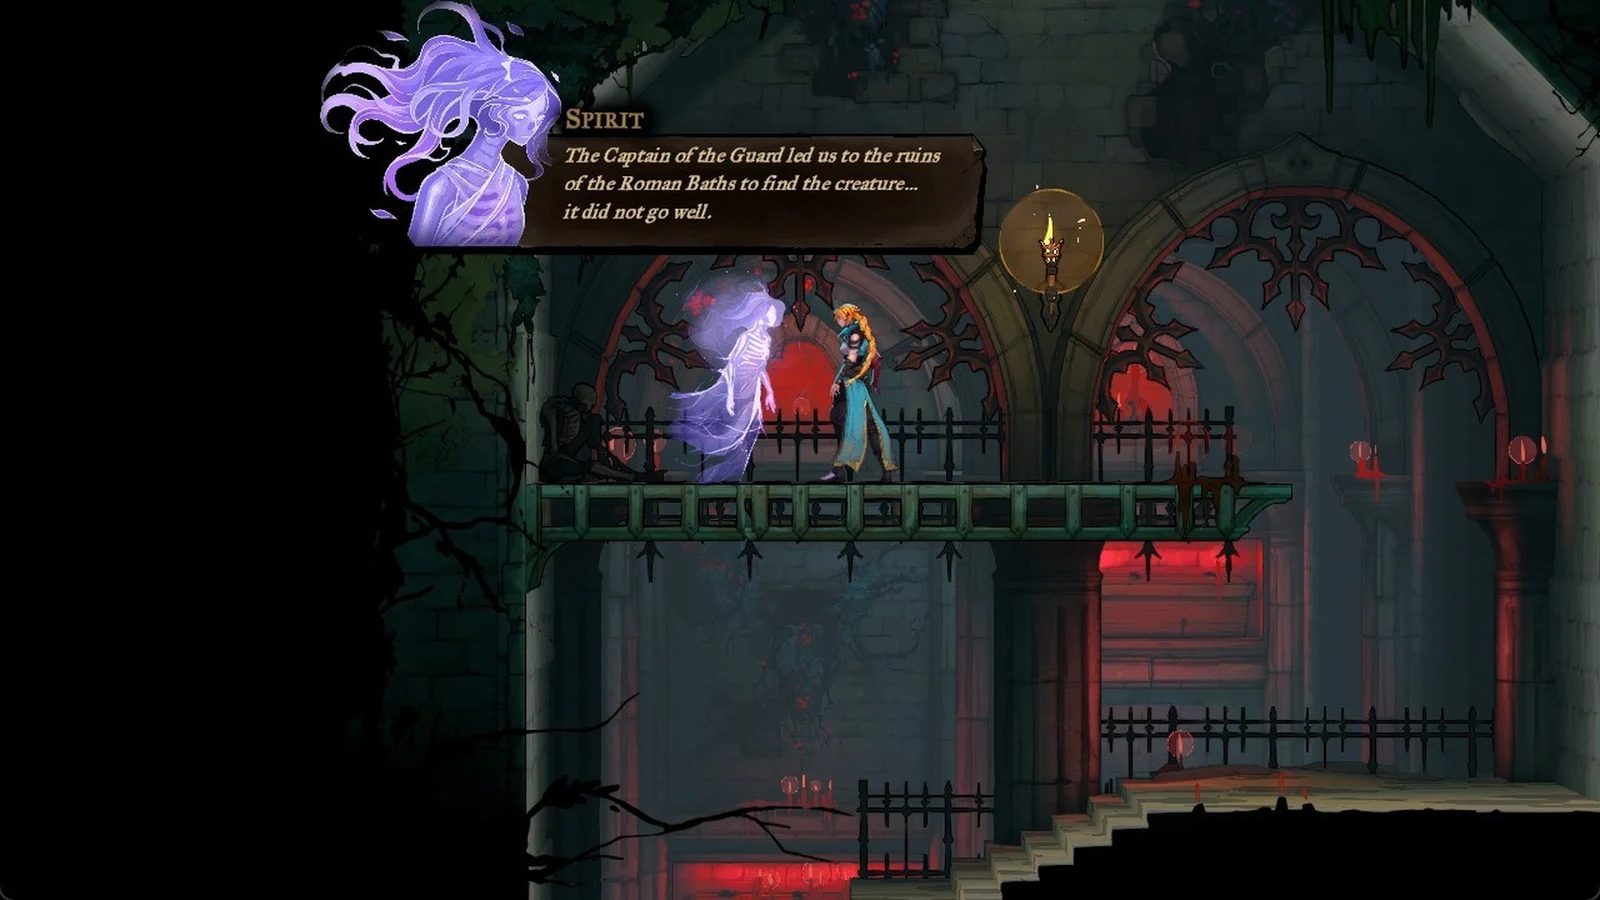
In the Hot Springs loop, Chaos Shards cover the floor gaps under the moving saw. Holy Light clears them.
You know you are in the right place when a cutscene starts with The Fallen, Rose and Medusa. The fight begins at the water’s edge as soon as it ends.
The Prophetess clues and where each spirit is
The Prophetess is Arcana number 4, and it has four clues. Every one of them sits on the route above, so you collect the whole set without leaving the main path. Note that the game spells the second clue “Cemetary.”
| Clue | Where the spirit is | Route step |
|---|---|---|
| Roman Baths | Sepulcher of the Knight | 1 |
| Cemetary Fountain | Fountain of the Innocents | 8 |
| Beneath the Hollow Tree | Hollow tree, Chapel of the Kings | 10 |
| Guardian’s Gaze | Upper walkway, Roman Baths | 14 |
Read in order, the spirits point the same way the route does. One says the Captain of the Guard led them into the Roman Baths after the creature. Another warns that anything thrown into the fountain “disappears.” A third lost a sister who “slipped beneath the roots of the hollow tree.” The last describes seeing the monster’s eyes and being unable to move, which is your warning about her gaze.
Lance, Nightshade and Raven’s Feather on the way to Medusa
Three pieces of gear are found in Holy Innocents’ Cemetery along the route. All of them are worth equipping before the fight.

| Item | Type | Where | Effect |
|---|---|---|---|
 Nightshade | Relic | Pillaged Tombs | Healing potion restores 40% max mana |
 Lance | Weapon (Spear) | Above the iron gate | Can be aimed and thrown |
 Raven’s Feather | Relic | Mass Grave | +25% damage in the air |
Nightshade turns every healing potion into a partial mana refill as well, giving back 40% of Rose’s maximum mana each time you drink one.
Lance is a tier 1, Ordinary spear. Hold the attack button to aim it, then let go to throw it, which gives Rose reach on targets she cannot get close to. Its combo ends in a Push finisher.
| Lance stat | Value |
|---|---|
| ATK | 25 |
| Attack power | 22 |
| Stagger power | 30 |
| Mana per hit | 3 |
Raven’s Feather boosts Rose’s damage by 25% during aerial combat.
Medusa boss stats and immunities
Medusa has 1,500 health and a fixed base value, so there is no difficulty setting that changes it.
| Stat | Value |
|---|---|
| Health | 1,500 |
| Attack | 24 |
| XP | 500 |
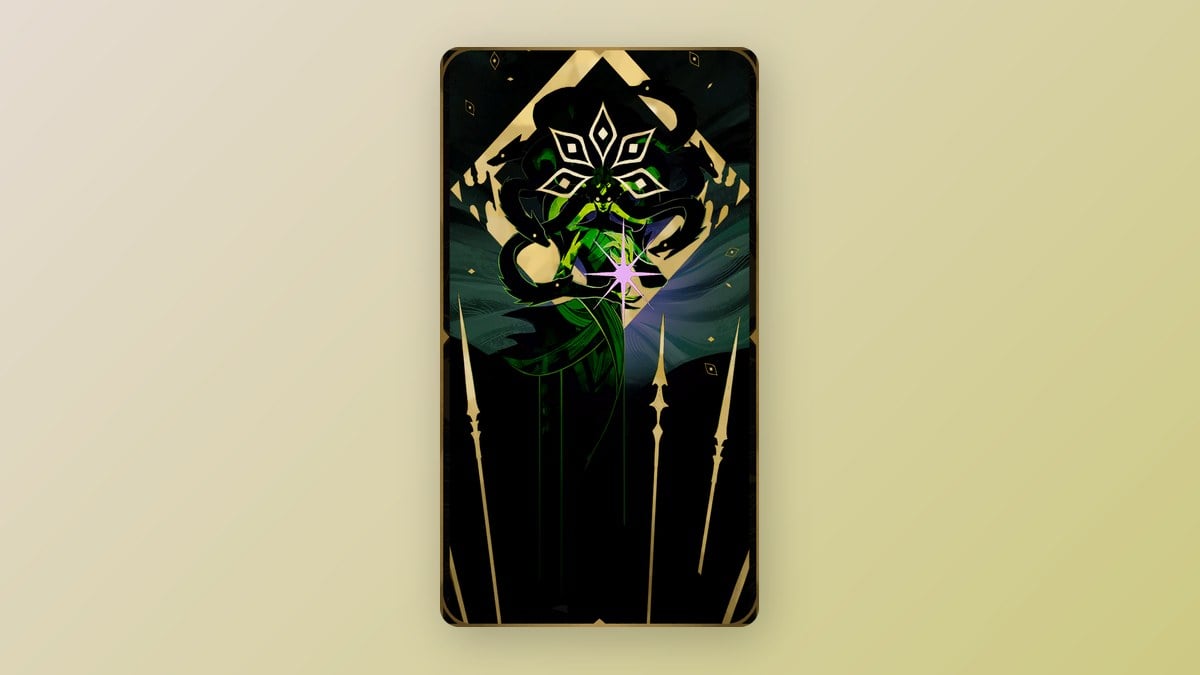
| Arcana card |  The Prophetess |
| District | Ossuary of the Innocents |
Several crowd-control effects do nothing to her. She is immune to:
- Petrify, freeze and fatal fall
- Launch into the air and slam down
- Chronomantic Dive slow
- Freezing Path link
- Infernal Pyre launch
Medusa is one of three bosses that drop a key for the sealed Catacombs door. Here is how she lines up against the other two.
| Boss | Area | Health | Key reward |
|---|---|---|---|
 Leon | Paris Streets | 800 | The Fallen’s Key |
 Medusa | Holy Innocents’ Cemetery | 1,500 | The Prophetess’s Key |
 Joan | Paris Streets | 1,800 | The Warrior’s Key |
Medusa rewards: Petrifying Gaze and The Prophetess’s Key
Beating Medusa seals her into The Prophetess card and gives you two rewards plus 500 XP. You can confirm the fight counted by checking your key items for The Prophetess’s Key and your spells for Petrifying Gaze.

The Prophetess’s Key counts as one of the three keys needed to unlock the sealed Catacombs door. Once you possess the other two, you can enter through it.
Petrifying Gaze turns enemies standing in front of Rose to stone. The spell uses 75 mana and has 25 attack power. Its gifts improve its efficiency over time. Defeating a petrified enemy restores half the spell’s mana cost, and foes closer to Rose remain petrified longer and need more hits to break free.
The Prophetess also has two works of mercy tied to the spell. One asks you to petrify an enemy carrying a shield. The other asks you to petrify 25 enemies in the air and have each one die from the fall right after.