Castlevania: Belmont’s Curse — How to Find The Warrior Boss Location (Joan)
Joan waits on the Roof of the Tower in Paris Streets, reached through the sewers and a full Prison Tower climb.
Joan waits on the Roof of the Tower in Paris Streets, reached through the sewers and a full Prison Tower climb.
by AllThingsHow Staff
The Warrior is Joan, the Maid of Orleans, and she sits at the very top of the Prison Tower in the Paris Streets area of Castlevania: Belmont’s Curse. You can’t walk straight in. The tower’s bridge starts raised, so the route loops down through the sewers, back up to a signposted crossroads, and then up a long, trap-heavy climb that ends on the roof.
Quick answer: Joan is fought in the Roof of the Tower district of Paris Streets. Reach it by looping through the Sewer Reservoir to the Prison Tower signpost, then climbing the Guard Level, Torture Level, and Upper Tower.
Where Joan is in Paris Streets
The Roof of the Tower is the final district of the Prison Tower climb. Every district you pass through on the way belongs to Paris Streets, part of the City of Paris.
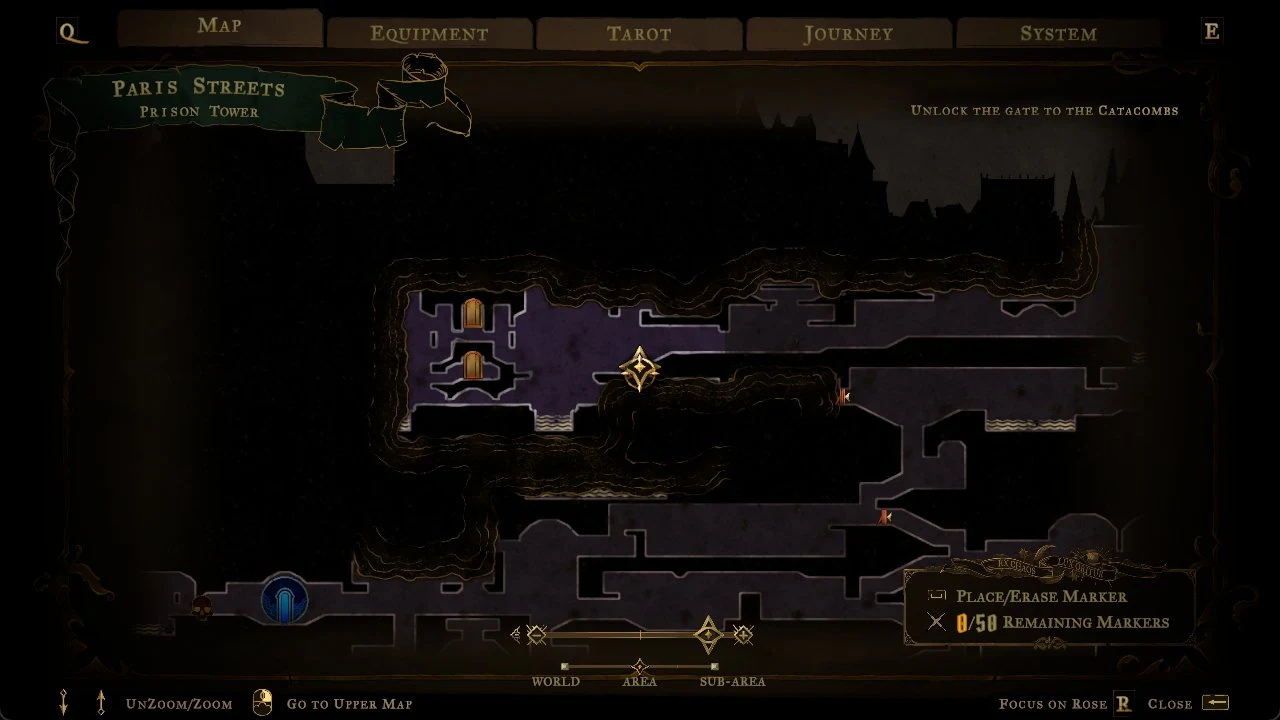
The Map tab shows the Paris Streets area, Prison Tower, with the objective to unlock the gate to the Catacombs.
District
What it holds
Prison Tower
ATK UP book, Brave Heart Fragment, 1 Mirror of Life, 3 secret areas, 1 breakable wall
Roof of the Tower
Joan, Burnt Sword of Fierbois, The Warrior’s Key, 1 secret area, 1 breakable wall
Central Sewer Drain
Twilight Gem, 1 Mirror of Life
The Prison Tower’s Mirror of Life sits roughly halfway up the climb. It’s the checkpoint you’ll respawn at if Joan beats you, which is why the crane lift shortcut covered further down matters.
Sewer route to the Prison Tower entrance
You need the Arcane Whip for this route. It lets you aim and hook onto glowing anchors or enemies to reach new areas, and it’s granted in the Abandoned Sewers district of Paris Streets. Start from the Paris Streets Mirror of Life that opens onto the Burned District.
Head into the Burned District and talk to the spirit floating on the small bridge. She tells you, “The Warrior stormed the tower… we trapped her atop …but then the flames… took us…” This registers the first of The Warrior’s two clues and starts the tarot quest.
Keep going through the burning streets and the burning mill, using whip grapples to cross the rooftops and swing through the mill’s interior. You’ll come out at the base of the Prison Tower, where Rose and The Fallen trade a few lines about the tower.
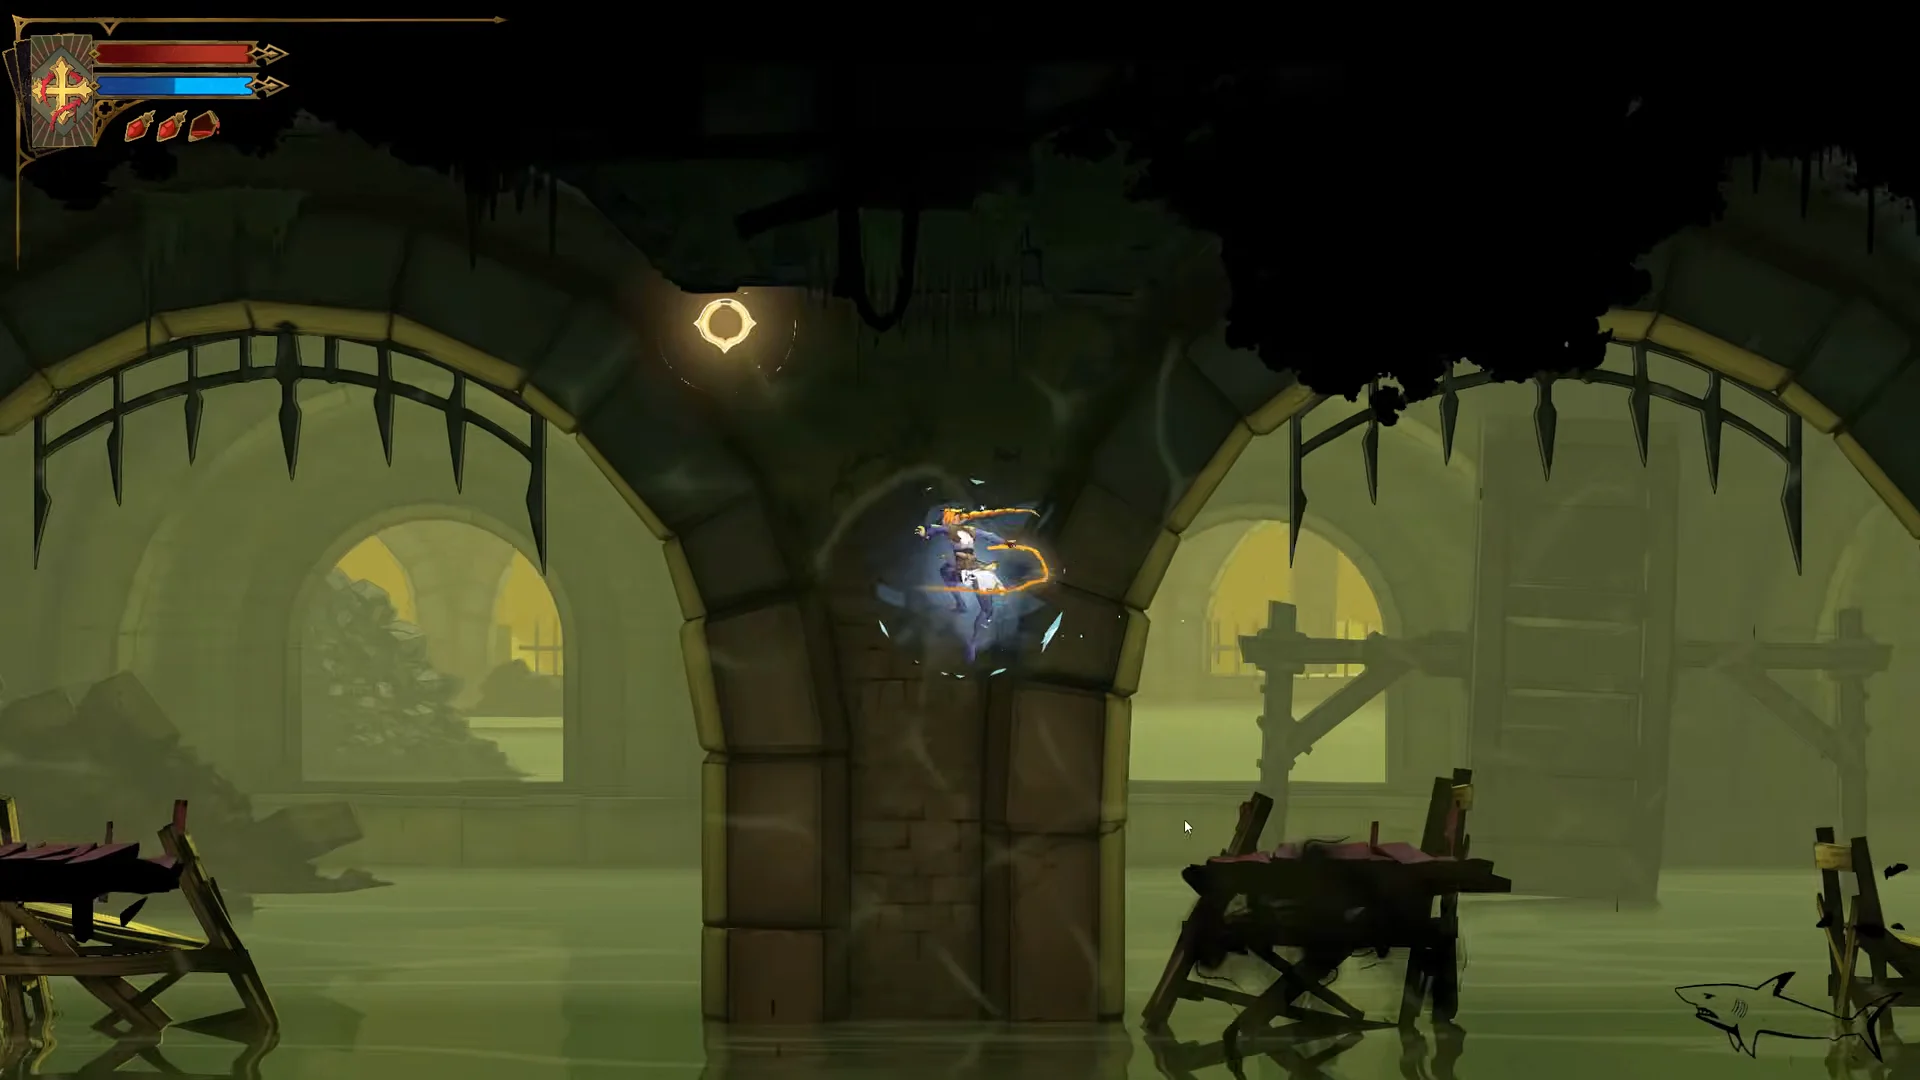
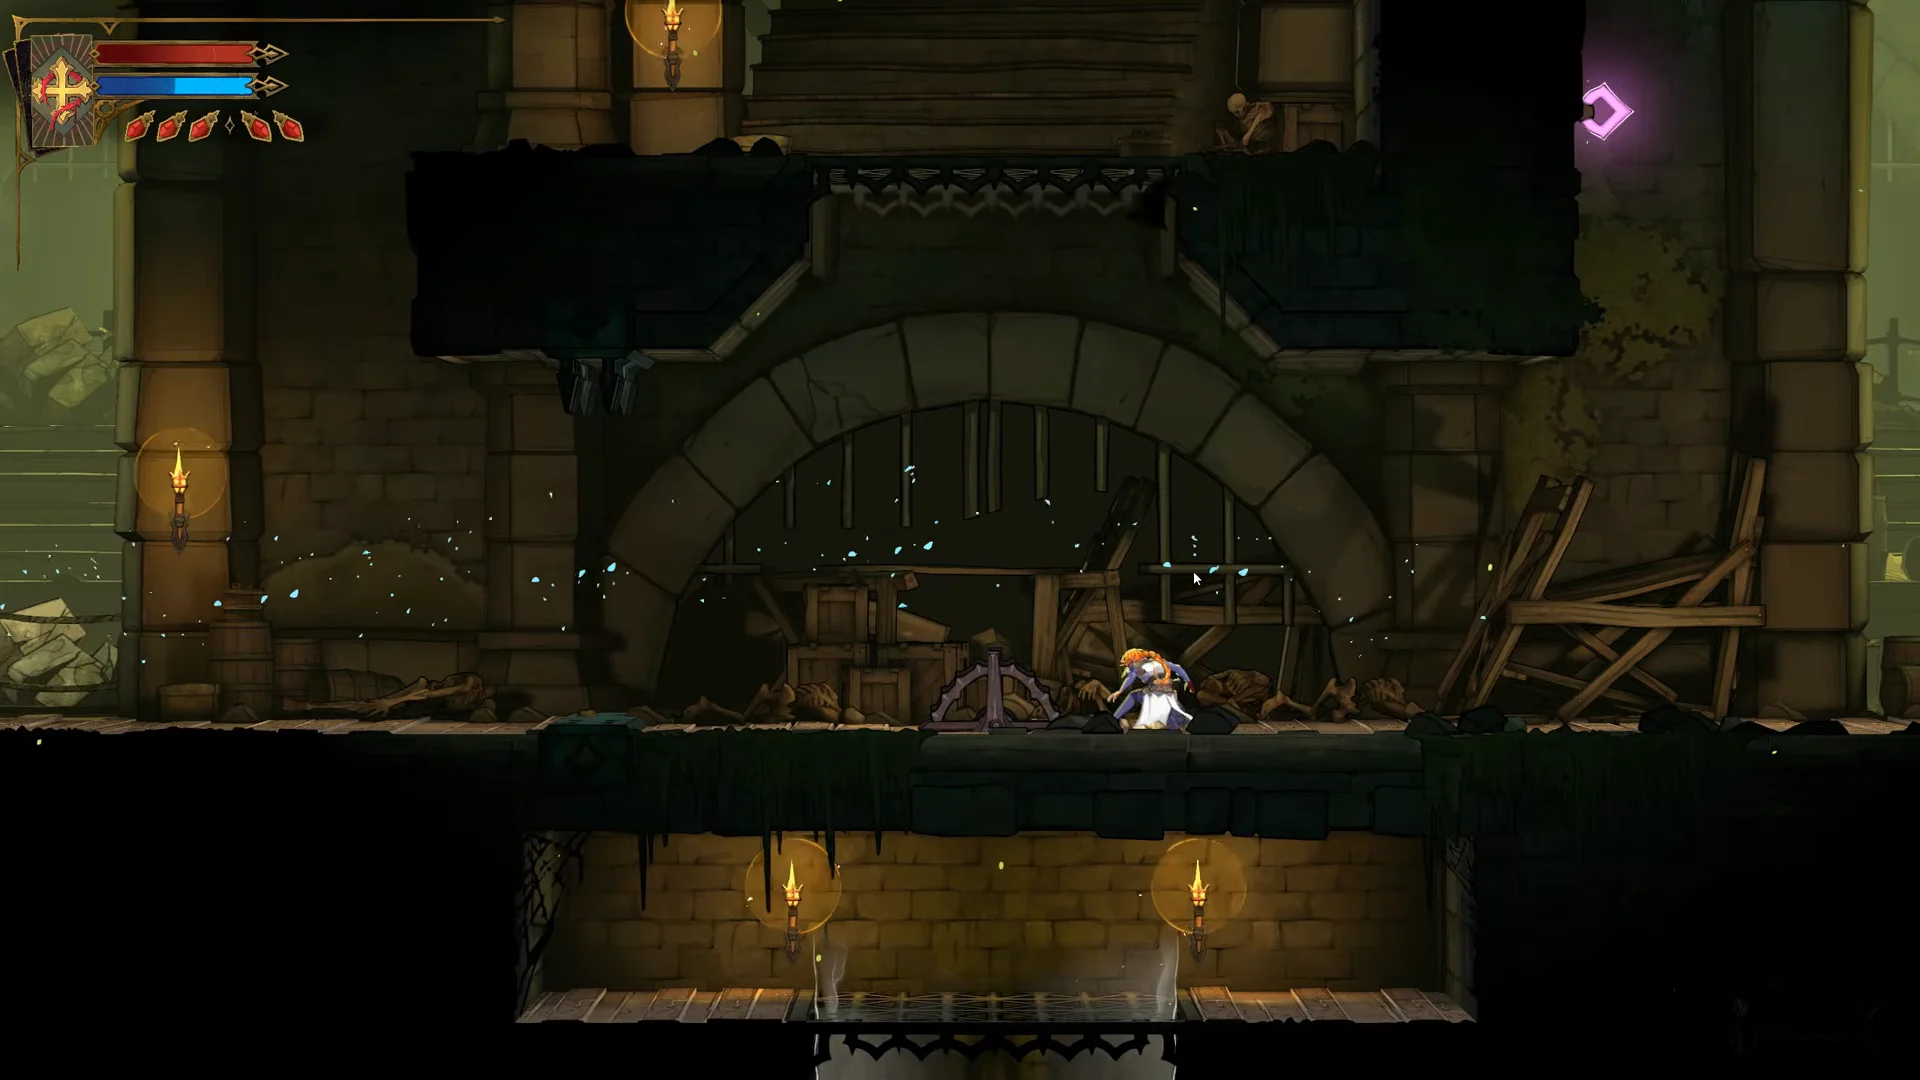
Cross the reservoir by grappling between the stone arches over the water and fighting along the wooden walkways. Some planks over the water break if you stand on them too long, which sends you back to the start of the crossing.
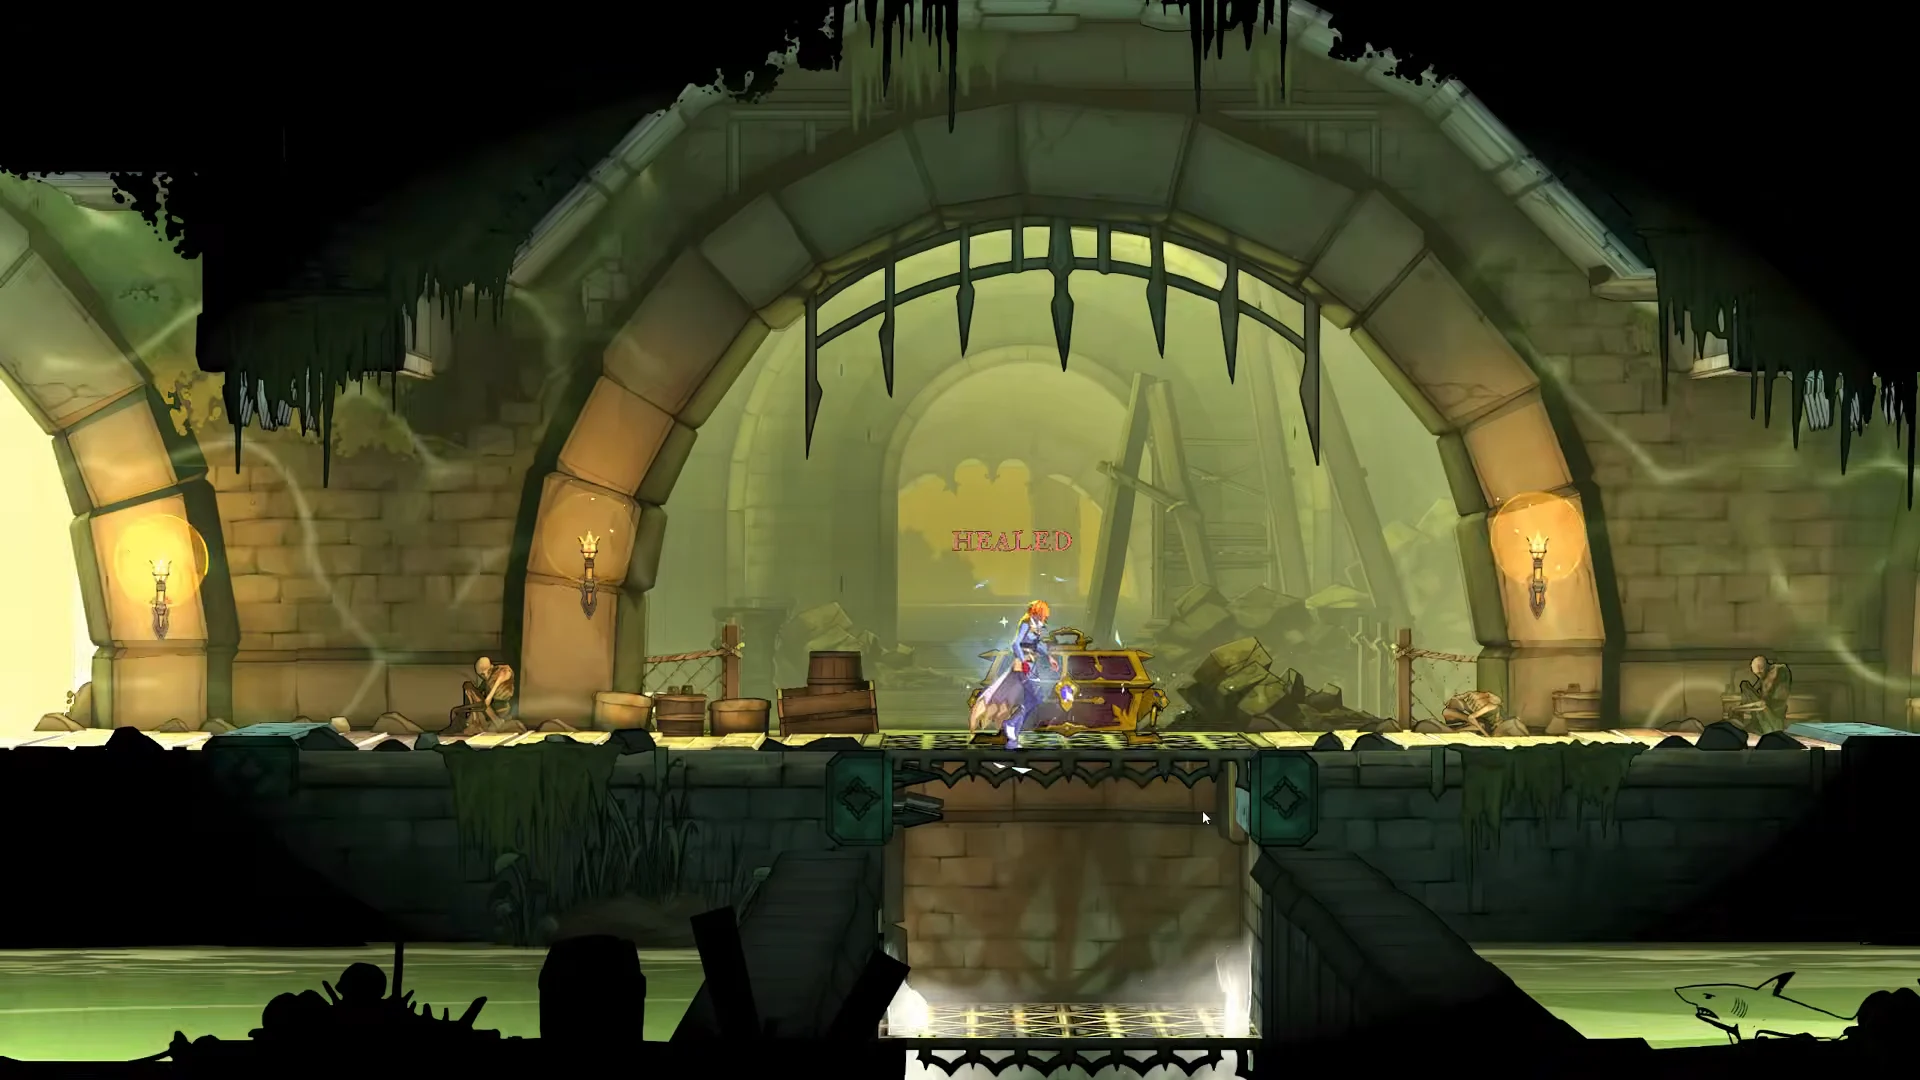
Open the chest on the far side of the water to collect the Cestus, a fists-type weapon. The room then seals and sends three enemy waves at you, with the last one bringing a large flame-staff enemy, an archer, and a bat. Take out the archer first, and the doors reopen once all three waves are down.
03:29Looting CestusThe Cestus chest sits across the water, and opening it triggers the wave fight. Shown at 03:29 in Shark R’s video. Image: KONAMI
Run through the flooded tunnels and along the upper ledges. Pull the reservoir lever to raise the metal portcullis ahead of you. The Central Sewer Drain’s Mirror of Life is close by if you need to heal after the waves.
04:29Sewer Drain RouteStay on the upper ledges of the drain tunnels on the way to the reservoir lever. Shown at 04:29 in Shark R’s video. Image: KONAMI
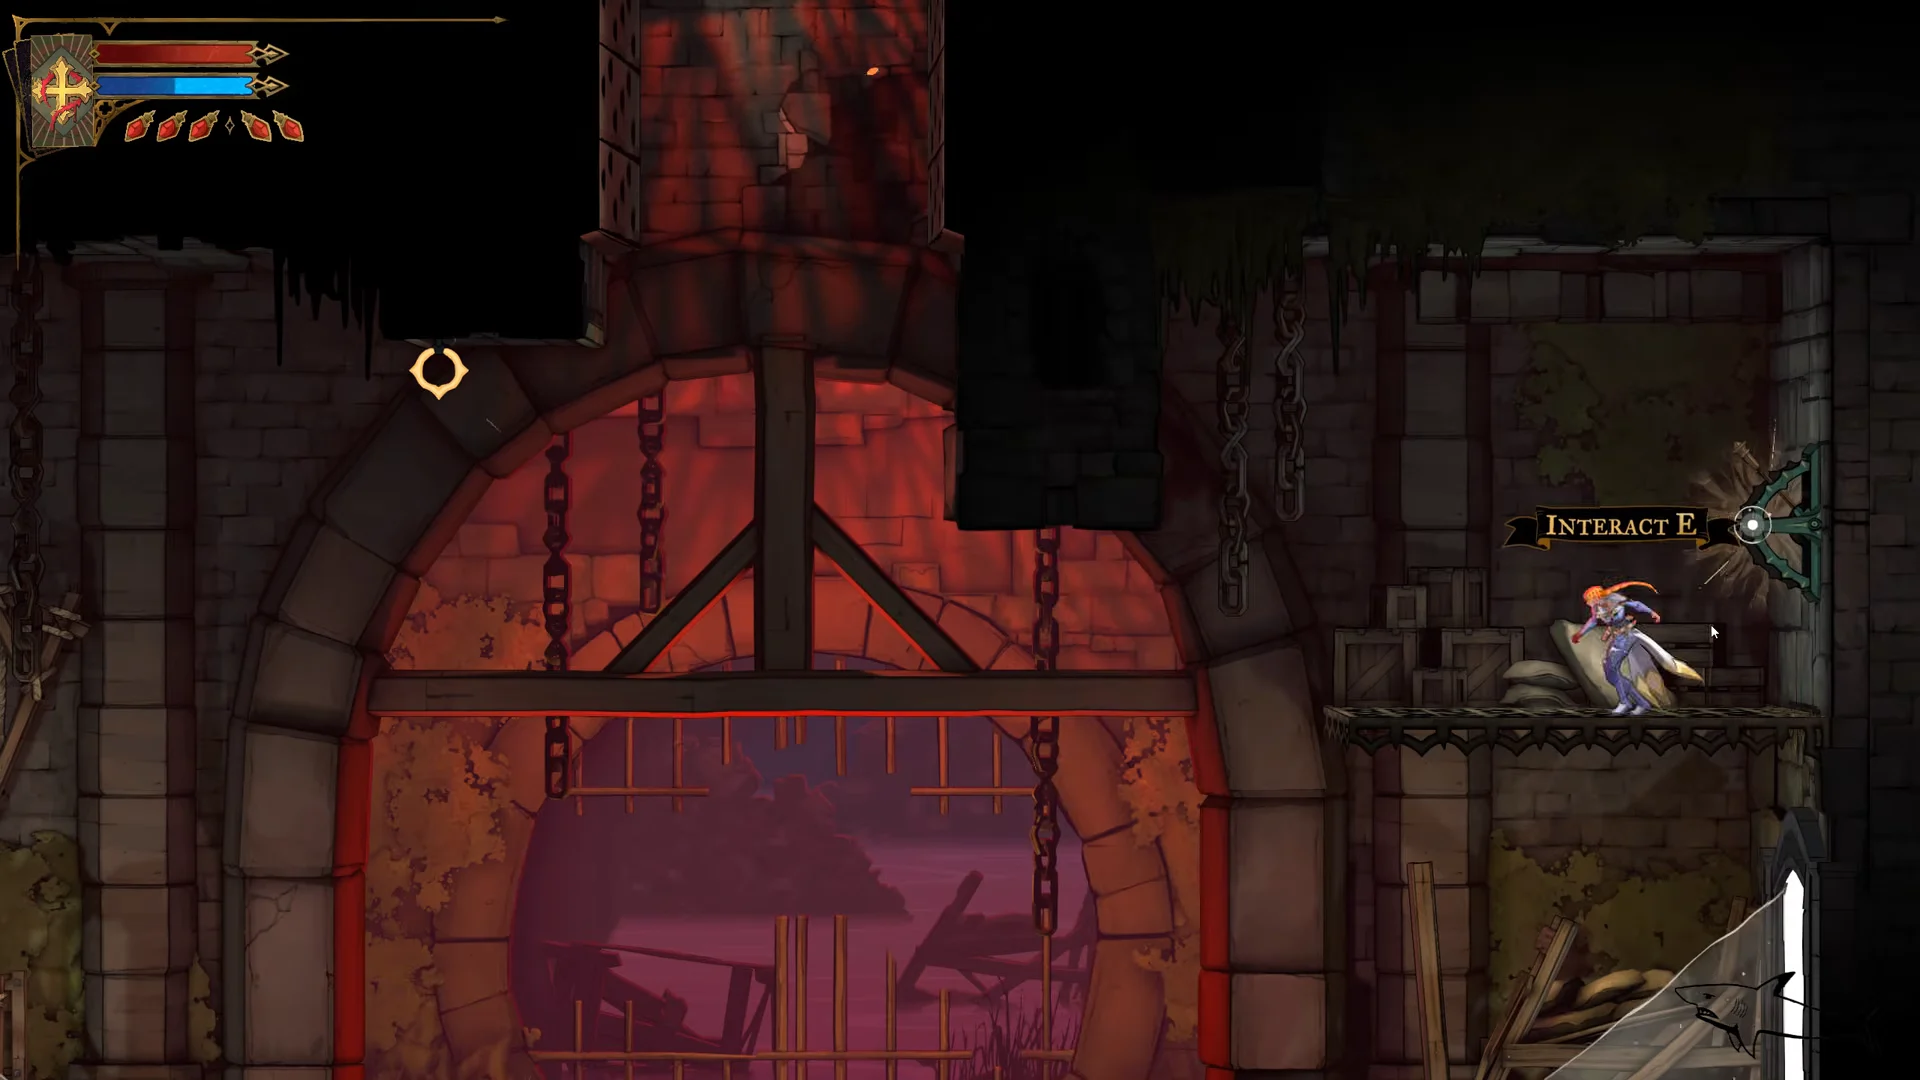
Use the purple and yellow anchors to grapple up the vertical shafts to the Sewer Entrance. Avoid clinging to the walls: spikes emerge and knock you back down. At the top, operate the lever next to the large barred gate.
Find the signpost at the crossroads. Holy Innocents’ Cemetery is to the left and the Prison Tower is to the right. Go right.
Climbing the Prison Tower to the Roof of the Tower
The climb follows a repeating pattern. You clear a short indoor stretch, step outside, pull a lever or crank that opens a shortcut, and move up. Every shortcut you open shortens the trip back if you die.
Clear the archers and shield guards at the tower’s lower exterior. Activate the stone angel statue for a level up, then pull the catwalk levers to lower the bridges that connect the tower.
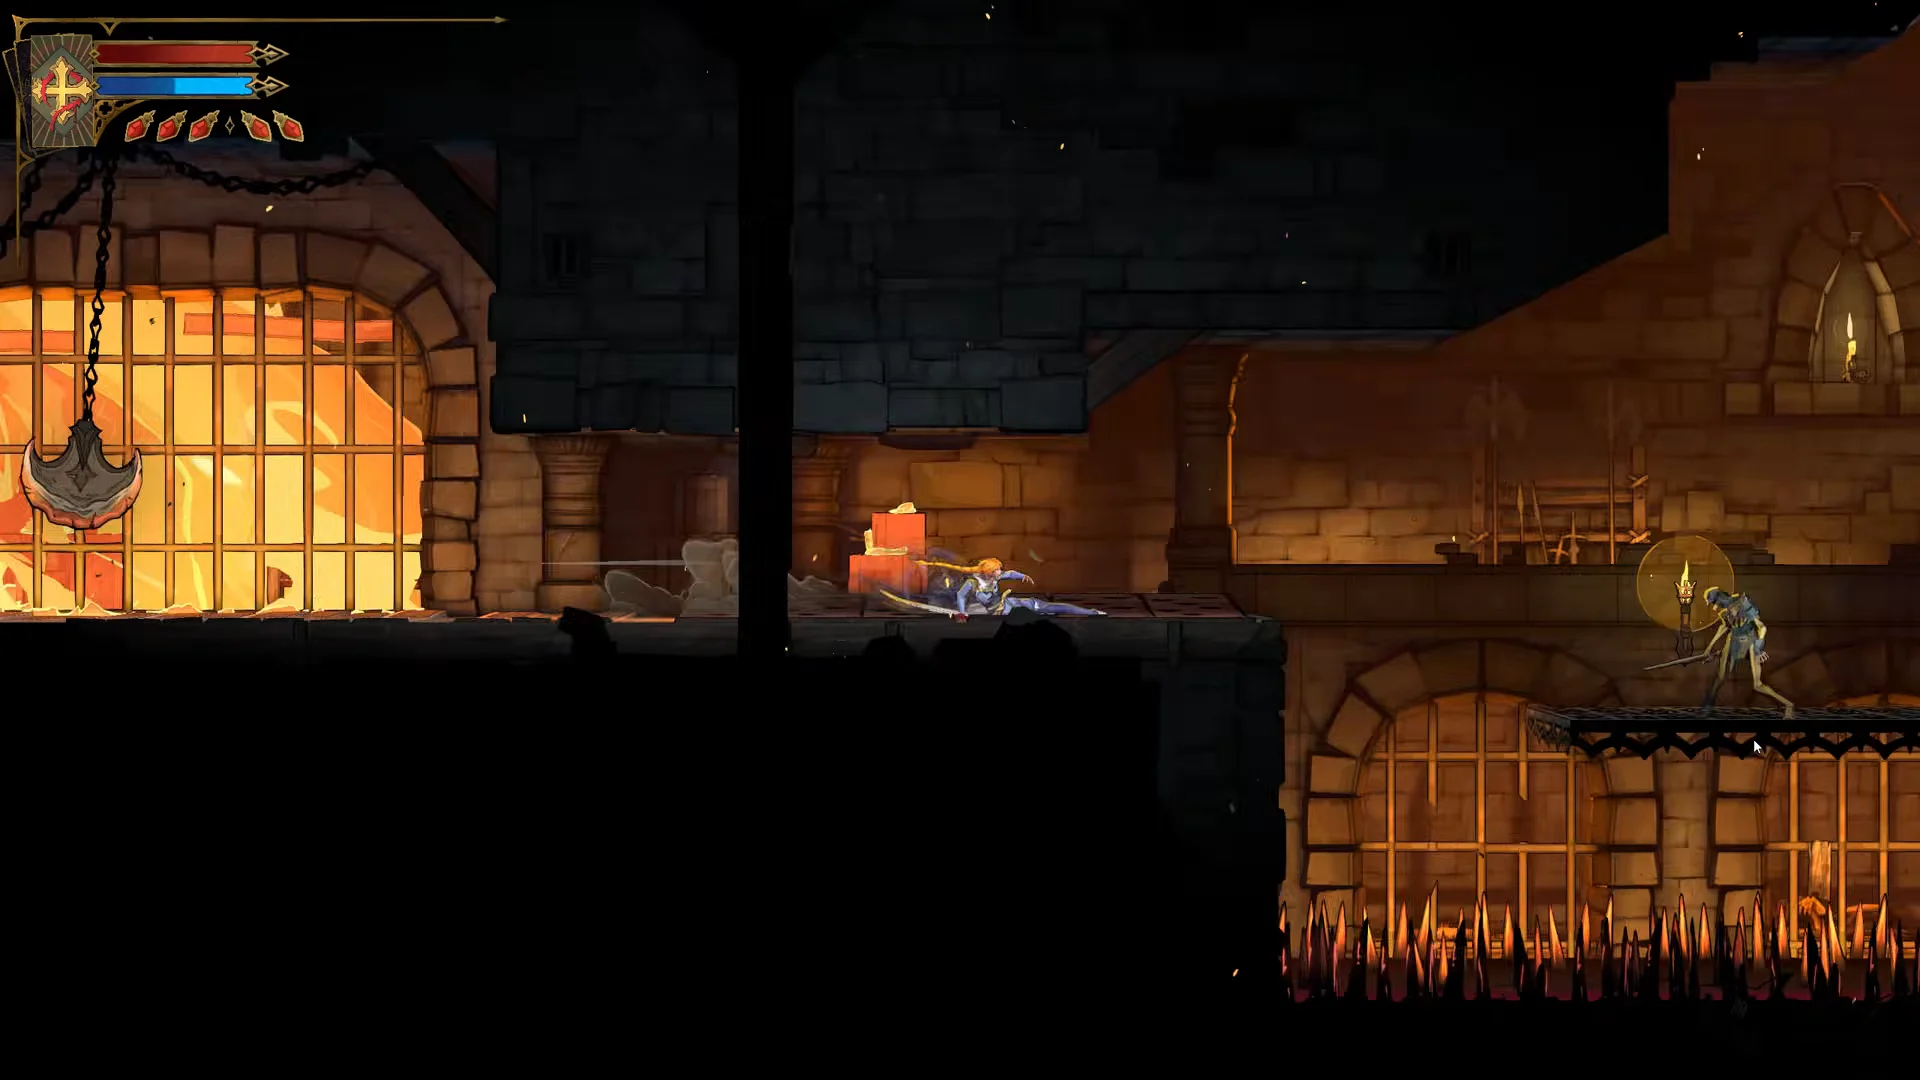
Enter the door marked Guard Level. Work past the spike beds, moving sawblades, swinging pendulum axes, and heavy axe guards to reach the central shaft. Pull the lever there to lower a bridge.
Leave through the left window and use the whip to climb the scaffolding on the outer wall. Come back inside and pull the exterior lever that lowers the outside crossing bridge.
Go through the Torture Level doorway. Expect rooms full of floor spikes, swinging blades, and crossbow snipers, plus a spike-lined pit you’ll need to wall-jump and grapple through. The lever in the central shaft raises the inner gate at the top.
Cross the upper outside catwalks and activate the Prison Tower Mirror of Life in its own room. This is your checkpoint for the rest of the climb and for the boss.
Climb the outside of the tower by grappling across hanging cages while flying enemies harass you. On the way, collect a statue buff that grants DEF Up, climb up through the stained-glass windows, and beat the two large armored sentries in the arched hall.
Enter the Upper Tower. Get past the moving spike walls, grapple across the wooden platforms hanging over the fiery chasm, and operate the lever in the upper niche.
Work up the spike-lined vertical shafts with wall jumps and grapples until you hit the dead end where a dying spirit waits. Talking to her gives you the Carpenter’s Crane Sketch, the second Warrior clue, and a “NEW CLUE ABOUT THE WARRIOR” message. Her line is “…the fire holds her… atop the tower… pray she does not… find the cranes… inside or out…”
Climb the gear shafts, grapple out to the last outside balcony, and go through the door to the Roof of the Tower. Break the wall above the stairs for a healing food item before you head up into the cutscene.
When you reach the long hallway with stairs leading to the roof, open the crane lift shortcut first. Then a failed attempt only costs you a short ride back up.
Crane lift shortcut from the Prison Tower Mirror of Life
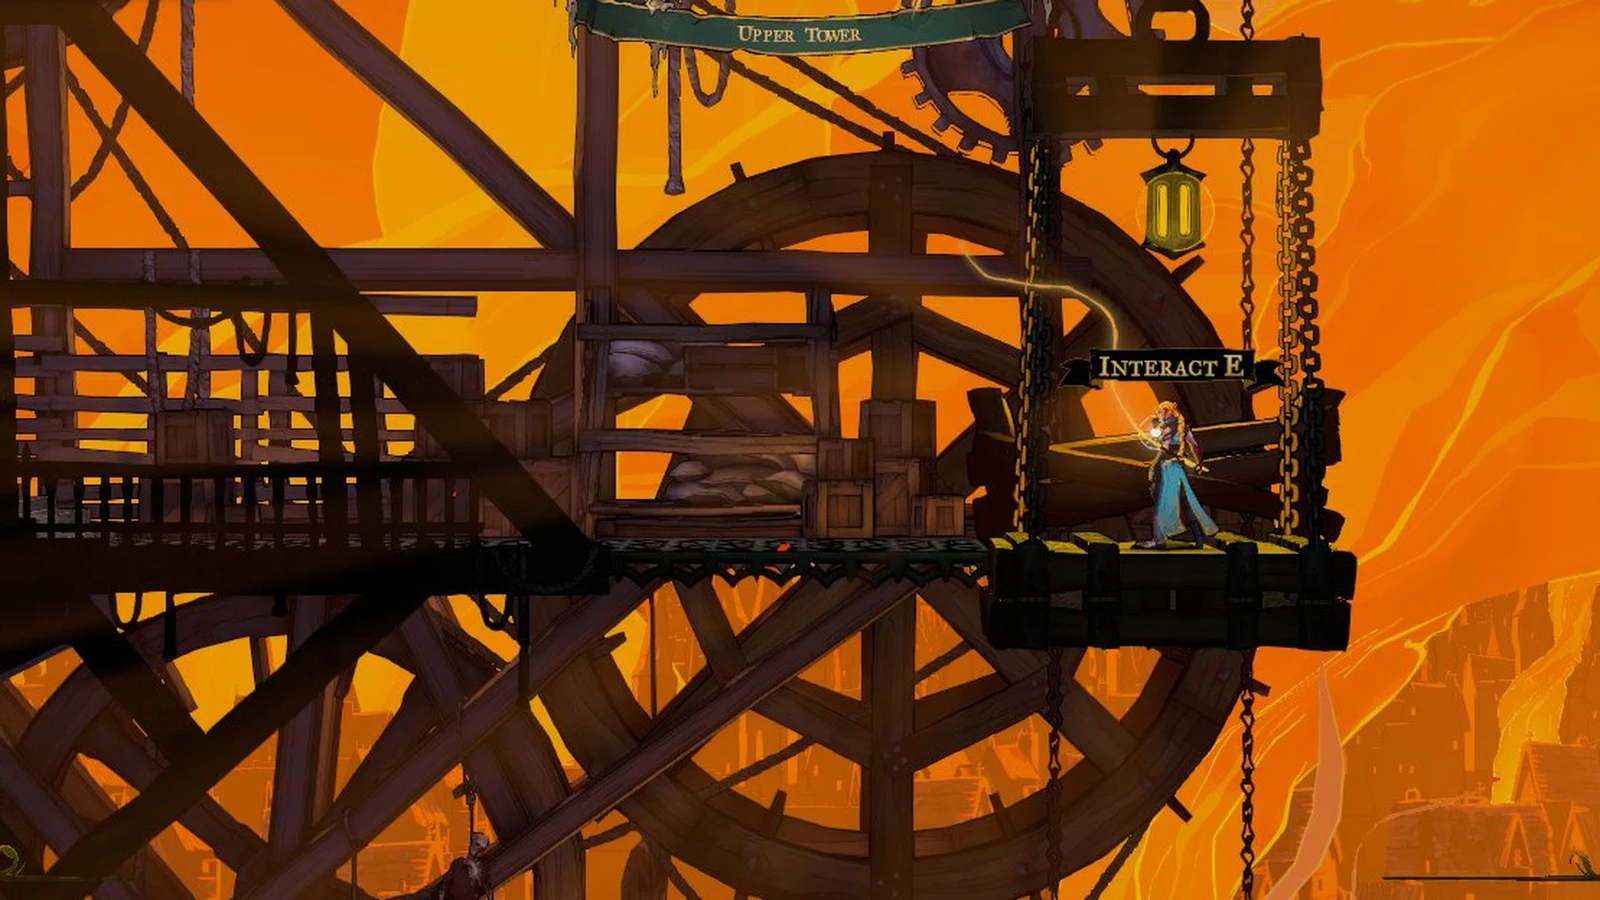
Starting in the Prison Tower Mirror of Life room, climb with the purple and yellow grapple points, then swing over the gap toward the hanging crane lift. Whip the yellow point repeatedly to lower it further. The lift will descend, creating a direct connection from the checkpoint to the Upper Tower and roof for the rest of your attempts. Reaching Joan doesn’t require the lift, but it skips most of the climb between attempts.
The heroine stands on a hanging chain-lift platform in the Upper Tower, with an Interact prompt beside a huge waterwheel against a fiery orange sky.
Joan and The Warrior: Boss stats, rewards and works of mercy
Joan has more health than Leon but much less than Saint Louis, the other two bosses in Paris Streets. You fight her in Paris Streets and again in Notre-Dame.
Boss
Health
Attack
XP
Leon (The Fallen)
800
19
400
Joan (The Warrior)
1800
24
600
Saint Louis (The Judge)
12000
30
500
Beating Joan gives you the Infernal Pyre spell and The Warrior’s Key. Her sword is left on the ground afterward for you to pick up, and the Roof of the Tower’s item list includes the Burnt Sword of Fierbois. She is immune to freeze, petrify, slam down, launch into the air, Chains of Justice root and stun, Chronomantic Dive slow, Freezing Path link, and Infernal Pyre launch. Plan your crowd control around that.
At roughly half health, Joan winds up a powerful attack, and the pair of grapple rings flanking the arena light up. Grapple upward to avoid the flames that spread across the floor. Afterward, her attacks deal more damage and cover greater distances.
The Warrior is arcana number 3. It pairs Joan with the Holy Light ability and the Infernal Pyre spell, and it takes two clues to track down. Its works of mercy are:
Successfully parry 15 attacks with the Holy Light.
Reach a sacred place so Joan can pray.
Set 5 enemies on fire at the same time.
The Cestus found along the way is a tier 1 Ordinary fists weapon with 25 ATK, 12 attack power, 30 stagger power, and a cost of 2 mana per hit; Uppercut is its combo finisher. It attacks quickly, and landing more hits on enemies increases its weapon damage.
How to confirm you found The Warrior
You’ll know you’re on track at each stage. After the first spirit, your tarot cards glow and the quest starts. The second spirit adds the Carpenter’s Crane Sketch along with the “NEW CLUE ABOUT THE WARRIOR” message. On the roof, a cutscene plays and Joan introduces herself with “Some call me the ‘Maid of Orleans’…” Once she’s defeated, The Warrior tarot card is complete, Infernal Pyre is unlocked, and The Warrior’s Key is in your inventory.


 Leon (The Fallen)
 Joan (The Warrior)
 Saint Louis (The Judge)