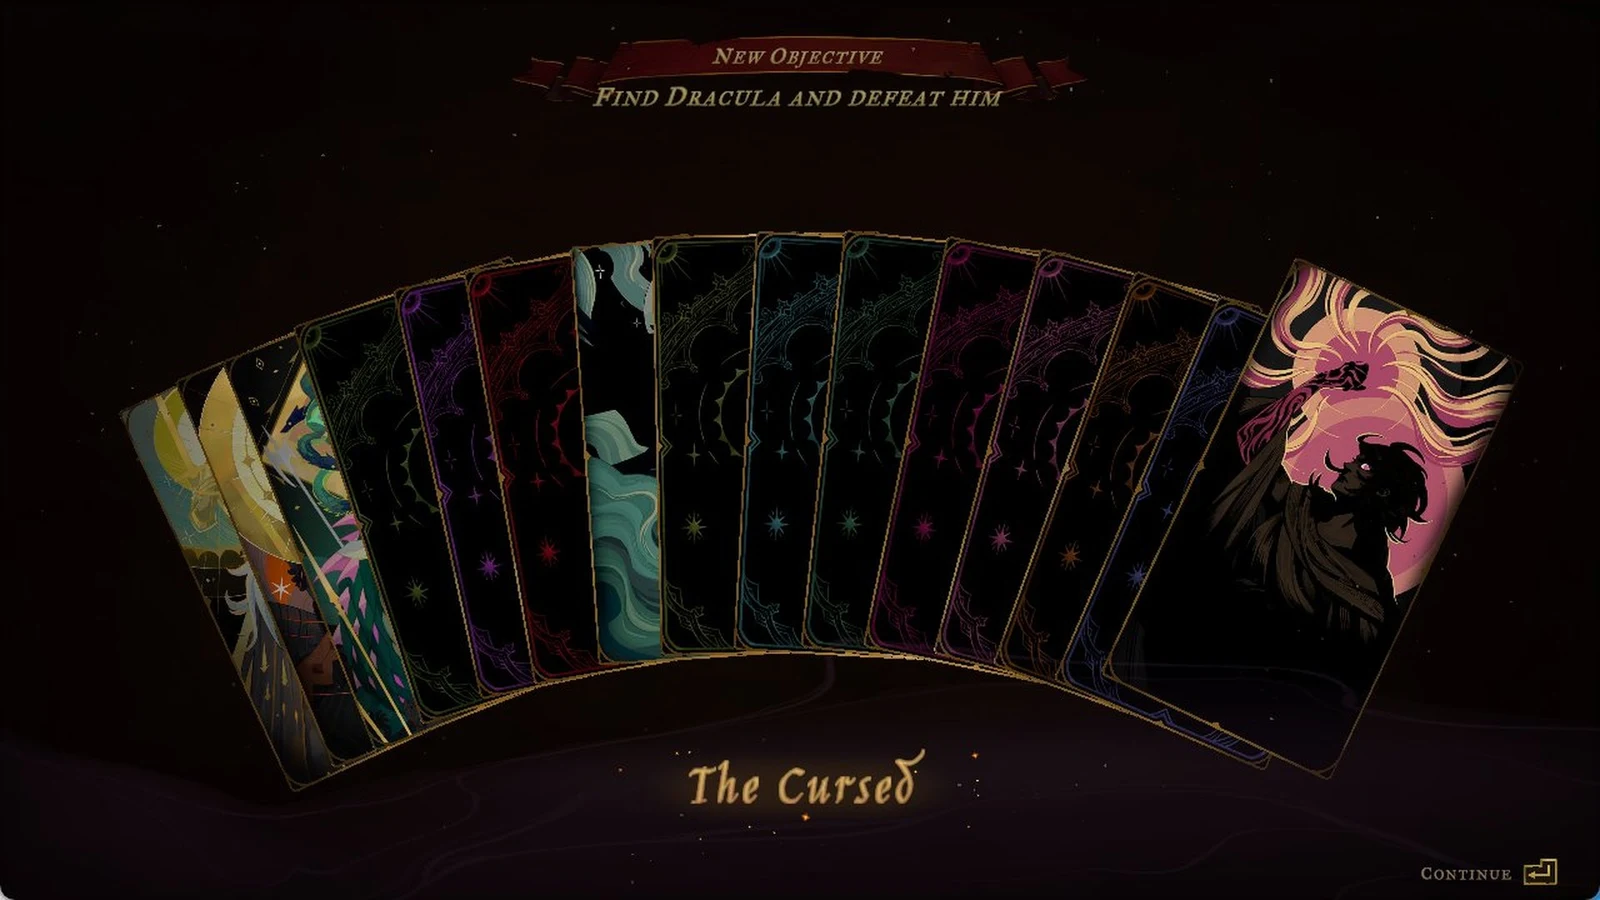
Dracula comes back during the Stop the Resurrection objective, and Rose Belmont starts deep under Paris when he does. Getting her to his castle means climbing out of the Catacombs of Paris, crossing the Justice District, and getting past Isaac at the castle approach. The climb out of the Catacombs is a spike-lined platforming run through the Collapsed Path of Orpheus, and it is the stretch most likely to stall you.
Quick answer: Intentionally lose your opening battle with Death. Then make your way up the Collapsed Path of Orpheus until you reach the Ferryman, go through the Justice District to the Palace of Justice, defeat Isaac, and take the bridge to your right.
Dracula’s Castle route in four legs
The trip has four parts, and each one ends at a clear marker. It helps to know where you are, because the map loops back on itself constantly.
| Leg | Where | Ends when |
|---|---|---|
| 1 | Catacombs of Paris, down to Altar of Bones | Death defeats Rose |
| 2 | Collapsed Path of Orpheus, Realm of Old Night | You speak to the Ferryman |
| 3 | Justice District | Isaac blocks the approach |
| 4 | Bridge past Isaac | Location name reads Dracula’s Castle |
Catacombs of Paris route down to Death
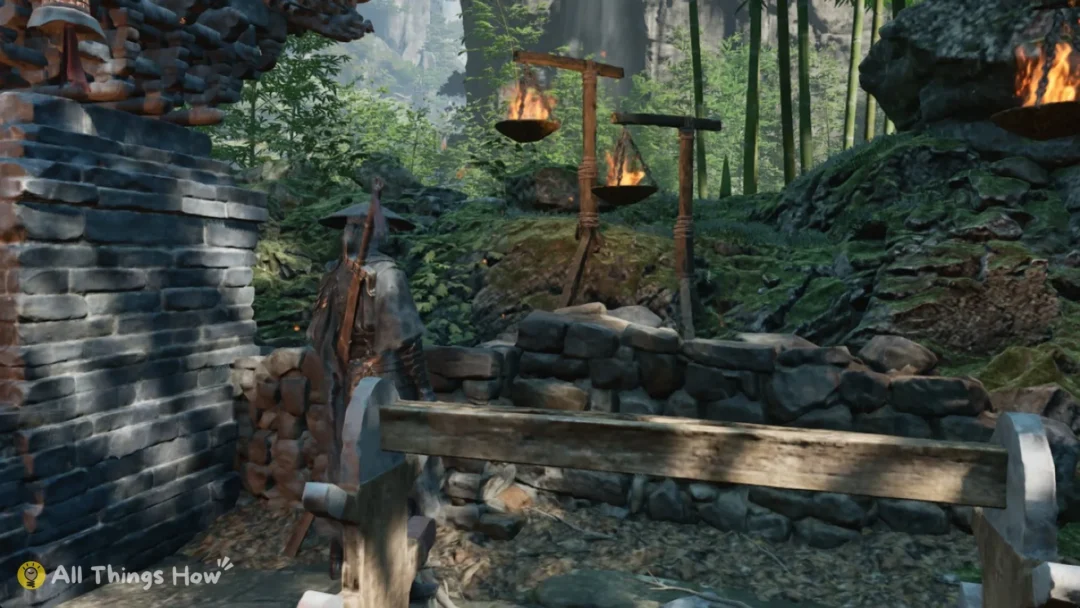
Stop the Resurrection takes you down through the Catacombs, starting from the Catacomb Entrance. Most of the descent runs through the Crossroads of the Dead, which works as a hub. You keep coming back to it, hitting a switch, and dropping one level lower. The districts below are listed in the order you reach them.
| District | What to do |
|---|---|
| Catacomb Entrance | Go down, keep left, exit through the right door |
| Path of the Abyss | Get past the lantern brute, dodge sawblades, drop down |
| Quarry Elevator | Save at the Mirror of Life, then go left |
| Crossroads of the Dead | Hub; hit switches to open lower floors |
| Charnel Galleries | Loop left, down, then right back to the hub |
| Chamber of Whispers | Break the wall left of the green-marker platform |
| Crossroads of the Dead | Open the chest (Pair of Longswords), hit the switch |
| Gallery of Teeth | Break the right wall, clear the trap run |
| De Rais Necropolis | Survive the combat gauntlet heading left |
| Jaws of Limbo | Top switch opens the path under the giant skull |
| Throat of Hell | Take the right door |
| Condemned Mineshaft | Elevator links back to Quarry Elevator; go right |
| Blood Pits | Push through to the next district |
| Hall of the Fallen Angels | Open the chest (Whip), drop down mid-corridor |
| Stairway to Hell | Slide through the left gap, find the boss door |
The Necro Charm trinket in the Jaws of Limbo is optional and sits at the end of a trap side room. Before the boss door in the Stairway to Hell, grapple up to the elevator and hit its switch. That opens a shortcut to the Condemned Mineshaft.
The Whip from the Hall of the Fallen Angels is the basic whip.
You are supposed to lose the first fight with Death behind the boss door. Let him kill Rose. Her defeat triggers the cutscene that starts the climb back to the surface.
Collapsed Path of Orpheus parkour path to the Ferryman
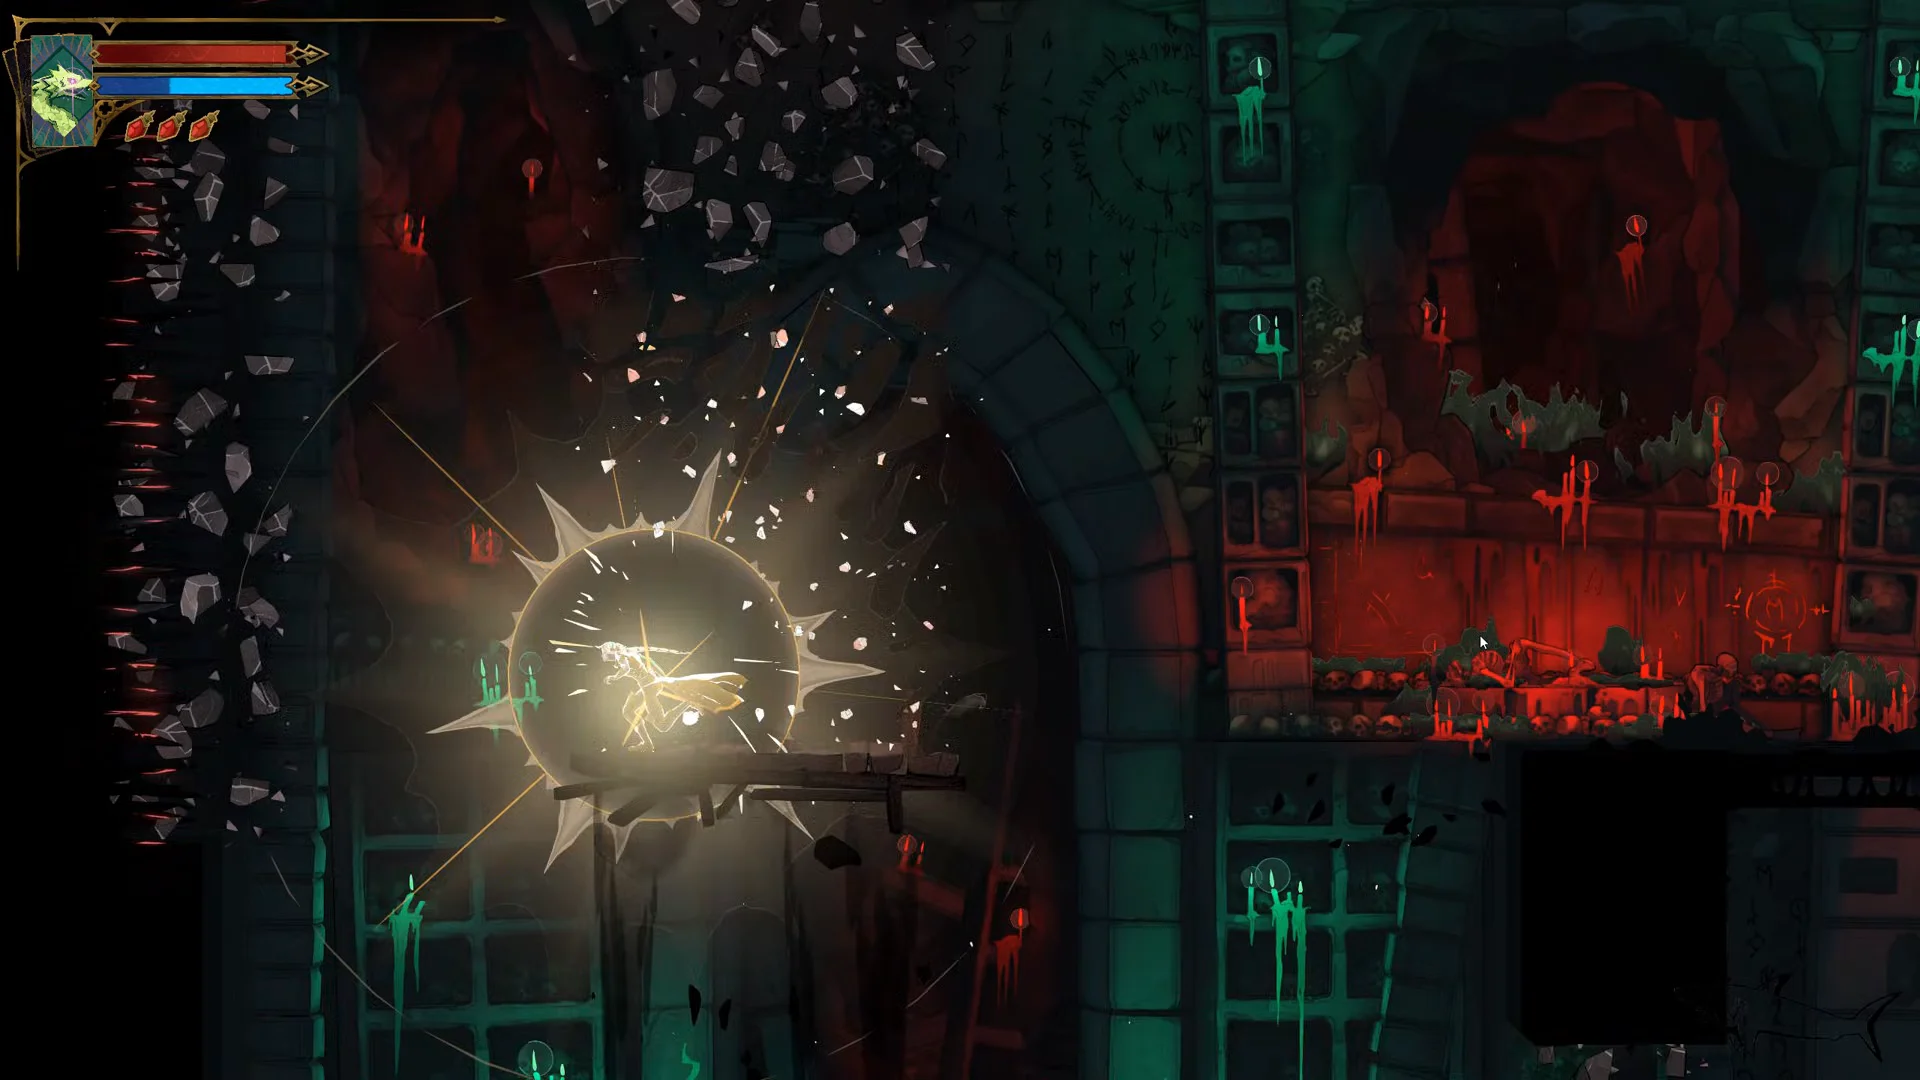
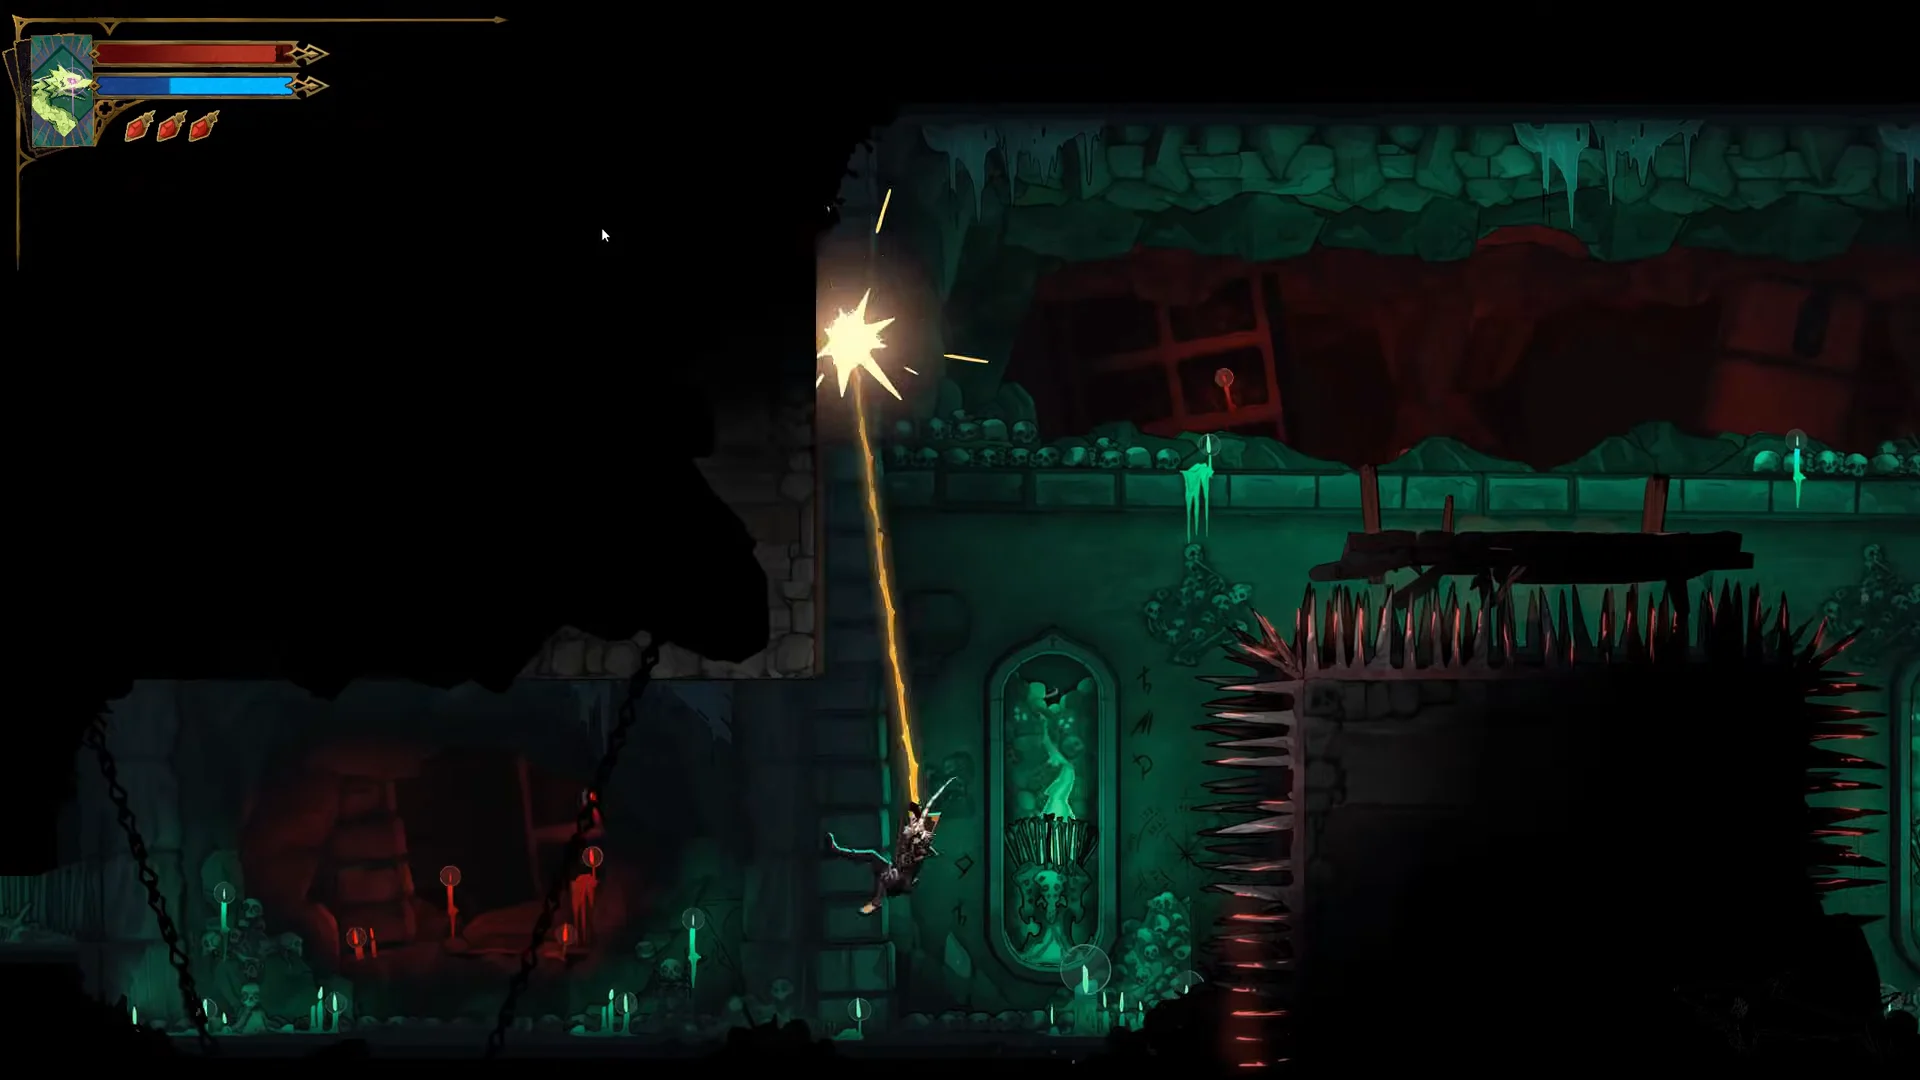
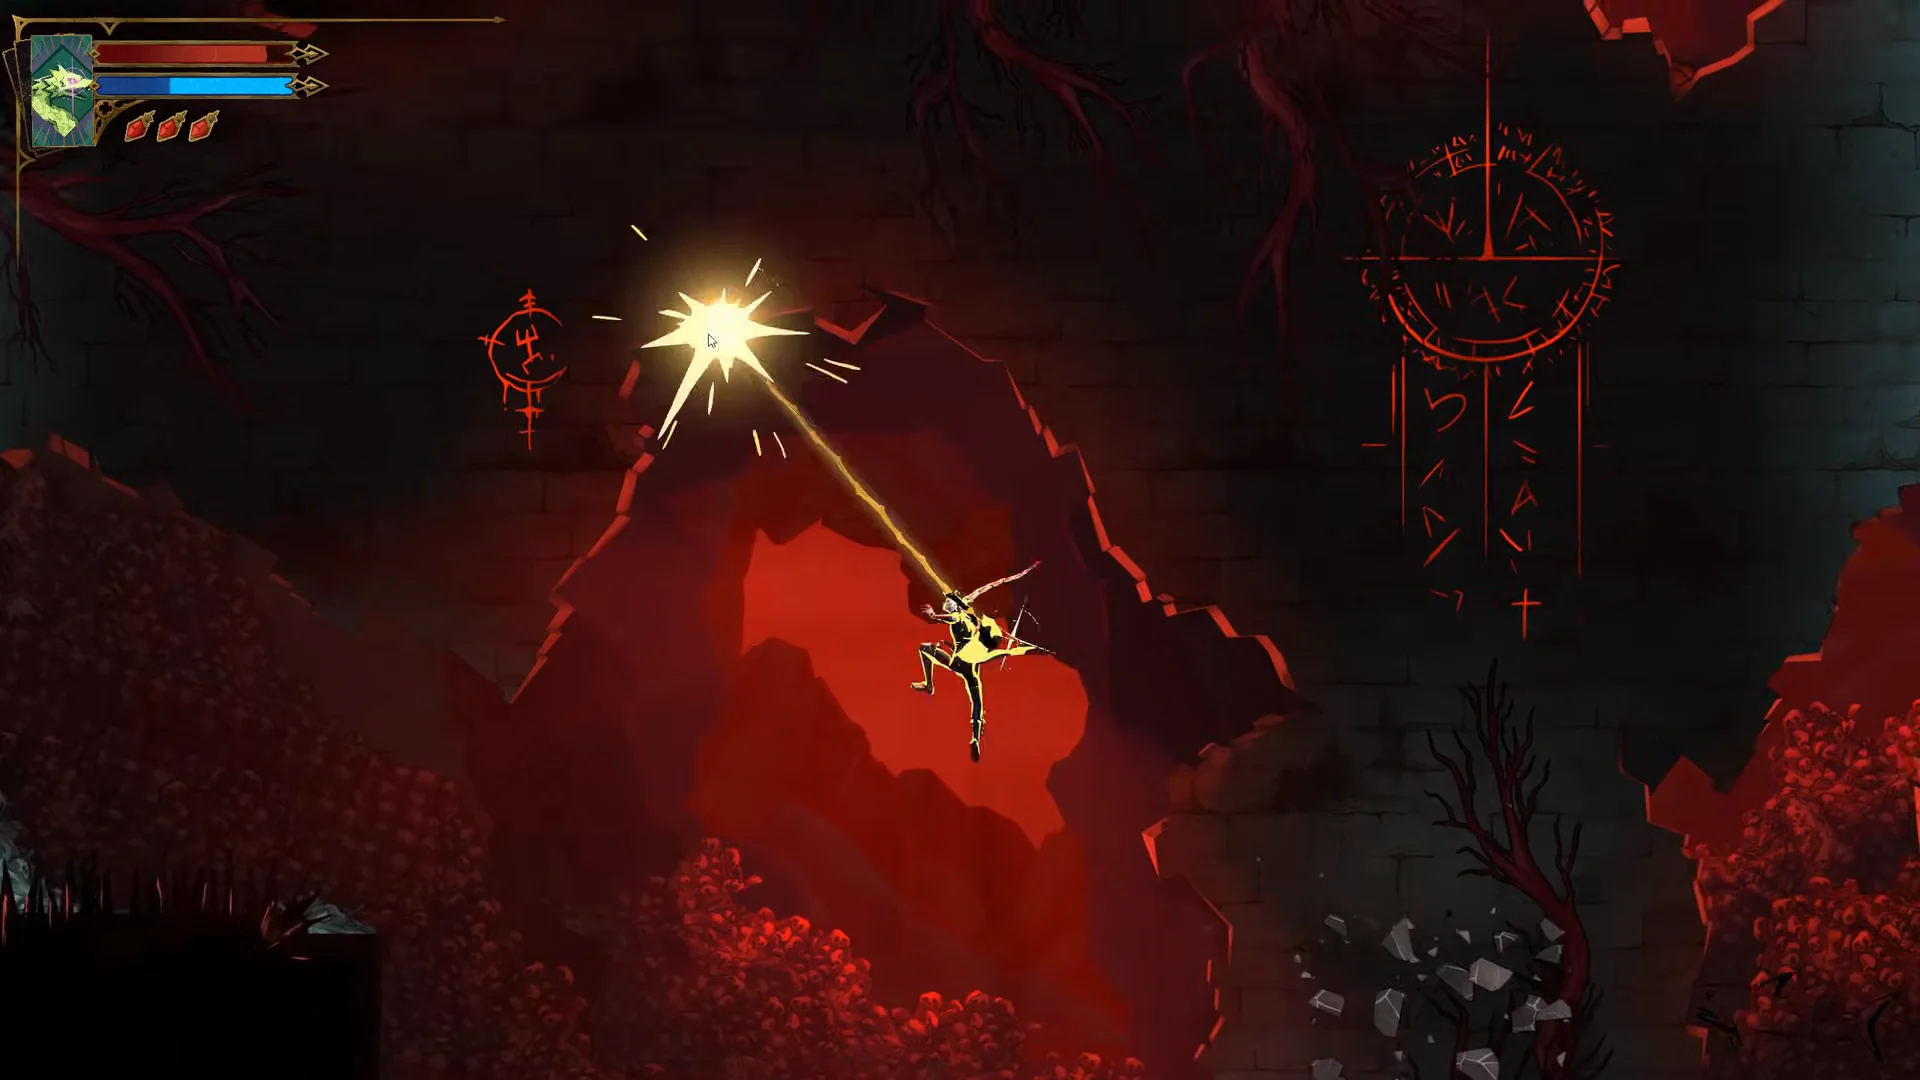
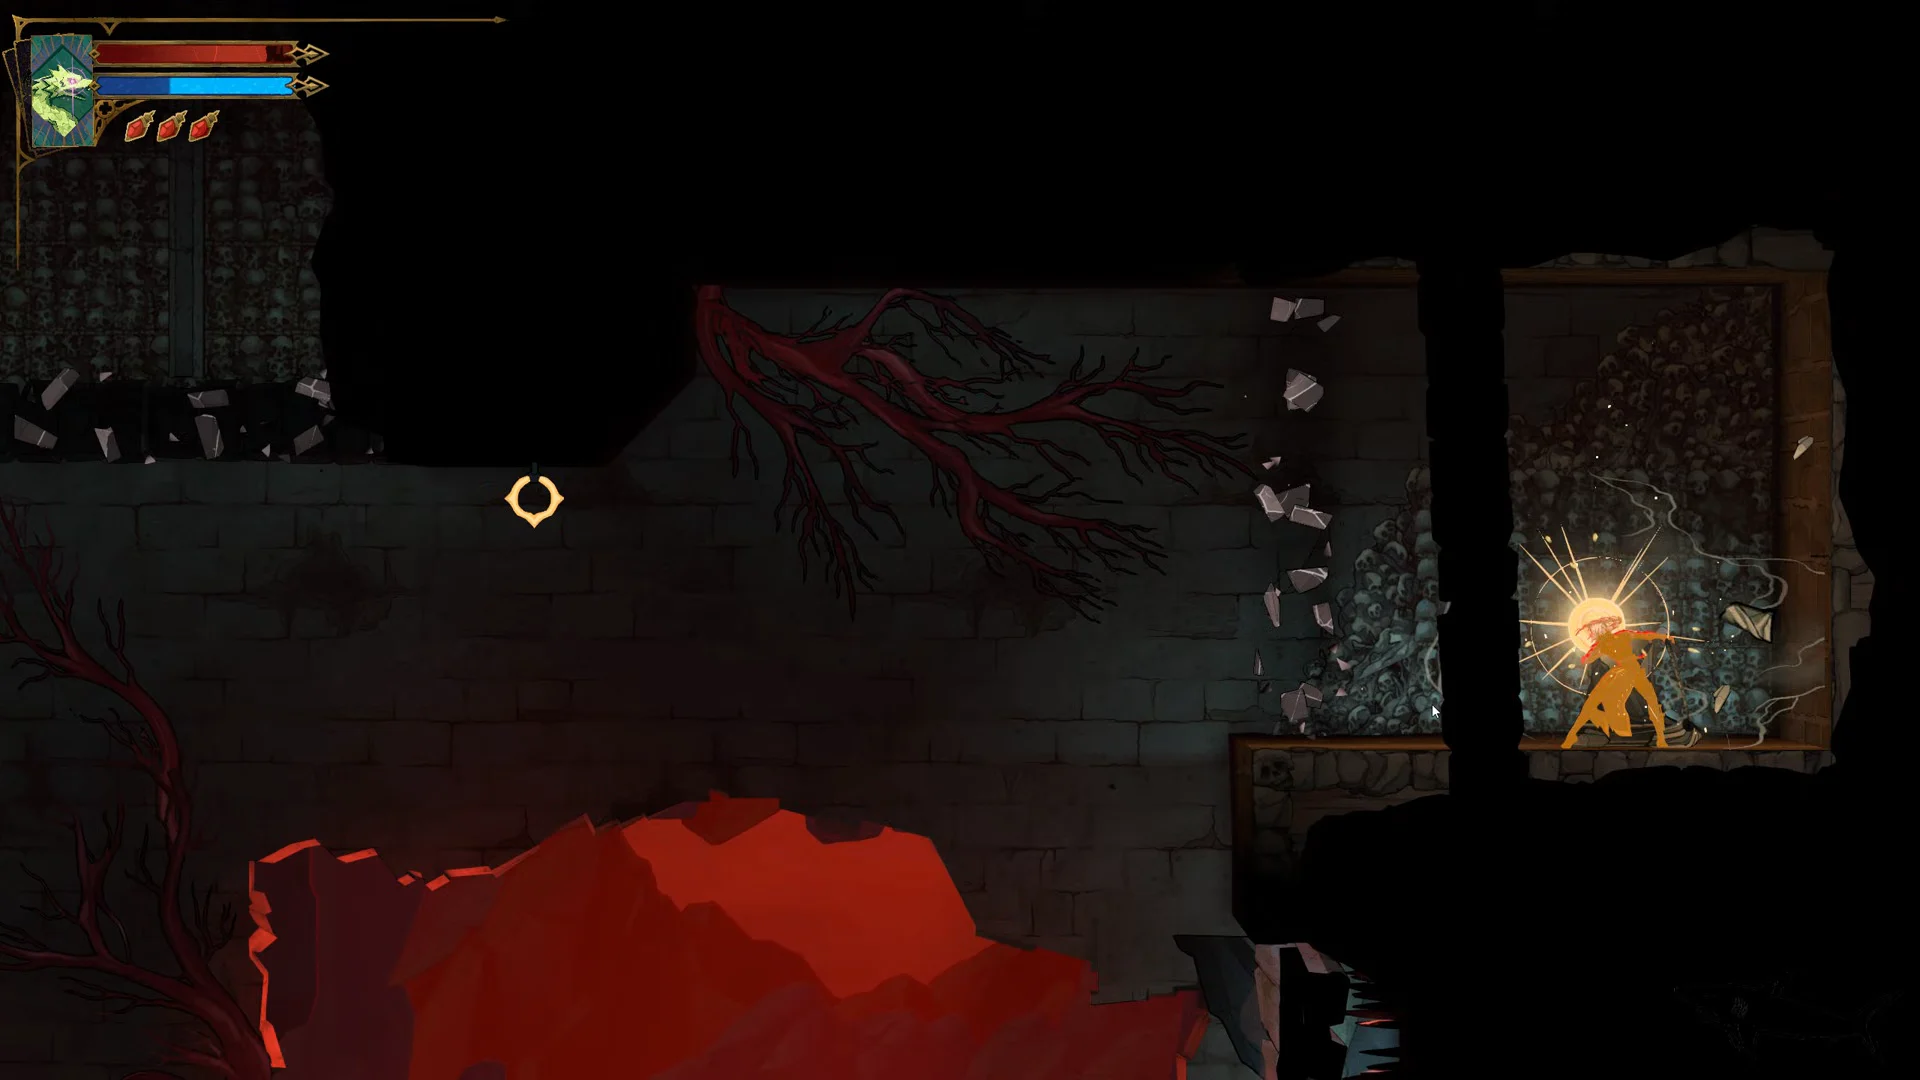
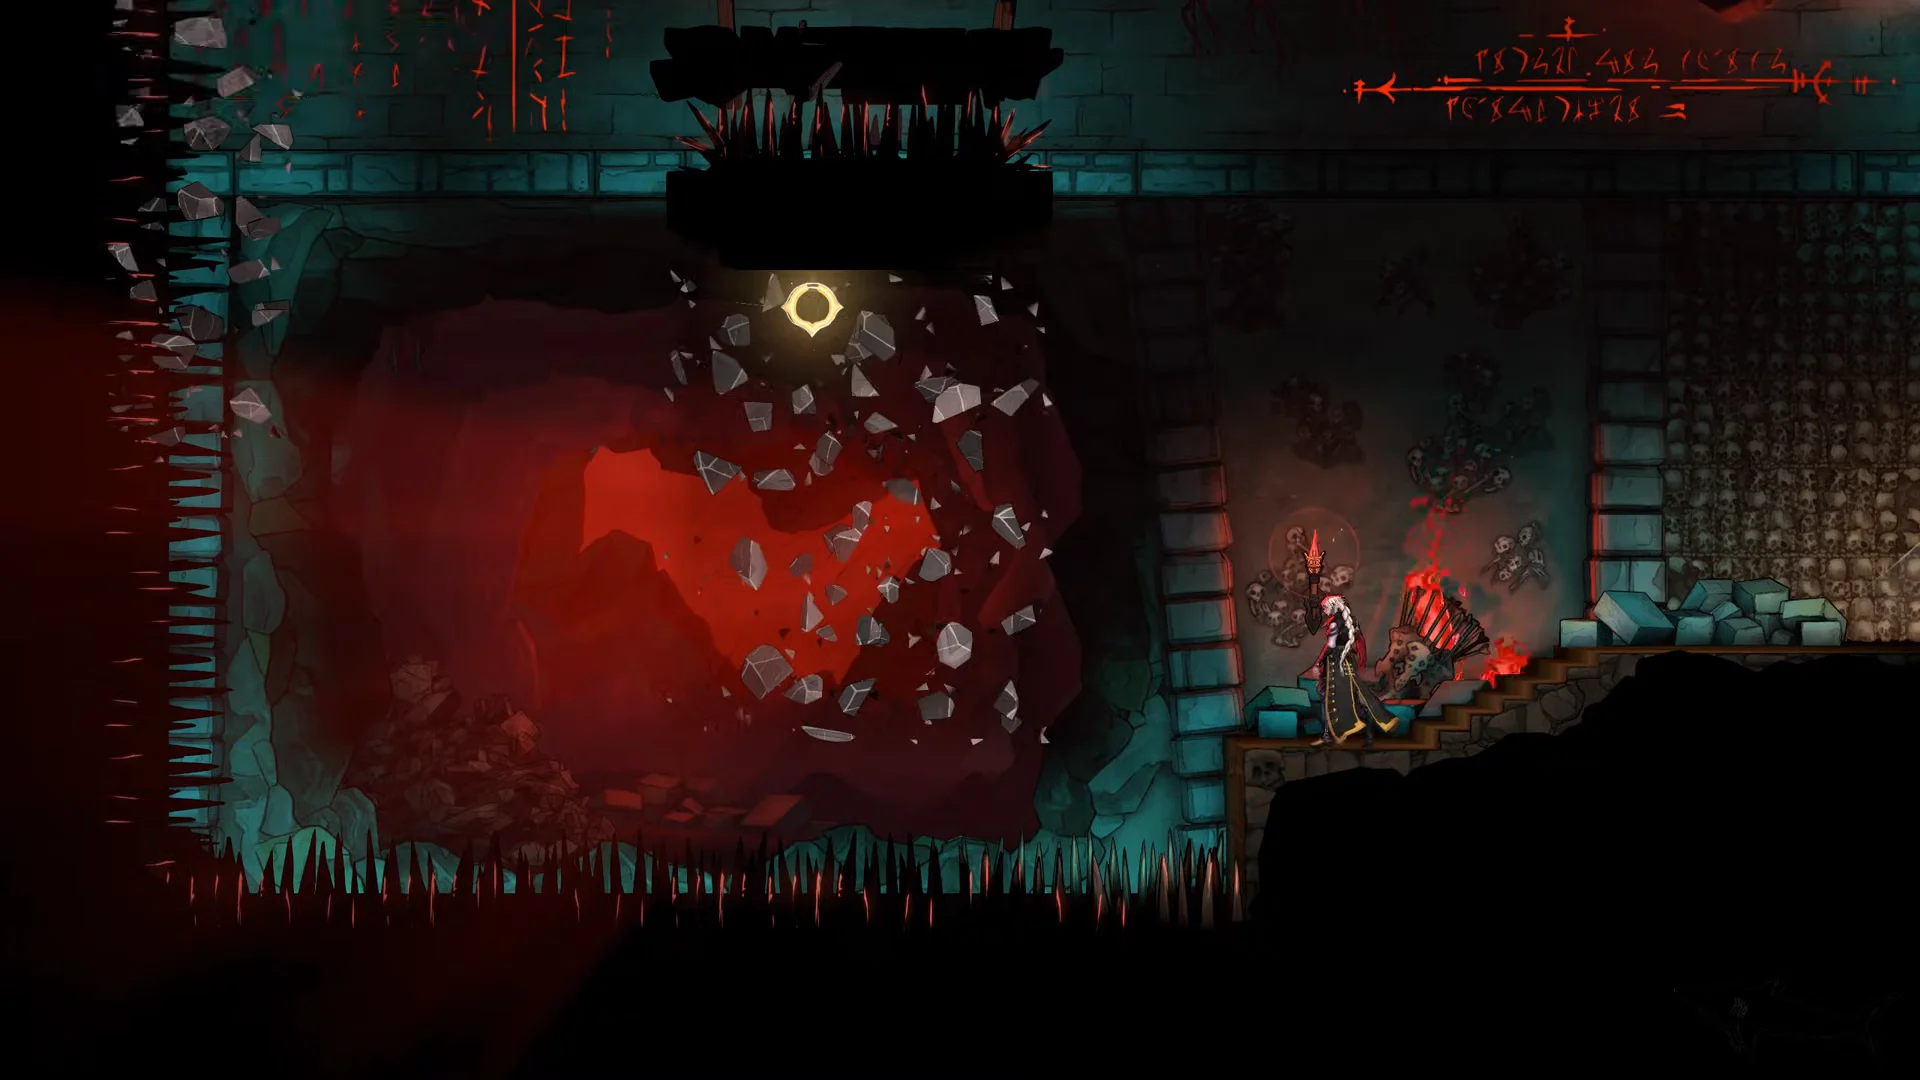
A conversation between Medusa and Joan plays first. When it ends, the REACH DRACULA’S CASTLE banner appears, and Rose is in the Collapsed Path of Orpheus. On the way to the Ferryman, you’ll repeatedly use three moves:
- Wall jumps to climb narrow vertical shafts.
- A mid-air light burst that clears cracked stone barriers.
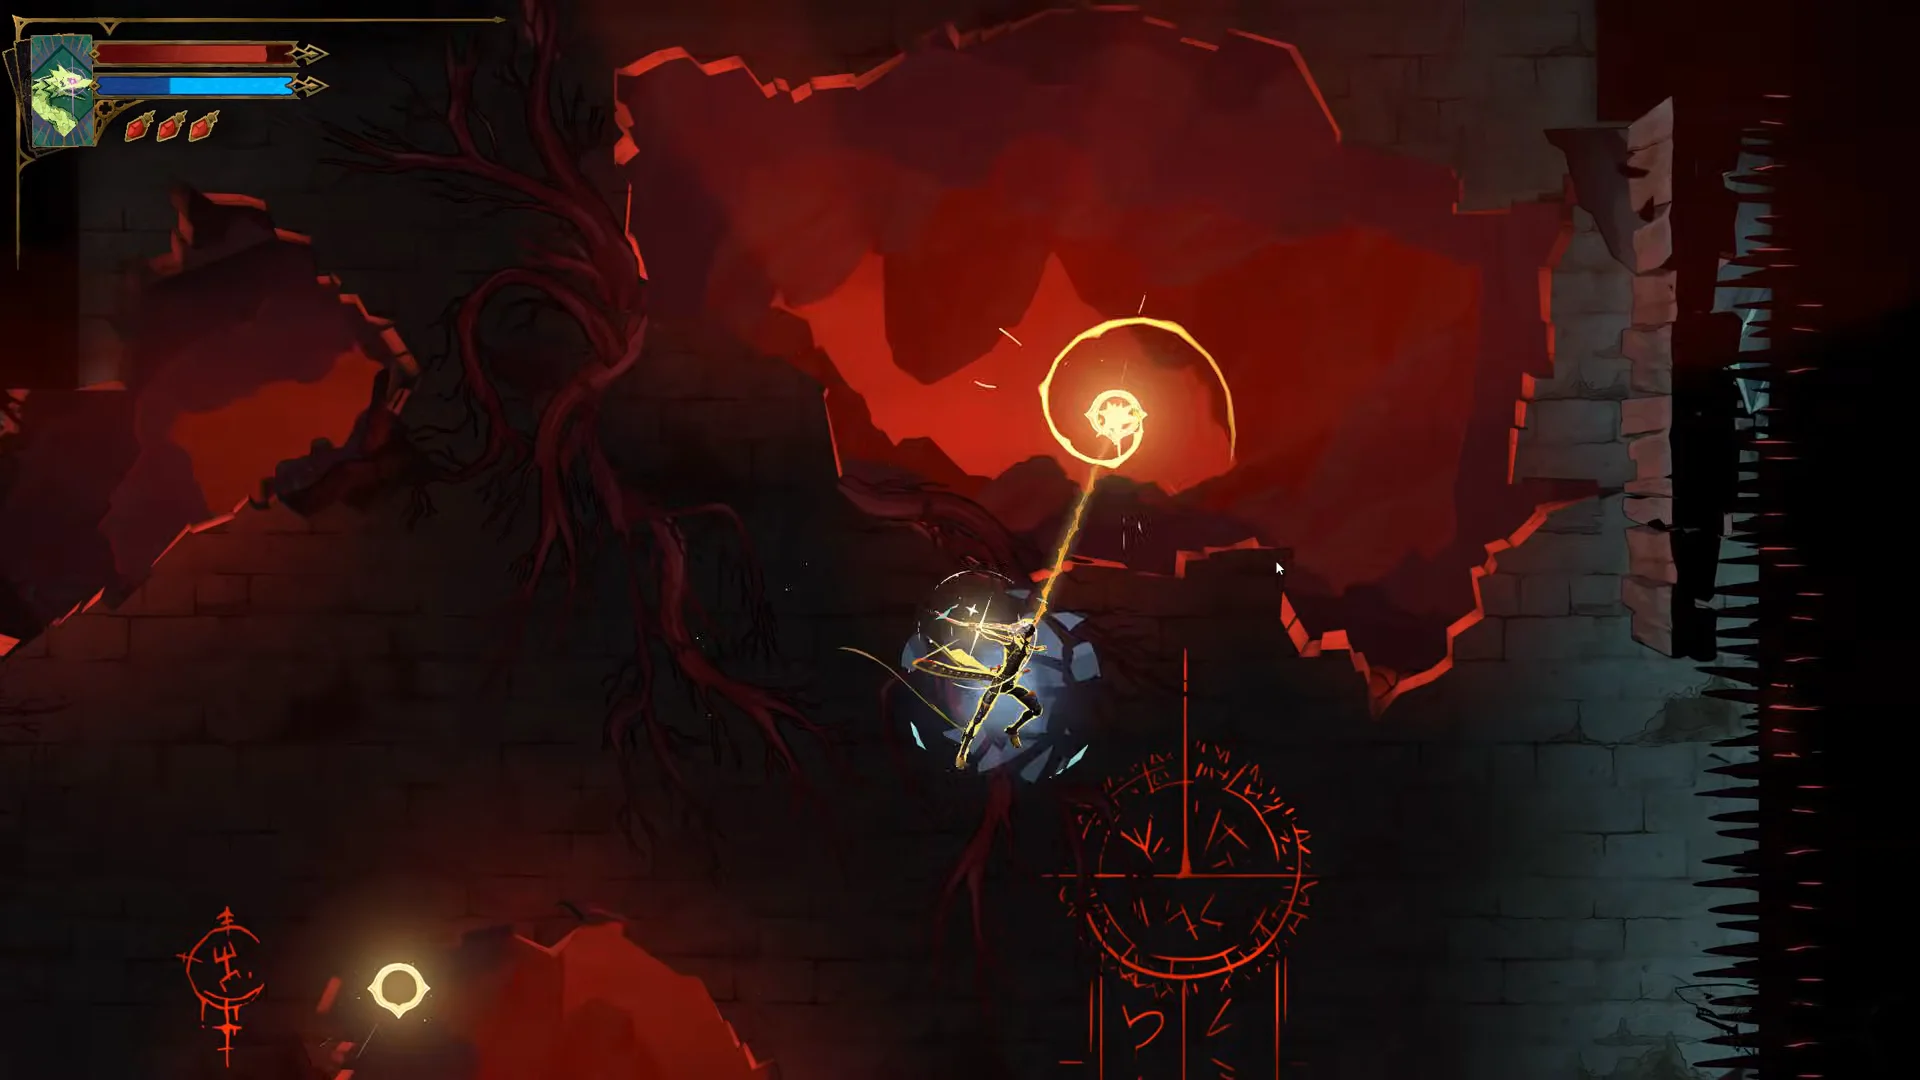
- Whip grapples on glowing golden rings to swing over spikes.
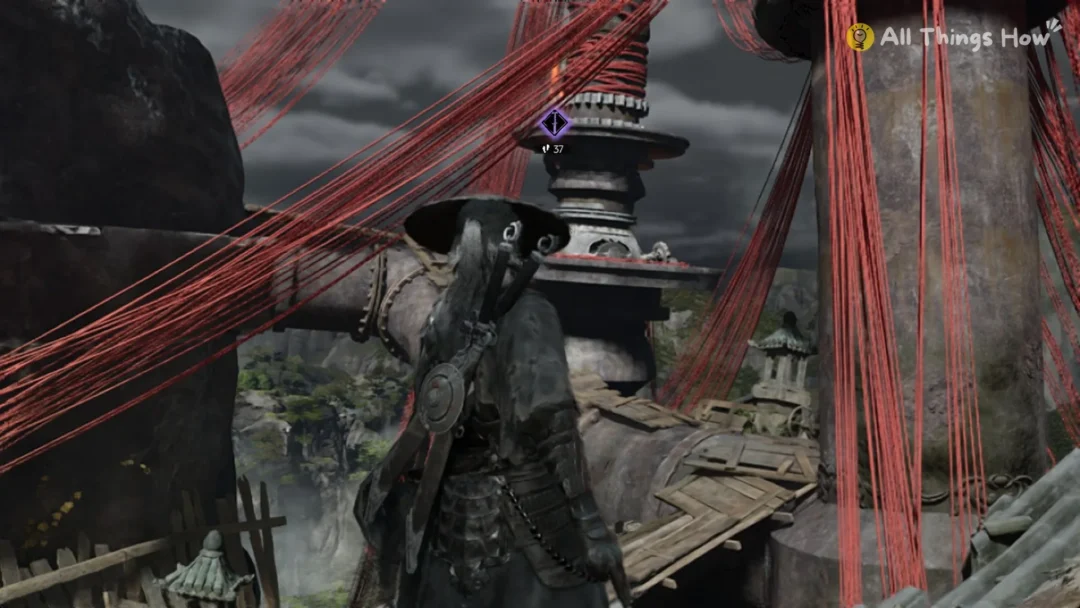
Rock shaft and red cavern
Spike corridors to the library hall
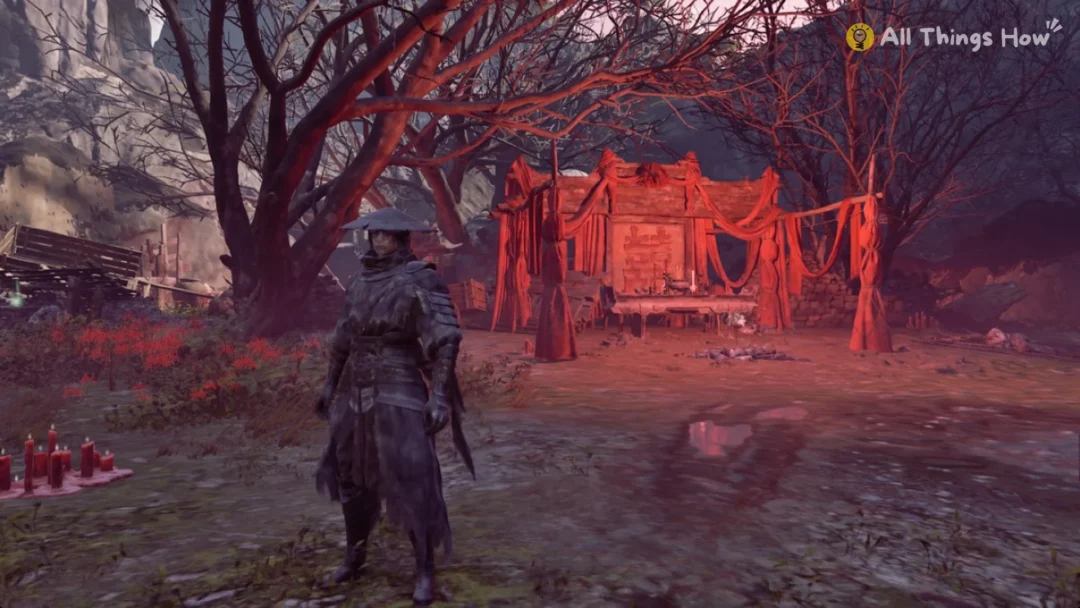
Realm of Old Night and the Ferryman
The Ferryman takes Rose back toward the surface, and talking to him also unlocks his fast-travel function. You do not need a key or another guardian fight to get him to take you.
Abilities that matter on the parkour path
Rose’s movement tools come from different places around the map. The table shows where each one is granted and what it does.
| Ability | Granted in | What it does |
|---|---|---|
 Arcane Whip | Paris Streets, Abandoned Sewers | Use [Move] to line up your target, then activate [Arcane Whip] to latch onto glowing anchors or foes and access new areas. |
 Double Jump | Notre-Dame, Choir | Second jump while airborne |
 Aerial Rush | Library, Observation Tower | Forward dash while airborne |
 Holy Light | Paris Streets, Stairs to the Tower Roof | Hold for a halo; tap before a hit to parry |
 Smash | Clock Tower, Final Trap | Down plus Jump in air breaks destructible blocks |
Arcane Whip is how you use the golden rings in the cavern and the trench. Aim with the movement stick, then fire the whip to latch on.
Holy Light is bestowed by the Maid of Orléans. Keep the button held to form a halo that breaks apart the Chaos Shard. Tap it just before a hit connects to parry and block the damage.
Smash is granted in the Clock Tower, which is part of Dracula’s Castle along with the Hall of Mirrors.
Justice District route to the castle approach
Use the Ferryman to sail back to Paris Streets. When you leave the wharf room, you are in the Justice District Sewers.
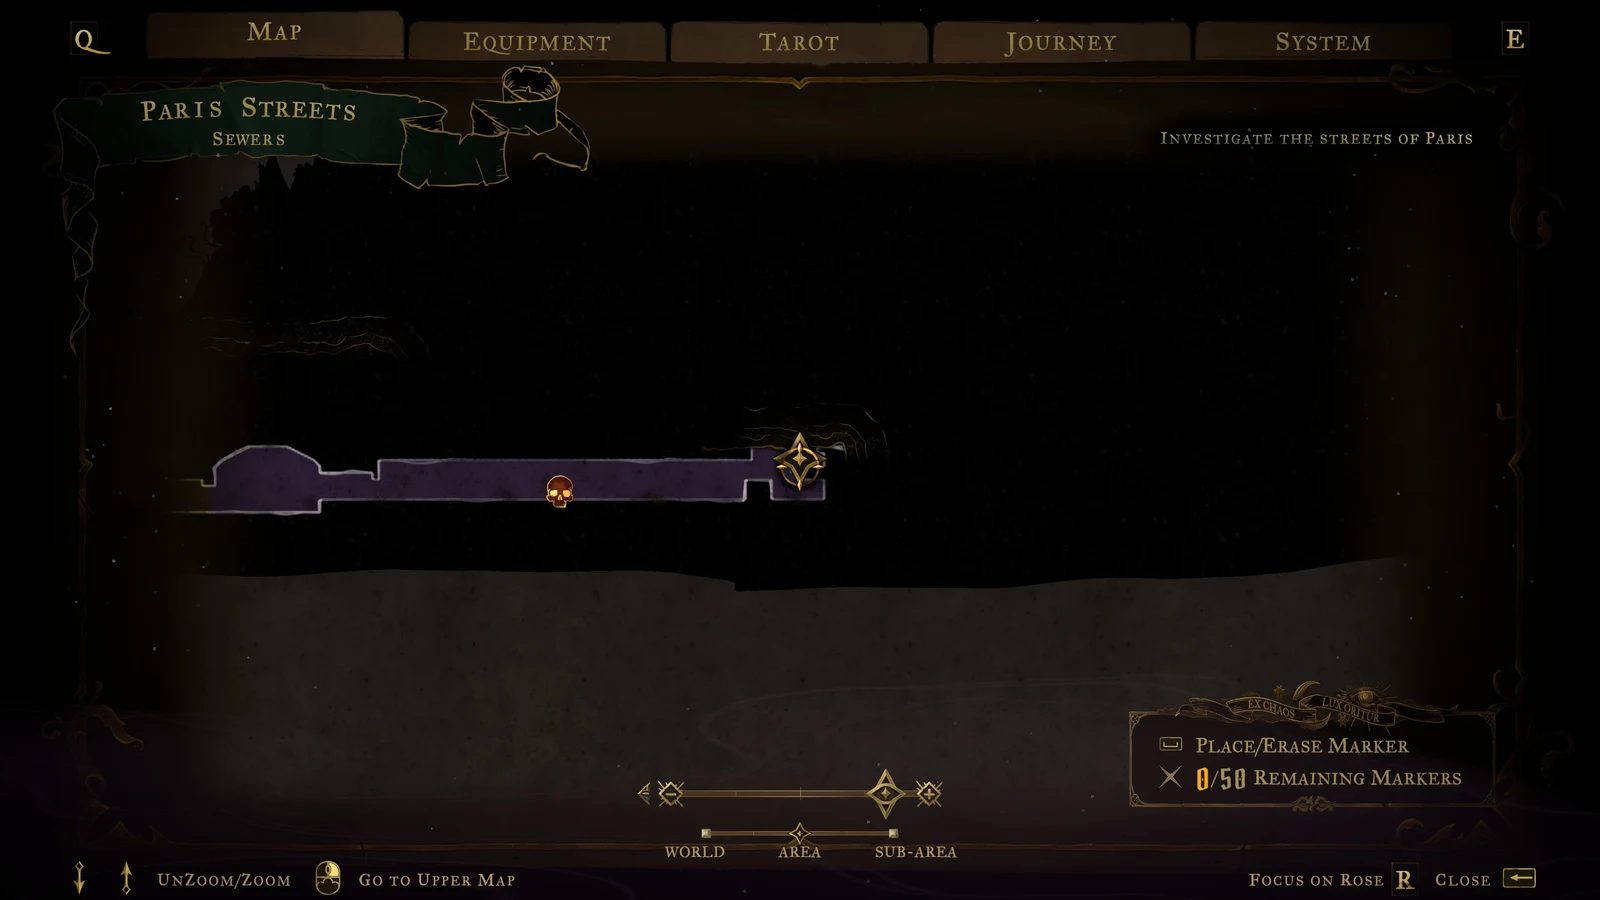
The rest of the district runs in this order:
| Stop | What to do | Optional pickup |
|---|---|---|
| Bishop’s Office | Examine the clues, move on | Warning from Father note |
| Justice District Sewers | Grapple up, use the save point | Bastard Sword chest |
| Palace of Justice | Go straight through toward Isaac | Tree of Justice clue |
The Tree of Justice clue starts a side mystery about a trapped figure. You can reach the castle without solving it, so you can leave it for later.
Isaac fight at the castle approach
Isaac works for Dracula and steps in to block Rose just before the castle. He moves quickly, which is what makes him dangerous. He has four attacks, and each one leaves a recovery window you can punish.
| Move | What he does | Counter |
|---|---|---|
| Dash Strike | Rush ending in a two-hit combo | Backdash away |
| Homing Spear | Spinning spear that homes in twice | Jump and dodge |
| Melee Counter | One or two close swings | Stay out of melee range |
| Three Dash Strike | Three dashes, two swings, two strikes | Dodge each pass |
Here are his boss record figures.
| Stat | Isaac |
|---|---|
| Health | 2500 |
| Attack | 50 |
| XP | 1000 |
| Arcana card |  The Zealot |
| Reward |  Chronomantic Dive |
| Home area | Clock Tower (Heart of the Clock) |
Isaac is immune to Chains of Justice root and stun, Chronomantic Dive slow, Freezing Path link, Infernal Pyre launch, freeze, petrify, slam down, and being launched into the air. Plan on dealing straight damage.
Defeating Isaac reveals that the Rose you fought was merely an illusion; his actual body is shackled inside the Clock Tower to safeguard Dracula. Leon arrives next to shield Rose. Wait until their exchange is over. There is no key to collect or further guardian to fight here.
Catacombs of Paris completion and pickup values
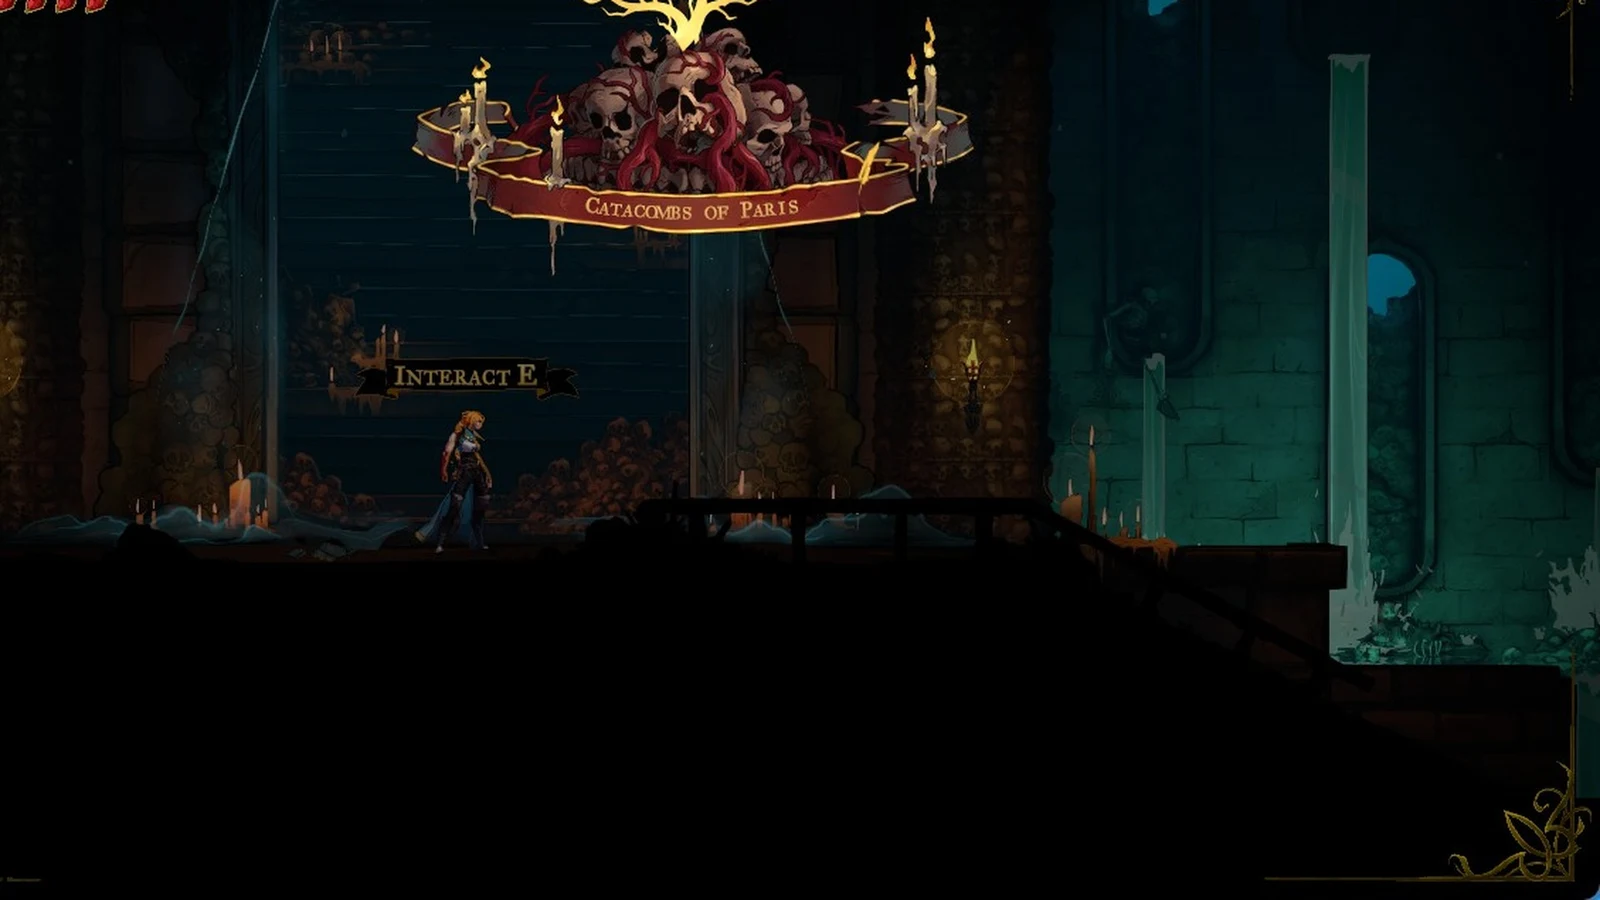
The Catacombs map reads 72% in the area menu by the time you reach the Ferryman, if you follow only the main path. These are the full area totals.
| Catacombs of Paris | Count |
|---|---|
| Completion items | 211 |
| Exploration zones | 168 |
| XP statues (200 XP each) | 20 |
| Chests with items | 9 |
| Brave Heart Fragments | 3 |
| Wise Heart Fragments | 3 |
| Mirrors of Life | 2 |
| Candles | 212 |
Death and Mammon are the two bosses in the area. Brave Heart Fragments, including the one in the Court of Justice, combine in sets of 4. Each full set raises max health by 20. There are 24 fragments in total, which add up to six upgrades and a max health of 220.
The Bastard Sword in the Justice District Sewers is the only weapon pickup on the Justice District leg. It doesn’t open any doors, so it’s only worth grabbing if you want to switch weapons. Here is how it compares with the Whip from the Catacombs.
| Stat | Bastard sword | Whip |
|---|---|---|
| ATK | 50 | 25 |
| Attack power | 26 | 24 |
| Stagger power | 30 | 30 |
| Mana per hit | 3 | 3 |
| Rarity / tier | Refined, tier 2 | Ordinary, tier 1 |
| Combo finisher | Dash through | Whip Drag |
| Found in | Paris Streets | Catacombs of Paris |
The Bastard sword is a one-handed sword. It hits harder if you attack right after a backdash or slide. The Whip does its highest damage at the far tip of its reach. Both cost the same mana per hit and have the same stagger power.
How to confirm you reached Dracula’s Castle
When Isaac, Rose, and Leon have finished their exchange, take the bridge on the right. The location label switches to Dracula’s Castle as a fresh objective begins, confirming that Rose has left the Justice District and entered the castle. Dracula is in the Master’s Quarters, within the Court of the Night; he has 7666 health and 60 attack.