Death has corrupted the pipes of the Great Organ in Notre-Dame, and purple corruption seals off routes through the cathedral’s side aisles until you repair it. You fix it by playing music. Rose collects three Melody Sheets, then walks across the giant zodiac floor keys under the organ in the order each sheet shows. Every melody you complete clears more corruption, and the third one opens the way to your second fight with Death, who drops the Double Jump ability.
Quick answer: In the Great Organ Room, play Moon, Sun, Moon, Virgo (Fugue). Then play the Sonata and Concerto orders listed below once you have their sheets. Then go fight Death in the Choir.
Great Organ Room location and how the floor keys work
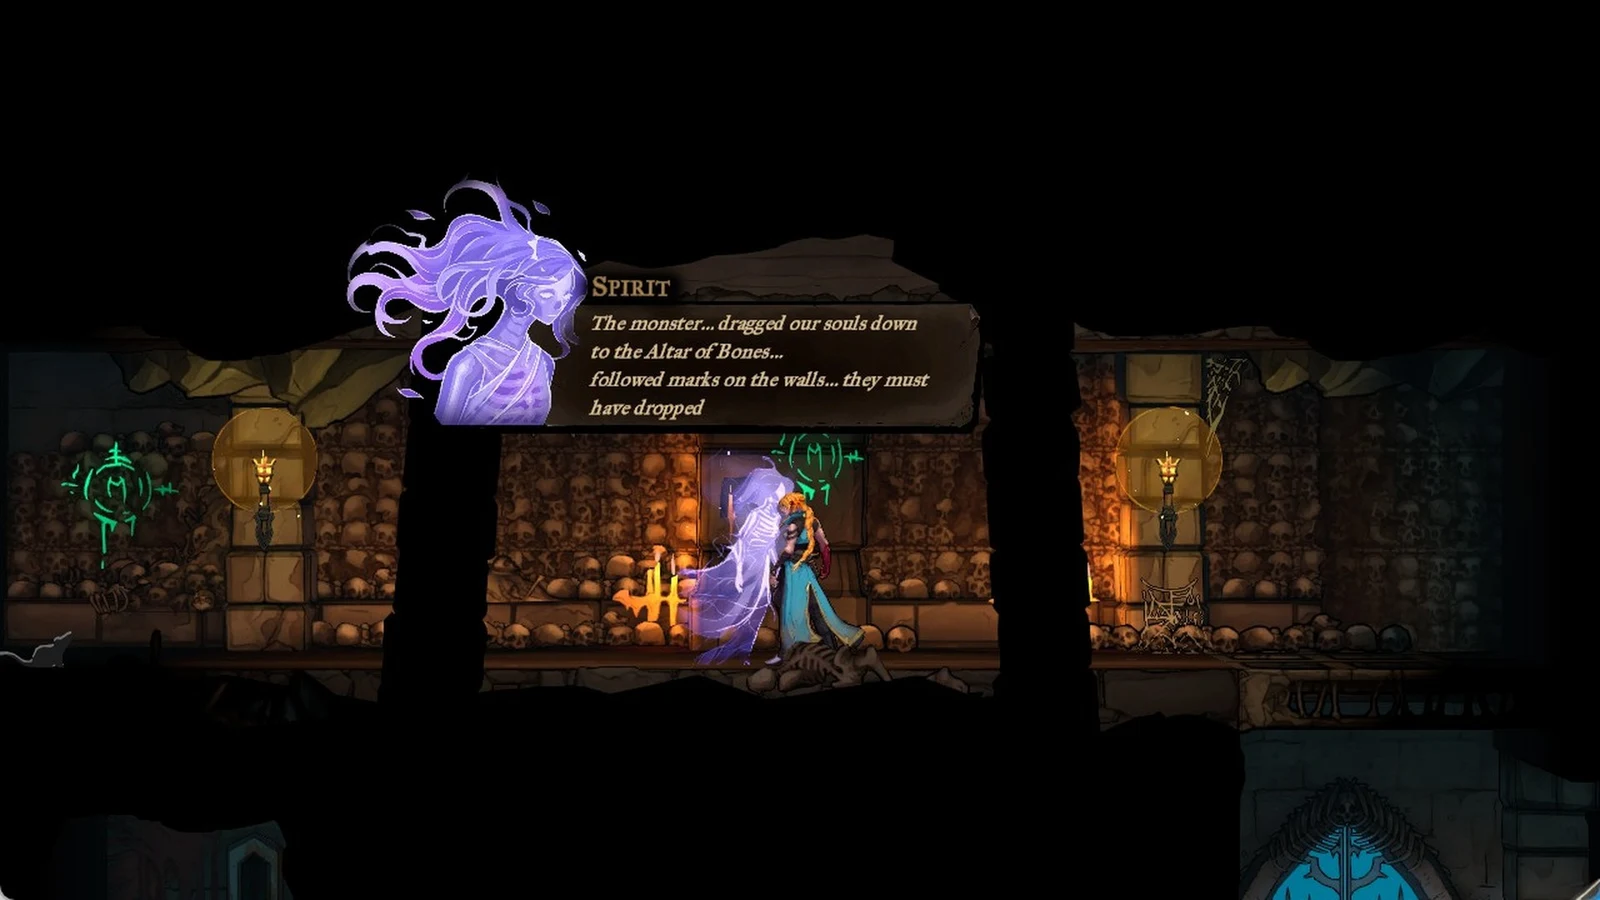
At Notre-Dame’s lowest tier, the Great Organ Room lies immediately above the Main Hall. Enter from the map’s eastern edge, then follow the southern passages downward to reach it. A spirit waiting at the foot of the organ chamber stairs explains that the corruption can be cleansed by finding the cathedral maestro’s sheets, and gives you the first sheet.
The organ itself is a row of 14 floor keys, and each key has a zodiac or celestial symbol marked on the floor. There’s no button prompt. Rose plays the organ by moving across it.
- Walking, jumping, or sliding onto a key triggers it.
- A pressed key sinks, glows, rings a chime, and fires a green beam of light upward.
- Sun and Moon form the central pair, with Sun on the left and Moon on the right.
- Keys you don’t need for a melody can be left alone.
Counting from the left end of the row, these are the keys the three Melody Sheets use:
| Key | Position from left | Side of row |
|---|---|---|
| Gemini | 3 | Left |
| Cancer | 4 | Left |
| Leo | 5 | Left |
| Virgo | 6 | Left of center |
| Sun | 7 | Center |
| Moon | 8 | Center |
| Sagittarius | 11 | Right |
| Capricorn | 12 | Right |
| Aquarius | 13 | Right |
| Pisces | 14 | Far right |
Melody Sheet locations and key orders
Notre-Dame has three Melody Sheets. Each one goes back to the same organ, and each one clears part of the corruption. You have to play them in the order you find them, because each melody opens the route to the next sheet.
| Melody Sheet | Where to find it | Clef | Keys |
|---|---|---|---|
| Fugue of Notre-Dame | Great Organ Room | Bass | 4 |
| Sonata of Notre-Dame | Sealed Scriptorium | Alto | 7 |
| Concerto of Notre-Dame | La Flèche | Treble | 7 |
Melody Sheet for the Fugue of Notre-Dame
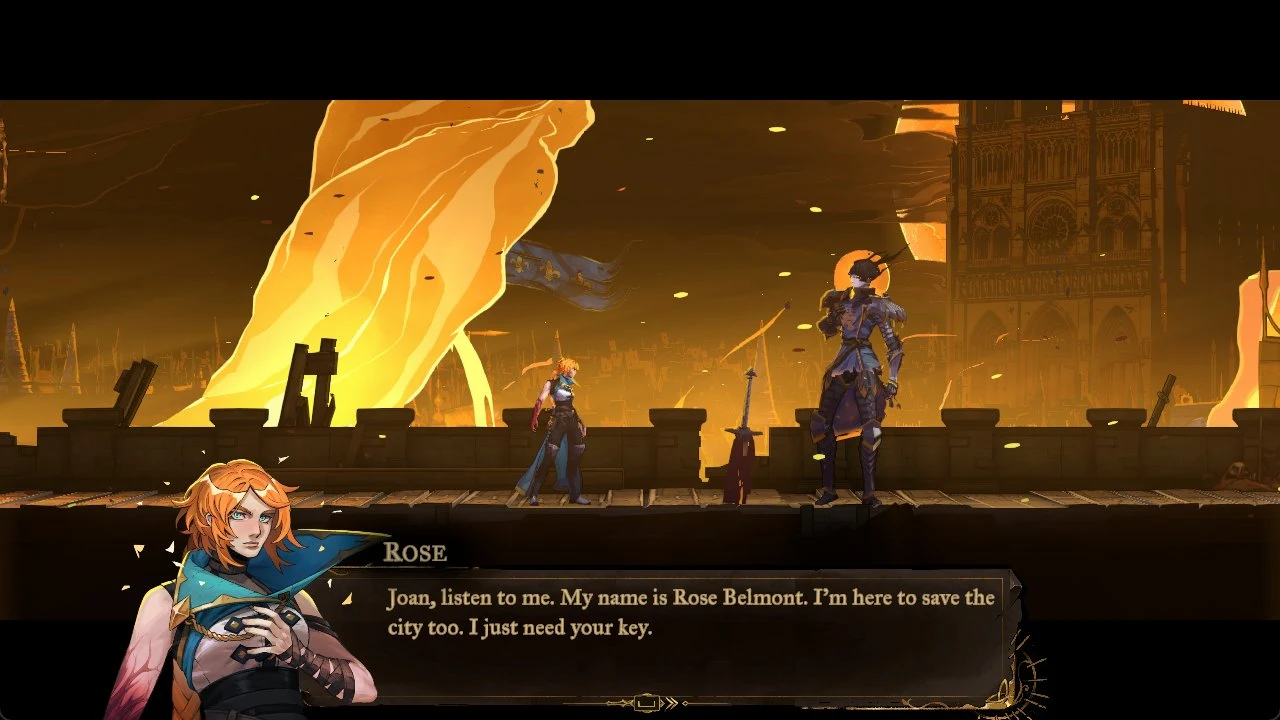
The spirit by the organ chamber stairs gives you this sheet, so you can play it as soon as you arrive. It uses only the middle of the row. Play Moon, Sun, Moon, Virgo, which is keys 8, 7, 8, then 6. Finishing it opens the route on the right side of the room.
Melody Sheet for the Sonata of Notre-Dame
A spirit in the Sealed Scriptorium, southeast of the Ferryman’s Wharf, hands over the second sheet. Take it back to the Great Organ Room. Every note in this melody is on the right side of the row: play Sagittarius, Capricorn, Pisces, Aquarius, Capricorn, Sagittarius, Capricorn. A chord plays, a green dome of light fills the room, and a right-hand path opens. Head back up and explore it.
Melody Sheet for the Concerto of Notre-Dame
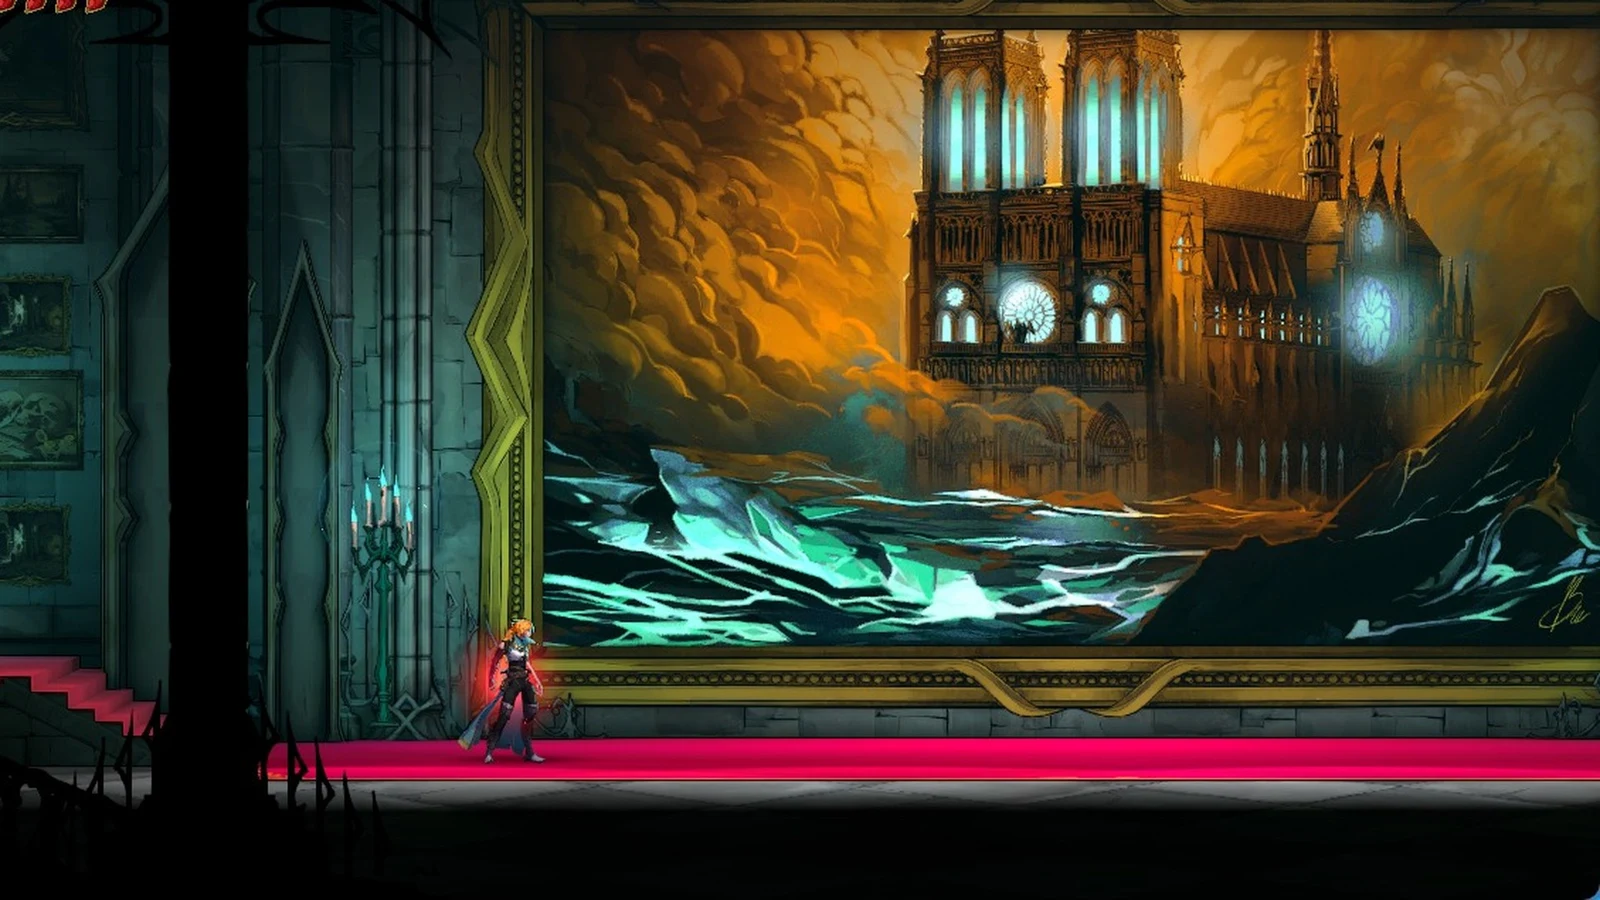
The last sheet is at the top of La Flèche, the cathedral’s spire. The climb up is timed.
How to tell a melody registered
Each note you play correctly produces a distinct green beam and chime, letting you verify your progress one key at a time. Completing a melody makes the organ glow green, with a luminous clef forming among the pipes: the Fugue shows a bass clef, the Sonata an alto clef, and the Concerto a treble clef. After each sheet is completed, a “new clue about the Shadow” banner appears. Since the Shadow is Death’s Arcana, this confirms your progress toward that encounter.
Death boss fight in the Choir and the Double Jump reward
Once the Concerto is played, the cleared side aisles lead to Death’s room in the Choir district. The entrance is northwest of the Mirror of Life in the Notre-Dame Undercroft, so use that mirror to save before you go in. This is your second fight with Death. You first meet him in the Catacombs of Paris, but this is the one where you can beat him.
| Death | Value |
|---|---|
| Health | 8444 |
| Attack | 40 |
| XP | 1000 |
| Arcana card |  The Shadow |
| Spell reward |  Soul Harvest |
Death is immune to bleed, freeze, petrify, launch into the air, slam down, Chronomantic Dive slow, Freezing Path link, and Infernal Pyre launch. Choose your spells with that in mind.
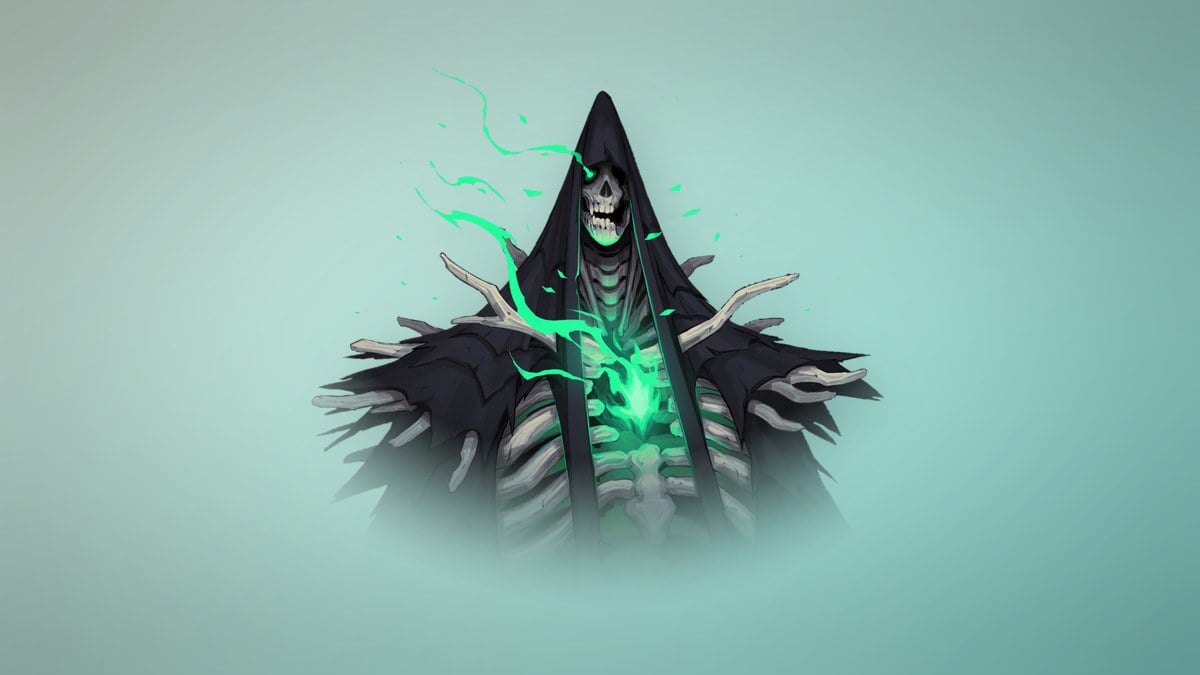
Defeating him awards The Shadow Arcana, which pairs Death as the character with the Soul Harvest spell and Double Jump ability. Granted in the Choir, Double Jump is the game’s fifth and final ability, allowing Rose to leap again while airborne.
Notre-Dame secret organ song for War and Famine
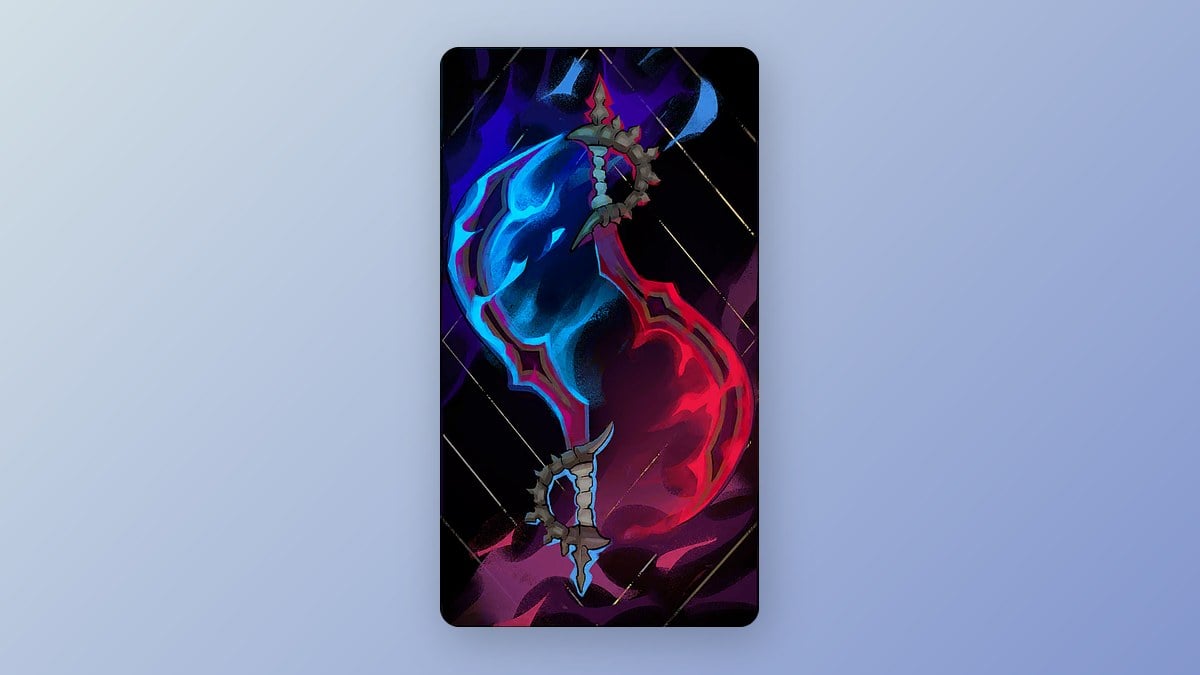
The same organ has a fourth tune that isn’t written on any Melody Sheet. Playing it opens a sealed basement beside the Great Organ Room, and the Legendary dual swords War and Famine are inside. You don’t need any of the three sheets for this. It also completes the Work of Mercy “Complete the hidden puzzle in Notre Dame” for The Shadow Arcana, which gives 1 Blessing that you spend on 1 Gift of Soul Harvest.
- You need Air Dash; Aries at the far-left end and Pisces at the far-right end are out of reach on foot.
- The notes have no countdown, so take your time playing them.
- A plaque close to the room points to something buried beneath a staircase; that’s the spot where the basement opens.
Candle order for the zodiac keys
Look for the clue in a Notre-Dame stained-glass gallery. Its windows depict zodiac signs, each with one to nine candles lit below. Play them in ascending candle count, from the smallest number to the largest. Treat the central Sun and Moon pair as one note.
| Note | Key | Candles | Key position |
|---|---|---|---|
| 1 | Libra | 1 | 1st right of center |
| 2 | Scorpio | 2 | 2nd right of center |
| 3 | Sagittarius | 3 | 3rd right of center |
| 4 | Pisces | 4 | Far-right outer key |
| 5 | Virgo | 5 | 1st left of center |
| 6 | Sun & Moon | 6 | Center |
| 7 | Leo | 7 | 2nd left of center |
| 8 | Cancer | 8 | 3rd left of center |
| 9 | Aries | 9 | Far-left outer key |
Only step on the keys in the table, because several keys aren’t part of the song. If the candle counts in your windows are different, go by the candles. The lowest count always comes first.
One wrong key breaks the sequence, and you have to start over from Libra.
Playing the song
If it worked, you’ll see a green musical flash on the left side of the screen and a “Work of Mercy completed” banner. The basement stays unlocked after that, so you never have to play the song again.
Reaching the War and Famine altar
| War and Famine | Value |
|---|---|
| Weapon type | Dual swords |
| Rarity | Legendary |
| Tier | 4 |
| ATK | 100 |
| Attack power | 33 |
| Stagger power | 30 |
| Mana per hit | 2 |
| Combo finisher | Blade Flurry |
These swords reward precise timing. Press Attack at the instant your previous blow connects to extend the combo instead of letting it end. When the sequence finishes, its final strike creates a field on the ground that empowers Rose while she remains inside. For full Notre-Dame completion, also find the DEF UP book, three secret areas, and one breakable wall in the Great Organ Room.