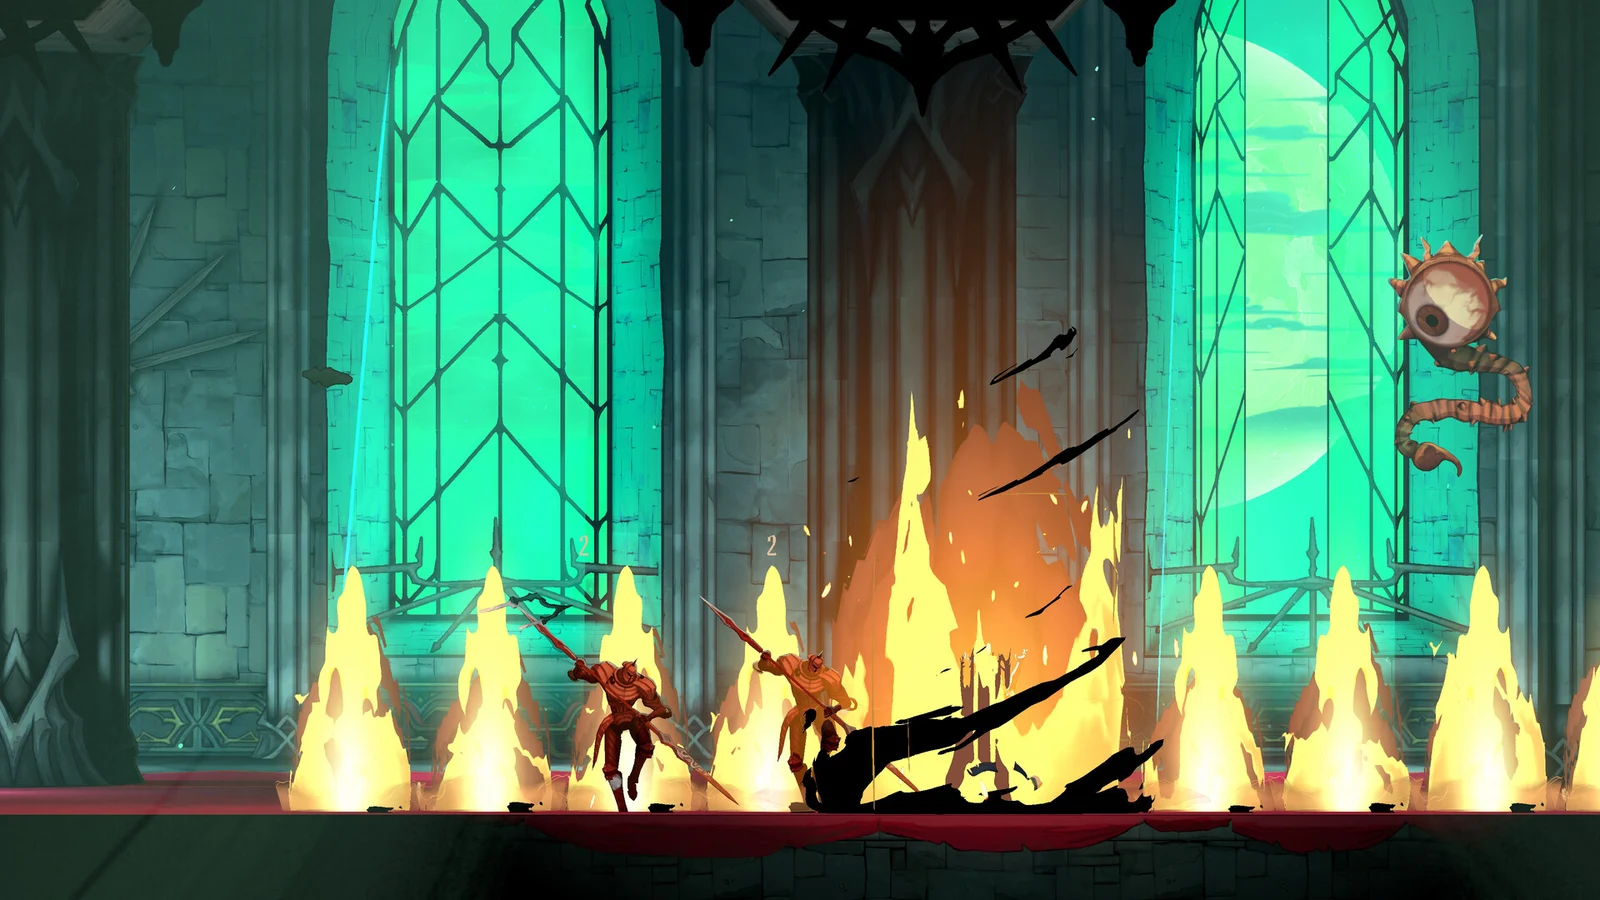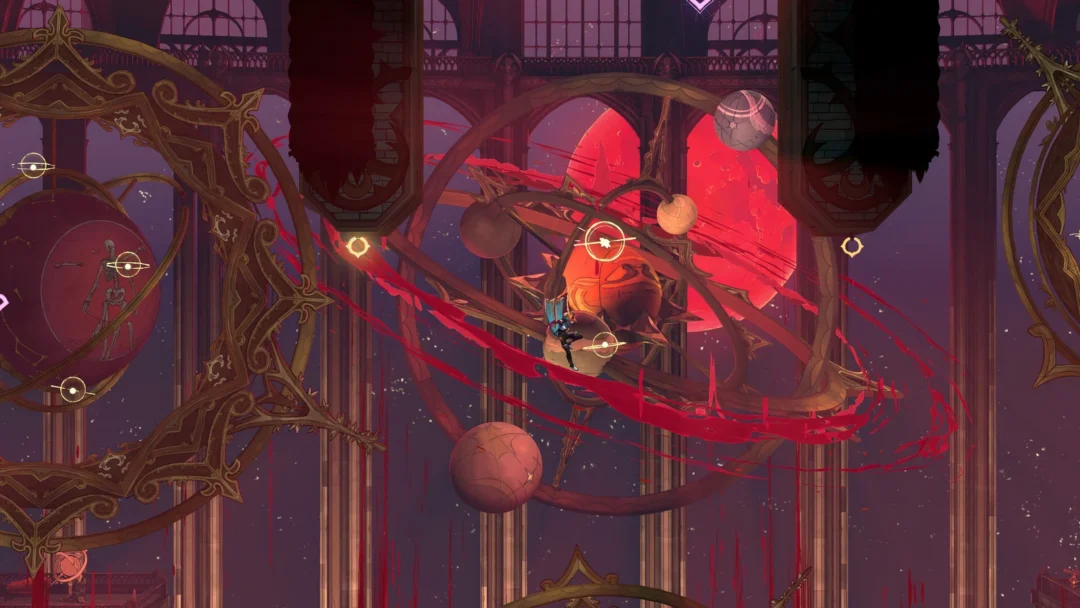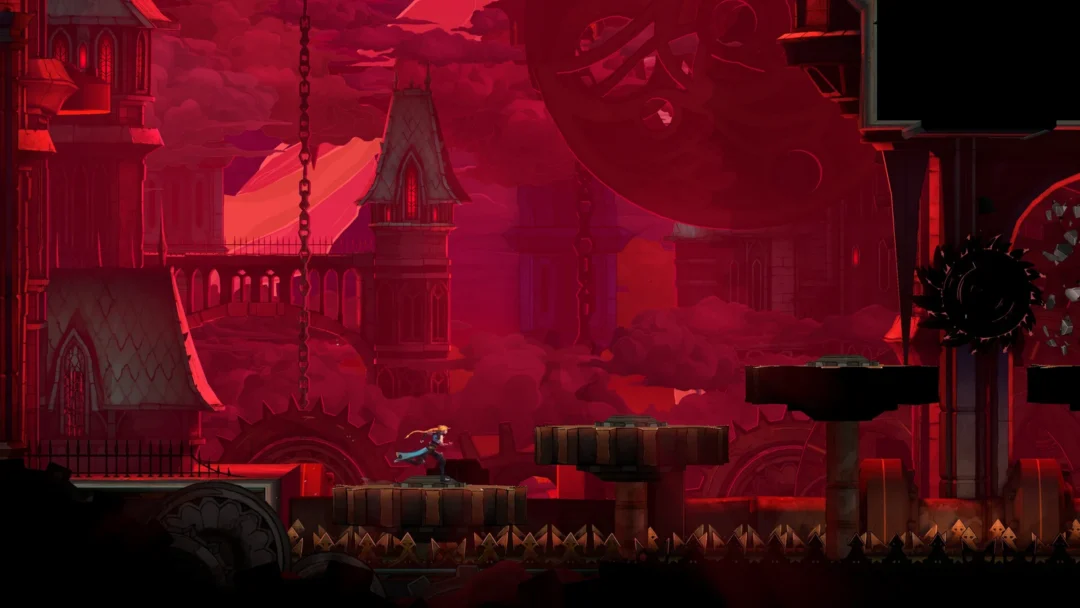
With the Arcane Whip in hand and the objective “Unlock the gate to the Catacombs” on the map screen, the path forward runs from the Court of Miracles through the Holy Innocents’ Cemetery and into the Serpents’ Lair, where Medusa waits. The route here covers that stretch and leaves side rooms and hidden corners aside.
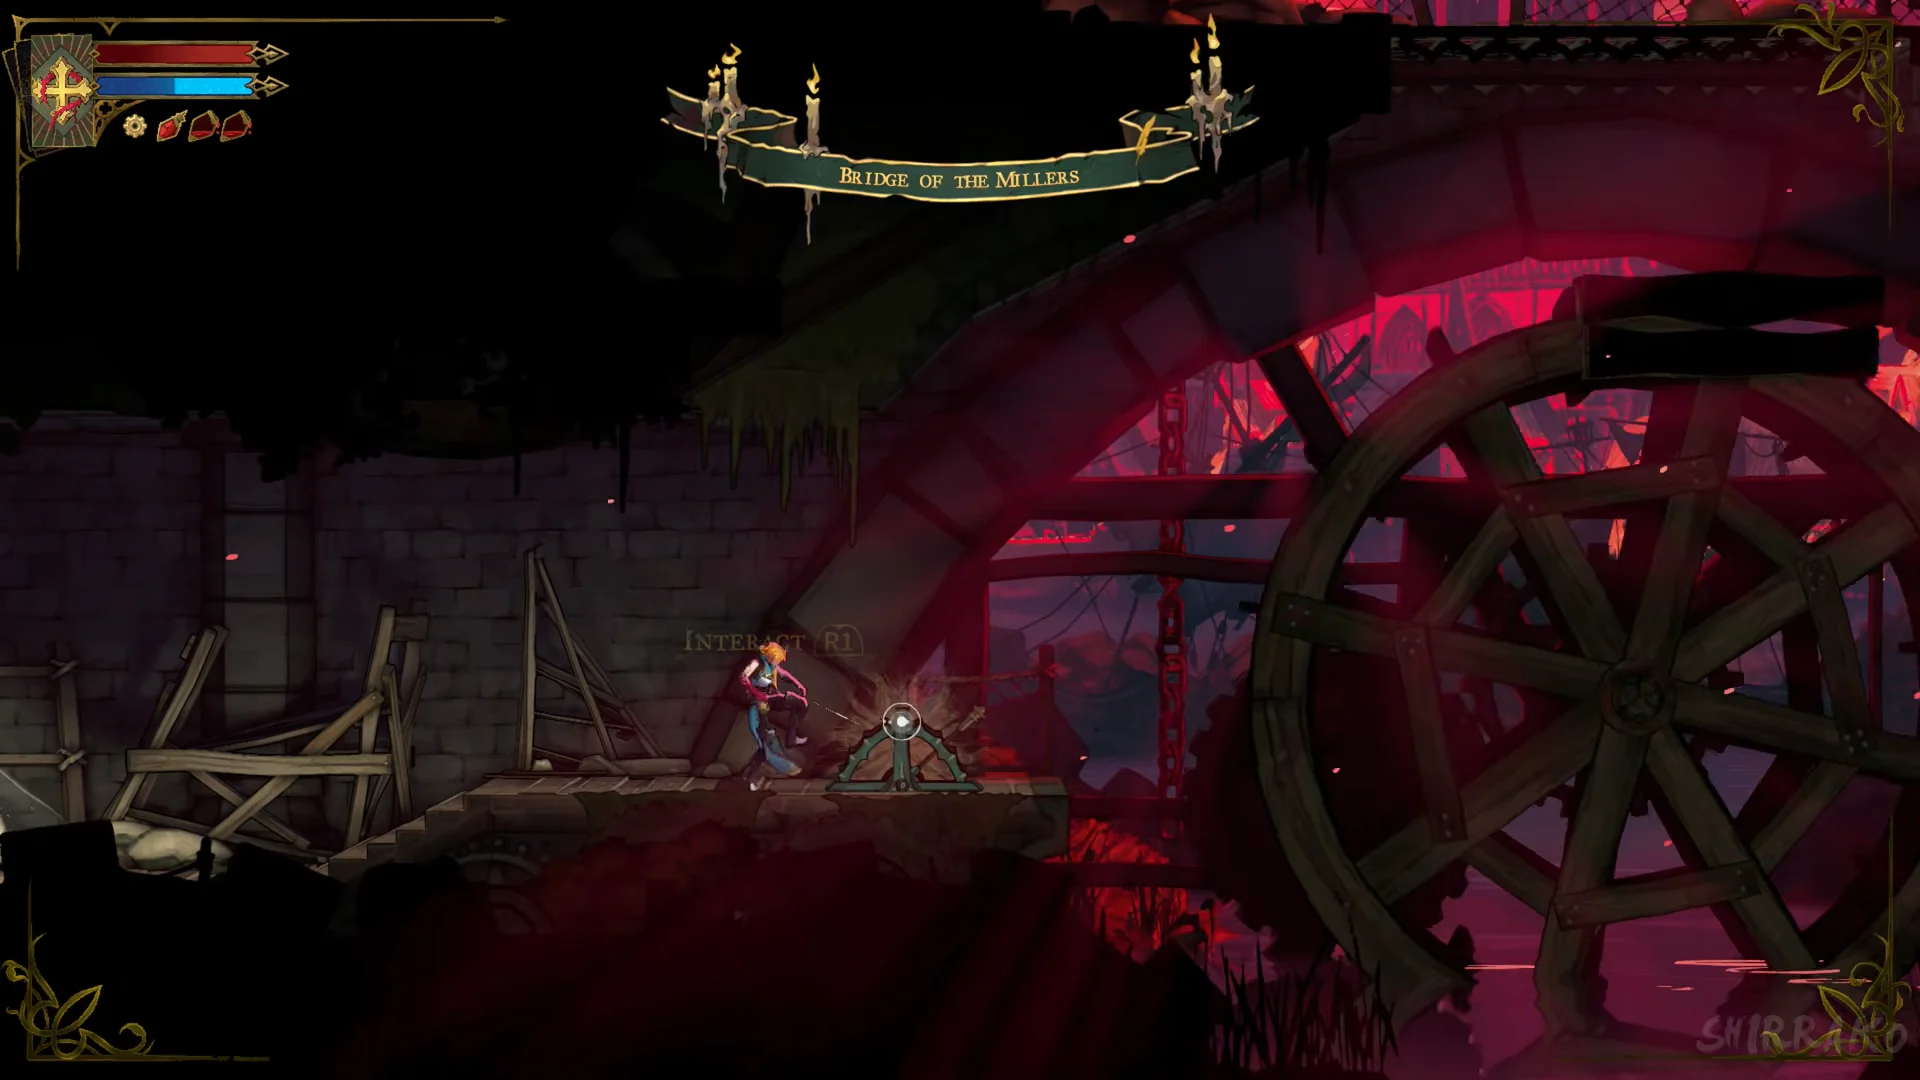
Quick answer: With the Arcane Whip, cross the Bridge of the Millers, climb the Prison Tower, head left to the Holy Innocents’ Cemetery, reach the Serpents’ Lair, and beat Medusa for The Prophetess’s Key.
Route from the Court of Miracles to the cemetery bridge
Pickups along the route
The first relic on this stretch is the Crypt Key from the Seer’s Hovel chest. Its description reads, “Fully restores Rose’s health and mana when she opens a chest.” You can equip up to three relics, and the Relics screen holds three slots.
Two heart fragments appear on this stretch. A Brave Heart Fragment is tucked on a hidden ledge inside the Prison Tower, with the message, “You’ve been blessed with a Brave Heart Fragment! Collect 4 Brave Heart Fragments to permanently increase Rose’s Health.” The Wise Heart Fragment in the Street of the Tomb Masons registers as “1/4 Wise Heart’s Fragments!”
Other Prison Tower finds include an “ATK Up!” book in a spike-lined alcove below the combat room and the “Carpenter’s Crane Sketch” in a spiked cell. Three weapons turn up over the full trip:
- Cestus (Ordinary, ATK 25) — from a chest in the Sewer Reservoir. “A fast weapon that becomes more and more lethal as you hit enemies with it.” Opening its chest locks the room and starts an ambush.
- Lance (Ordinary, ATK 25) — Find it in a chest positioned over an archway close to the Fountain of the Innocents. Its description says, “A long-range weapon useful to stand your ground.”
- Rusted Harpe and Aegis (Ordinary, ATK 25) — in the room past Medusa. “A defensive pair of weapons that can be used to both attack and protect. Hold [L2] to block attacks coming from the front. Shield Bash”
Through Holy Innocents’ Cemetery to the Serpents’ Lair
Crossing left brings up the “Holy Innocents’ Cemetery” banner, then the Cemetery Entrance and a mirror. In the Cloister, dodge the falling chandeliers. The Sepulcher of the Knight holds a spirit that points you onward: “Roman Baths. The Captain of the Guard led us to the ruins of the Roman Baths to find the creature… it did not go well.”
Move through the Fountain of the Innocents, the Obituary of the Innocents, and the Pauper’s Grave. From there the path leads into the Roman Aqueduct, the Roman Baths, and the Hot Springs, all lined with saw blades and spikes. In the Roman Baths, pull the levers with R1 and head upstairs to a spirit that warns, “Guardian’s Gaze. I came to fight the monster… but then I saw the eyes… I could not move… I could not hide… should have turned away…”
A Mirror of Life sits just before the Serpents’ Lair. Its banner appears, and a scene introduces The Prophetess ahead of the fight.
Medusa and the second Catacombs key
Medusa is fought on floating platforms over water, with a single red bar labeled “MEDUSA” across the bottom of the screen. Her attacks and counters are in our guide on how to beat Medusa.
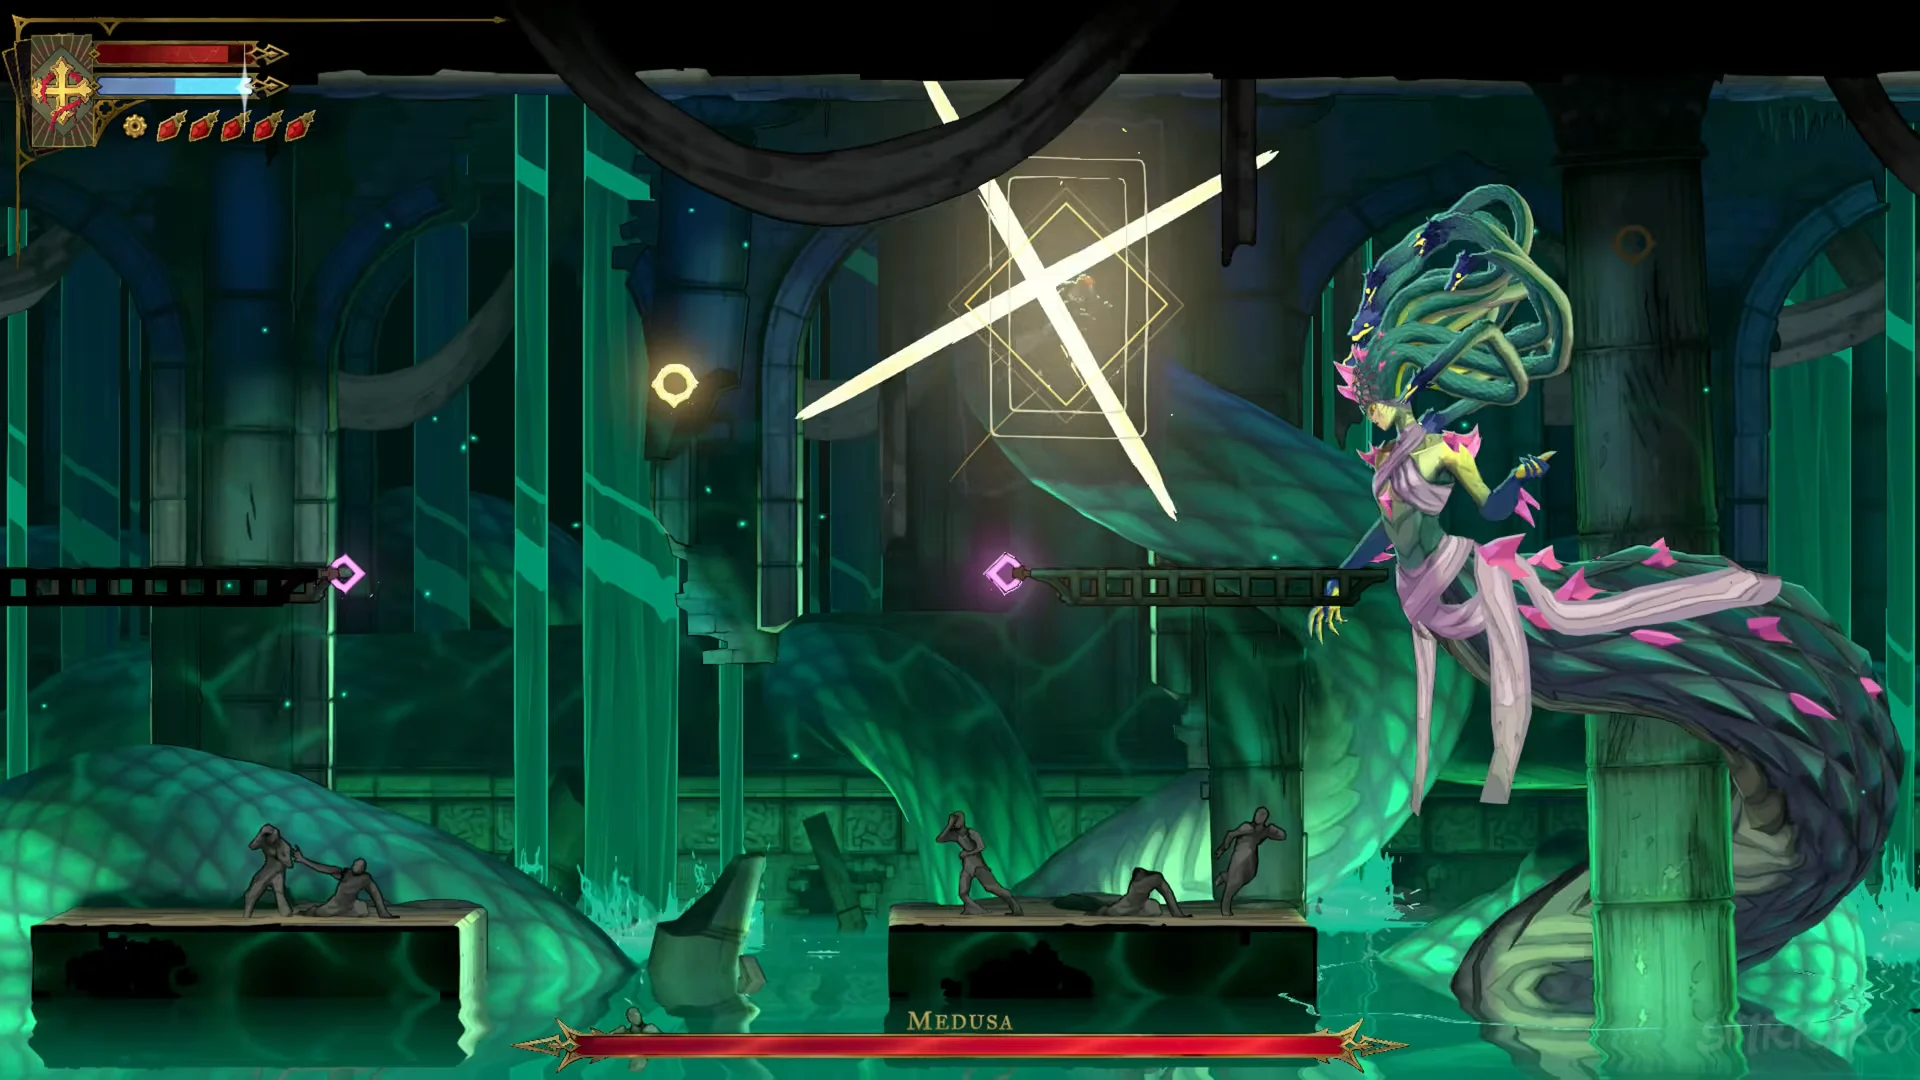
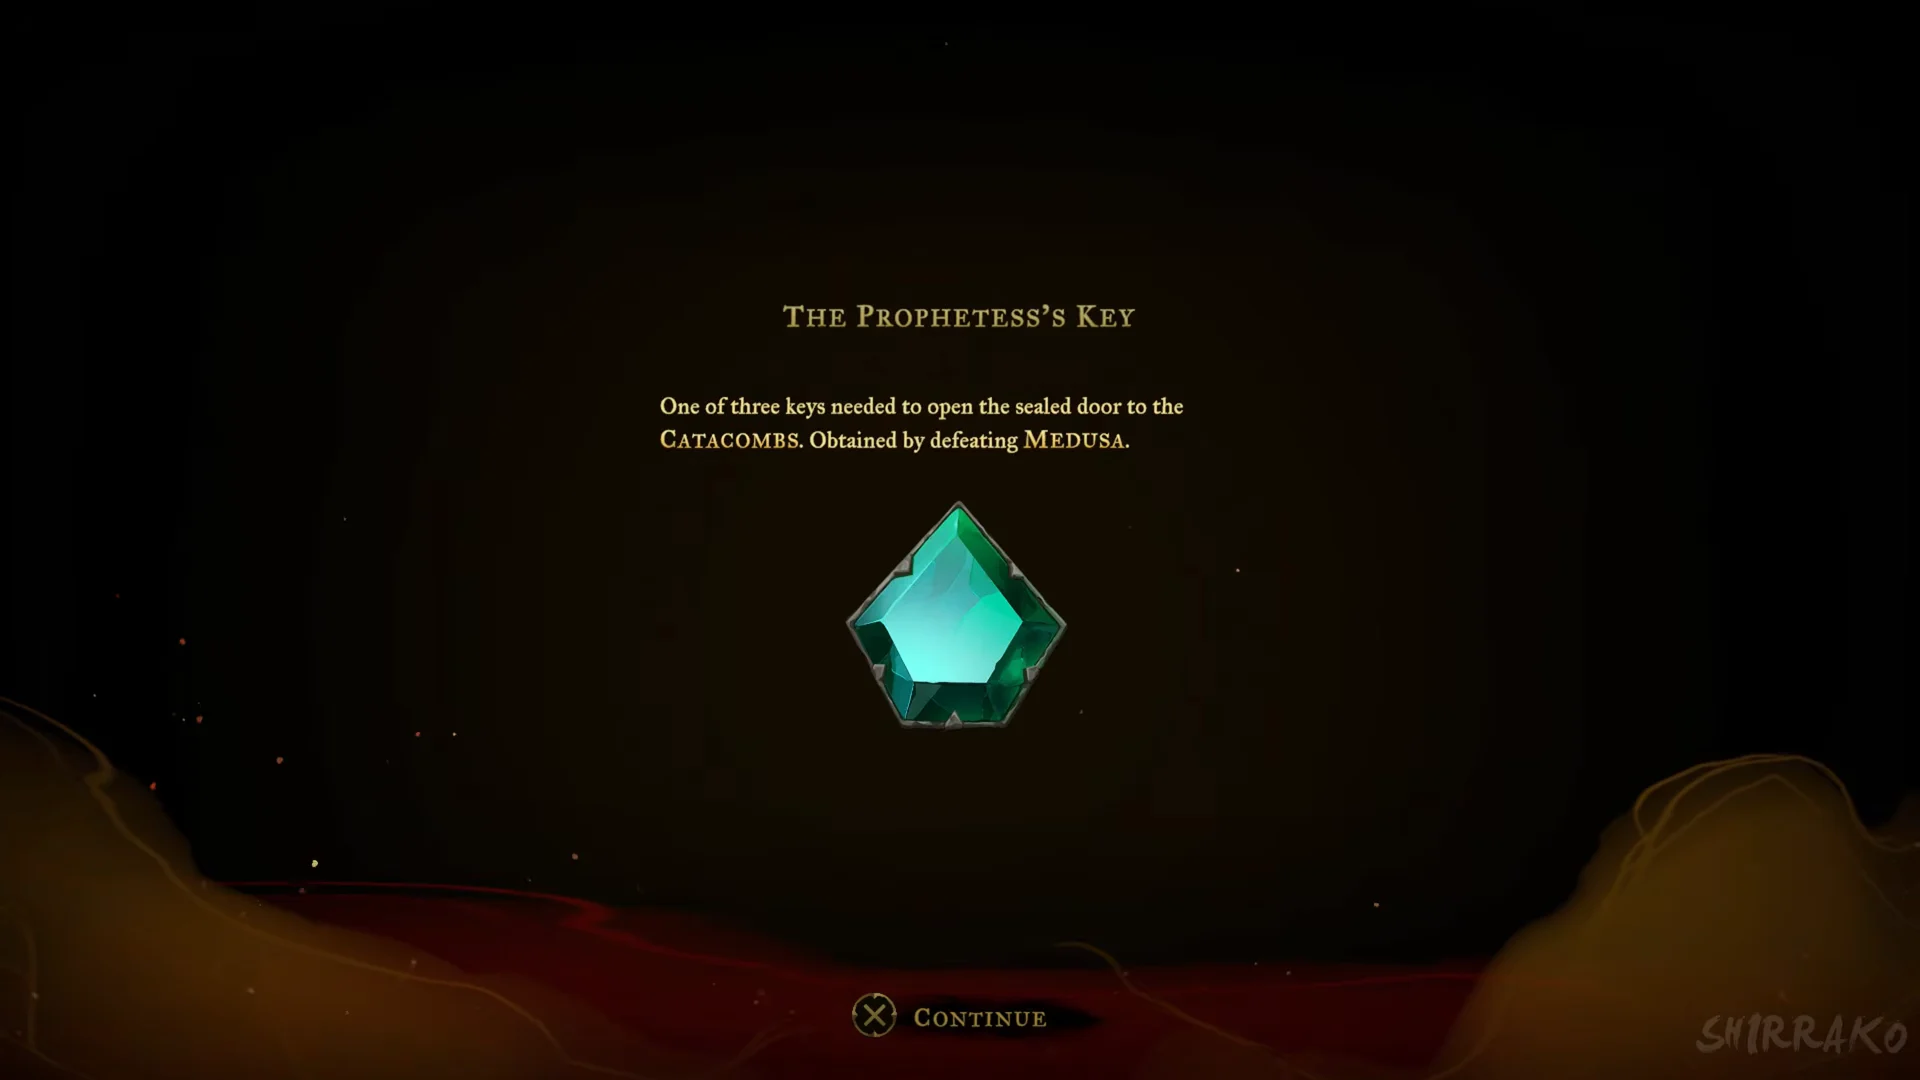
Beating her awards the tarot card The Prophetess, which grants the spell Petrifying Gaze — “Petrify enemies in front of Rose.” She also hands over The Prophetess’s Key, described as “One of three keys needed to open the sealed door to the Catacombs. Obtained by defeating Medusa.” This is the second of the keys that the “Unlock the gate to the Catacombs” objective asks for.
Walkthrough series: Previous: Part 1: Paris Streets to The Fallen | Next: Part 3: Joan of Arc to Death