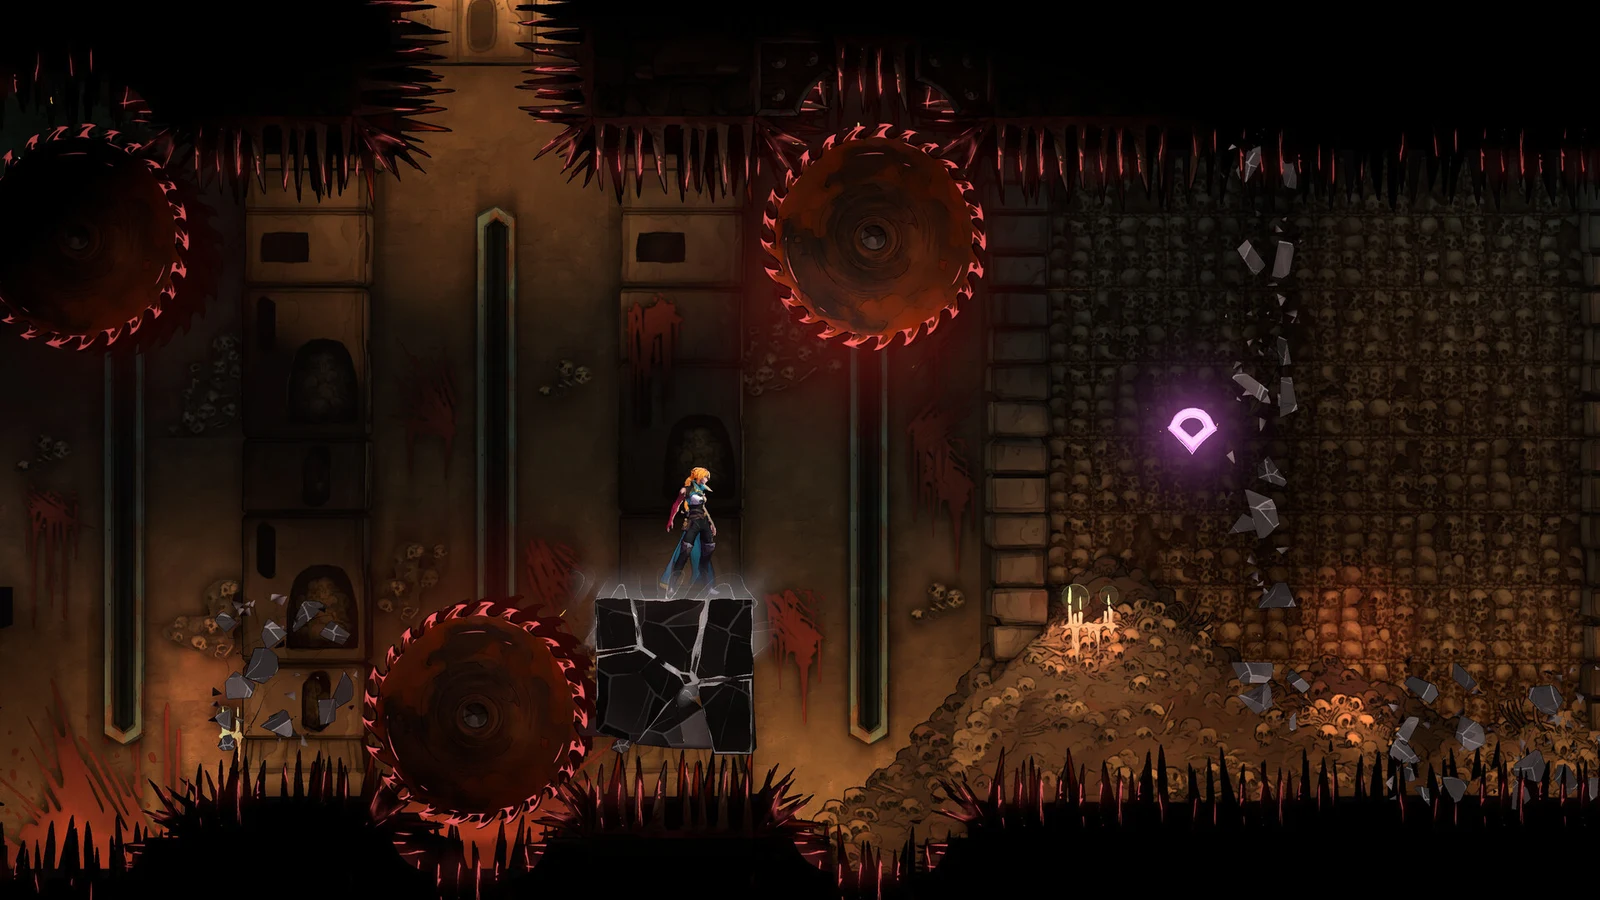
Armed to the Fangs requires you to collect every weapon in Castlevania: Belmont’s Curse. The total is 28: seven families, each containing four weapons, with one from every tier. So far, just 0.2 percent of players have earned it. The 21 standard weapons are straightforward to find once you have the needed traversal skills; the remaining seven Legendaries are tied to story bosses, Tarot card quests, a music puzzle, and a flame hunt.
Quick answer: Own all 28 weapons in the Armoury. The Longsword is your starting weapon, 20 more come from chests and boss drops, and the seven Legendaries mostly unlock after you defeat Death in Notre-Dame.
Armed to the Fangs achievement requirements
| Field | Value |
|---|---|
| Unlock condition | Own all 28 weapons |
| Hidden on Steam | No |
| Players unlocked | 0.2 percent |
| Xbox Gamerscore | 90 |
Two other weapon achievements will pop along the way, so you don’t need to chase them separately:
- Jack of All Trades unlocks when your collection includes one or more weapons from all seven families.
- Stuff of Legends unlocks when you find your first Legendary weapon.
- The King is dead, long live the King unlocks when you survive The Judge’s verdict, the same trial that awards Valmanway.
Abilities, bosses, and upgrades that gate weapons
Plenty of chests are visible long before you can reach them. If a route looks blocked, check whether you’re missing one of these:
- Smash: earned by defeating The Builder in the Clock Tower. Breaks golden cracks with an airborne Down + Jump.
- Double Jump and the Soul Harvest Arcana: earned by defeating Death in Notre-Dame.
- Aerial Rush: a forward dash performed in mid-air, obtained in the Library’s Observation Tower district.
- Arcane Whip: needed to latch onto grapple rings and hooks.
- Holy Light: clears Chaos Shards.
Death is the most significant obstacle in this hunt. Defeat him to receive the Vampire Killer, along with Double Jump and Soul Harvest, which provide access to several more Legendaries. You must first get past four bosses:
| Boss | Location | Health / Attack | Rewards |
|---|---|---|---|
 Carmilla (The Occultist) | Observatory, Library | 4500 / 35 | Blood Spikes, 850 XP |
 Brauner (The Artist) | Brauner’s Atelier, Main Hall | 4250 / 30 | Masterpiece, 500 XP |
 Death (The Shadow) | Choir, Notre-Dame | 8444 / 40 | Soul Harvest, 1000 XP |
 Arthur (The Brittle King) | Chapel, Notre-Dame | 11000 / 55 | Excalibur, Stained-Glass Shield, 500 XP |
Valmanway adds one more requirement: at least seven maximum health and mana upgrades combined. Those come from heart fragments spread across the map.
| Collectible | Fragments per upgrade | Gain per upgrade | Total placed / upgrades |
|---|---|---|---|
| Brave Heart Fragment | 4 | +20 max health | 24 / 6 (220 max health) |
| Wise Heart Fragment | 4 | +20 max mana | 24 / 6 (220 max mana) |
Each type has three fragments in each of eight areas: Library, Main Hall, Notre-Dame, Clock Tower, Paris Streets, Hall of Mirrors, Catacombs of Paris, and Holy Innocents’ Cemetery. Seven upgrades means 28 fragments in total across both types.
All 28 weapon locations in Castlevania: Belmont’s Curse
Each family has an Ordinary, Refined, Masterpiece, and Legendary weapon. Use this list as your checklist; detailed routes follow below.
| Weapon | Family | Tier | Location |
|---|---|---|---|
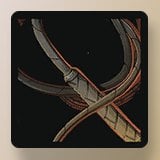 Whip | Whip | Ordinary | Hall of the Fallen Angels, Catacombs of Paris |
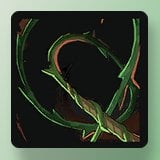 Thorn Whip | Whip | Refined | Fine Arts Shelves, Library |
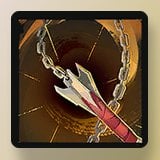 Morning Star | Whip | Masterpiece | Inner Courtyard, Main Hall |
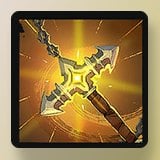 Vampire Killer | Whip | Legendary | Notre-Dame (defeat Death) |
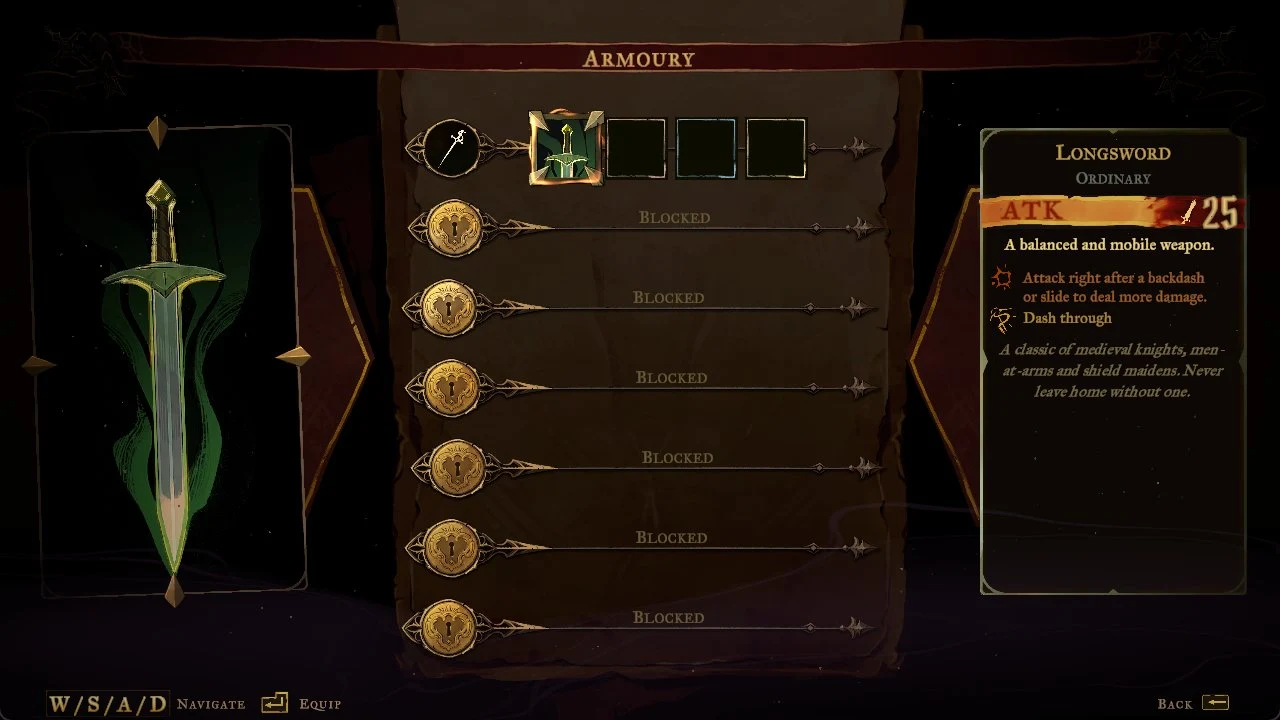
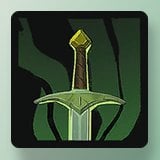 Longsword | One-handed sword | Ordinary | Starting weapon |
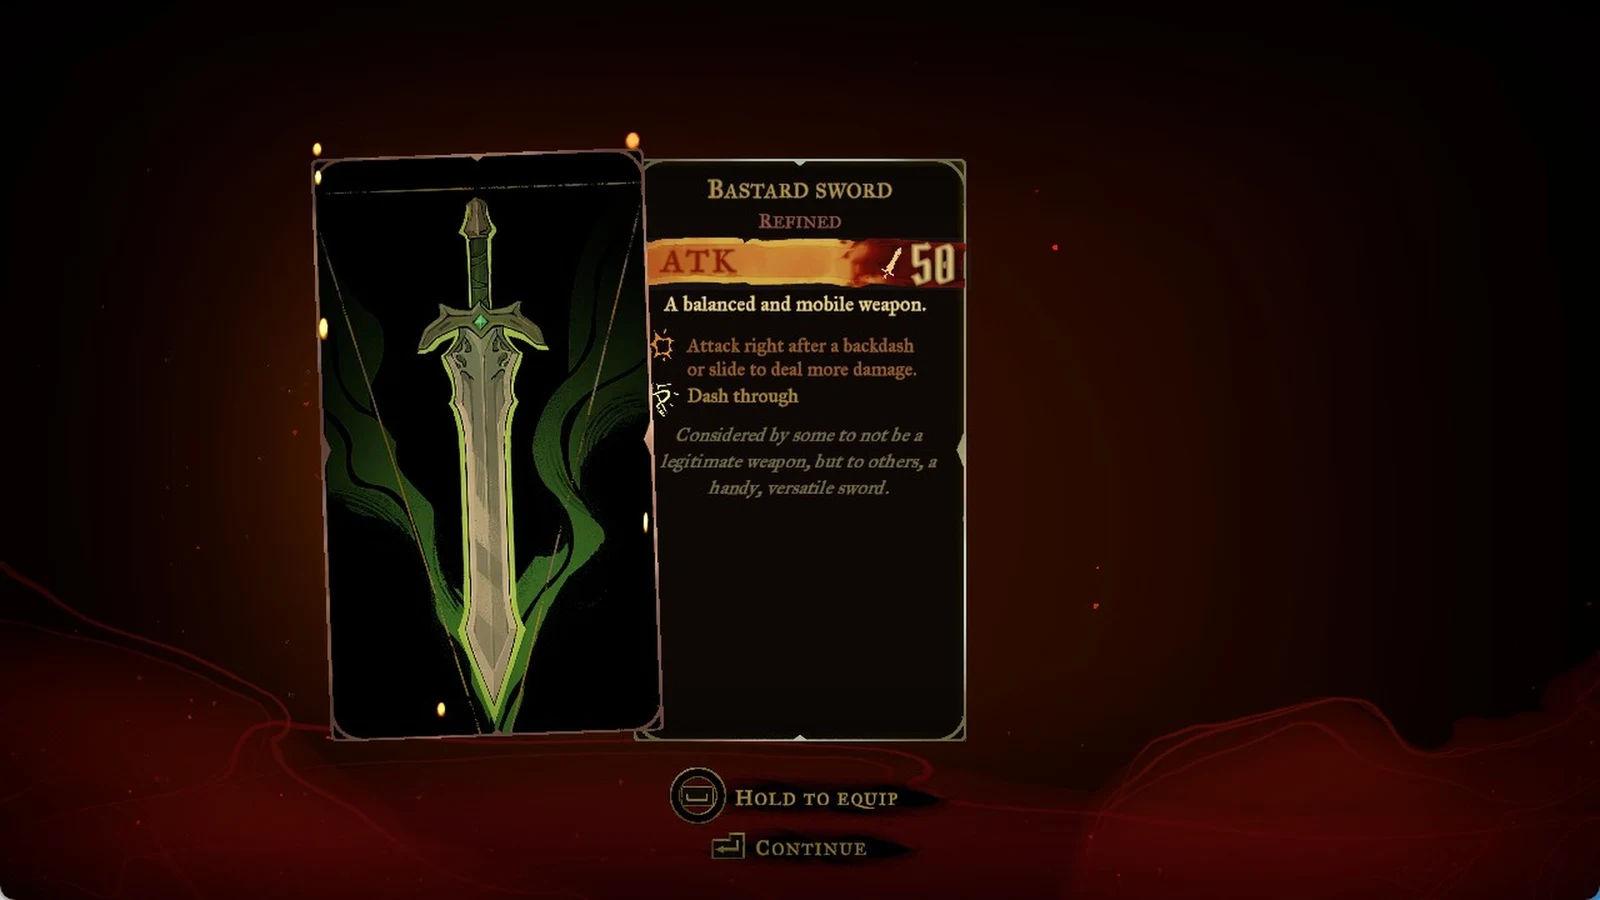
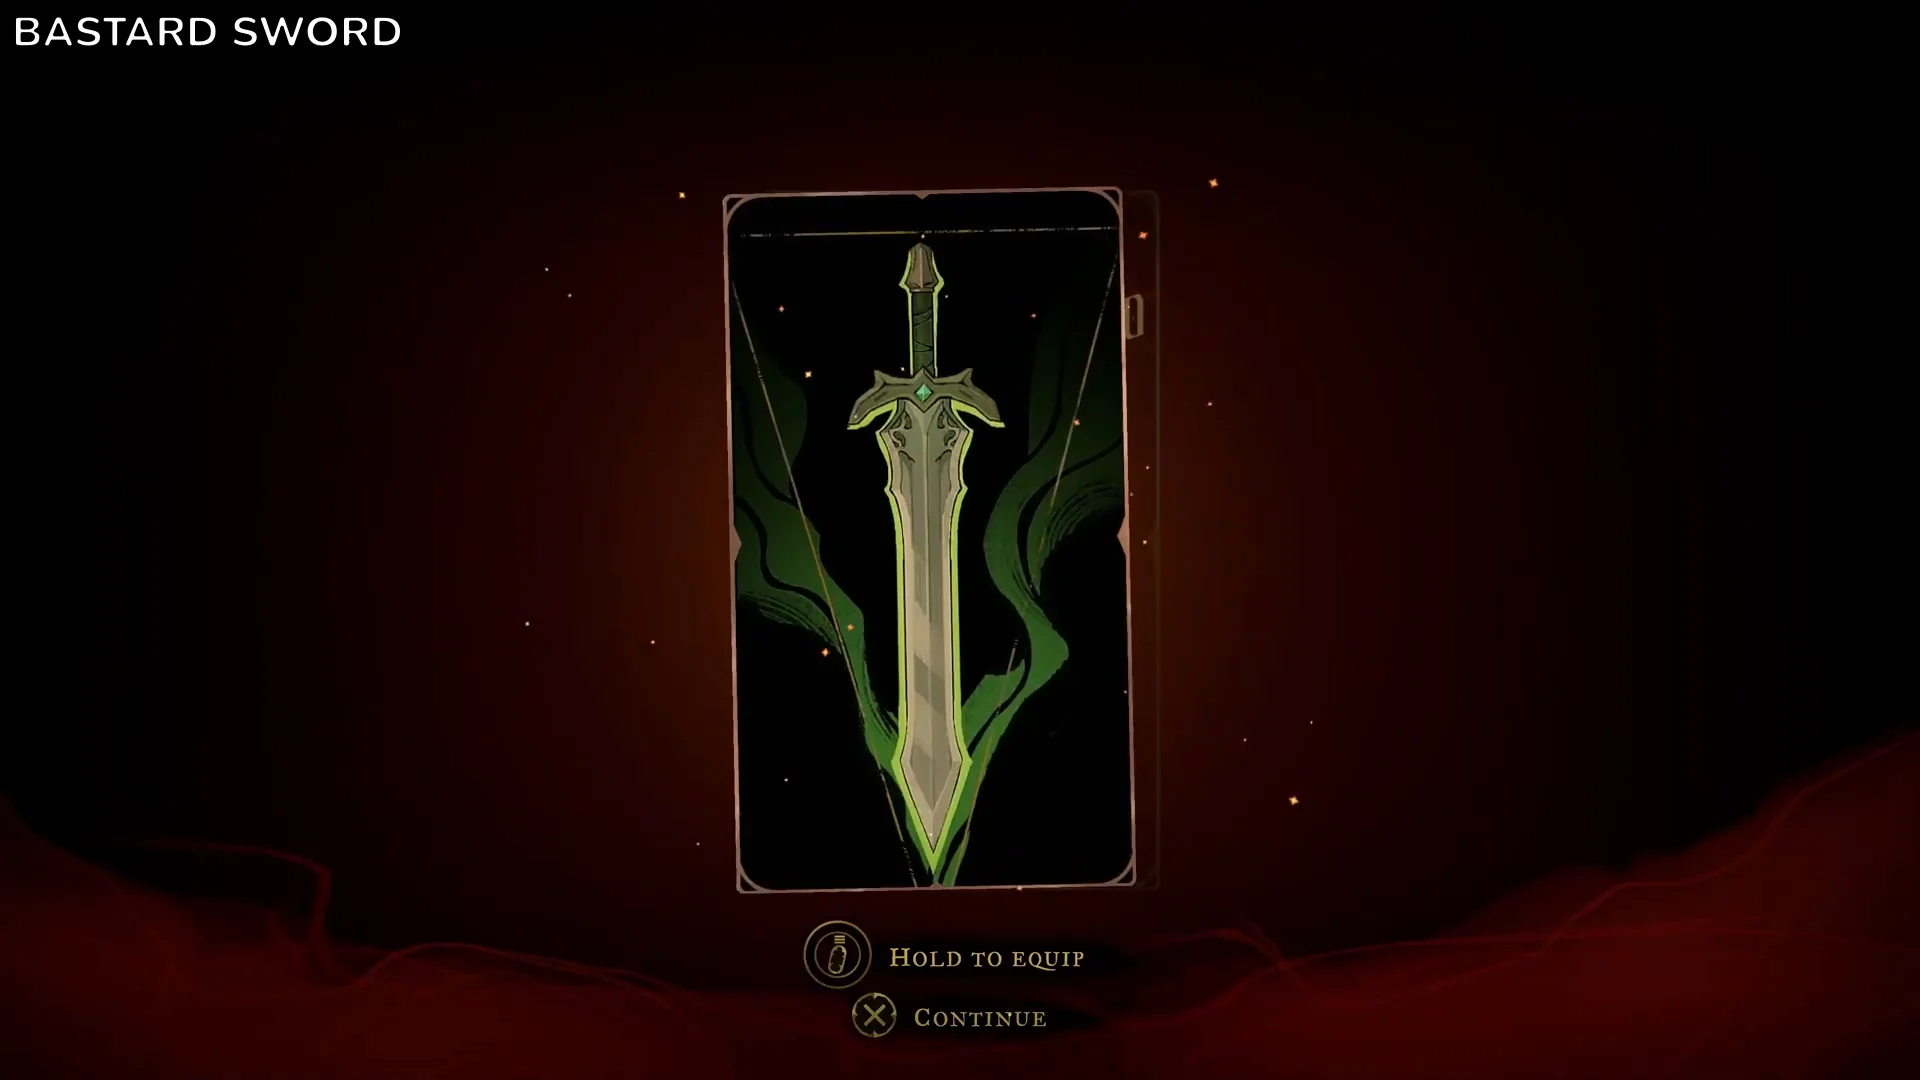
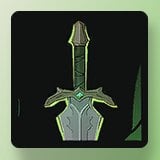 Bastard Sword | One-handed sword | Refined | Justice District Sewers, Paris Streets |
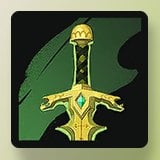 Joyeuse | One-handed sword | Masterpiece | Path of the Penitent, Notre-Dame |
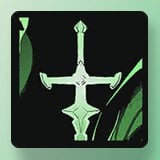 Valmanway | One-handed sword | Legendary | Palace of Justice, Paris Streets |
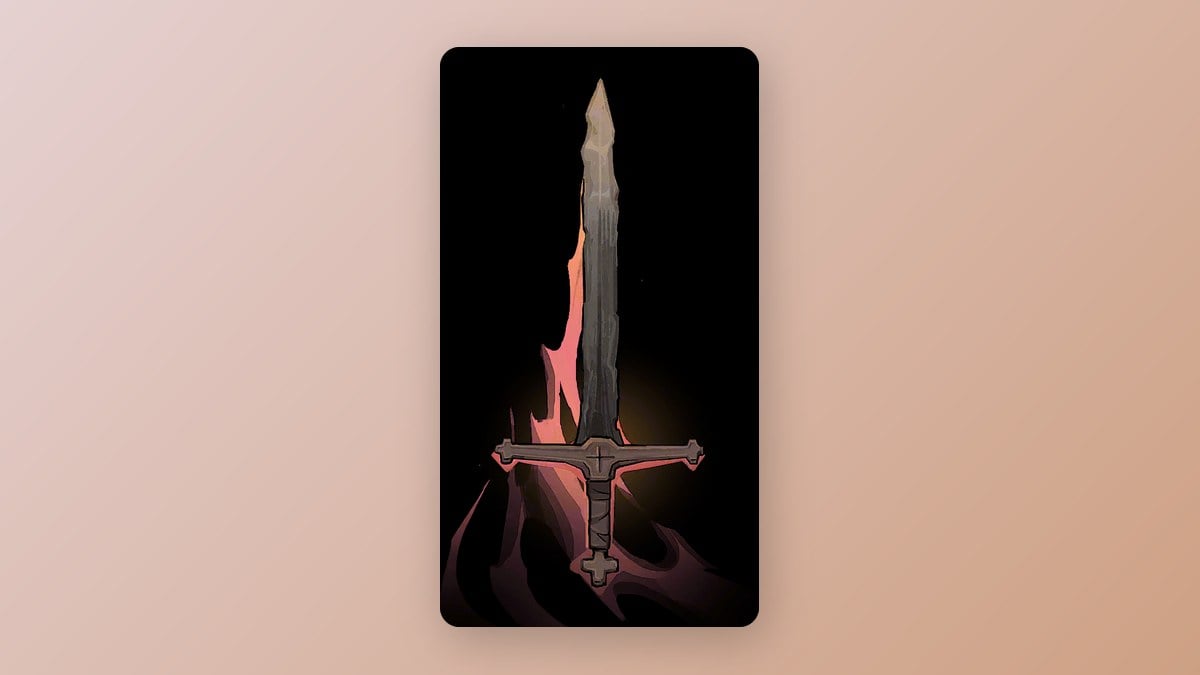
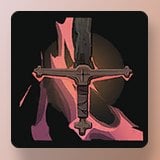 Burnt Sword of Fierbois | Two-handed sword | Ordinary | Roof of the Tower, Paris Streets |
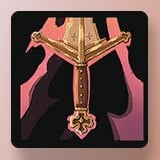 Claymore | Two-handed sword | Refined | The Way of the Fist, Clock Tower |
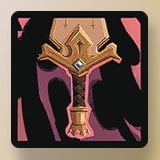 Durandal | Two-handed sword | Masterpiece | Lisa’s Laboratory, Library |
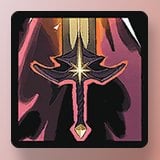 Excalibur | Two-handed sword | Legendary | Chapel, Notre-Dame (defeat Arthur) |
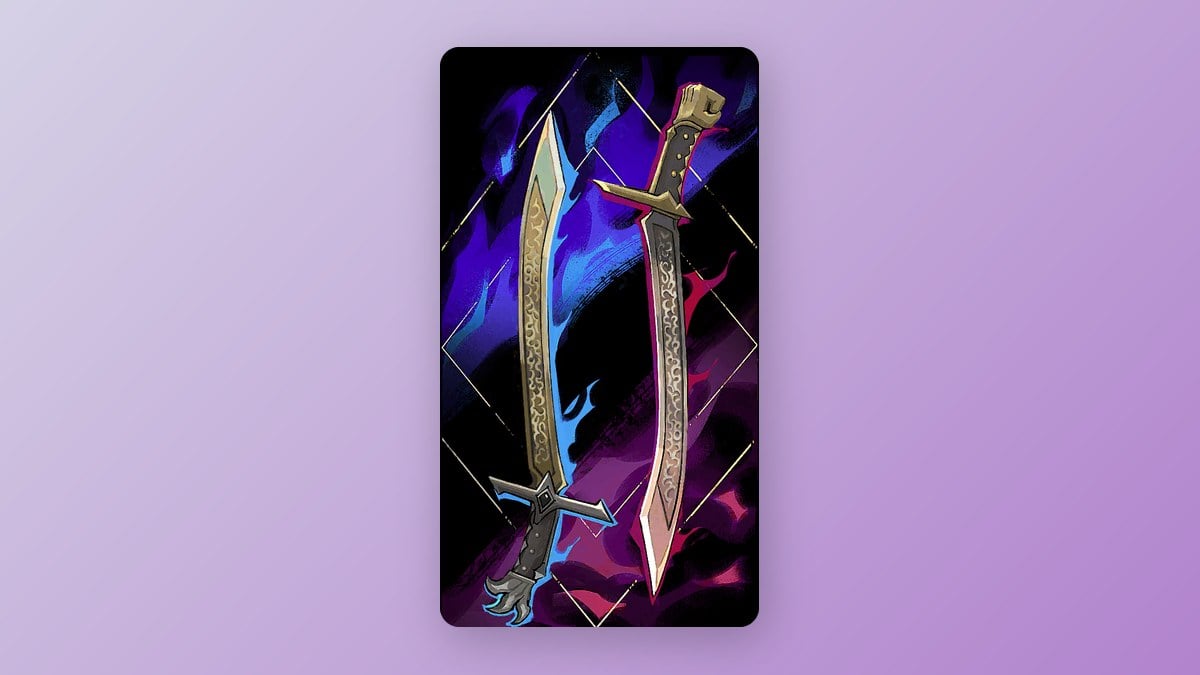
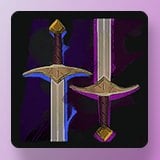 Pair of Longswords | Dual swords | Ordinary | Chamber of Whispers, Catacombs of Paris |
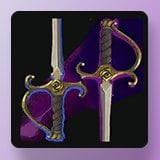 Rapiers | Dual swords | Refined | Watchtower, Main Hall |
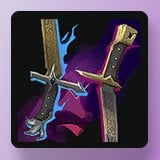 Almace and Hauteclaire | Dual swords | Masterpiece | Flooded Crypt, Holy Innocents’ Cemetery |
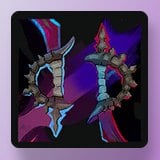 War and Famine | Dual swords | Legendary | Great Organ Room, Notre-Dame |
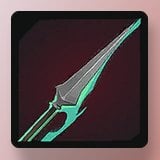 Lance | Spear | Ordinary | Fountain of the Innocents, Holy Innocents’ Cemetery |
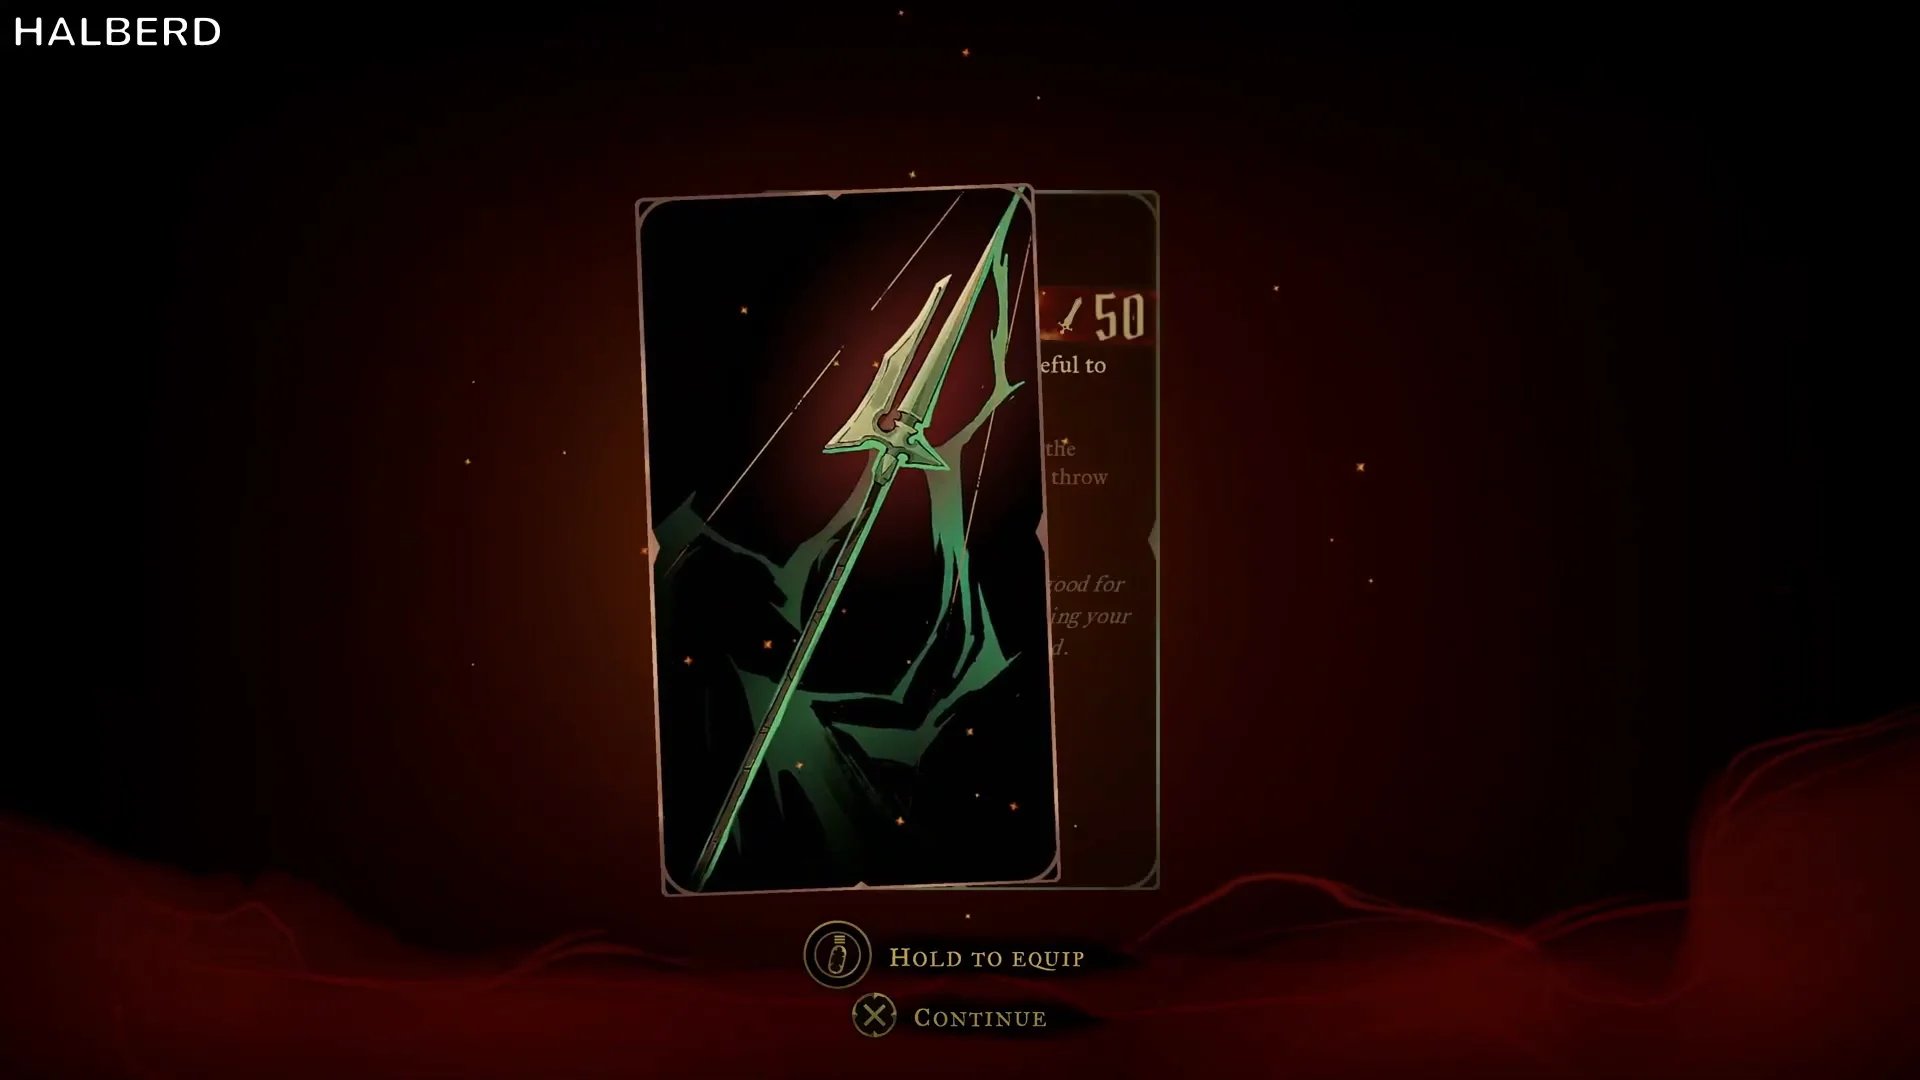
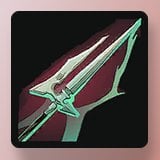 Halberd | Spear | Refined | Mechanic’s Ascent, Clock Tower |
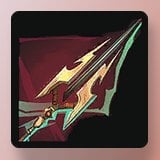 Gungnir | Spear | Masterpiece | Collapsed Path of Orpheus, Catacombs of Paris |
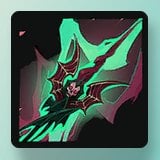 Chauve-Souris | Spear | Legendary | Heart of the Clock, Clock Tower (defeat Isaac) |
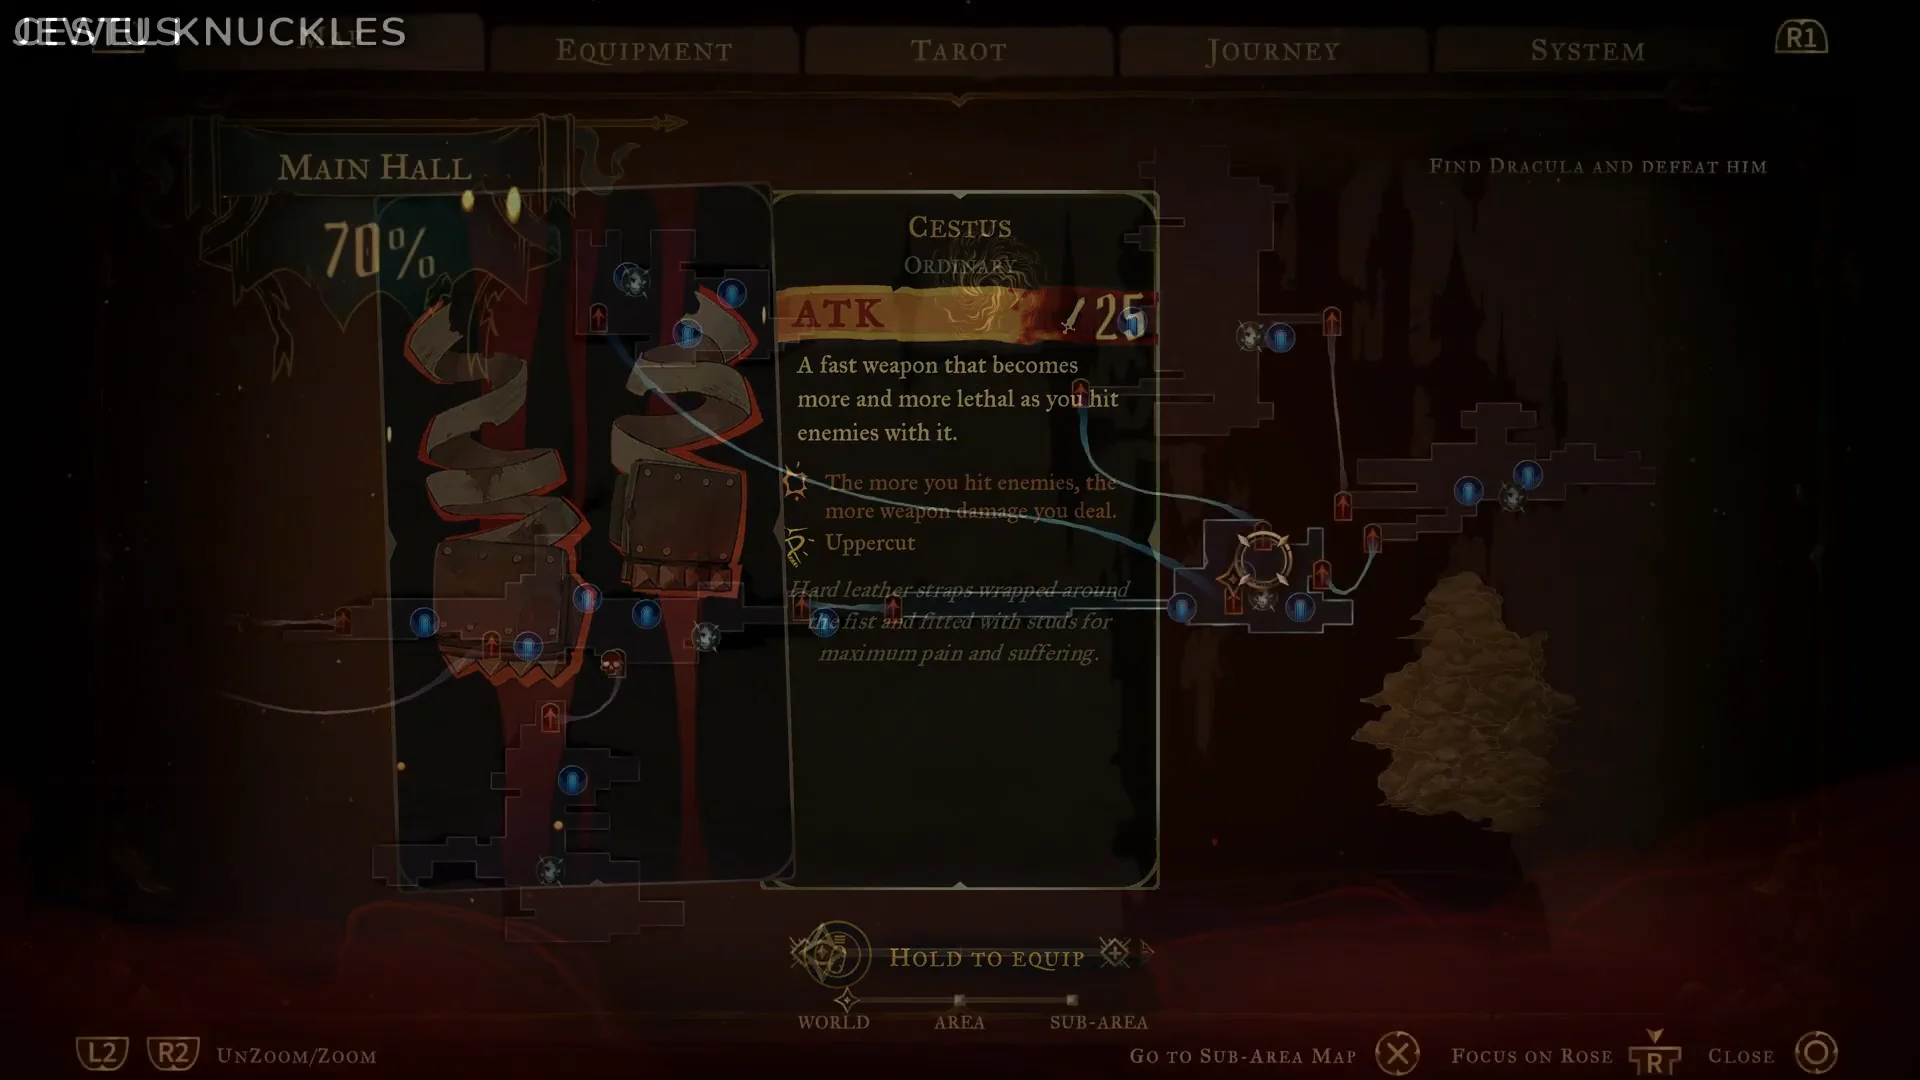
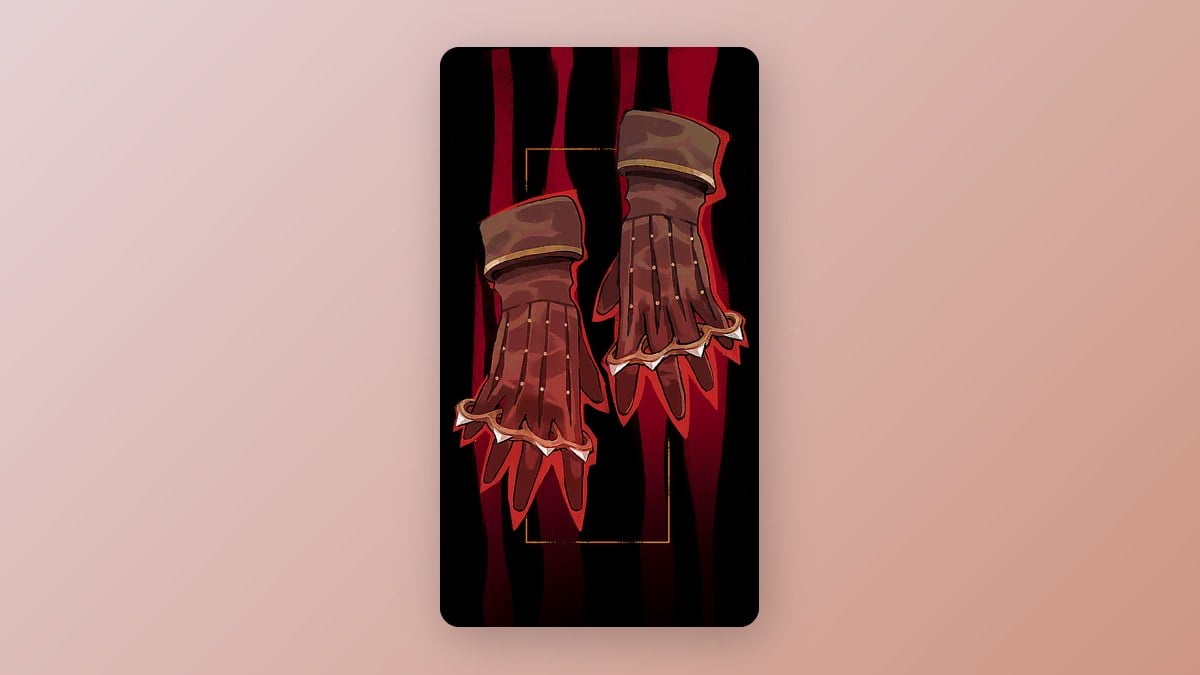
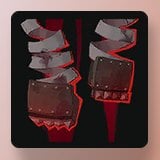 Cestus | Fists | Ordinary | Sewer Reservoir, Paris Streets |
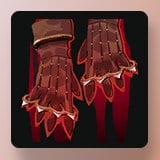 Jewel Knuckles | Fists | Refined | Old Gallery, Main Hall |
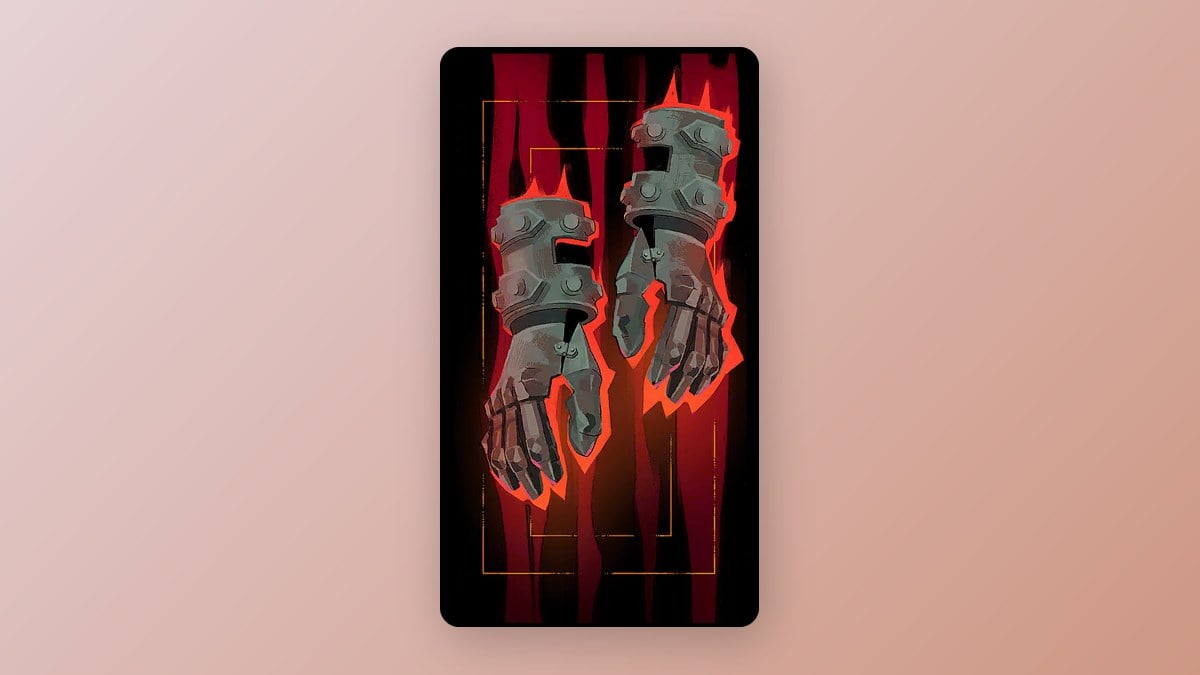
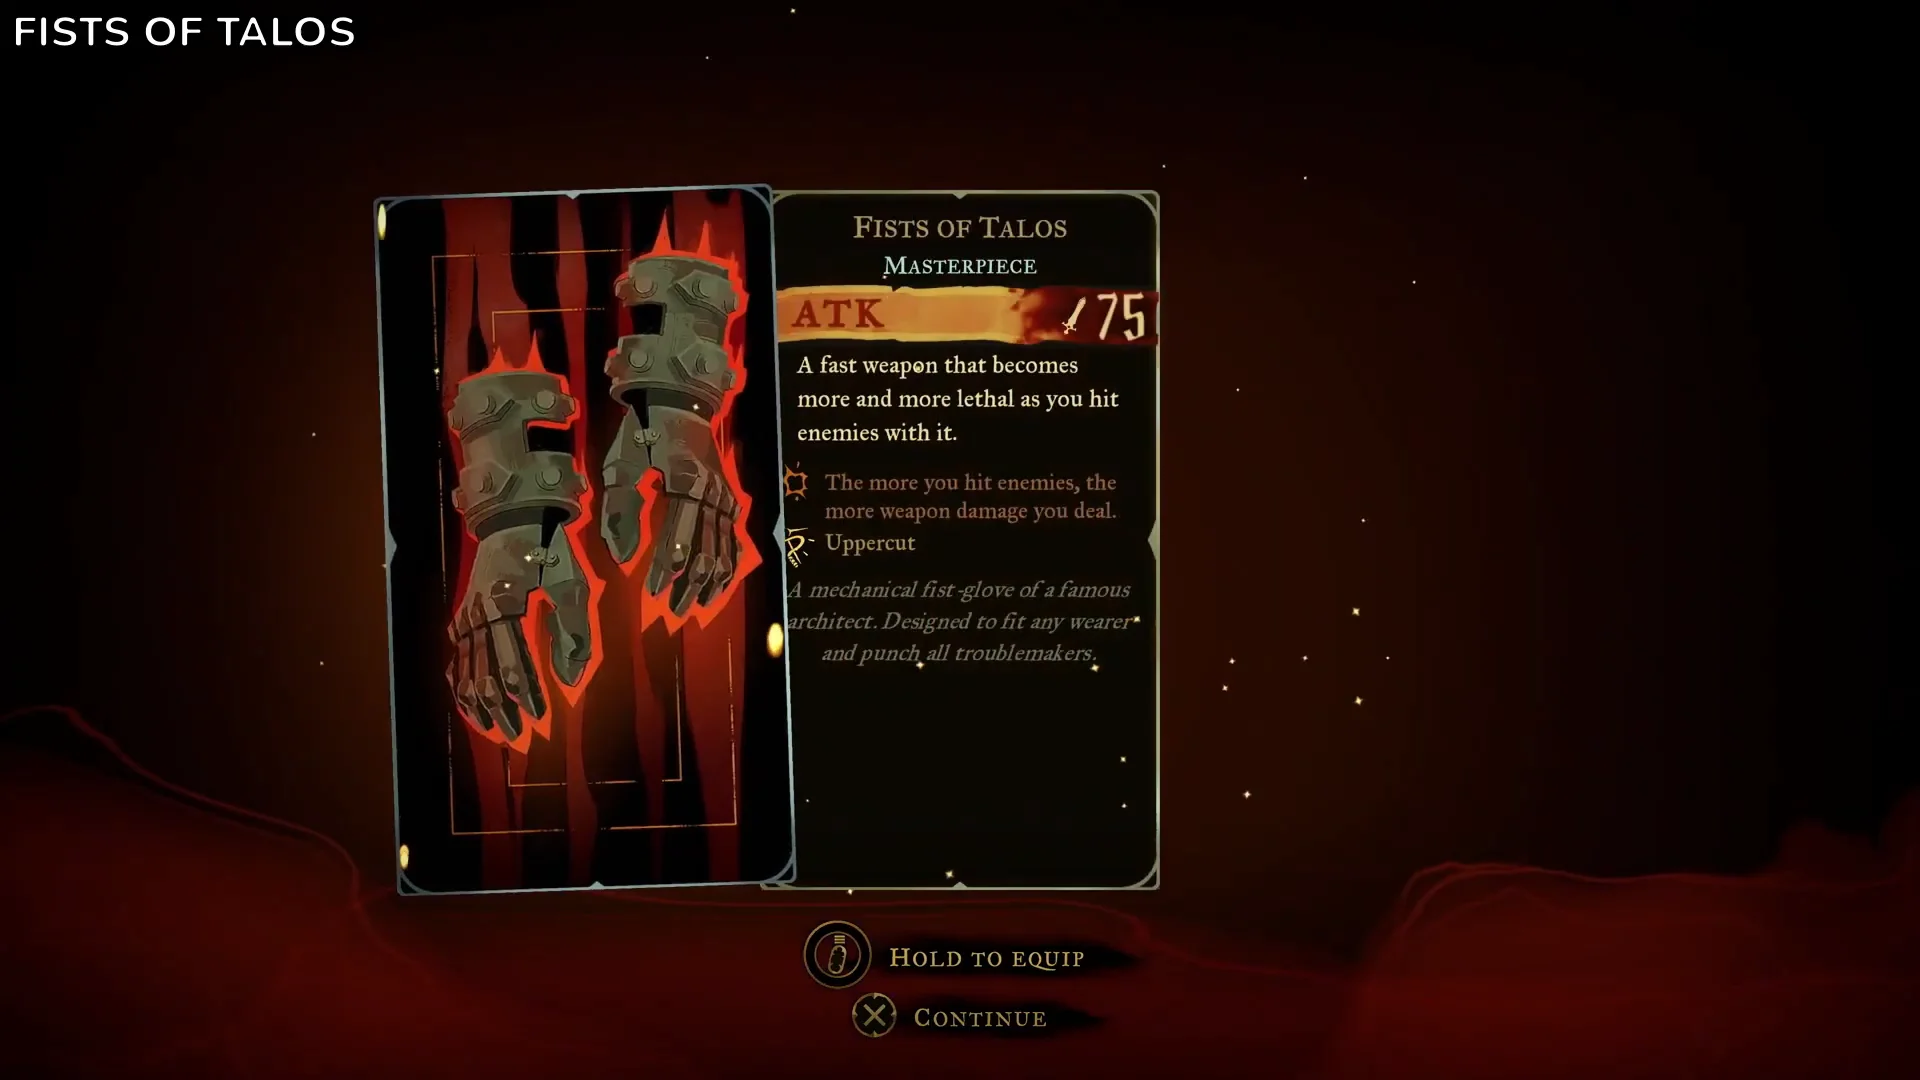
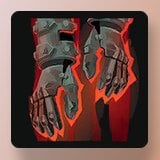 Fists of Talos | Fists | Masterpiece | Builder’s Bureau, Clock Tower (defeat The Builder) |
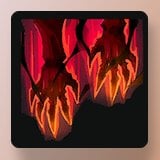 Bernhard’s Wrath | Fists | Legendary | Hall of Mirrors |
| Rusted Harpé and Aegis | Sword and shield | Ordinary | Serpents’ Lair, Holy Innocents’ Cemetery |
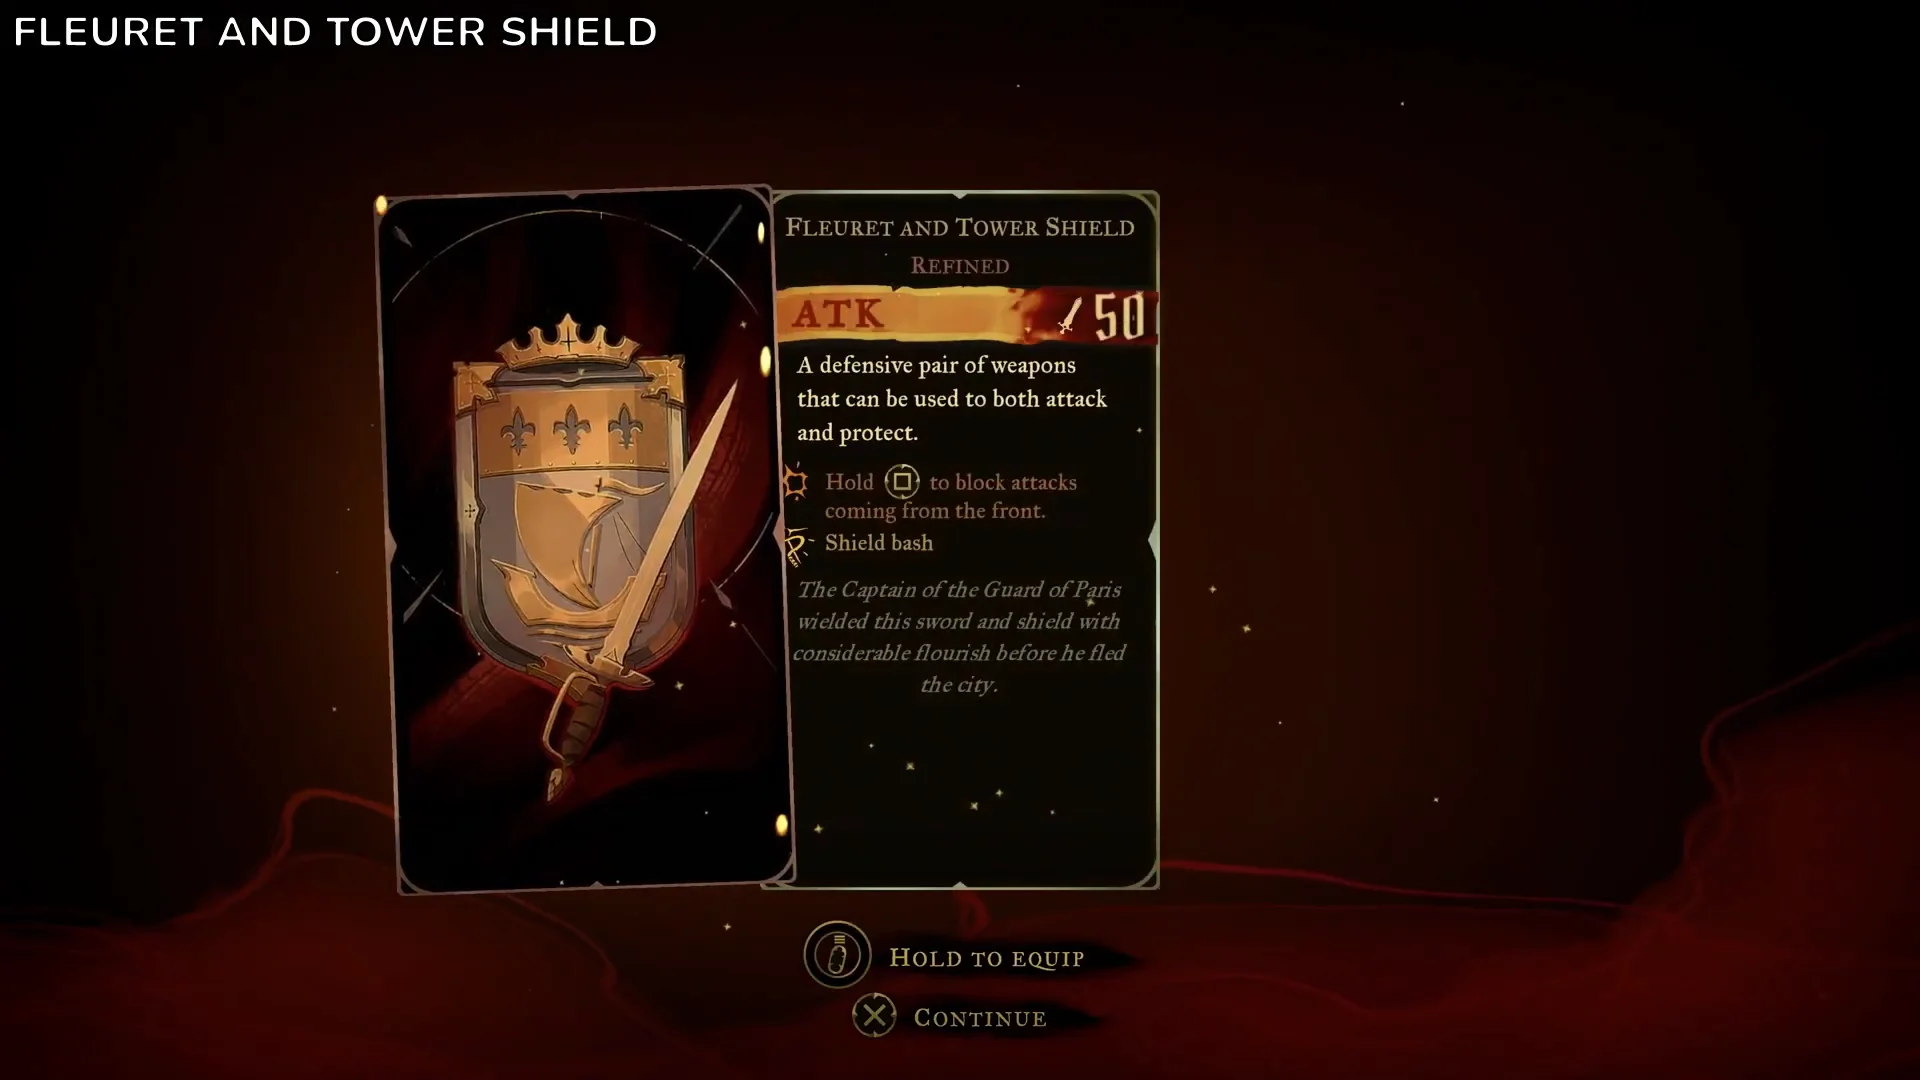
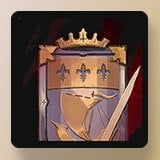 Fleuret and Tower Shield | Sword and shield | Refined | Condemned Shelves, Library |
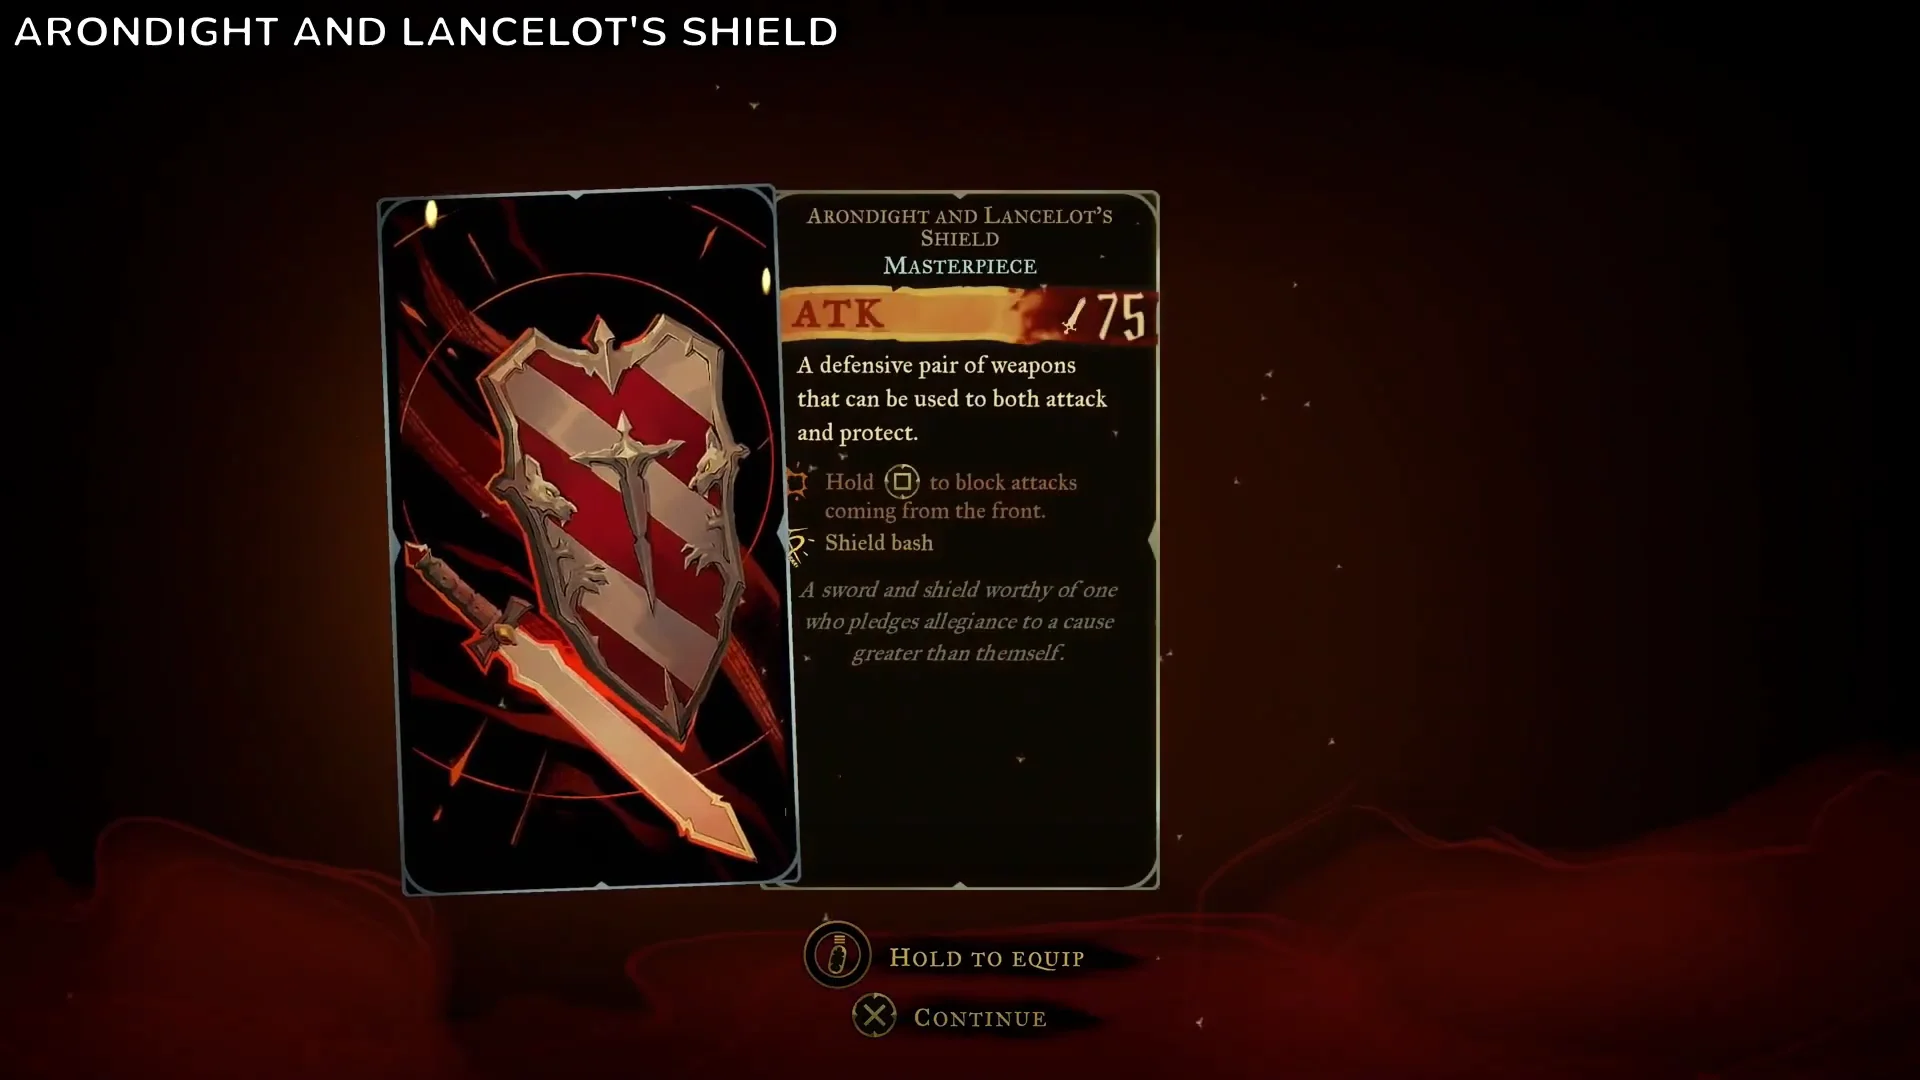
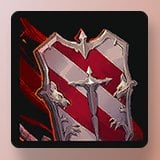 Arondight and Lancelot’s Shield | Sword and shield | Masterpiece | Tower Entrance, Notre-Dame |
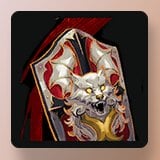 Alucard’s Sword and Shield | Sword and shield | Legendary | Alucard’s Tower, Main Hall |
Weapon families, tiers, and stats
A weapon’s family determines its attack style; use the combo finisher shown on its card to identify the family. All weapons share a stagger power of 30.
| Family | Combo finisher | Shared move |
|---|---|---|
| Whip | Whip Drag | Tip of the swing hits hardest |
| One-handed sword | Dash through | Extra damage right after a backdash or slide |
| Two-handed sword | Blade Dive | Hold and release to charge |
| Dual swords | Blade Flurry | Attack as a hit lands to extend the combo |
| Spear | Push | Hold to aim, release to throw |
| Fists | Uppercut | Damage climbs with each hit |
| Sword and shield | Shield bash | Hold attack to block frontal hits |
Tier sets base ATK: Ordinary (tier 1) is 25, Refined (tier 2) is 50, Masterpiece (tier 3) is 75, and Legendary (tier 4) is 100. Valmanway breaks the pattern as a Legendary with 75 ATK. Mana per hit, which controls how fast Rose refills mana for spells, varies within a tier.
| Weapon | Tier | ATK | Mana per hit |
|---|---|---|---|
| Burnt Sword of Fierbois | Ordinary | 25 | 5 |
| Rusted Harpé and Aegis | Ordinary | 25 | 4 |
| Pair of Longswords | Ordinary | 25 | 2 |
| Bastard Sword | Refined | 50 | 3 |
| Thorn Whip | Refined | 50 | 3 |
| Fleuret and Tower Shield | Refined | 50 | 4 |
| Morning Star | Masterpiece | 75 | 3 |
| Fists of Talos | Masterpiece | 75 | 2 |
| Joyeuse | Masterpiece | 75 | 3 |
| Almace and Hauteclaire | Masterpiece | 75 | 2 |
| Arondight and Lancelot’s Shield | Masterpiece | 75 | 4 |
Cards also list a separate attack power figure. The Pair of Longswords sits at 20, the Burnt Sword of Fierbois and Fleuret and Tower Shield at 25, and Arondight and Lancelot’s Shield at 31.
| Legendary | ATK | Attack power | Mana per hit |
|---|---|---|---|
| Vampire Killer | 100 | 40 | 3 |
| War and Famine | 100 | 33 | 2 |
| Excalibur | 100 | 44 | 5 |
| Alucard’s Sword and Shield | 100 | 33 | 4 |
| Chauve-Souris | 100 | 38 | 3 |
| Bernhard’s Wrath | 100 | 26 | 2 |
| Valmanway | 75 | 21 | 3 |
Each Legendary keeps its family’s move and stacks a unique effect on top:
- Vampire Killer: the tip sets enemies on fire, and kills explode in flames.
- War and Famine: the combo’s final strike creates a zone on the ground that grants a buff.
- Excalibur: attacks fire bolts of light.
- Alucard’s Sword and Shield: Rose teleports when she attacks, while charging a move sends her rushing toward a target.
- Chauve-Souris: throw the spear to pursue as many as two targets consecutively, piercing anything in its path.
- Bernhard’s Wrath: Rose recovers health whenever her combo count increases.
- Valmanway: every attack strikes a second time after a short delay.
Ordinary, Refined, and Masterpiece weapon locations by region
Twenty of the 21 non-Legendary weapons have to be found; the Longsword is already in your hands. Three of them drop from bosses, and the rest sit in chests. Grouping them by region lets you sweep each area in one trip.
Paris Streets: Bastard Sword, Cestus, Burnt Sword of Fierbois
Bastard Sword is in the Justice District Sewers, southeast of the large View of Paris. You can also enter from the Court of Justice’s bottom-right exit toward the docks: drop down, slide into the gap on the left, get past the two blades and the saw wheels, whip the switch, then use Holy Light to break platforms and bounce off pillars. The gold chest sits above a room with a wheel lever and a chain-bucket lift.
Cestus can be found early in the Sewer Reservoir. Use the Arcane Whip to swing between the wall grapple points and reach a concealed room above the water. The chest shuts you inside when opened and sets off an ambush.
Burnt Sword of Fierbois drops from a boss. Climb the Prison Tower to its peak and defeat The Warrior, Joan of Arc, then pull the blade from the flaming altar on the stone rampart of the Roof of the Tower.
Holy Innocents’ Cemetery: Rusted Harpé and Aegis, Lance, Almace and Hauteclaire
Rusted Harpé and Aegis is awarded by Medusa, The Prophetess, in the Serpents’ Lair. You won’t find a chest: once the fight ends, cross the snake bodies, leave through the exit on the right, and head to the foot of the rubble staircase. The weapon is glowing on the ground there.
Lance is in a gold chest on the rooftop balcony above the gate at the Fountain of the Innocents. Opening it drops you into a combat room.
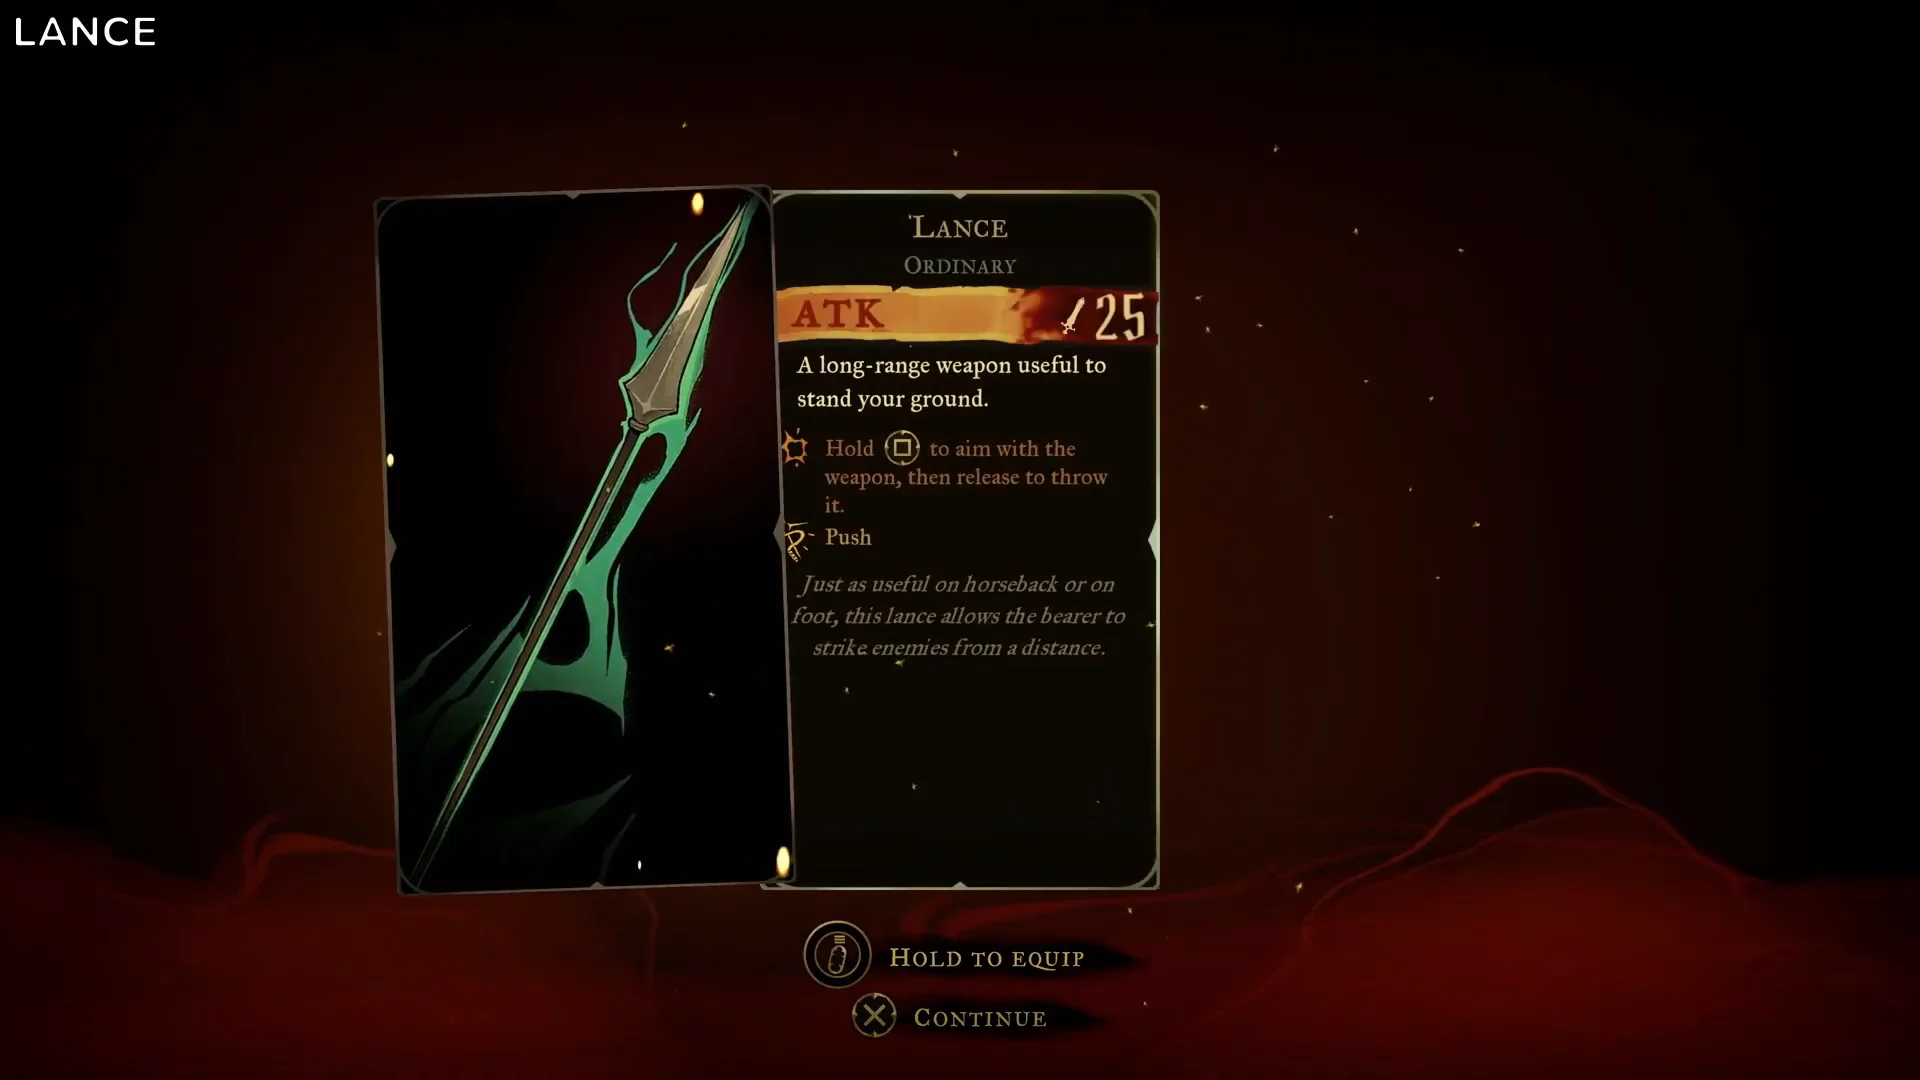
Almace and Hauteclaire starts at the Cemetery Entrance. Go left to a tower, climb it, and Smash the platform under you to fall into the Flooded Crypt. You’ll land in an arena; clear the enemies, then find the gold chest on a platform to the left, above the lower crypt.
Catacombs of Paris: Whip, Pair of Longswords, Gungnir
Whip is in an open chest nestled among the bone piles in the Hall of the Fallen Angels. Since it’s right along the route to Dracula’s Castle, you’ll come across it.
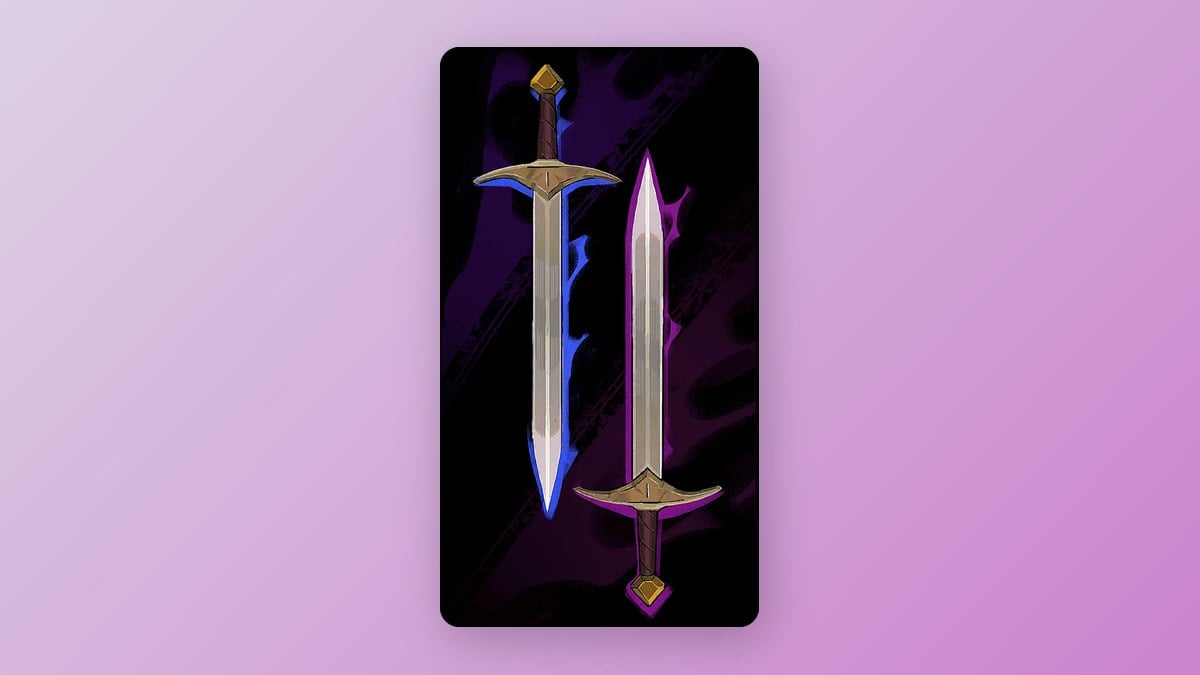
Pair of Longswords is in the Chamber of Whispers. Look for Death’s green symbol on the wall, break the wall to the left of the lever, and run the spike-and-saw gauntlet to the Crossroads of the Dead, where the chest waits.
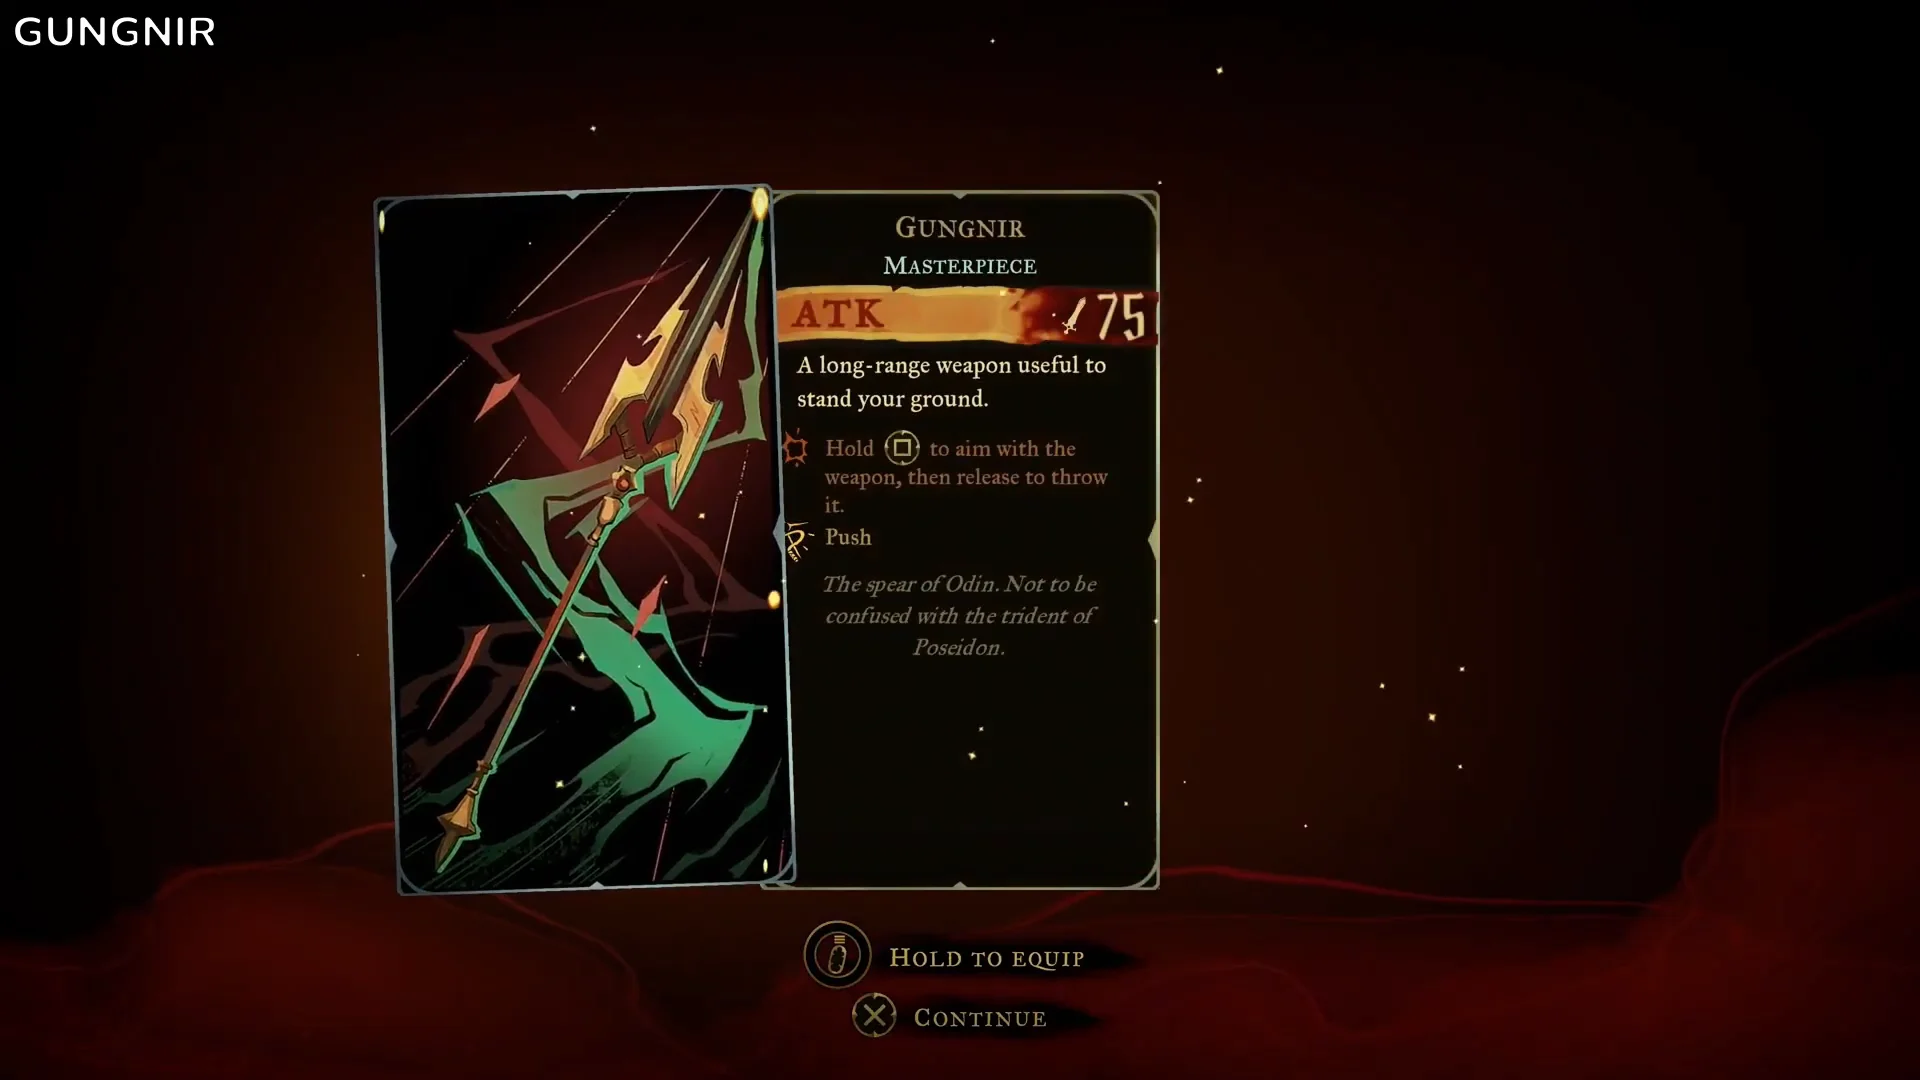
Gungnir requires Smash. Near the Throat of Hell, smash through the blood-red skull waterfall, then take the elevator down to the Collapsed Path of Orpheus. On the ledge over the Ferryman’s Wharf door, smash the block between the two praying statues to uncover the gold chest.
Library: Thorn Whip, Fleuret and Tower Shield, Durandal
Thorn Whip is found in the Fine Arts Shelves, in the chamber containing the large armillary sphere. Recreate the star pattern displayed there, enter via the ledge on the right, then cross the spike pit using its overhead grapple rings to get to the upper-left balcony. This is a challenging platforming route for an early weapon.
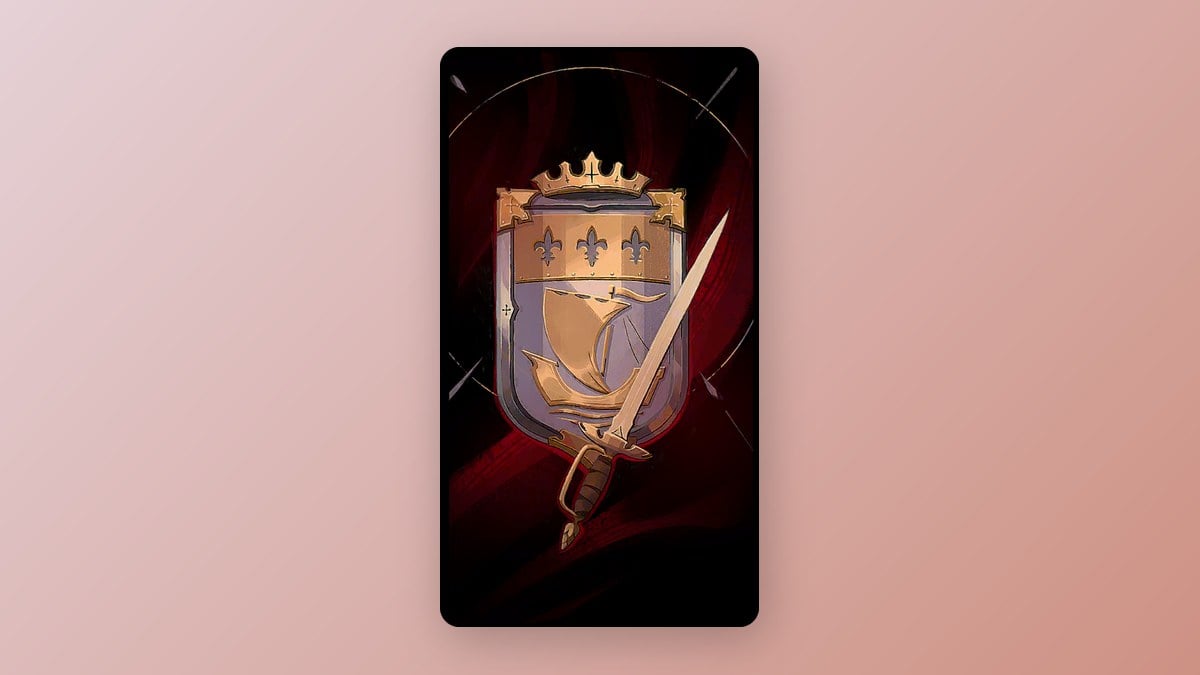
Fleuret and Tower Shield is hidden in the Condemned Shelves, on the map’s right side. Complete the astrological dial by jumping onto the planet’s four lower stars. This reveals a jump point; follow it through a brief climb and past the rotating gears to a concealed northern alcove with the chest.
Durandal calls for Double Jump, Aerial Rush, and the Arcane Whip. In the Curiosity Cabinet, on the map’s right side, jump onto the planets to uncover an upward route. Get past the clockwork pendulums into the concealed room, then complete a short platforming section to reach the chest on the lower level of Lisa’s Laboratory.
Clock Tower: Halberd, Claymore, Fists of Talos
On the map’s left, Halberd can be found in Mechanic’s Ascent. Ascend the Eastern Access Shaft, descend on its far side, and follow the platforming route toward Daedalus’ Crossing. The chest is on a raised platform along the way.
Claymore is near the top right. At the fork in the Path of the First, pick the right-hand gauntlet. Ride the hanging chain elevators into the Way of the Fist’s crushing-block chamber, use Holy Light to get past the Chaos Shards, and break the wall in front of the chest.
Fists of Talos comes from The Builder, Talos. Solve the Eastern Access Shaft puzzle, beat The Builder, then go to the Elevator room in the Builder’s Bureau and head southwest into the workshop. Break the block hiding the gauntlets. This fight also gives you Smash, and Excalibur requires these gauntlets later.
Main Hall: Morning Star, Rapiers, Jewel Knuckles
The glowing red door near the Wine Cellar leads toward Morning Star. Head left into a demanding platforming gauntlet, dodging saw traps and using mirror teleporters. Aerial Rush takes you from the Storerooms to the Inner Courtyard, where the chest rests on the battlements.
Rapiers can be found in the Watchtower, at the upper left near the West Hall. Follow the left side to a lever that opens a gate to the right, then race through the portrait chamber lined with spikes before the gate shuts. Use the mirror teleports as you go.
The Rapiers timing is very tight. Skip some of the paintings and use Aerial Rush to save the seconds you need.
Jewel Knuckles requires you to clear the gauntlet beyond another red door in the Main Hall. Then descend beneath the Alucard portrait and take a loop through the Dungeon and Servants’ Hall, activating switches and crossing the red curtains. On the map’s right side, a balcony in the Old Gallery holds the chest.
Notre-Dame: Joyeuse, Arondight and Lancelot’s Shield
Joyeuse is found along the Path of the Penitent in the Undercroft. Activate the timed lever, steer clear of the electric beams and crumbling walls, and use Smash to reach the chest before the route shuts.
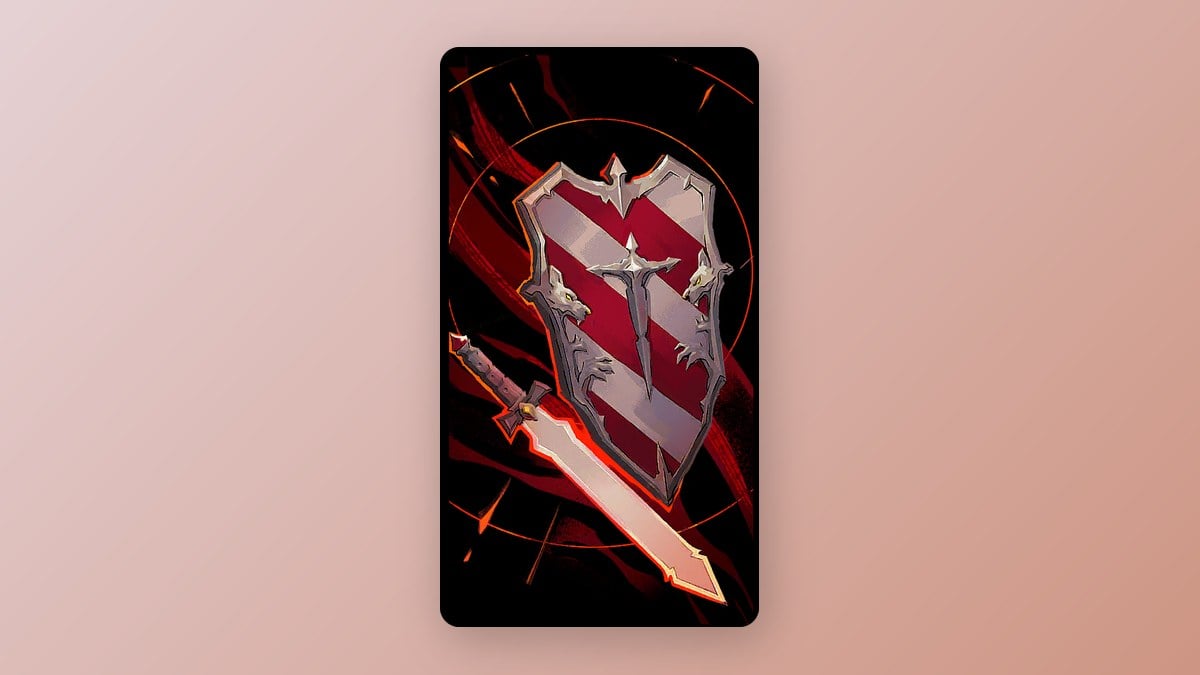
At the bottommost level of the Tower Entrance on the map’s left, look for Arondight and Lancelot’s Shield. A Smash block lies beyond two collapsing platforms. Step on each platform to bring it down, then use Smash from above to drop through to the chest. You have only a very brief window to do this.
How to unlock all seven Legendary weapons
No Legendary is in an ordinary chest. They’re listed here in the order dependencies allow, since Death’s rewards open up most of the later ones.
| Legendary | Location | Requirement |
|---|---|---|
| Vampire Killer | Choir, Notre-Dame | Defeat Death |
| War and Famine | Great Organ Room, Notre-Dame | Zodiac organ puzzle, Aerial Rush |
| Alucard’s Sword and Shield | Alucard’s Tower, Main Hall | Double Jump, five blue flames |
| Excalibur | Chapel, Notre-Dame | Fists of Talos, defeat Arthur |
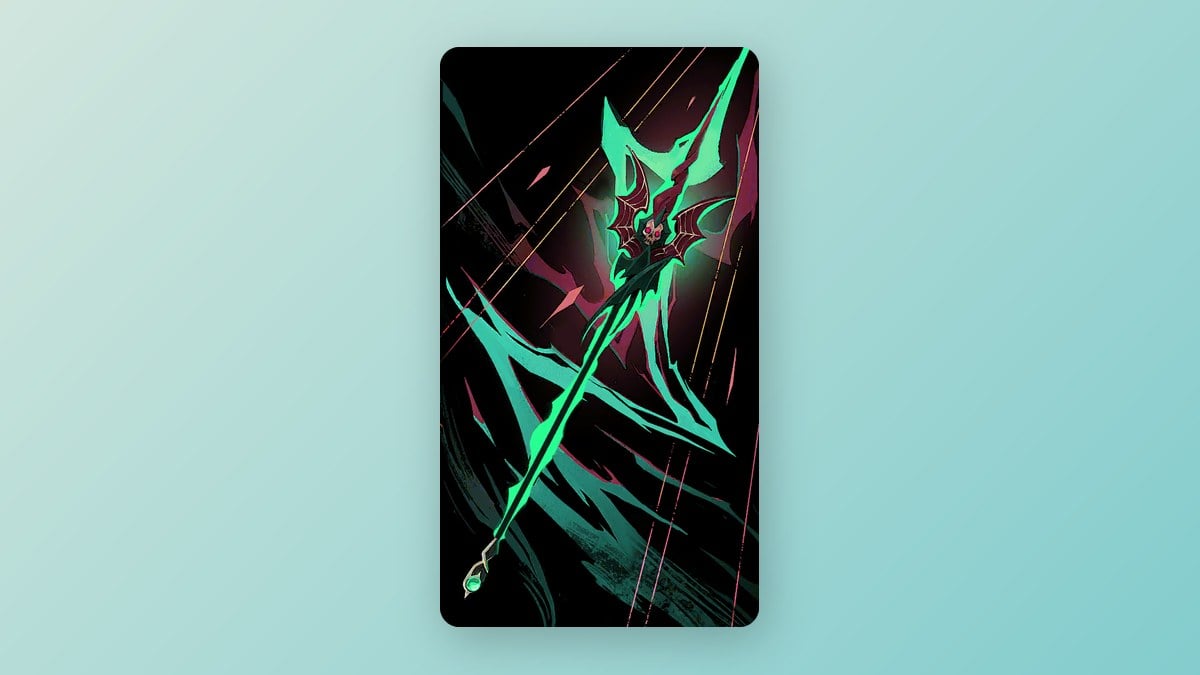
| Chauve-Souris | Heart of the Clock, Clock Tower | Soul Harvest, defeat Isaac |
| Bernhard’s Wrath | Hall of Mirrors | Survive enemy waves |
| Valmanway | Palace of Justice, Paris Streets | 7+ health/mana upgrades |
Vampire Killer: Defeat Death in Notre-Dame
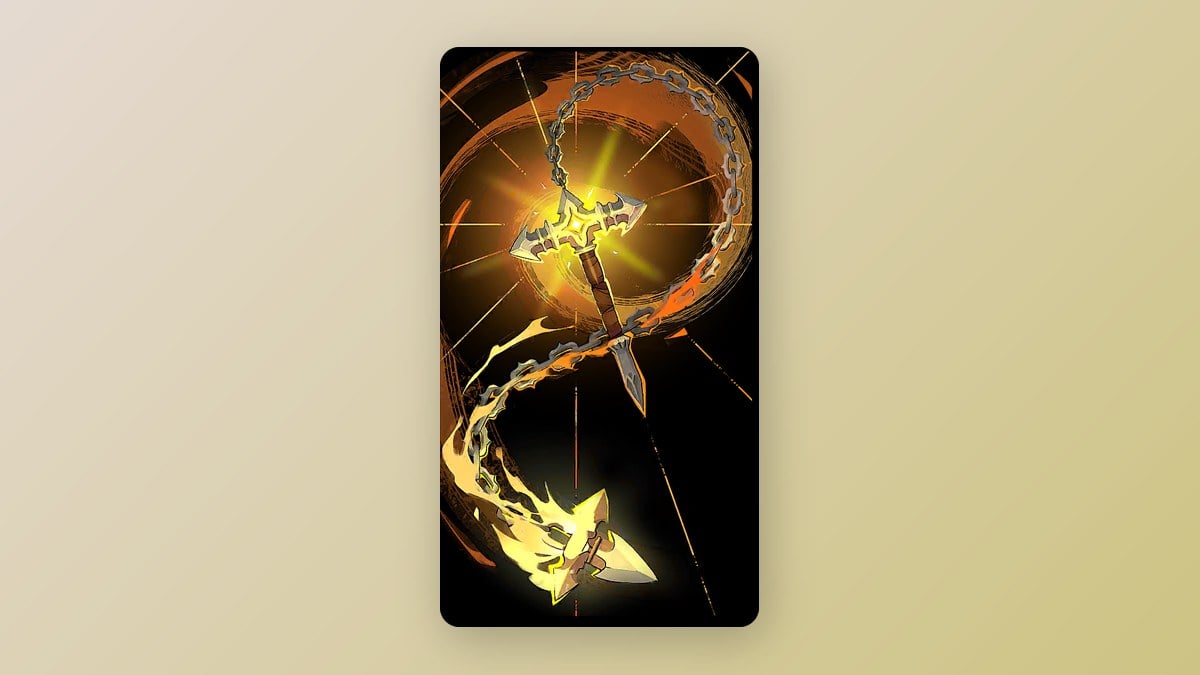
Rose then finds her wounded father, Trevor Belmont, in the Deacon’s Quarters. Talk to him at his bedside and the Vampire Killer card appears. You also fight Death earlier in the Catacombs of Paris, but only the Notre-Dame fight awards the whip, along with Double Jump and Soul Harvest.
War and Famine: Solve the Great Organ Room zodiac puzzle
The dual swords are kept in a crypt beneath the staircase on the Great Organ Room’s left side, under a plaque describing the order’s greatest sin. Because some organ keys are elevated, Aerial Rush and Double Jump are necessary.
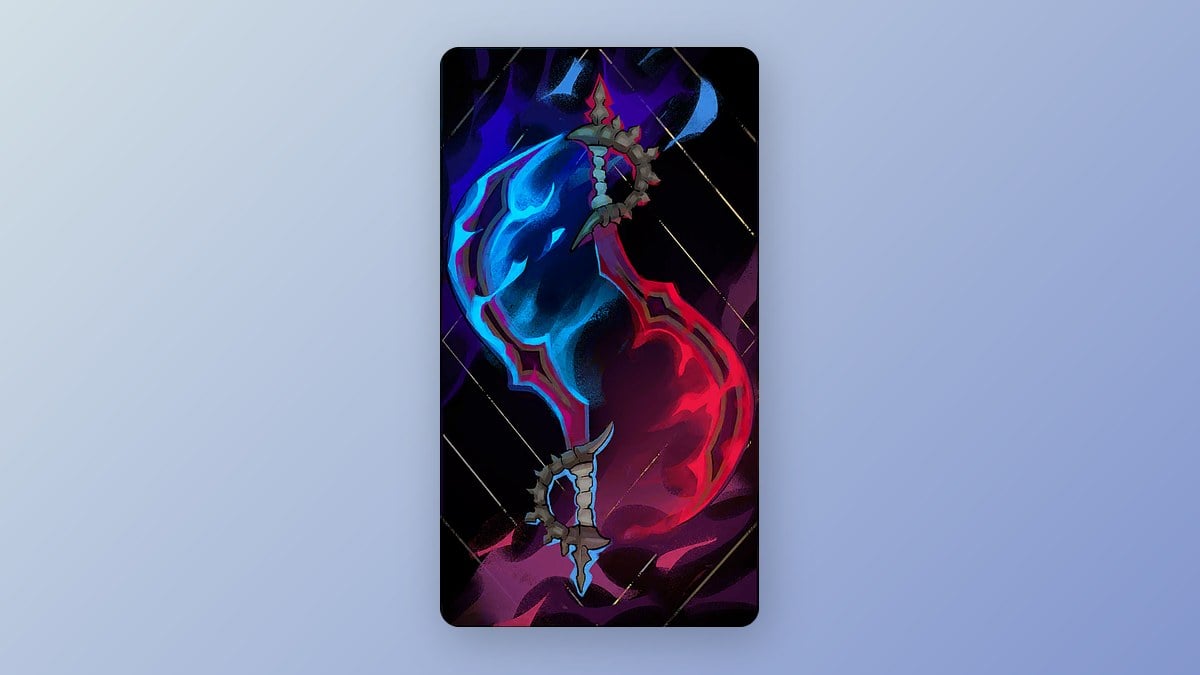
| Candles | Zodiac key |
|---|---|
| 1 | Scorpio |
| 2 | Sagittarius |
| 3 | Capricorn |
| 4 | Pisces |
| 5 | Virgo |
| 6 | Libra |
| 7 | Leo |
| 8 | Cancer |
| 9 | Aries |
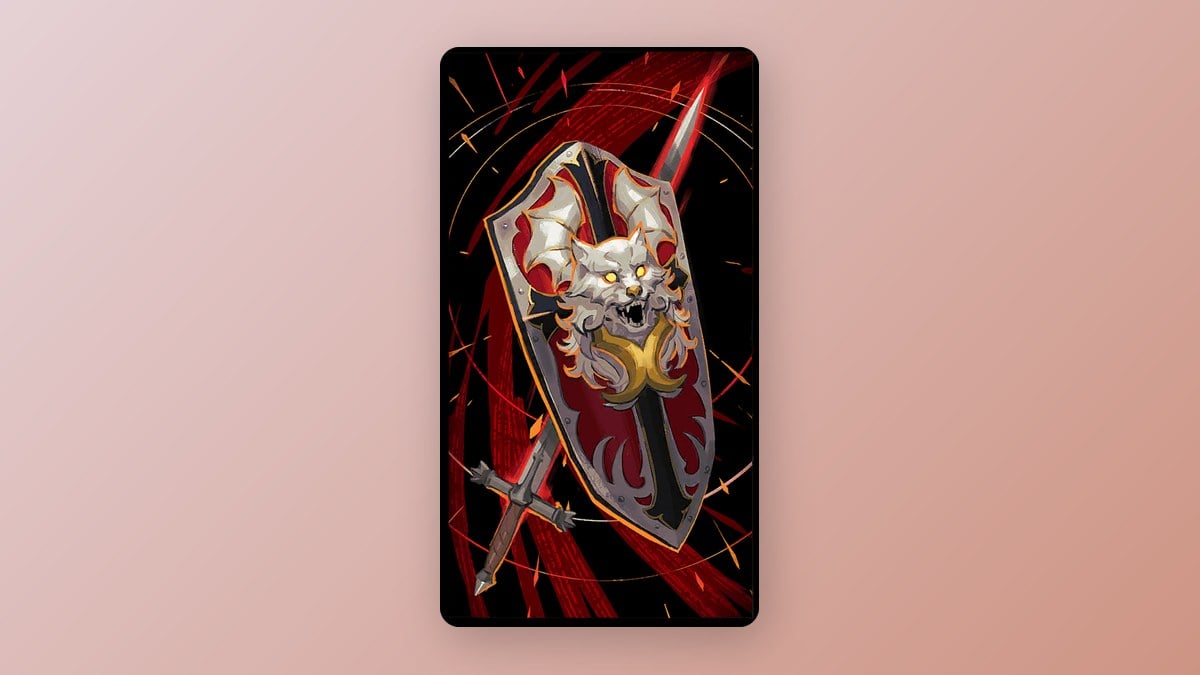
Alucard’s Sword and Shield: Destroy five blue flames
Above the Library entrance, in the Main Hall’s upper-right area, you’ll find Alucard’s Tower. Double Jump is needed to cross the wide gaps, and the Arcane Whip is needed for the hooks. The route goes through the Wine Cellar, Armoury, and Archives, before continuing upward through the Dungeon and Grand Hall.
Excalibur: Pull the sword and defeat Arthur
Excalibur sits in a stone altar in the middle of Notre-Dame’s Chapel, on the right side of the map. Grab it too early and Rose is thrown back by a flash of light.
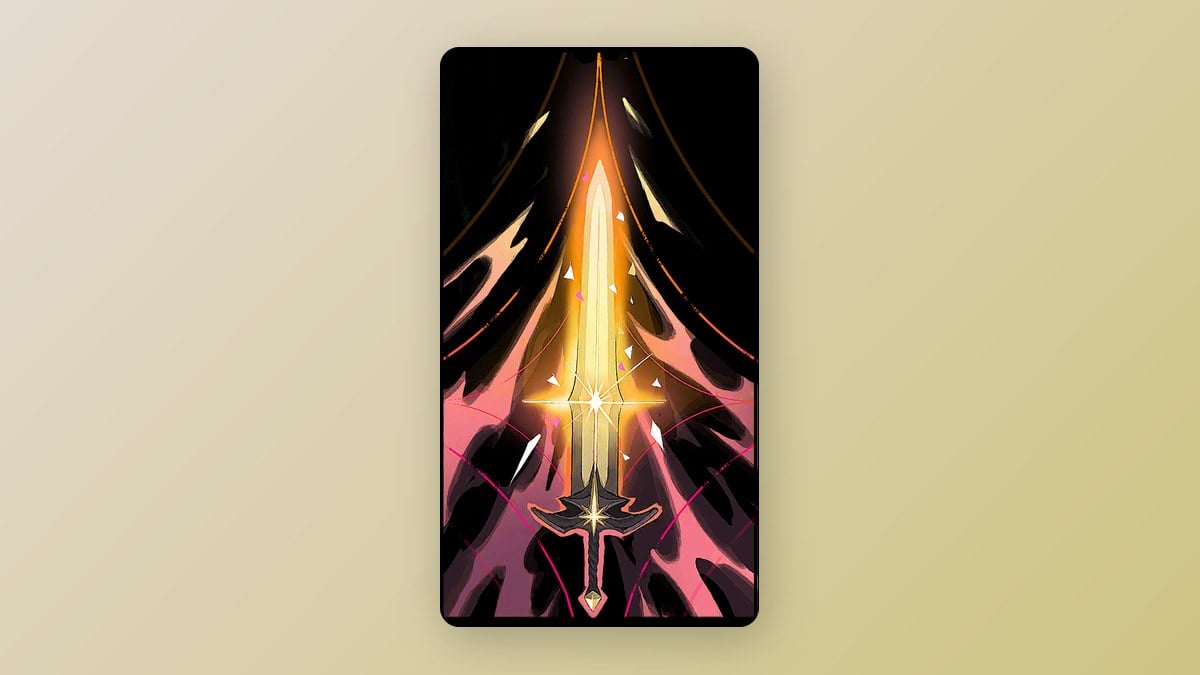
Winning gives you the Excalibur card plus The Brittle King Arcana and its Stained-Glass Shield spell. The spell costs 100 mana and wraps Rose in a shield that blocks hits outright. The Brittle King’s Works of Mercy are to absorb an otherwise fatal attack with the spell, kill 25 Haunted Armor, and kill three enemies with one attack.
Chauve-Souris: Defeat Isaac in the Clock Tower
Bernhard’s Wrath: Clear the Hall of Mirrors gauntlet
The Hall of Mirrors belongs to The Temptress, and you can finish the normal ending without ever entering it. The Sage’s Tarot card quest points the way in.
Valmanway: Survive The Judge’s scale
The Judge Tarot card grants Valmanway. During its trial, Rose loses health and mana; failing to have enough of both means you fail the trial.
How to confirm each weapon and the Armed to the Fangs unlock
A weapon is counted as soon as its card appears onscreen, whether it came from a chest, floor pickup, boss drop, or quest reward. It won’t equip automatically: use the card’s equip prompt and hold it to switch weapons, or select Continue to leave your current weapon equipped. In either case, the weapon is stored in the Armoury. To get there, open Equipment and select Rose’s current weapon.
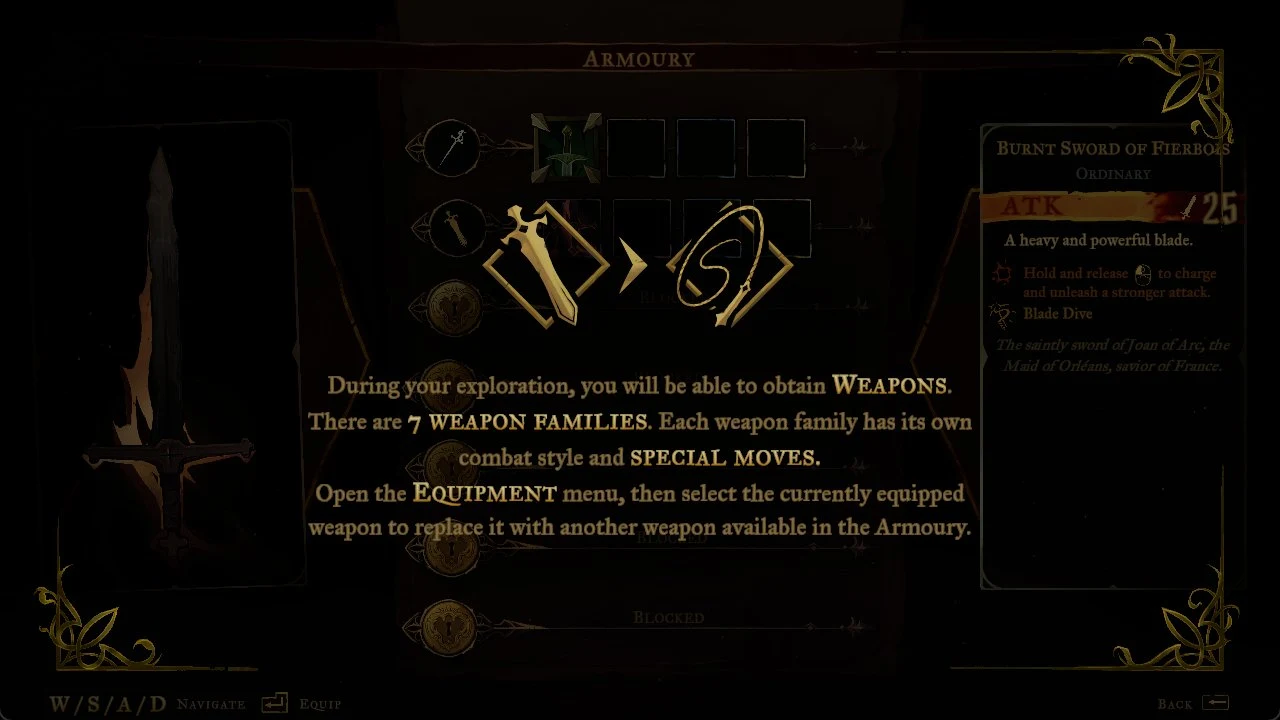
Once all 28 slots in the Armoury are filled, Armed to the Fangs pops immediately, on whichever weapon you collect last. If it hasn’t appeared, go through the Armoury family by family against the checklist above. A missing Legendary is the most likely culprit.