The Catacombs of Paris is the third major area in Castlevania: Belmont’s Curse, and it has more hidden things than any area before it. Rose drops out of Paris Streets into skull-lined crypts, sawblade corridors and blood-red caverns. She picks up her first proper whip down here and loses a scripted fight to Death. If you want 100 percent before you leave, you need to know what’s hidden in every one of its 20 districts.
Quick answer: The Catacombs of Paris holds 43 Secret Areas, 15 breakable walls, 20 XP statues, 5 relics, 3 weapons, 6 Heart Fragments, 3 whole meat, 2 keepsakes and 2 Mirrors of Life.
Catacombs of Paris collectible totals
| Collectible | Count |
|---|---|
| Secret Areas | 43 |
| Breakable walls | 15 |
| XP statues | 20 |
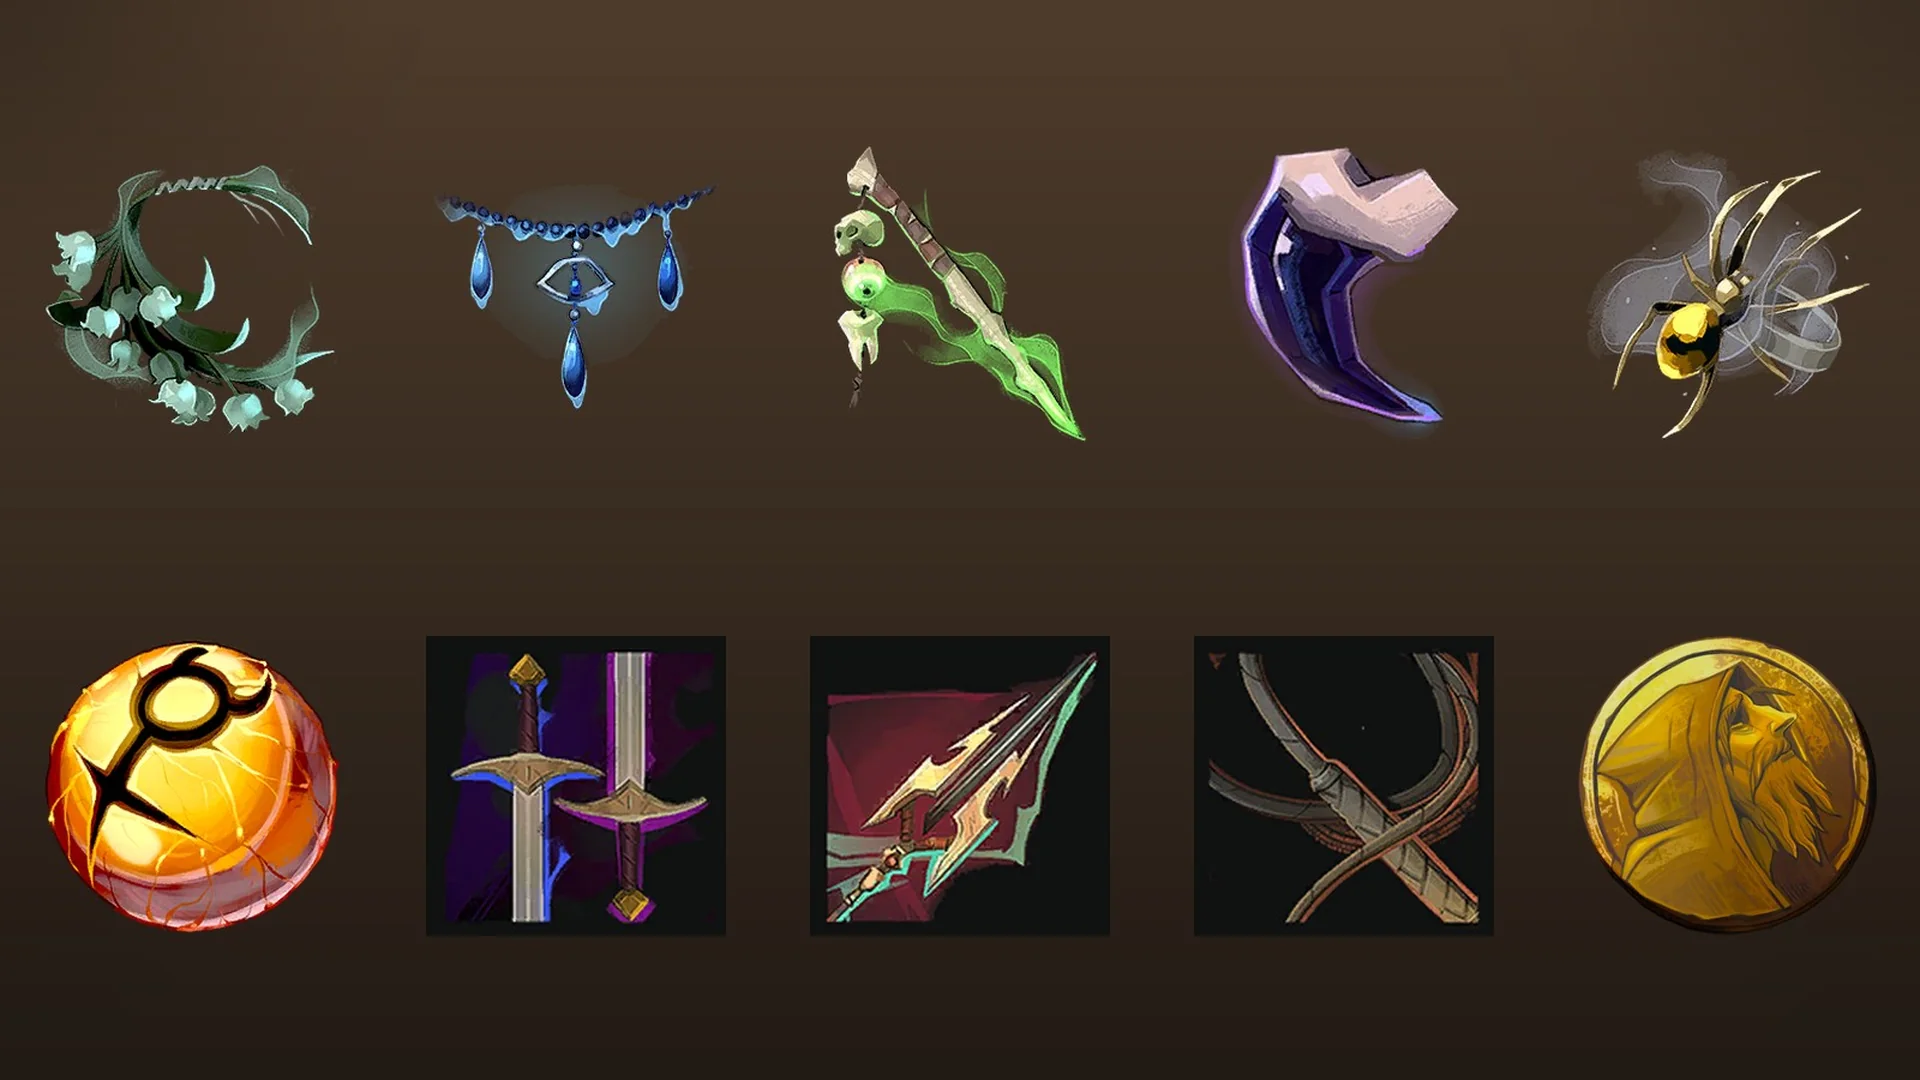
| Relics | 5 |
| Weapons | 3 |
| Keepsakes | 2 |
| Brave Heart Fragments | 3 |
| Wise Heart Fragments | 3 |
| Whole meat | 3 |
| Mirrors of Life | 2 |
There are no ATK or DEF books in the Catacombs. Here, Heart Fragments and experience are the only ways Rose’s stats go up. Whole meat refills all of her missing health. The XP statues are gold and break after a few hits. Each one gives XP, and the statue in the lower Gallery of Teeth is often the one that pushes you to the next level.
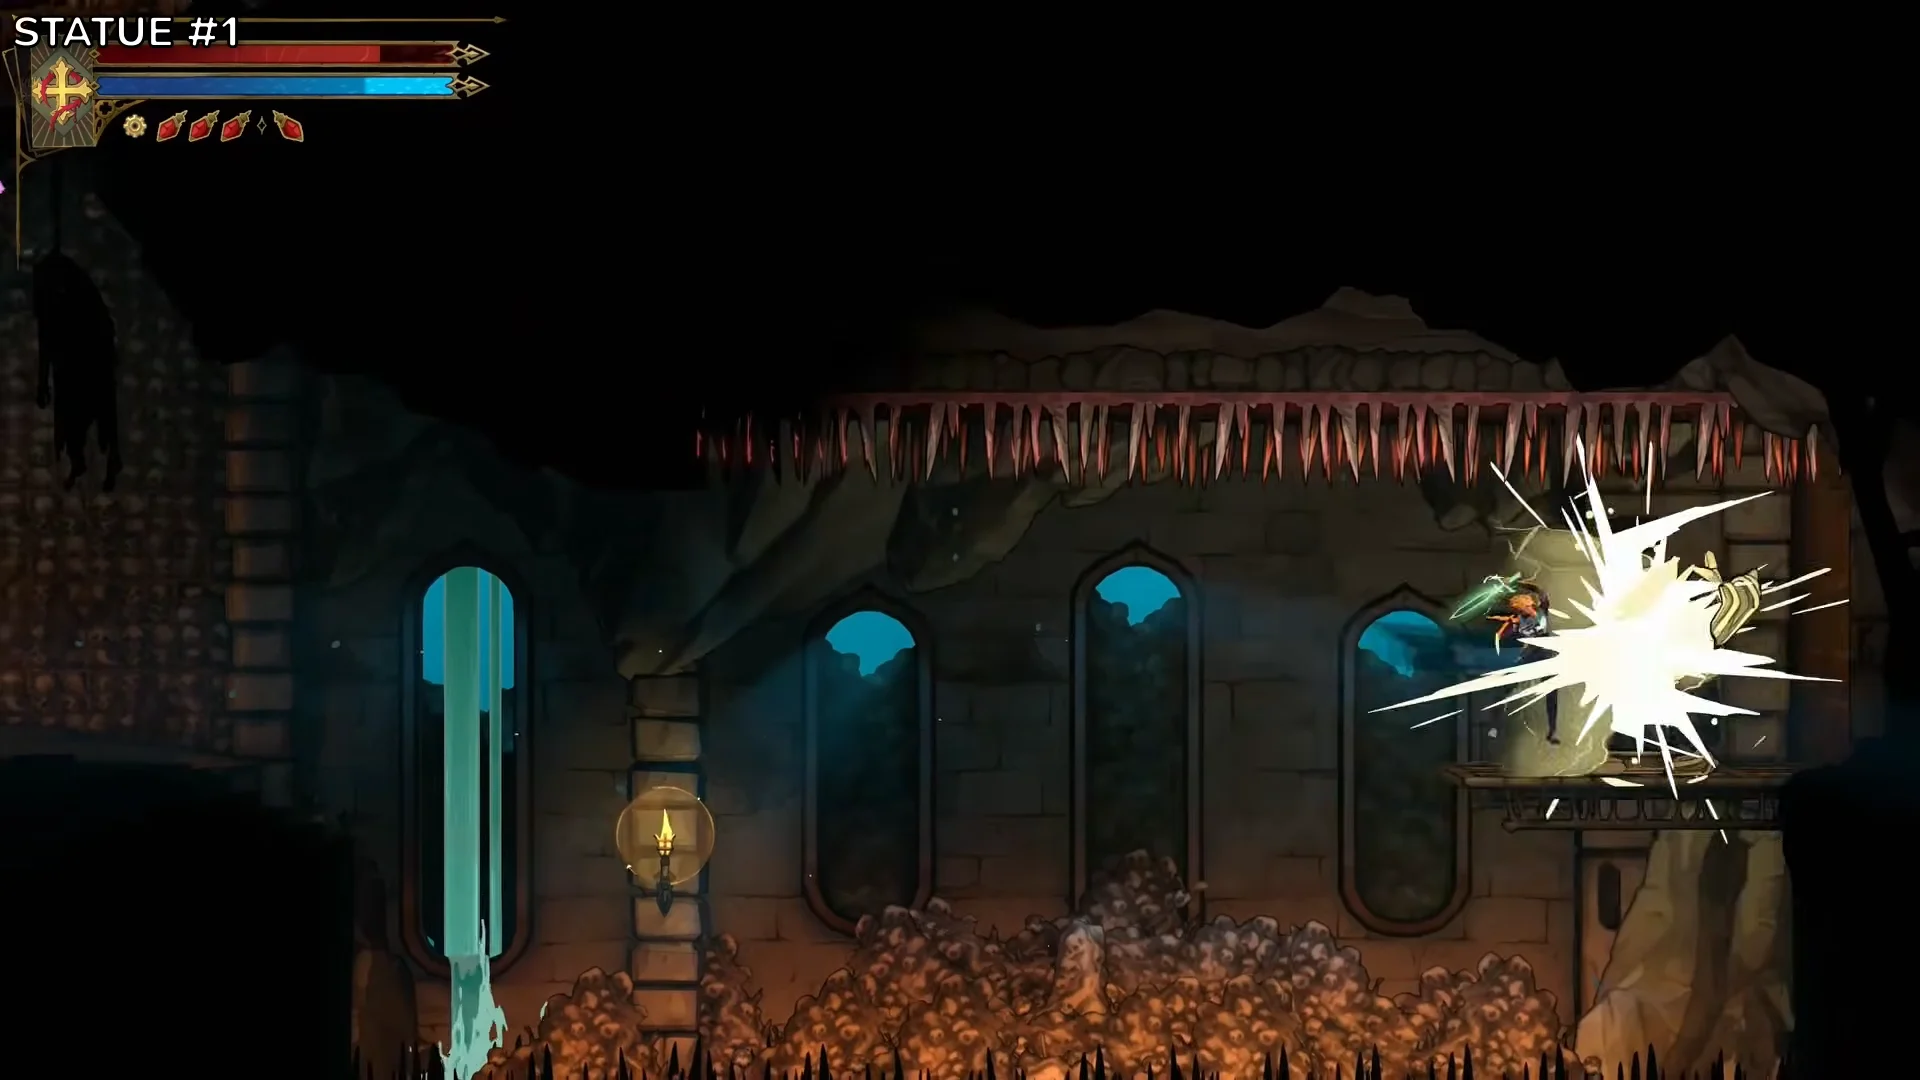
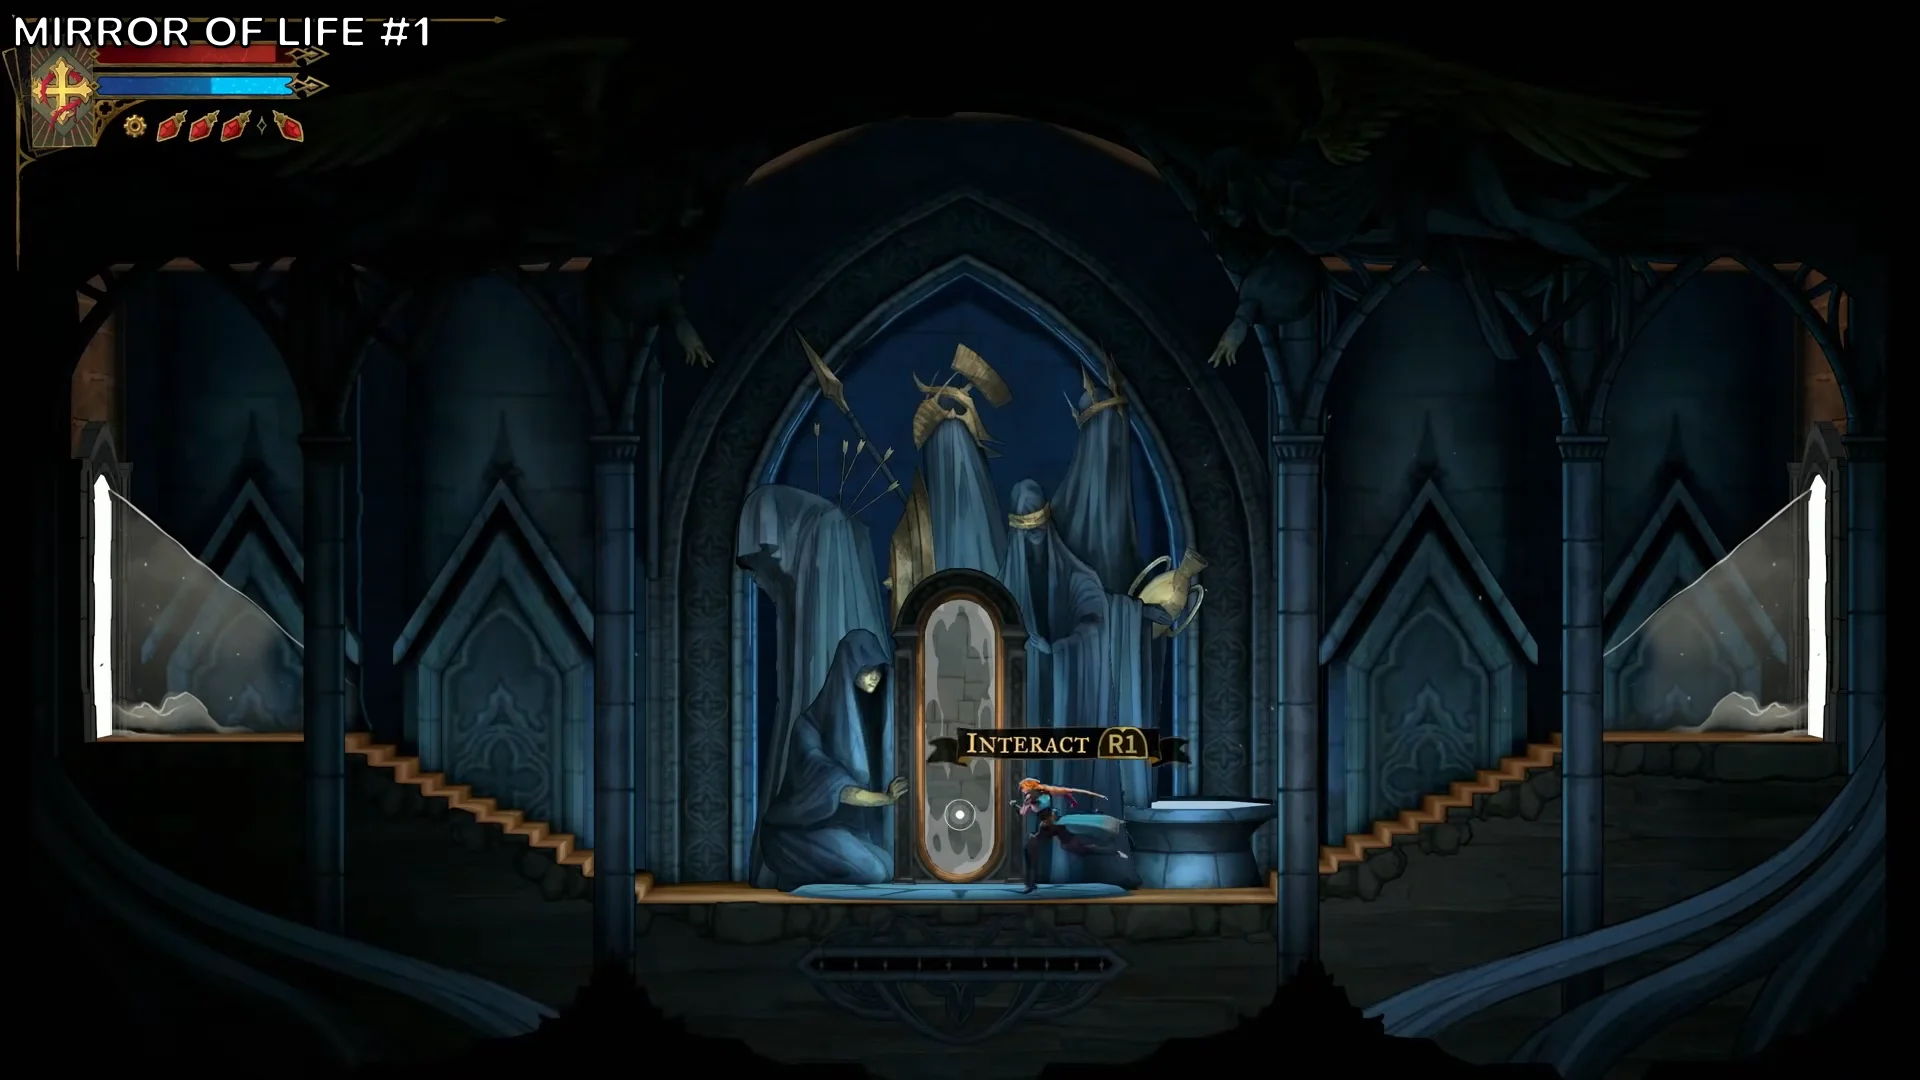
The two Mirrors of Life are in the Quarry Elevator and the Realm of Old Night. Almost every district uses one of these two as its nearest save point.
Opening the Gate to the Catacombs: three keys and two abilities
The way in is the Gate to the Catacombs in Paris Streets. The sealed door there has three sockets, and each one takes a key dropped by a boss. Put in all three and the door opens. Your objective then changes to “Stop the resurrection of Dracula,” which confirms you’ve opened it.
| Key | Boss | Where the fight happens |
|---|---|---|
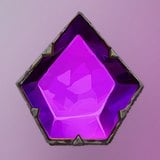 The Fallen’s Key | Leon (The Fallen) | Paris Streets |
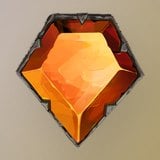 The Warrior’s Key | Joan of Arc | Roof of the Tower, Paris Streets |
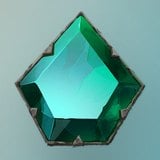 The Prophetess’s Key | Medusa | Holy Innocents’ Cemetery |
Most of the traversal underground uses two abilities you already earned in Paris Streets:
- Arcane Whip (Abandoned Sewers) lets Rose aim at glowing anchors or enemies, latch on and swing to new spots.
- Holy Light (Stairs to the Tower Roof) projects a halo while held, clearing Chaos Shard walls and platforms. A quick tap just before a hit parries it.
The Catacombs expects you to toggle Holy Light in mid-air a lot. Shard platforms disappear the moment the halo touches them, so you can drop through right when you need to.
How Secret Areas are hidden in the Catacombs
There are no markers for secrets here. Each of the 43 Secret Areas uses one of four tricks, and the game hints at them with visual and sound cues:
- Hidden passage: a wall that looks solid but Rose can walk through.
- Breakable wall: a cracked surface that falls apart when you hit it.
- Lever gate: a gate that only rises after you pull a nearby lever.
- Smash floor: a floor you break with Smash. Thicker floors need a longer fall to build a stronger Stomp.
The map holds up to 50 custom markers. Place them with Square on PlayStation or Space on PC to tag secrets you can’t reach yet. The Gloomstone relic, which points out nearby secrets, comes later from the Master’s Quarters. On your first trip through, you’ll be finding cracks and false walls by eye.
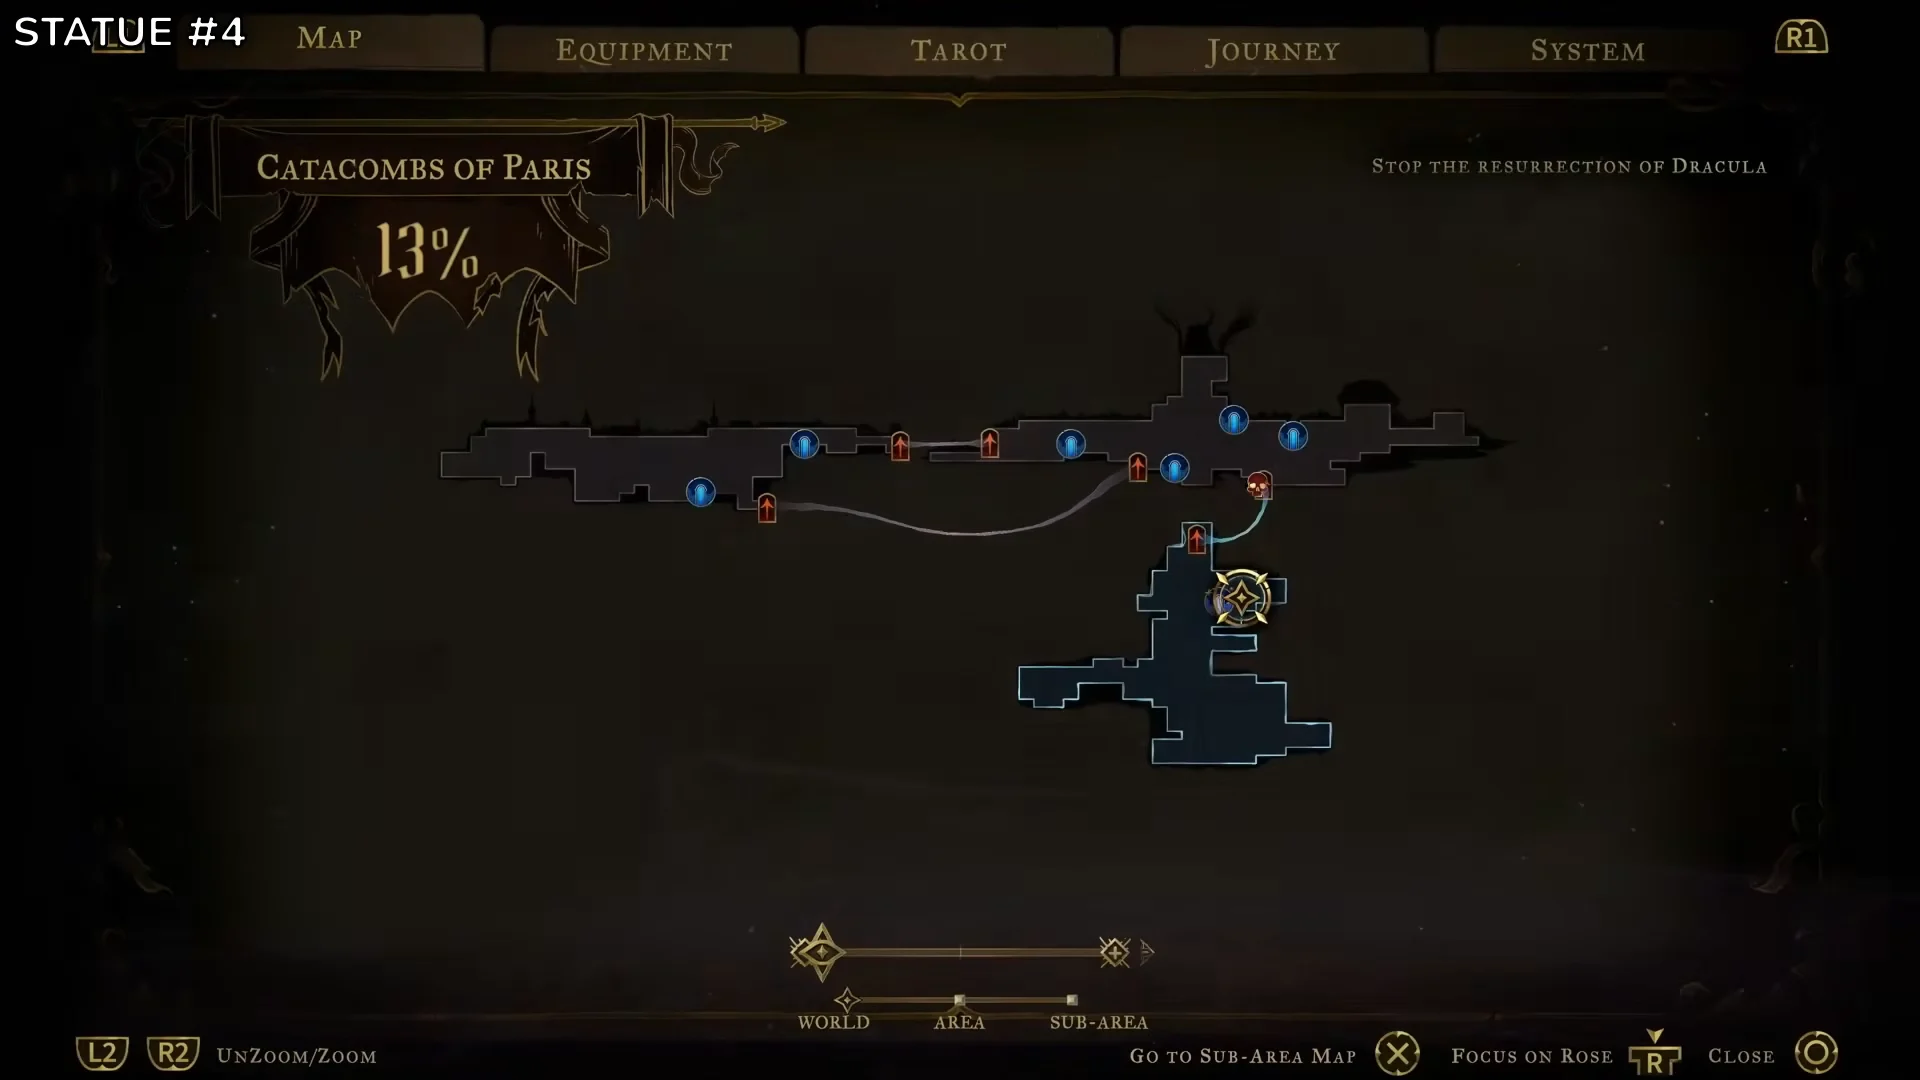
Every Catacombs of Paris district and its secrets
The area falls into three stretches. The district counts below add up to all 43 Secret Areas and all 15 breakable walls.
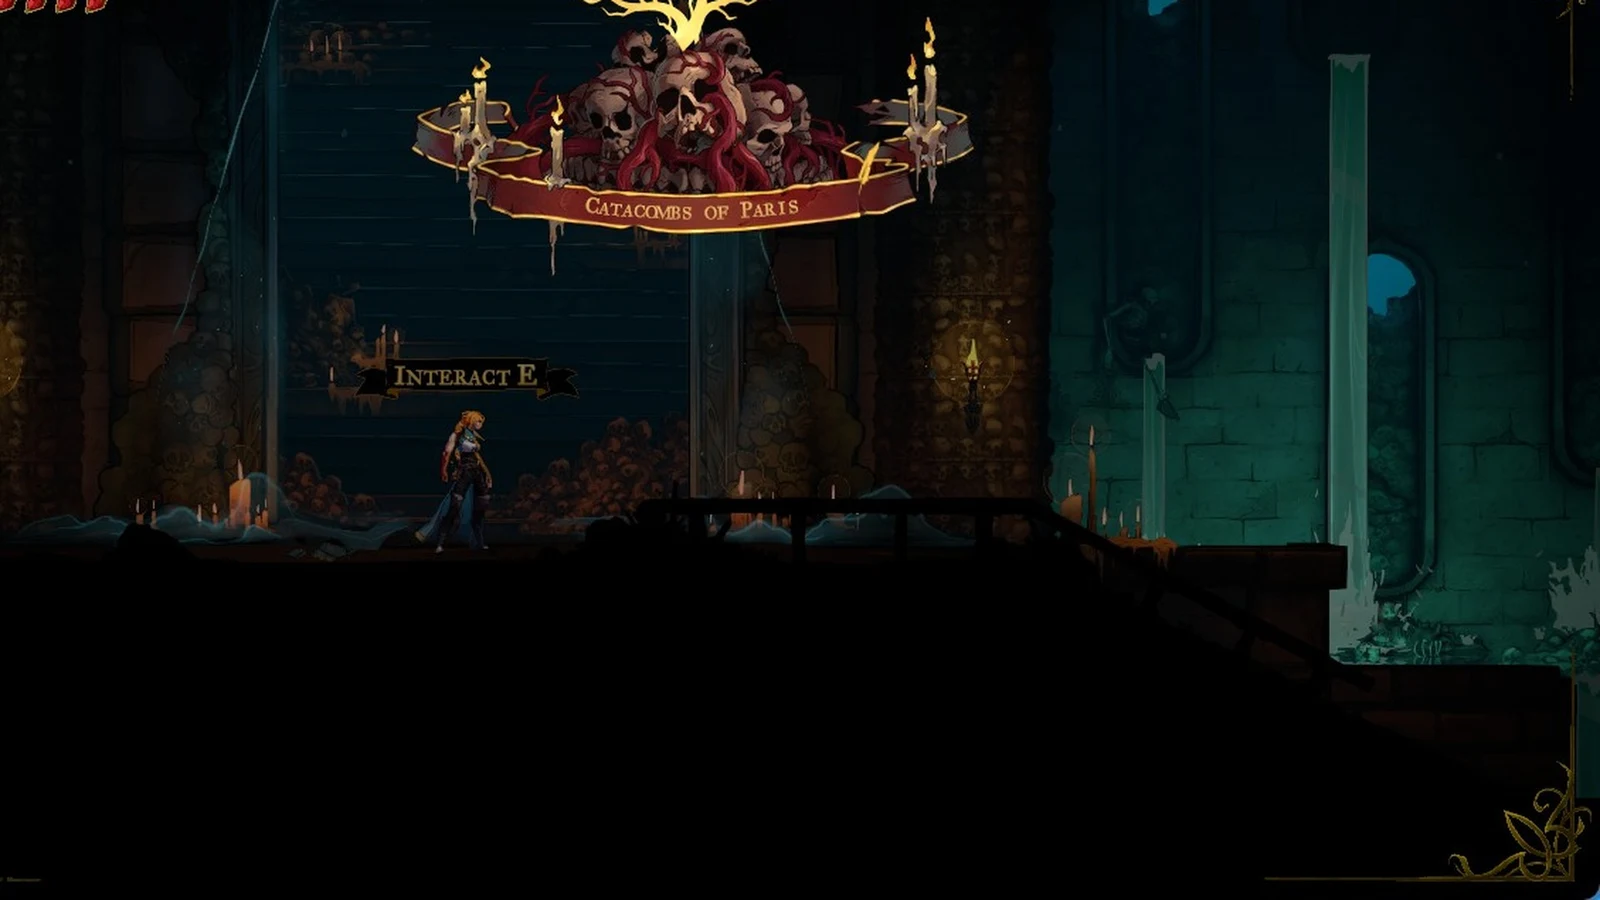
Catacomb Entrance to the Realm of Old Night
| District | Secrets / walls | Contents |
|---|---|---|
| Catacomb Entrance | 4 / 0 | Brave Heart Fragment, 3 XP statues |
| Path of the Abyss | 0 / 0 | Mourning Bead, 1 XP statue |
| Quarry Elevator | 1 / 0 | Mirror of Life, elevator |
| Crossroads of the Dead | 5 / 1 | Pair of Longswords, whole meat |
| Charnel Galleries | 3 / 2 | Specter’s Whisper, Death Mark clue, 1 XP statue |
| Chamber of Whispers | 2 / 2 | Wise Heart Fragment, 1 XP statue |
| Gallery of Teeth | 4 / 2 | 2 XP statues |
| De Rais Necropolis | 3 / 0 | Whole meat |
| Jaws of Limbo | 1 / 1 | Necro Charm, 1 XP statue |
| Throat of Hell | 2 / 1 | Ebony Claw, Wise Heart Fragment |
| Realm of Old Night | 0 / 0 | Mirror of Life, 3 XP statues |
The Catacomb Entrance starts with three statues behind chandelier jumps, an air-dash over collapsing blocks and spikes, and a grapple run past candle alcoves. Its Brave Heart Fragment sits on a grate at the bottom of a vertical shaft. You reach it with a chain of anchor swings past a sawblade.
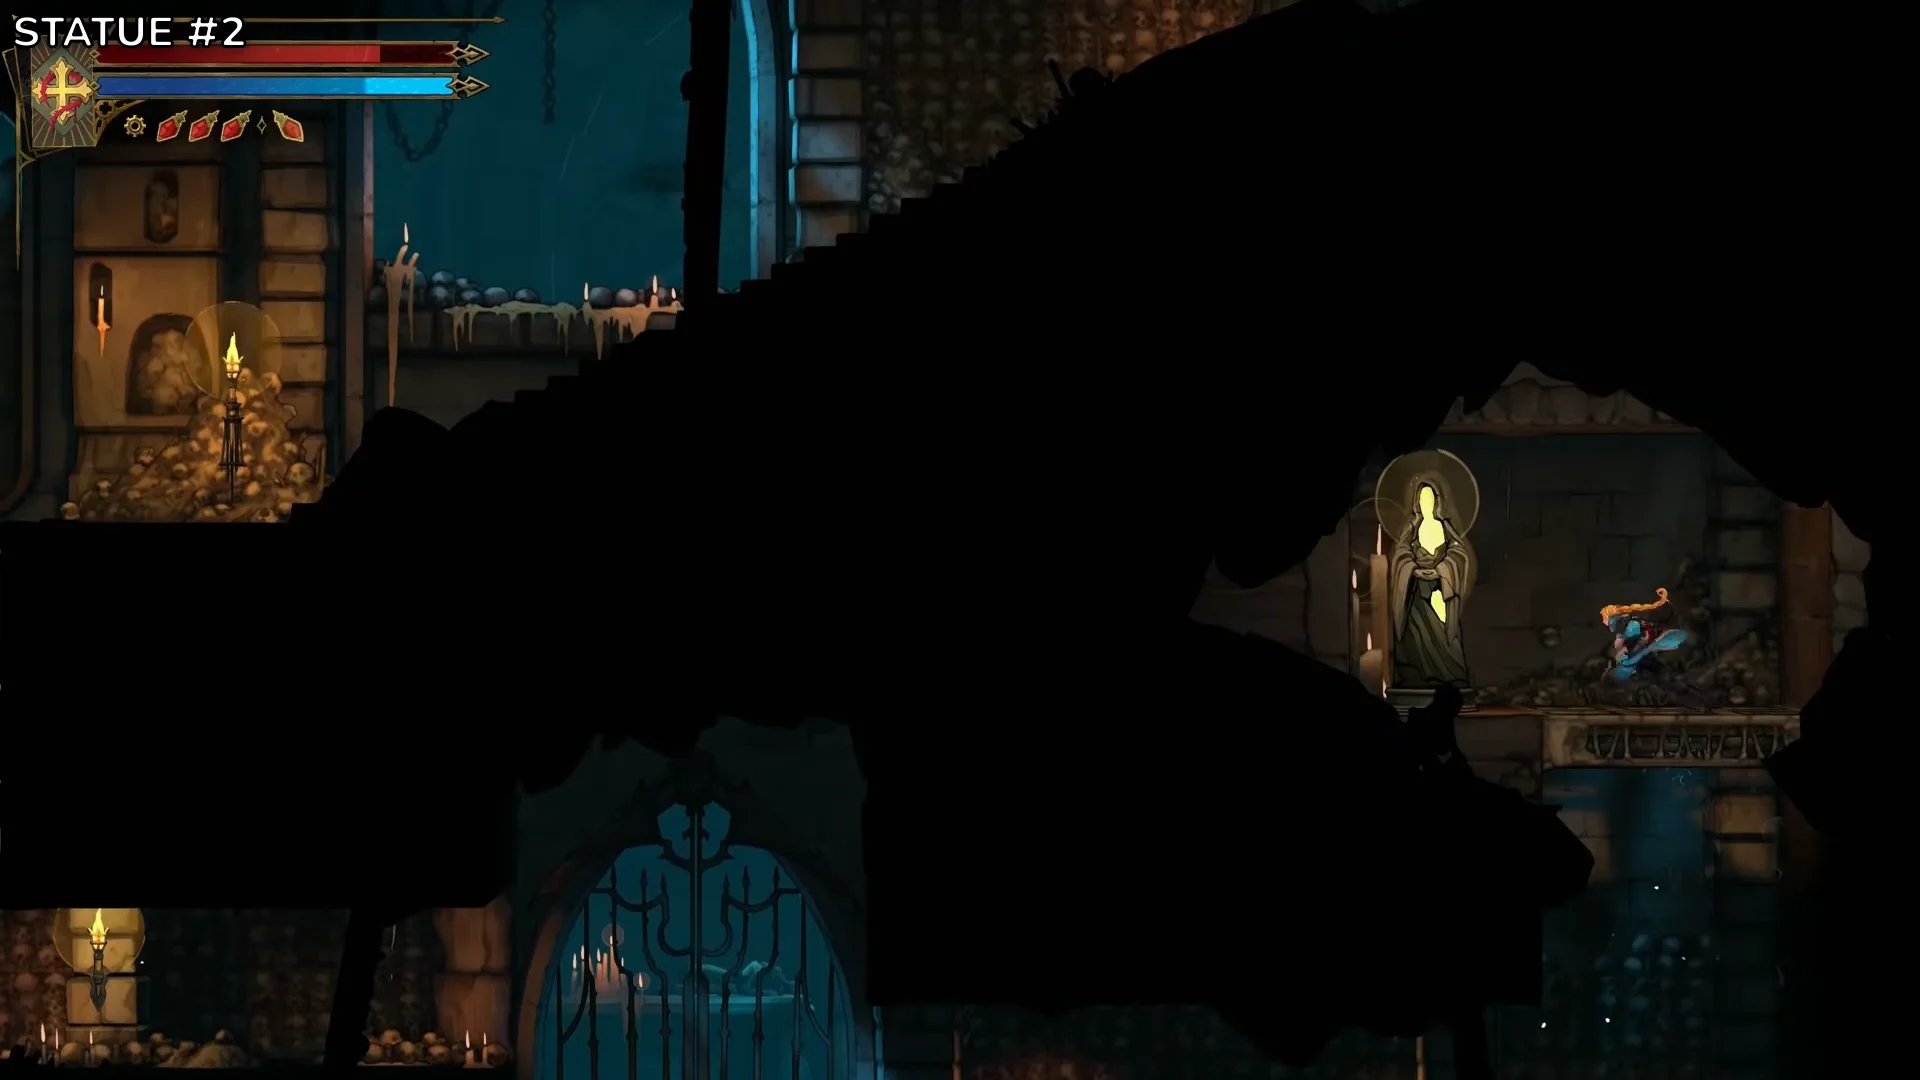
Head down to the Quarry Elevator and activate the first Mirror of Life. This is your save point for most of the upper Catacombs.
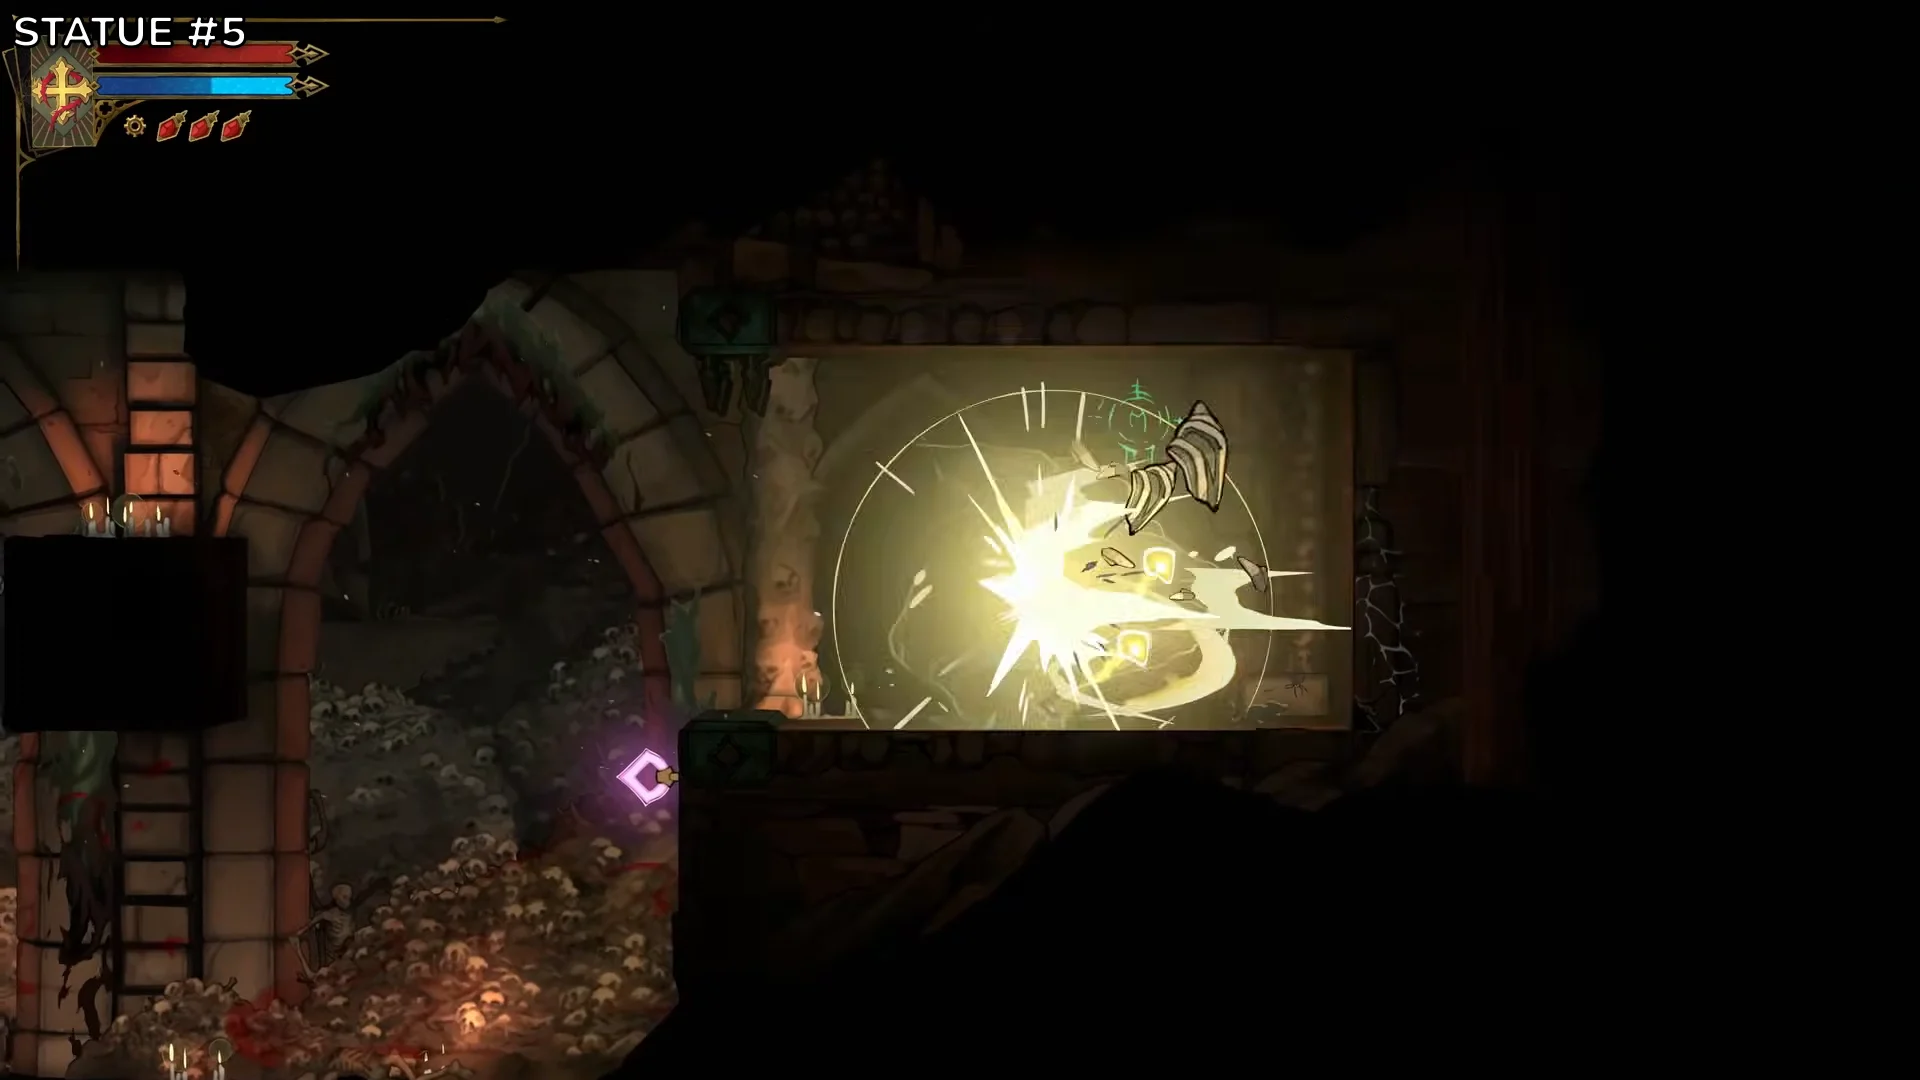
The Charnel Galleries has a statue above the bone piles. You reach it by jumping across hanging chandeliers. The Gallery of Teeth has two more. You get to one after a wall-jump climb and a ghoul fight, and the other is down the lower corridor. In the Path of the Abyss, the Chamber of Whispers and the Jaws of Limbo, sawblades run on fixed tracks over spike pits. Anchor swings plus well-timed Holy Light drops get you through.
Levers open shortcuts as you go. One in the Crossroads of the Dead drops the giant dragon skulls so they become ramps. Another, next to the Death Mark above the Chamber of Whispers, opens a shortcut back past that room’s sawblade track. A skull elevator in the middle of the Jaws of Limbo takes you down to the Throat of Hell.
Condemned Mineshaft to the Altar of Bones
| District | Secrets / walls | Contents |
|---|---|---|
| Condemned Mineshaft | 2 / 0 | 2 elevators |
| Blood Pits | 9 / 4 | Brave Heart Fragment, whole meat, 2 XP statues |
| Hall of the Fallen Angels | 1 / 1 | Whip, Wise Heart Fragment |
| Stairway to Hell | 3 / 0 | Elevator |
| Altar of Bones | 0 / 0 | 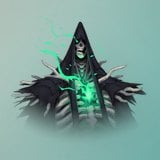 Death |
Ride the Condemned Mineshaft elevator up and activate the return gate. This links the deep half of the Catacombs back to the Crossroads of the Dead and saves you a lot of backtracking. The Blood Pits has nine Secret Areas and four breakable walls, more than a fifth of the whole area’s secrets. Expect heavy brute enemies around one statue and a flooded lower section around the other. Bone Pillars, the fire-breathing dragon-head columns, block some vertical shafts until you smash them.
Collapsed Path of Orpheus, Antechamber of Sin and Circle of Greed
| District | Secrets / walls | Contents |
|---|---|---|
| Collapsed Path of Orpheus | 2 / 1 | Gungnir, Ferryman’s Wharf, 4 XP statues |
| Antechamber of Sin | 0 / 0 | Forsaken Ring, 2 XP statues |
| Circle of Greed | 1 / 0 | Oozing Eye, Brave Heart Fragment |
| Mammon’s Lair | 0 / 0 | Mammon, Ferryman’s Obol |
The Collapsed Path of Orpheus has the most statues of any district. You’ll find three of them next to Gungnir’s chest, and a fourth behind breakable walls. The Antechamber of Sin’s two statues are up vertical shafts that you climb with the grapple.
Catacombs of Paris relics and their effects
| Relic | District | Effect |
|---|---|---|
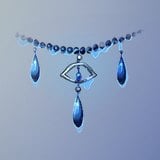 Mourning Bead | Path of the Abyss | +35% movement speed for 7 seconds after a kill |
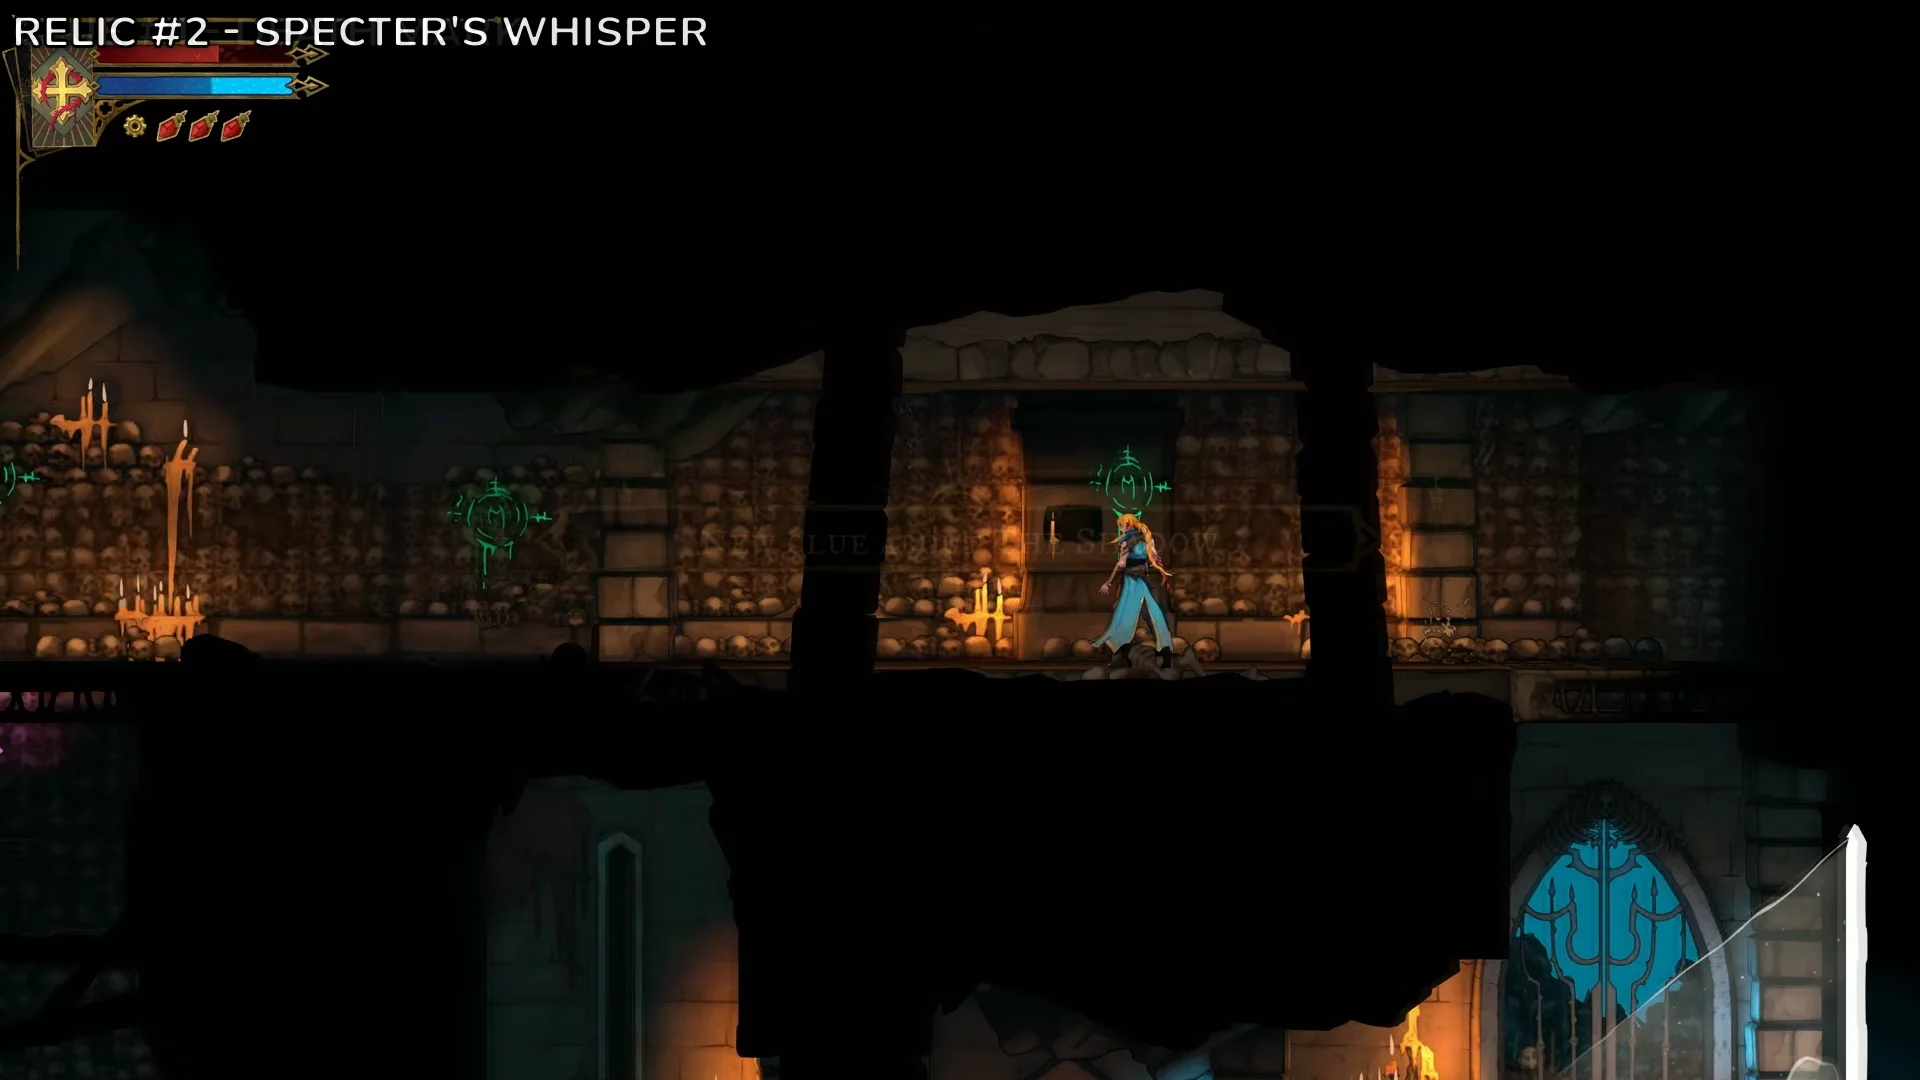
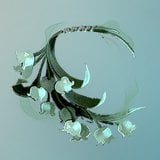 Specter’s Whisper | Charnel Galleries | +30% damage while below 20% life |
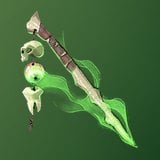 Necro Charm | Jaws of Limbo | +25% damage for 3 seconds after a kill |
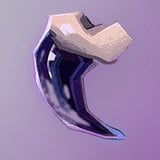 Ebony Claw | Throat of Hell | Guard-break stuns last 50% longer |
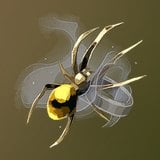 Forsaken Ring | Antechamber of Sin | +25% damage at 100% max health |
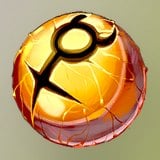 Oozing Eye (key relic) | Circle of Greed | One of three eyes for the Gate of Flesh |
Most of these reward kills or pushing your luck at low health, so they suit an aggressive build. The Oozing Eye is a key relic, not a stat relic. It doesn’t count toward the area’s five relics, but you need it to open Mammon’s door.
Mourning Bead is in a chest at the end of the Path of the Abyss sawblade run. To open its gate, pull the lever mounted on the ceiling. The same lever also clears the barrier in front of the room’s Virgin Mary Statue.
Specter’s Whisper is in a secluded chest as you go down through the Charnel Galleries.
Necro Charm waits at the top of a spike-and-sawblade course in the Jaws of Limbo, the room carved with a huge bleeding skull. To get it, climb back up the blade tracks to the upper-right ledge.
Ebony Claw sits behind a lever-gate Secret Area in the upper-left cavern of the Throat of Hell. You get up there with the grapple.
Forsaken Ring is in an ornate chest in the Antechamber of Sin, past high wall jumps and grapples over spike pits. This district connects to Holy Innocents’ Cemetery.
Oozing Eye is on an altar on a raised platform in the Circle of Greed. It’s next to a red device you interact with, and you climb past demonic eyes to get there.
Catacombs weapons: Pair of Longswords, Gungnir and Whip stats
| Weapon | Rarity / tier | ATK / attack power | Finisher |
|---|---|---|---|
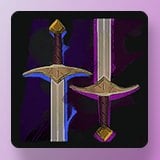 Pair of Longswords | Ordinary / 1 | 25 / 20 | Blade Flurry |
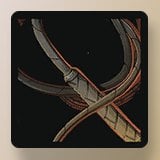 Whip | Ordinary / 1 | 25 / 24 | Whip Drag |
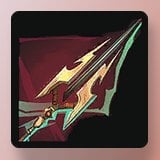 Gungnir | Masterpiece / 3 | 75 / 33 | Push |
All three have 30 stagger power. The Longswords cost 2 mana per hit, and the Whip and Gungnir cost 3.
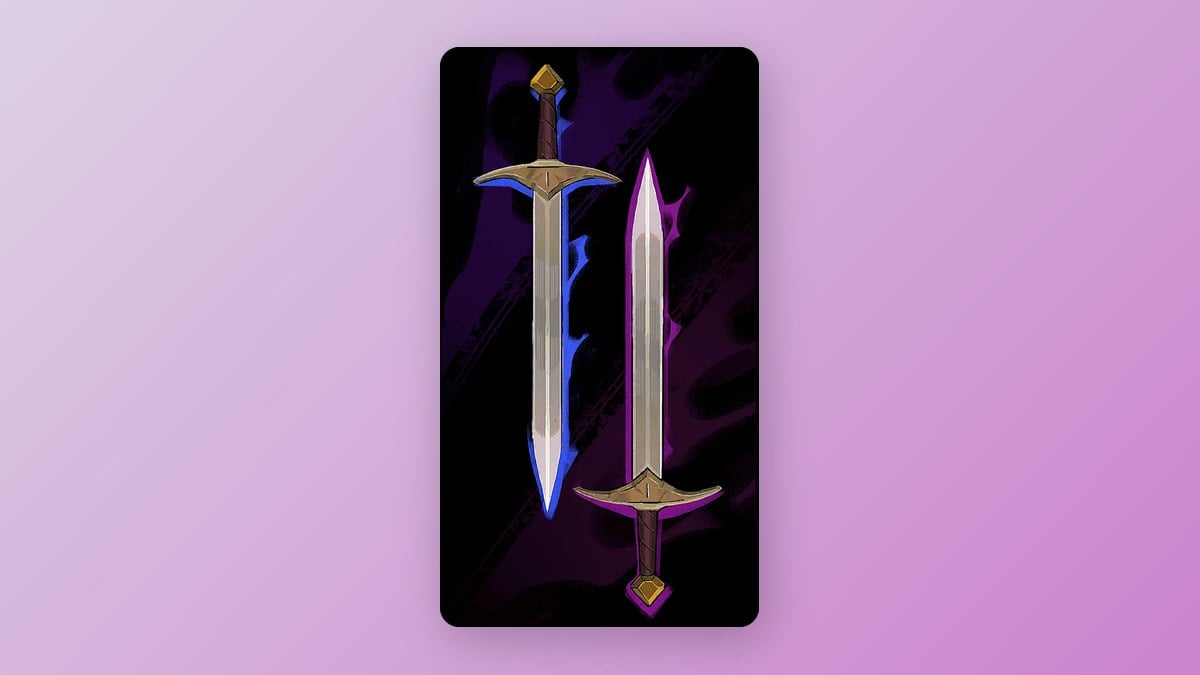
Pair of Longswords are dual swords in an ornate chest in a side section of the Crossroads of the Dead. You get there through a hidden exit next to the Death Mark above the Chamber of Whispers. The room is a small puzzle that uses grapple rings and wall switches. Press Attack again as soon as a hit lands and the combo keeps going, so a steady rhythm stretches it well beyond a normal chain.
Gungnir is a spear. Its chest is at the bottom of a drop in the Collapsed Path of Orpheus. Hold Attack to aim it, then let go to throw.
Whip is in a golden chest in the Hall of the Fallen Angels. It’s the first whip in the game that does real damage, and the tip of each lash hits hardest. Opening the chest starts dialogue about Rose’s training under her father and unlocks the Jack of All Trades trophy.
Brave Heart and Wise Heart Fragments in the Catacombs
The game places 24 Brave Heart Fragments in total, three in each of its eight areas. Four fragments make one upgrade worth +20 max health, and all six upgrades bring Rose to 220 max health. Wise Heart Fragments work the same way, with the same four-piece rule, but raise maximum mana instead.
| Fragment | District | How it’s hidden |
|---|---|---|
| Brave Heart | Catacomb Entrance | On a grate past a sawblade |
| Brave Heart | Circle of Greed | Spike-lined lower passages |
| Brave Heart | Blood Pits | Behind a hidden passage |
| Wise Heart | Chamber of Whispers | Blue pedestal behind a breakable wall |
| Wise Heart | Throat of Hell | Grapple swings over spike pits |
| Wise Heart | Hall of the Fallen Angels | Past rotating saws and floor traps |
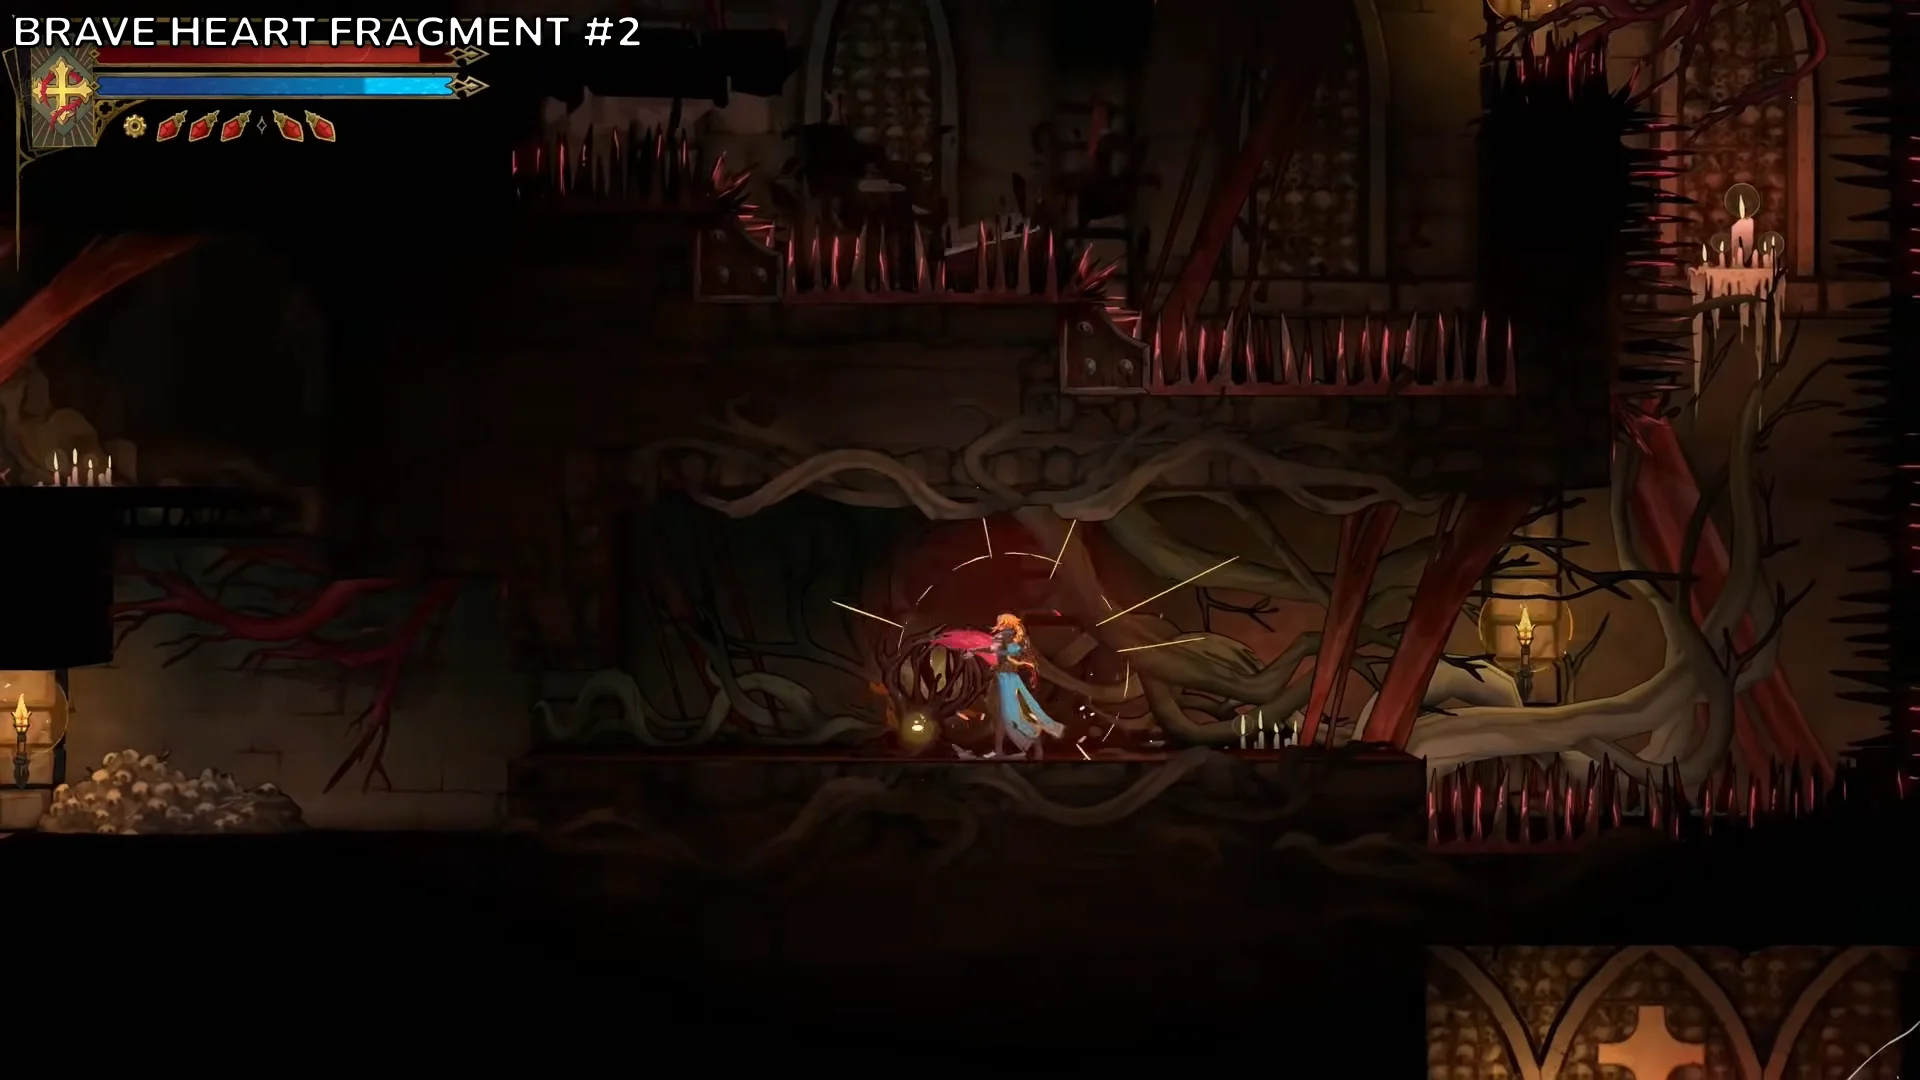
Each pickup shows a running count on screen, such as “2/4 Wise Heart’s Fragments!” When you collect the fourth, the message changes to “Brave Heart Completed!” or “Wise Heart Completed!” Fragments you found in earlier areas still count, so the Catacomb Entrance piece can finish a Brave Heart you already started.
Opening the Gate of Flesh and beating Mammon
Mammon is behind a sealed door of flesh and eyes in the Circle of Greed. Inspecting the door gives you the clue A Door Made of Flesh and Eyes, which counts toward The Miser tarot card. Another clue for the same card, Catacomb Relic, is a diary page in the Bishop’s Office in Paris Streets.
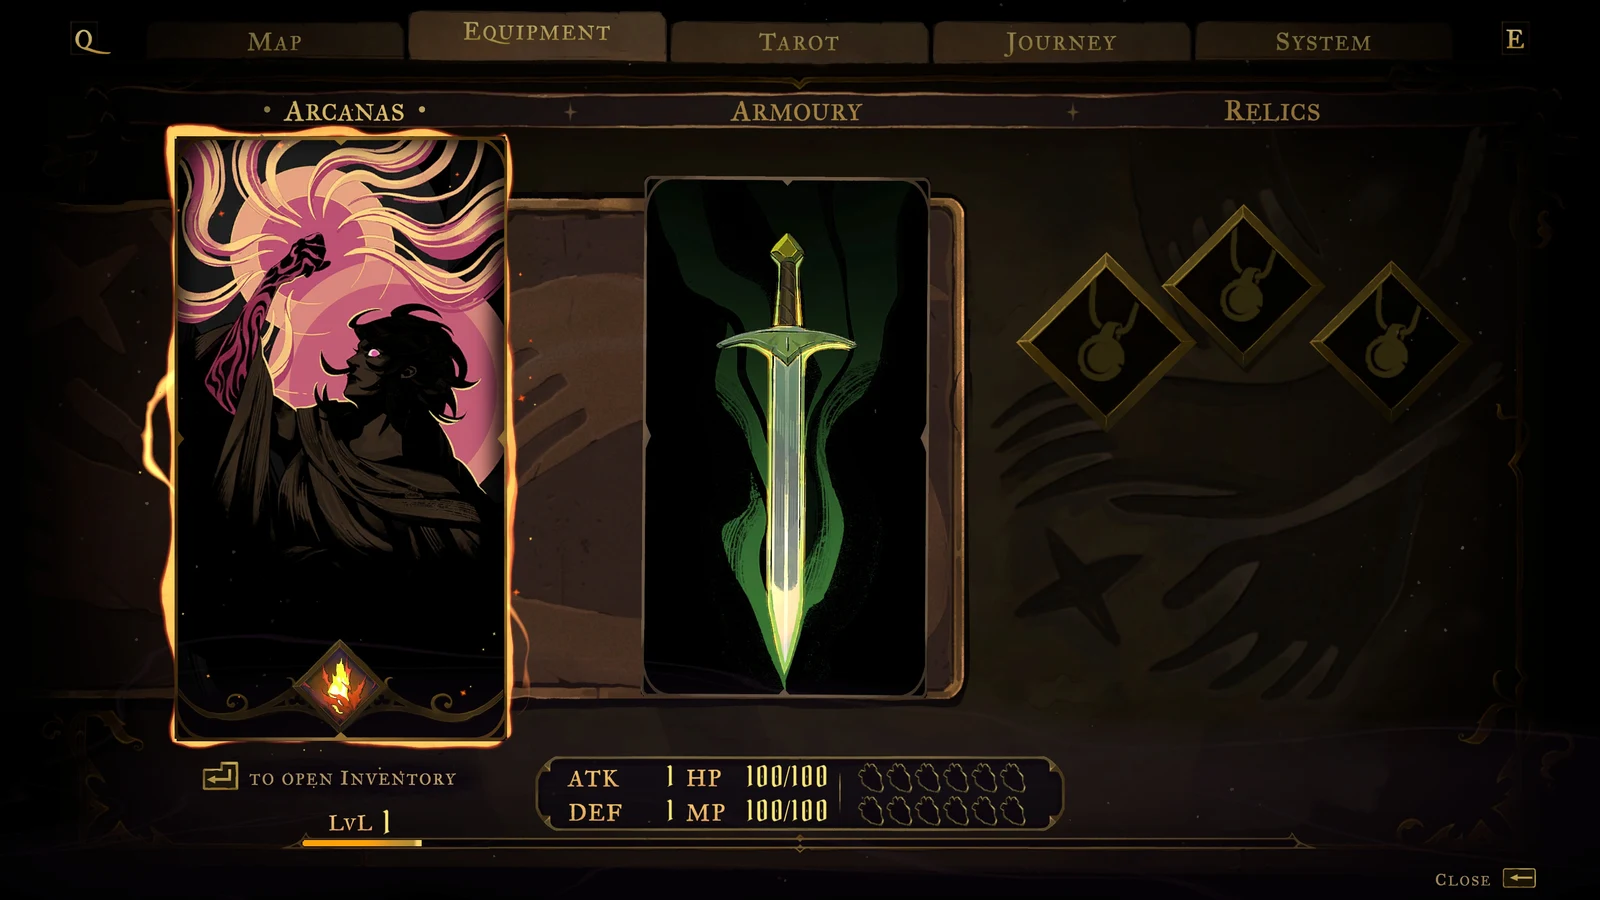
Wheel of Chaos sends a wheel toward the closest foe, regardless of direction. It hangs in the air briefly; cast it again before it vanishes and it shoots toward the closest foe once more, costing less mana. Mammon’s gold hoard contains the Ferryman’s Obol keepsake too: a carved coin used to pay the Ferryman, who takes you onward to The Whisperer.
Mammon ignores most crowd control, including freeze, petrify, launches, slam downs and both Chains of Justice effects, but he can still bleed.
Death at the Altar of Bones, the Death Mark clue and fast travel
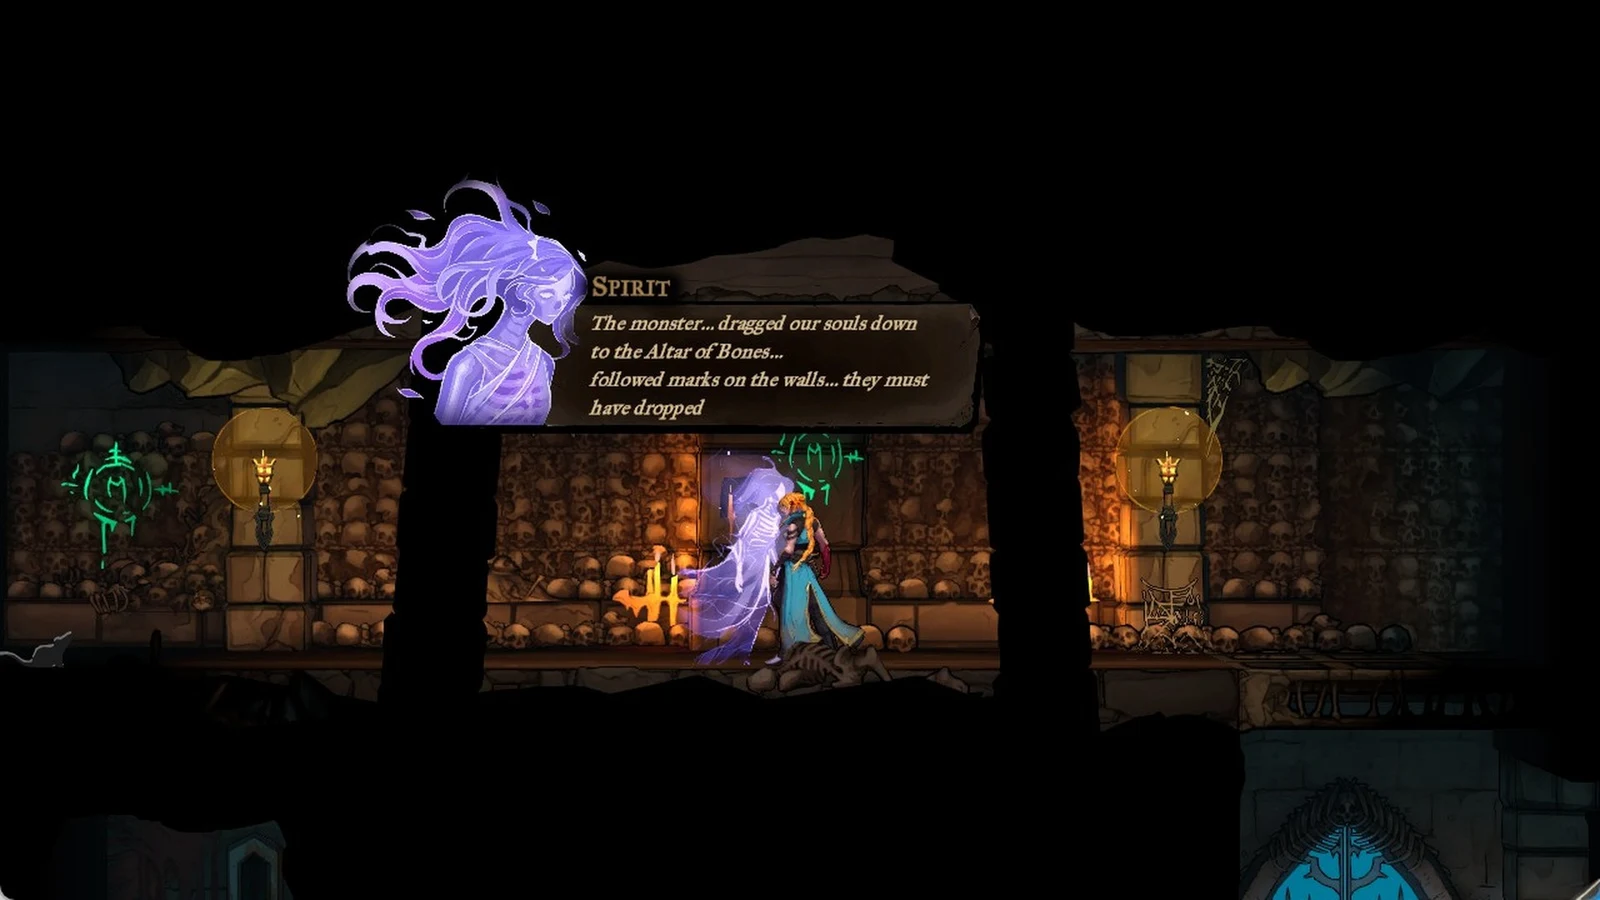
The Death Mark in the Charnel Galleries is the clue for The Shadow tarot card. When you talk to a purple Spirit there, it describes souls being dragged down to the Altar of Bones. After the conversation, the green sigils on the Catacombs walls show up on your map as labeled Death Marks. They trace a route down the left side of the area toward Death.
Death rises from a vortex at the Altar of Bones, at the bottom of the Stairway to Hell. You’re meant to lose this fight. Rose barely scratches his health bar before he takes her down. The real fight happens later, in the Choir of Notre-Dame. After the cutscenes, which show Trevor shielding Rose, Dracula’s castle being hauled up over Paris and The Fallen revealing he is Leon Belmont, your objective changes to “Reach Dracula’s Castle.”
You climb out through the Collapsed Path of Orpheus, and two fast-travel systems open up on the way:
- Ferryman’s Wharf: the first dock where you meet the Ferryman. His boat connects every wharf you’ve found in Holy Innocents’ Cemetery, Paris Streets and the Catacombs.
- Mirror of Life network: hold down at an active mirror for a few seconds to warp to the Hall of Mirrors, then pick any mirror you’ve registered.
Once you’re back on the surface, the Ferryman asks Rose if she’s seen his stolen coins.
Bastard sword on the road to Dracula’s Castle
The path to the castle goes back through Paris Streets, by way of the Bridge of the Millers, the Court of Justice and the Palace of Justice. In the Justice District Sewers, hit the wall switch to lower the drawbridge, then grapple up quickly before it resets. A chest above the waterwheel gears holds the Bastard sword.
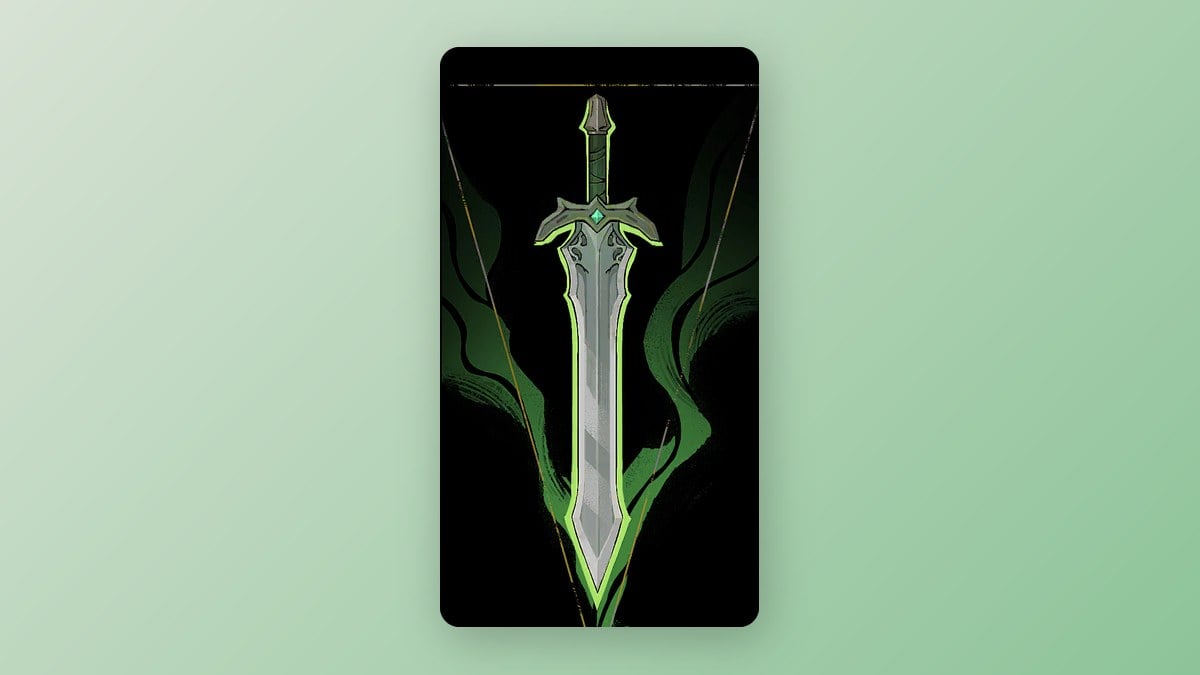
| Stat | Bastard sword |
|---|---|
| Type | One-handed sword |
| Rarity / tier | Refined / 2 |
| ATK / attack power | 50 / 26 |
| Stagger / mana per hit | 30 / 3 |
| Finisher | Dash through |
It does extra damage when you attack straight out of a backdash or slide. After the sewers, a werewolf ambush hits on the Docks. Then you reach the Mirror of Life at the Gate to the Stone Bridge, the last save before the road to Dracula’s Castle.