Gaming News

Chapter 5: Zoe’s Rounds Walkthrough in Silent Hill: Townfall (All Collectibles)

Every Document, Clue, phone number, and key item in Zoe's Rounds, in the order you can pick them up.

Every Document, Clue, phone number, and key item in Zoe’s Rounds, in the order you can pick them up.

Image: Screen Burn

Zoe’s Rounds opens Part 2 of Silent Hill: Townfall, taking Zoe from her house in St. Amelia to the Medical Centre’s front doors. This stealth-focused section contains two padlocked routes, three phone numbers, and a scripted monster encounter at 18 Church Avenue. The game has no chapter selection, and the chapter cannot be revisited after it ends, making everything here missable on that run.

Quick answer: Chapter 5 contains seven Discoveries — six Documents and one Clue — plus three phone numbers, two key items, and the Pager. Collect all of them before you step through the Medical Centre’s sliding doors.


Chapter 5 collectible checklist

Documents and Clues both feed the Discoveries statistic that decides which of the main endings you reach, so the Clue in this chapter counts exactly as much as the Documents do. Phone numbers are tracked separately and tie into their own trophy.

PickupTypeWhere
PagerEquipmentZoe’s bedroom, chapter start
Water WarningDocumentLiving room coffee table
0163 296 0595Phone numberHallway telephone
Zoe’s email “Coming Back”DocumentComputer room monitor
Jane Chalmers ObituaryDocumentShed shelf, Community Gardens
Community Garden KeyKey itemWire shelf in the shed
St. Amelia StandardDocumentDining table, 18 Church Avenue
496 0103Phone numberLiving room landline
Mr Stewart’s KeyKey itemDark room, 18 Church Avenue
Medical Security NoteClueGuard booth window
496 0556Phone numberRoadside telephone box
Community Help NeededDocumentTriage table in car park
Exhausted SuppliesDocumentBed inside the far tent

Manual saving is done by dialling 100 from any working phone, and you get 20 slots alongside the autosave. Use the hallway phone in Zoe’s house before you head out, unless you are attempting the no-manual-save challenge.


Zoe’s house: Water Warning, the council recording, and the email
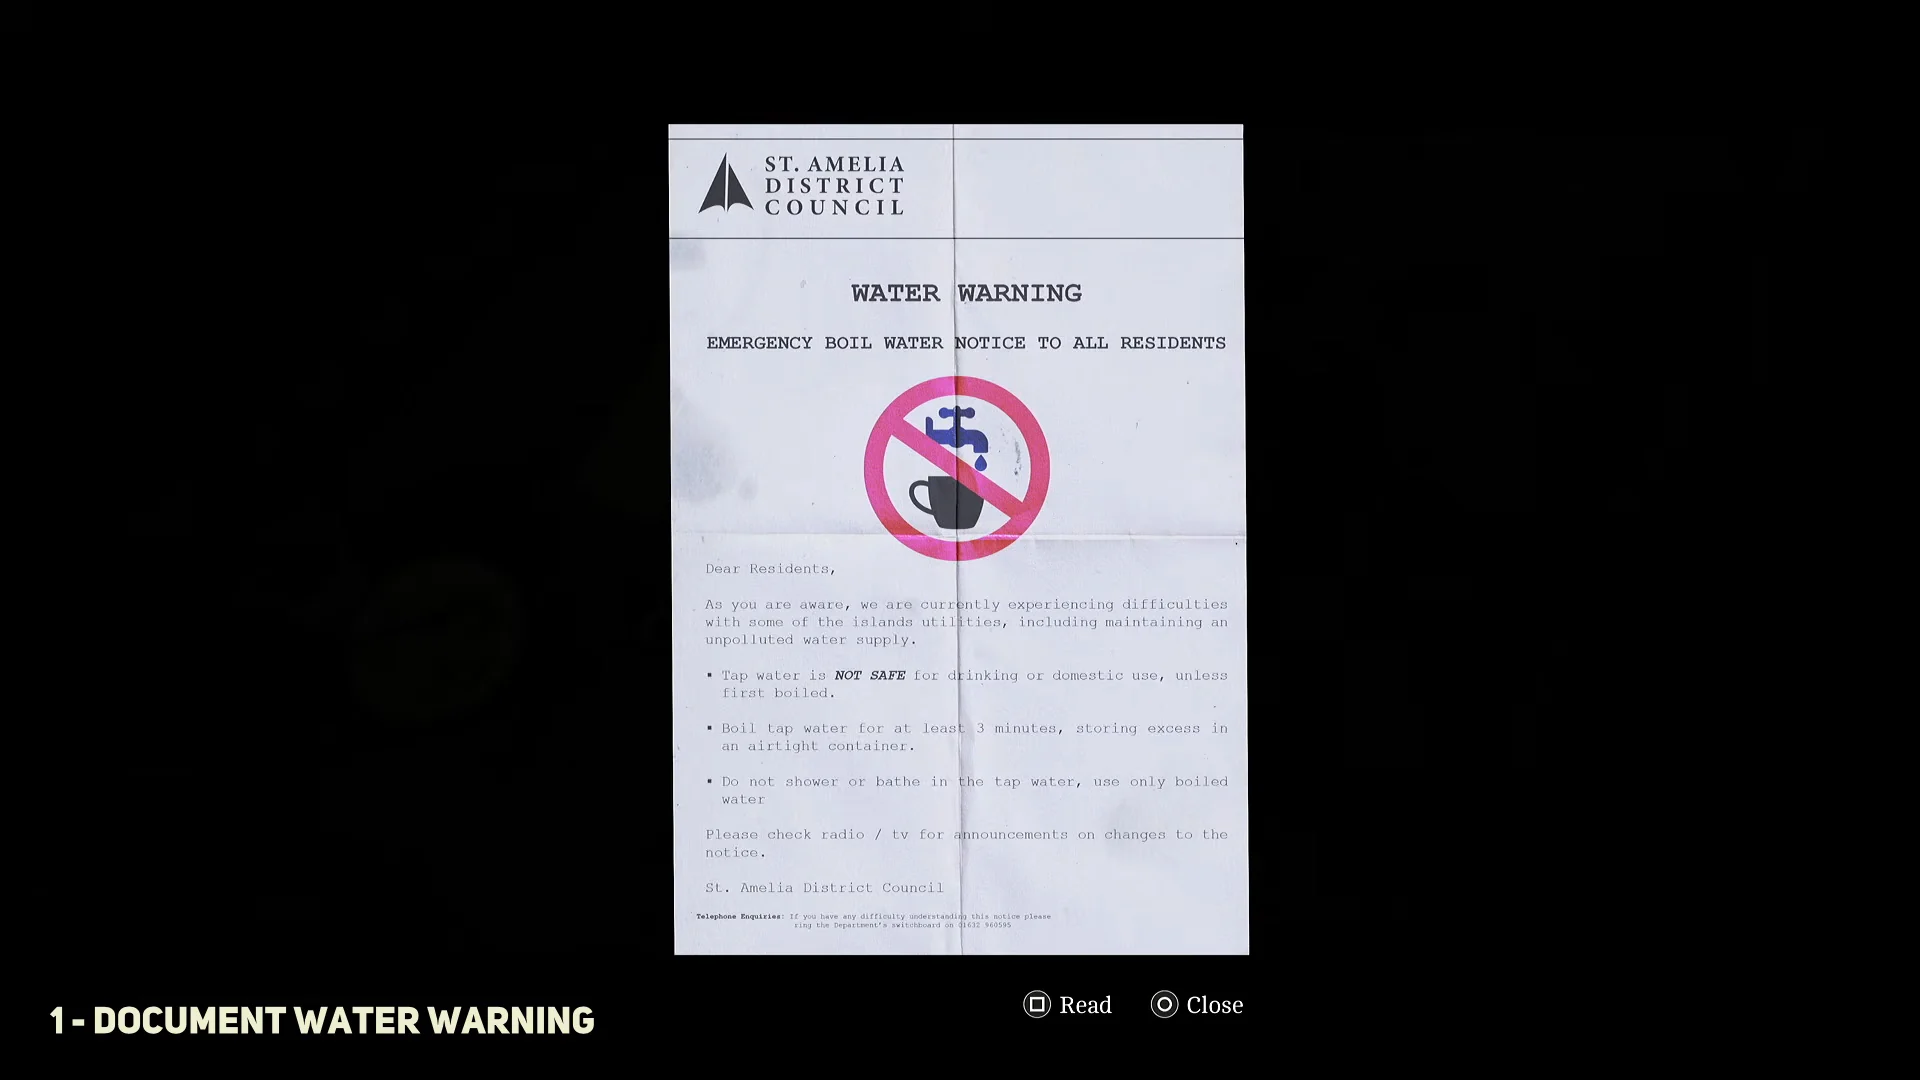
Close the inventory after the Pager is added and head downstairs into the living room. The St. Amelia District Council Water Warning leaflet is sitting on the coffee table — pick it up for the first Document of the chapter.
Document Water Warning00:13Document Water Warning
The Water Warning leaflet on the living room coffee table. Shown at 00:13 in WoW Quests’s video. Image: Screen Burn
Go to the rotary telephone in the hallway, then dial 0163 296 0595. A recorded council water advisory plays, and the number is added to your log.
Go into the computer room, switch the monitor on and log into RedSquares Email. Open the message from Jessica White titled “Coming Back” — reading it counts as a Document, so do not close the inbox early.

Community Gardens: shed code 1993 and the Community Garden Key

Leave the house and follow the foggy street to the community allotments. The shed is held shut by a combination padlock and the code is written on Jane Chalmers’s memorial plaque a few steps away.
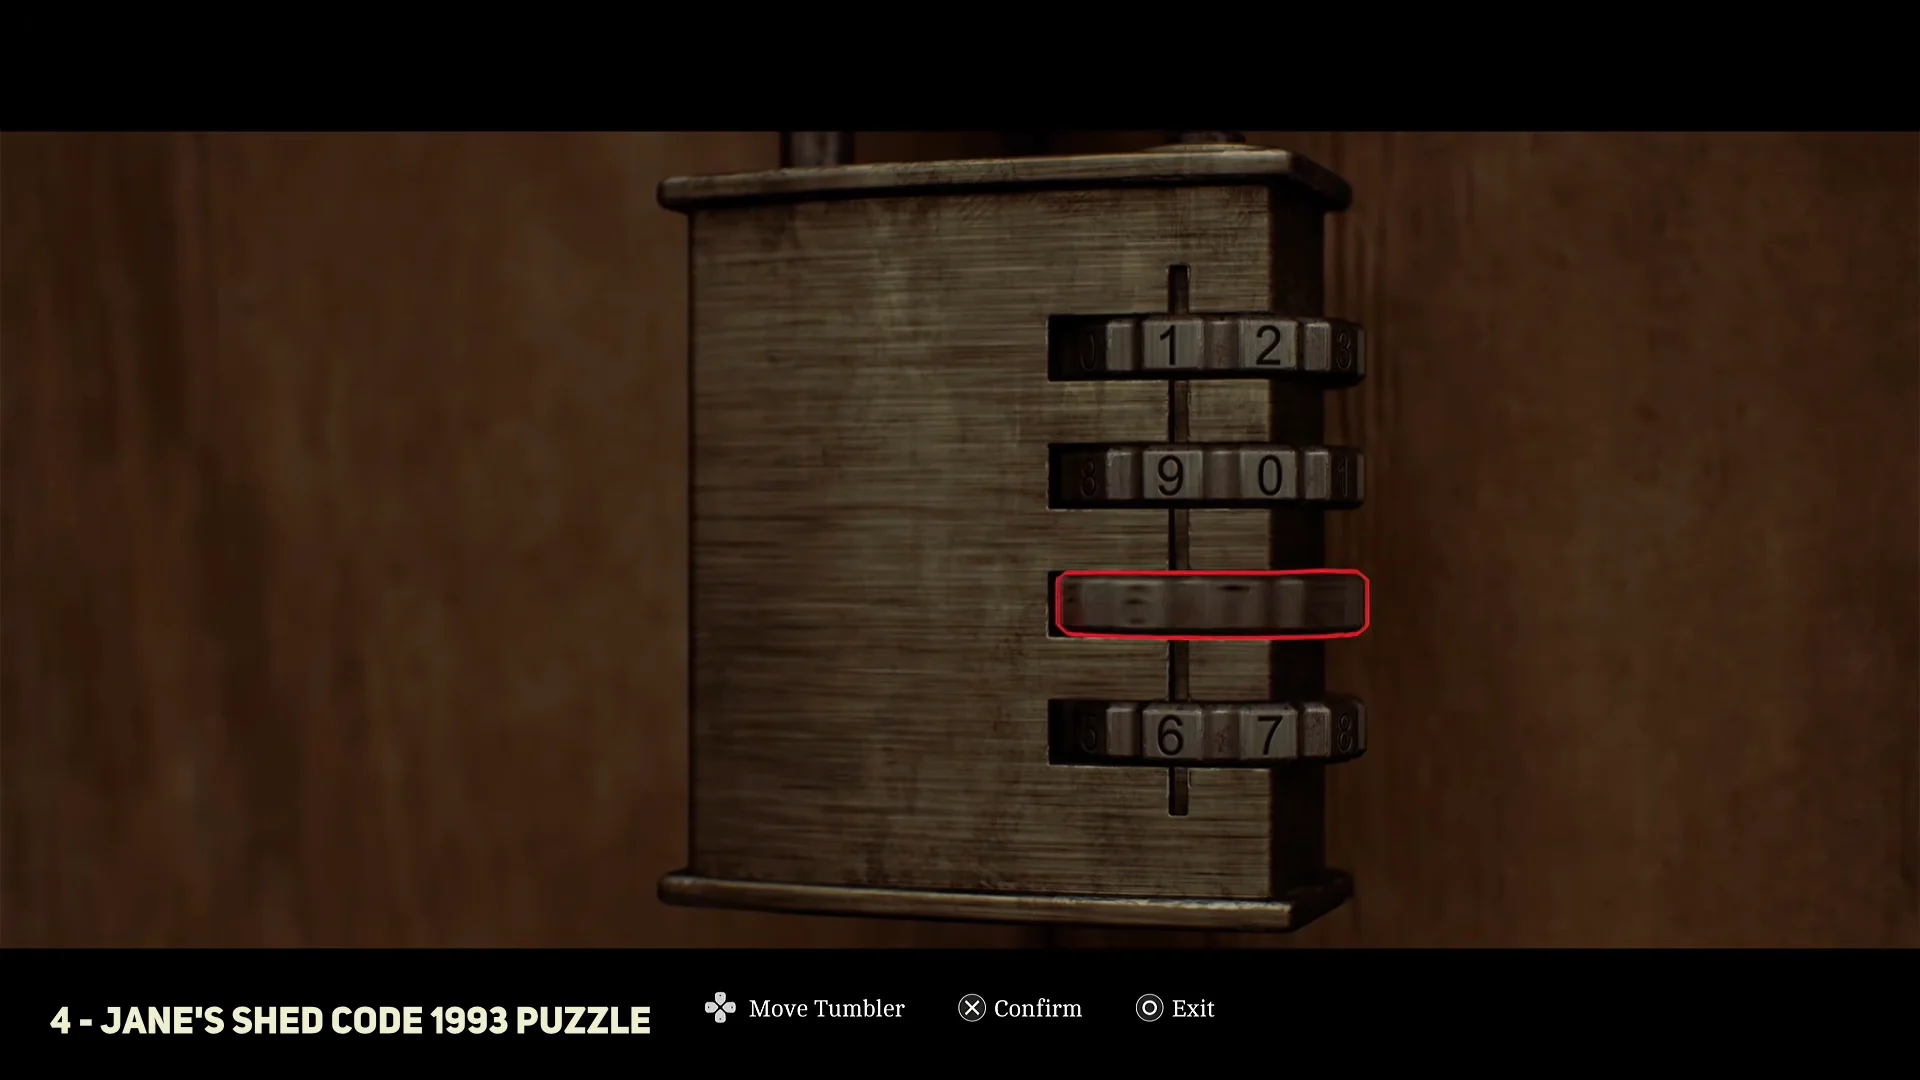
Inspect the plaque marked with the year on the allotment, then return to the shed door and enter 1993 on the padlock tumblers.
Jane's Shed Code 1993 Puzzle01:48Jane's Shed Code 1993 Puzzle
The shed padlock takes the four-digit code from Jane Chalmers's plaque. Shown at 01:48 in WoW Quests’s video. Image: Screen Burn
Inside, take the bottle of Alcohol and lift the Community Garden Key off the wire shelf. The Alcohol is a crafting material, so grab it even though it is not tracked as a Discovery.
Check the wooden shelf in the same shed for the newspaper clipping titled Jane Chalmers Obituary. It sits apart from the key, and it is easy to walk out without it.
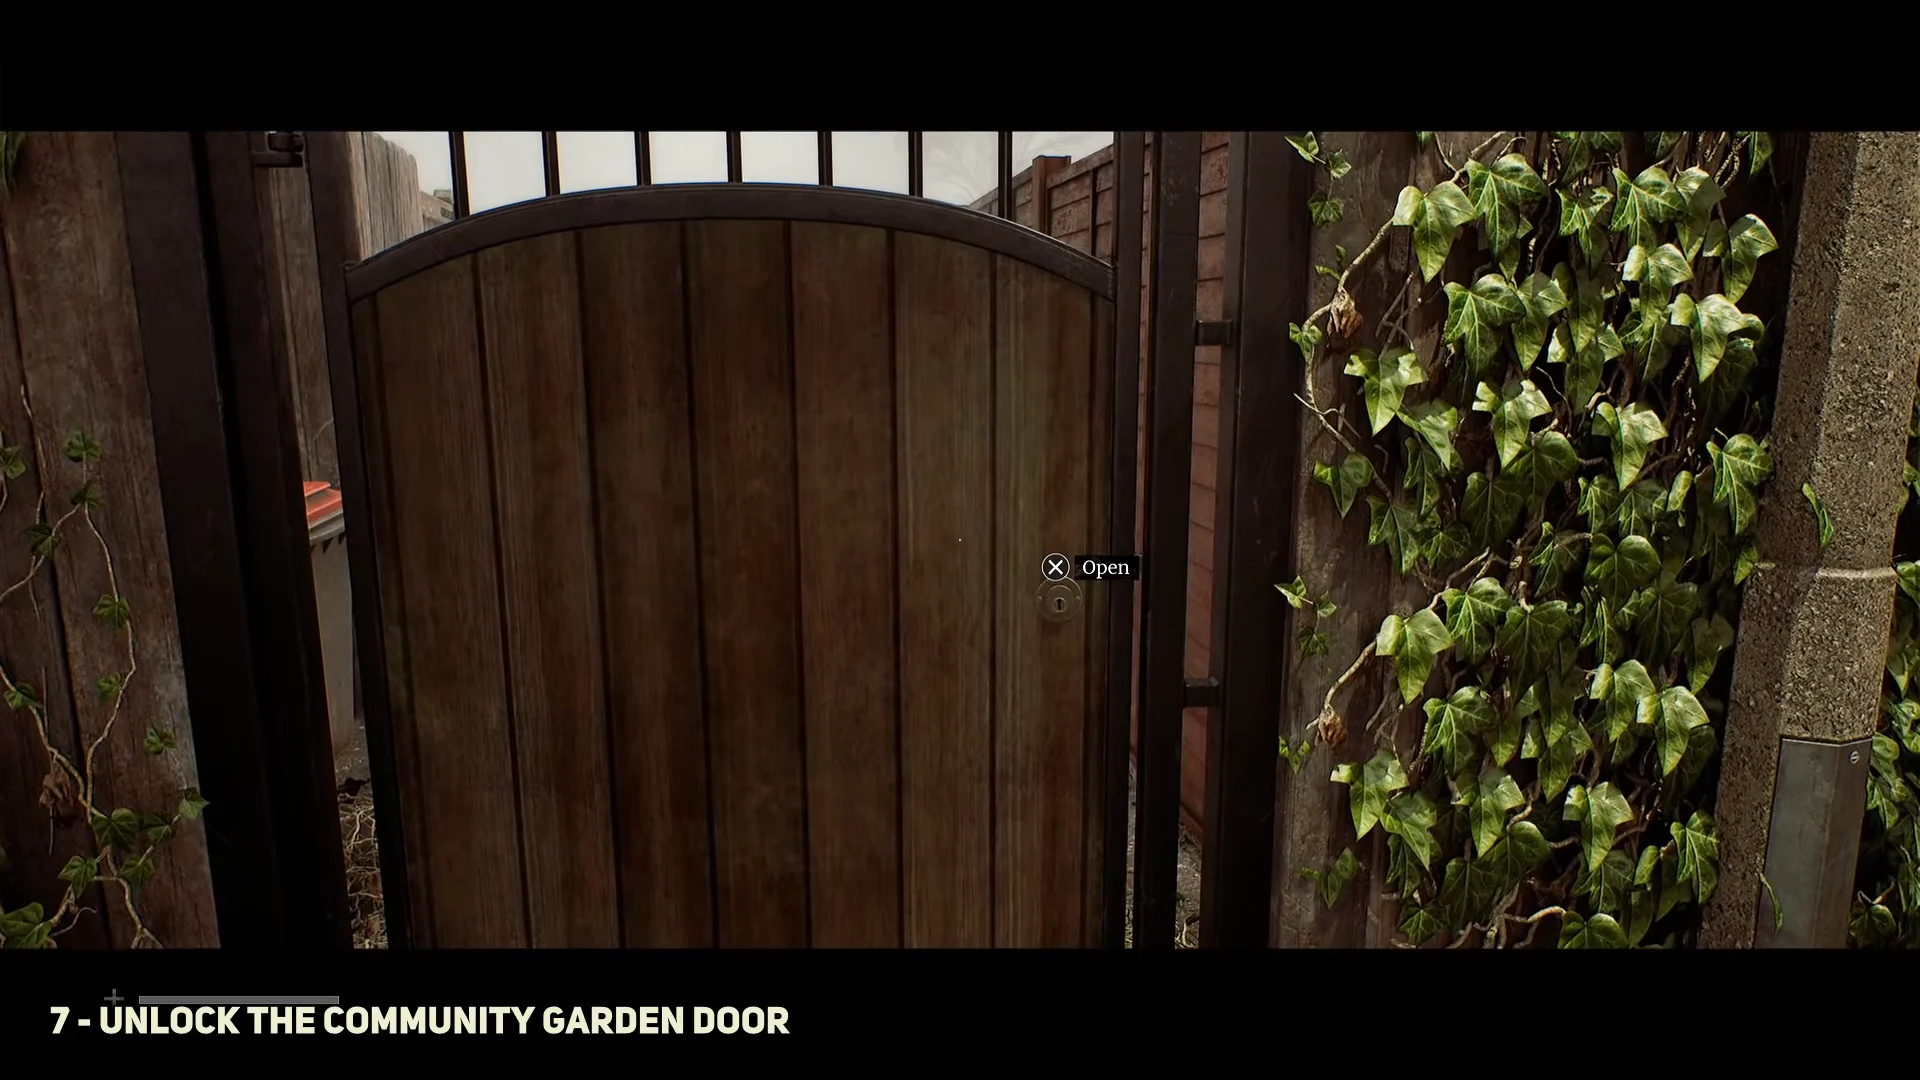
Step back outside and use the key on the locked wooden gate to open the route into the alley.
Unlock the Community Garden Door02:22Unlock the Community Garden Door
The Community Gardens gate opens once you are holding the Community Garden Key. Shown at 02:22 in WoW Quests’s video. Image: Screen Burn

18 Church Avenue: the St. Amelia Standard, 496 0103, and Mr Stewart’s Key

Follow the road past Church Avenue, checking the Pager when it buzzes, until you reach 18 Church Avenue. Knocking at the front door gets no answer, so circle around to the back patio and let yourself in through the rear sliding door.
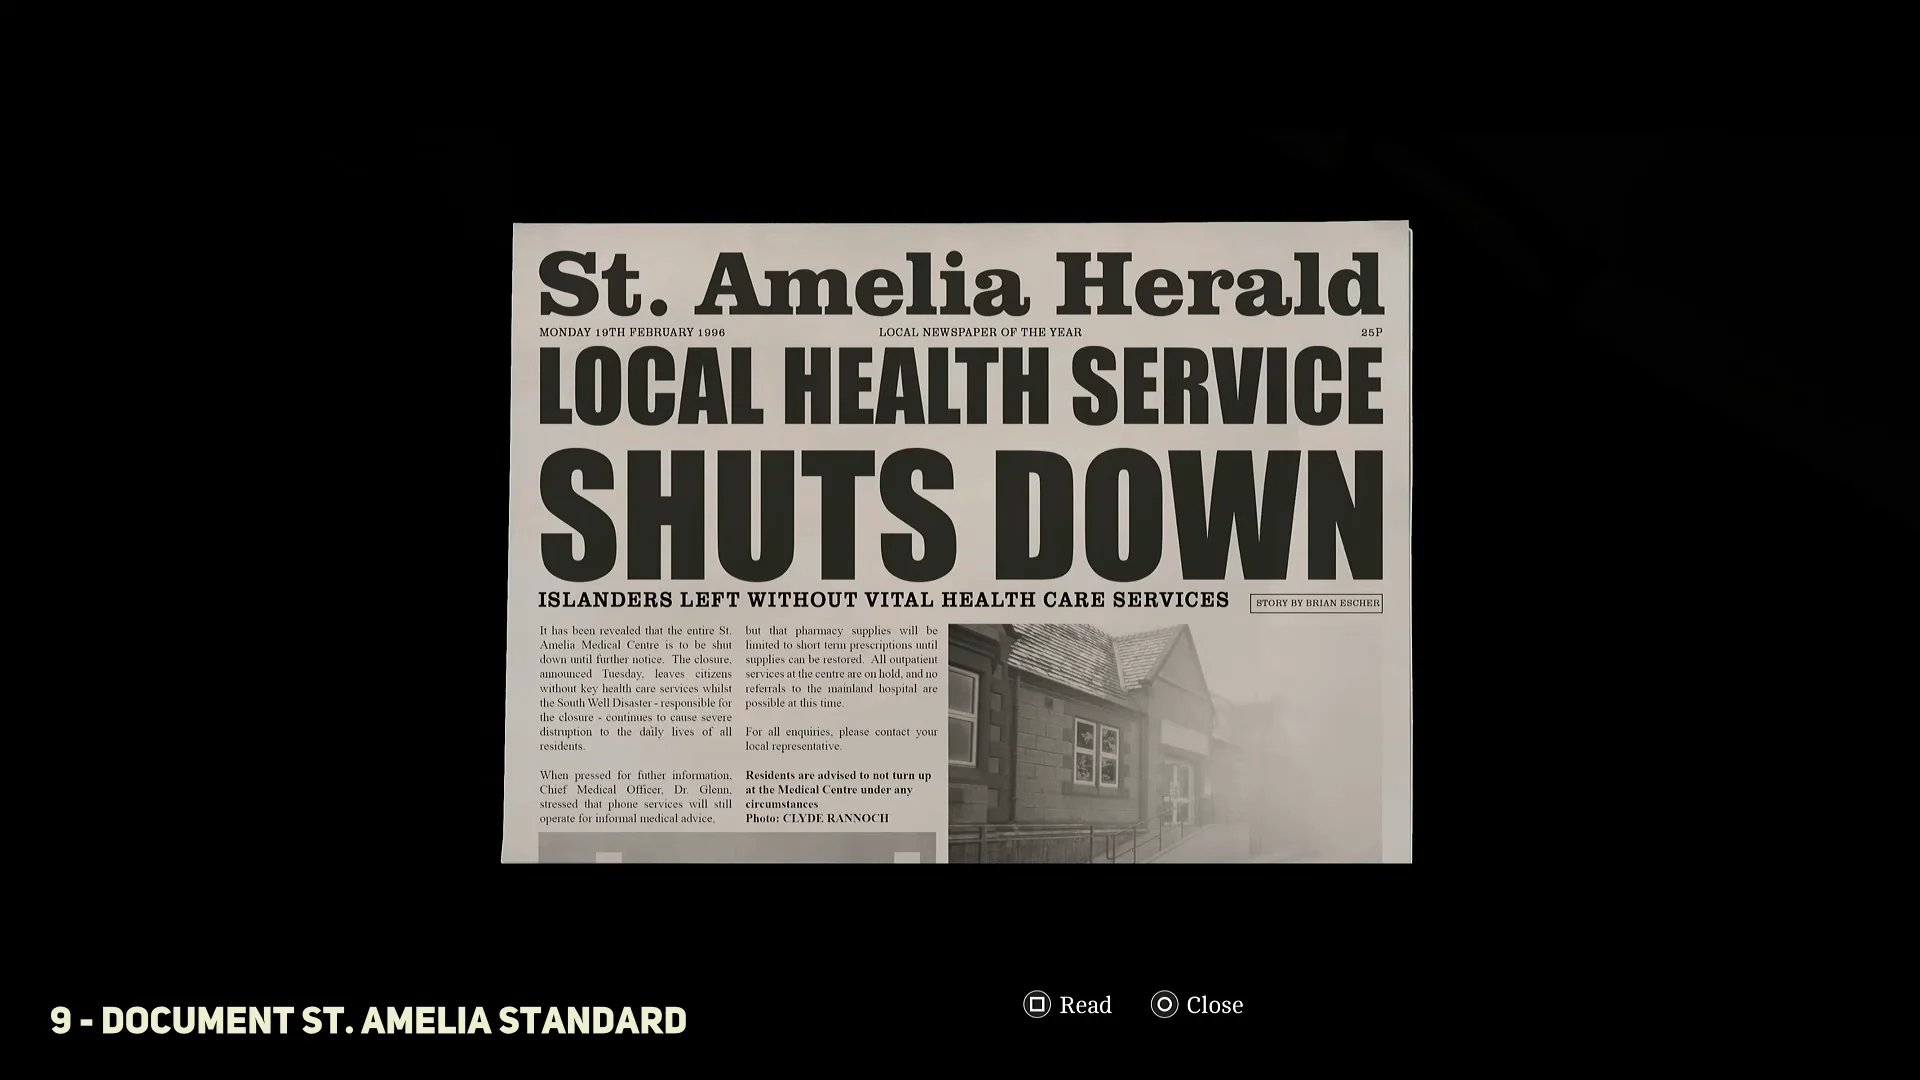
Read the St. Amelia Herald newspaper on the dining table. The front page carries the headline “Local Health Service Shuts Down” and logs as the St. Amelia Standard Document.
Document St. Amelia Standard03:37Document St. Amelia Standard
The St. Amelia Herald front page on the dining table at 18 Church Avenue. Shown at 03:37 in WoW Quests’s video. Image: Screen Burn
In the living room, examine Nurse Ellis’s note beside the landline, then dial 496 0103 on the keypad to bank the second phone number.
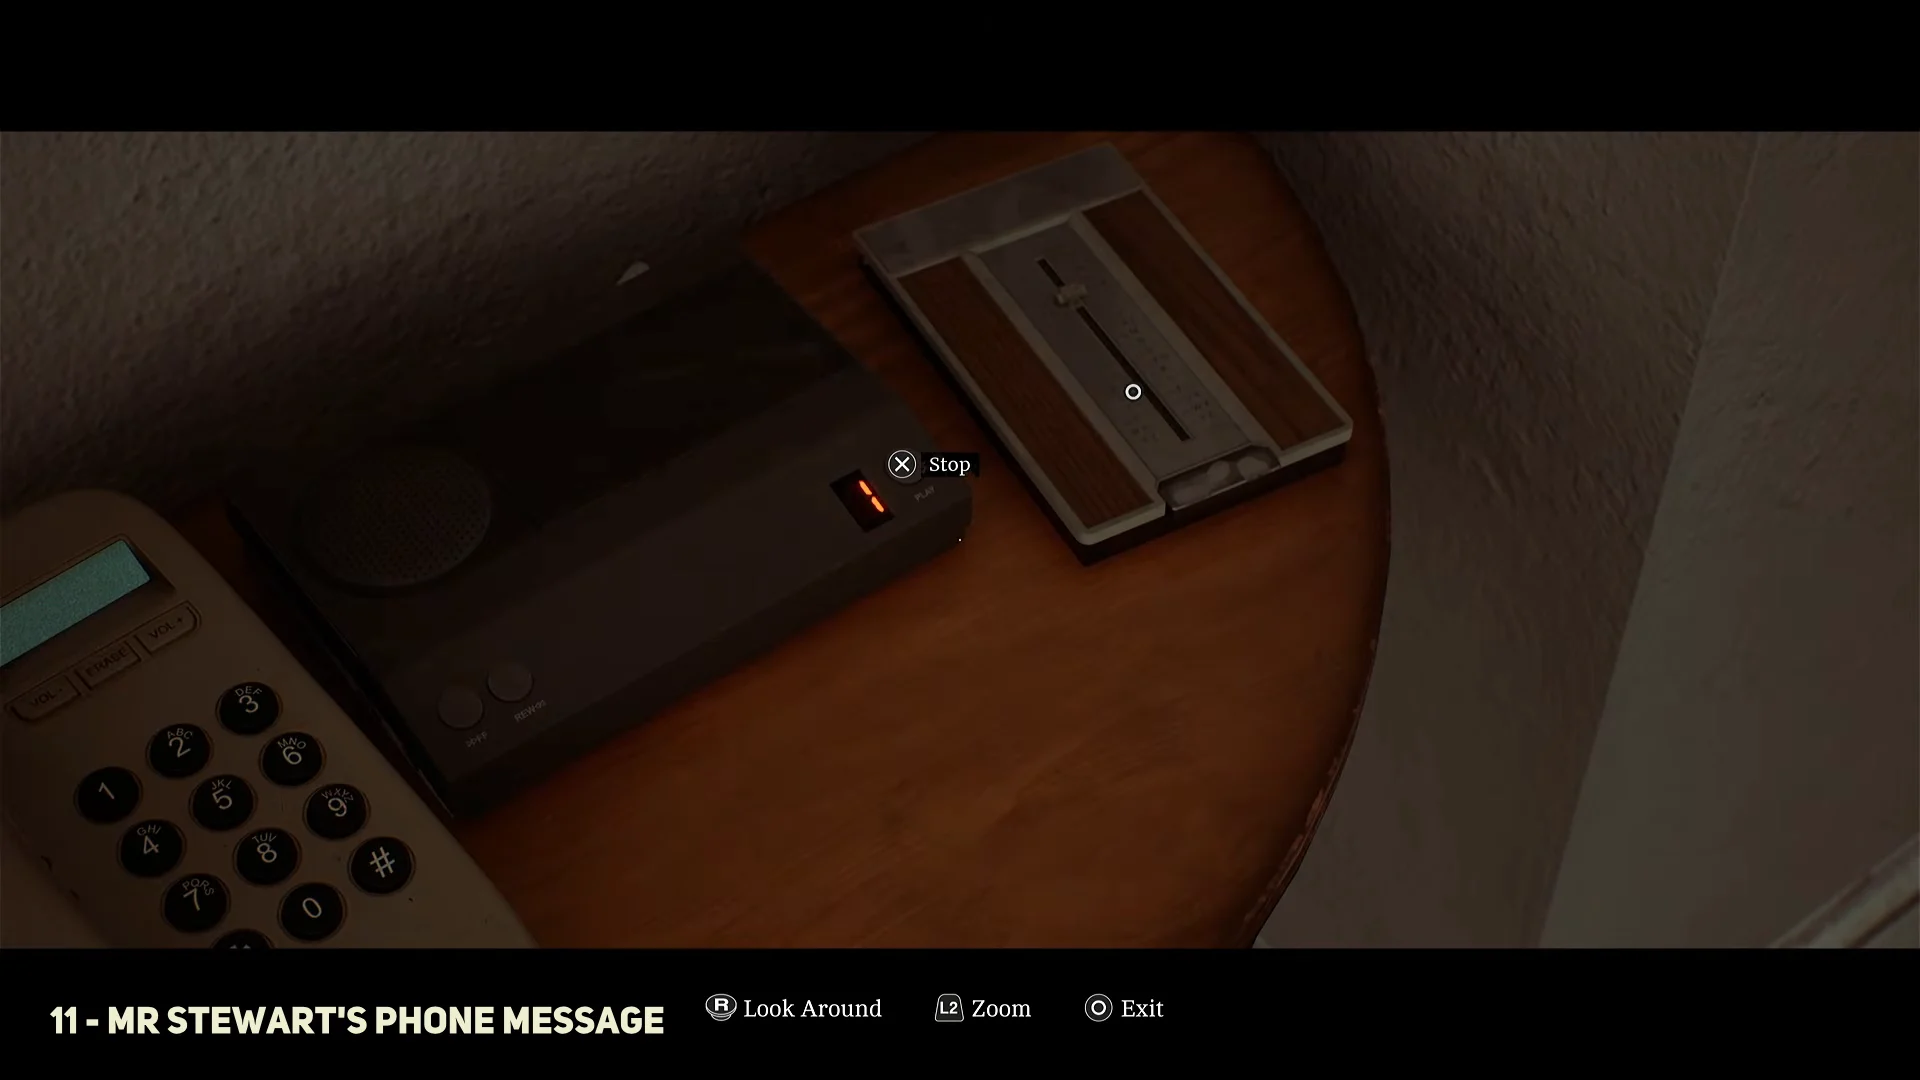
Start playback on the answering machine beside the same phone to hear Mr. Stewart’s recorded message.
Mr Stewart's Phone Message04:18Mr Stewart's Phone Message
The answering machine next to the living room landline holds Mr. Stewart's voicemail. Shown at 04:18 in WoW Quests’s video. Image: Screen Burn
Collect Mr Stewart’s Key from the dark room. This is the point where the creature in the house becomes a problem, so move slowly and use doorways to break line of sight.
Switch on the radio in the kitchen and the radio in the back bedroom. Two separate radios pull the monster away and open a clean path out through the patio doors.

The radio sequence lines up with the Static Distractions trophy, so turn both sets on rather than sprinting past the creature with the key.


Crossing St. Amelia to the Medical Centre

Open the town map and set a route toward the Medical Centre. The streets between Church Avenue and the hospital are thick with fog and wandering infected, and a tutorial prompt appears part-way through explaining how to equip, aim, and throw objects.

Pick up every glass bottle and brick you pass. Thrown objects pull enemies toward the noise or stun them briefly, which is the intended way through this stretch — combat here is a last resort, and hiding spots matter more than weapons.
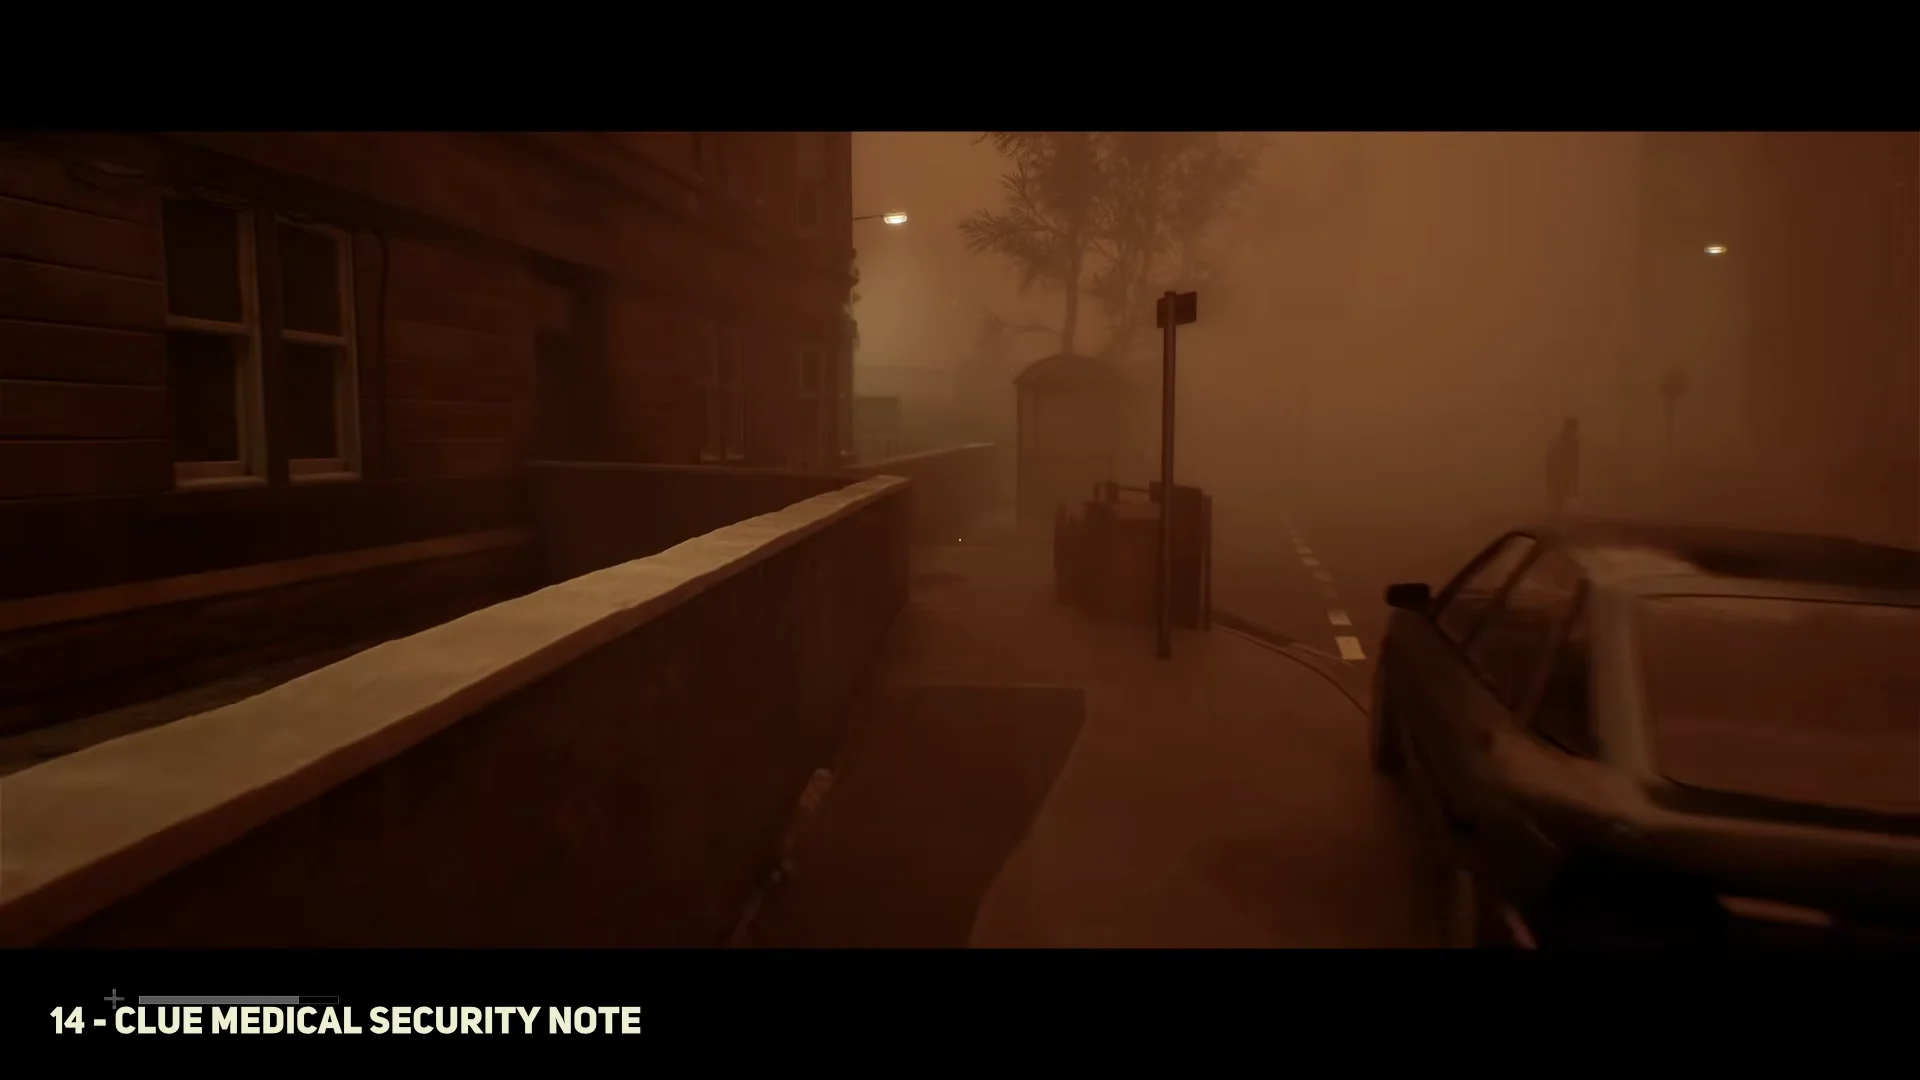
Reach the Medical Center06:46Reach the Medical Center
Fog-covered streets on the route from Church Avenue to the Medical Centre. Shown at 06:46 in WoW Quests’s video. Image: Screen Burn

Medical Centre entrance: phone 496 0556 and the answers 3 – 2 – 2 – 1

Inspect the Medical Security Note attached to the guard booth window at the gated entrance. It is the chapter’s sole Clue and directs you toward the phone box on the road.
Enter the roadside telephone box and dial 496 0556 for D. Glenn. An automated security questionnaire starts on the keypad.
Answer the four prompts in order by pressing 3, then 2, 2, and 1. A wrong sequence means redialling, so work through the questions one at a time.
Pass through the opened gate into the hospital grounds. Read Community Help Needed on the first triage table on the right, then head to the tent at the far left and take Exhausted Supplies from the bed inside.
Enter through the side garage, pick up the medkit from the shelf, and continue into the security office. Press the green gate-release button on the desktop console to open the main compound gates.
Exit the booth, go across the car park, and enter the Medical Centre through its automatic sliding doors. The chapter finishes as you do so.

Confirming a clean Chapter 5 before the doors close

The car park is your last checkpoint. Before stepping onto the sliding doors, open the menu and confirm six Documents and one Clue have been added since the chapter began, alongside three new phone numbers. If any of those counts is short, the missing pickup is almost always the obituary on the shed’s second shelf or one of the two car park papers.

Four trophies sit inside this chapter — Save It For The Patients, Static Distractions, Lured Off Track, and Alarmingly Effective — with the last two landing during the run between Mr. Stewart’s house and the hospital gates. Discoveries and trophy progress carry across playthroughs, so anything genuinely missed here can be picked up on a later run rather than forcing an immediate restart.