Chapter 8 Blood Bag Walkthrough: All Three Bags and Both Keys in Silent Hill Townfall
Collect all five blood bags, grab both master keys, and open the transfusion door and Ordell dial.
Collect all five blood bags, grab both master keys, and open the transfusion door and Ordell dial.
by AllThingsHow Staff
Image: Screen Burn
The Medical Centre – Different in Chapter 8 locks its main blast doors behind a Blood Transfusion Machine. To move on, you have to track down five patient blood bags spread across Wards S.W. and D.P., collect two master keys, and then feed the right bags into the right terminals before solving the Ordell dial on the final door.
Quick answer: Alan Duncan’s bag opens S.W.; Lesley Greer’s opens D.P. Place Sarah Watson, Matthew Clark, and George McEwan in the transfusion machine, then align H.M., T.F., and S.W. on the Ordell dial.
Every blood bag and what it unlocks
Two of the five bags are consumed to open shutters, and the remaining three are placed in the transfusion machine. Keep this split in mind so you don’t accidentally waste a bag you need at the end.
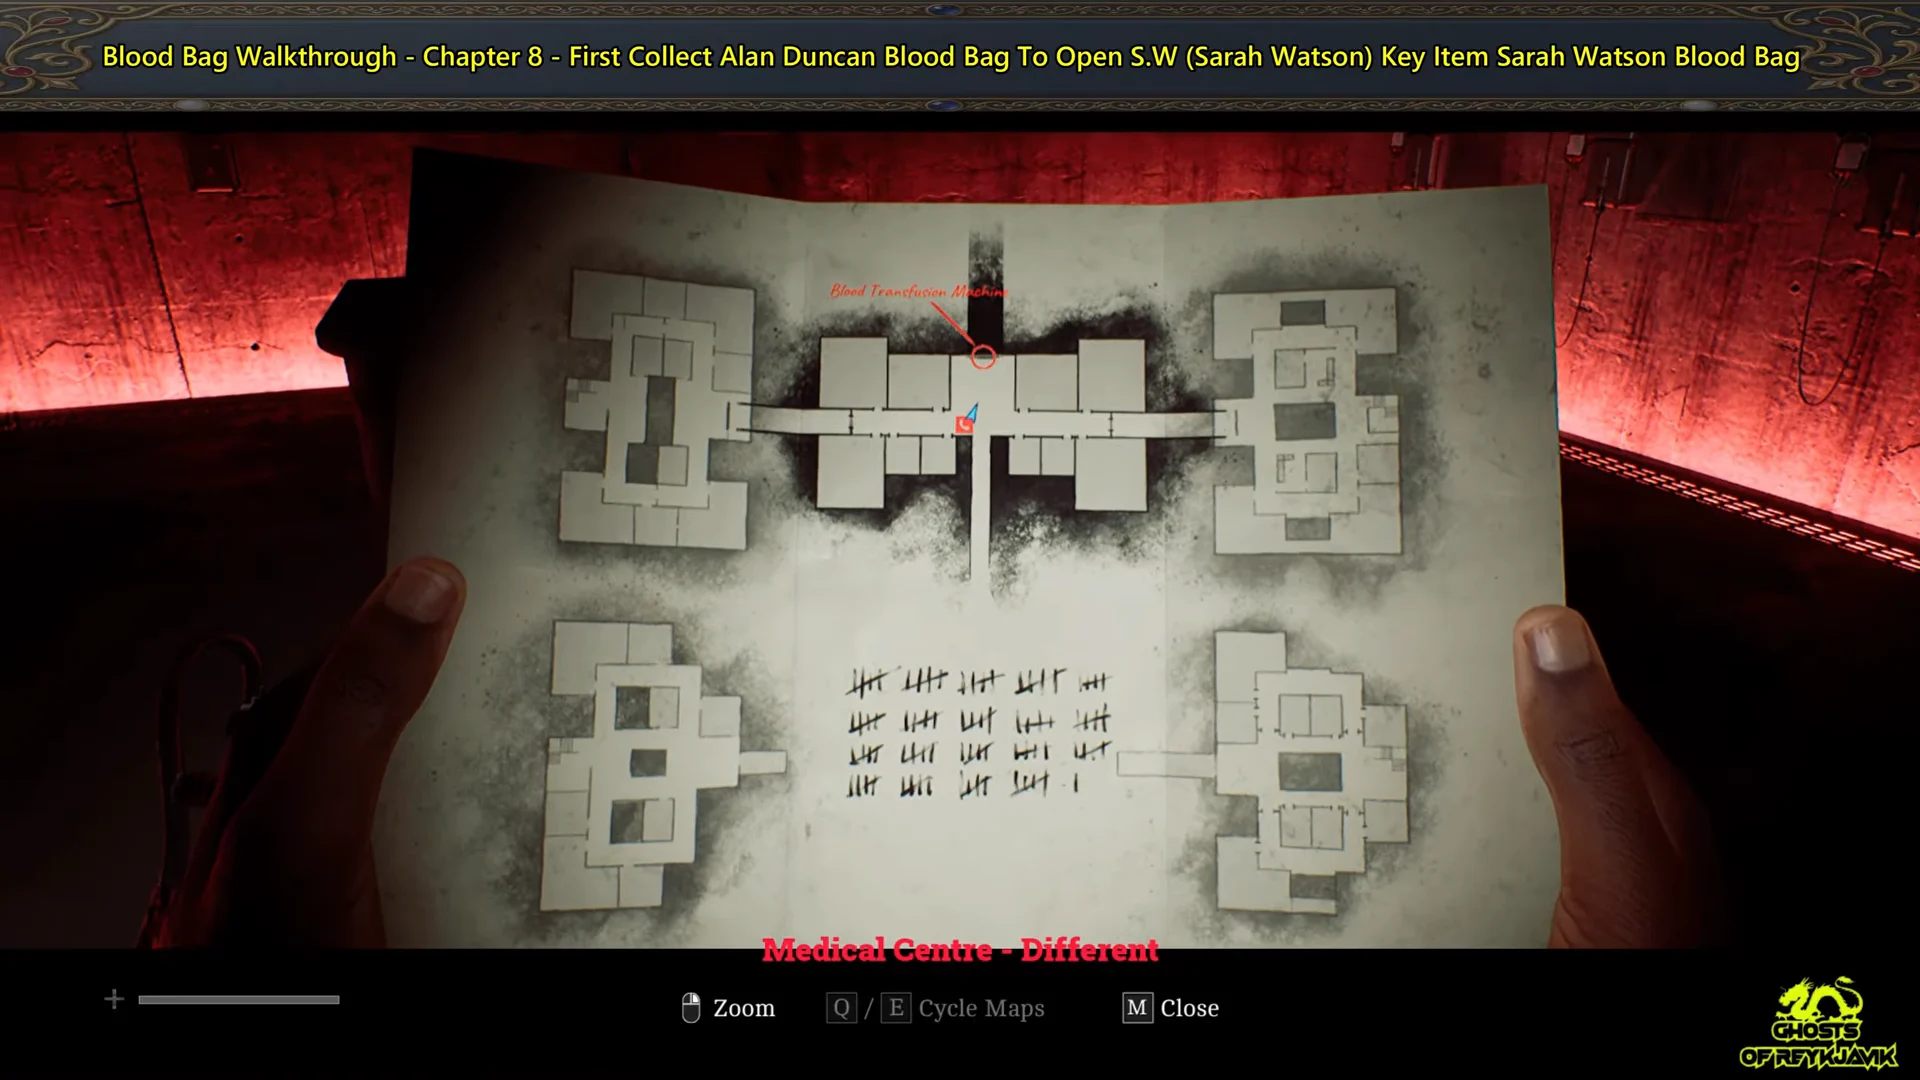
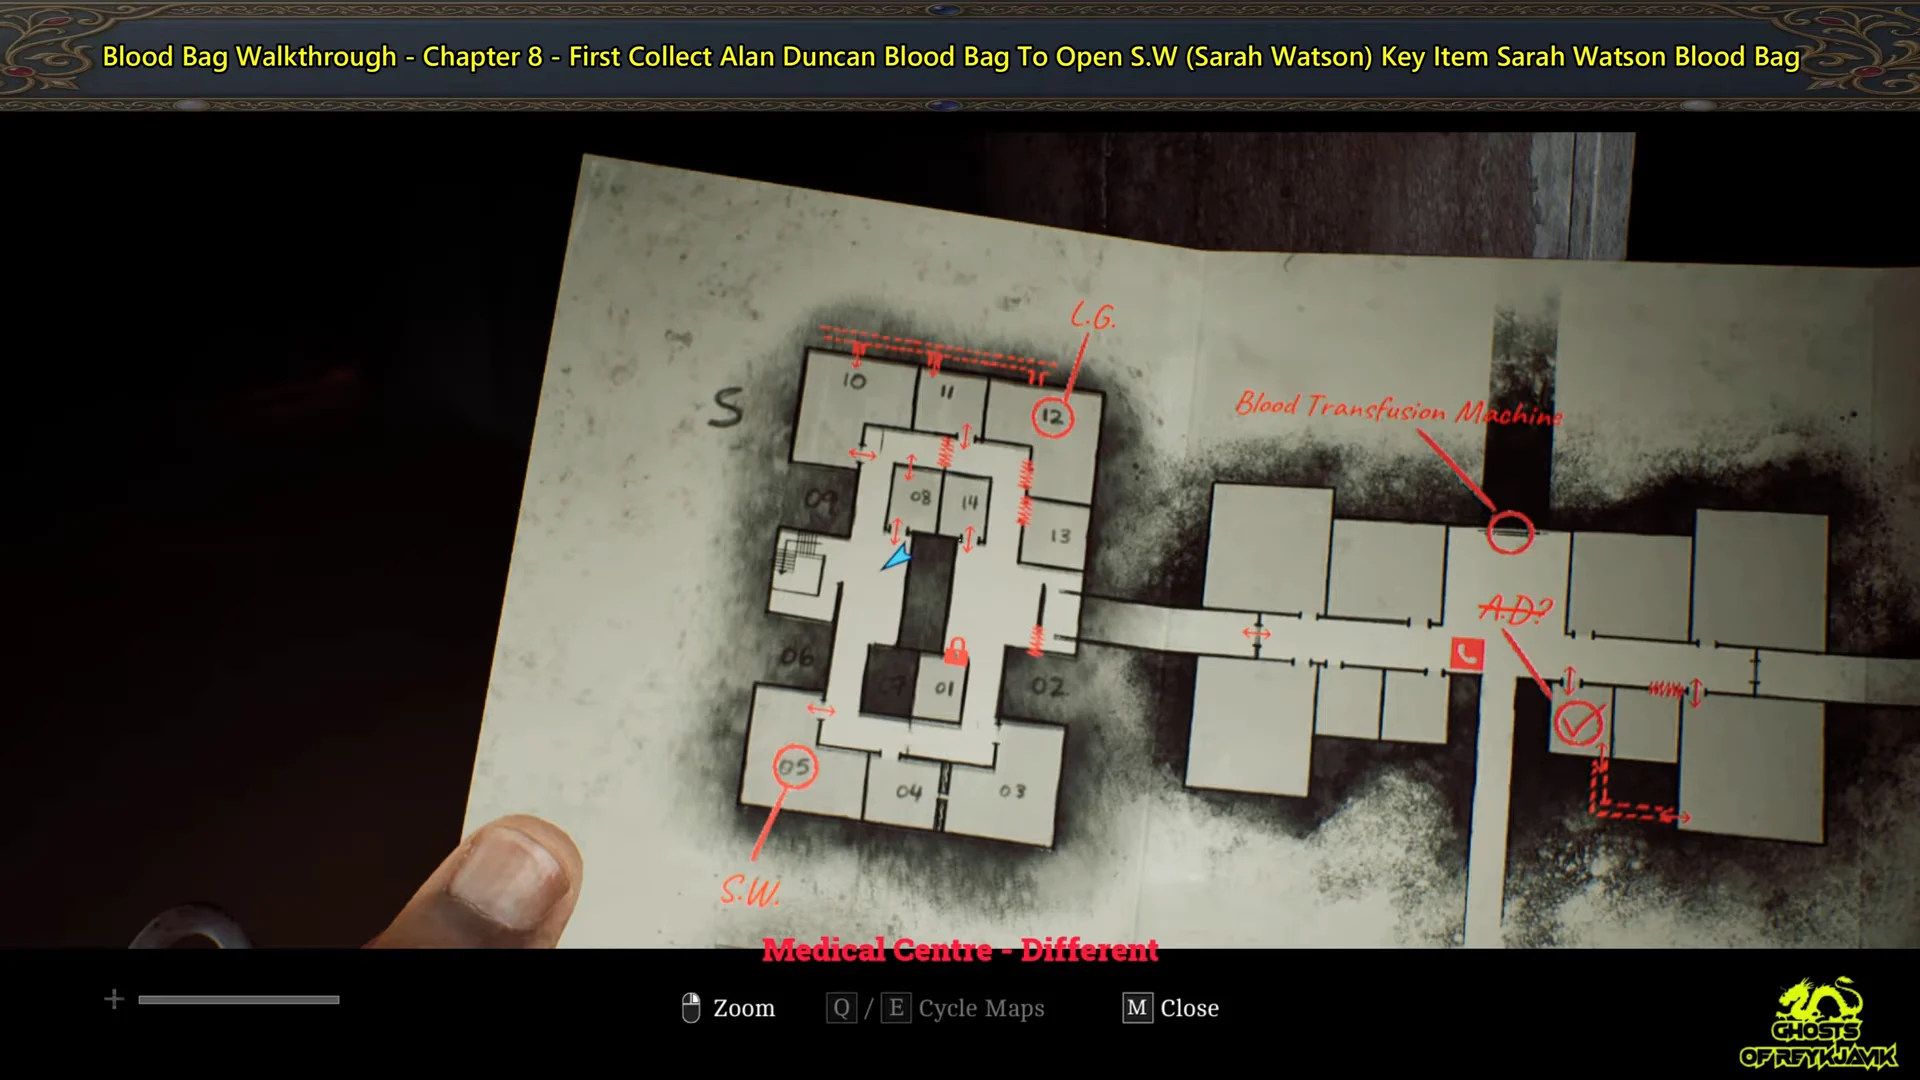
Pick up the Medical Centre – Different map from the counter in the central room. It marks the wards, transfusion points, and the elevator, and makes the whole area far easier to move through.
Use the wall vent to access the operating room in the far southeast. The Alan Duncan Blood Bag (AB-) hangs from the IV pole there, and a tape recorder offers a clue about its destination.
Return to the door marked S.W., insert Alan Duncan’s bag into the wall-mounted transfusion box, and press the transfuse button. The security shutter opens and lets you into Ward S.W.
Inside Ward S.W., go into room 05 and take the Sarah Watson Blood Bag (A+) hanging beside the hospital bed. A recording notes her head trauma and a pulse of 90, which matters for the placement puzzle later.
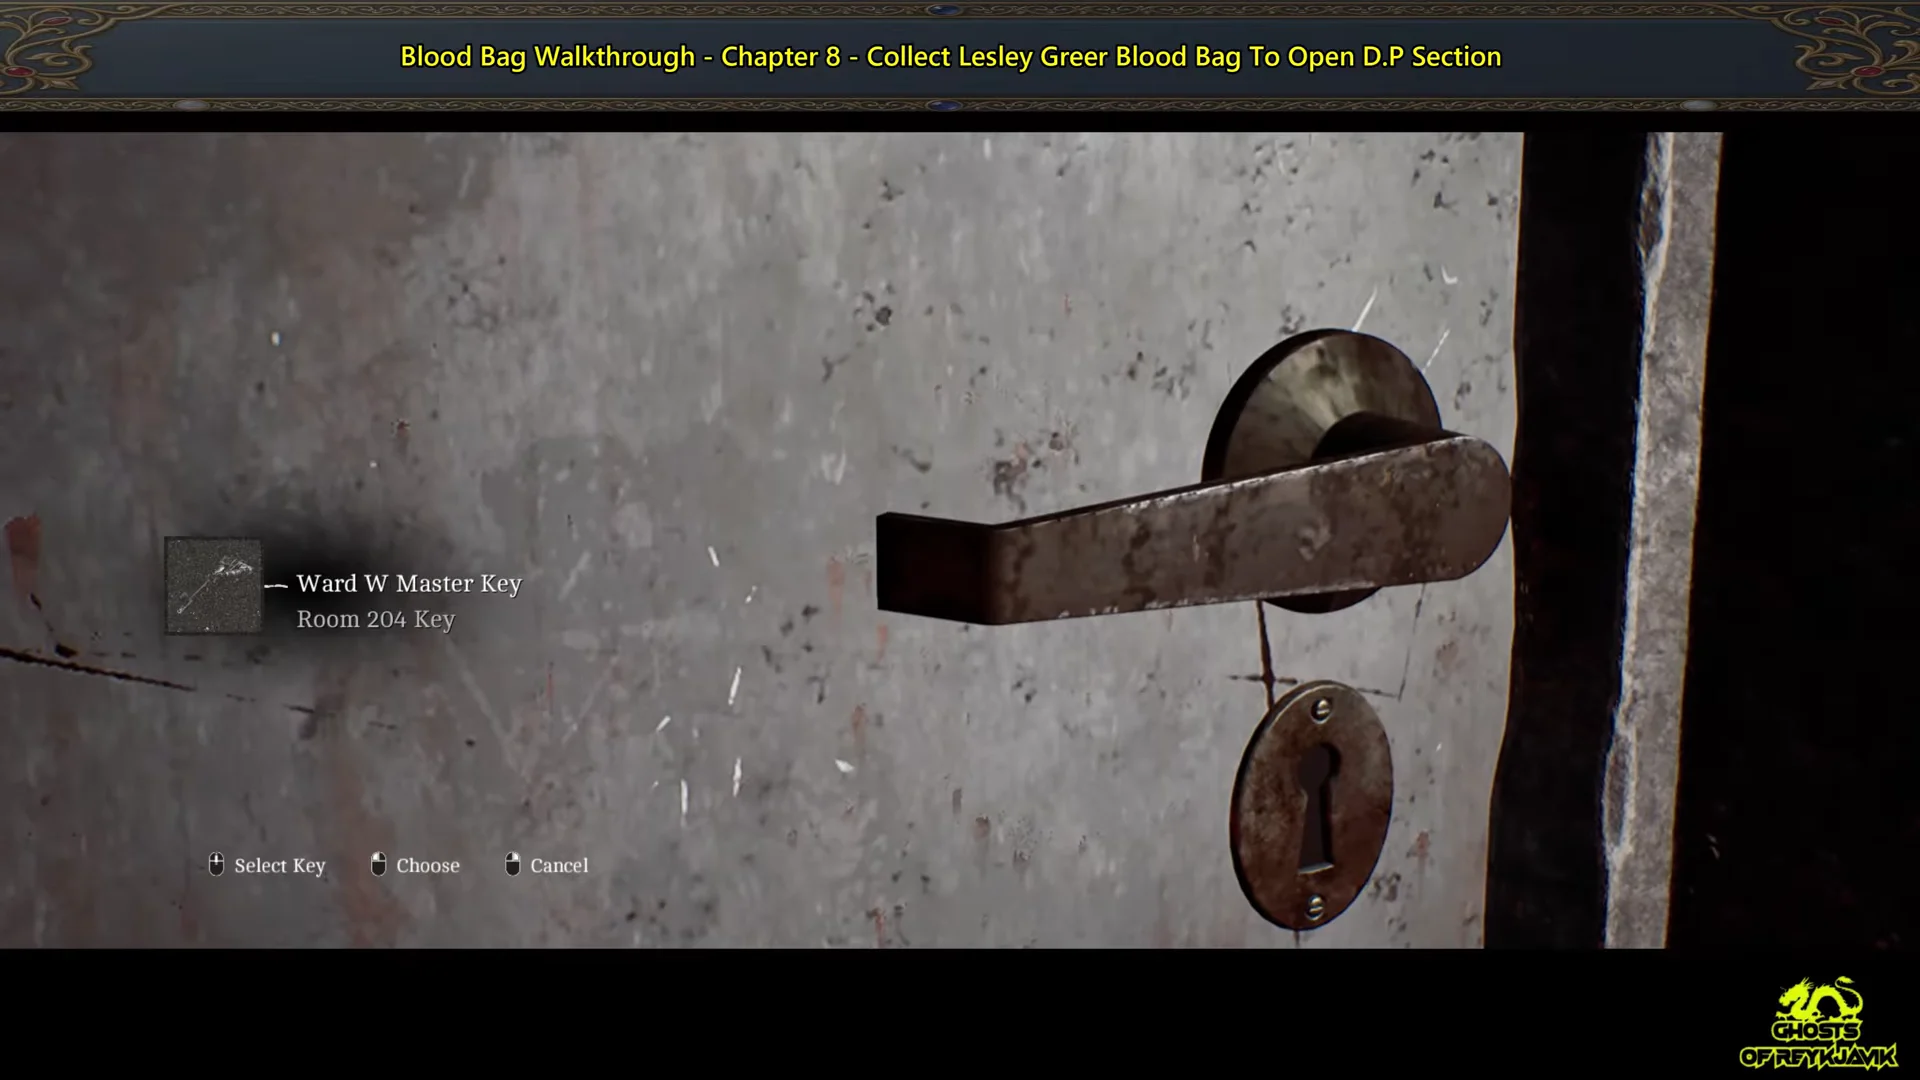
Move to room 08 and grab the Ward W Master Key from the metal desk. This is the first of the two keys and opens the locked doors leading toward Ward W.
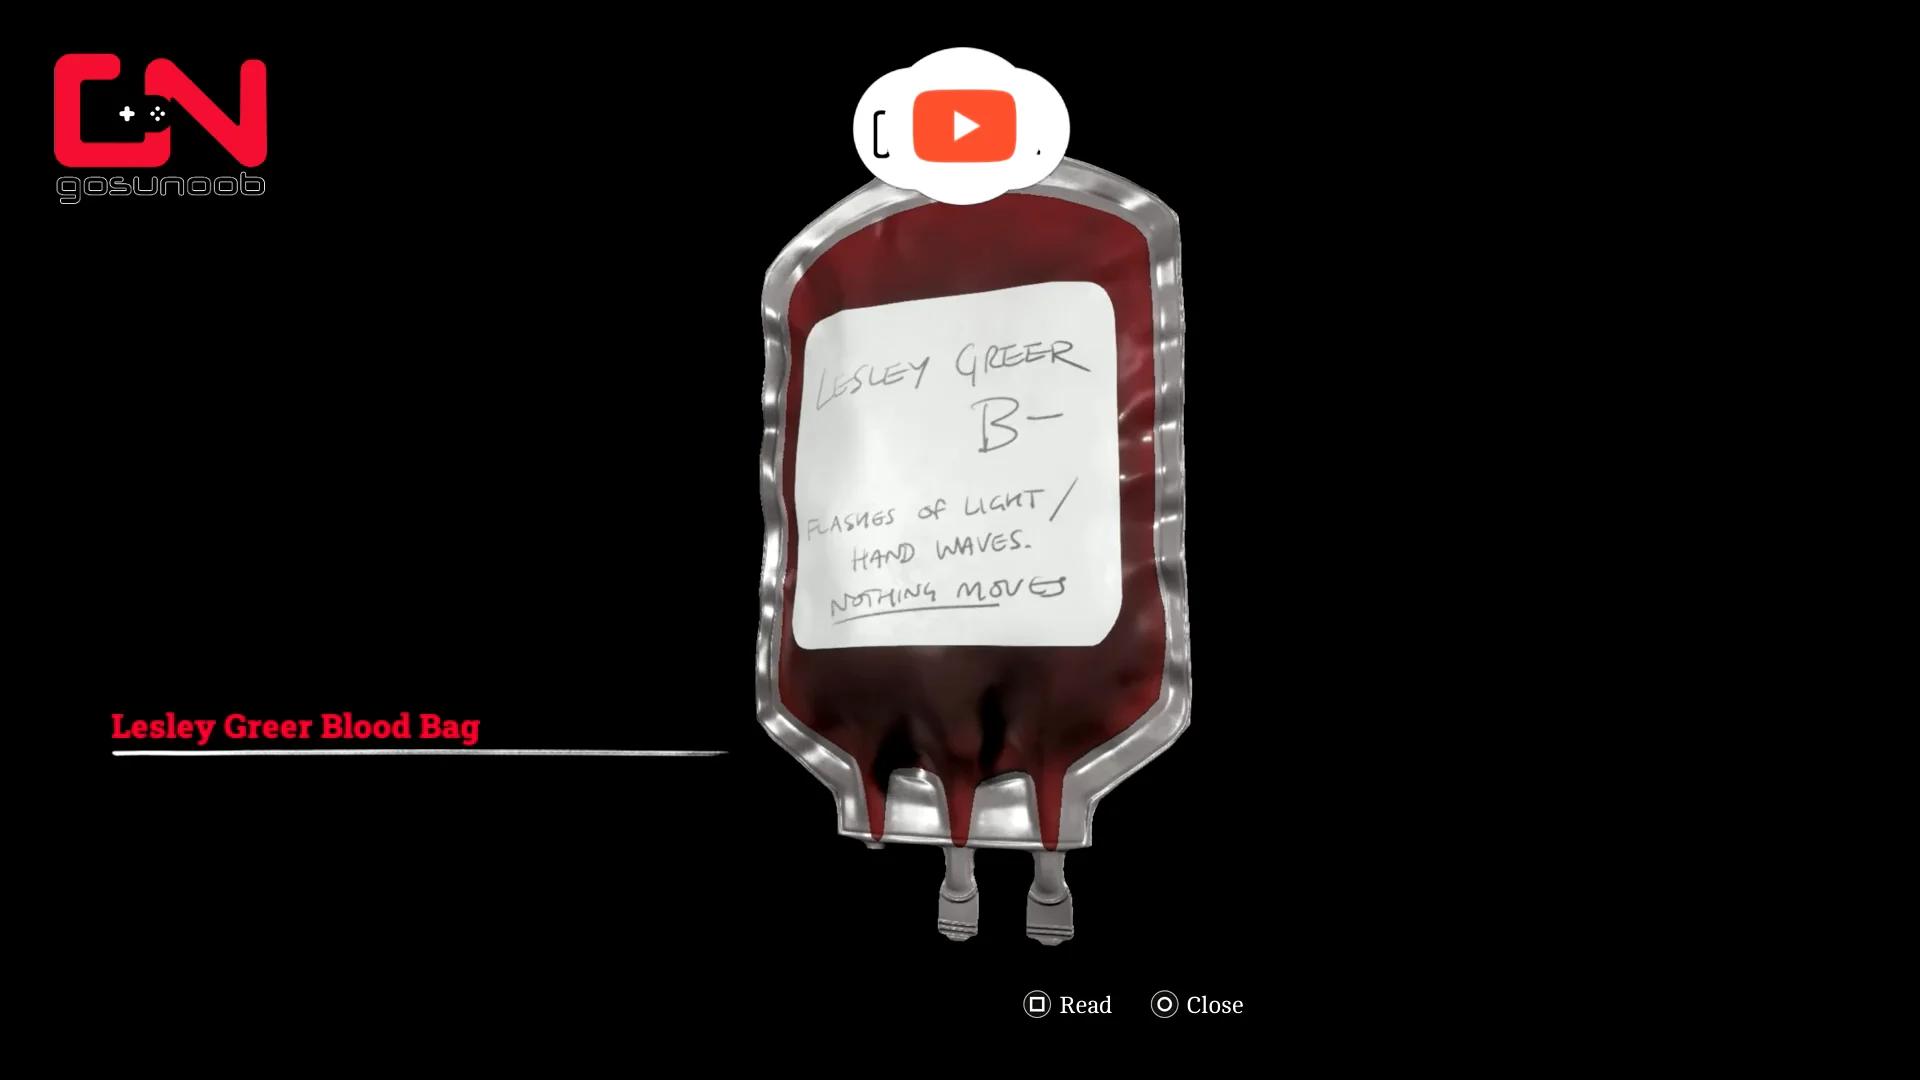
Climb the interior ladder to the upper walkway, enter the treatment room, and collect the Lesley Greer Blood Bag (B-) from the IV drip pole.
The Lesley Greer blood bag (B-), used next to open the D.P. shutter. Image: Screen Burn / via @Gosunoob
A large enemy that kills on contact patrols these wards. Stay in stealth, use your radio to track it, and lure it with a thrown bottle or brick if it blocks your path rather than fighting it.
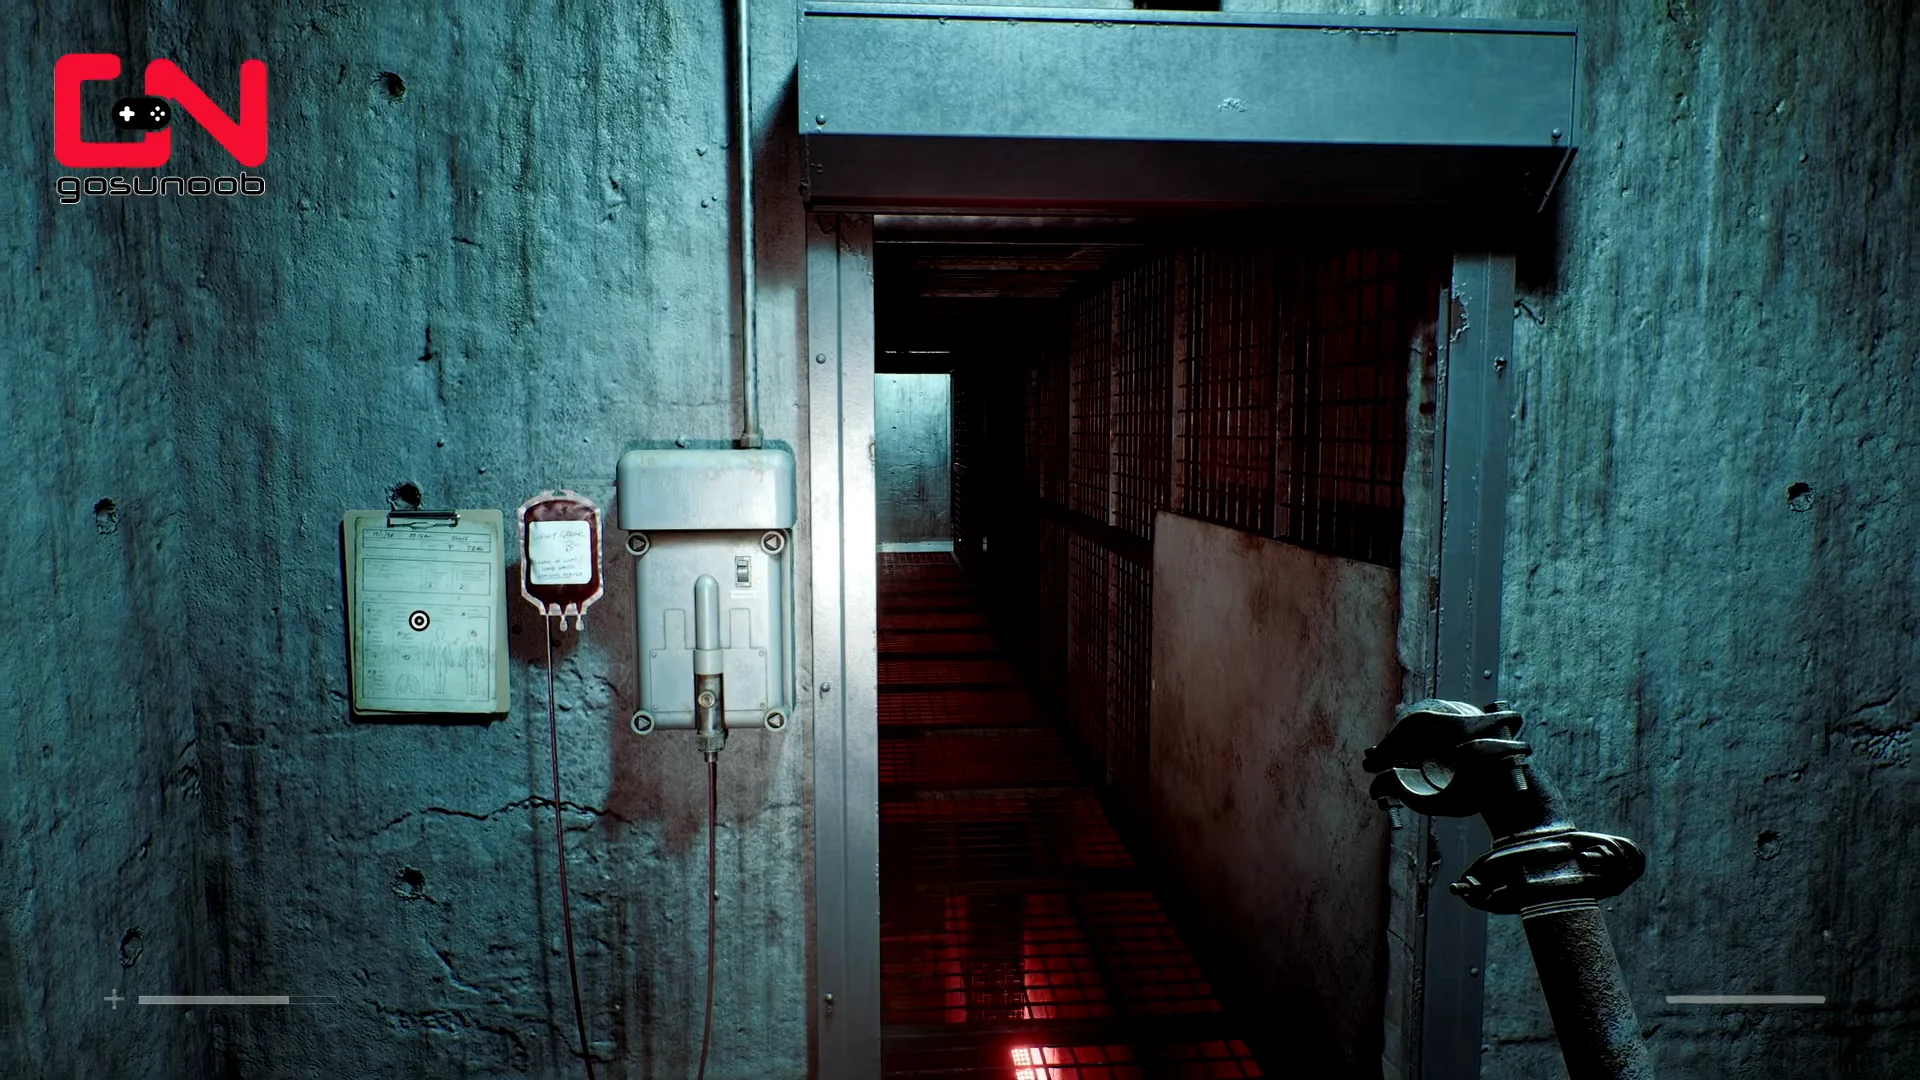
Head back to the central corridor and the shutter marked D.P. Insert Lesley Greer’s bag into the transfusion console and hit the switch to open the D.P. / Ward D section.
Walk into Ward D and approach the open elevator where Matthew Clark’s body and blood bag hang. Interacting with it sends the elevator car plunging to the basement, dropping the bag where you can reach it later.
The Ward D elevator holding Matthew Clark's bag before you send the car down. Image: Screen Burn / via @Gosunoob
Make your way across Ward D toward room 06. The floor gives way beneath you, sending you down into the basement ward. By the bed, you’ll see the Ward P Master Key; the George McEwan Blood Bag (AB+) is on the IV stand. Check the nearby medicine cabinet for 3x Pistol Round.
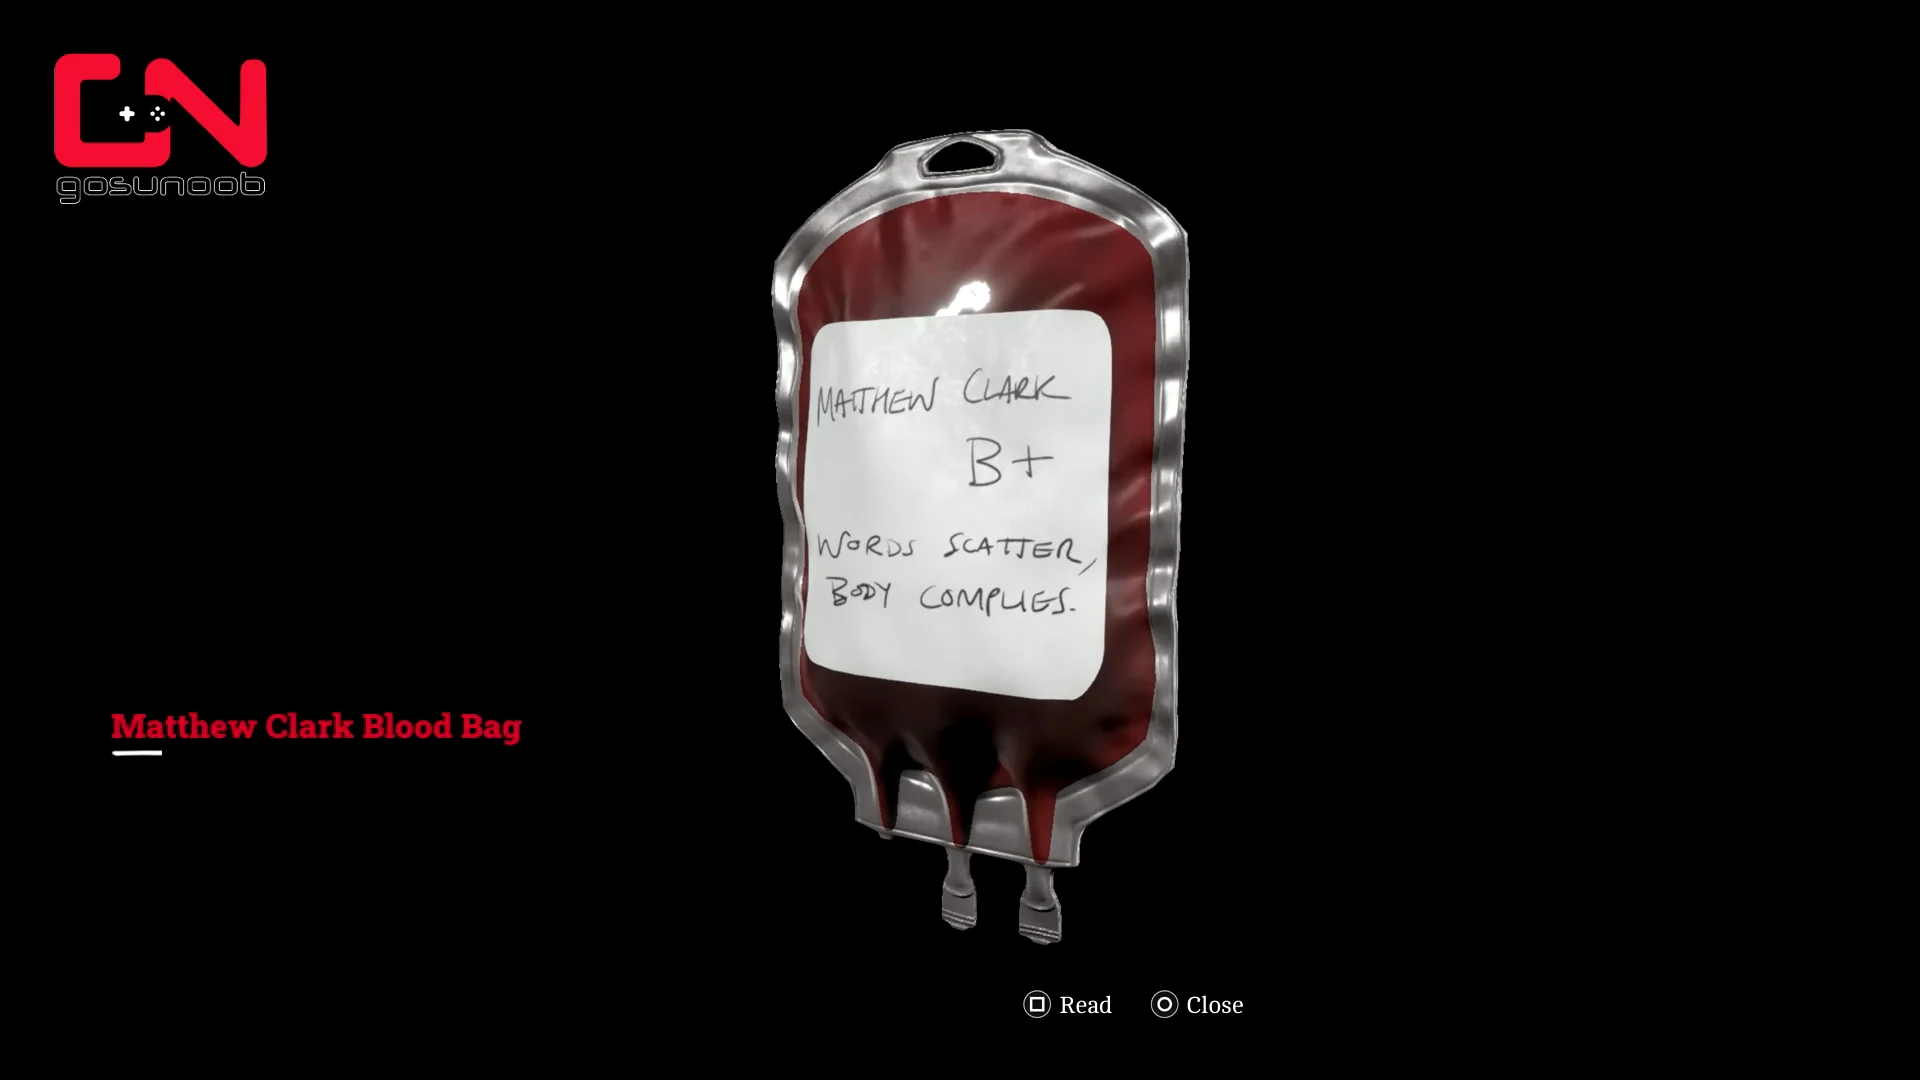
Use the Ward P Master Key to open the crashed elevator room in Ward P. Reach into the elevator gap to collect the Matthew Clark Blood Bag (B+) that you dropped earlier. That completes the set of three you need for the machine.
The Matthew Clark blood bag (B+), retrieved from the crashed elevator floor. Image: Screen Burn / via @Gosunoob
Place the three blood bags in the transfusion machine
Back at the central hub, the three remaining bags go into the wall transfusion terminals. Each patient’s symptoms match one terminal’s assessment note, so read them if you want to confirm the fit.
Sarah Watson (A+) — left terminal (head wound, pulse 90).
Matthew Clark (B+) — center terminal (small cut on the forehead).
George McEwan (AB+) — right terminal (second- and third-degree burns).
With all three mounted, interact with the master switch beside the terminals. Blood flows into the mechanism and the large double blast doors open, revealing the circular Ordell dial behind them.
Solve the Ordell transfusion door dial
The last door has nested rings that channel blood into the central Ordell container. You need to link only three matching donors, so the other initials on the wheel can be disregarded.
H.M. — O-
T.F. — O+
S.W. — A+
Rotate the rings until each of these three initials has a complete line running to the center. Once all three paths connect, highlight the Ordell container and interact with it.
How to know it worked
When the bags are placed correctly, the switch opens the blast doors and exposes the dial. Once the three donor lines feed the Ordell container, the blood flows into the central chamber and the circular door unlocks, ending the encounter and leading into the final corridor sequence of the chapter.