
Accurately checking your network adapter speed in Windows 11 is essential for diagnosing slow connections, verifying hardware capabilities, and ensuring your system is utilizing the full potential of your wired or wireless network. A mismatch between expected and actual link speeds can indicate faulty cables, outdated drivers, or misconfigured hardware. Knowing where and how to view this information helps you quickly pinpoint and resolve network bottlenecks.
Check Network Adapter Speed Using Windows 11 Settings
Step 1: Open the Settings app by pressing Windows + I on your keyboard. This shortcut immediately brings up the main Settings window without navigating through the Start menu.
Step 2: In the Settings window, select Network & internet from the left sidebar. This section centralizes all network-related configurations and status information.
Step 3: Click on either Wi-Fi or Ethernet, depending on your current connection type. If you are connected via a wired cable, choose Ethernet; for wireless, select Wi-Fi.

Step 4: At the top of the page, select Properties for your active network. This opens a detailed view of your network connection.
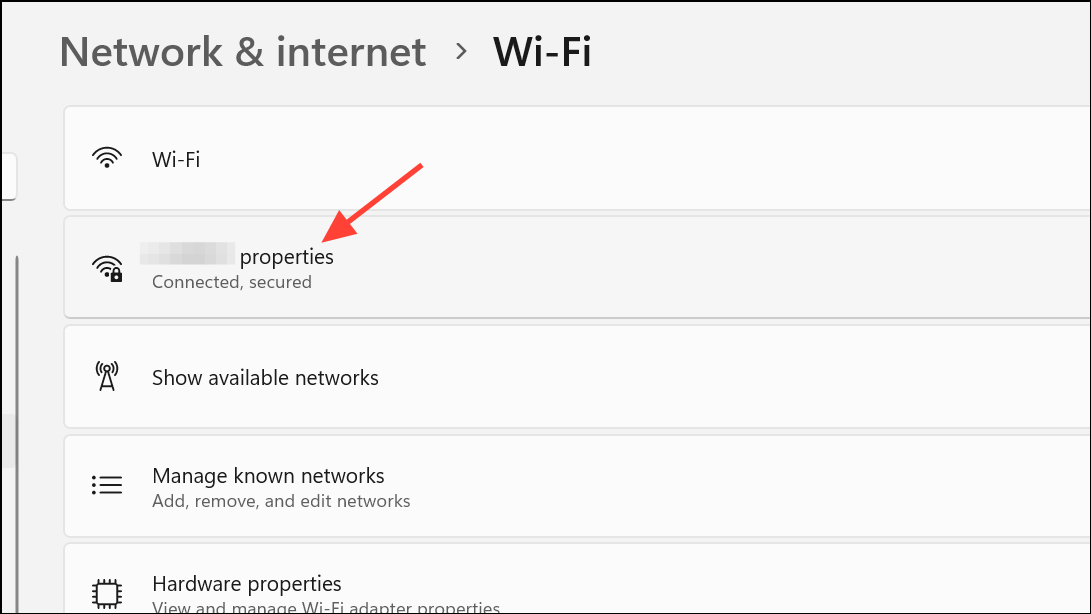
Step 5: Scroll down to locate the Link speed (Receive/Transmit) field. This value shows the current speed at which your network adapter is connected to your router or access point, typically displayed in Mbps or Gbps. For example, a modern Gigabit Ethernet connection should show 1 Gbps, while Wi-Fi connections might show values like 300 Mbps or higher, depending on your hardware and router capabilities.
View Network Adapter Speed Through Control Panel
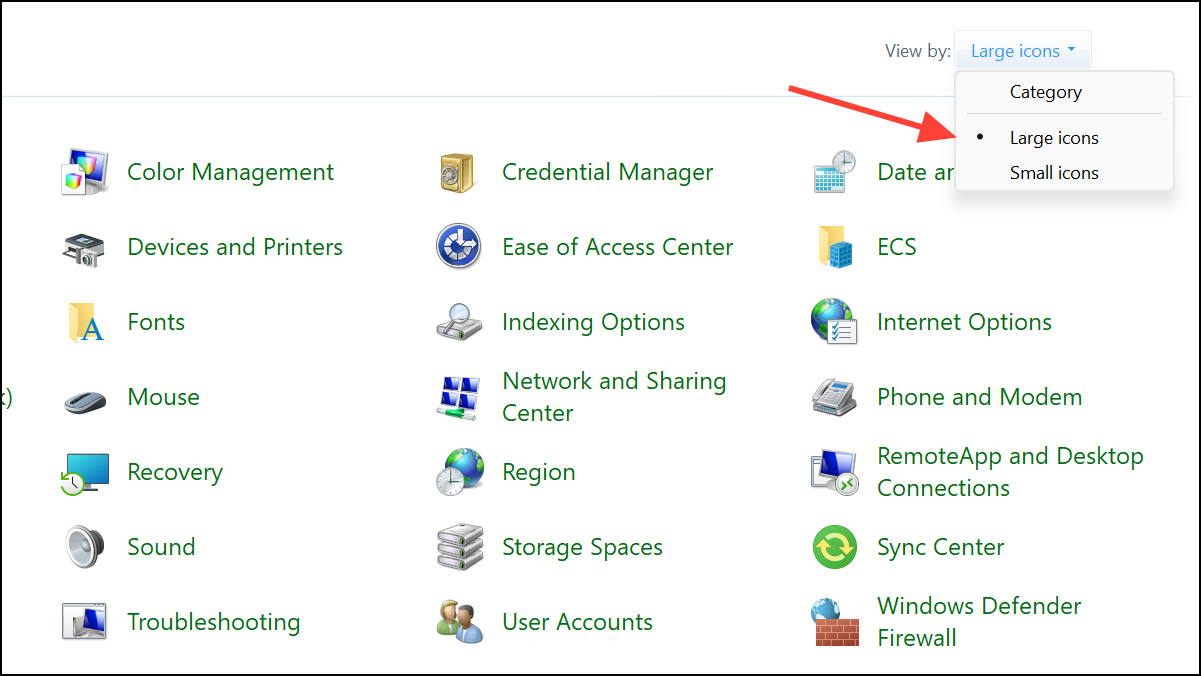
Step 1: Search for Control Panel using the Windows Search bar and open it. If prompted, select the Icons view for easier navigation.
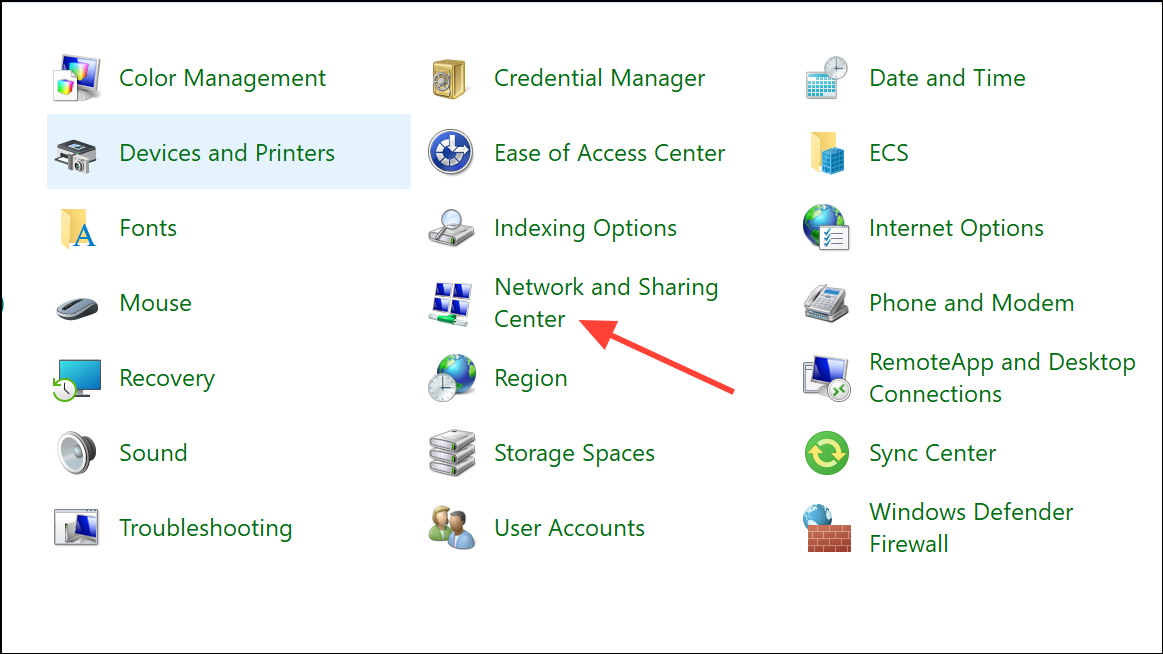
Step 2: Click on Network and Sharing Center. This classic networking interface provides a detailed overview of your current connections.
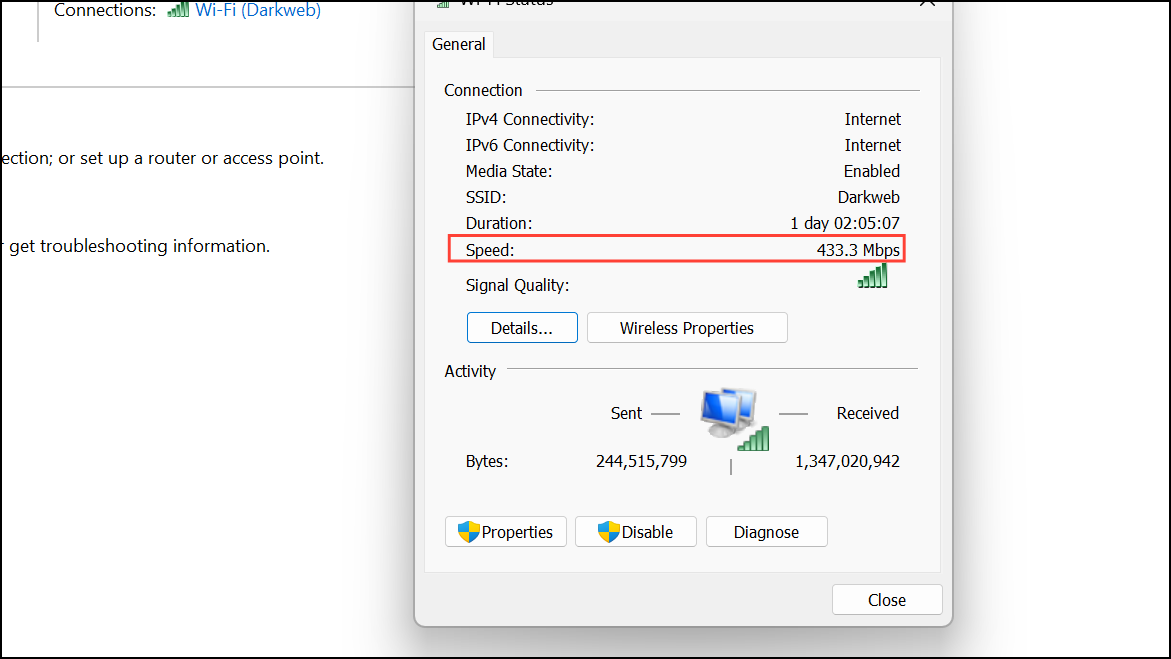
Step 3: Next to the Connections label, click the blue link corresponding to your active network (for example, “Wi-Fi” or “Ethernet”).
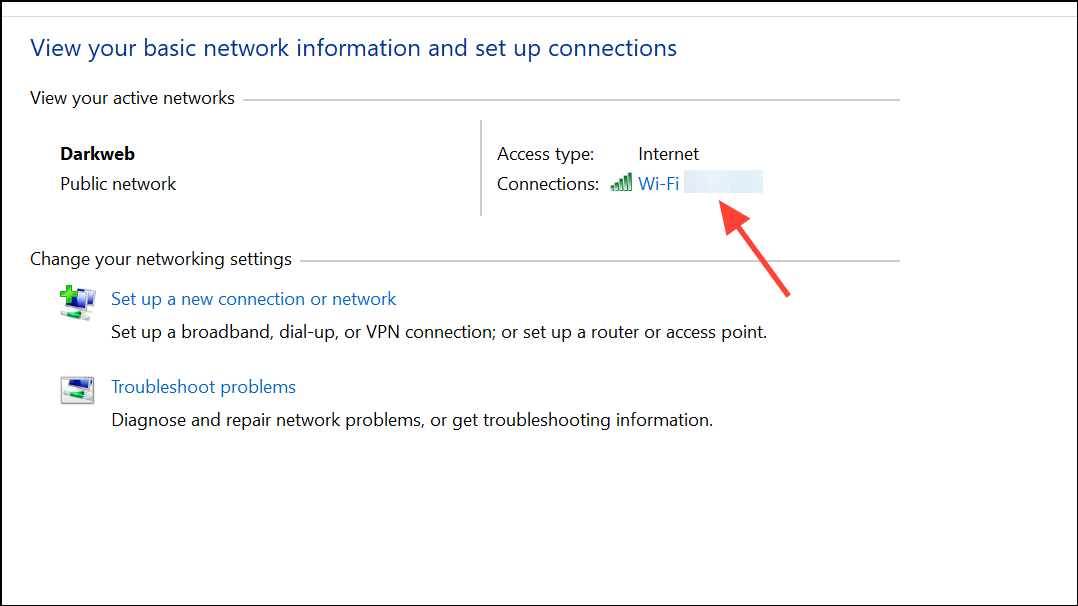
Step 4: A new status window appears, displaying information such as signal quality, duration, and Speed. The Speed value reflects the negotiated link speed between your device and the network hardware.
Step 5: Close the windows when finished. This method is particularly useful if you prefer the traditional Windows networking interface or need to access advanced adapter properties.
Check Network Adapter Speed with PowerShell
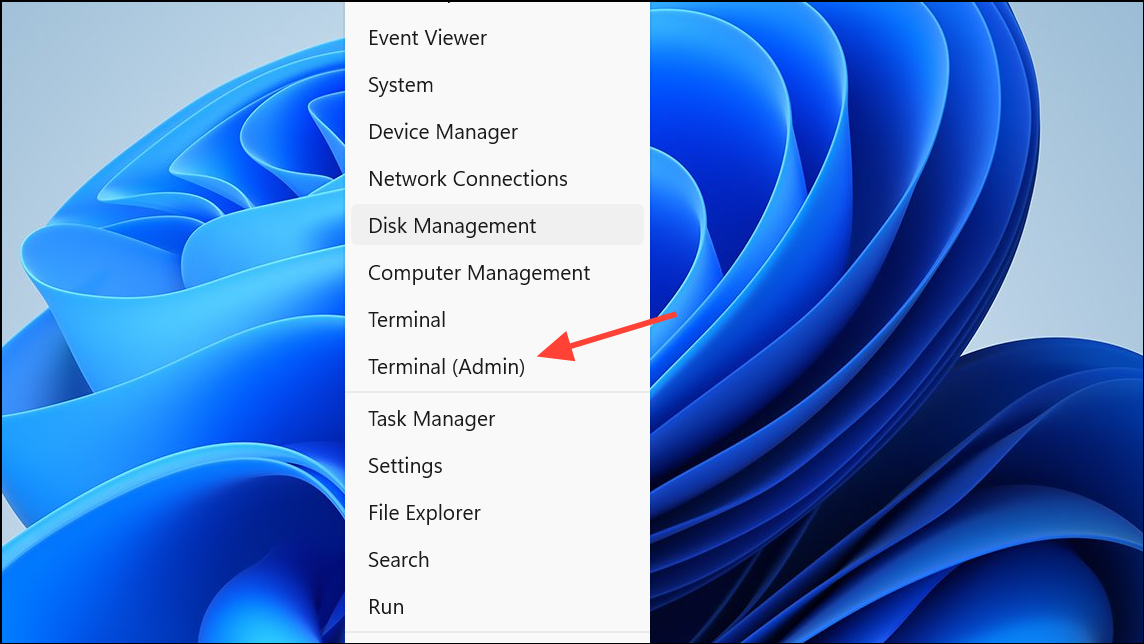
Step 1: Open Windows Terminal by right-clicking the Start button and selecting Terminal, or by searching for “Terminal” in the Start menu. If prompted, choose the PowerShell profile.
Step 2: Enter the following command and press Enter:
Get-NetAdapter | select interfaceDescription, name, status, linkSpeed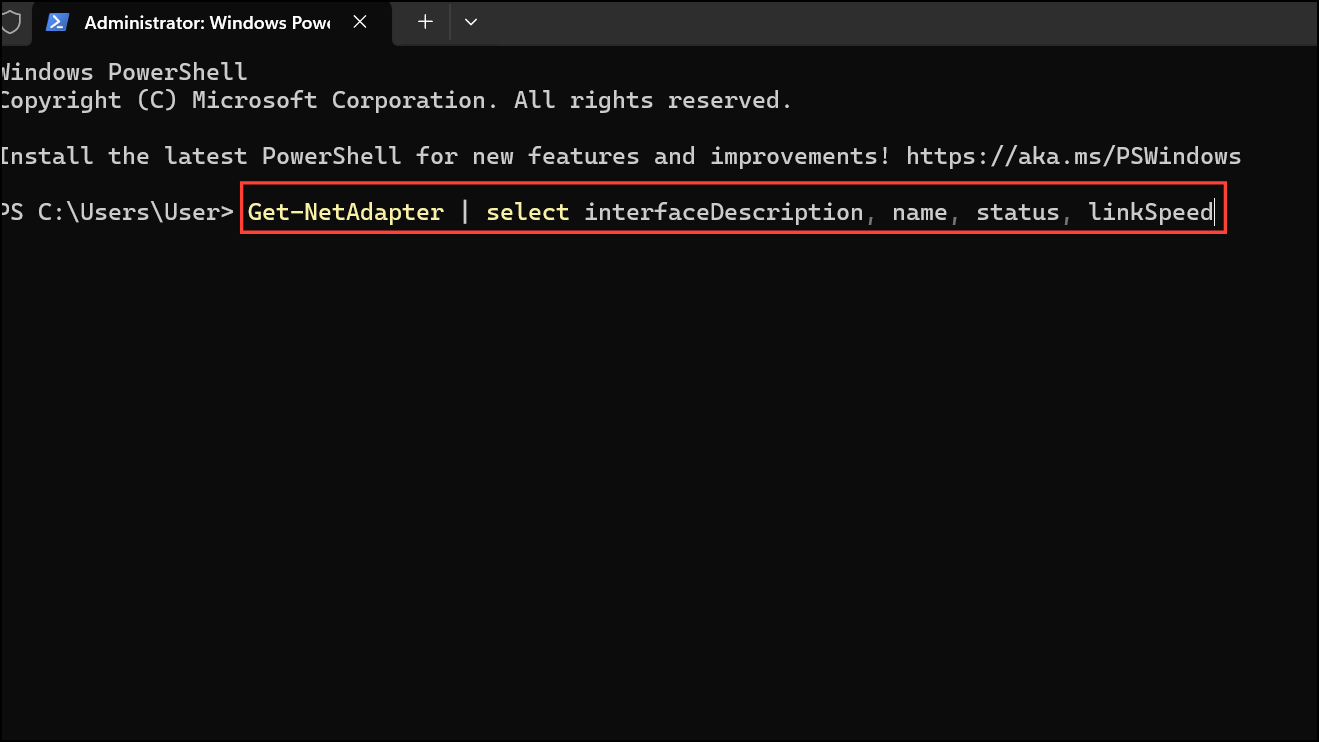
This command lists all network adapters on your system, showing their description, name, current status, and linkSpeed. This approach is effective for quickly reviewing all adapters, especially if you have multiple network interfaces or want to script checks across several machines.
Step 3: Review the output for the adapter you are interested in. The linkSpeed column shows the current negotiated speed for each adapter.
Monitor Real-Time Network Speed in Task Manager
Step 1: Press Ctrl + Shift + Esc to open Task Manager.
Step 2: Navigate to the Performance tab. In the left pane, select your active network adapter (Wi-Fi or Ethernet).
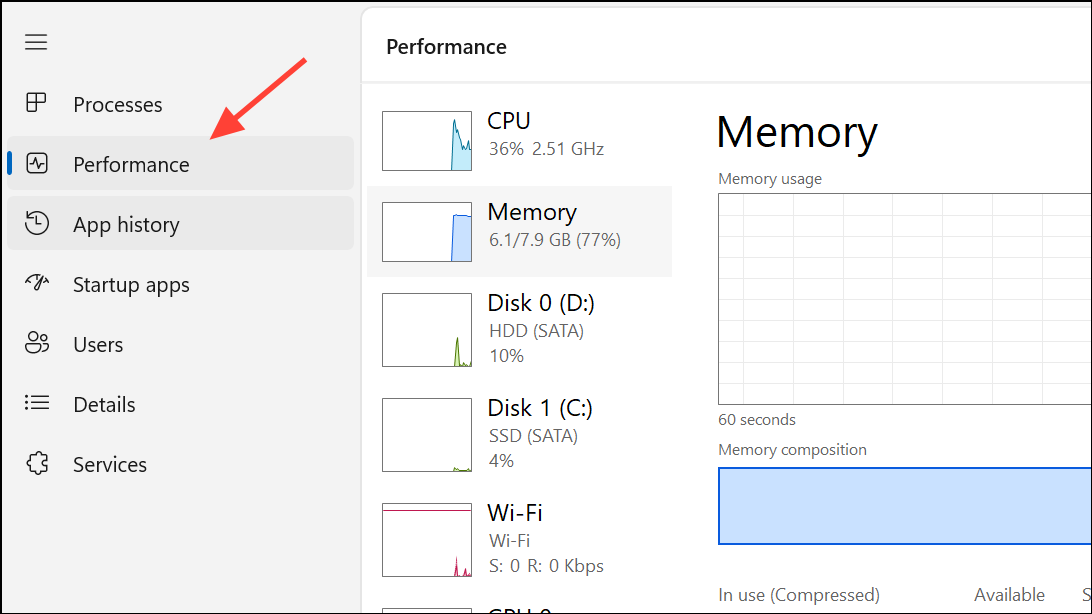
Step 3: View the real-time graph and statistics for network usage. The Speed field here shows the maximum link speed for the selected adapter, while the graph displays current upload and download throughput. This method is helpful for monitoring live network activity and verifying that your connection is operating at expected speeds during heavy usage.
Troubleshooting Low or Incorrect Network Adapter Speeds
Unexpectedly low connection speeds—such as seeing 100 Mbps instead of 1 Gbps—often result from hardware or configuration issues. Addressing these can restore your full network performance.
- Check the Ethernet cable: Ensure you are using a cable rated for high speeds, such as Cat 5e or Cat 6. Older cables may only support up to 100 Mbps.
- Verify router and switch capabilities: Confirm your router, switch, and other network hardware support Gigabit Ethernet or the desired Wi-Fi standards.
- Adjust Speed & Duplex settings: Open Advanced network settings in Windows, select More network adapter options, right-click your adapter, and choose Properties. Under the Advanced tab, find Speed & Duplex and set it to
Auto Negotiationor the highest supported value. Misconfigured duplex settings can force a lower speed. - Update network adapter drivers: Use Device Manager (
Windows + X> Device Manager) to update your NIC drivers. Outdated or incompatible drivers can cause speed negotiation problems. - Test on another device: Connect a different computer to the same cable and port to rule out hardware faults with your PC or adapter.
- Restart your computer and network hardware: Sometimes, a simple reboot can reset the connection and restore proper speeds.
If you still do not see the expected link speed after these checks, consider trying a different port on your router or switch, or testing with a new network adapter.
By following these steps, you can accurately check and troubleshoot your network adapter speed in Windows 11, ensuring your system is making the most of your available network bandwidth.