
System responsiveness in Windows 11 often depends on memory speed and configuration. When applications lag or multitasking feels slow, checking your RAM speed can help pinpoint whether memory is a bottleneck. Windows 11 includes several built-in tools for reviewing RAM speed and other memory details, allowing you to troubleshoot or plan upgrades without opening your PC case.
Check RAM Speed in Task Manager
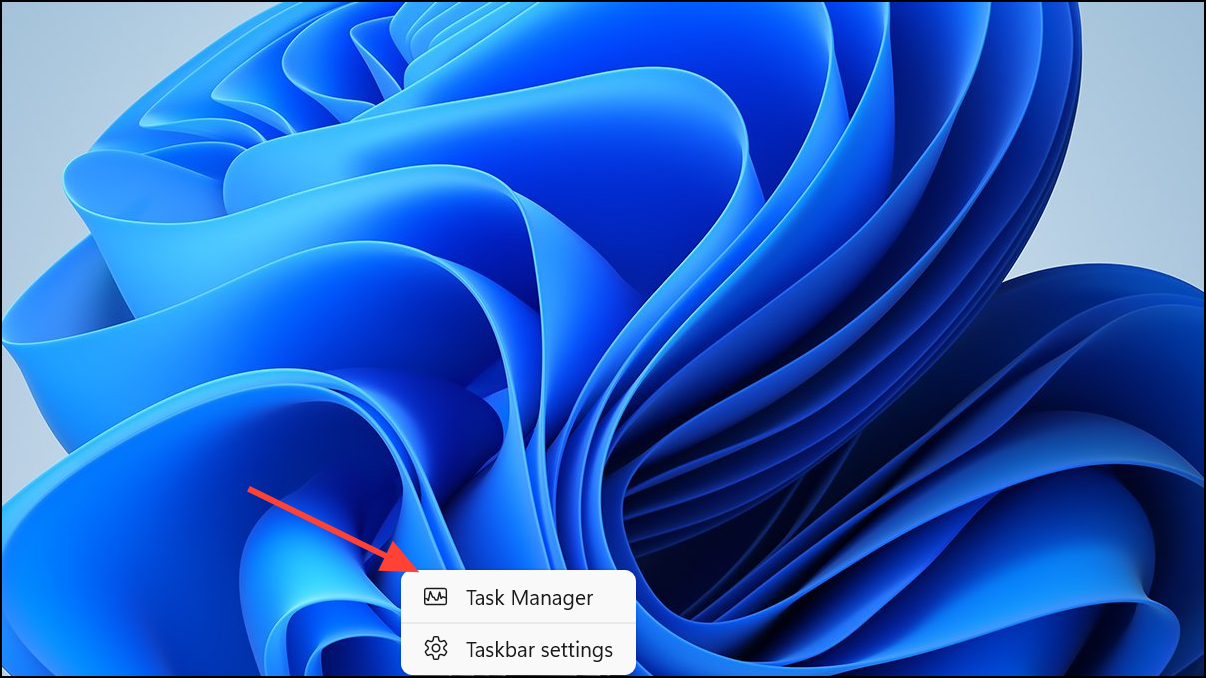
Step 1: Press Ctrl + Shift + Esc to open Task Manager. If you prefer, you can also right-click the taskbar and select Task Manager from the context menu.
Step 2: Click the Performance tab on the left sidebar. If you do not see this tab, click the hamburger (three-line) icon in the upper-left corner to expand the navigation pane.

Step 3: Select Memory from the list. The main panel displays comprehensive memory information, including total capacity, current usage, and—crucially—your RAM speed, typically shown in MHz or MT/s near the bottom center of the window. You will also see details such as form factor (DIMM/SODIMM) and the number of RAM slots in use.
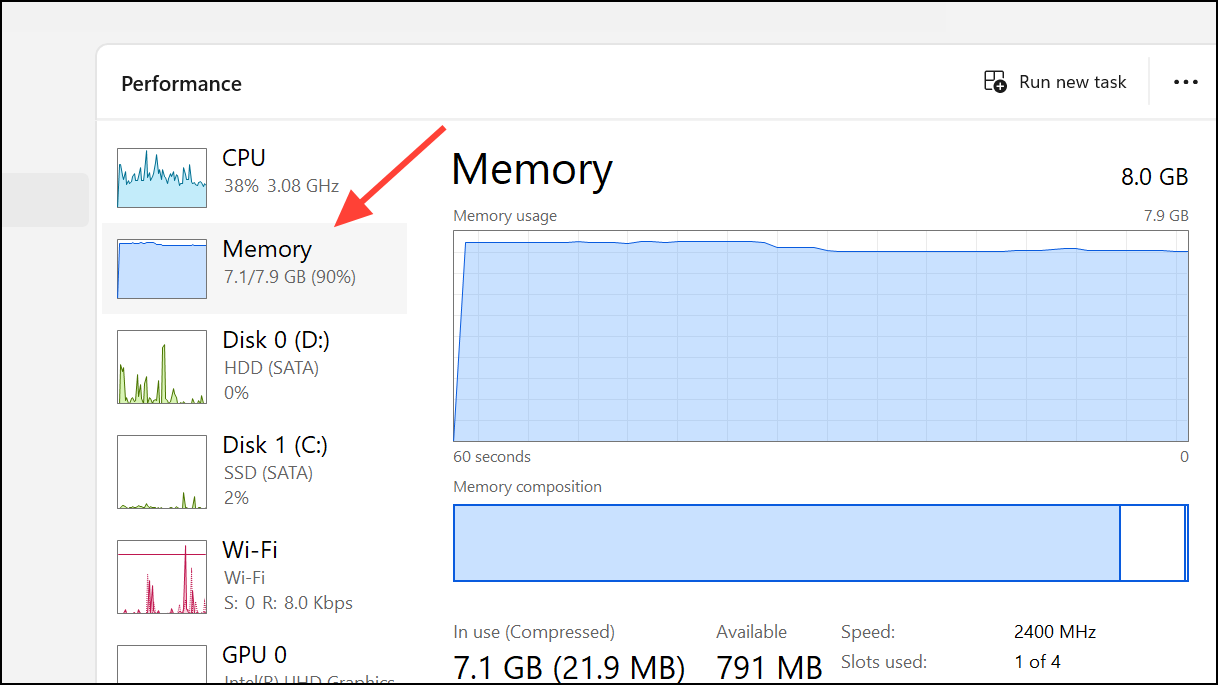
Task Manager provides real-time data, so you can observe how memory speed and usage fluctuate as you open or close applications.
Check RAM Speed Using Command Prompt
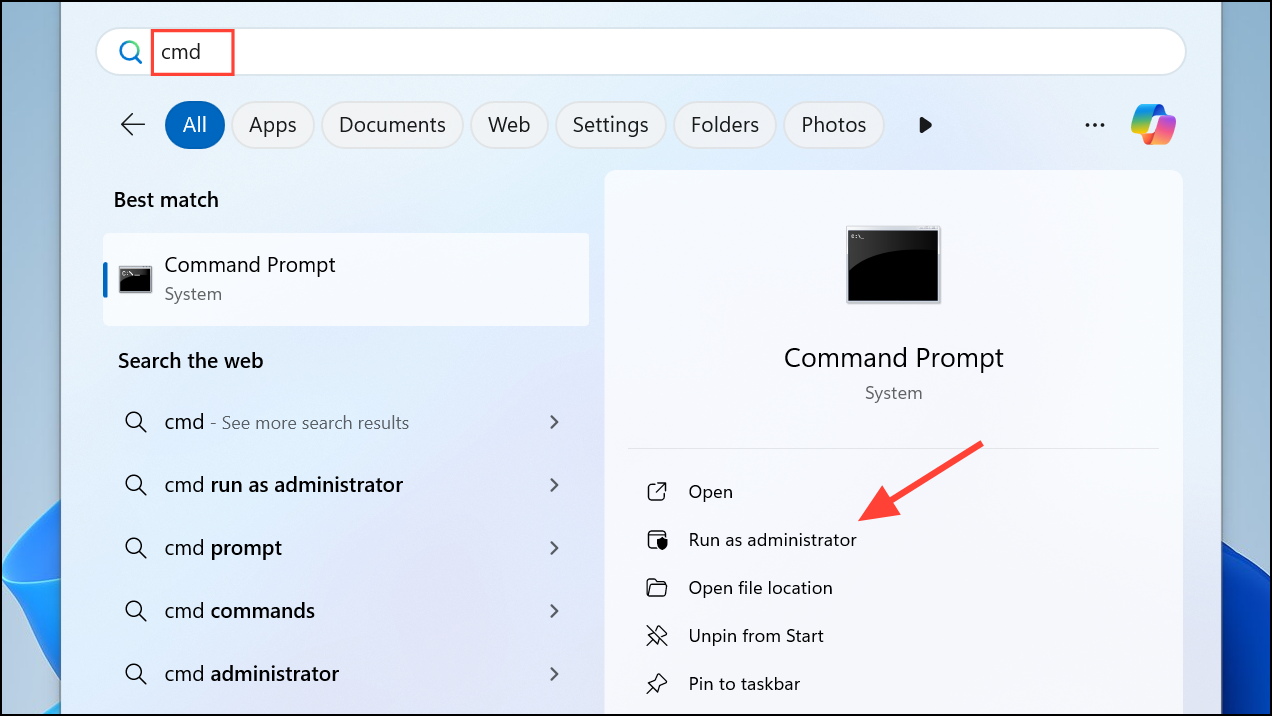
Step 1: Press Windows + R to open the Run dialog, type cmd, and press Enter. For full details, right-click Command Prompt and select Run as administrator.
Step 2: To display the speed of each RAM module, enter the following command:
wmic memorychip get devicelocator, speed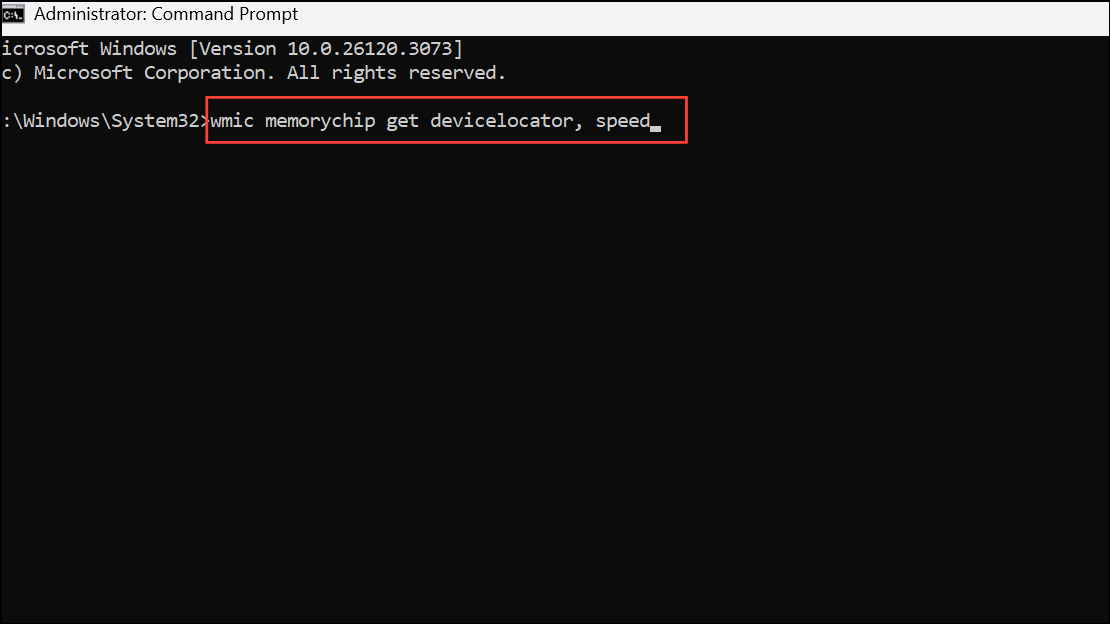
This command lists each installed memory module by its device locator and reports its speed in MHz. For more comprehensive information—such as manufacturer, part number, serial number, and memory type—use:
wmic memorychip get devicelocator, manufacturer, partnumber, serialnumber, capacity, speed, memorytype, formfactor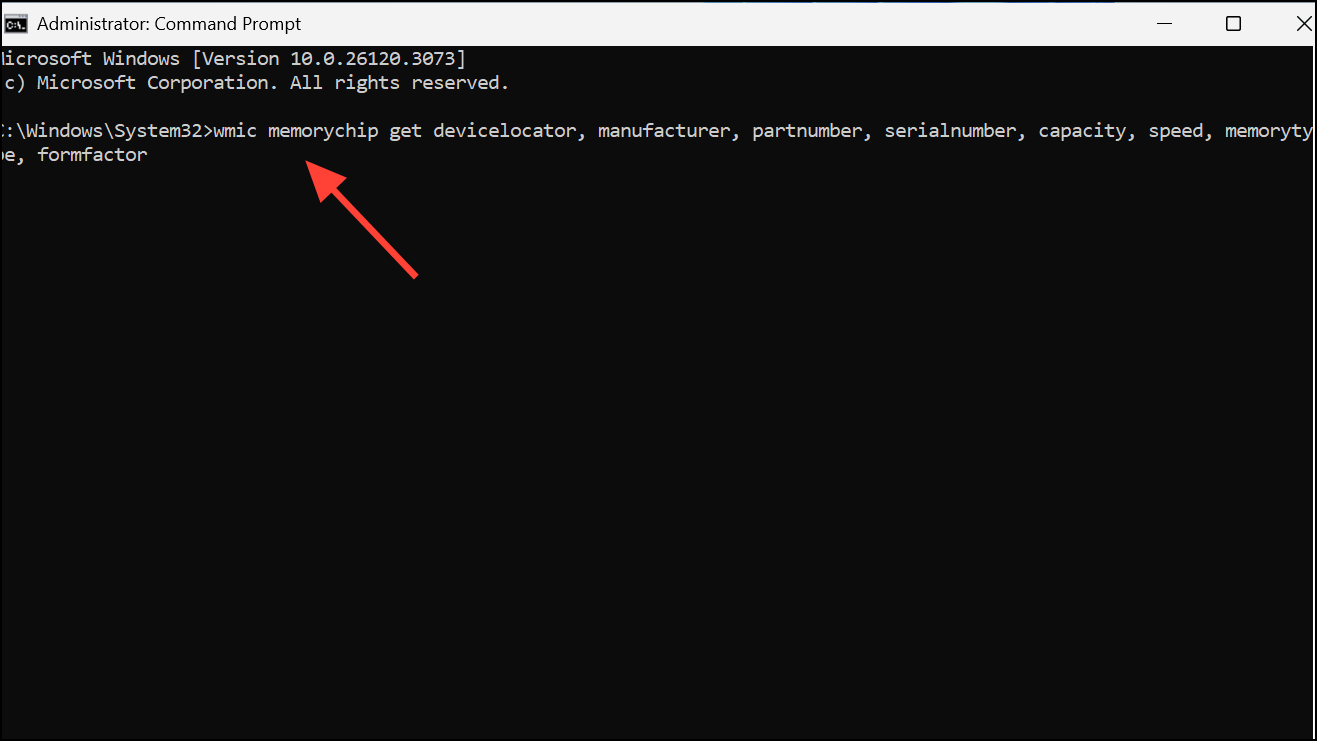
These outputs help you match RAM modules for upgrades or replacements and verify that memory is operating at the speed specified by the manufacturer. If you see a speed lower than what’s advertised, check your BIOS/UEFI settings, as some systems may default to lower speeds for stability.
Check RAM Speed and Type with PowerShell
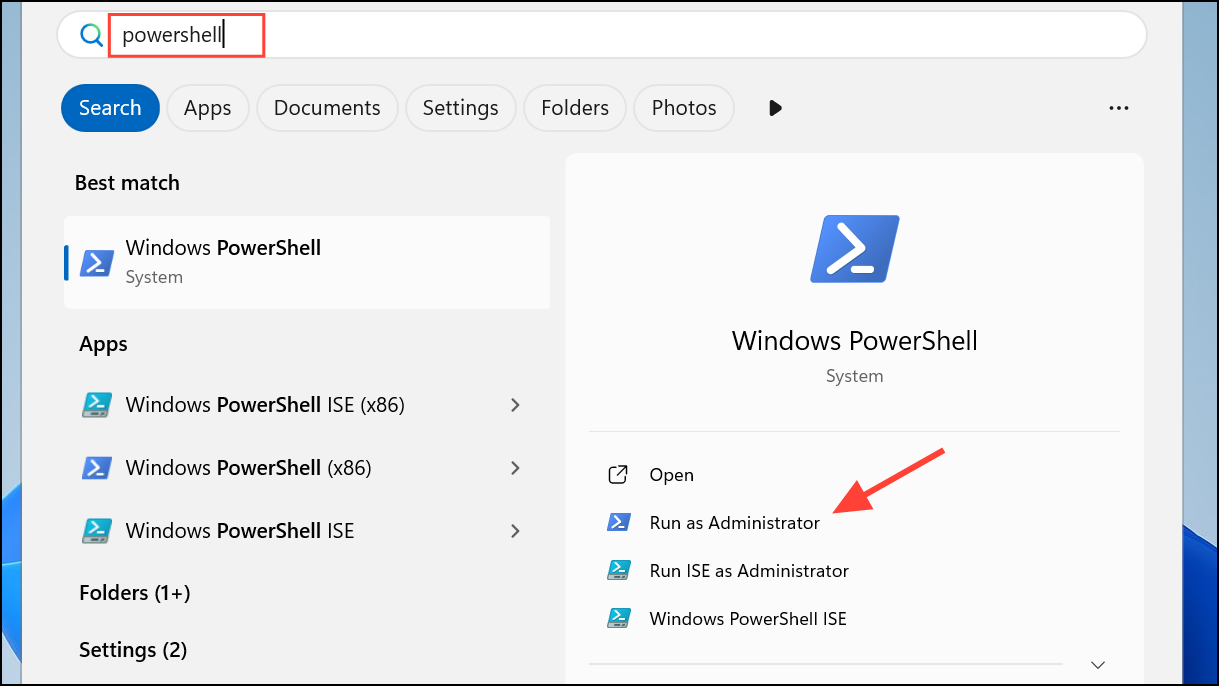
Step 1: Click the Start button, type PowerShell, right-click Windows PowerShell, and select Run as administrator to launch an elevated session.
Step 2: Enter the following command to retrieve detailed memory information:
Get-CimInstance Win32_PhysicalMemory | Format-Table Devicelocator, Manufacturer, Speed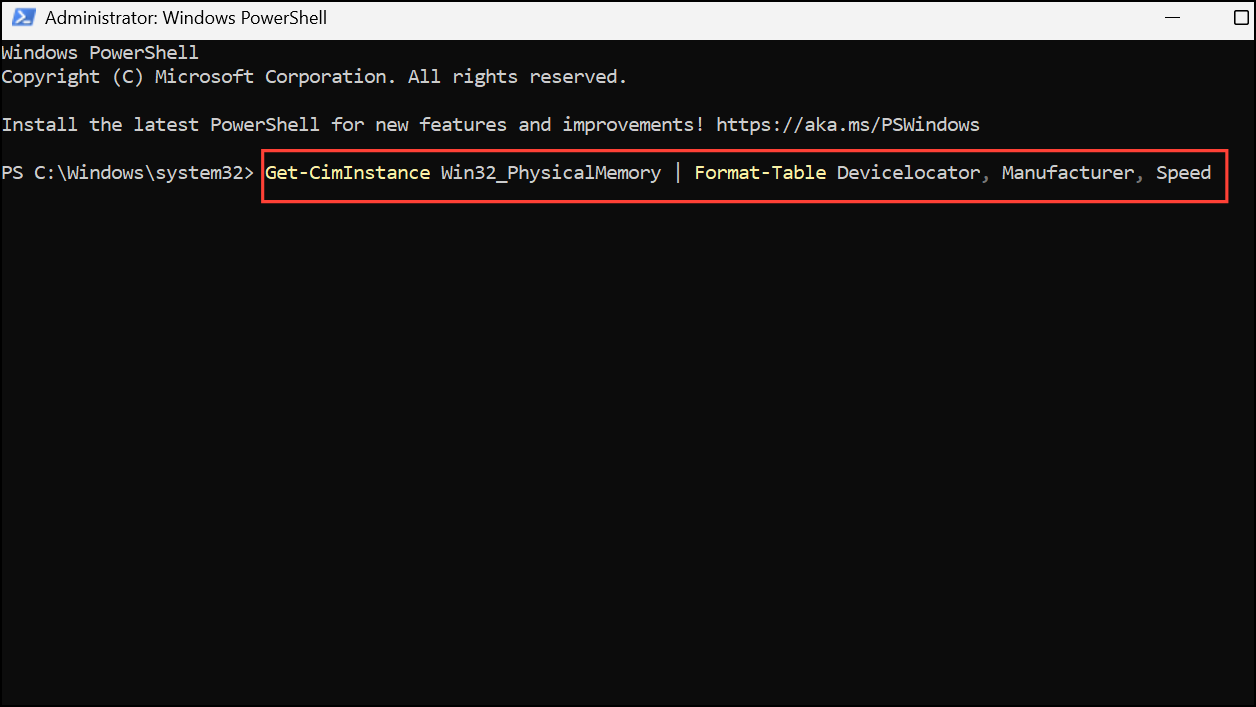
This command displays each RAM module’s location, manufacturer, and speed. To see even more attributes—such as capacity, form factor, and part number—expand the command as follows:
Get-CimInstance Win32_PhysicalMemory | Format-Table Manufacturer, Speed, Capacity, MemoryType, Banklabel, Devicelocator, Partnumber -AutoSize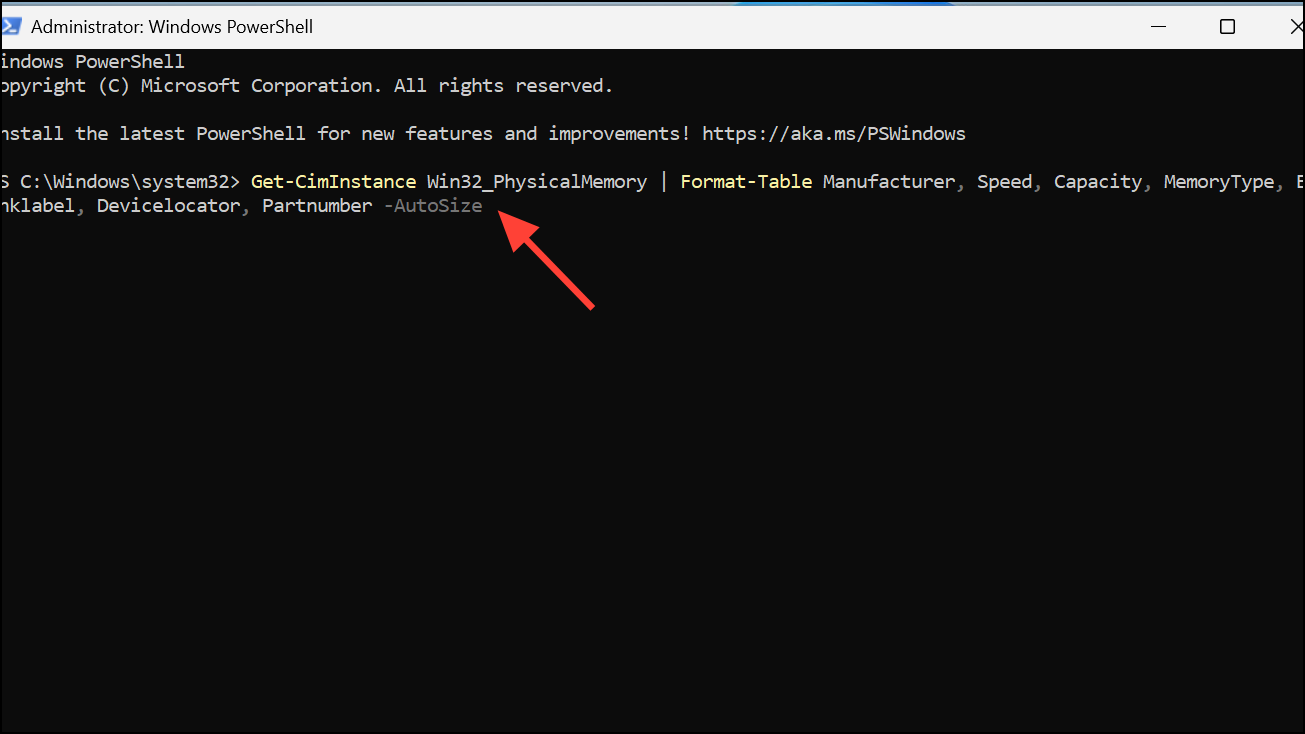
PowerShell commands are especially useful for advanced users or IT professionals who want to script inventory checks across multiple machines or need to export results for documentation.
Review RAM Details in System Information
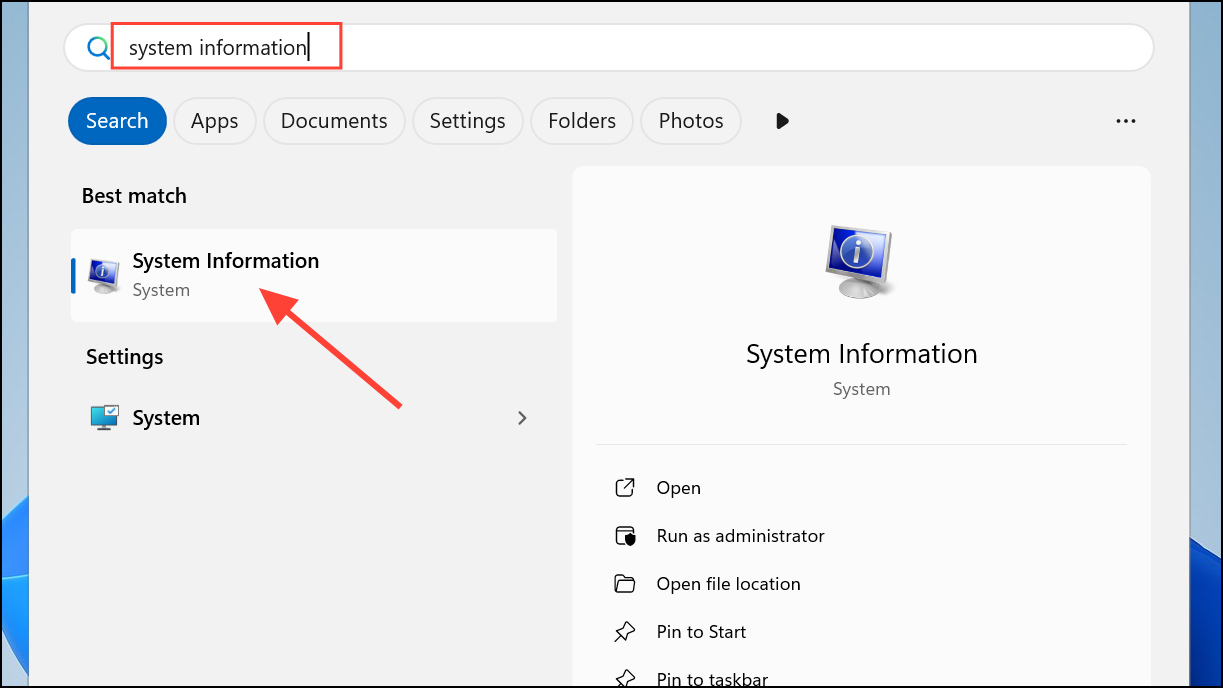
Step 1: Open the Start menu, type System Information, and select the app from the results.
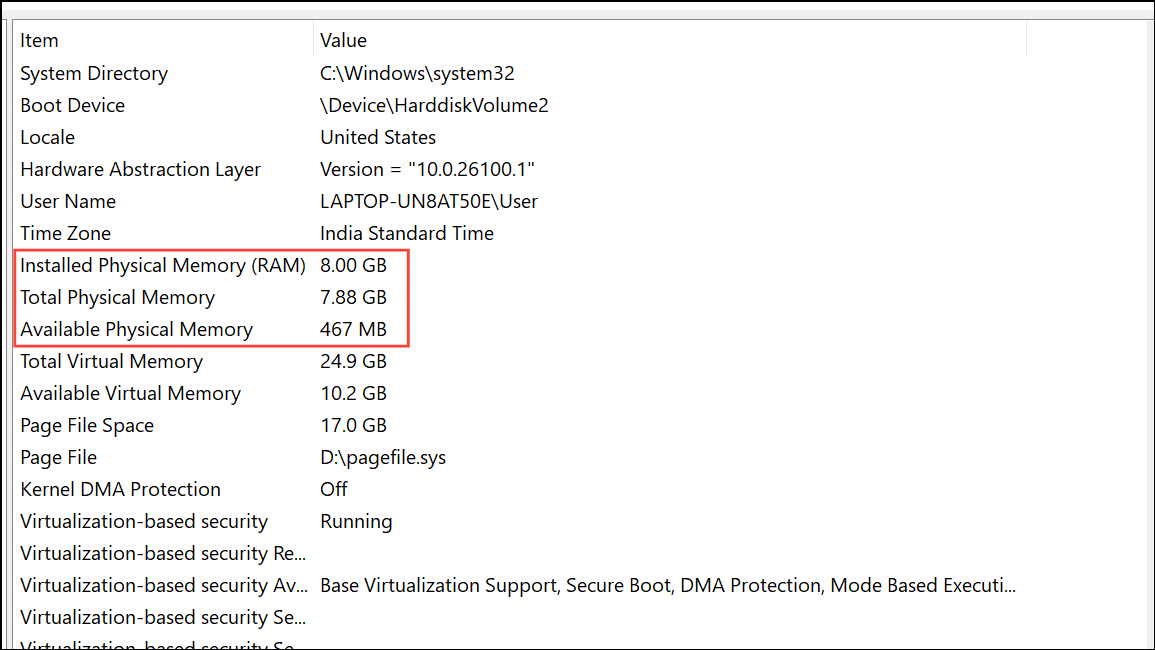
Step 2: In the System Summary, look for entries labeled Installed Physical Memory (RAM), Total Physical Memory, and Available Physical Memory. While this tool does not always display speed, it’s useful for confirming total capacity and available memory at a glance.
Additional Methods and Considerations
For users who want even deeper insights, third-party utilities like CPU-Z can provide granular details about RAM timings, SPD profiles, and module manufacturer information. However, built-in Windows tools are sufficient for most troubleshooting and upgrade planning.
When checking RAM speed, keep in mind:
- Some systems may display speed in MT/s (megatransfers per second) instead of MHz. For DDR memory, these values are often equivalent in practical terms.
- If you notice lower speeds than expected, verify BIOS/UEFI settings for XMP/DOCP profiles, which may need to be enabled to reach advertised speeds.
- Mixing RAM modules with different speeds will usually cause all memory to run at the speed of the slowest module.
Regularly checking your RAM speed in Windows 11 helps you identify performance bottlenecks and ensures your system is running as intended. These built-in methods allow you to review crucial memory details quickly and accurately, making upgrade planning and troubleshooting much smoother.