When beginning a fresh run in Clive Barker’s Hellraiser: Revival, choose from four difficulty levels; the main distinction between them is how saving is handled. Select New Game in the main menu to reach the Difficulty screen, where the four choices appear in left-to-right order. On PC, use A and D to cycle through the settings, Space to select, or Esc to return.
Quick answer: The four modes are Easy, Normal, Hard, and Hellraiser. Each changes enemy numbers, resources, and saving. Hellraiser only lets you save by spending a limited Save Token, and it can only be chosen at the start of a new game.
The four difficulty modes and what each one changes
Each setting changes enemy numbers, loot availability, and the way progress is saved. The descriptions make saving the main distinction. A row of four skull icons represents Hellraiser on the save screen.
| Mode | Saving | Built for |
|---|---|---|
| Easy | Easiest of the four | Playing for the story |
| Normal | Autosave available | The intended first run |
| Hard | No autosave, fewer save spots | Making deaths cost progress |
| Hellraiser | Only by spending a Save Token | Replaying losses, stealth-first play |
Normal is described as a balanced experience with autosave. Hard’s text reads “Challenging combat and limited save locations. Disables autosave,” so it strips out automatic saving and gives you fewer places to do it manually. Hellraiser goes furthest, with the description “Extremely difficult combat, an abundance of enemies, and a scarcity of resources. Saving is only possible using limited Save Tokens. Only selectable at the start of a new game.”
That last line matters. You can pick Hellraiser only when beginning a new game, so you cannot bump a run up to it partway through.
How saving works on Hellraiser difficulty
Save points in the game are organic cracks in the wall the game calls a Labyrinth orifice, with the prompt “F Save progress.” On Hellraiser, interacting with one shows “Saving progress on Hellraiser difficulty costs 1 Save Token. These valuables are hidden in the world, so look carefully.” Try to save with none in your inventory and you get “INSUFFICIENT SAVE TOKENS.”
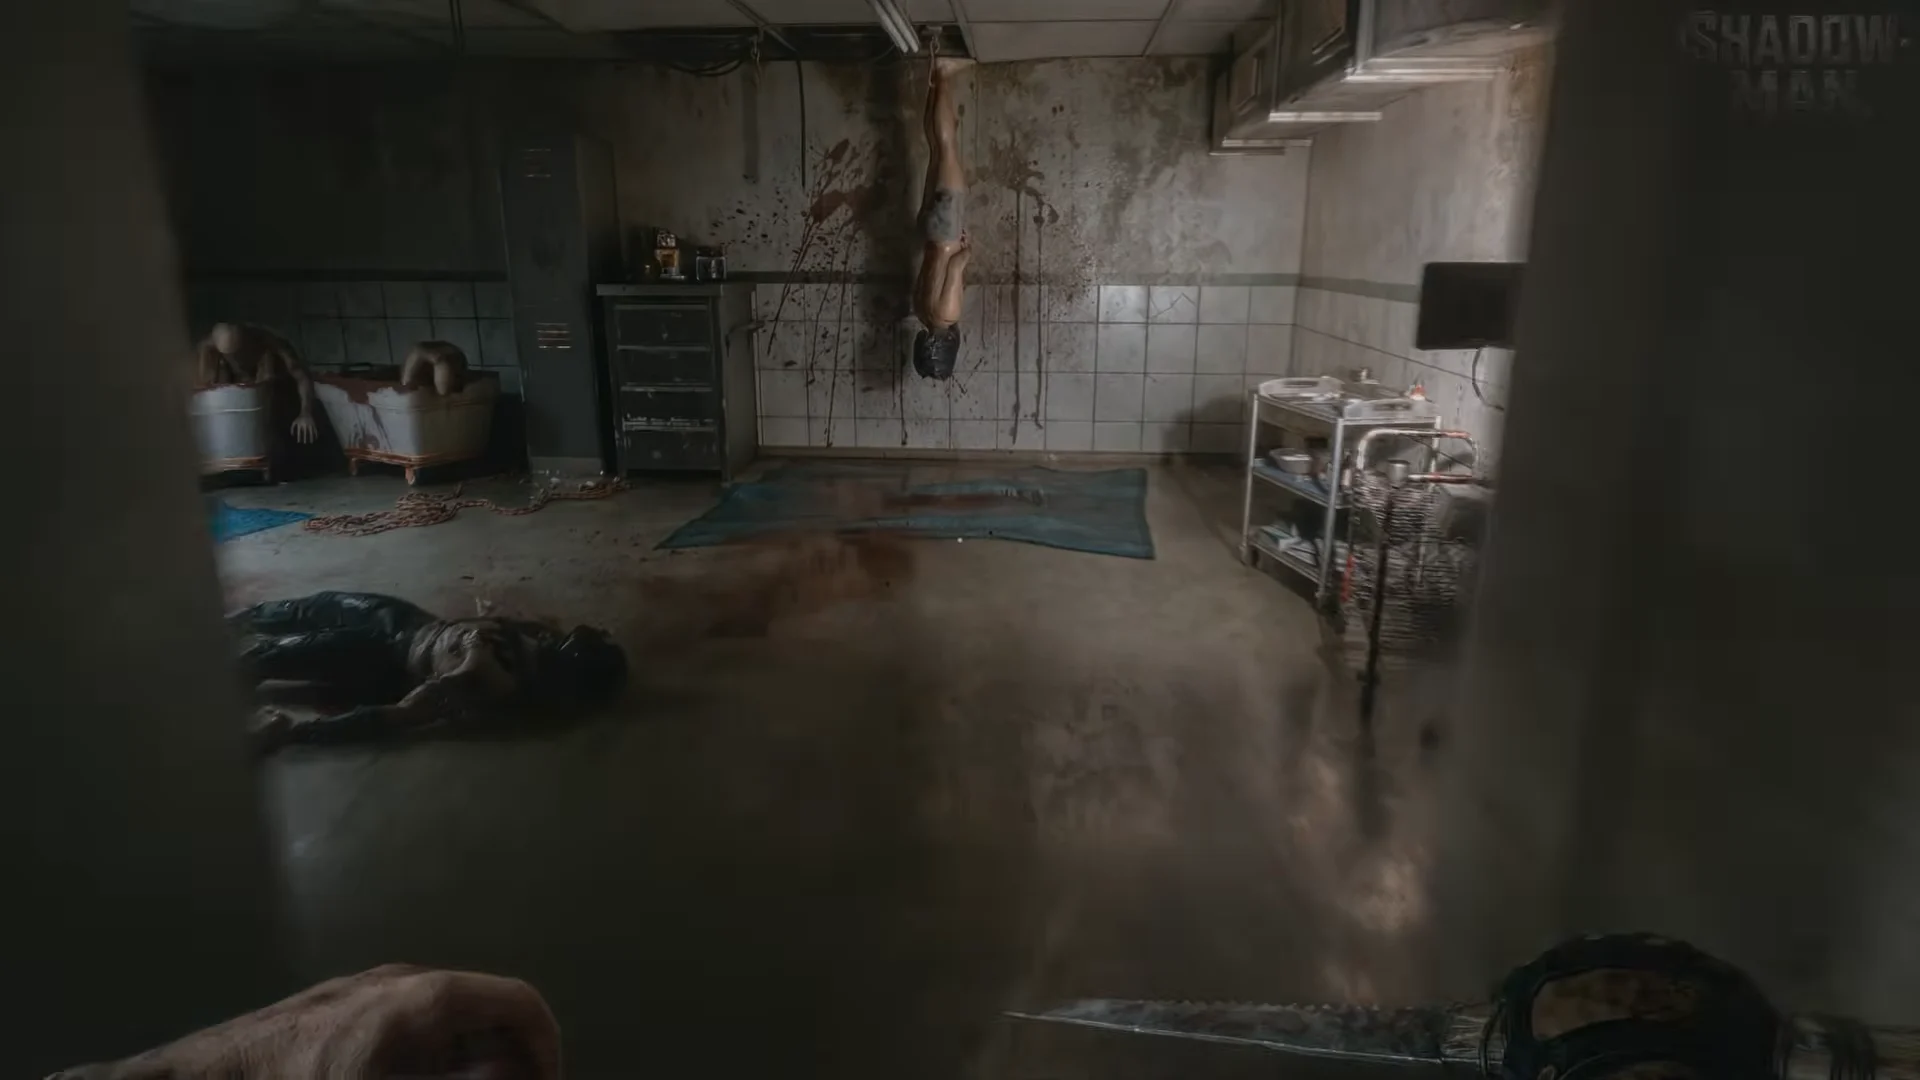
Save Tokens are in short supply. The opening cult compound contains just one Save Token, placed on a gurney in the room following the first knife fight. There are three save points across that section, and none can help without a token. That single manual save may need to protect about the first ninety minutes of progress.
When you die, the screen offers Continue, Load Game, or Main Menu. Continue sends you back to your last save, and anything you picked up since then is gone. Die repeatedly in a token-starved stretch and you end up recollecting the same weapons, bandages, and crafting materials each time you push forward again.
The compound contains three save points, but just one actual Save Token. Use it at the point where it will safeguard the most progress.
What combat on Hellraiser is like
Hellraiser packs the compound with more enemies and strips back your supplies, so open fights are brutal. The Bandage recipe, which needs 1 Cloth plus 1 Chemicals, can sit on “Missing materials” for long stretches. The Pistol turns up with only a round or two in it. You can expect a couple of lockpicks in the first twenty minutes and little spare ammunition after that.
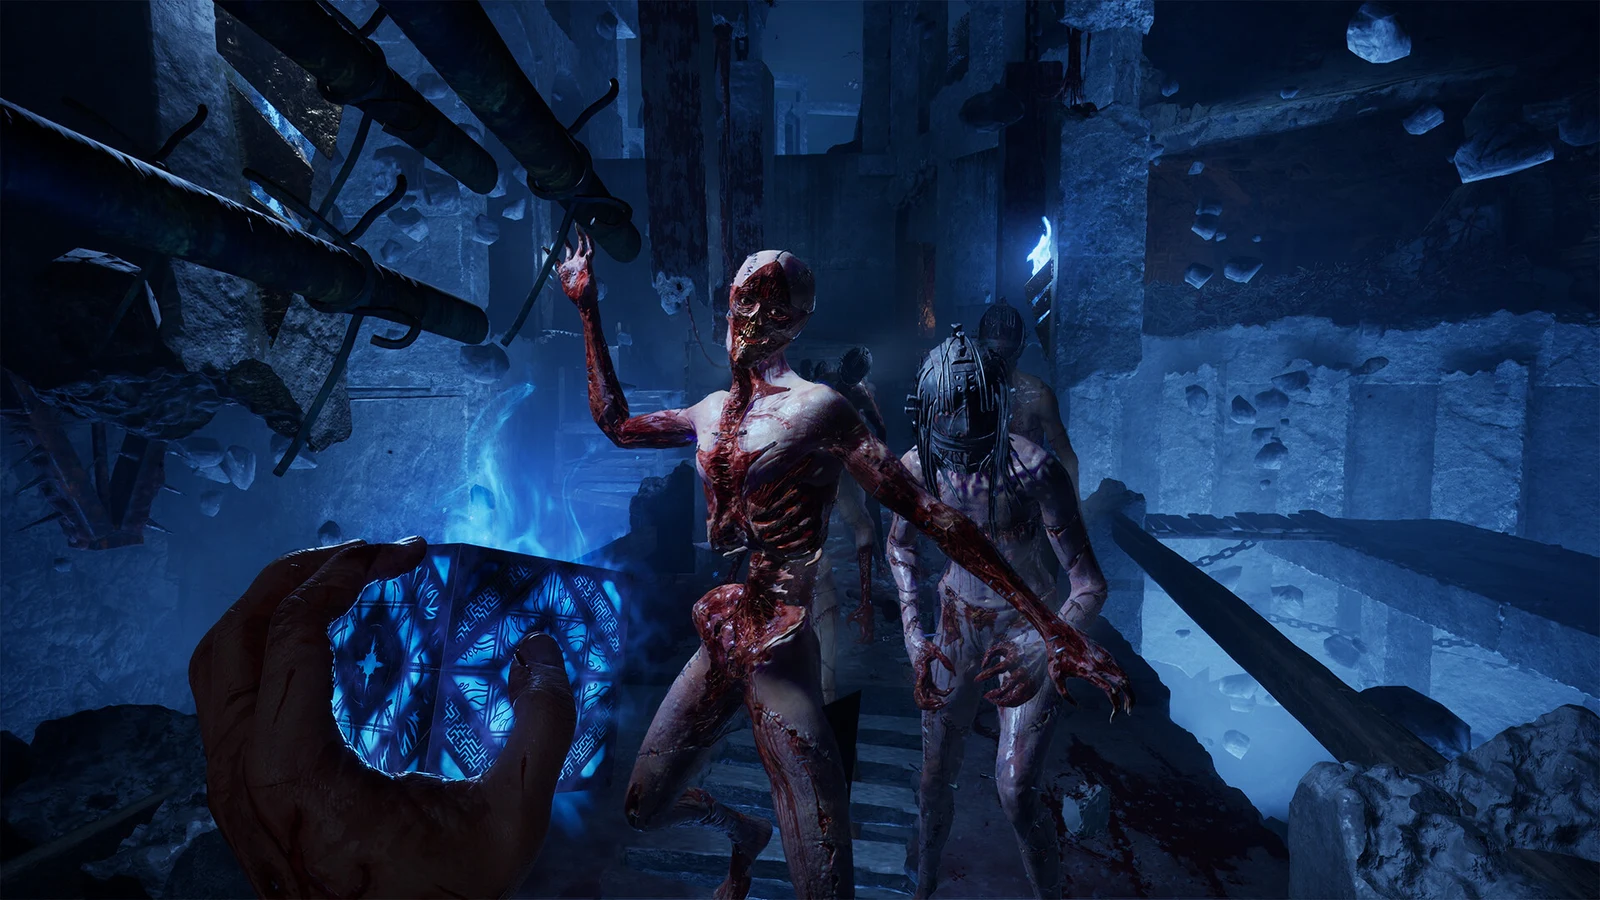
The enemy roster thickens as you go. You face unarmoured cultists, armoured cultists whose plating shrugs off blade hits, a tall spiked attacker who can take a big chunk of health in one blow, gun-wielding cultists from the living quarters onward, and one who throws fire bottles in the chapel.
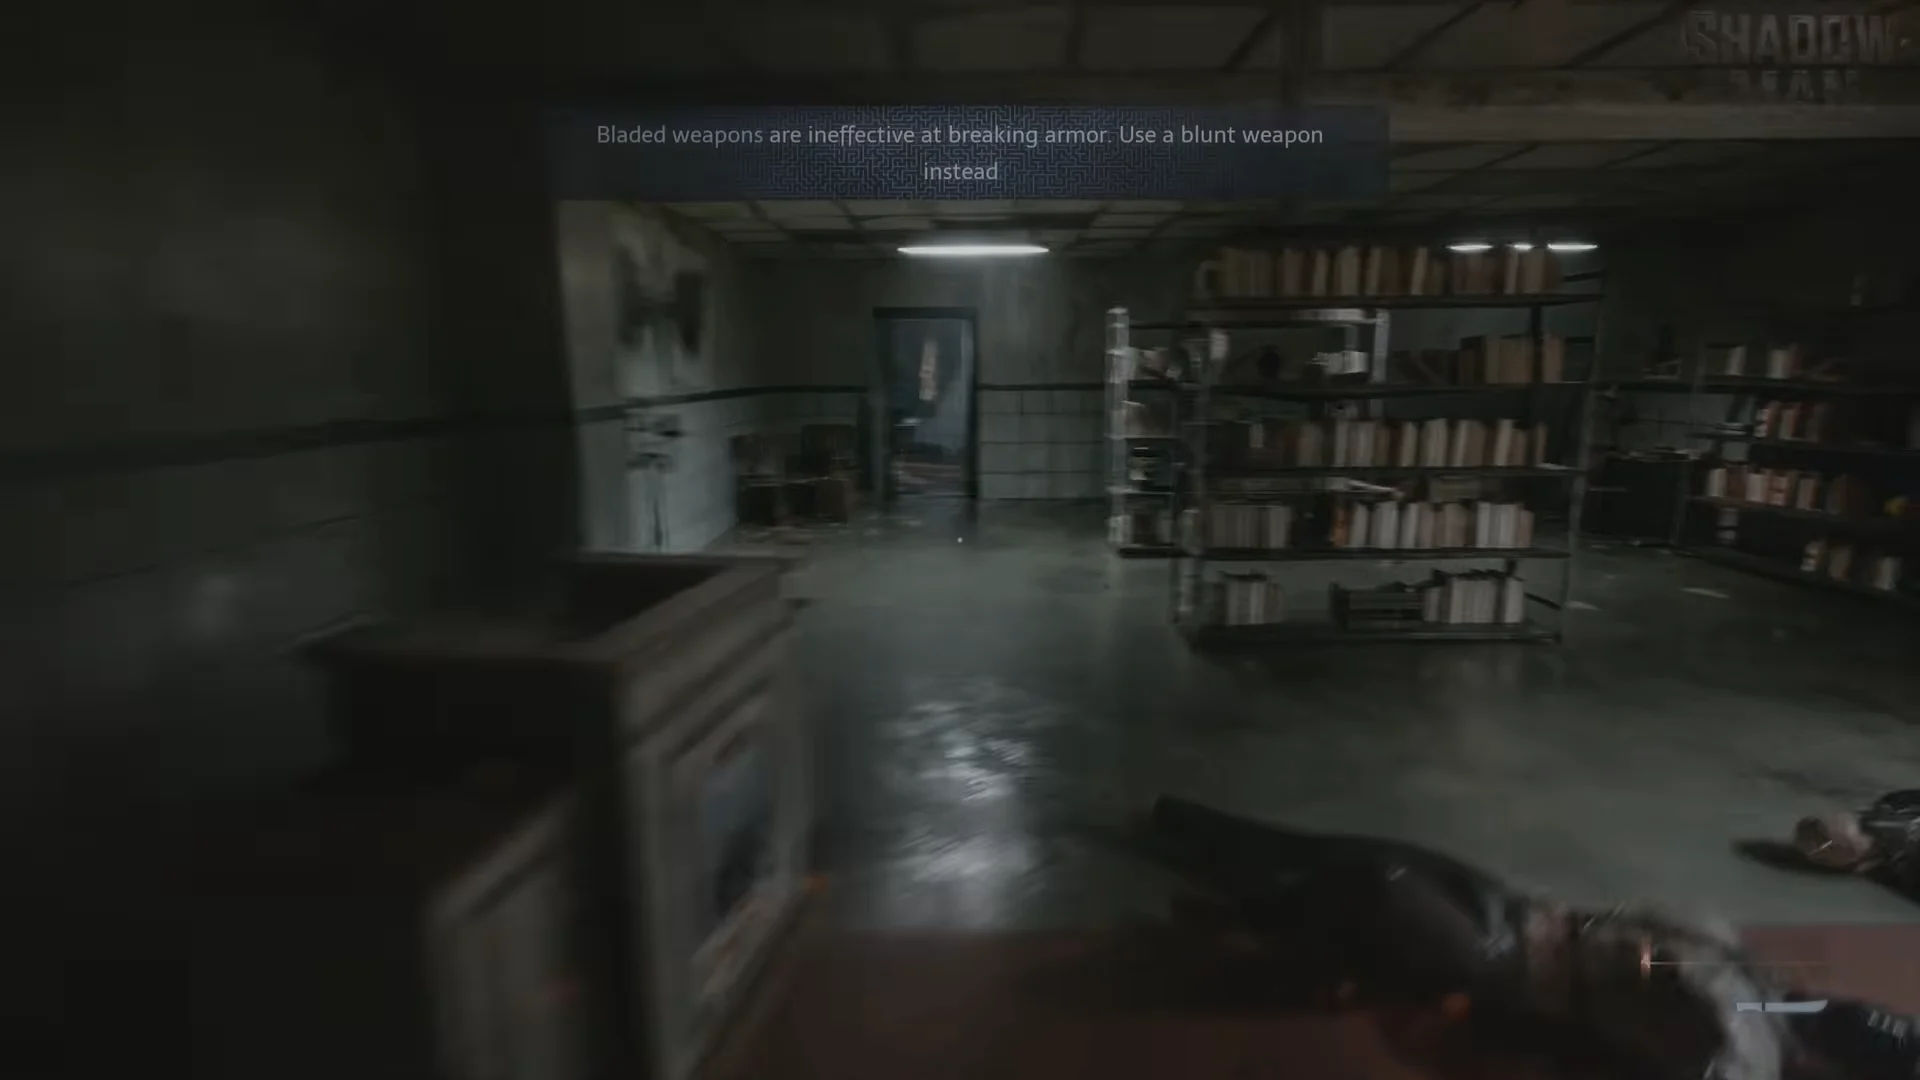
Because supplies are thin and enemies hit hard, the opening plays best as a stealth game. Most rooms can be cleared with takedowns from behind using the “F Takedown” prompt. One workshop guarded by an armoured patrol can be passed entirely by crouching along the wall without fighting at all. The game even nudges you this way with a death tip: “Stealth is the best option against the sadistic threat of the cult… for now.”
Death-screen tips worth remembering
The death screen rotates a set of combat tips that apply on any difficulty, and they double as a plain readout of how the game’s fights are built.
- “Keep your distance to lower your risk of taking a hit.”
- “Armor can’t block everything—a well-placed headshot will still sting.”
- “Aim for unarmored body parts, or your hits won’t have much impact.”
- “Use blunt melee weapons to smash an enemy’s armor to hell and back.”
- “Stealth is the best option against the sadistic threat of the cult… for now.”
Which difficulty to pick
Normal is the intended first run and keeps autosave on, so pick it if you want a standard survival horror pace. Hard suits players who want deaths to carry weight, with no autosave and fewer save spots. Easy is for getting through the story with the least resistance.
Choose Hellraiser only if you are comfortable replaying ten to twenty minutes after a death and treating the opening hours as a stealth game. Remember that you have to commit to it when you create the save, since it cannot be switched on later. On the Difficulty screen it is the rightmost option and the one flagged with four skulls, so there is no mistaking it for anything milder.