Escaping the Scarlet Church compound after Aidan Lynch wakes in the holding room, you pass a steady run of readable documents, a couple of tapes and a few inspectable objects. Each one you pick up drops into a named collection and fires a Collection Updated! banner. The list below walks the whole escape route in the order you reach things, so nothing on the main path slips by while you deal with guards and locked doors.
Quick answer: There are twelve collection entries on the direct route out of the compound. Grab them in order from the holding-room desk to the bunk room, and watch for the “Collection Updated!” banner to confirm each pickup.
How collection entries register
Collections gain an entry when you read a document, play a tape, or inspect the relevant object. The screen displays the collection name and a “press to view in Collections” prompt. Documents fill the screen; use the plain-text toggle if needed, and press Escape to close them. Tape playback continues as you walk away. Some objects require you to inspect and rotate them until you find the relevant part before they count.
This is what you collect along the route, not a promise that you have covered every room. There may be additional finds in rooms beyond the main path, and no fixed entry count for each collection is given here. Valuables like the Occult Codex are different: you carry them to sell, and they do not count as collection entries.
On Hellraiser difficulty a death sends you back to your last save, and any entries you picked up after that save have to be collected again on the next pass.
Every collection entry in route order
| # | Entry | Where to find it |
|---|---|---|
| 1 | Surveillance Reports | Holding room desk, after reading both subject reports |
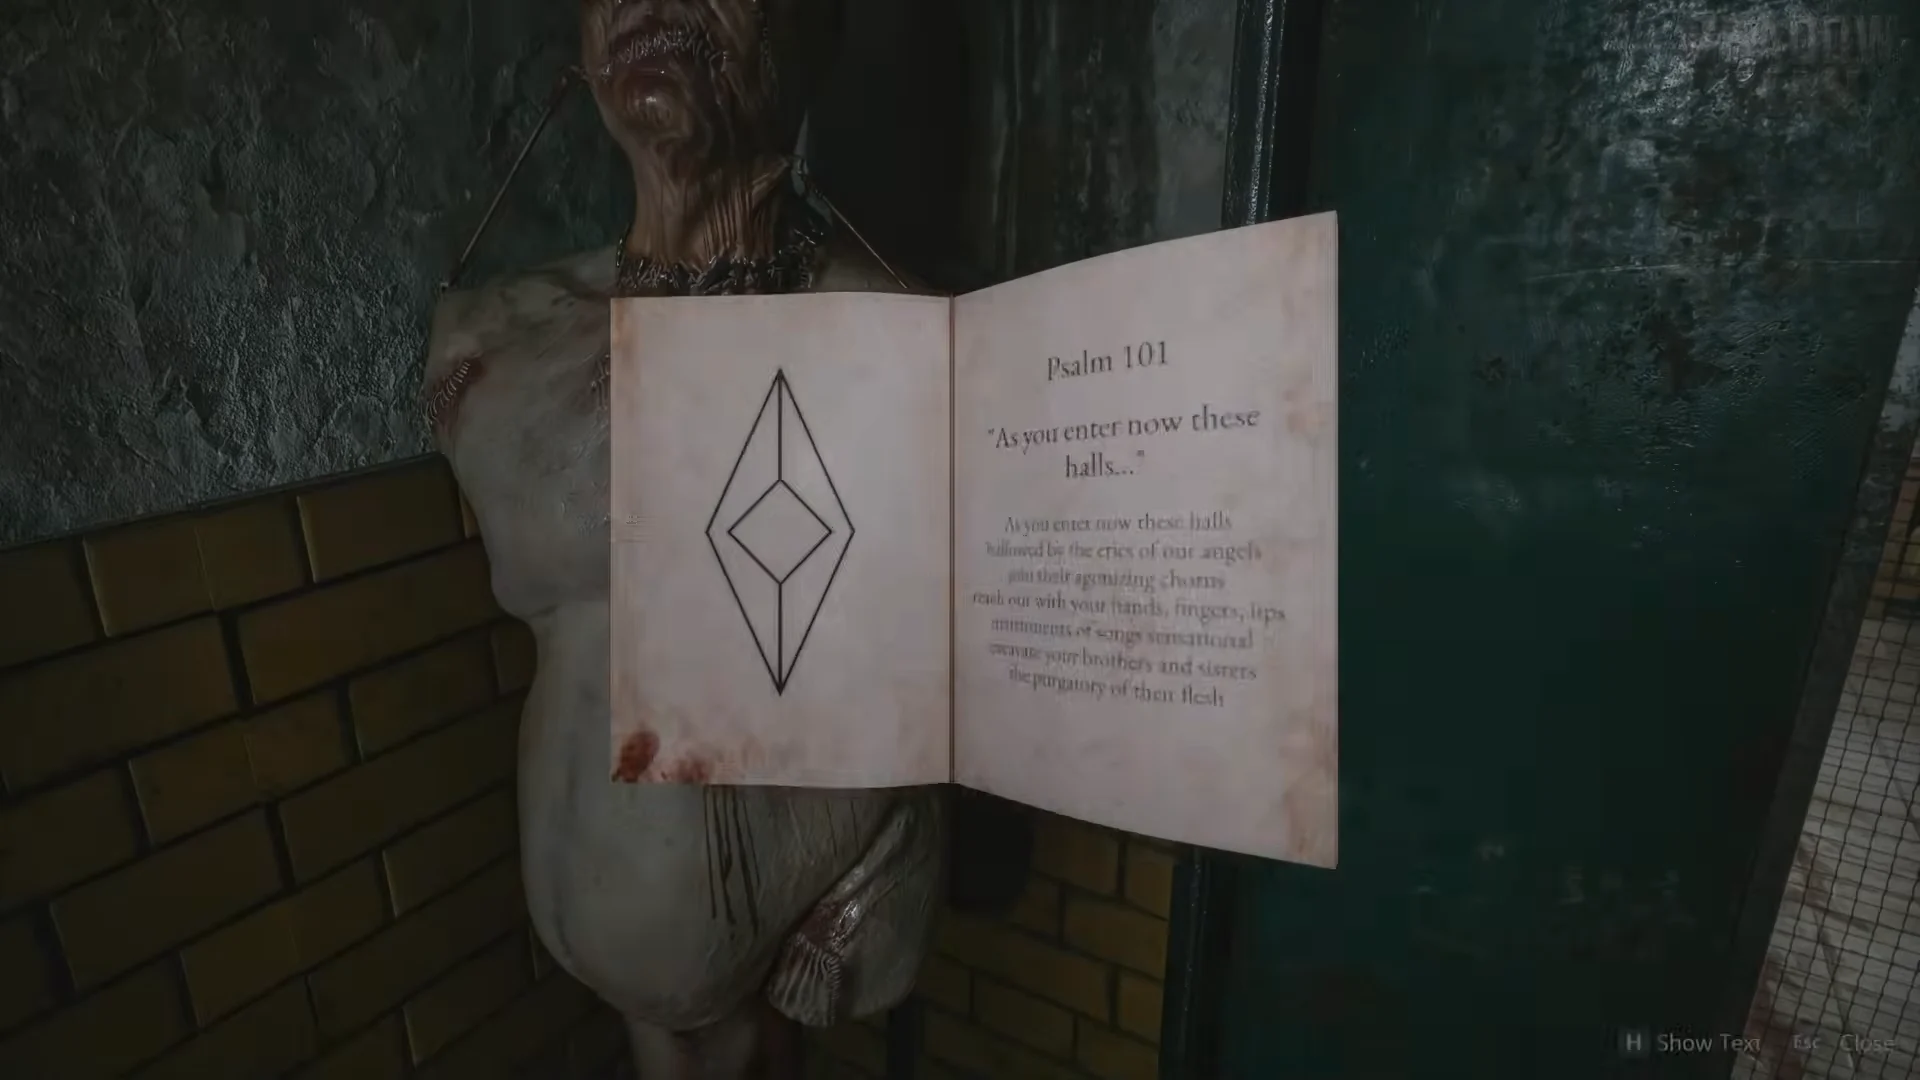
| 2 | Psalms and Sermons: “Psalm 101” | First corridor, alcove behind the cracked green door |
| 3 | Bruno’s Art Exhibits: “Conjoined by Bruno Keller” | Exhibit room near door M359, placard beside the display |
| 4 | Bruno’s Tapes | Dark hallway past the first studio, recorder on a gurney |
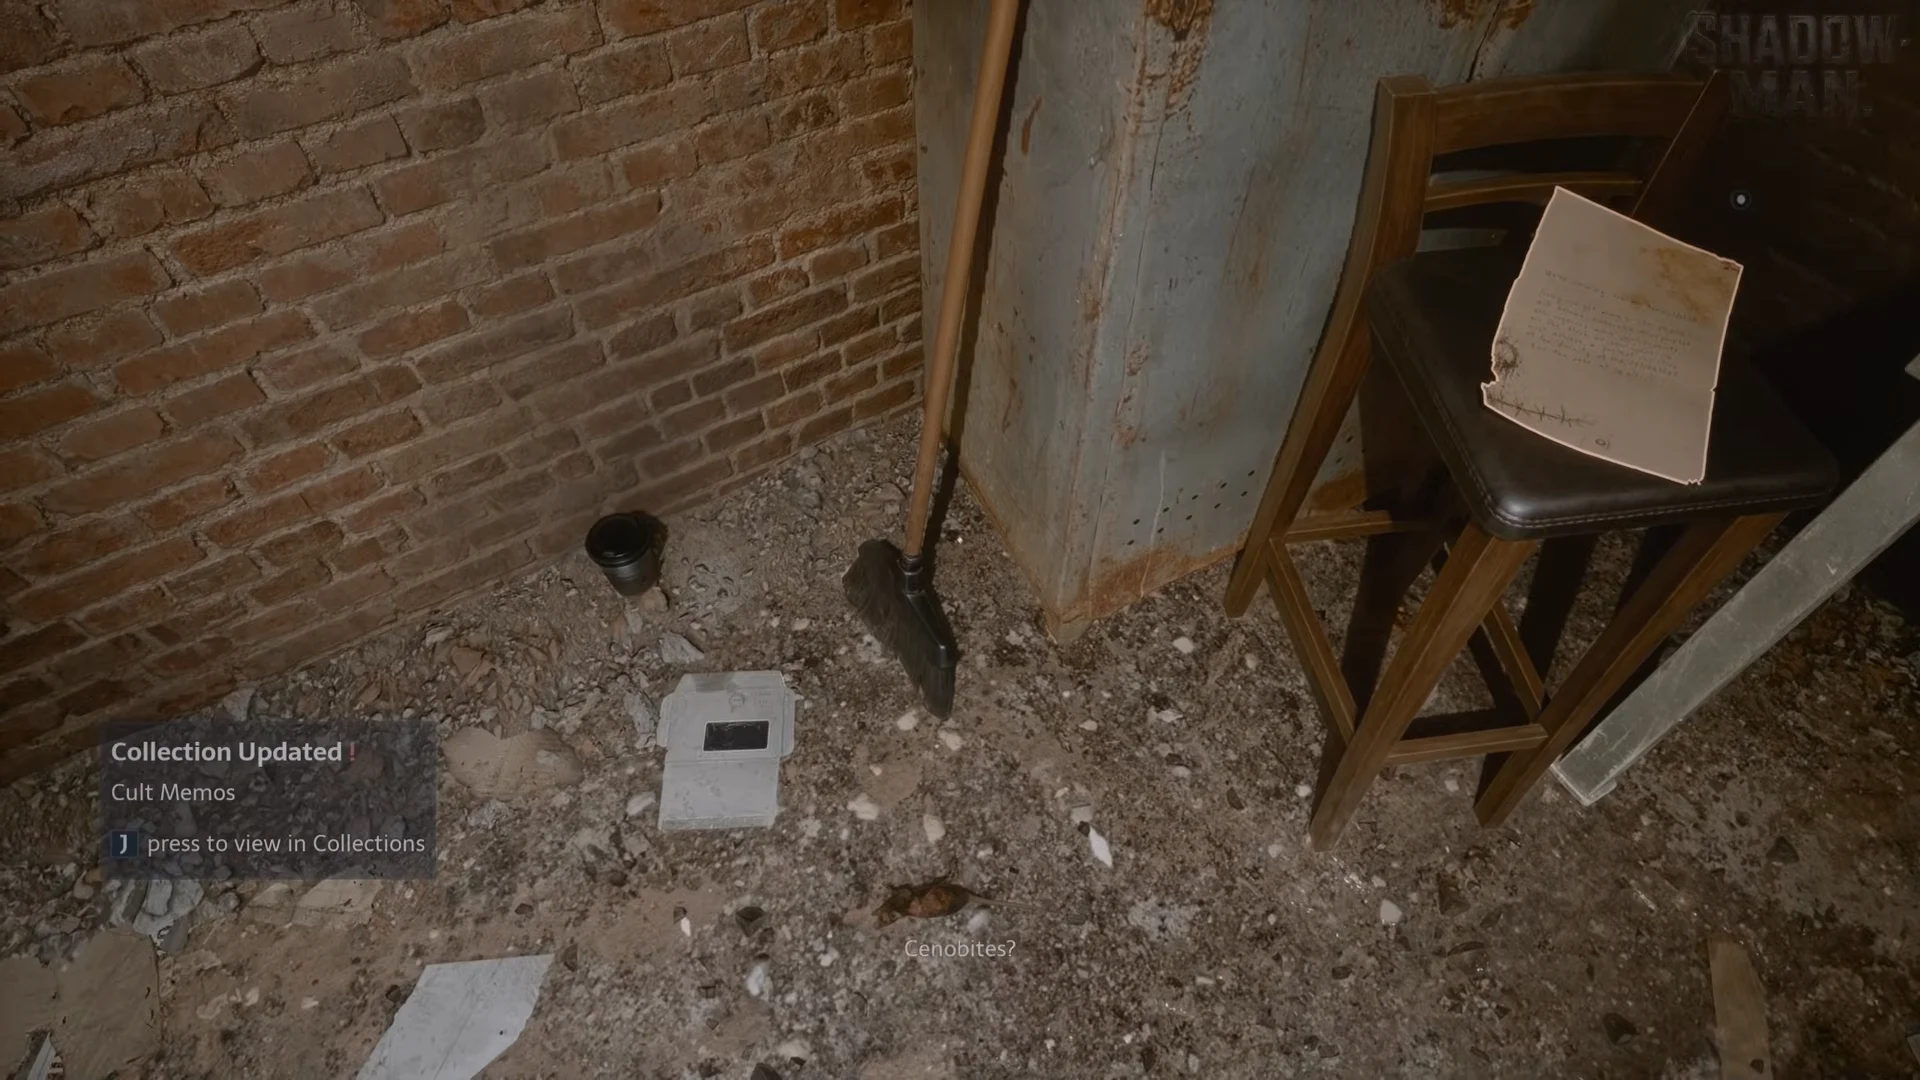
| 5 | Cult Memos | Utility/laundry room off the courtyard, memo on a stool |
| 6 | Ramblings of an Artist | Bruno’s studio desk, note signed “B” plus photographs |
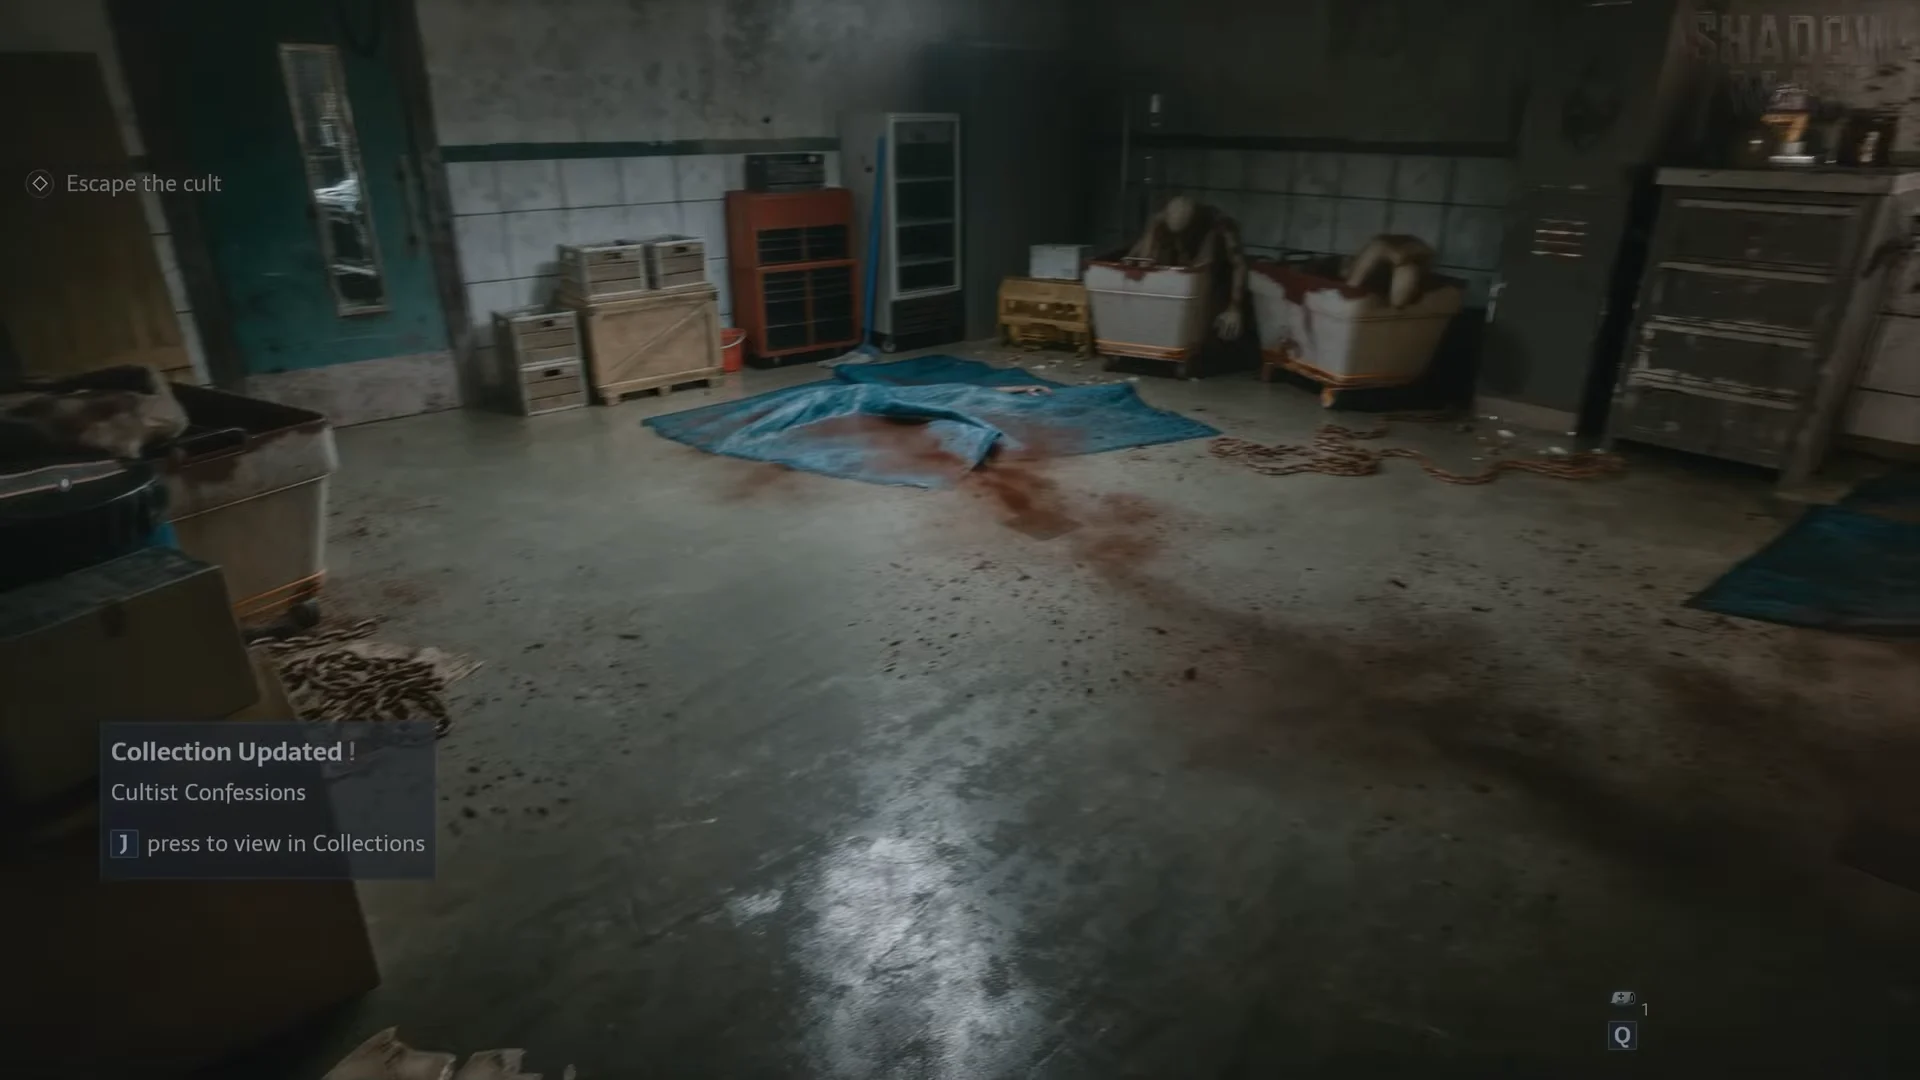
| 7 | Cultist Confessions | Hanging-victim room, note on the blue drum |
| 8 | Psalms and Sermons: “The World Unveiled” | Archive past the secret bookshelf, open book on a desk |
| 9 | Bruno’s Art Exhibits: “Leviathan by Bruno Keller” | On a stand in the candle-lit shrine room marked by the floor sigil |
| 10 | Post-it Notes | Dark hallway, note taped to the locked security door |
| 11 | The detective’s collection | Police badge on the floor by the dying detective |
| 12 | A History of the Cenobites: “Chapter 3: Cenobites” | Living quarters, open book on a lower bunk |
Holding room to the M359 exhibit
You start already free of the interrogation chair, standing in the holding room. Two typed reports sit on the desk here, one headed “SUBJECT: Aidan Lynch” and one on Sunny (Yoon Sun-Hee). Read both to register Surveillance Reports; the banner appears after the second.
Move into the first corridor. Behind the cracked green door, a small alcove holds a booklet marked “Psalm 101.” Reading it adds Psalms and Sermons.
Follow the route toward door M359. The exhibit room beside it, the one holding the Blemished Diamond, has a placard on a stand reading “Conjoined by Bruno Keller.” Inspecting it starts the Bruno’s Art Exhibits collection.
The studios, courtyard and Bruno’s room
Past the studio where you pick up the first lockpick, take the dark hallway to the right. A tape recorder sits on a gurney there; play it to log Bruno’s Tapes.
The utility/laundry room adjoining the courtyard—the one with the clothes and the blue-door key—contains a handwritten memo about formaldehyde. It is on a stool beside the locker. Read the memo to add Cult Memos.
Go past the bedroom with the round bed and enter Bruno’s studio. On the large desk, you’ll find a note signed “B” beside a stack of photographs. Cycle through every photo to unlock Ramblings of an Artist; the banner comes up after the photos, not when you read the note. The Tongue Key skull is also on that desk.
The photograph on the round bed in the bedroom can be inspected and rotated, but it does not count as a collection entry, so it is fine to skip.
After the Chatterer chase
Once the corridor shifts into stone ruins and you flee the Cenobite, you reach the tiled room with a hooded man hanging by his ankles. A note sits on the blue drum to the left. Reading it adds Cultist Confessions.
Further on, the archive opens up past the secret bookshelf. Near the shelf where the first cultist stands, an open book on a small desk is “The World Unveiled,” a sermon by Father Marlowe dated 17th April 2002. Reading it adds a second Psalms and Sermons entry, and there are seven coins on the shelf beside it.
Shrine room to the living quarters
Past the ward containing the gurneys, enter the candlelit shrine room and find a stand holding a placard beside the floor sigil. It reads “Leviathan by Bruno Keller.” Inspect it to add the second Bruno’s Art Exhibits entry. The Occult Codex is at the center of the sigil in that room.
In the hallway where the lights go out, a note is taped to the locked security door reading “IF DOOR LOCKED DUE TO POWER OUTAGE, OVERRIDE FUSE BOX IN ROOM 206.” Reading it adds Post-it Notes.
Past that security door, a dying detective lies on the floor. Inspect the police badge beside him to register the detective’s own collection. His cassette recorder is next to the badge, and his service pistol is in his hand.
Check the lower bunk in the bunk room within the cult’s living quarters for an open book. Titled “Chapter 3: Cenobites,” it adds A History of the Cenobites, the final entry on the escape route.
Valuables and one-off items on the same path
A few pickups along the way are worth grabbing even though they are not collection entries.
- Occult Codex — a book of occult rituals in the centre of the shrine-room sigil. It fills a 2×2 inventory block; keep it to sell to a vendor.
- The Collected Poems of Emily Dickinson — a puzzle item that opens the secret bookshelf and plays a short memory scene. It is not a collection entry.
- Wall graffiti such as “WE ARE MEANT TO KNOW NOTHING AND FEEL EVERYTHING” is scenery, not a collectible.
Work down the route in order and you will leave the compound with all twelve entries banked across the Surveillance Reports, Psalms and Sermons, Bruno’s Art Exhibits, Bruno’s Tapes, Cult Memos, Ramblings of an Artist, Cultist Confessions, Post-it Notes, A History of the Cenobites and the detective’s collections.