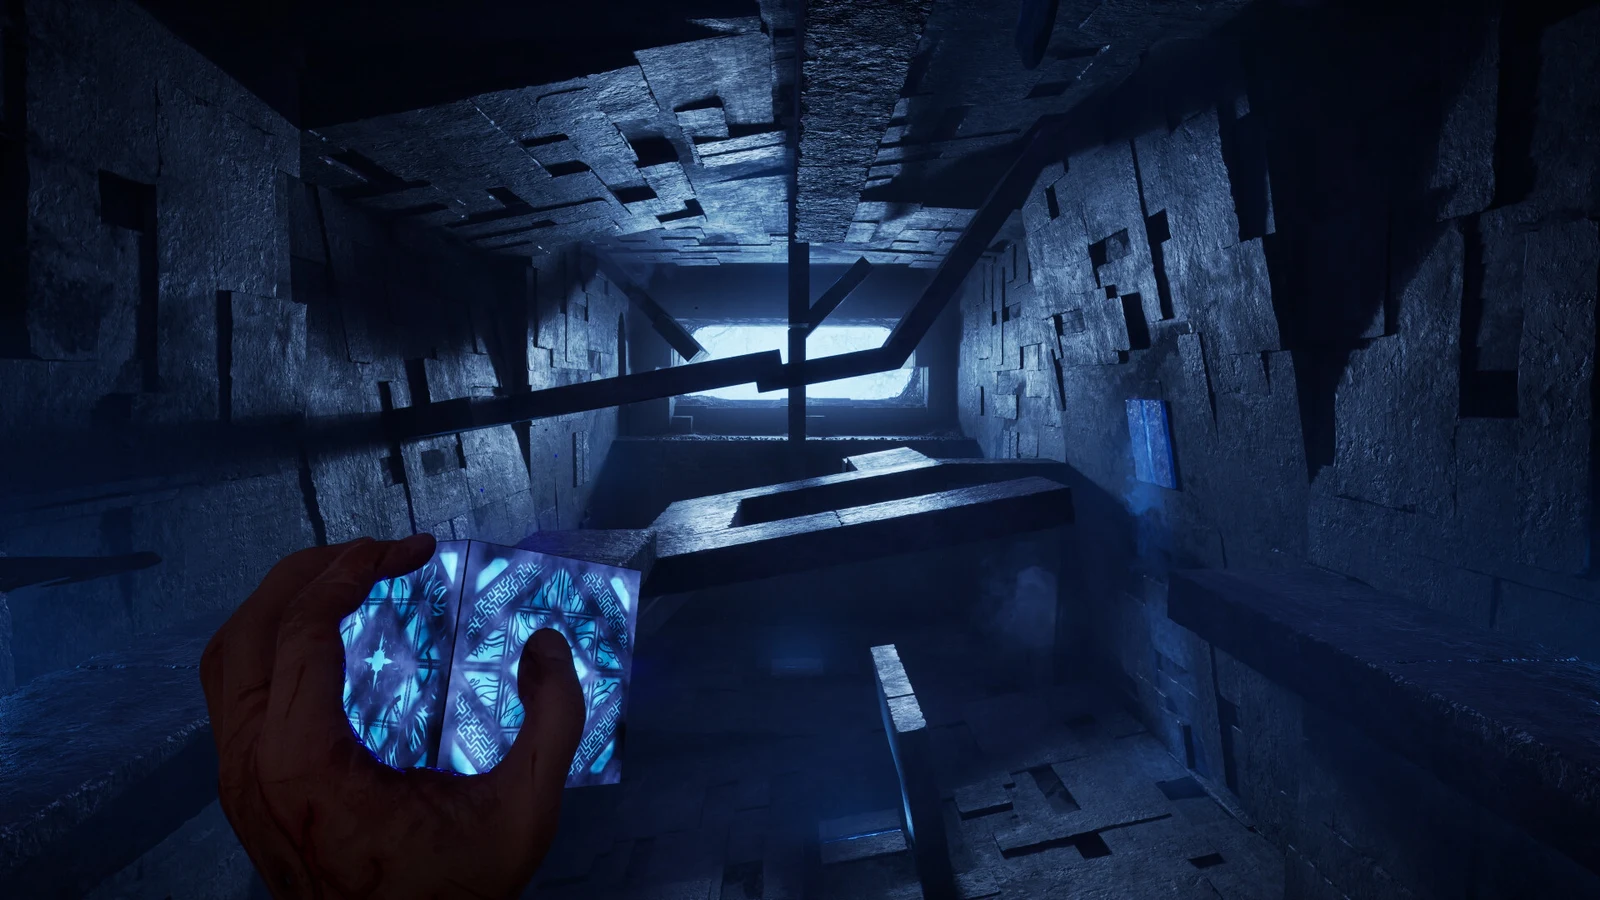
A sturdy door secured by a rubber-duck-shaped lock blocks the exit from the Scarlet Church compound. The matching duck, named S&M Duckie, is housed in the tall diamond-shaped maze device atop a pedestal in the painting hall. Its top point is missing, so fit the Leviathan Tip, align the maze pattern, and open the device to release the final door.
Quick answer: Place the Leviathan Tip on the diamond pedestal, rotate the maze bands until the lines connect, press the tip to grab the S&M Duckie, then slot it into the duck-shaped lock on the EXIT door.
What you need before the pedestal will work
Two things have to line up before the diamond opens. You need the Leviathan Tip in your inventory, and you need to reach the pedestal from the chapel side of the locked lattice gate.
In the oil-painting hall with wood-panelled walls—the room you first access with Bruno’s Keycard—the pedestal is beside the keypad cabinet. It is positioned near an EXIT sign and a double lattice gate. The pedestal holds a tall metal diamond decorated with a red-and-silver maze; its top is flat, with the point absent. Before you have the required item, using it brings up an empty item bar, while the gate displays “F Locked”.
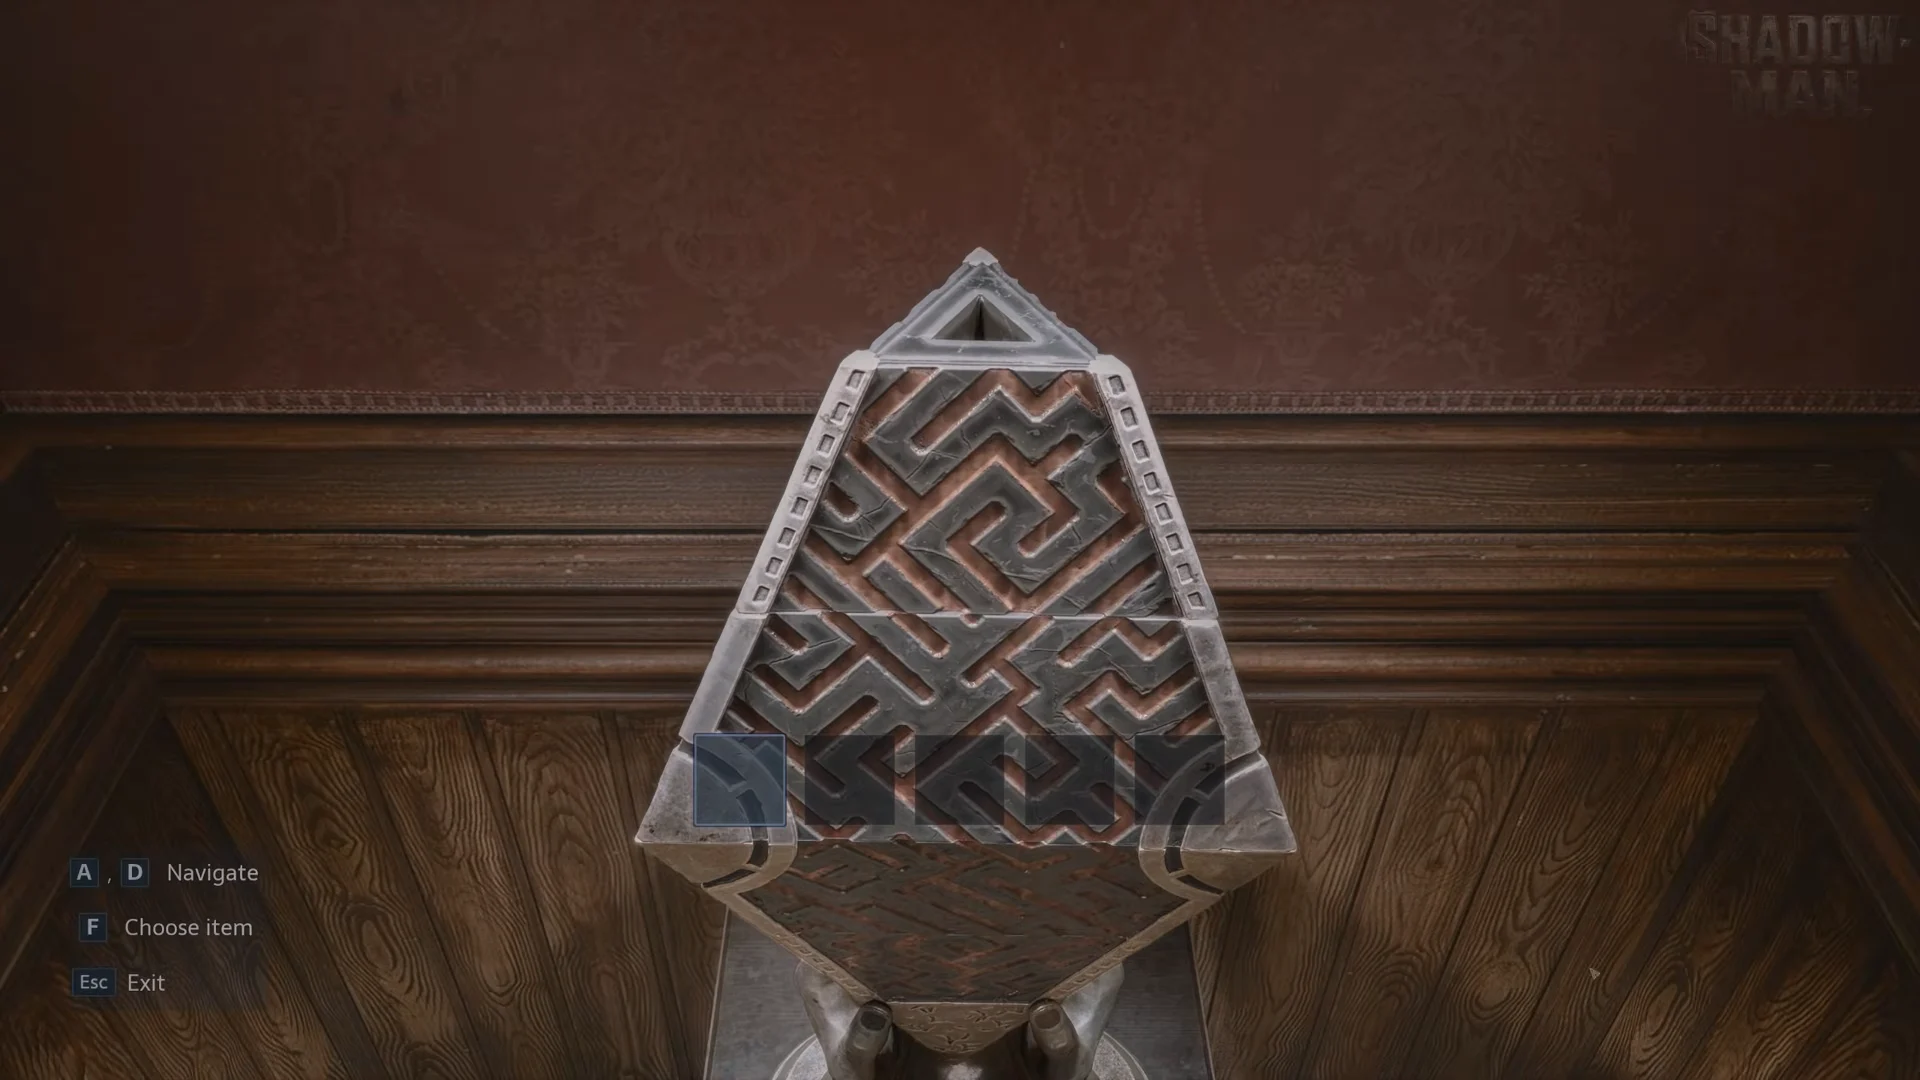
The Leviathan Tip is a key item described as “It was made to fit a slot on something.” You pick it up somewhere along the route through the compound before you reach the chapel, not inside the chapel itself. If the pedestal shows an empty item bar, you have not collected the Tip yet.
The lattice gate cannot be opened from the hall side. It only reads “F Locked” there. It opens from the chapel on the other side, so you reach the pedestal by looping forward through the compound, not by forcing the gate early.
Clear the chapel and open the gate
The chapel comes after the basement, wards, living quarters, and wall ladder. At the ladder’s upper end, a concrete hallway leads to a wall save point just before the chapel. On the highest difficulty, saving requires a Save Token; without one, the point displays “INSUFFICIENT SAVE TOKENS”.
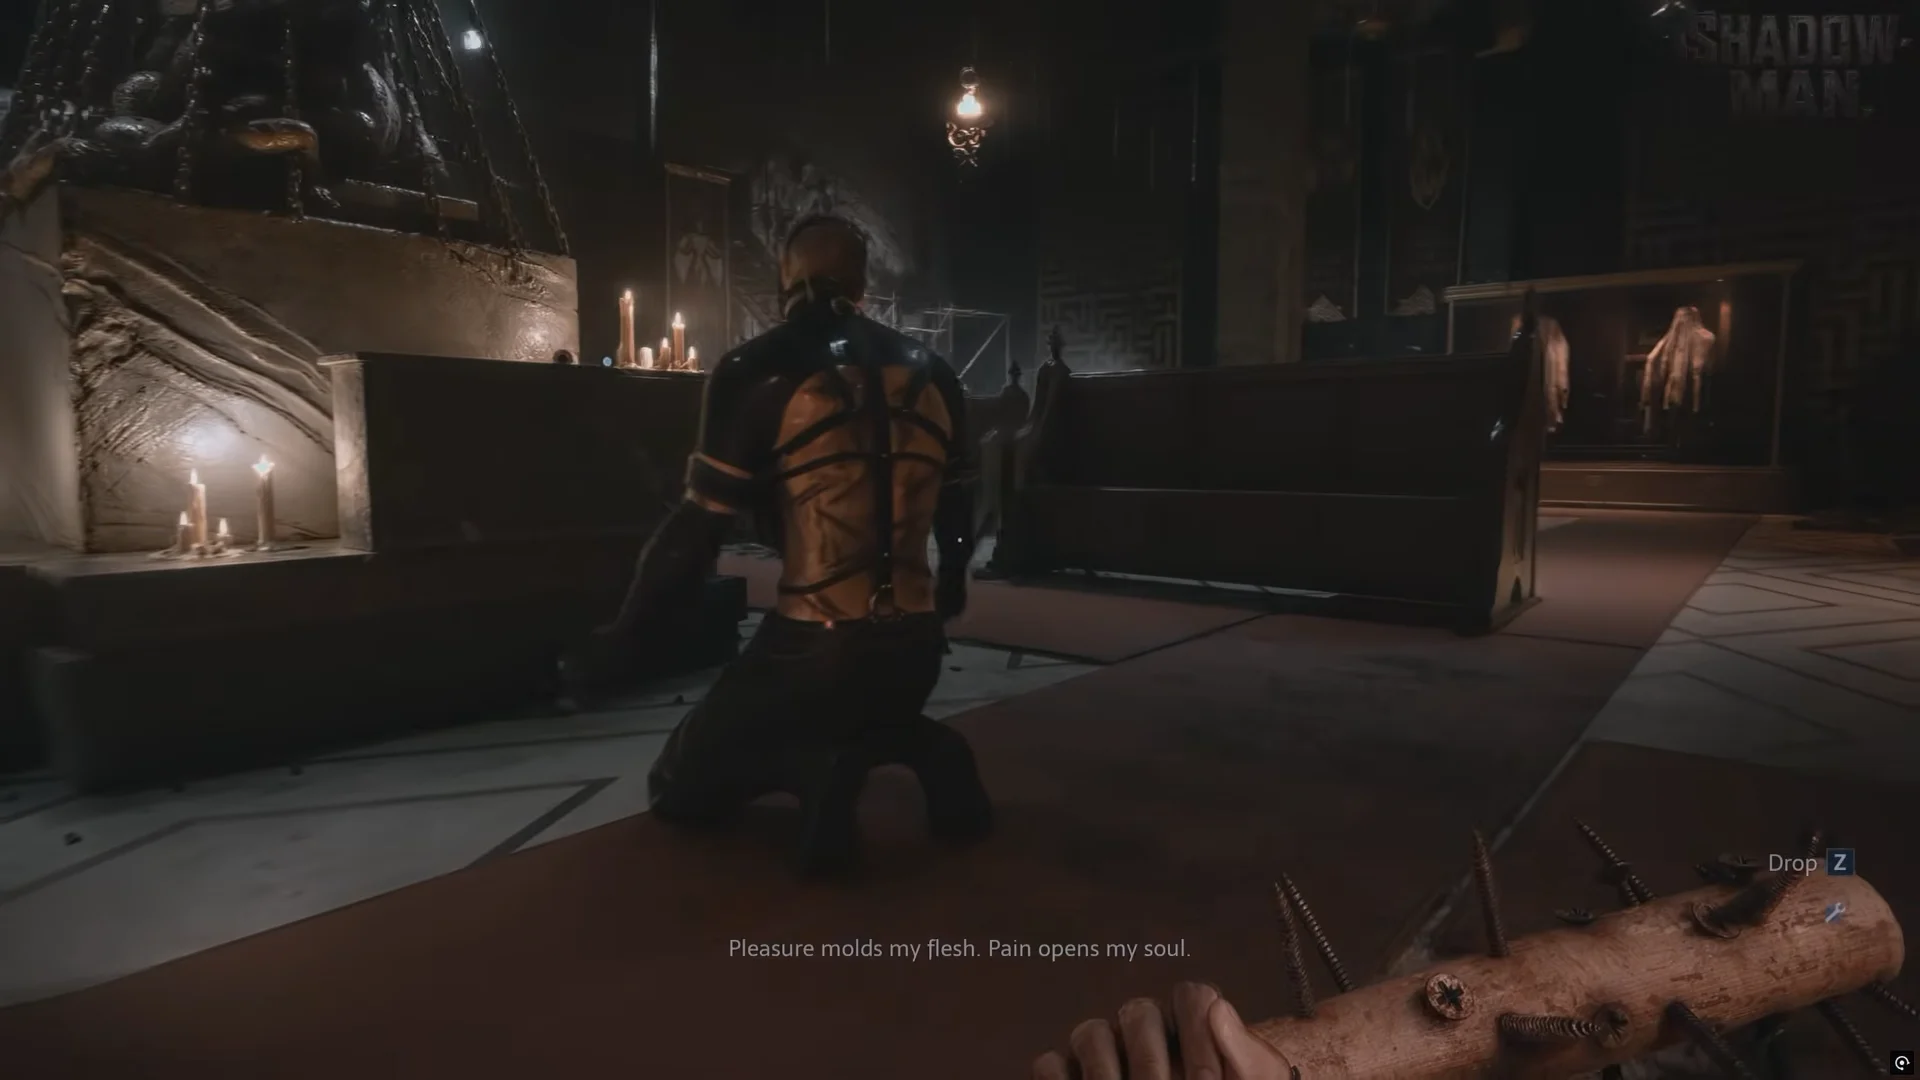
You enter behind the back pews and find a cultist praying at the central altar, a plinth holding a chained statue and candles. Crouch and approach along the aisle behind him, then use “F Takedown”. There is a Bandage on the altar ledge.
Afterward, three additional cultists attack. Blade-wielders are among them, and one climbs onto the plinth to throw a fire bottle, setting the floor before the altar ablaze; keep clear of the fire while fighting. Some enemies wear armour, making a blunt weapon such as the Skullcrusher useful. When prompted, press “Q Heal yourself”. Once they are defeated, open the lattice gate at the chapel’s rear from this side and go through to the pedestal.
Solve the diamond (Leviathan) puzzle
The whole puzzle takes about ten seconds once you have the Tip. There is no timer and no fail state, so a wrong rotation is simply undone by rotating again.
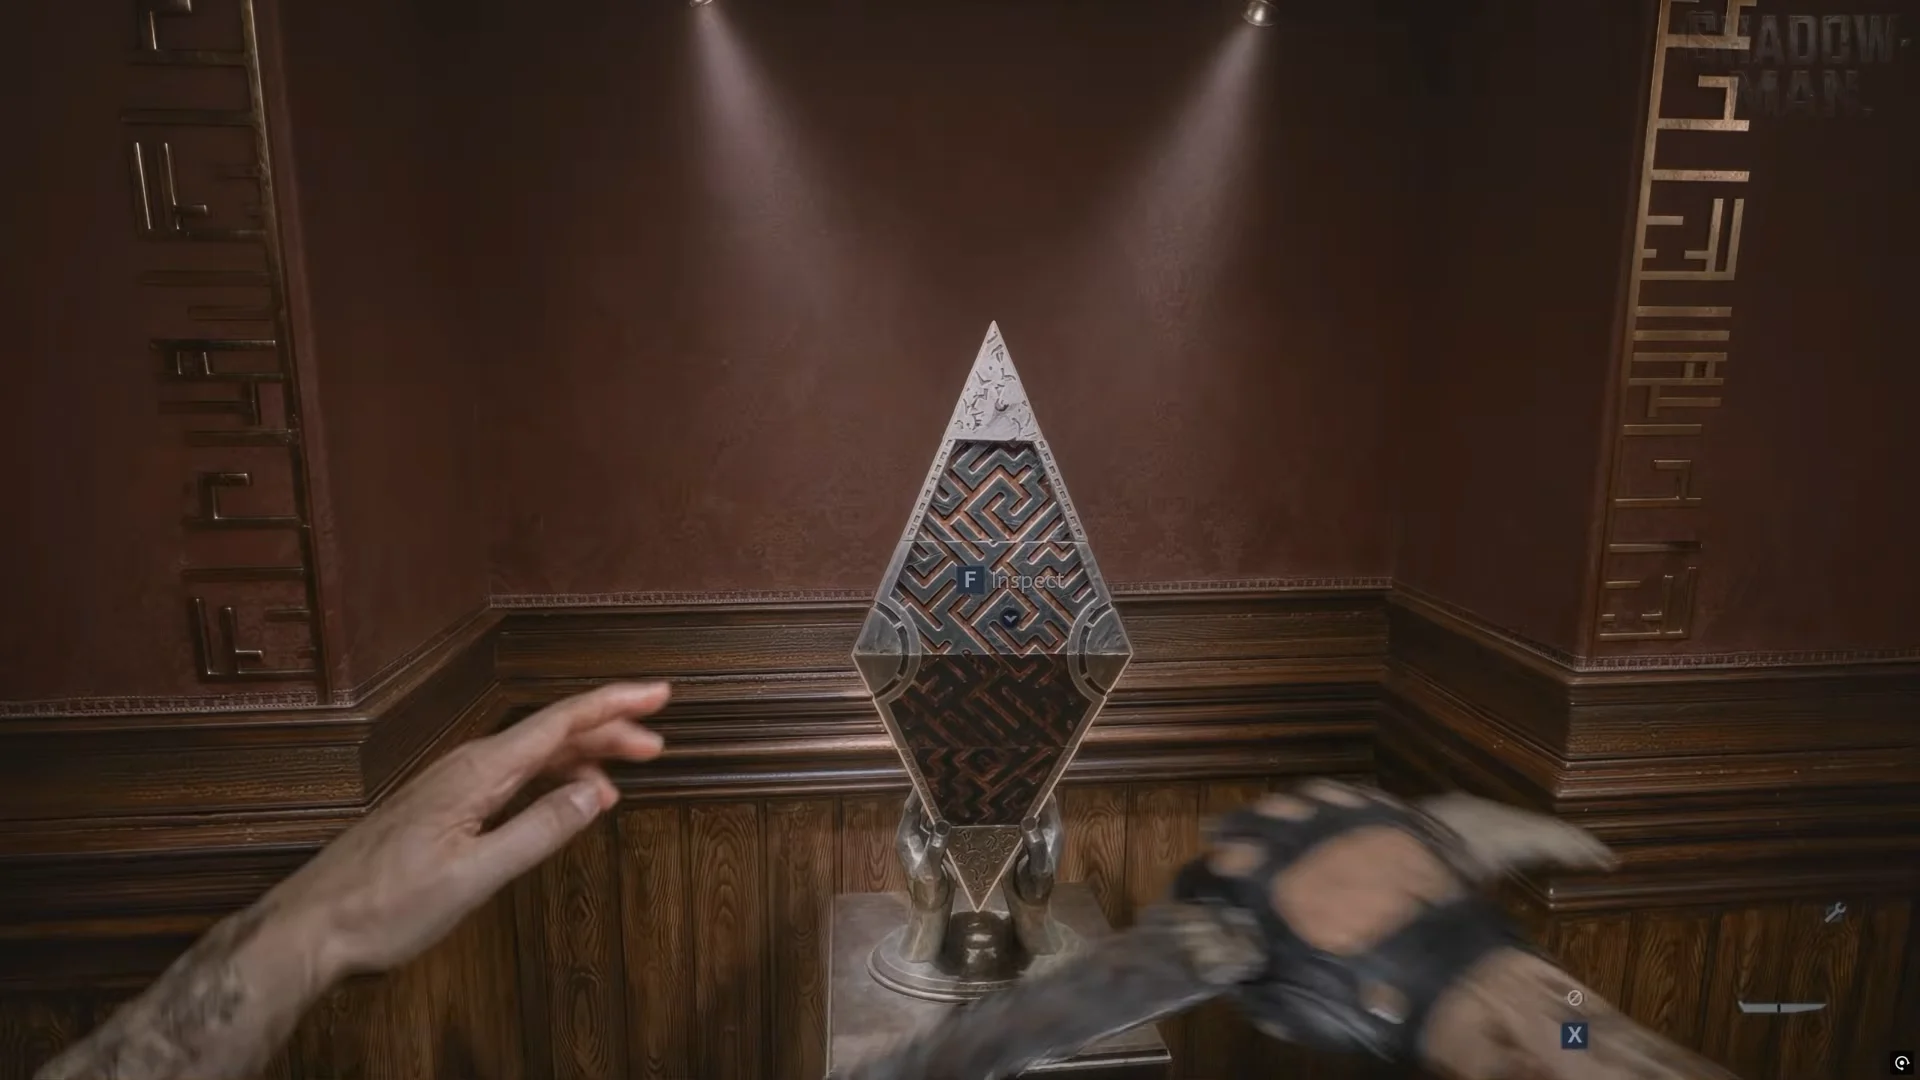
Take the S&M Duckie
Press F to collect the reward inside the opened diamond. It is the S&M Duckie, a black rubber duck in leather straps, with the inventory description “Opens the duckie door, obviously. Quack.” Aidan’s only reaction is “Seriously…”
Open the duck door and leave the compound
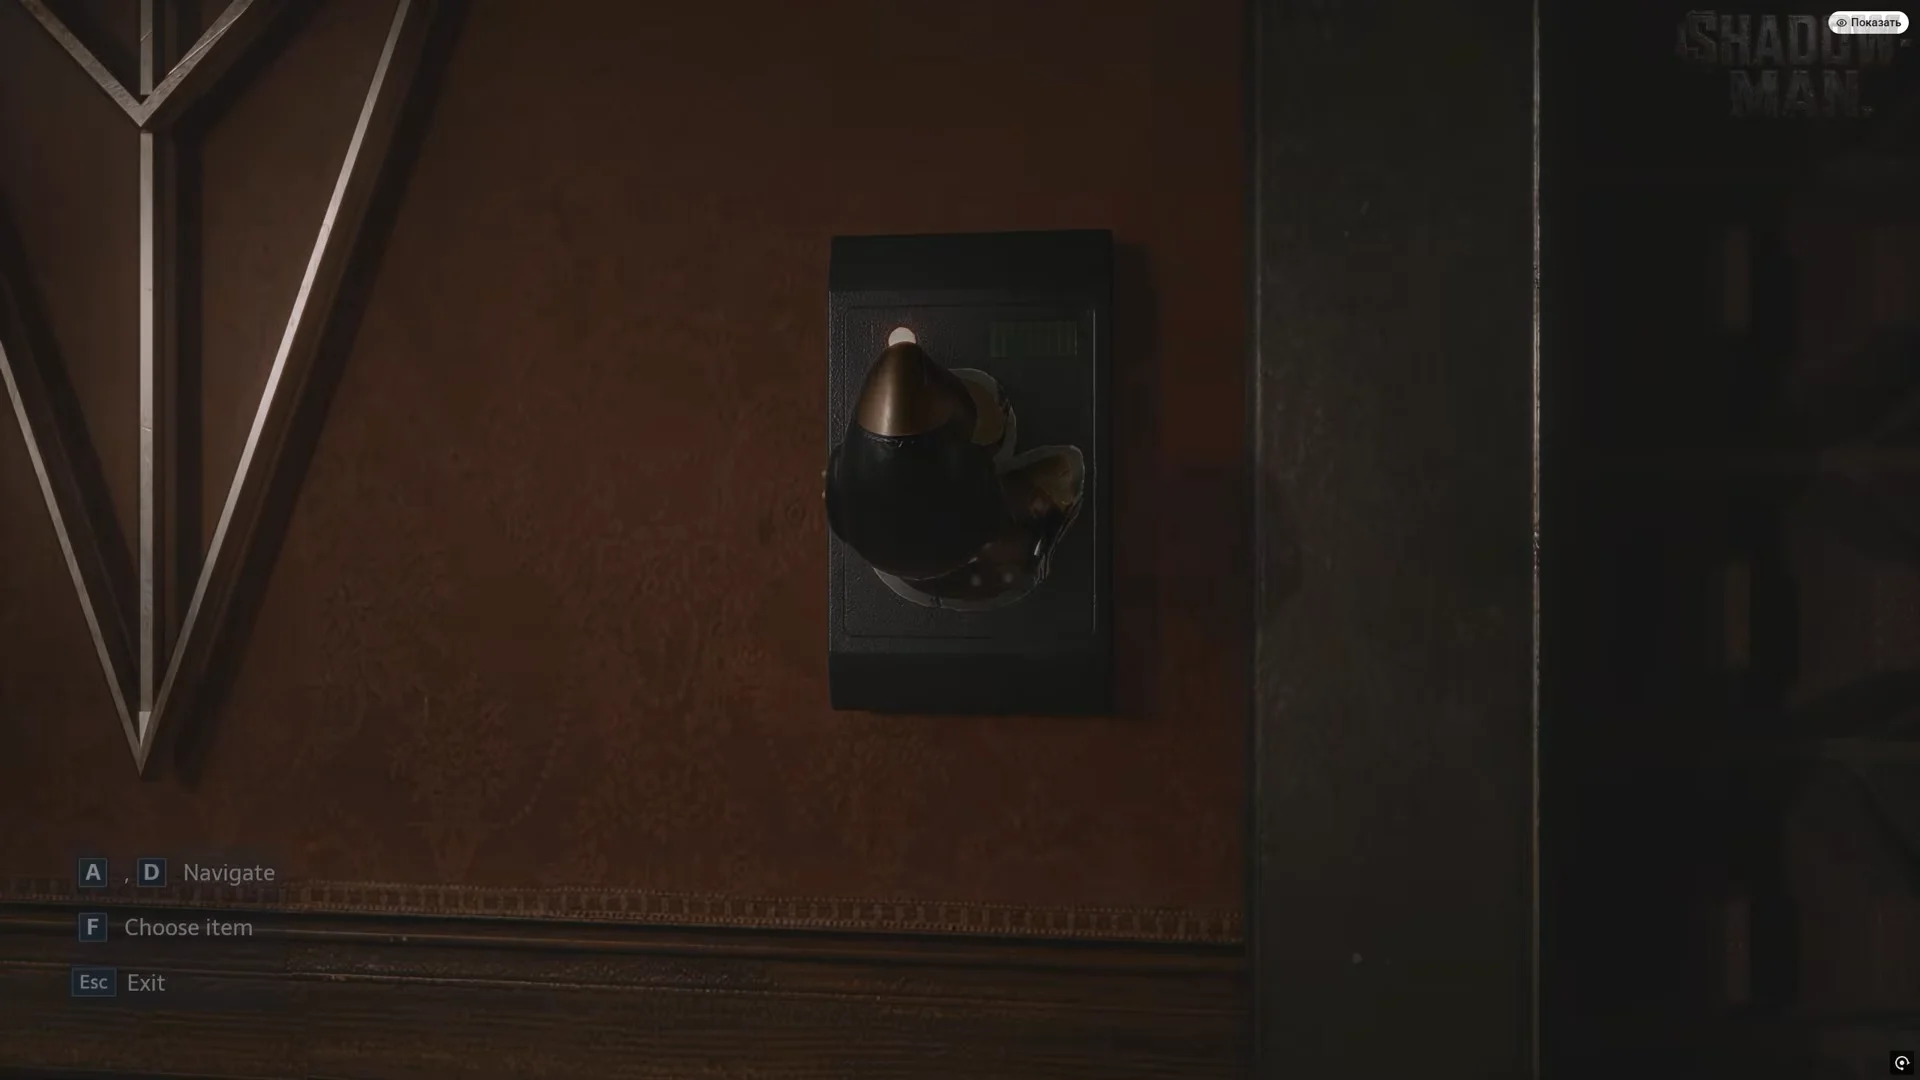
The stairs lead up to the cult’s crowded club, where Aidan remarks that he “should tread lightly.” This marks the end of the compound section.
Make sure you collect anything you still want from the compound before activating the duck. The keypad cabinet is only a few steps from the pedestal in the painting hall, so check that area first.