Clive Barker’s Hellraiser: Revival: How to Get the Genesis Configuration Back
Slip past the Sister of Mercy inside the club, survive the chase, and claim the cube at the end of the Labyrinth.
Slip past the Sister of Mercy inside the club, survive the chase, and claim the cube at the end of the Labyrinth.
by AllThingsHow Staff
Image: Saber Interactive
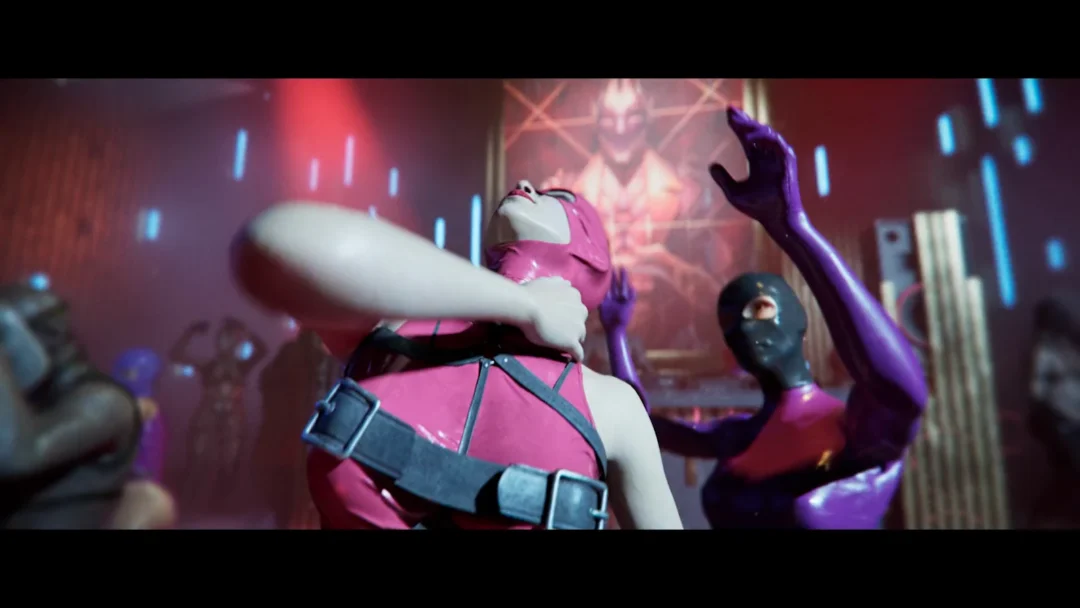
During the Hunt Marlowe mission in Clive Barker’s Hellraiser: Revival, Aiden loses the Genesis Configuration to the Sister of Mercy and has to chase it down. The task splits into two halves. First you sneak through a run-down club while a multi-armed creature patrols, then you fall into the Labyrinth and run a single path to recover the cube.
Quick answer: Stealth through the club to the upper floor, push the cabinet to trigger the chase, sprint to the lit doorway, then run the Labyrinth corridor to its end and pick up the glowing purple Genesis Configuration.
What the objective requires
Throughout this section, you control Aiden in the club, where survival means evading the hovering creature instead of taking it on. Your two current objectives are “Hunt Marlowe” and the sub-task “Get the Genesis Configuration back.”
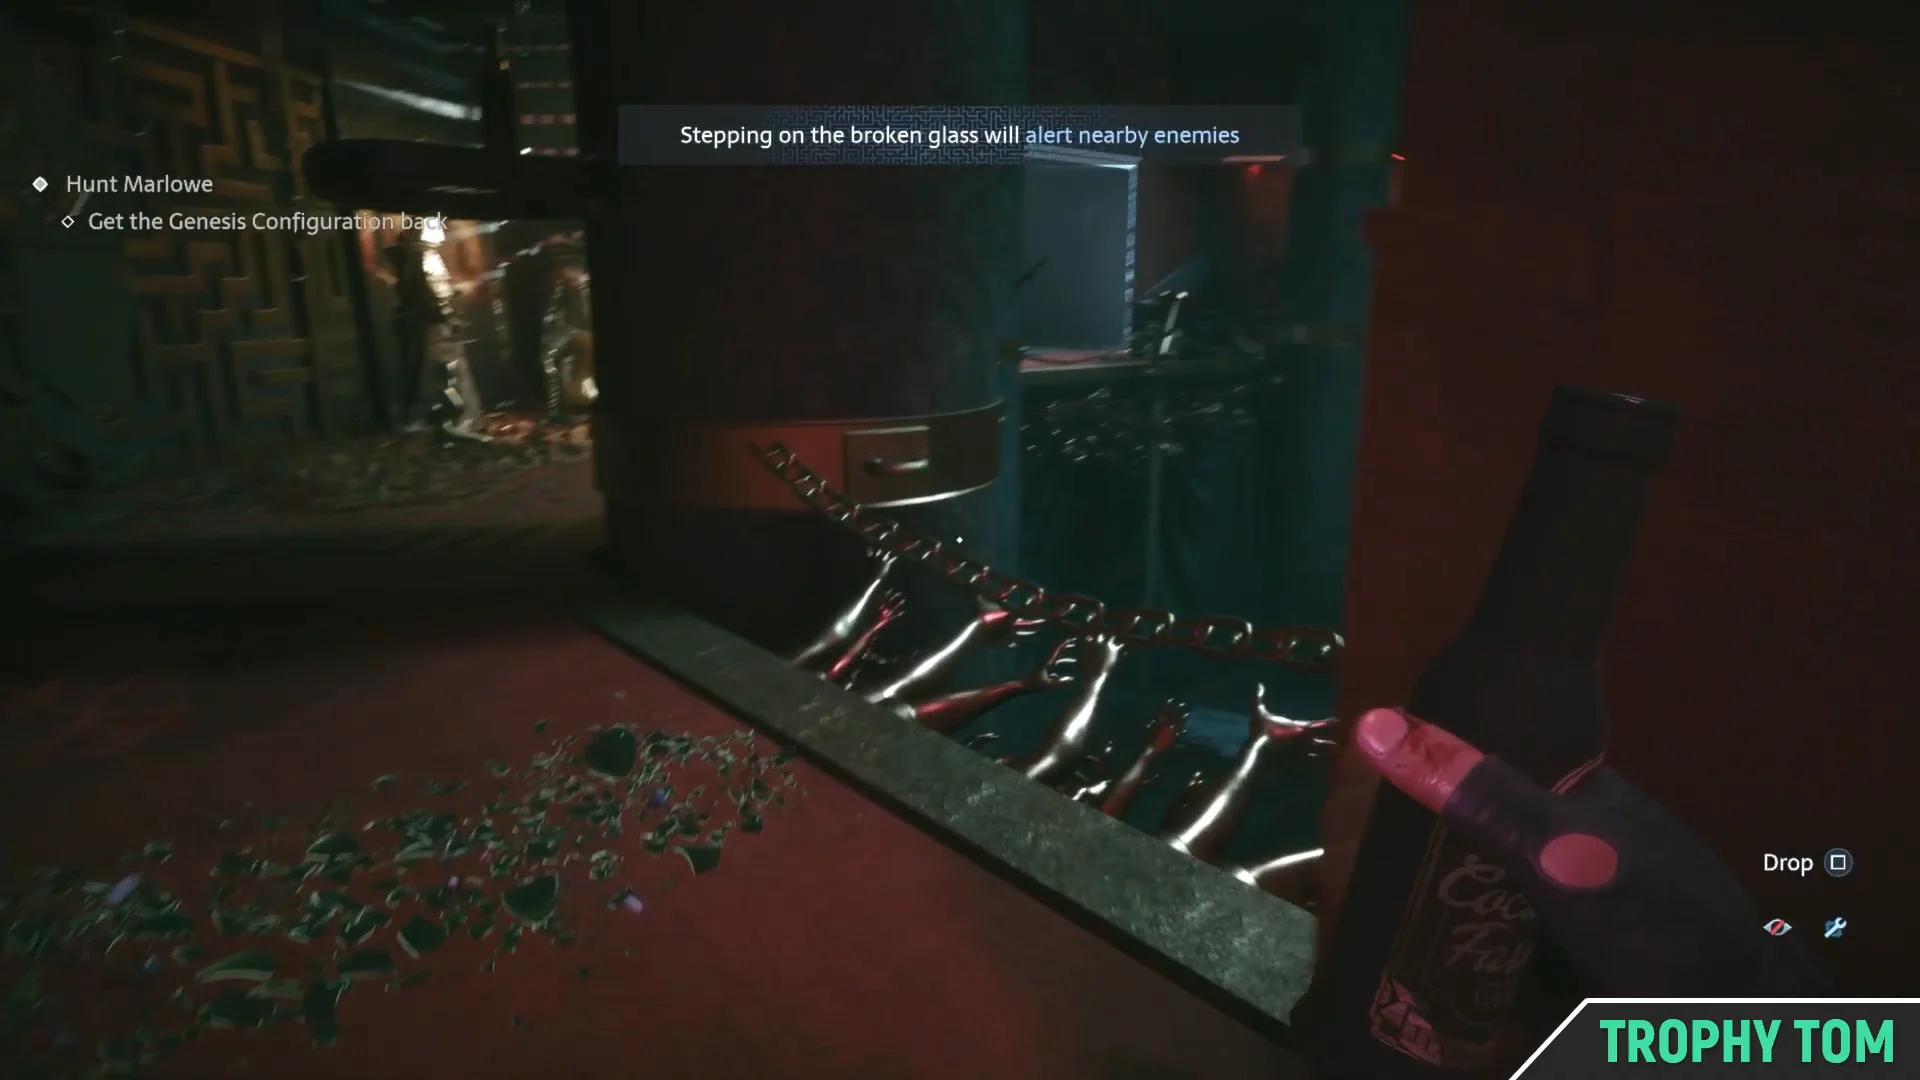
Keep a glass bottle in hand so you can throw it to pull the creature away.
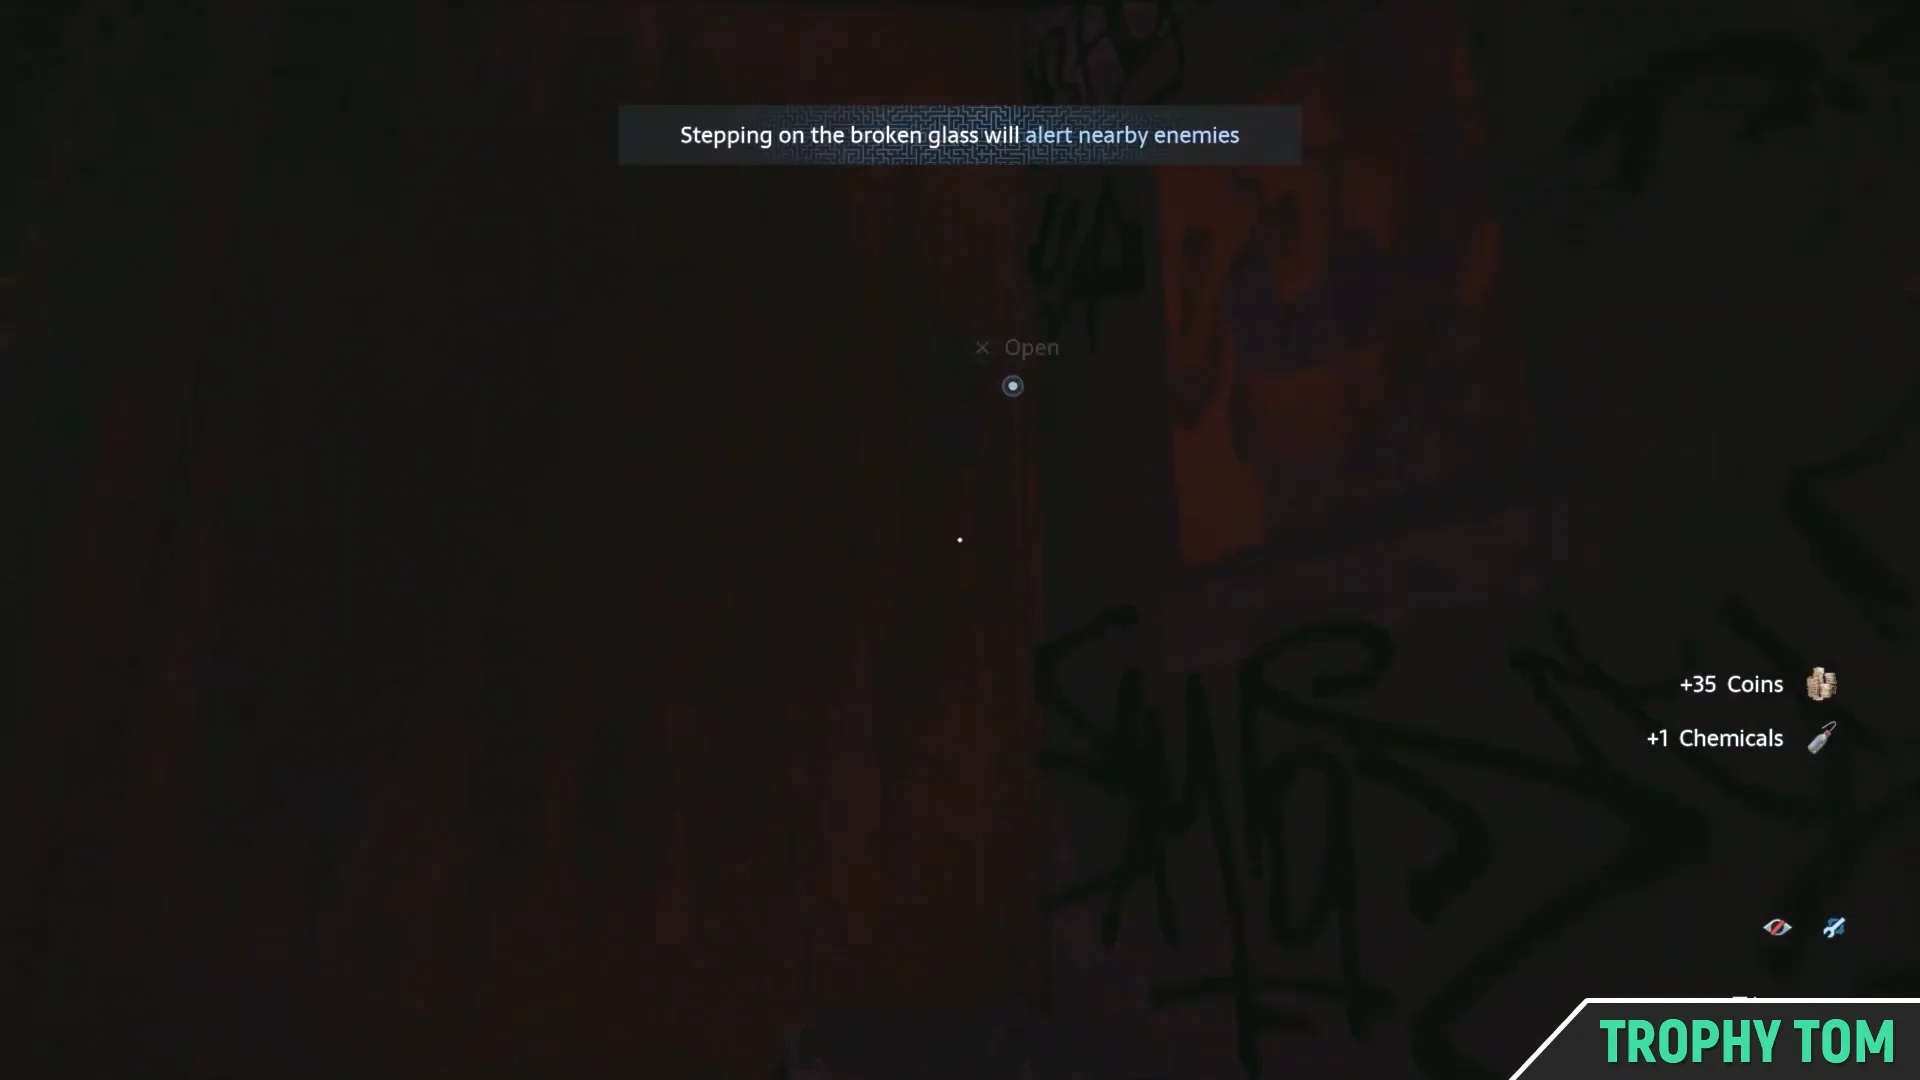
Avoid stepping on broken glass on the floor, which alerts nearby enemies.
Move furniture when prompted to open blocked passages.
Expect a forced chase once you reach the upper floor, so there is no stealth to protect afterward.
Move through the blood-stained corridors with a bottle equipped. Watch the floor for shards of broken glass and route around them, since stepping on glass draws the creature straight to you.
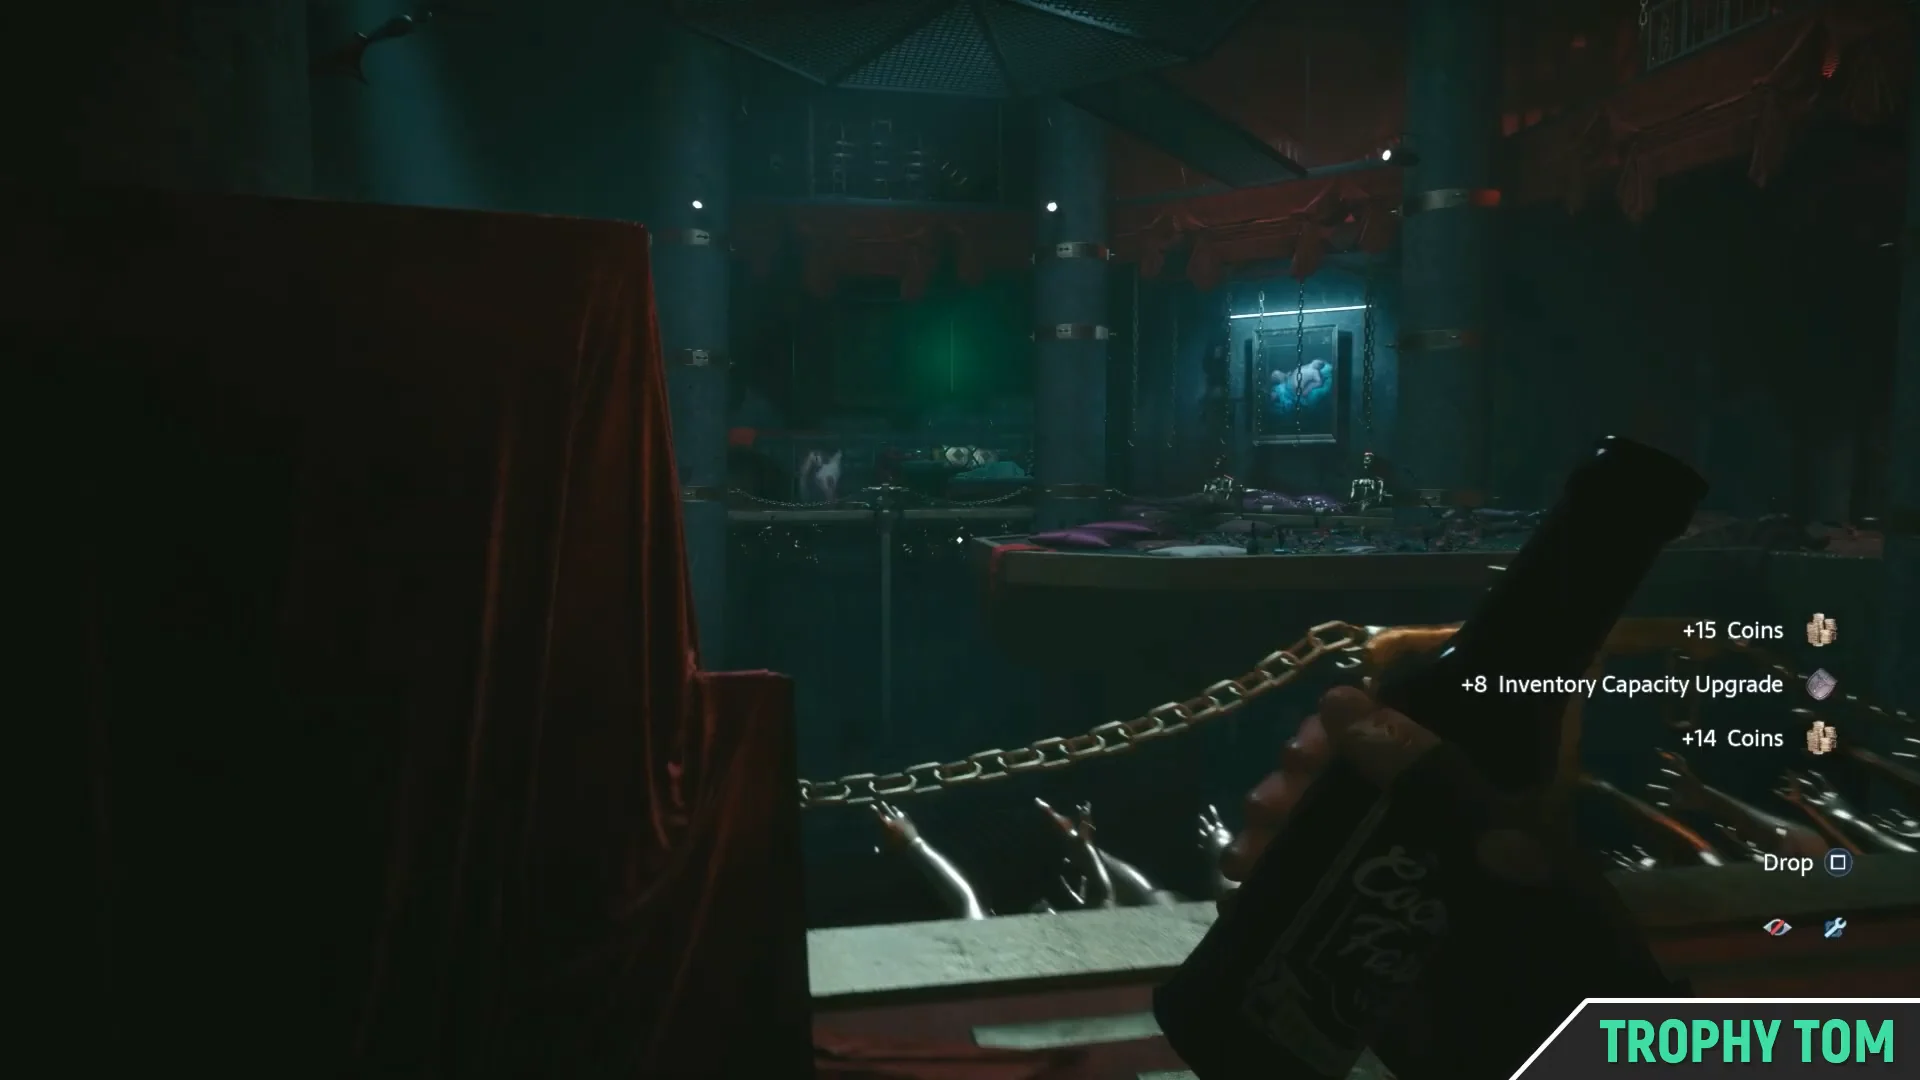
Behind a curtained seating area you can grab loose coins and an Inventory Capacity Upgrade that adds eight slots. Pick these up while the creature is searching elsewhere.
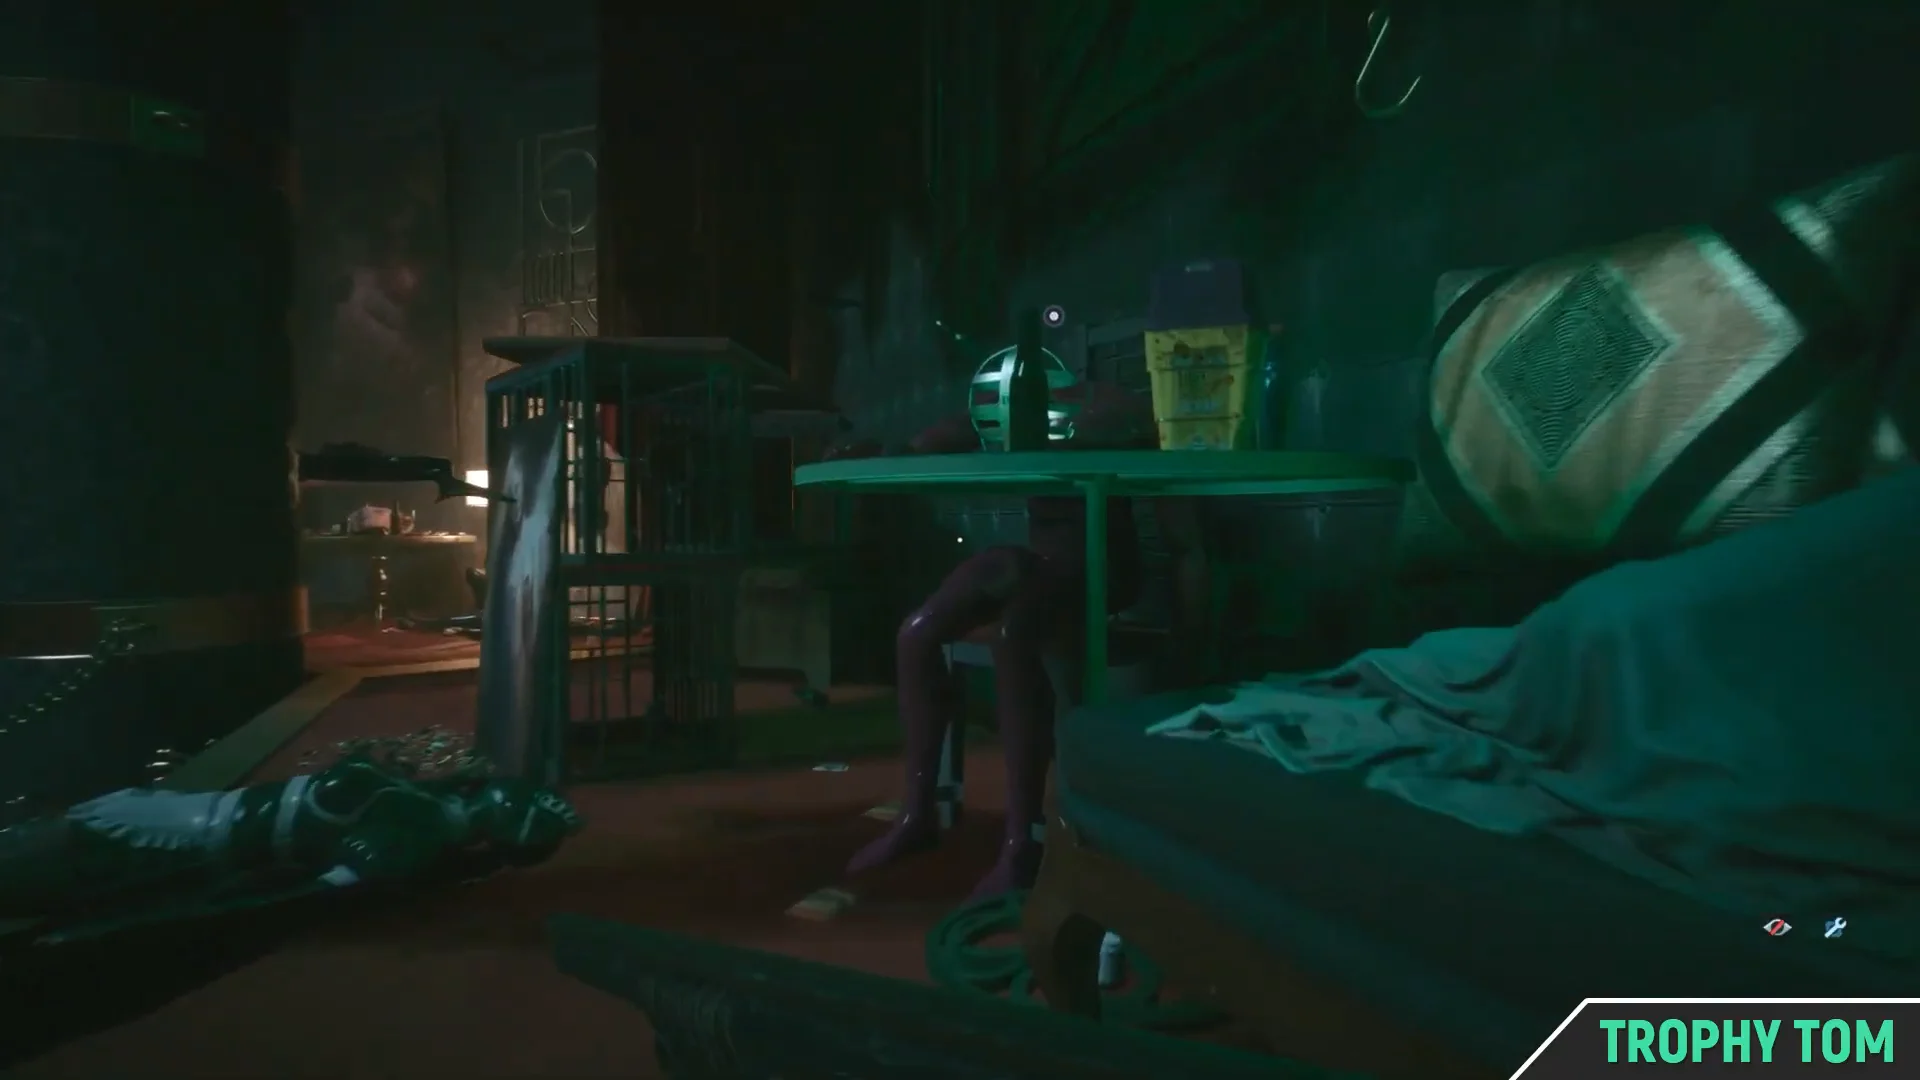
Slip past the hovering multi-armed entity as it sweeps the area. Stay behind cover such as tables, cages, and hanging chains, and wait for it to turn away before you cross open ground.
Enter the VIP booths and bar area to collect food and herbs, then move furniture to open an alternate route. A tall red cabinet can be pushed aside here to reveal a hidden doorway.
If the creature blocks your path, throw a bottle to distract it, then search the restroom. You can loot chemicals from a bin, coins from a sink, and a medkit off the tiled floor.
Collect the herbs, food, and chemicals while you can. Combat gets more expensive later in the game, so healing items and crafting materials are worth taking on a safe route.
Reaching the light at the end of the catwalk plays a capture cutscene. This also awards the PlayStation trophy So Much for the Cat and Mouse Shtick.
Navigate the Labyrinth to the cube
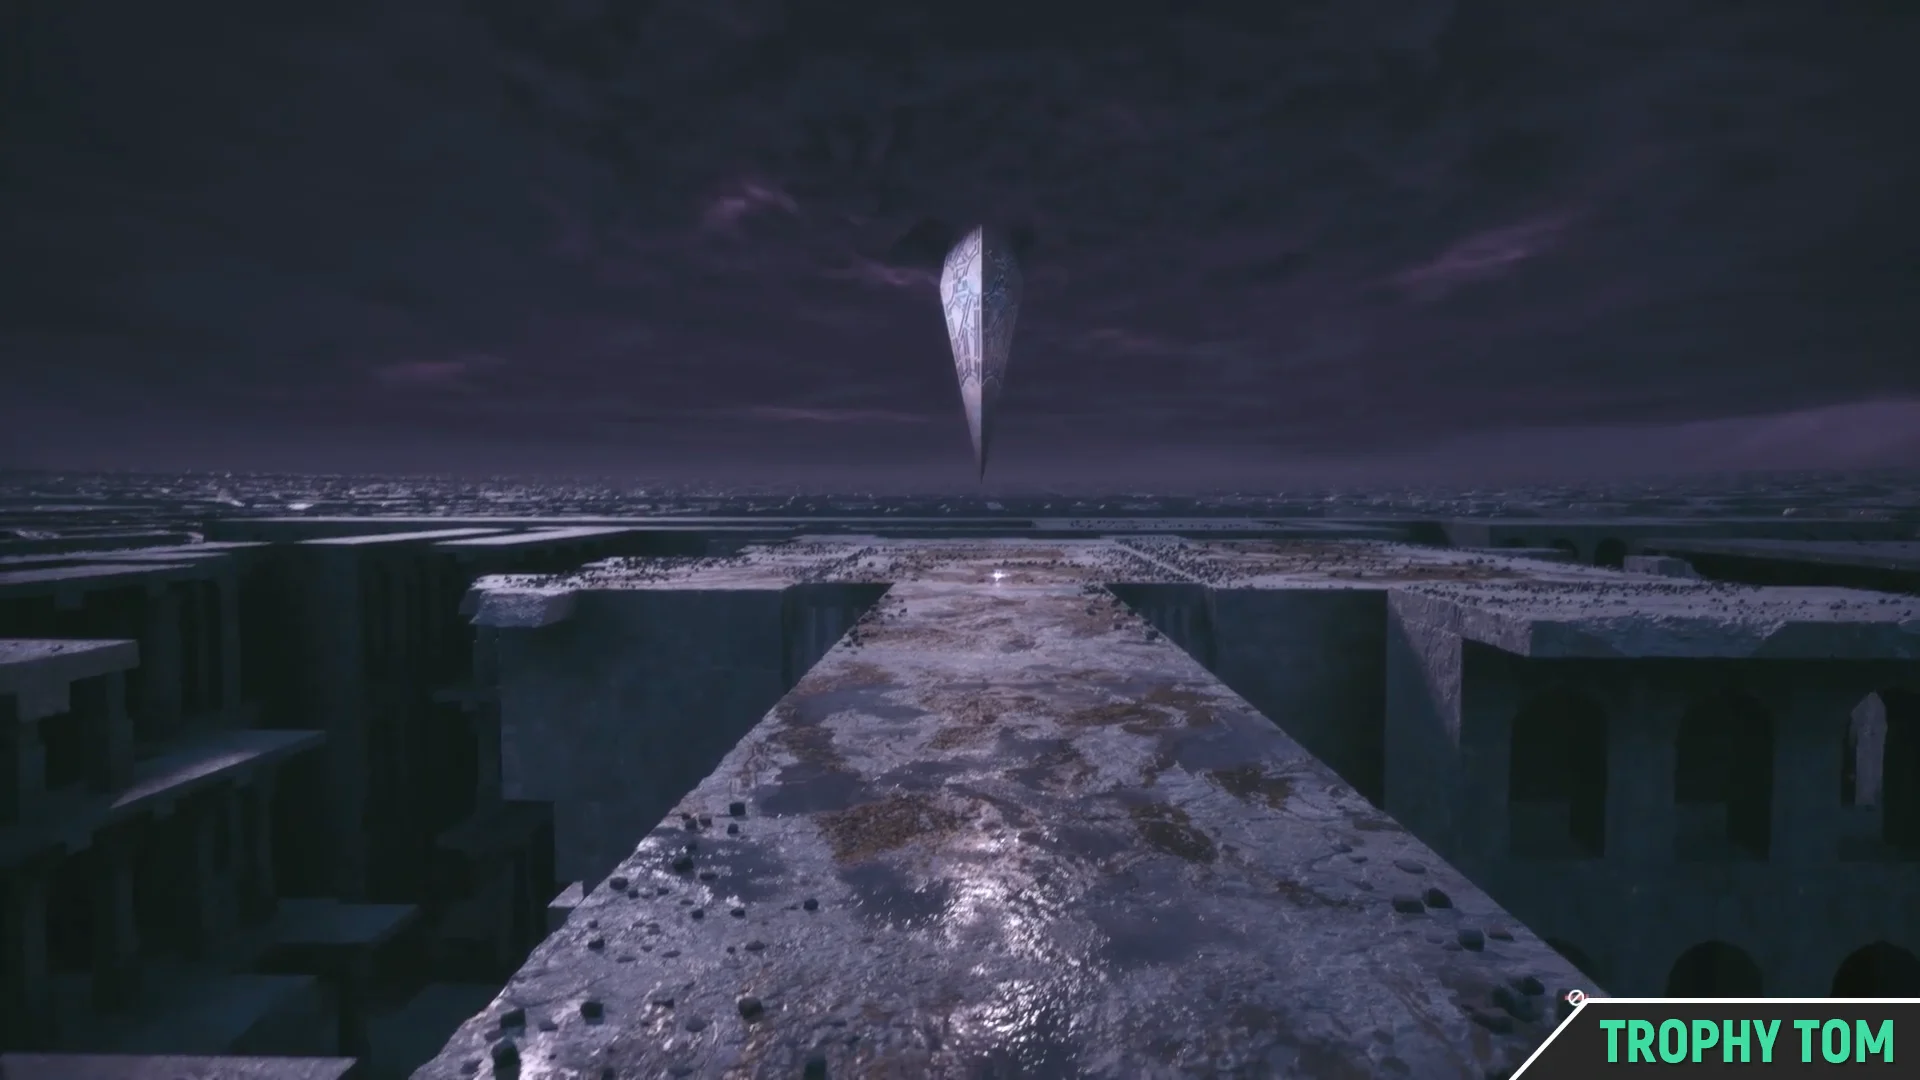
The scene ends with Aiden falling into the Labyrinth, a dimension of shifting stone beneath a purple, storm-filled sky, where an obelisk floats overhead. The route is straightforward: keep moving ahead.
Run through the narrow, shifting passages marked by wall lanterns and red glow markers. A glowing fracture in one wall acts as a save point, so use it to lock in your progress.
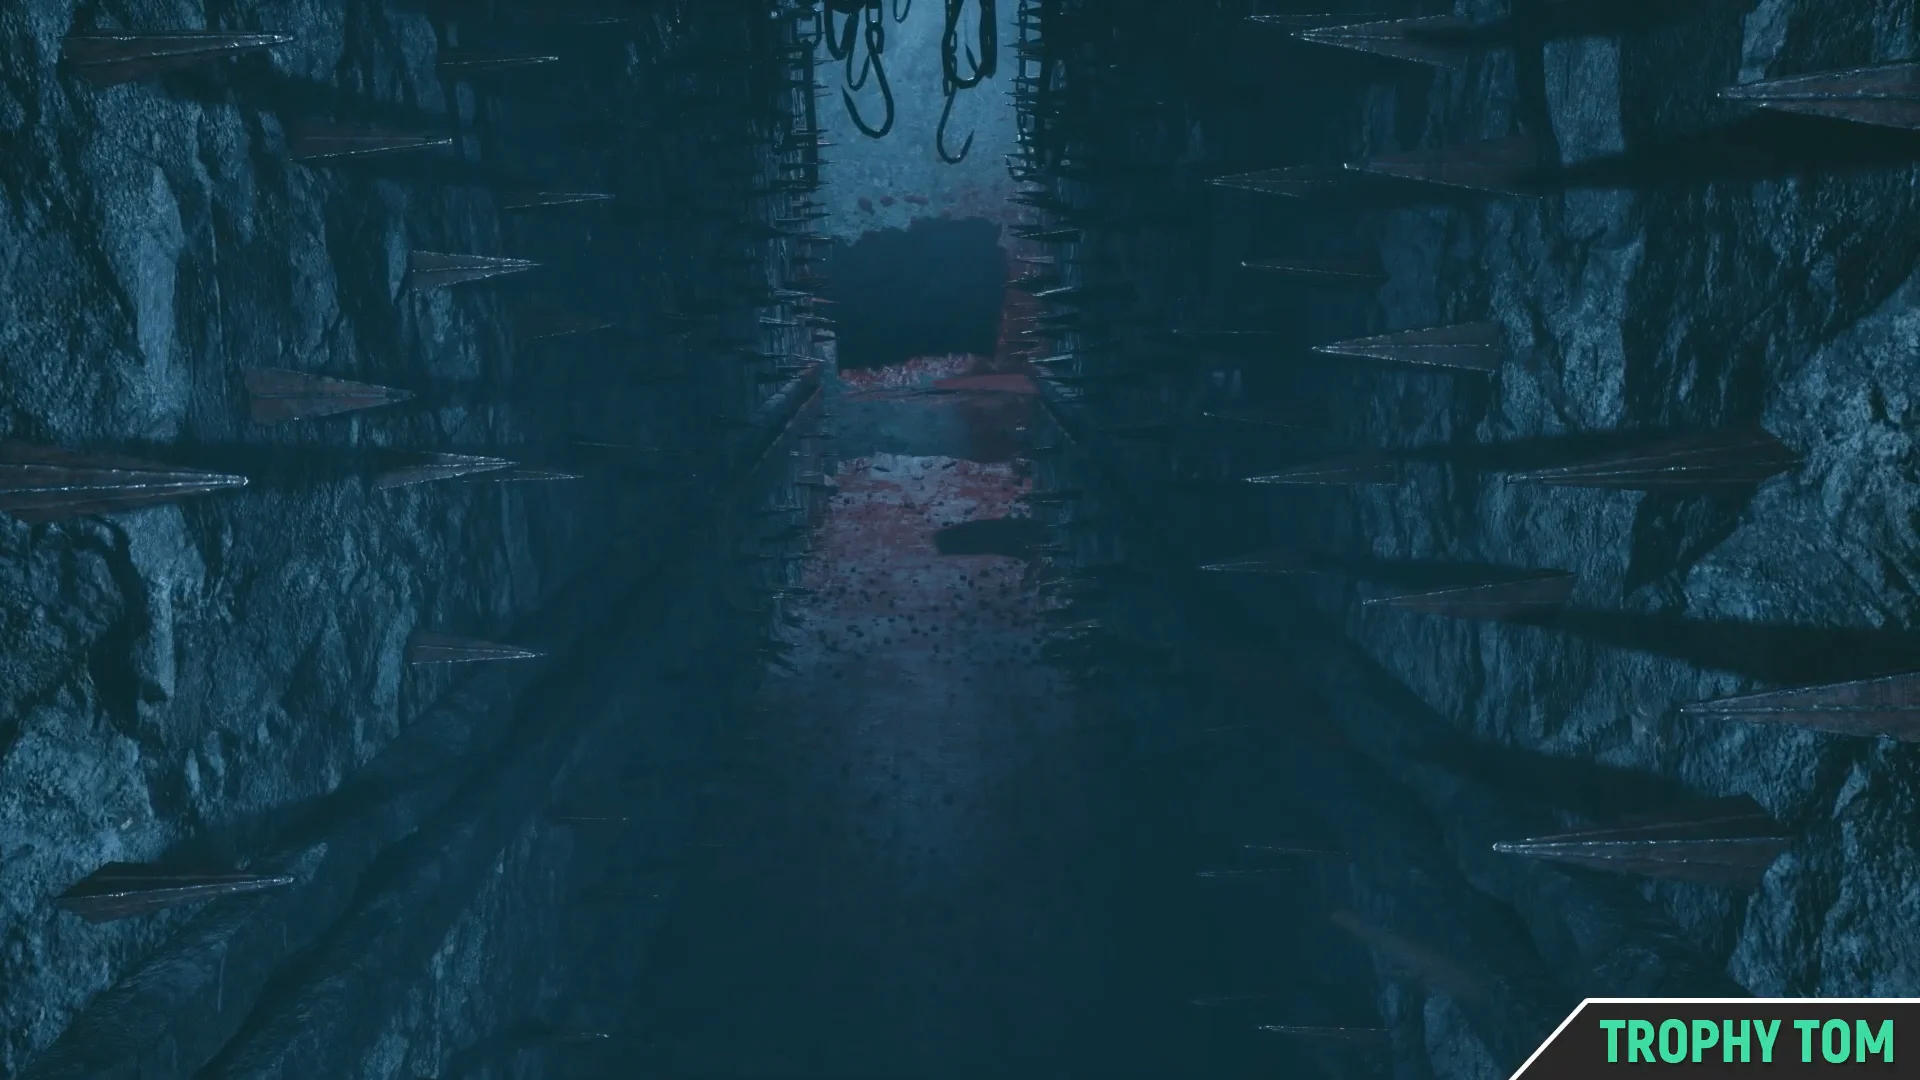
Sprint past the hazards that line the corridors, including hanging meat hooks, barbed vines, and spiked walls. Keep sprinting through the central altar chamber with its rotating spiked apparatus.
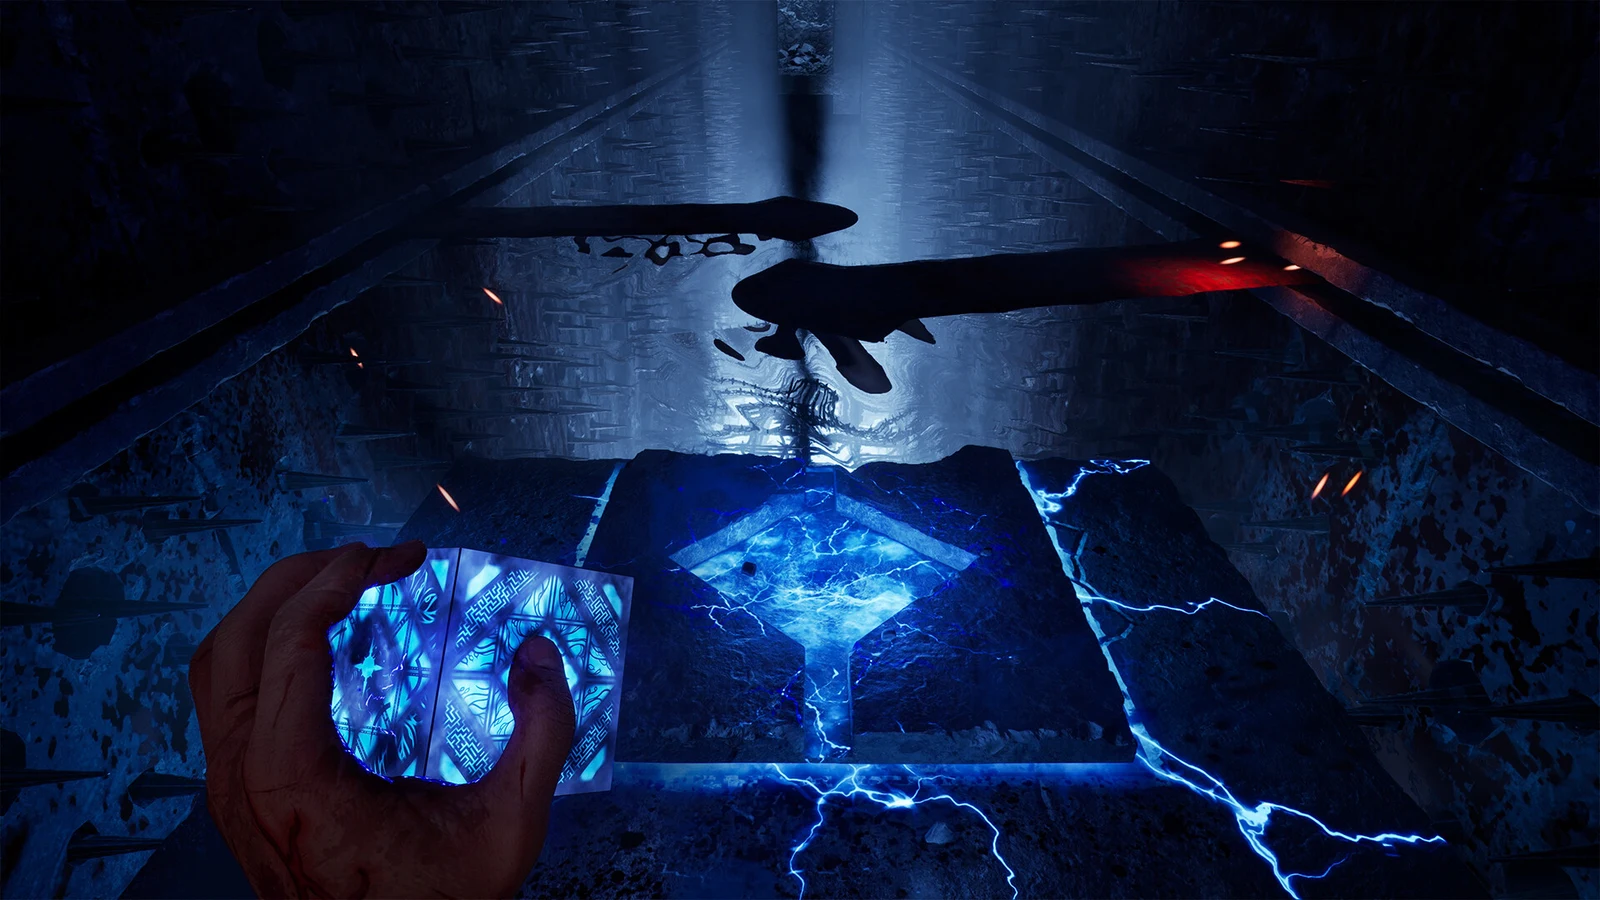
04:41Navigating the LabyrinthPush through the spike- and tendril-lined corridors, following the red markers deeper into the Labyrinth. Shown at 04:41 in Trophy Tom’s video. Image: Saber Interactive
Crouch through the collapsed low section where a creature pulls back, then follow the markers into the final chamber. The glowing purple Genesis Configuration cube sits on the stone ground. Pick it up.
How to confirm it worked
Collecting the cube finishes “Get the Genesis Configuration back” and sets your next goal to Exit the Labyrinth. A waypoint points to the nearby door glowing with light. Go through it to proceed, carrying the Genesis Configuration once again.