Control Resonant: Both Downtown Freeze Frame Camera Locations
Where the two Downtown paranatural cameras sit, the abilities you need for each, and how to shut their lids.
Where the two Downtown paranatural cameras sit, the abilities you need for each, and how to shut their lids.
by AllThingsHow Staff
Image: Remedy Entertainment
The “Freeze Frame” side story sends you after paranatural cameras hidden across Manhattan, and Downtown holds two of them. Each one freezes Dylan in place the moment it catches sight of him before vanishing, so the goal is always to slip in from behind and shut the lid. Both Downtown cameras are traversal puzzles first and combat encounters second, and each one is gated behind a specific ability you must already own.
Quick answer: Downtown’s two cameras sit on a rooftop near West Supply Route Station (break the barricade with Push or Ground Slam after Shifting onto the roof) and inside a powered FBC office container near the Chasm (needs Reach).
Abilities you need before starting
Neither Downtown camera can be reached with your starting kit. Camera 1 requires a heavy combat ability to smash a wooden barricade plus Shift to reach the rooftop it sits on. Camera 2 is a pure grappling puzzle that depends on Reach. Line these up first, or you will hit a wall at both locations.
Ability
Where to unlock it
Used for
Push or Ground Slam
Defeat The Dancer Resonant in the West Incursion Zone
Breaking Camera 1’s barricade
Shift
The Fault in the West Incursion Zone
Reaching Camera 1’s rooftop
Reach (grappling hook)
The Fault in the Evacuation Zone
Climbing to Camera 2
Downtown Camera 1: rooftop near West Supply Route Station
This camera hides in a boarded-up rooftop room near the Dense Patterning, close to West Supply Route Station. The approach relies on a gravity flip, so keep Shift ready and save the heavy attack for the barricade at the end.
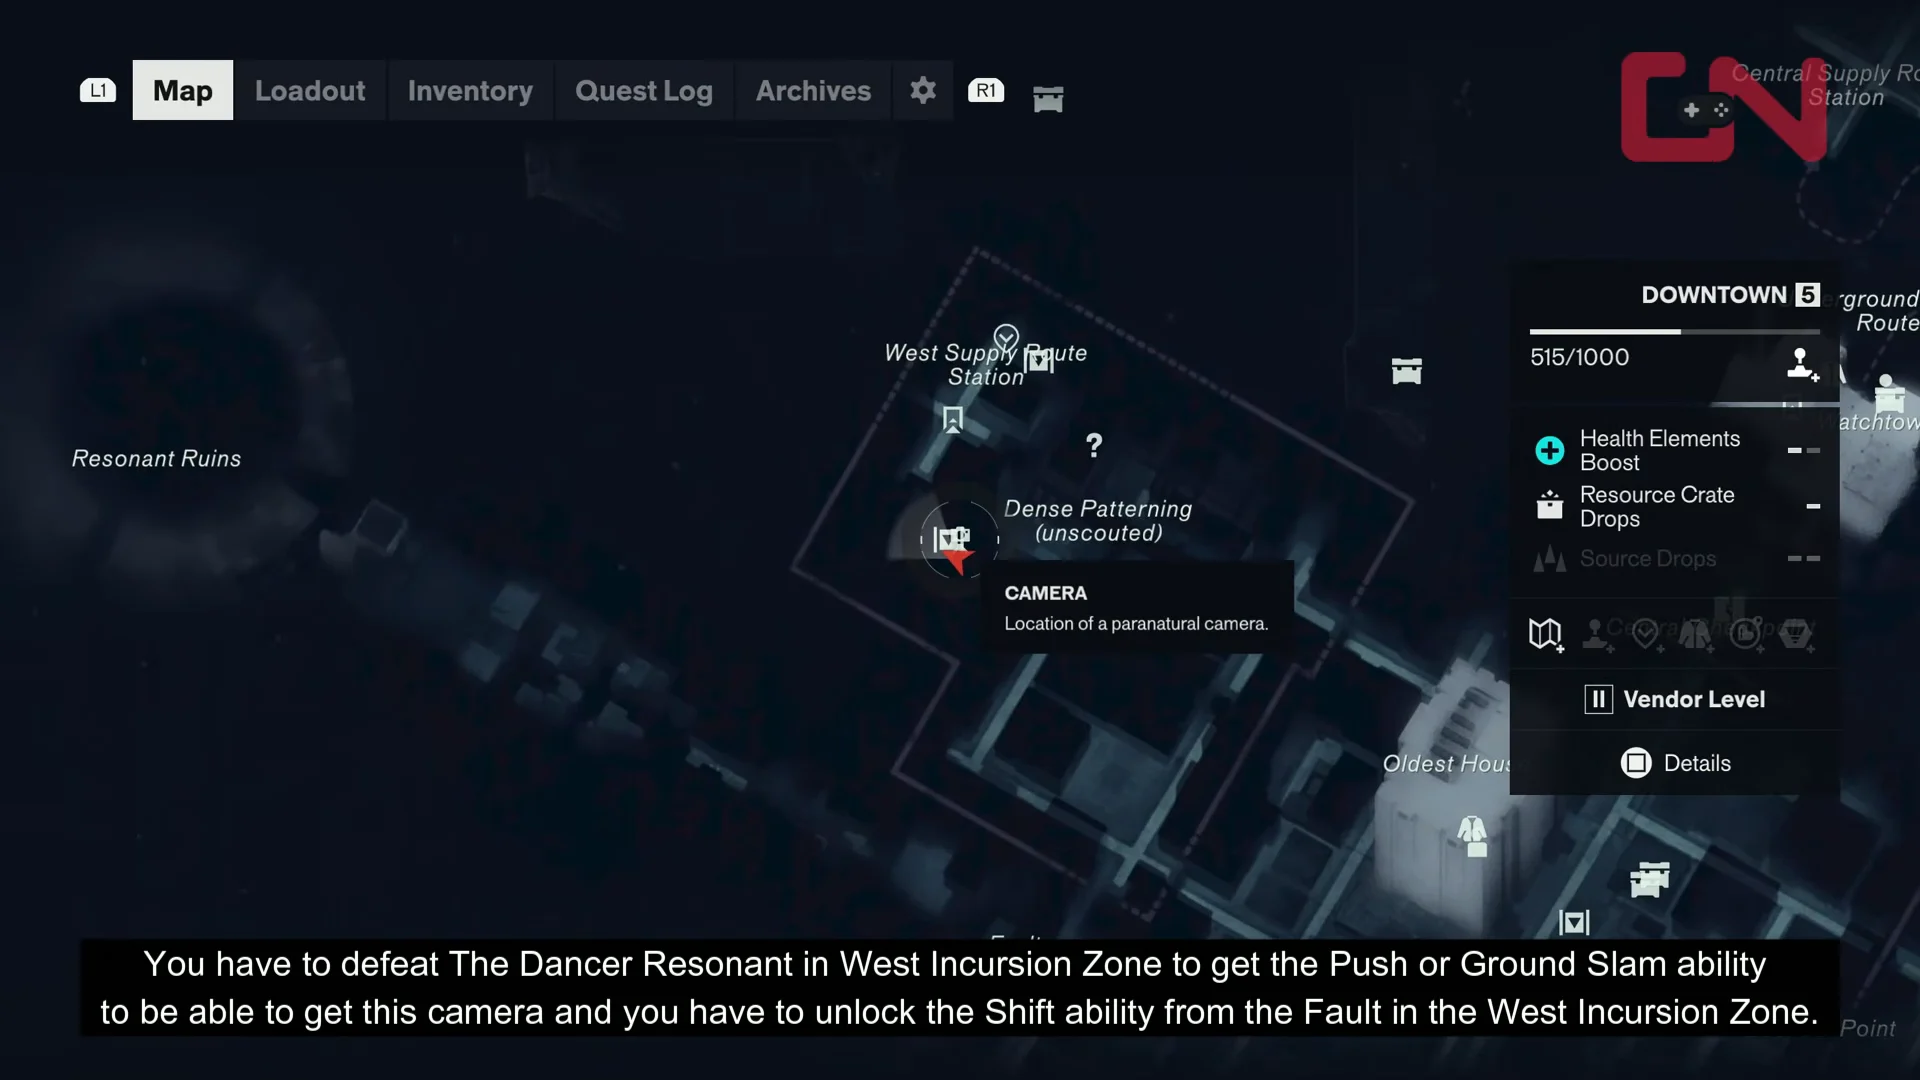
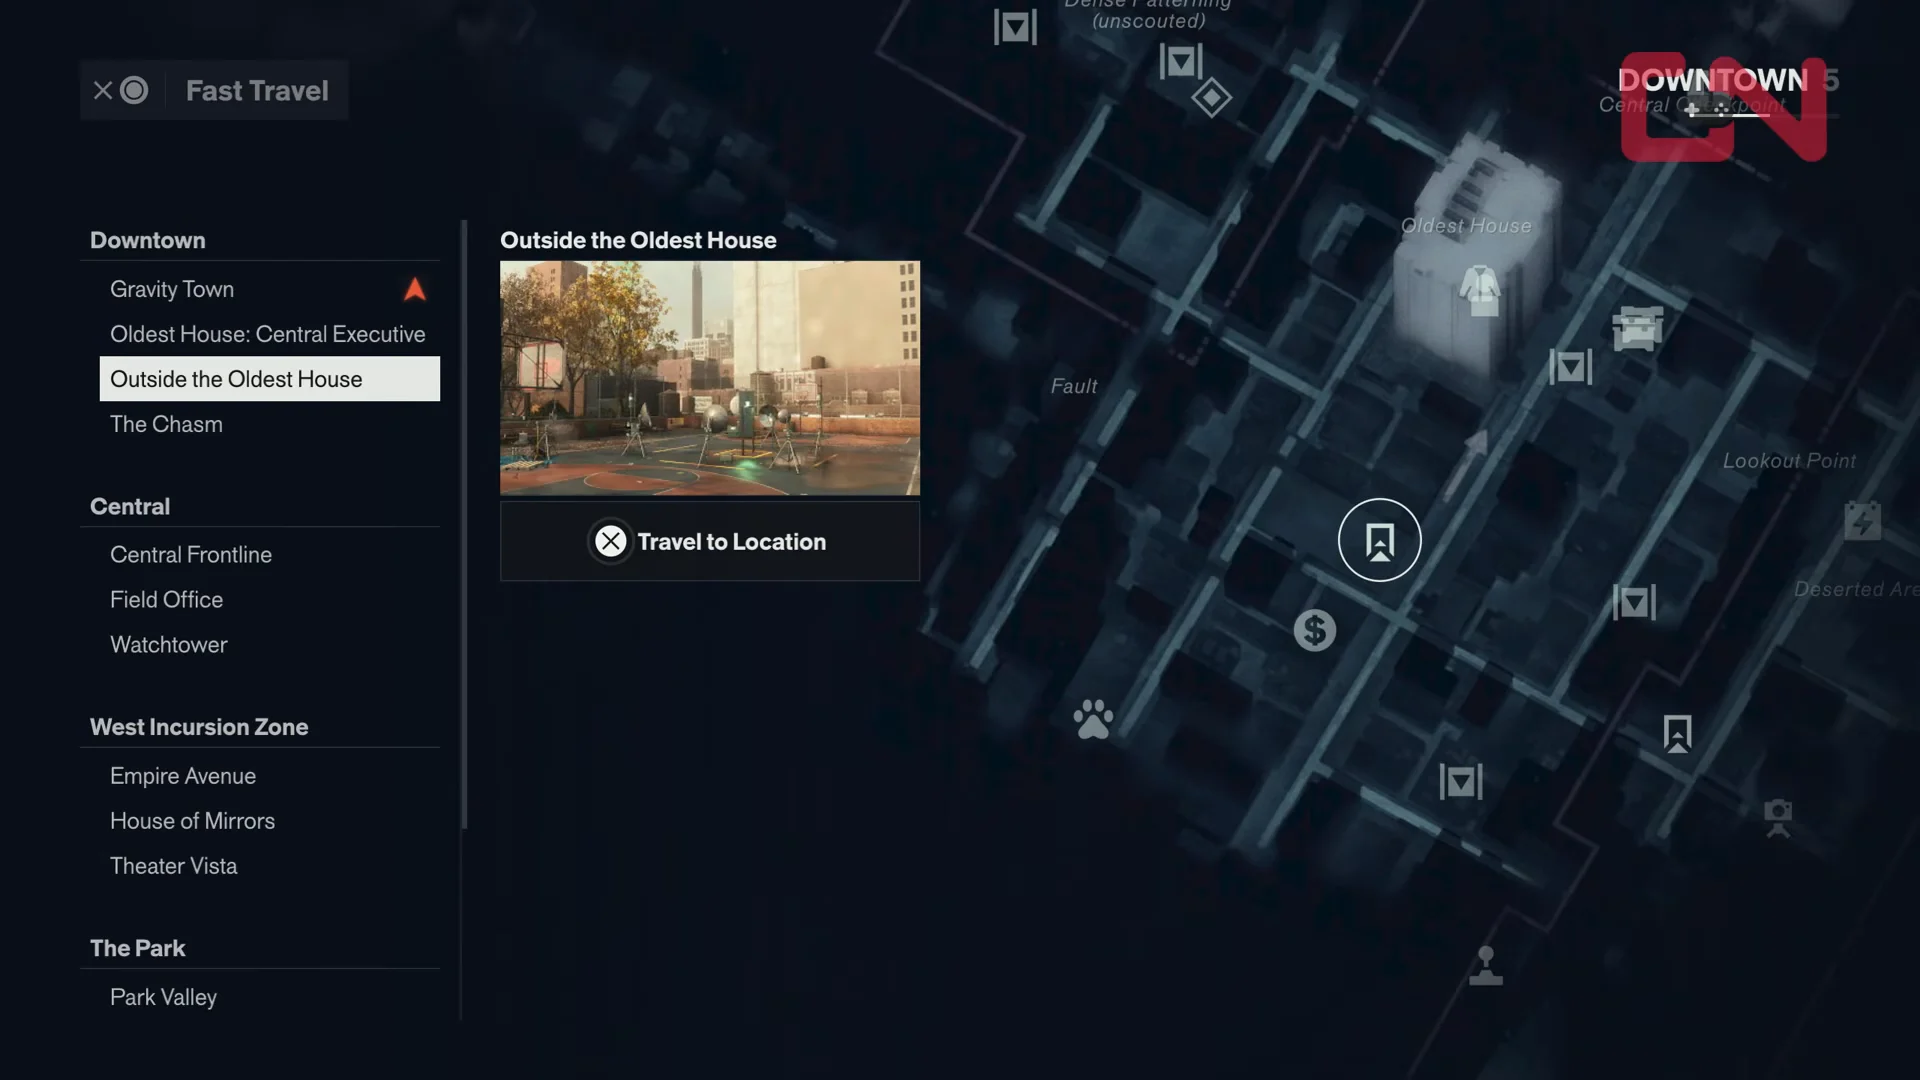
From the Gravity Town area, travel to the fast travel point to the north, then follow the road that runs southwest to its end. Open the Downtown map to confirm the camera marker sitting near West Supply Route Station before you commit to the jump.
00:28Map Location: First CameraThe Downtown map pins the first camera next to West Supply Route Station, your target for this stretch. Shown at 00:28 in GosuNoob’s video. Image: Remedy Entertainment
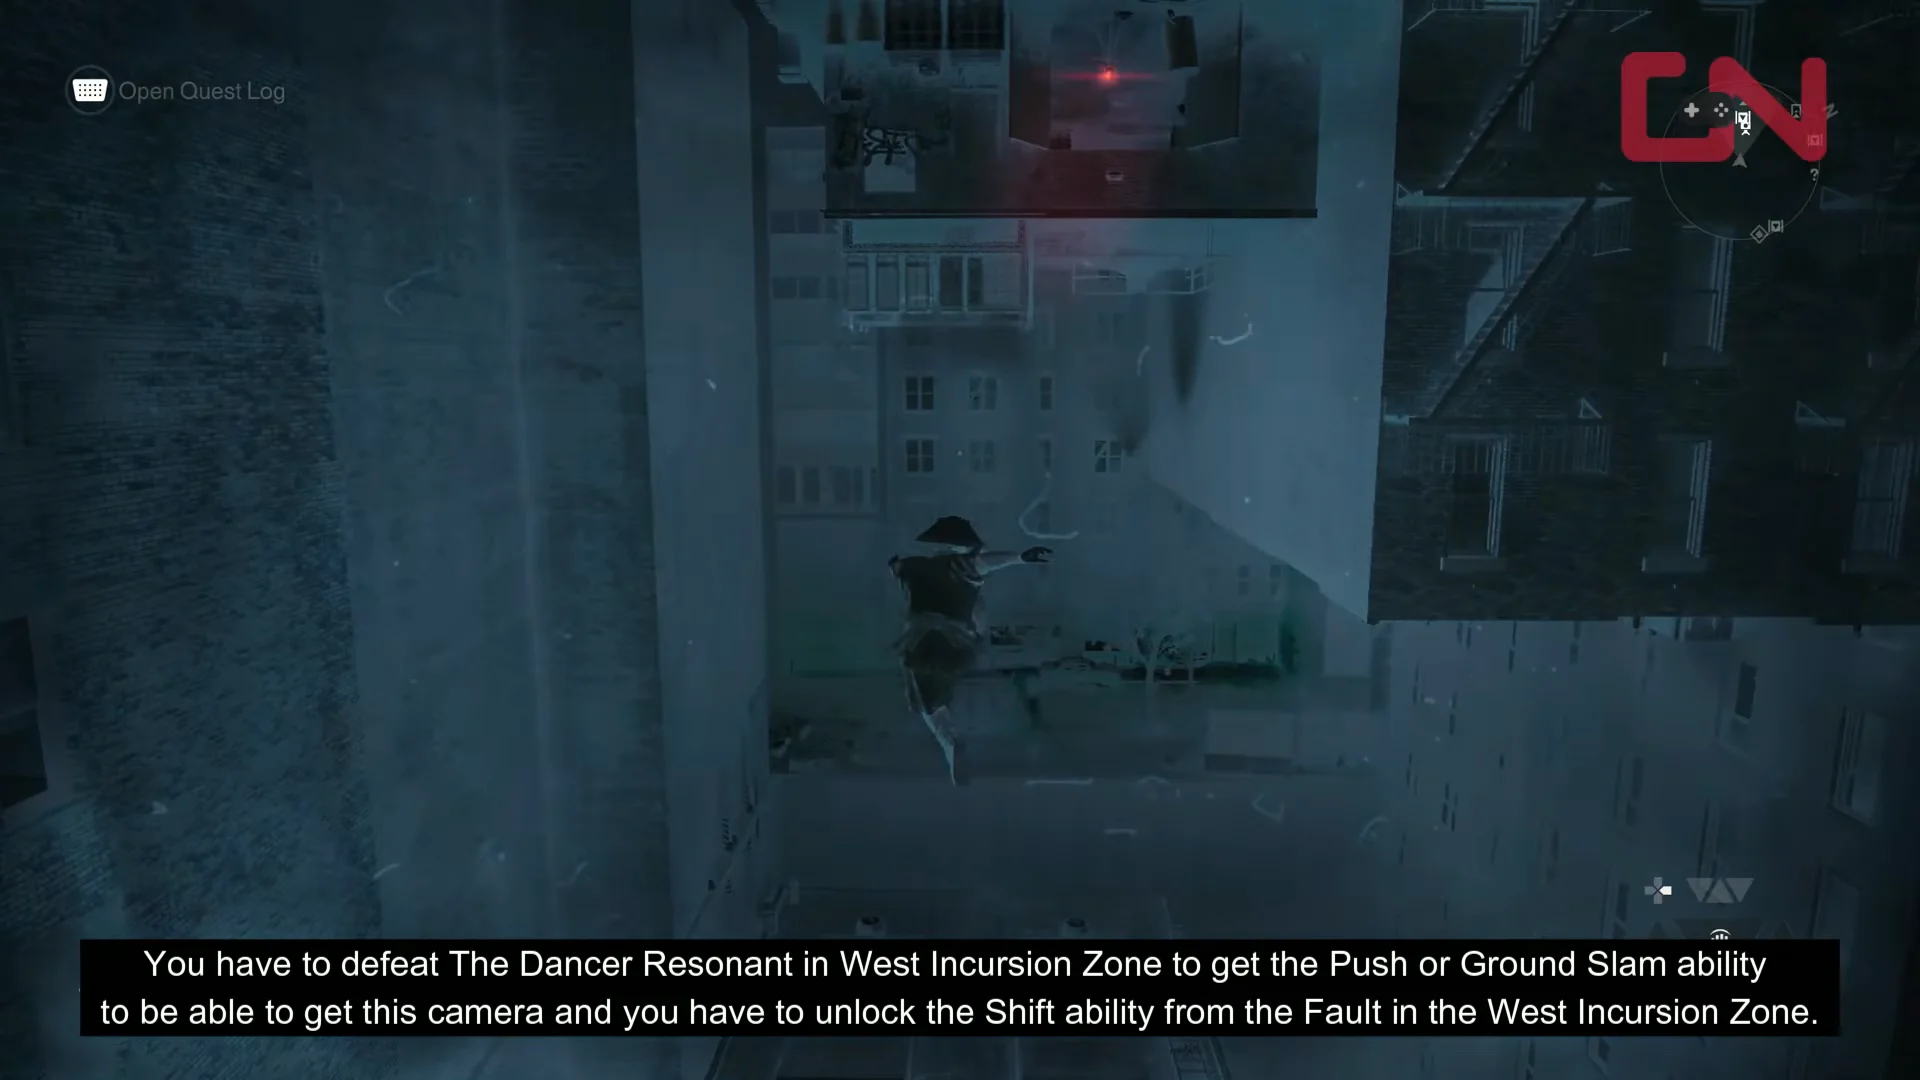
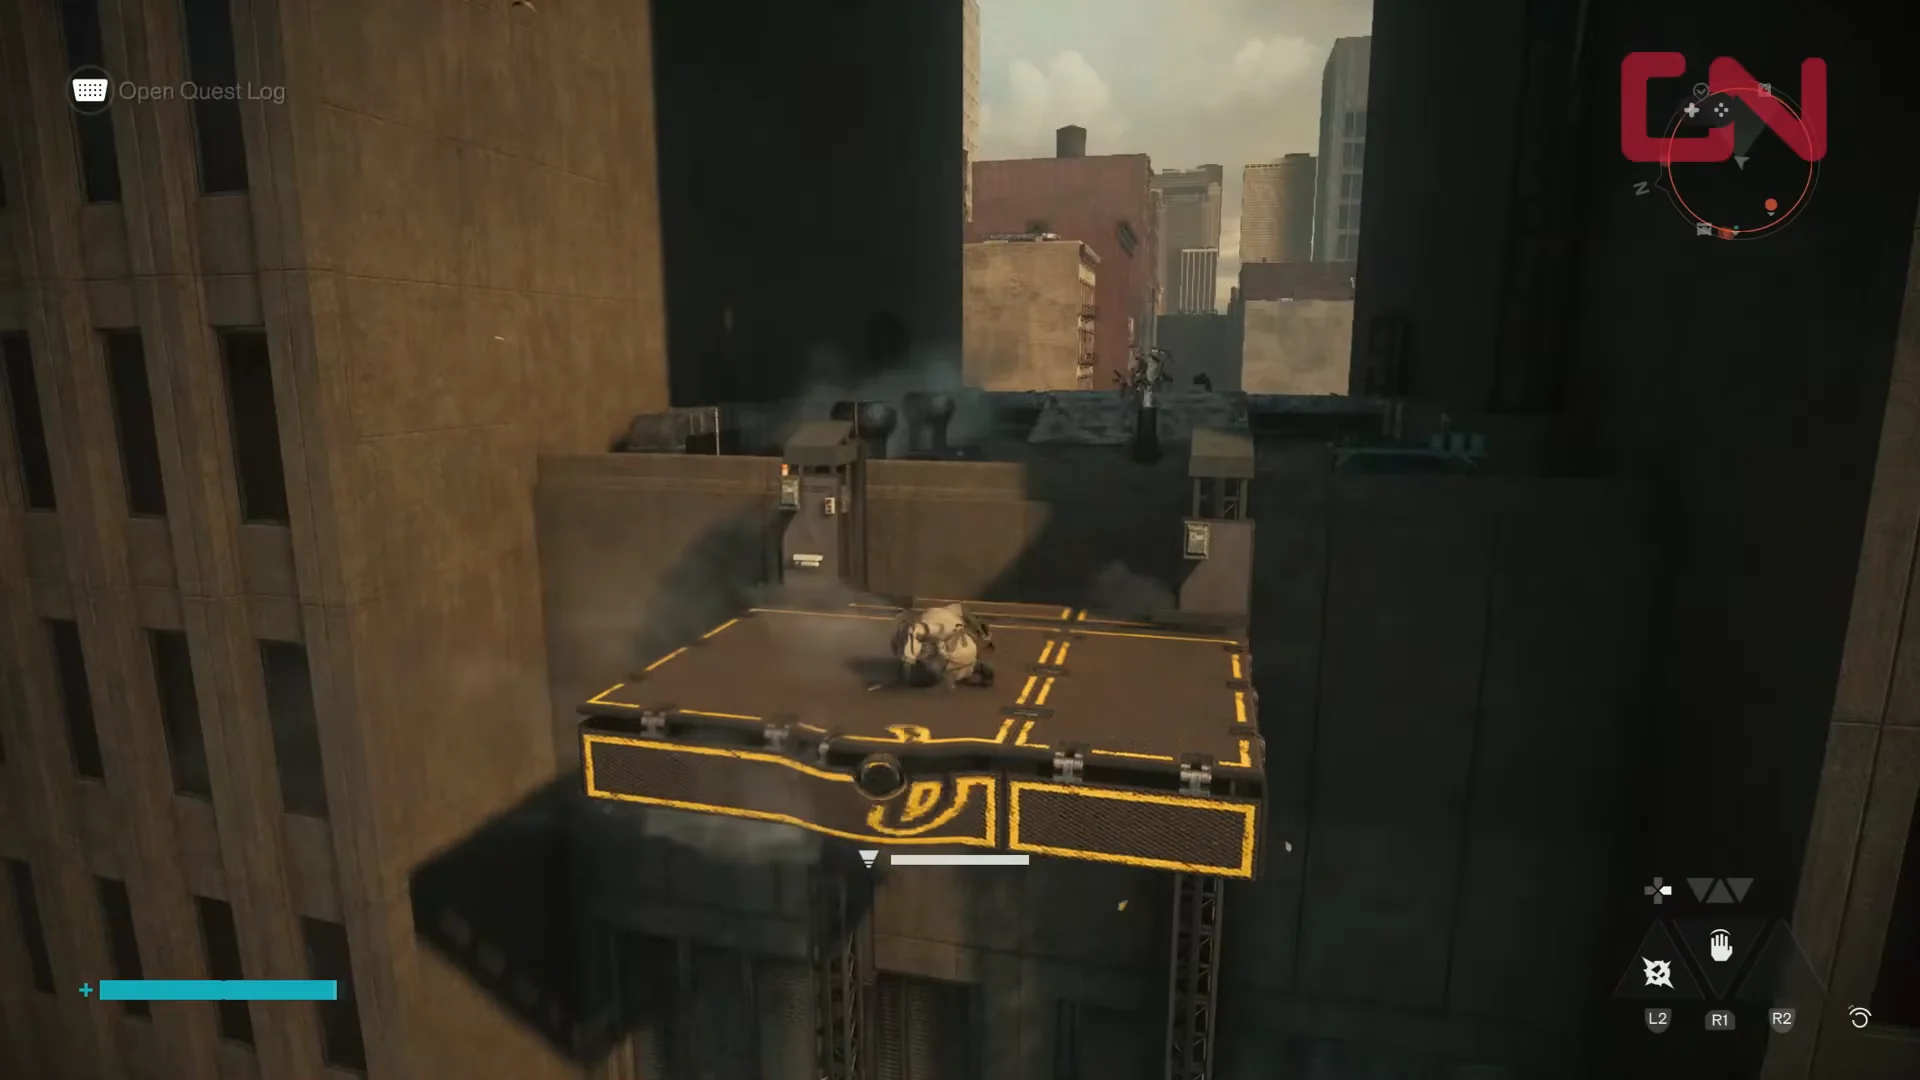
Jump down at the end of the road, then leap left across the chasm and switch gravitational alignment with Shift so you land on the underside roof as you pass beneath it. From there, run and jump across the high rooftop ledges toward the closed structure.
Jump onto the structure and smash the wooden window slats acting as the ability barrier. Use Push or Ground Slam to break them open, which drops you straight into the room behind the camera.
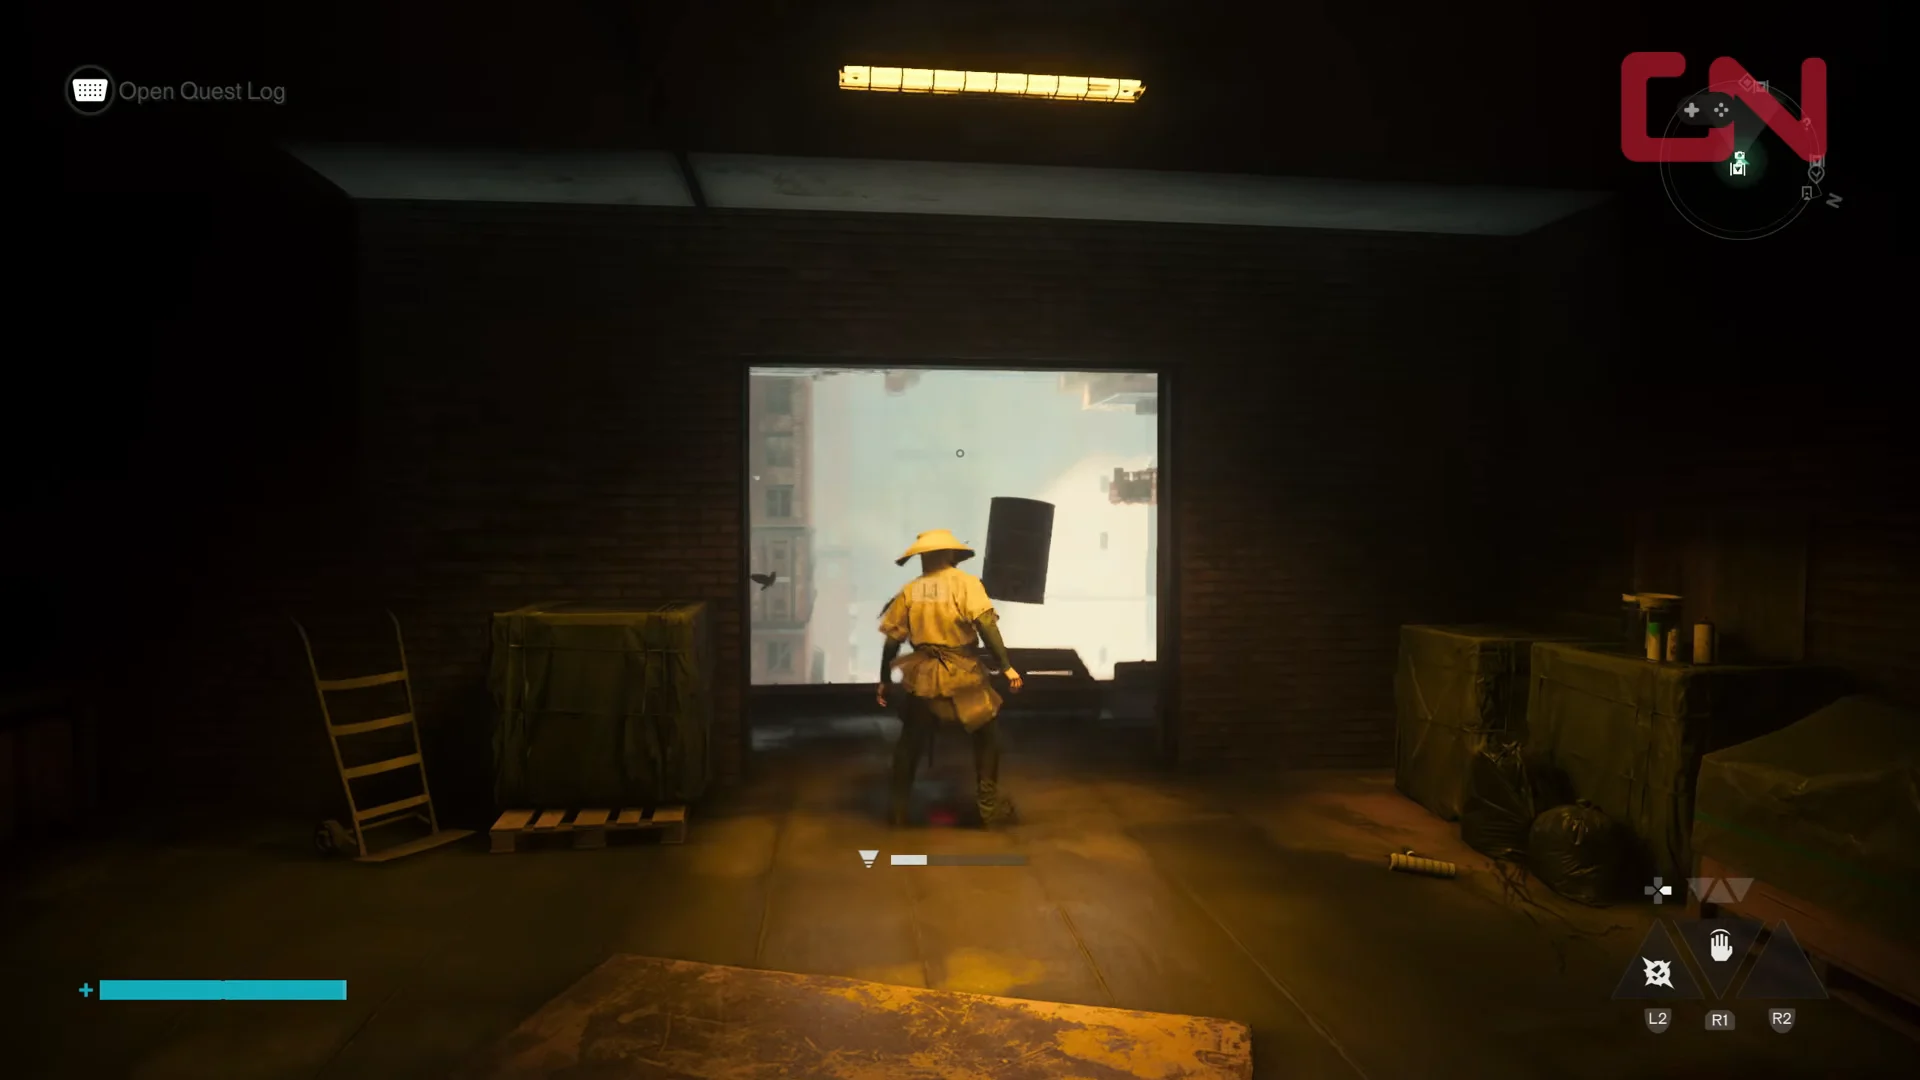
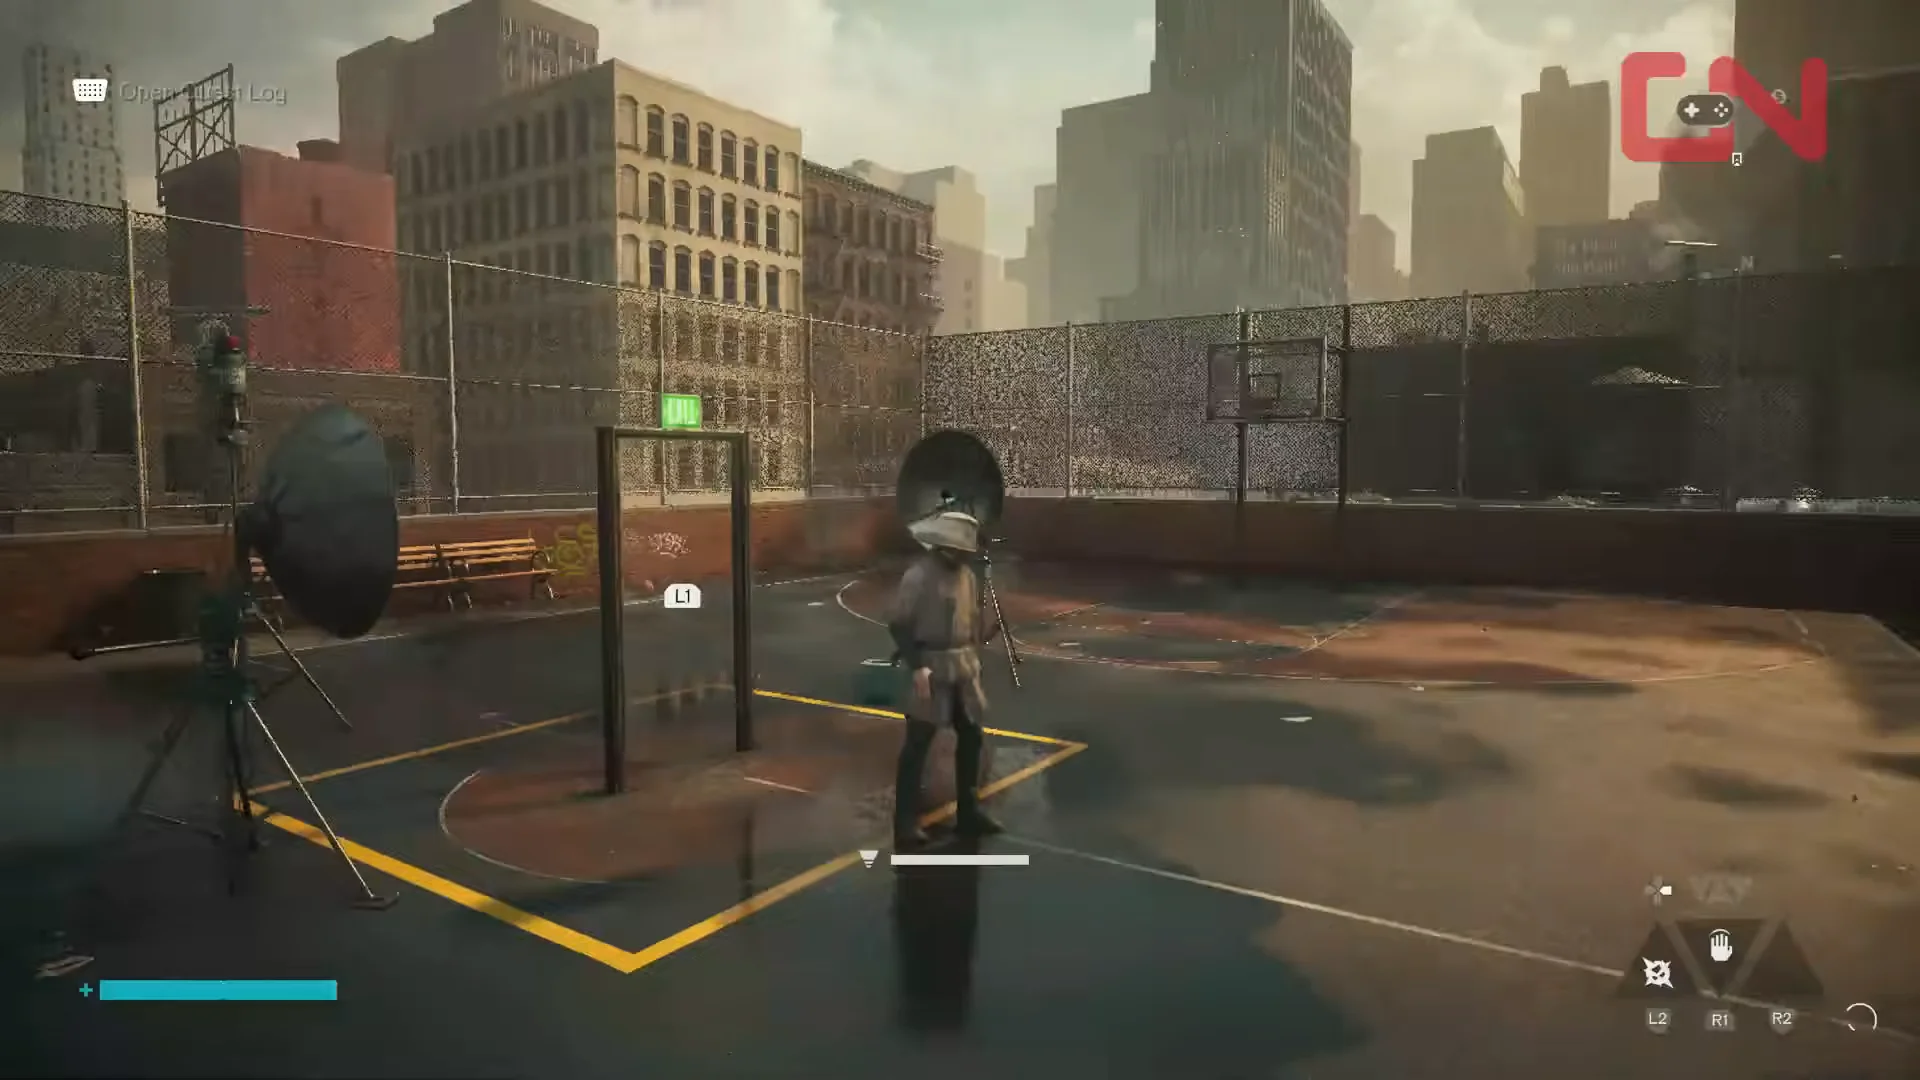
Walk up to the camera’s projector aperture and press L1 to shut the lid. Loot the nearby chest before you leave, since the room also holds a pickup.
01:25Securing First CameraReaching the projector from behind lets you close the lid without being frozen. Shown at 01:25 in GosuNoob’s video. Image: Remedy Entertainment
Downtown Camera 2: powered FBC office container near the Chasm
The second camera peeks out through the glass wall of a modular FBC office in eastern Downtown, near Lookout Point and the Deserted Area. The doors stay locked until you route a power core into the station on the roof above it, so this one combines Reach climbing with a short power-carrying puzzle.
Use Reach to grapple onto platforms marked with yellow edges, then climb the building’s exterior. Reach works over a limited distance, so use Double-Jump and Dodge to get closer before grappling.
Collect the heavy power core from the rooftop lift structure to the north and carry it back toward the container. A deactivated core station sits on the rooftops between the two points, so drop the core there to refresh its charge before it fades.
Drop down to street level, enter the container office, and shut the camera lid on the frozen scene through the window. A creature attacks outside the window as you approach, so clear it before you line up the interaction.
If the charge runs out mid-carry, return to the deactivated station on the rooftops and top the core back up rather than starting the whole climb again.
How to confirm each camera is done
Shutting a lid registers a +1 Completed Instant Photo along with Source, Undefined Reading, and a Nostalgic Echo. Open the Key Items section of your inventory to verify the completed photos are logged. Each camera also drops an Instant Photo clue pointing toward another location, which is how the side story chains you across the map.
Shut down both Downtown cameras to finish that zone’s pair among Manhattan’s 14 cameras, with two in each zone. Freeze Frame has no trophy of its own; completing all Altered Item side stories counts toward the Panopticon Intern trophy and grants the Shiny Pebble Artifact. During a Gravity Anomaly, the Artifact gradually restores health, up to a 50 percent limit.