Across Manhattan in Control Resonant, six Secret Hideouts are concealed under ordinary shops. Each requires an environmental puzzle; solving it exposes a spray-painted keyhole in a wall, beyond which stairs descend to a basement with a Health Upgrade Point and documents about a covert faction monitoring the FBC. Major zones each contain one, except the Underpass.
Quick answer: Clear the puzzles at the six Secret Hideouts, located in Downtown, Central, and West Incursion Zone, plus Evacuation Zone, The Park, and Unknown—one hideout in each—and you’ll earn all Health Upgrade Points and unlock Backroom Espionage.
| Zone | Location | Solution |
|---|---|---|
| Downtown | Atlantis Cafe | Activate appliances in order |
| Central | Wear’Em & Wash’Em | Run the washers matching the note |
| West Incursion Zone | Urban Fresh Mart | Register code 1213 |
| Evacuation Zone | Konstig | Light four specific paintings |
| The Park | Atlantis Cafe | Register code BDAC |
| Unknown | Pulse Fitness | Follow the workout routine |
How the Secret Hideouts and Backroom Espionage work
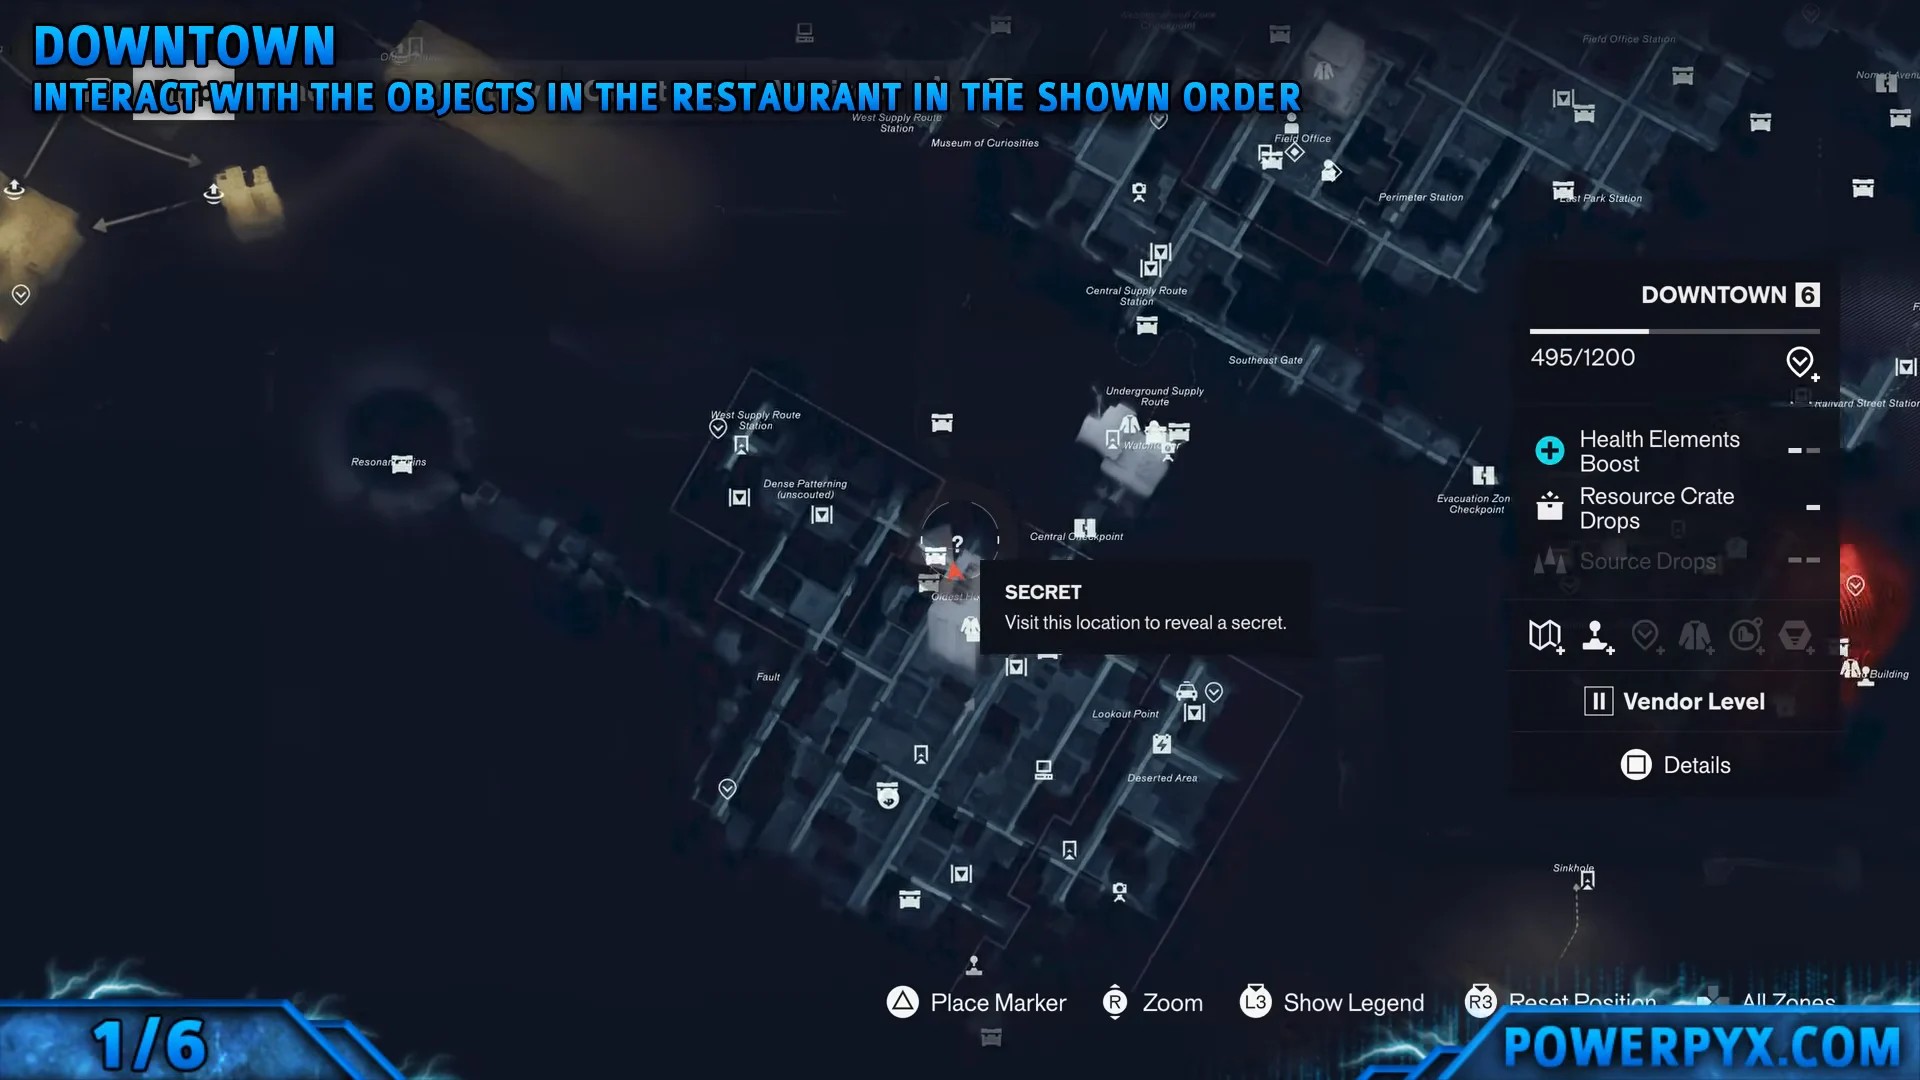
The map adds a question-mark marker for a hideout only when Dylan approaches it; places you haven’t visited in person stay unmarked. When a zone isn’t appearing on the map, search its streets on foot until the “Secret” prompt comes up.
A few things to keep in mind before you set out:
- Each hideout’s basement contains a permanent Health Upgrade Point and lore files. Once you’ve gathered three Health Upgrade Points, Dylan’s maximum health increases and the Core Competency trophy unlocks.
- The Downtown hideout needs the Shift traversal ability, which you obtain at the West Incursion Zone Fault. Return later if you don’t have it yet.
- A Hiss Barrier seals the Central hideout. Follow its tendrils to locate the three Hiss Nodes, then destroy each one to gain entry.
- Each solved puzzle opens a keyhole-marked wall that reveals a staircase down. That sliding wall is your confirmation the puzzle worked.
Cash register code hideouts
Two hideouts lock the basement behind a cash register. Clues inside the shop reveal the four-character code; punch it in at the counter to open the hidden door beside it.
West Incursion Zone — Urban Fresh Mart (code 1213)
From the fast travel point in West Incursion Zone, follow the southern street to Urban Fresh Mart. At the Thirst Station dispenser, watch the soda machine flash 3121. Nearby instructions say to invert the pattern, making 1213 the till code. Enter it at the register to unlock the door, then descend the stairs to claim the Health Upgrade Point.
The Park — Atlantis Cafe (code BDAC)
In southeast The Park, near the Research Site, find the other Atlantis Cafe. A weekly reservation chart gives the table sequence; use each table’s drink leaflet to match it to the correct menu letter.
| Table | Drink | Letter |
|---|---|---|
| 1 | Iced Coffee | B |
| 5 | The Spiciest Chai | D |
| 4 | Espresso | A |
| 2 | Caramel Latte | C |
The code is BDAC. Type it into the terminal on the counter to expose the entrance, then go below for the Health Upgrade Point and the intel.
Activation-sequence hideouts
Two more hideouts ask you to switch objects on in a precise order. Start by reading the shop’s note, which sets the puzzle in motion and hints at the sequence.
Downtown — Atlantis Cafe (appliance order)
In Downtown near the Oldest House, find the electronic road-closure sign indicating a detour. Shift above it to reach the Atlantis Cafe just beyond. A note inside says the owner turns on appliances by increasing size.
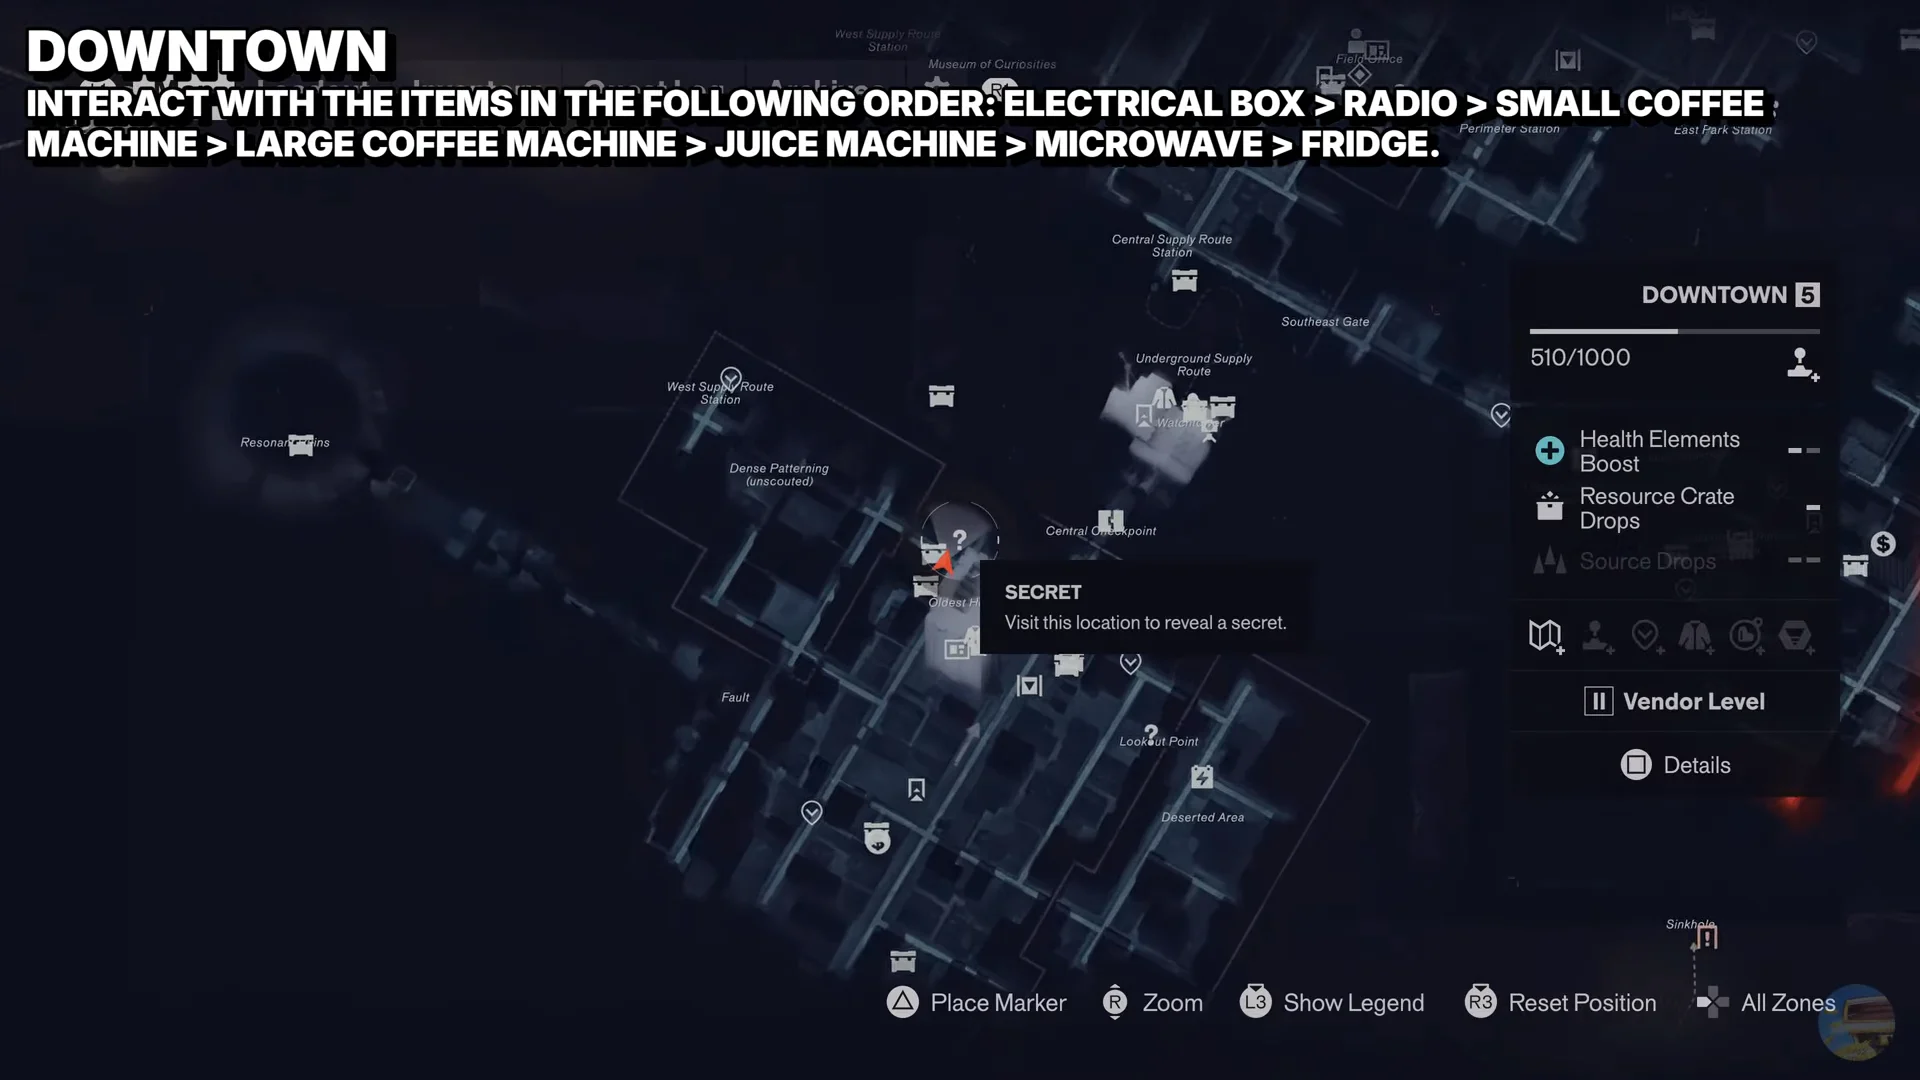
Switch on the room at the electrical breaker box first, then activate the appliances in the specified sequence. Don’t overlook the radio, positioned by itself against the far western wall.
- Radio (on the western wall)
- Coffee Machine (on the red counter)
- White Coffee Brewer (the larger unit on the back cabinet)
- Soda Machine
- Microwave
- Refrigerator
When the sequence ends, the door with the keyhole marking opens. Head downstairs, then pick up the files and the Health Upgrade Point.
Unknown — Pulse Fitness (workout routine)
At the center of Unknown, on the lower level, you’ll find the last hideout in Pulse Fitness. Check the locker-room note for the workout order, then operate the equipment in this precise sequence:
- Set the Treadmill to 0.5 MPH
- Set the Cycling Machine to 15 MPH
- Interact with the Limu Vending Machine
- Set the Treadmill to 15 MPH
- Set the Cycling Machine to 0.5 MPH
Finishing the routine opens the hidden door behind the gym poster. If you have already cleared the other five, Backroom Espionage unlocks the moment you finish here. Head down the hallway to claim the last Health Upgrade Point.
Pattern-reading hideouts
Two remaining hideouts are solved by interpreting their arrangements: a washer setup in one and gallery lights in the other.
Central — Wear’Em & Wash’Em laundromat
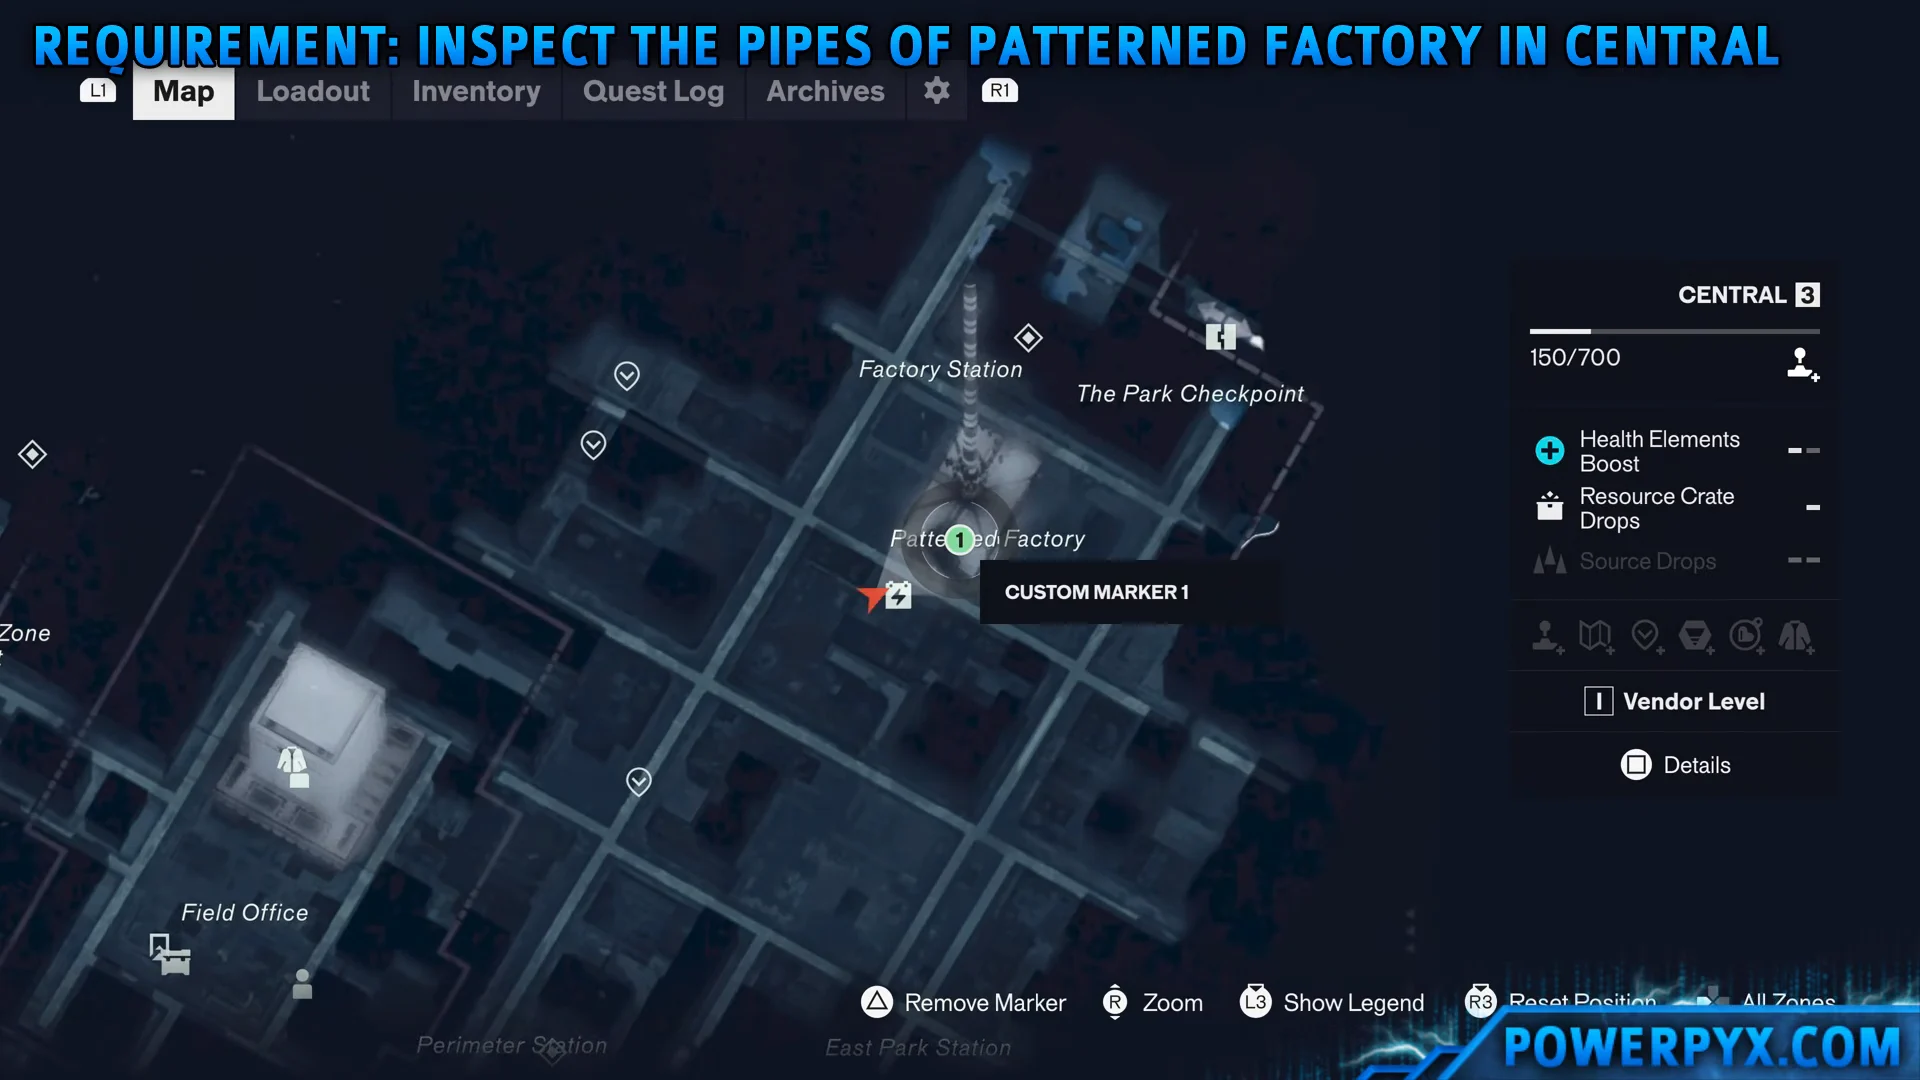
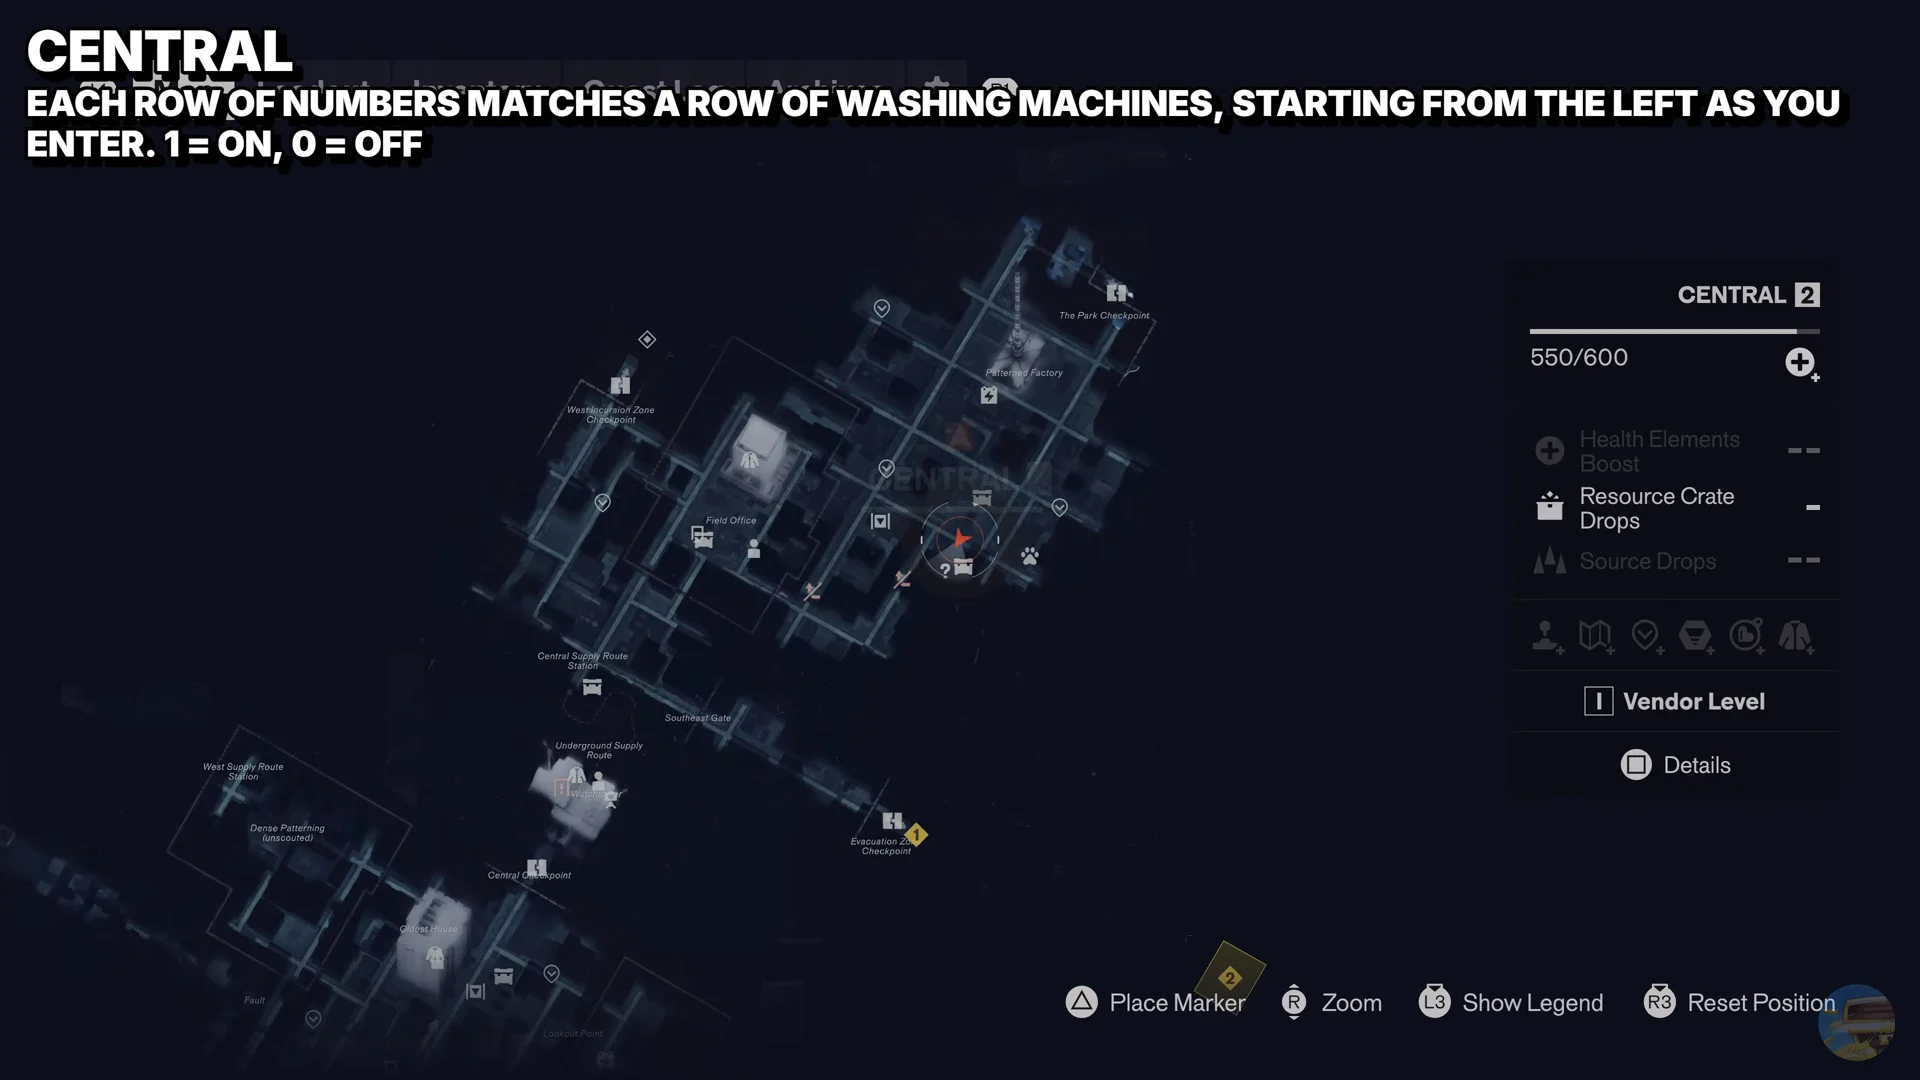
Look for the Central hideout in the laundromat called Wear’Em & Wash’Em. It sits a short distance from East Park Station, south of Field Office Station, and its blue fascia makes it easy to spot.
Entry requires taking down the exterior Hiss Barrier: follow the tendrils to each of the three Hiss Nodes and destroy them.
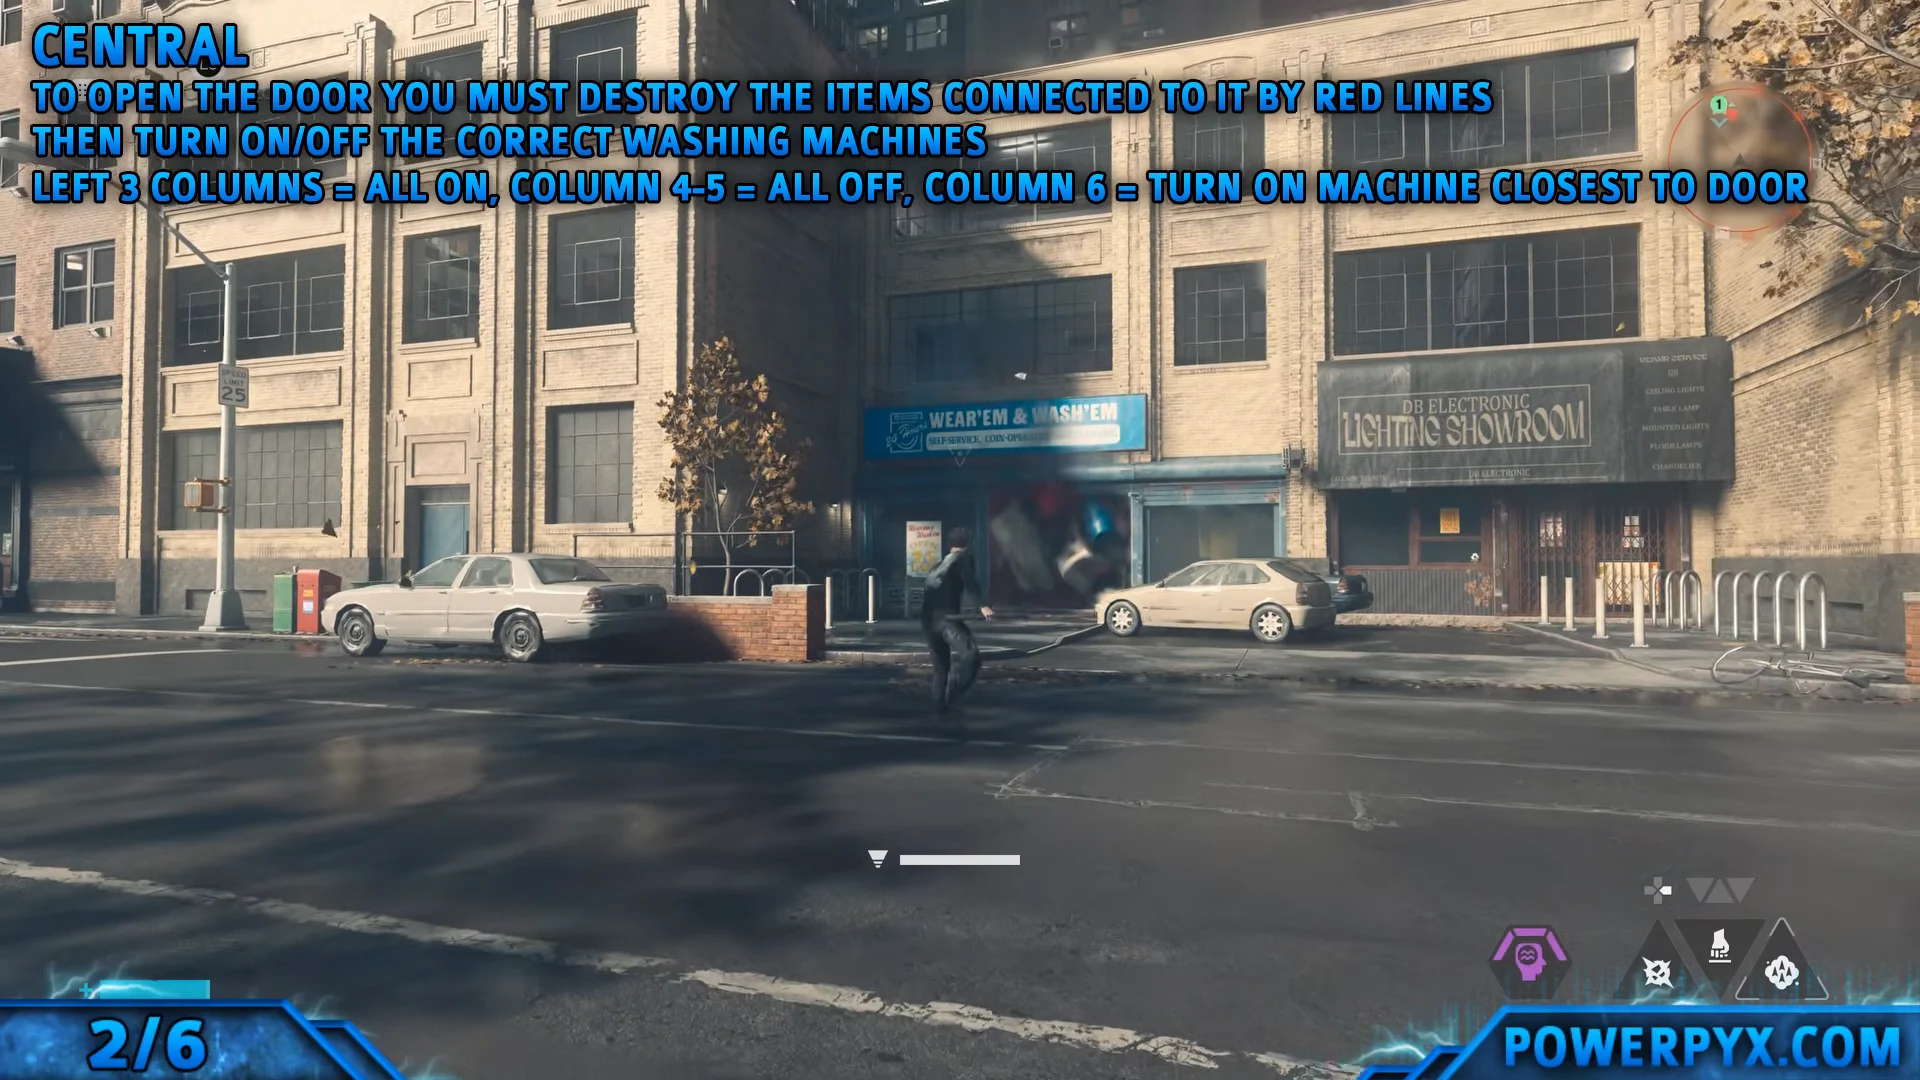
A note inside shows lines made up of 0s and 1s, each corresponding to one washing-machine row: 1 switches a machine on, while 0 leaves it off. Facing the machines, go row by row from left to right and configure them as follows:
- Row 1 — middle machine on
- Row 2 — the two middle machines on
- Row 3 — first and last machines on
- Rows 4 and 5 — all machines off
- Row 6 — first machine on
Once the selected washers are operating, the door to the rear room unlocks. Go down into the bunker to collect the Health Upgrade Point.
Evacuation Zone — Konstig art gallery
In central Evacuation Zone, the hideout is in Konstig gallery, near a fast travel point; the Main Street door lies just to its north. A reception note identifies four paintings, and the spotlights must be aimed at those exact works. Use their subjects and locations to tell them apart:
- Journey — find the central canvas depicting a road that runs toward a tree
- Windows — the first painting with twisting, looped branches
- Thunder — the leftmost artwork shows a V-shaped tree standing amid open ground
- Tides — the central painting depicting a tree lying in the water
Light those four and leave the rest dark. The hidden entrance in the back corner opens, and you can descend to claim the reward.
Confirming Backroom Espionage
A successful solution is signaled by the keyhole wall sliding aside to uncover stairs. To earn Backroom Espionage, visit and complete every one of the six hideouts; the trophy appears as soon as the sixth is cleared. Can’t find one on the map? Walk the zone thoroughly: its question-mark icon appears only when Dylan is close to that hideout. The run also supplies enough Health Upgrade Points to boost Dylan’s maximum health, helping in the early hours and in later Resonant fights.