Dylan doesn’t level up in Control Resonant. There’s no experience bar to fill, so every stat gain runs through Aberrant abilities and Talents, and those are paid for with Source and upgrade materials. The catch is that both come from enemy drops and containers placed around Manhattan in fixed amounts, and defeated enemies stay defeated. Grind normally and you hit a wall. There is one loop that gets around it.
Quick answer: Start a Hold the Line or Firebreak World Event, kill the Heavy enemies for Source and materials, then let the event fail. Failing restarts it with every enemy restored, and the loop repeats.
Why Source runs out in Control Resonant
Manhattan is stocked, not generated. Every container and every enemy on the map holds a finite pool of Source and crafting items, and once you’ve cleared a block, that block stays clear. The game is built to stop you from farming a corner of Downtown for an hour and walking out overpowered.
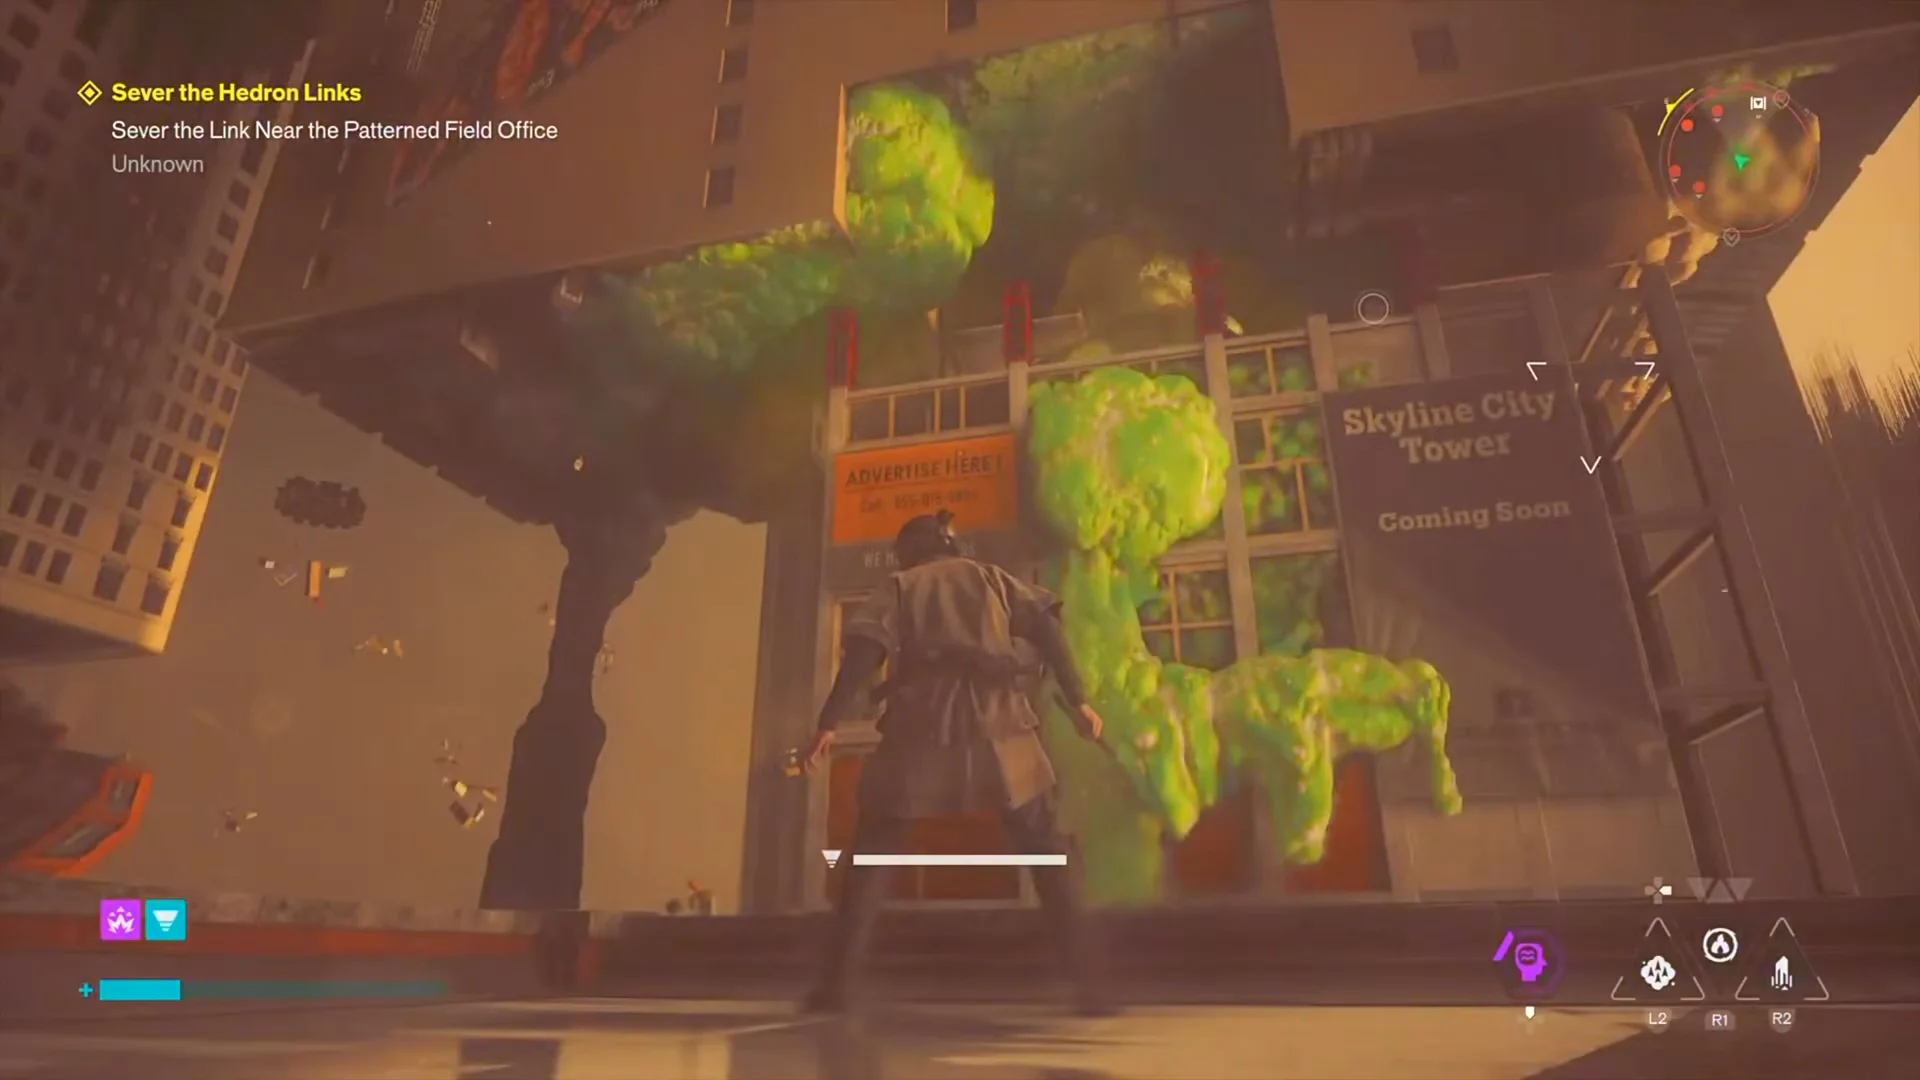
That matters because the spending side never slows down. Weapon form upgrades, Talents, and the Aberrant abilities that carry your Power Level all draw from the same pool, and the difficulty curve after each Resonant assumes you kept pace.
Resonant Cycles refill the map, but only once each
Defeat any Resonant and the game triggers a Resonant Cycle. A cutscene plays, everything you’ve killed comes back, and the returning enemies are slightly tougher than they were. The same event seeds World Events across the city.
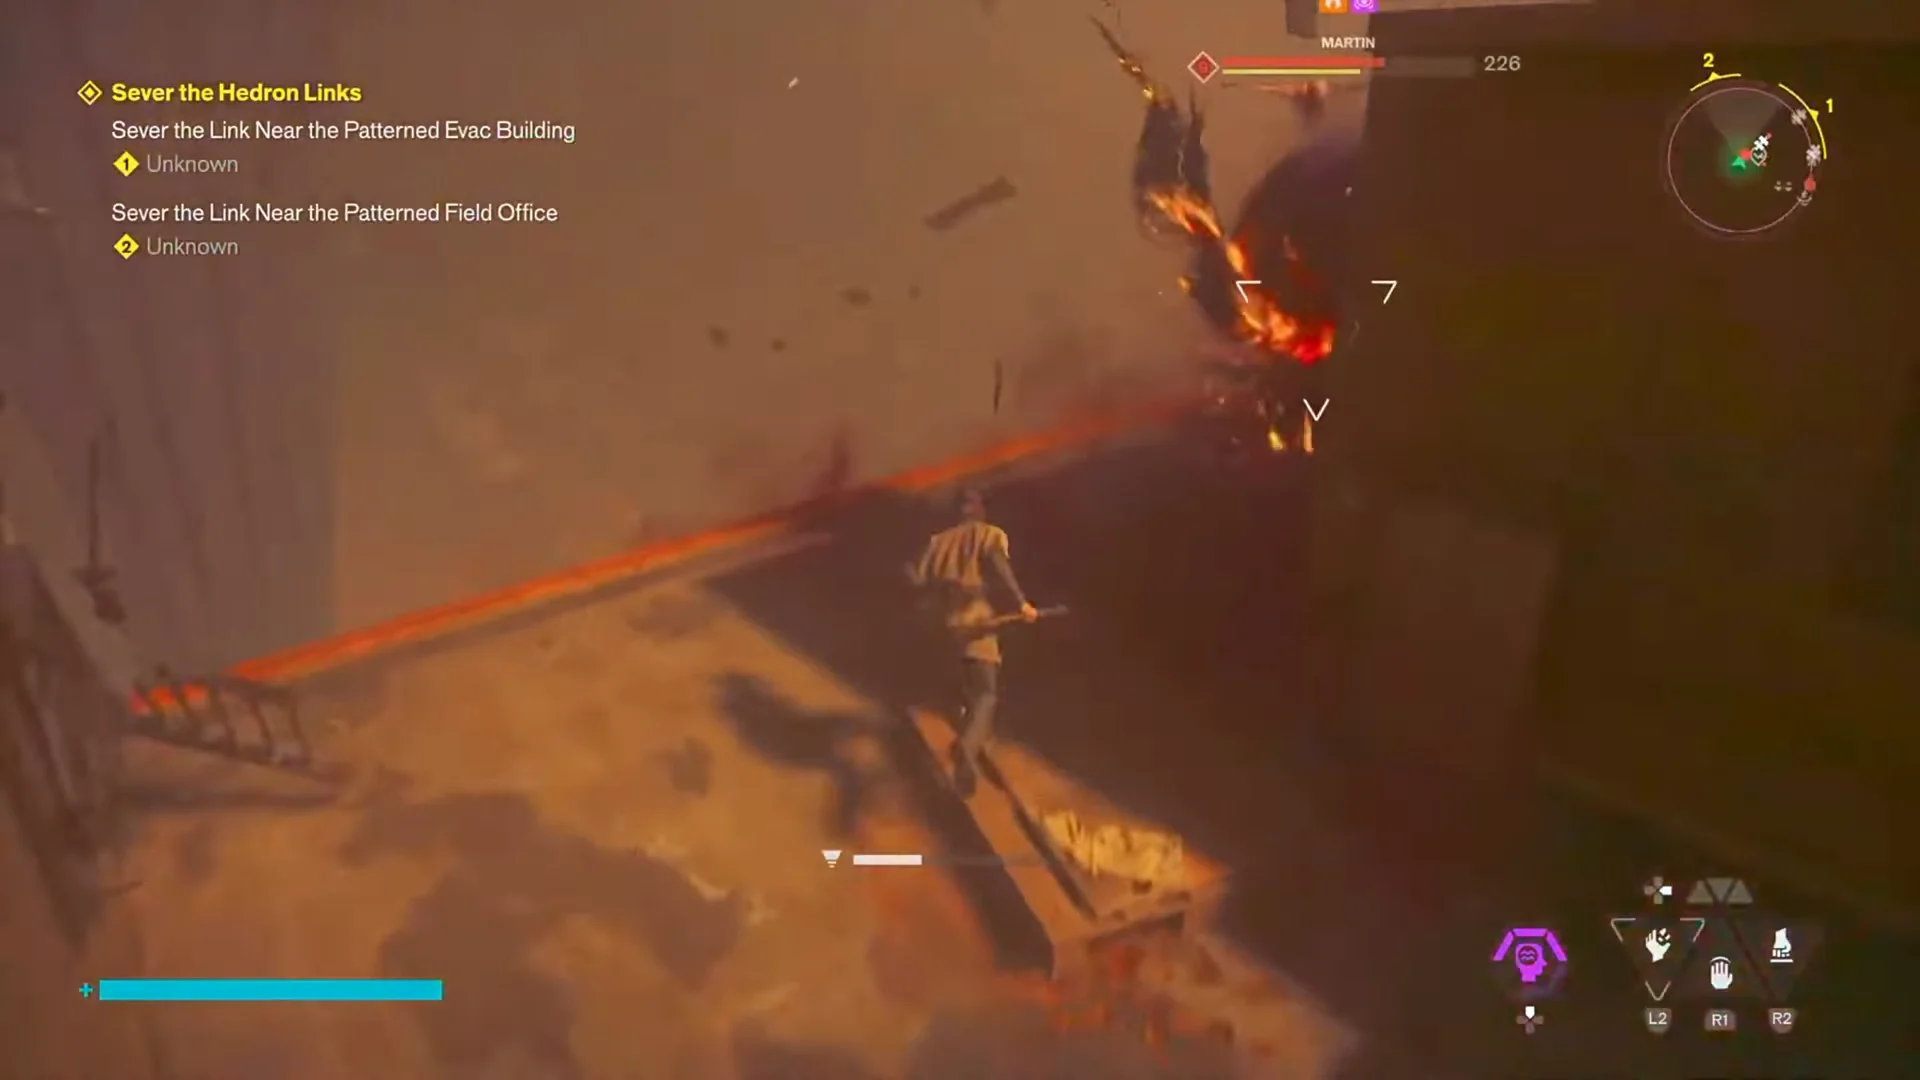
The limit is obvious once you use it. Clear the restored enemies and the city empties again, and the only way to reset it is to go beat another Resonant. There are a fixed number of those, so the Cycle is a refill, not a faucet.
The two World Events that can be farmed
Two World Events behave differently from the rest. Both are defense objectives, and both spawn Heavy enemies that follow the same drop rules as the Heavies standing out on the map. Kill one and it pays Source and upgrade materials exactly as a world spawn would.
| World Event | What you defend | Farmable drops |
|---|---|---|
| Hold the Line | An FBC supply crate | Heavy enemy Source and items |
| Firebreak | An FBC officer | Heavy enemy Source and items |
The exploitable part is the fail state. If the crate or the officer goes down, the event doesn’t disappear. It restarts from the beginning, and restarting restores every enemy you already killed inside it, Heavies included.
How to run the Source farming loop
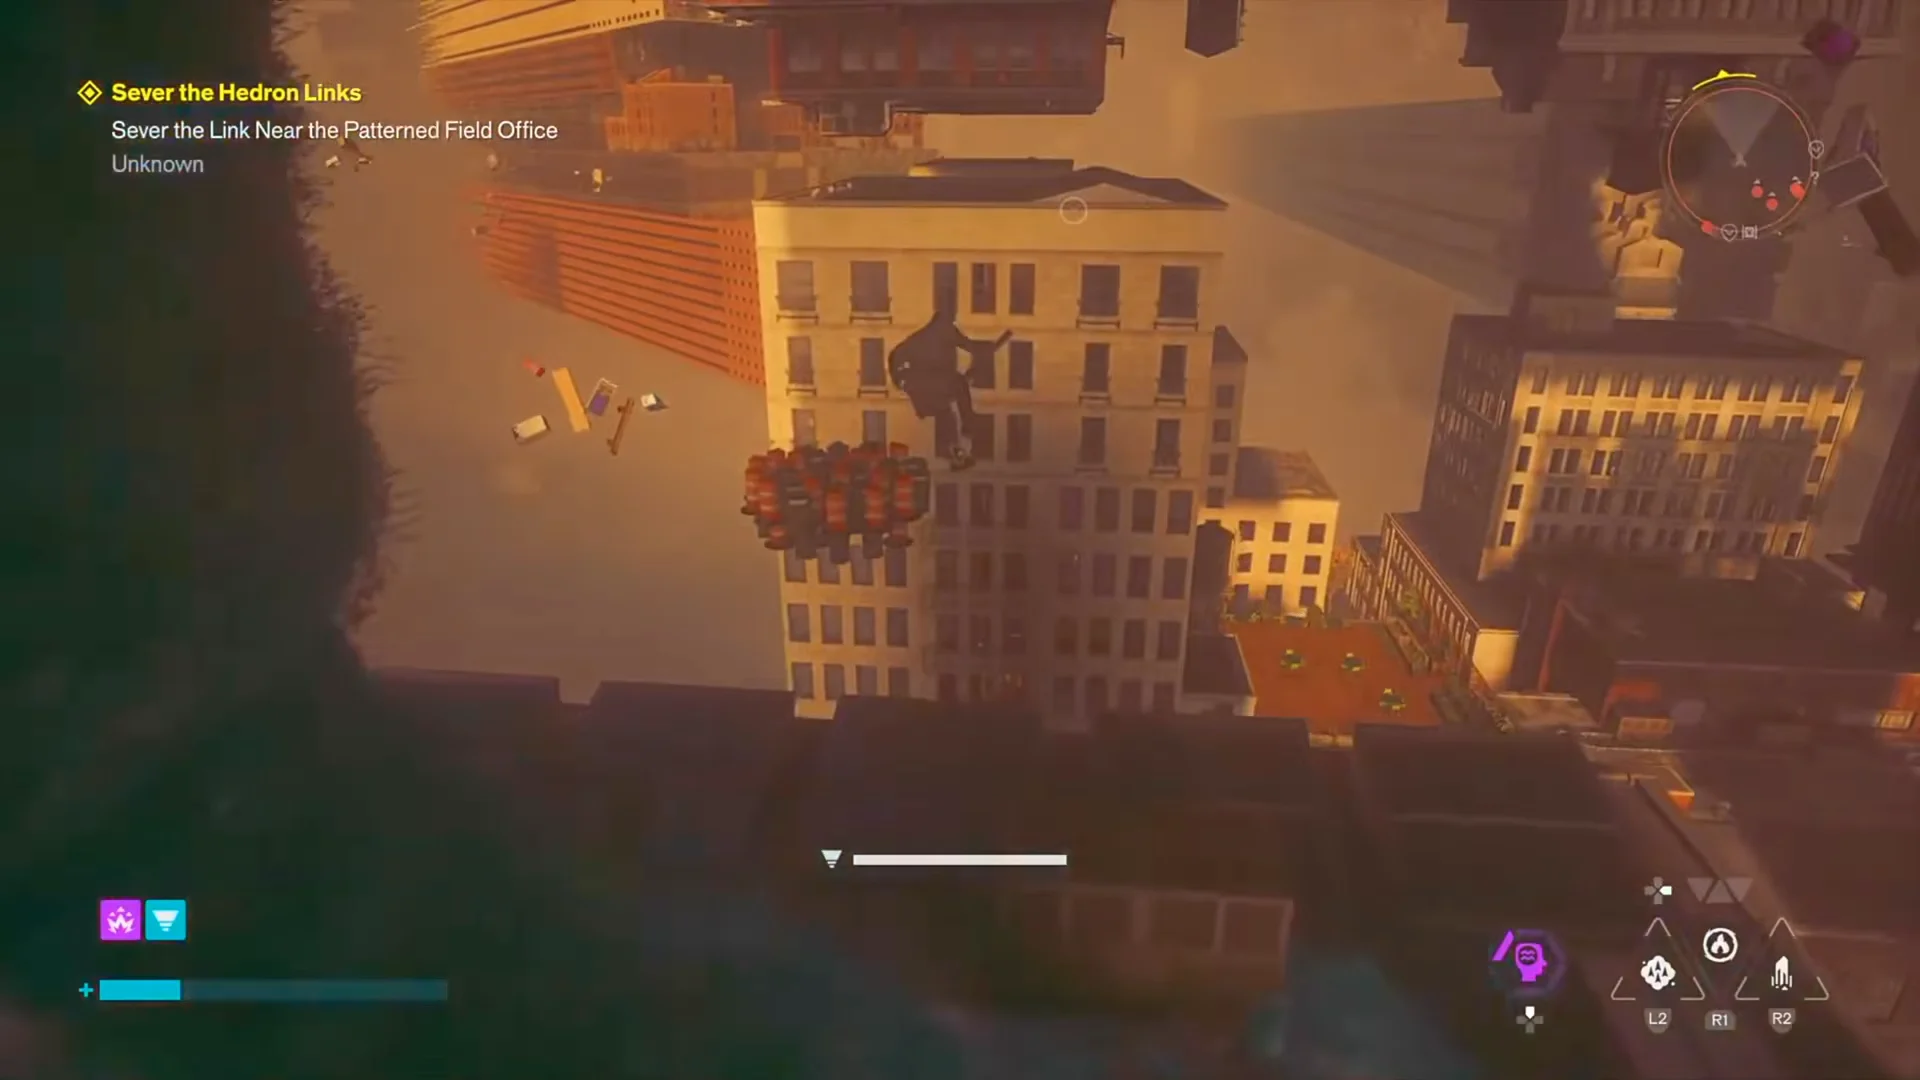
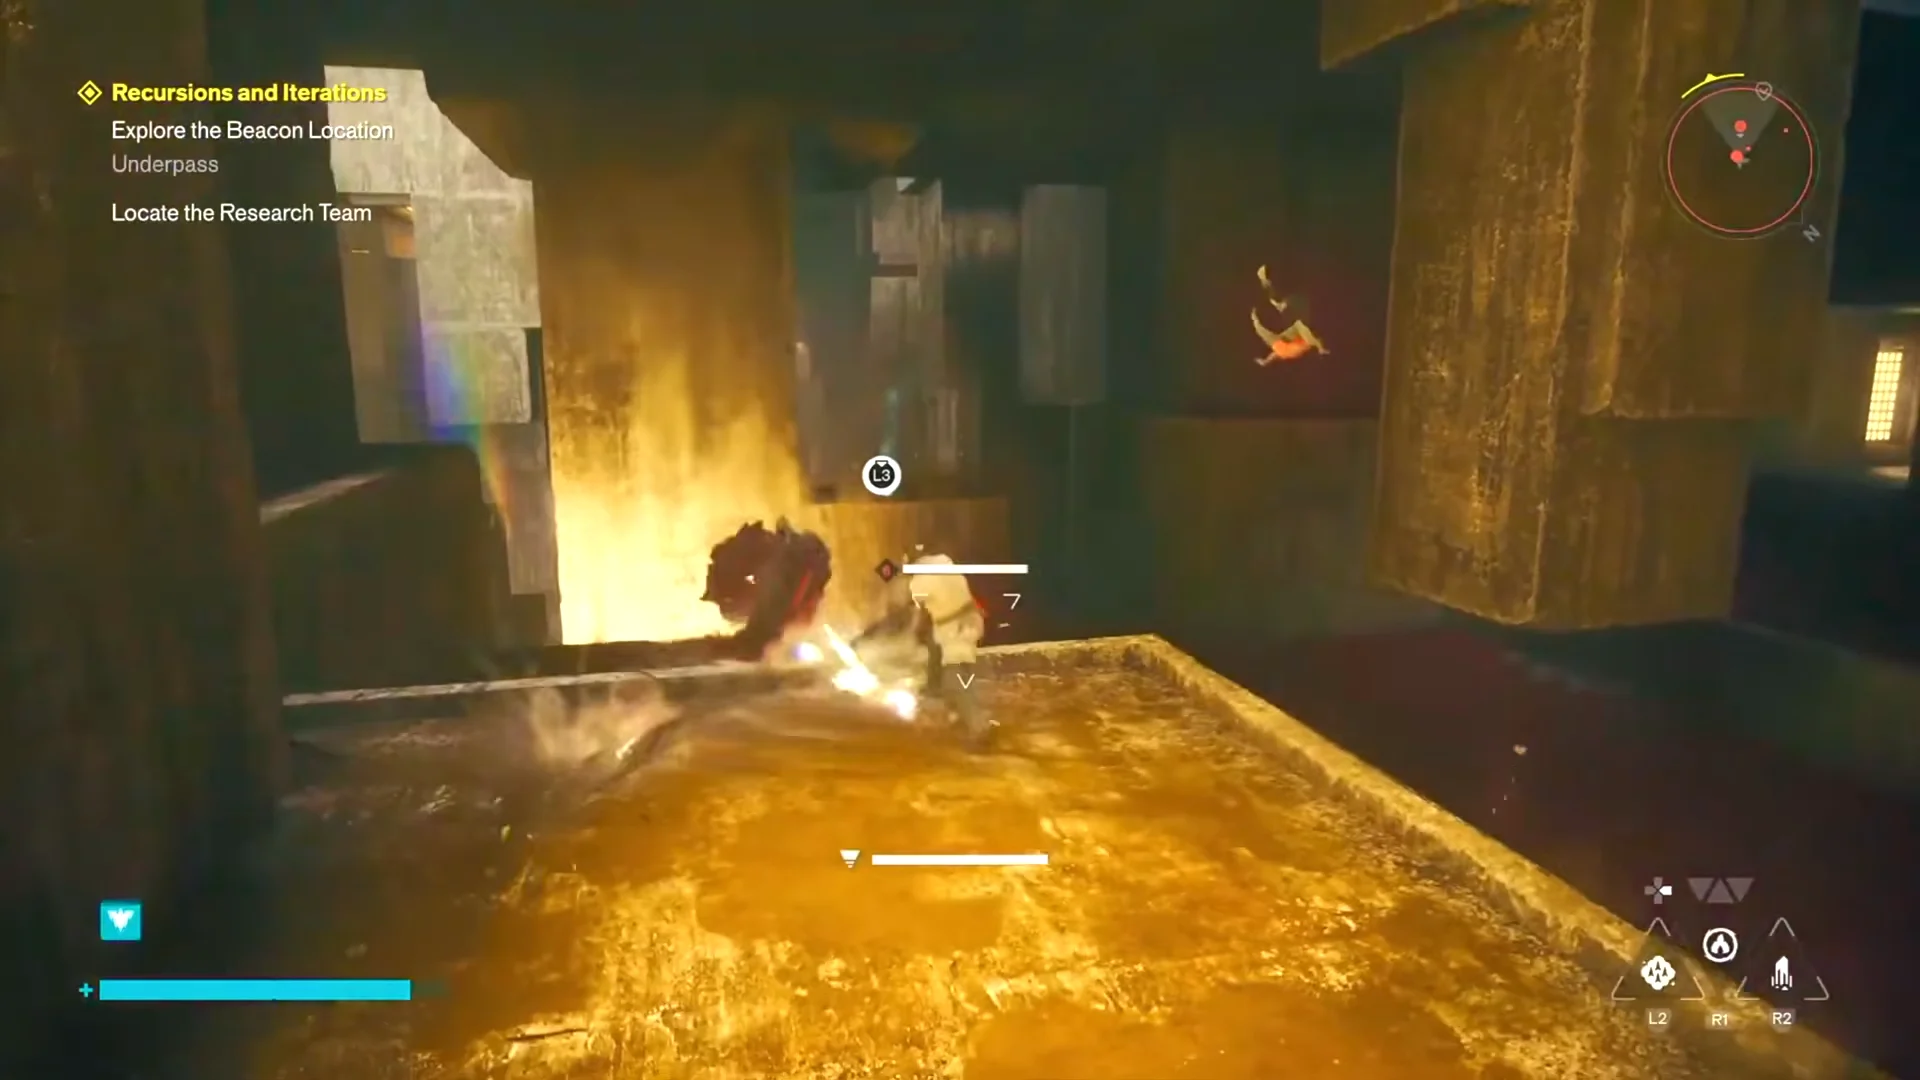
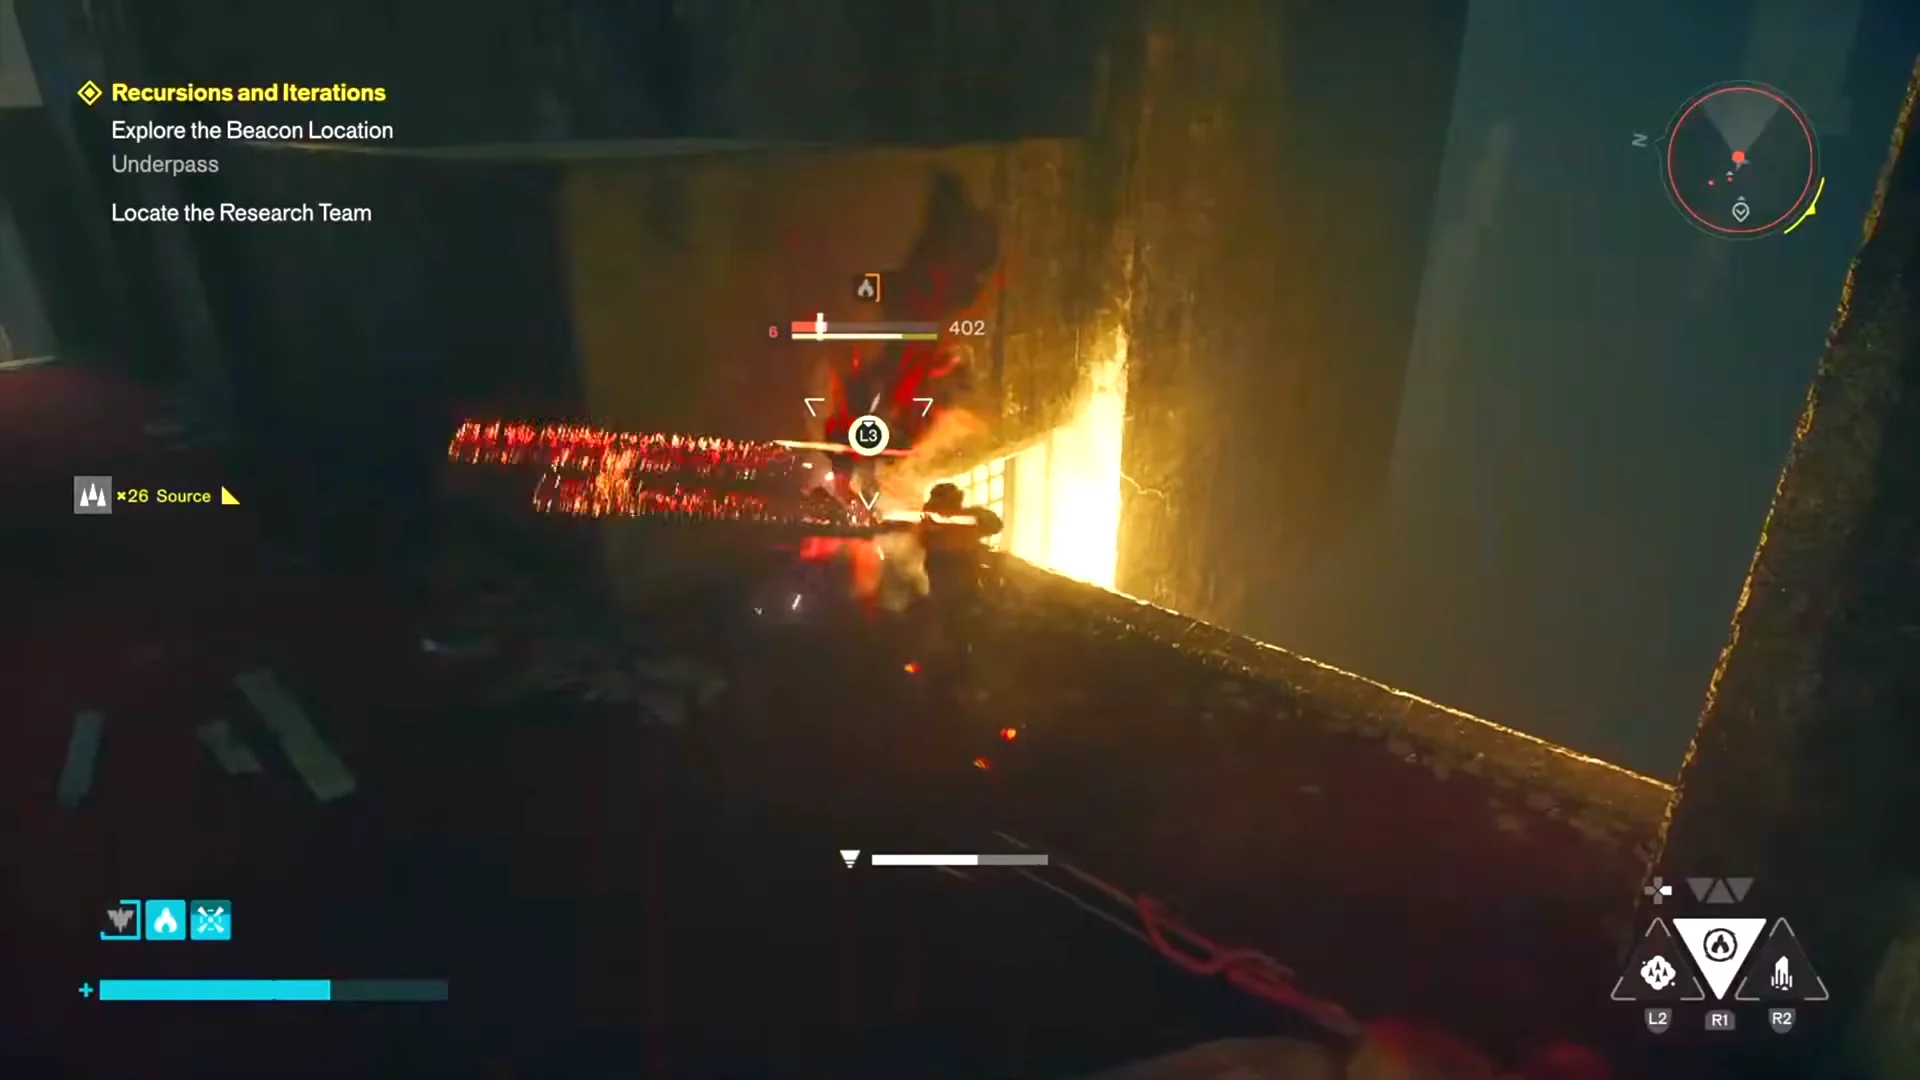
Farm before a Resonant fight rather than after. Each Cycle makes returning enemies slightly stronger, so banking Source and spending it early keeps your Power Level ahead of the curve.
How to confirm the loop is working
Two things tell you the reset landed. The World Event marker reappears on the map with the same objective text instead of vanishing, and the Heavy enemies are standing where you last killed them.
Confirm the result by opening the Loadout menu, choosing Stats and Effects, and noting your current Power Level. Use the farmed Source for Aberrant abilities and weapon form upgrades; afterward, look at the value once more. A changed number confirms the farm worked.
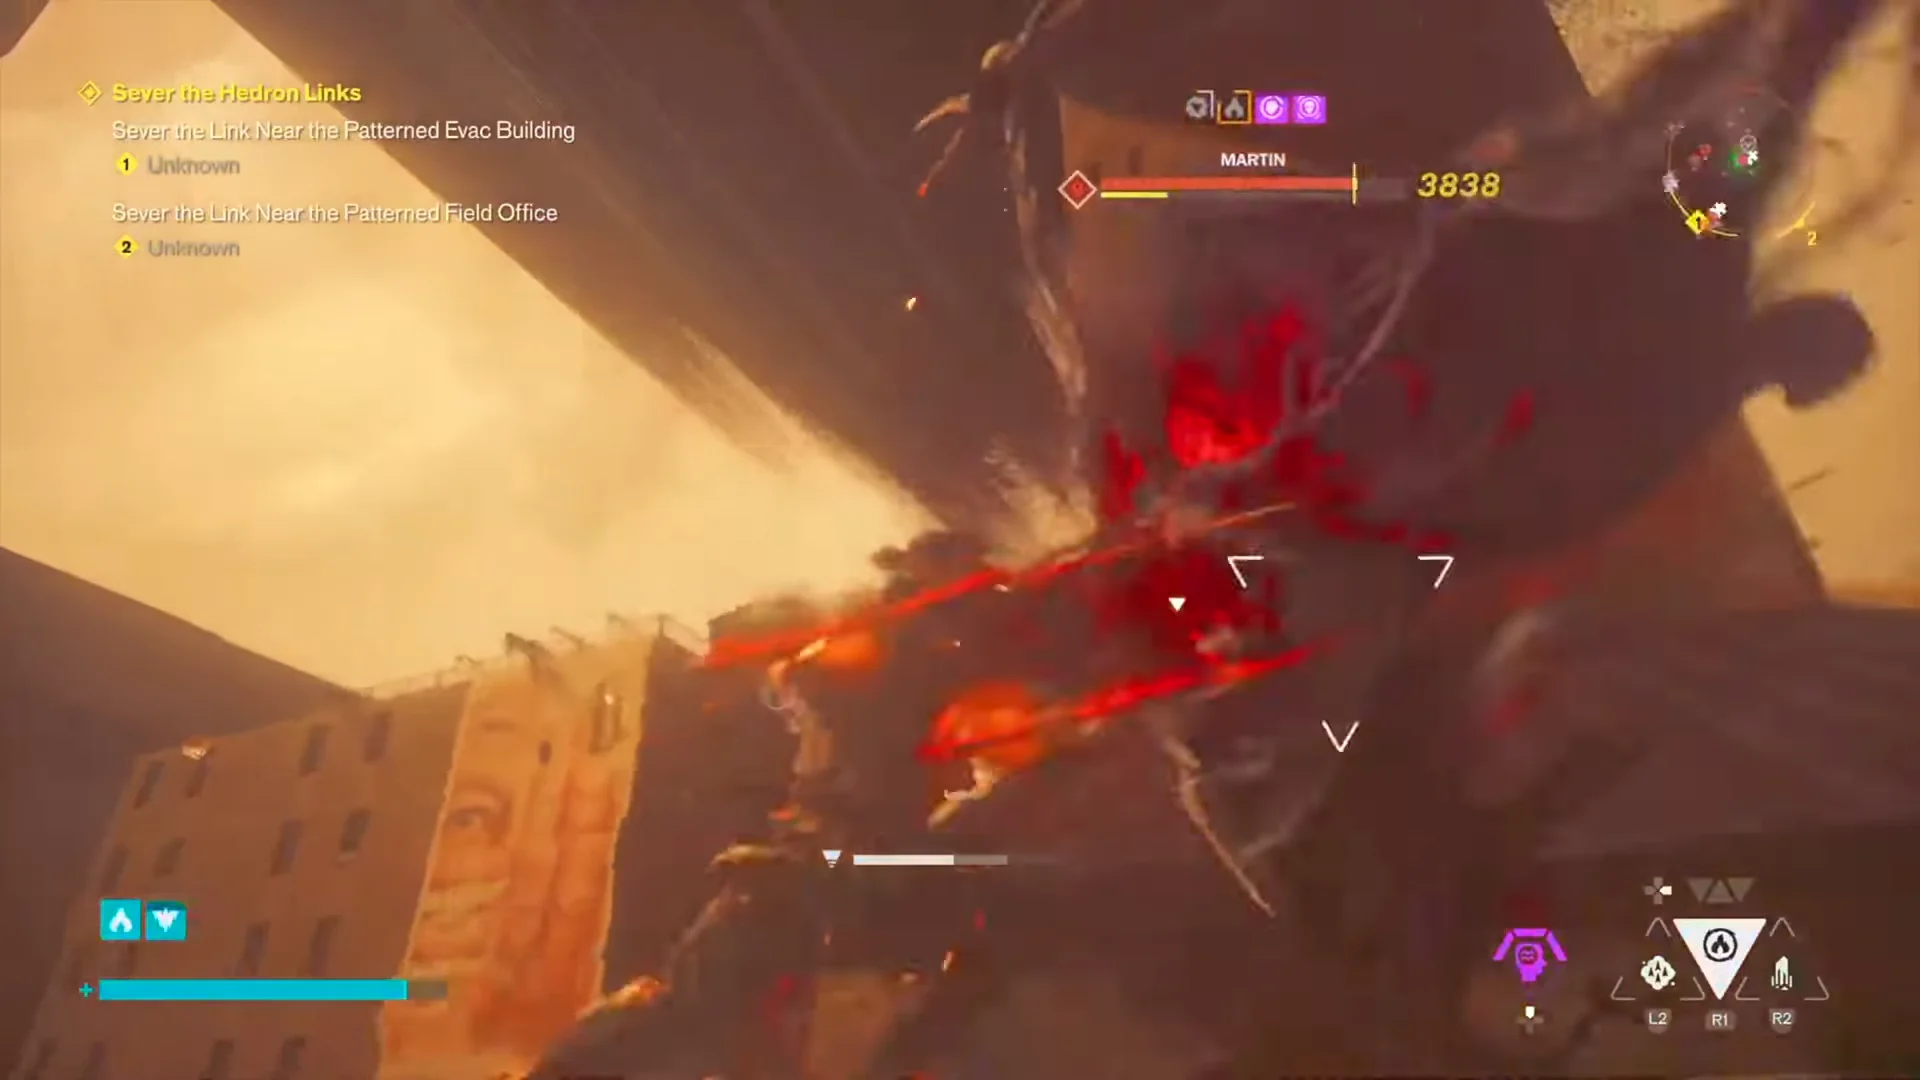
Source and materials only cover part of the build. Talent Points come from raising Zone levels and finishing side stories such as Panopticon Service Request, and Health and Power Upgrade Points are separate pickups hidden around each Zone. Farm the World Events for the resources, then sweep the Zones for the rest before the next Resonant.