


Version 7.1 of the Spiral Abyss ends on a Floor 12 built around Swirl and Lunar reactions, but a full nine-star clear does not have to follow the intended script. One high-investment run sweeps all three chambers with two teams that ignore the Ley Line bonuses entirely: a Kinich-led Dendro squad on every first half, and an Ayaka and Vodyanitsa Freeze lineup on every second half.
Quick answer: The run finishes Floor 12 with a full 9/9 stars, using Emilie, Durin, Nicole, and Kinich on the first halves and Furina, Escoffier, Vodyanitsa, and Kamisato Ayaka on the second halves, every character at C6.
The two teams and their builds
This is a maxed-out showcase rather than a typical account clear. Every member sits at C6, and three first-half characters appear at Level 100, above the standard Level 90 cap. That extra headroom is why each chamber ends in seconds rather than minutes.
First-half Dendro team
| Character | Level | Weapon | Artifacts |
|---|---|---|---|
| Kinich | 100 | Fang of the Mountain King R1 | Obsidian Codex |
| Emilie | 90 | Lumidouce Elegy R1 | Deepwood Memories |
| Durin | 100 | Athame Artis R2 | Noblesse Oblige |
| Nicole | 100 | Angelos’ Heptades R5 | Celestial Gift |
Second-half Freeze team
| Character | Level | Weapon | Artifacts |
|---|---|---|---|
| Kamisato Ayaka | 90 | Beyond the Chrysalis R4 | Marechaussee Hunter |
| Furina | 90 | Favonius Sword R5 | Tenacity of the Millelith |
| Escoffier | 90 | Symphonist of Scents R1 | Scroll of the Hero of Cinder City |
| Vodyanitsa | 90 | Hymn of the Maelstrom R5 | Song of Days Past |
First half: Kinich Dendro through all three chambers
Kinich carries the offense on the first side of every chamber, with Emilie, Durin, and Nicole feeding him damage and reactions. Because the characters are so overbuilt, the team beats each opening enemy long before the timer thresholds matter, holding well above the 420-second mark for the third star.
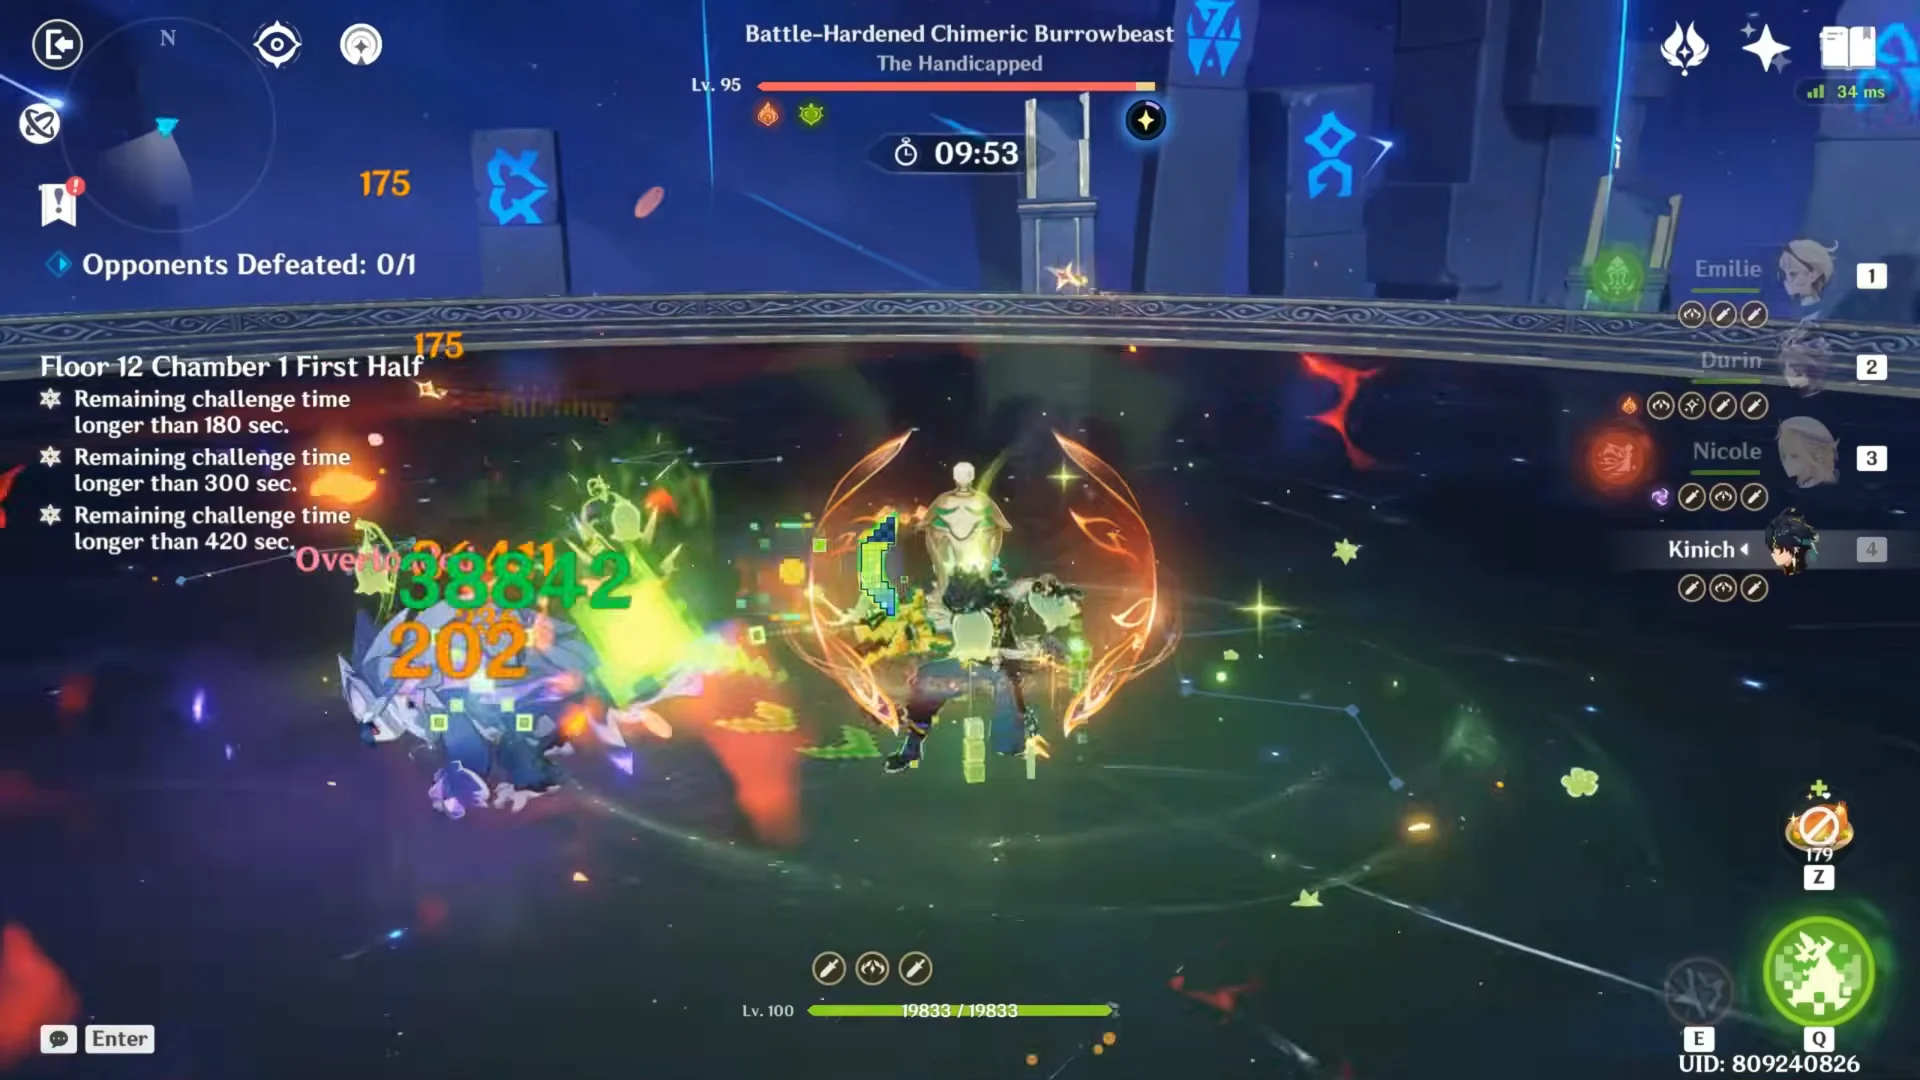
In Chamber 1, the target is the Battle-Hardened Chimeric Burrowbeast, a Bandersnatch-type boss that normally needs its Fury gauge filled before it grows and turns vulnerable. Here it drops in roughly nine seconds.
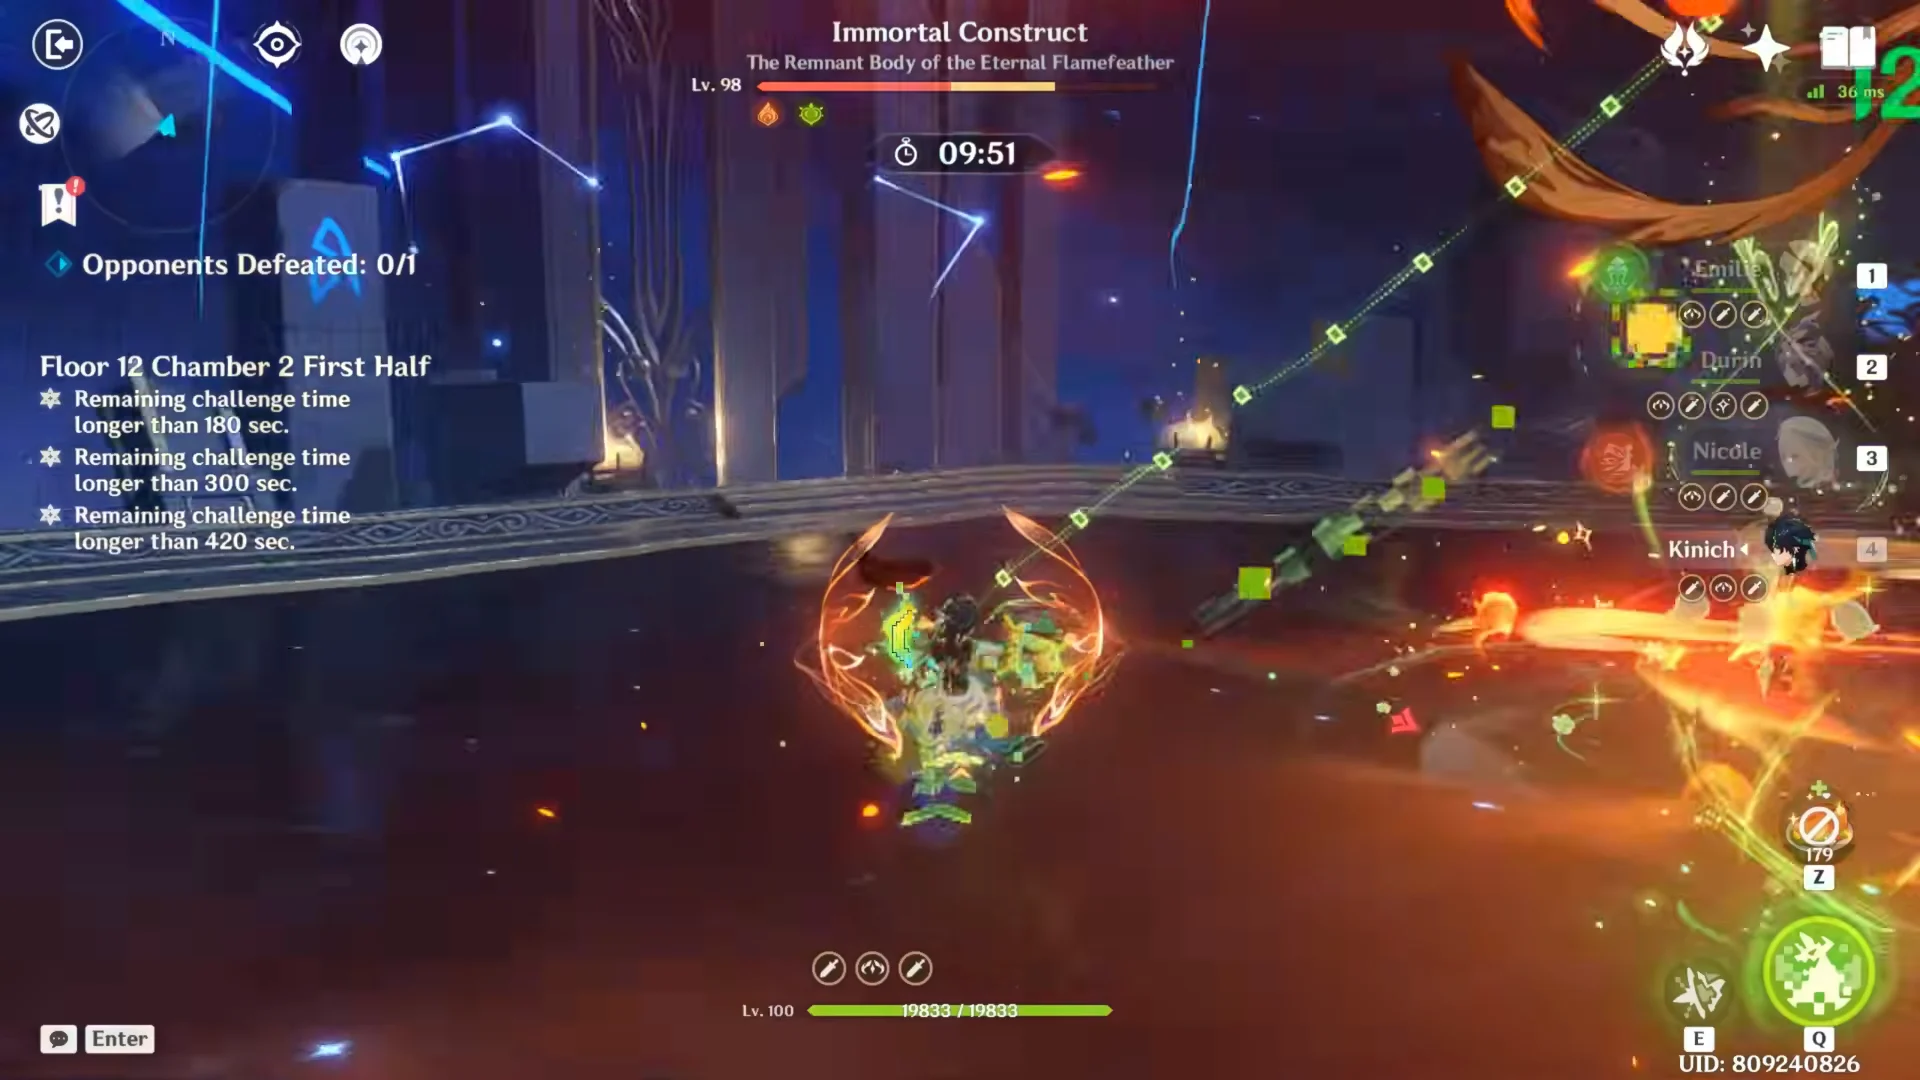
Chamber 2 puts the team against the Immortal Construct, an enemy that regenerates shields to keep itself alive. The Dendro squad burns through it in about twelve seconds before those shields can stall the clear.
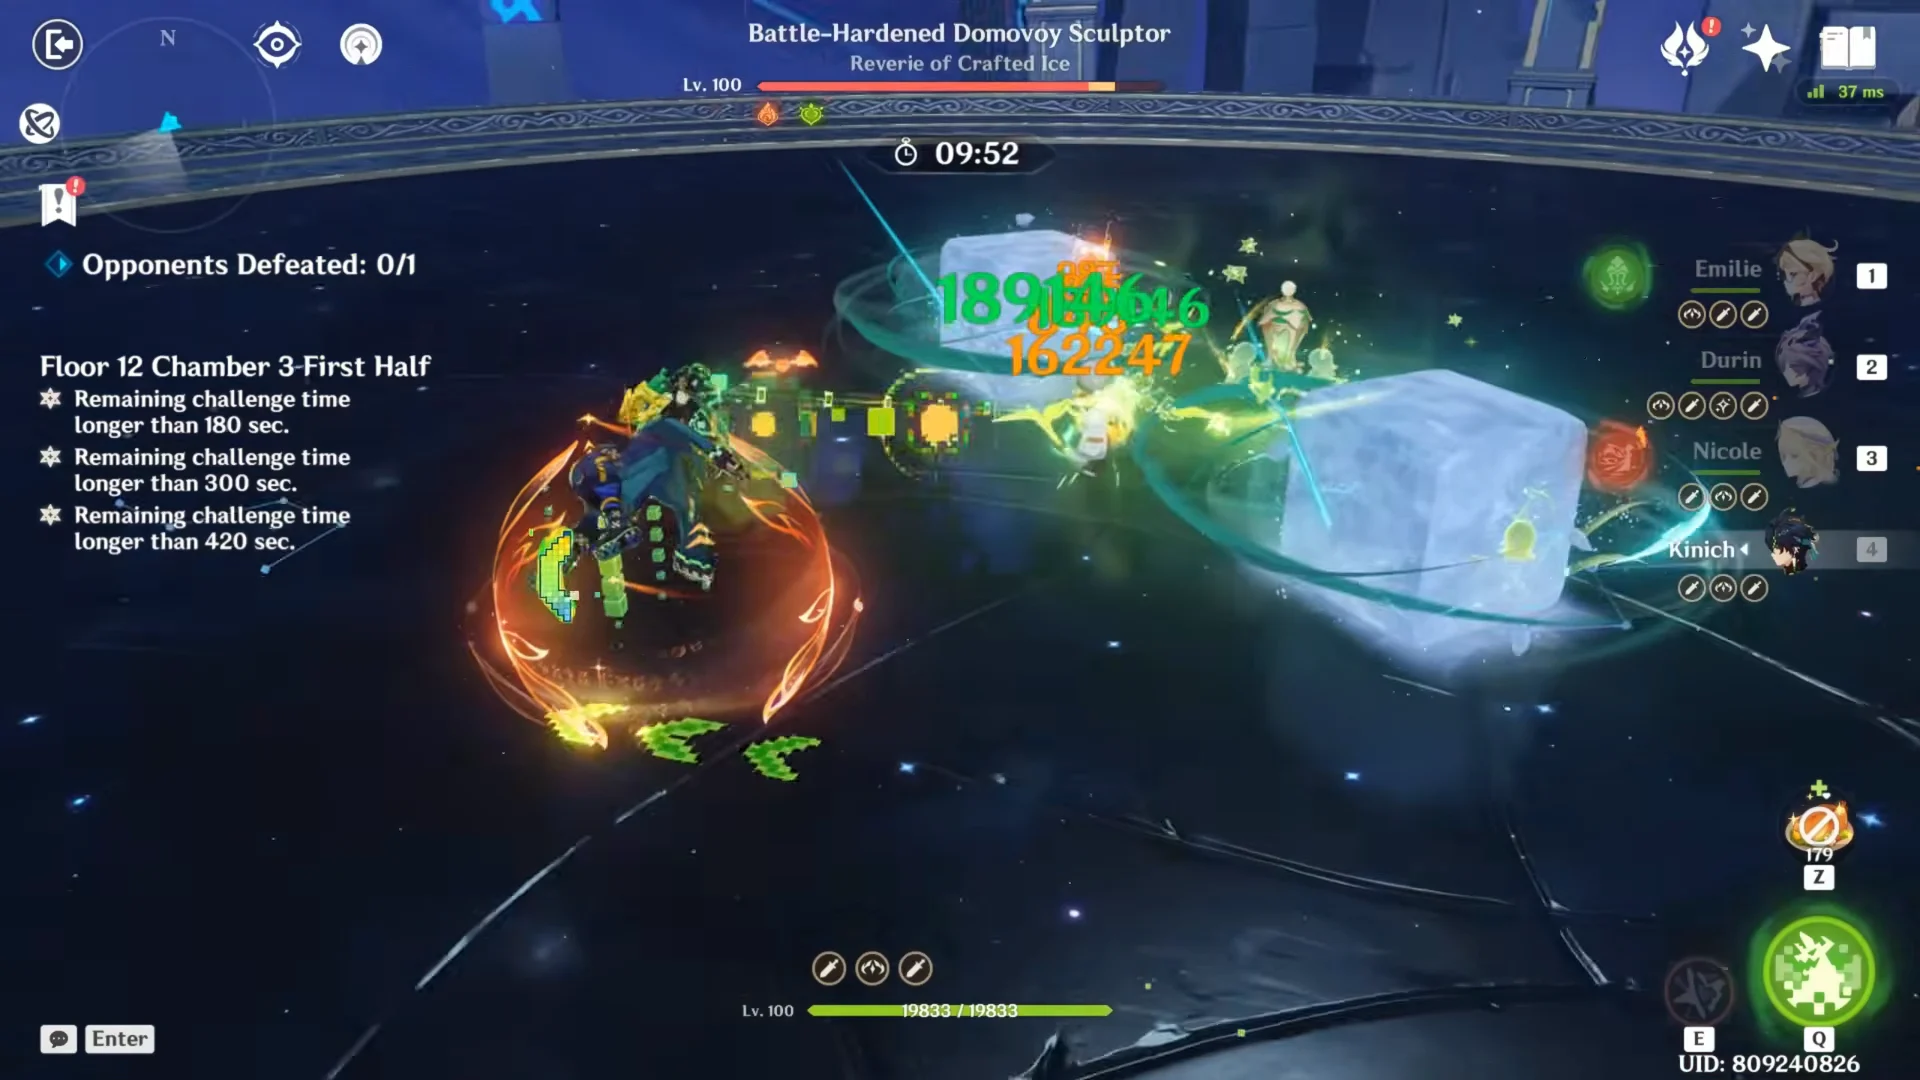
Chamber 3 opens with the Battle-Hardened Domovoy Sculptor, a Churin-type boss that summons Jack Frost statues capable of one-shotting an exposed character. The team ends the fight in roughly nine seconds, before the statues become a threat.
Second half: Ayaka and Vodyanitsa Freeze
The back half runs a Cryo Freeze core with Kamisato Ayaka as the main damage dealer. Furina and Escoffier supply amplification and Cryo application, while Vodyanitsa handles healing and resistance shred. That last piece is the reason this classic Freeze shell hits so hard in 7.1.
Vodyanitsa is a new S-tier support whose Elemental Skill both heals the party and cuts enemy Cryo and Hydro resistance, which directly boosts Ayaka’s Cryo damage. Her arrival gives Freeze a dedicated pillar it had been missing and nudges Ayaka up the current tier ranking.
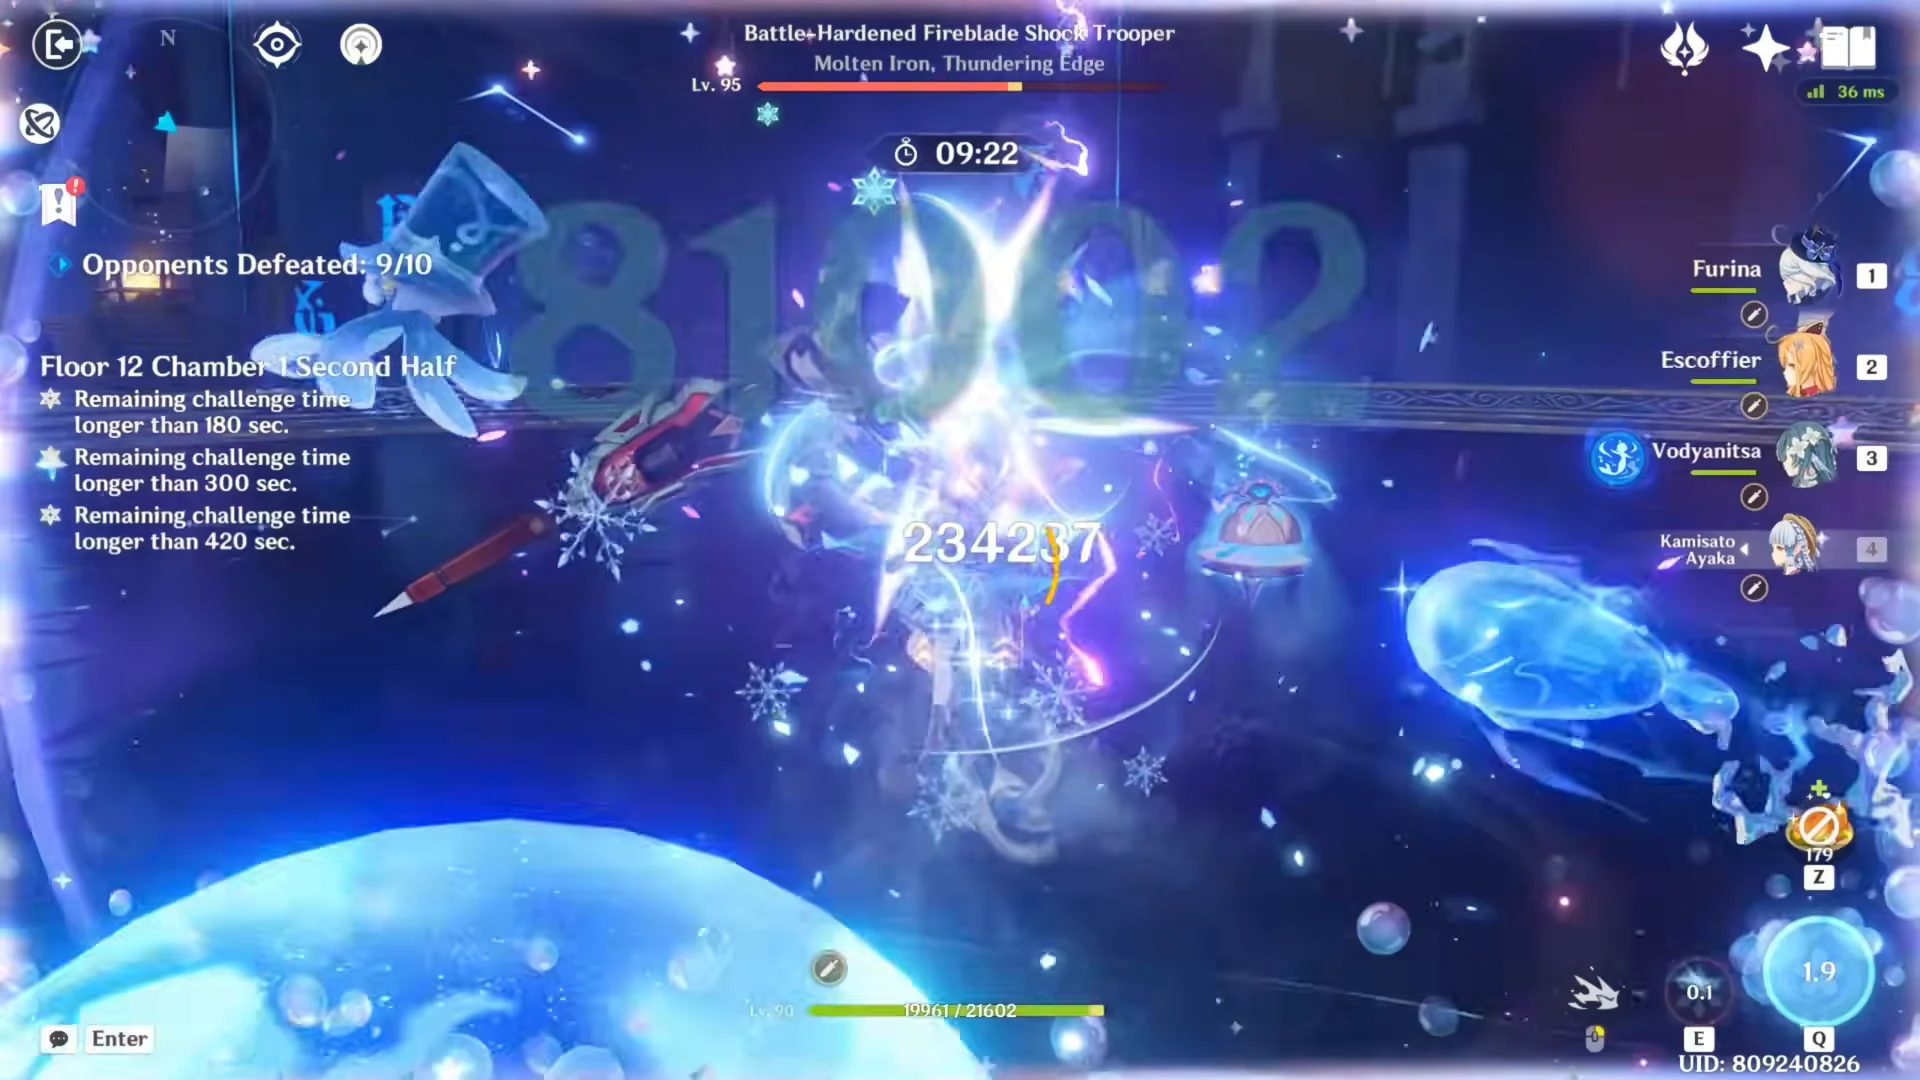
Chamber 1’s second half asks you to defeat ten opponents, a run of Wilderness Exiles that ends with a Raskolnikov-type boss, shown here as the Battle-Hardened Fireblade Shock Trooper. The Freeze team locks everything down and finishes with well over nine minutes on the clock.
Chamber 2 sends in a wave of Fishers of Hidden Depths followed by the Lord of the Hidden Depths: Whisperer of Nightmares. The boss raises a shield that normally demands Lunar damage to break, but the Freeze team’s sheer output pushes past it, defeating five enemies in the second half.
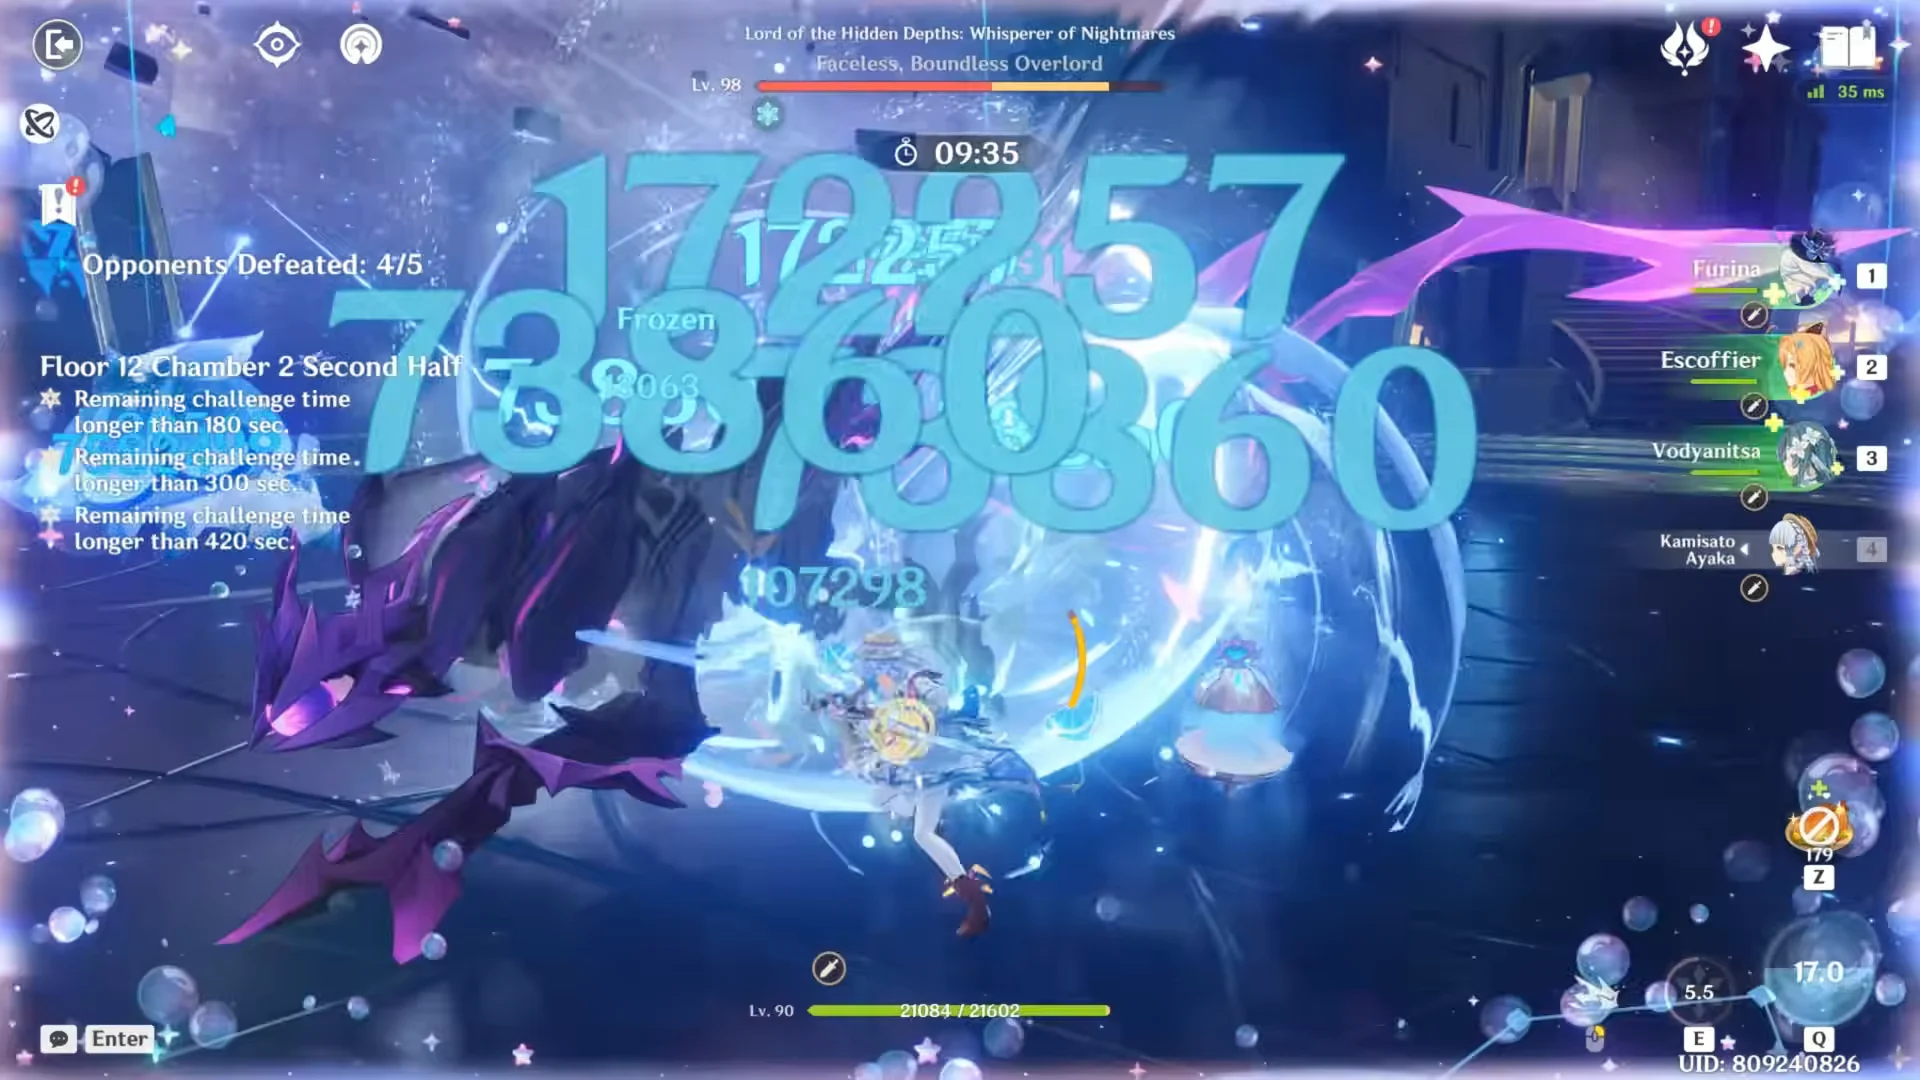
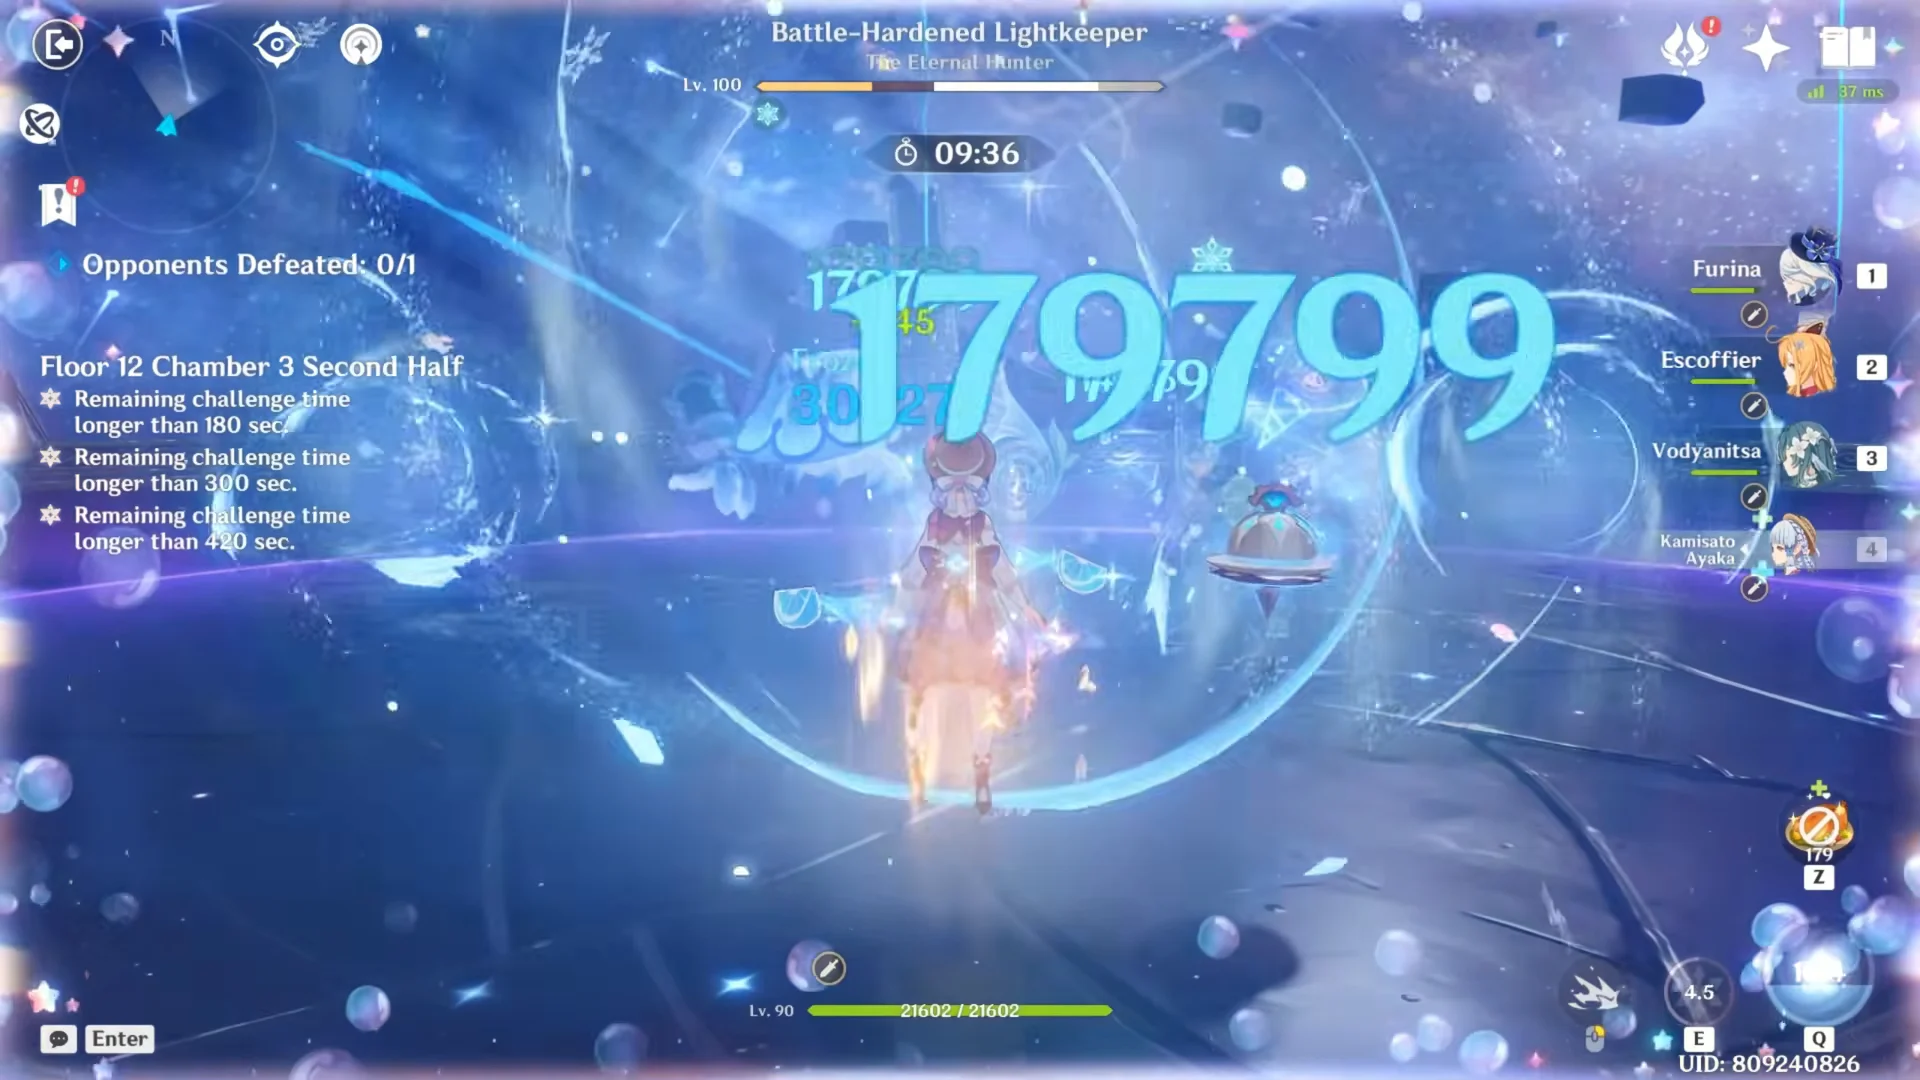
Chamber 3 finishes on the Battle-Hardened Lightkeeper, a Sigurd-type boss. The Freeze team clears it in about seventeen seconds to confirm the full Floor 12 completion.
Floor 12 enemies in Version 7.1
| Chamber | First half | Second half |
|---|---|---|
| 1 | Battle-Hardened Chimeric Burrowbeast | Wilderness Exiles, then Battle-Hardened Fireblade Shock Trooper |
| 2 | Immortal Construct | Fishers of Hidden Depths, then Whisperer of Nightmares |
| 3 | Battle-Hardened Domovoy Sculptor | Battle-Hardened Lightkeeper |
Every chamber grants its three stars for finishing with more than 180, 300, and 420 seconds left, so speed is what separates a partial clear from a full one.
Floor 12 conditions, blessing, and rewards
- Enemy level: 95 to 100.
- Ley Line Disorder, first half: Swirl DMG +200%, Stellar Swirl DMG +75%.
- Ley Line Disorder, second half: Electro-Charged DMG +200%, Lunar-Charged DMG +75%.
- Blessing of the Abyssal Moon (Ice-Surging Moon): Swirl or Stellar Swirl unleashes a True DMG shockwave, once every 4 seconds.
- Full 9-star bounty: 60,000 Mora and 200 Primogems.
The current blessing and enemy layout run until the Abyss resets on 2026/10/16 at 4:00 server time. A completed floor is confirmed by the Challenge Ended screen showing 9/9 stars across Floors 9 through 12.
How it compares to the 7.1 meta
The Ley Line Disorder and the Ice-Surging Moon blessing point toward Stellar-Swirl teams on the first half and Lunar-Charged or Electro-Charged teams on the second, built around units like Vesna, Mizuki, Flins, and Columbina. Several of these enemies also carry shields that officially want Stellar-Glimmer or Lunar damage to strip.
This clear takes the opposite approach. Rather than lean on the reaction bonuses, it leans on raw investment. A C6 Dendro team and a C6 Freeze team, with several members pushed to Level 100, generate enough damage to bypass shield and gimmick mechanics that would otherwise slow a standard account. It is a demonstration of what maxed builds can do on the final floor, not a template most players can replicate one for one.





