Control Resonant: How to Find the Team Below the Sinkhole and Reach the Underpass
The full route from the Bureau of Altered through the Laundromat basement and three vertical shafts down into the Underpass.
The full route from the Bureau of Altered through the Laundromat basement and three vertical shafts down into the Underpass.
by AllThingsHow Staff
The marker for “Find the Team Below the Sinkhole” plunges vertically through multiple levels of shifting geometry, making it hard to track despite the route staying the same. Reach the Evacuation Zone’s rooftop fast-travel location, identify the particular building at street level, and be willing to drop through shafts that look deadly.
Quick answer: Use fast travel to reach Main Street in Evacuation Zone 5. Go into the Laundromat, descend its basement stairs, then glide down through the shifting apartments and shafts. Zoe’s radio call will change the objective to Locate the Research Team.
When the Find the Team Below the Sinkhole objective unlocks
Within the “Protect the Dimension” storyline, this objective belongs to the Recursions and Iterations main mission. It becomes available after Dylan completes Enemy of My Enemy and defeats The Collective. Dylan triggers the mission by meeting Pope inside the Oldest House lobby. Pope sent four researchers, led by Schultz, far beneath the Sinkhole to study the Pattern. When their communications fall silent, Dylan must descend to locate them.
The quest points to the Sinkhole in Evacuation Zone 5; the entrance is the Laundromat on the street beside it. Into the Valley of Death, a side quest, is also available around this time at the Bureau of Altered, making that building the usual starting point for the descent.
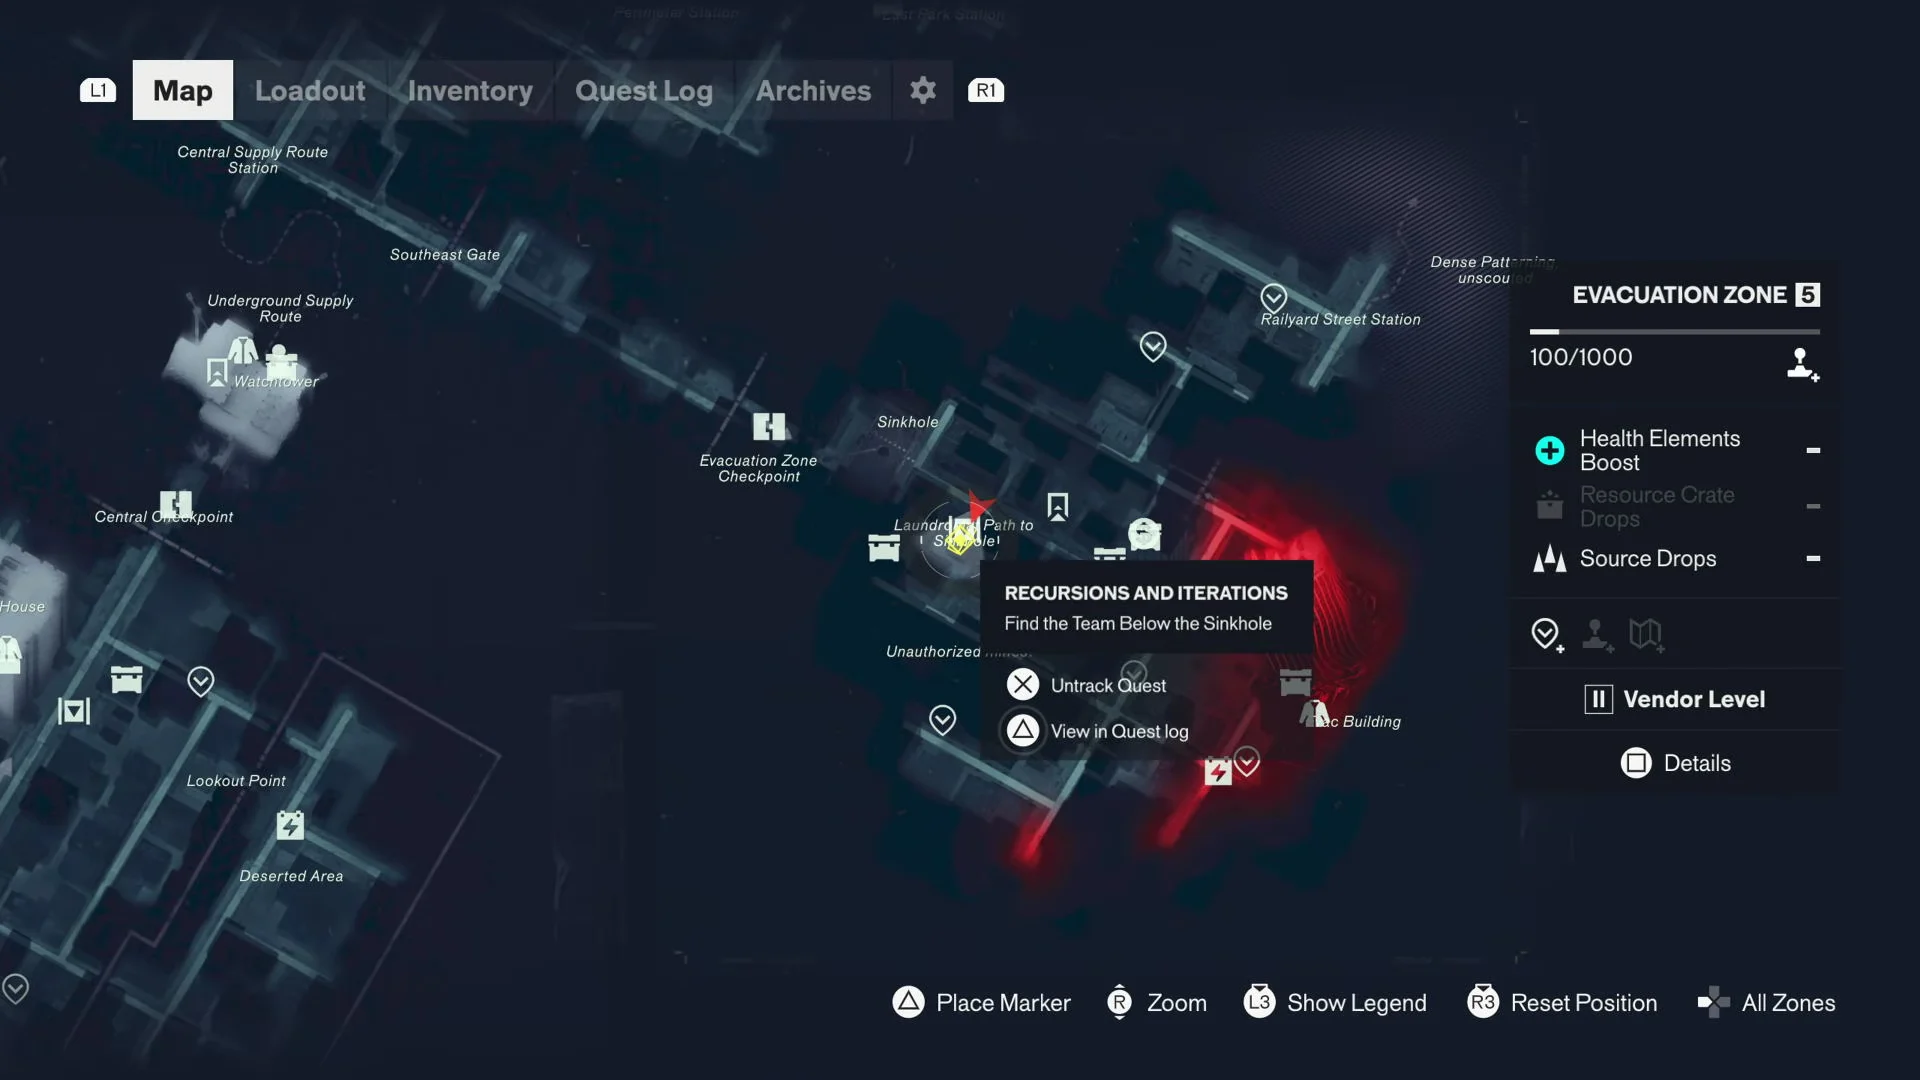
00:05Map InspectionThe map confirms the objective tracks the Sinkhole inside Evacuation Zone 5, with the Laundromat entrance right beside it. Shown at 00:05 in WoW Quests’s video. Image: Remedy Entertainment
What you need before the descent
Glide is essential — several of the shafts are long enough to kill you without it.
No new traversal ability is required beyond glide.
No fights on this route are mandatory; you can walk past every Hiss patrol.
When patrols keep interrupting your progress, turn on immortality and one-hit-kill in Assist Mode. You do not need to win any fights along this route.
Rooftop climb and the Main Street fast travel mirror
Leave the Bureau of Altered and head out into the Downtown streets. Aim for the nearest low rooftops instead of searching for a subway or a ground-level door.
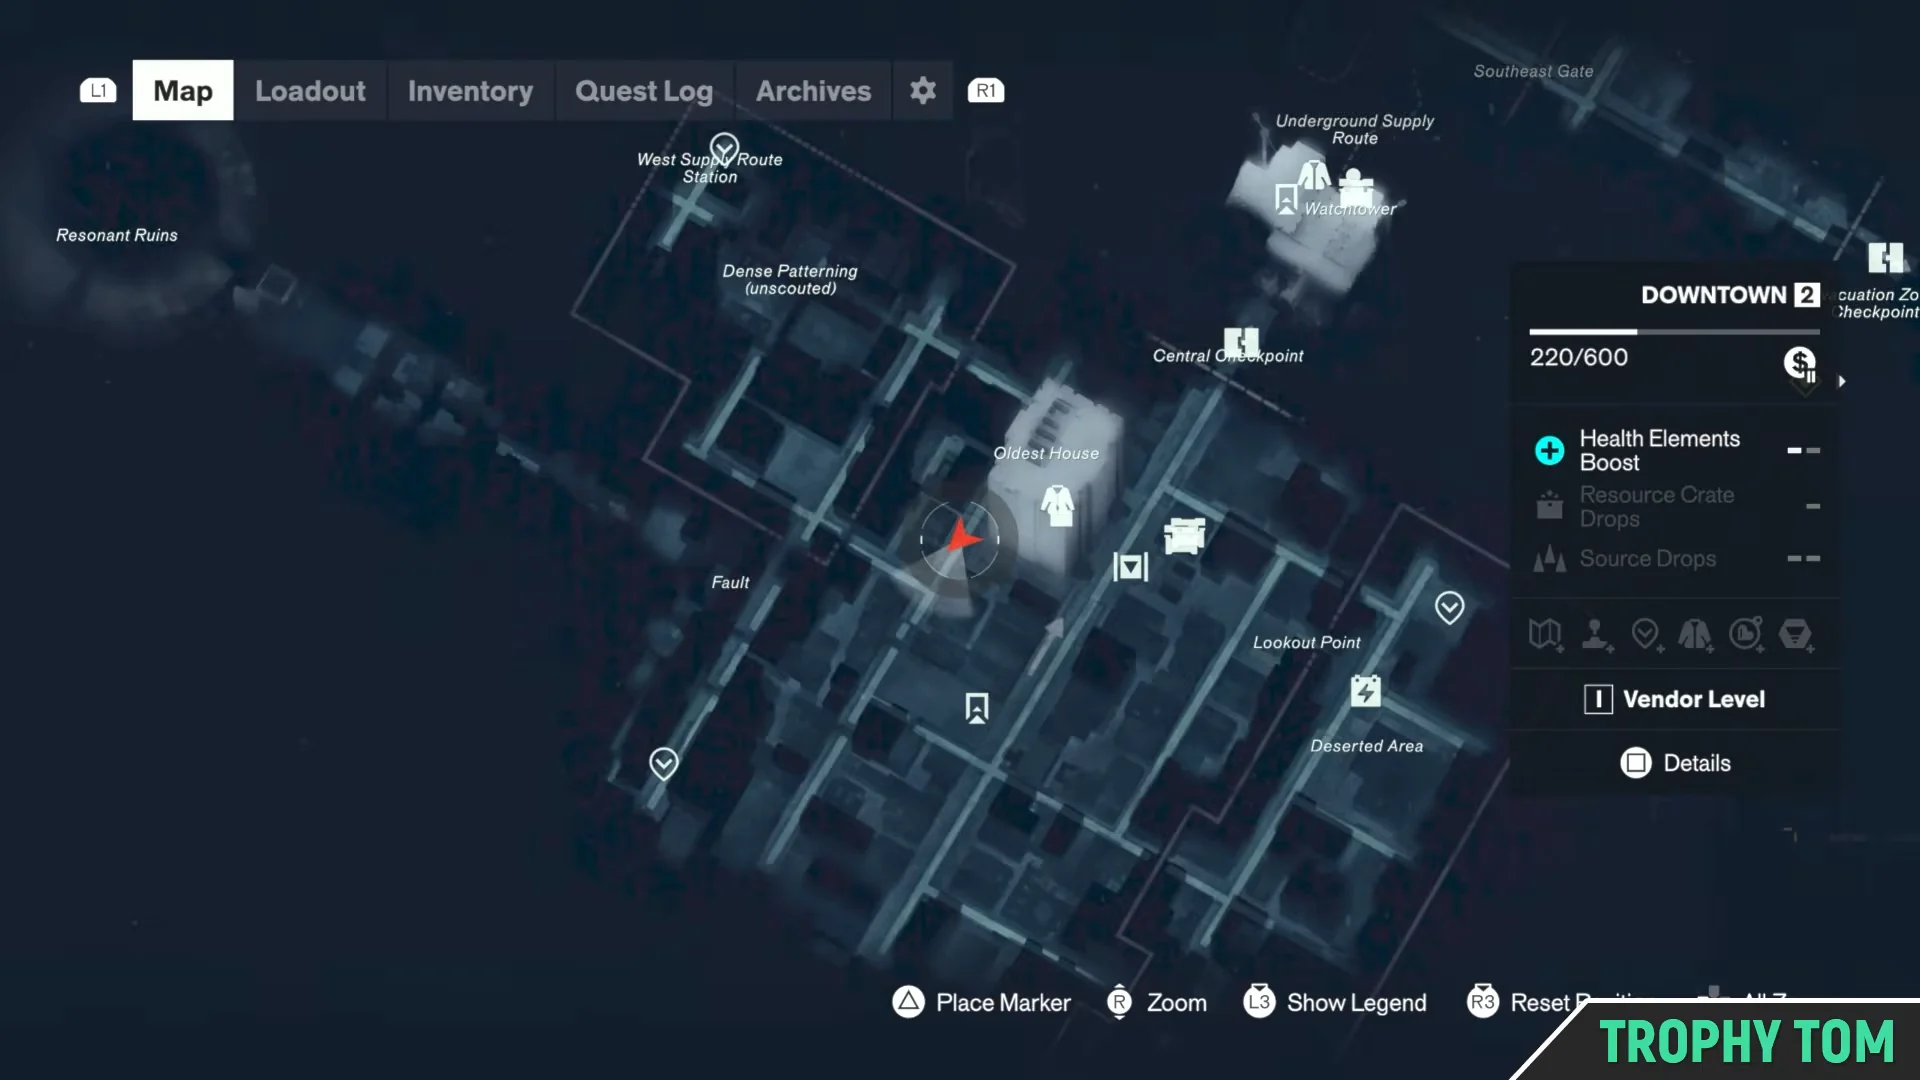
Check the map to see where you are. Your marker should be close to the Central corner of Downtown 2, the district corner where you start climbing to the rooftops.
00:20Navigating DowntownThe Downtown 2 map shows your starting corner near Central, where the rooftop route up begins. Shown at 00:20 in Trophy Tom’s video. Image: Remedy Entertainment
Use the bus stop roof to reach a shipping container, then haul yourself from it onto the first rooftop. From there, follow the green smoke flares: they mark the parkour route and keep you away from rooftop dead ends.
Find the Evacuation Zone group in the list, choose Main Street, and confirm by selecting Travel to Location. No other destination puts you close enough to glide to the Sinkhole.
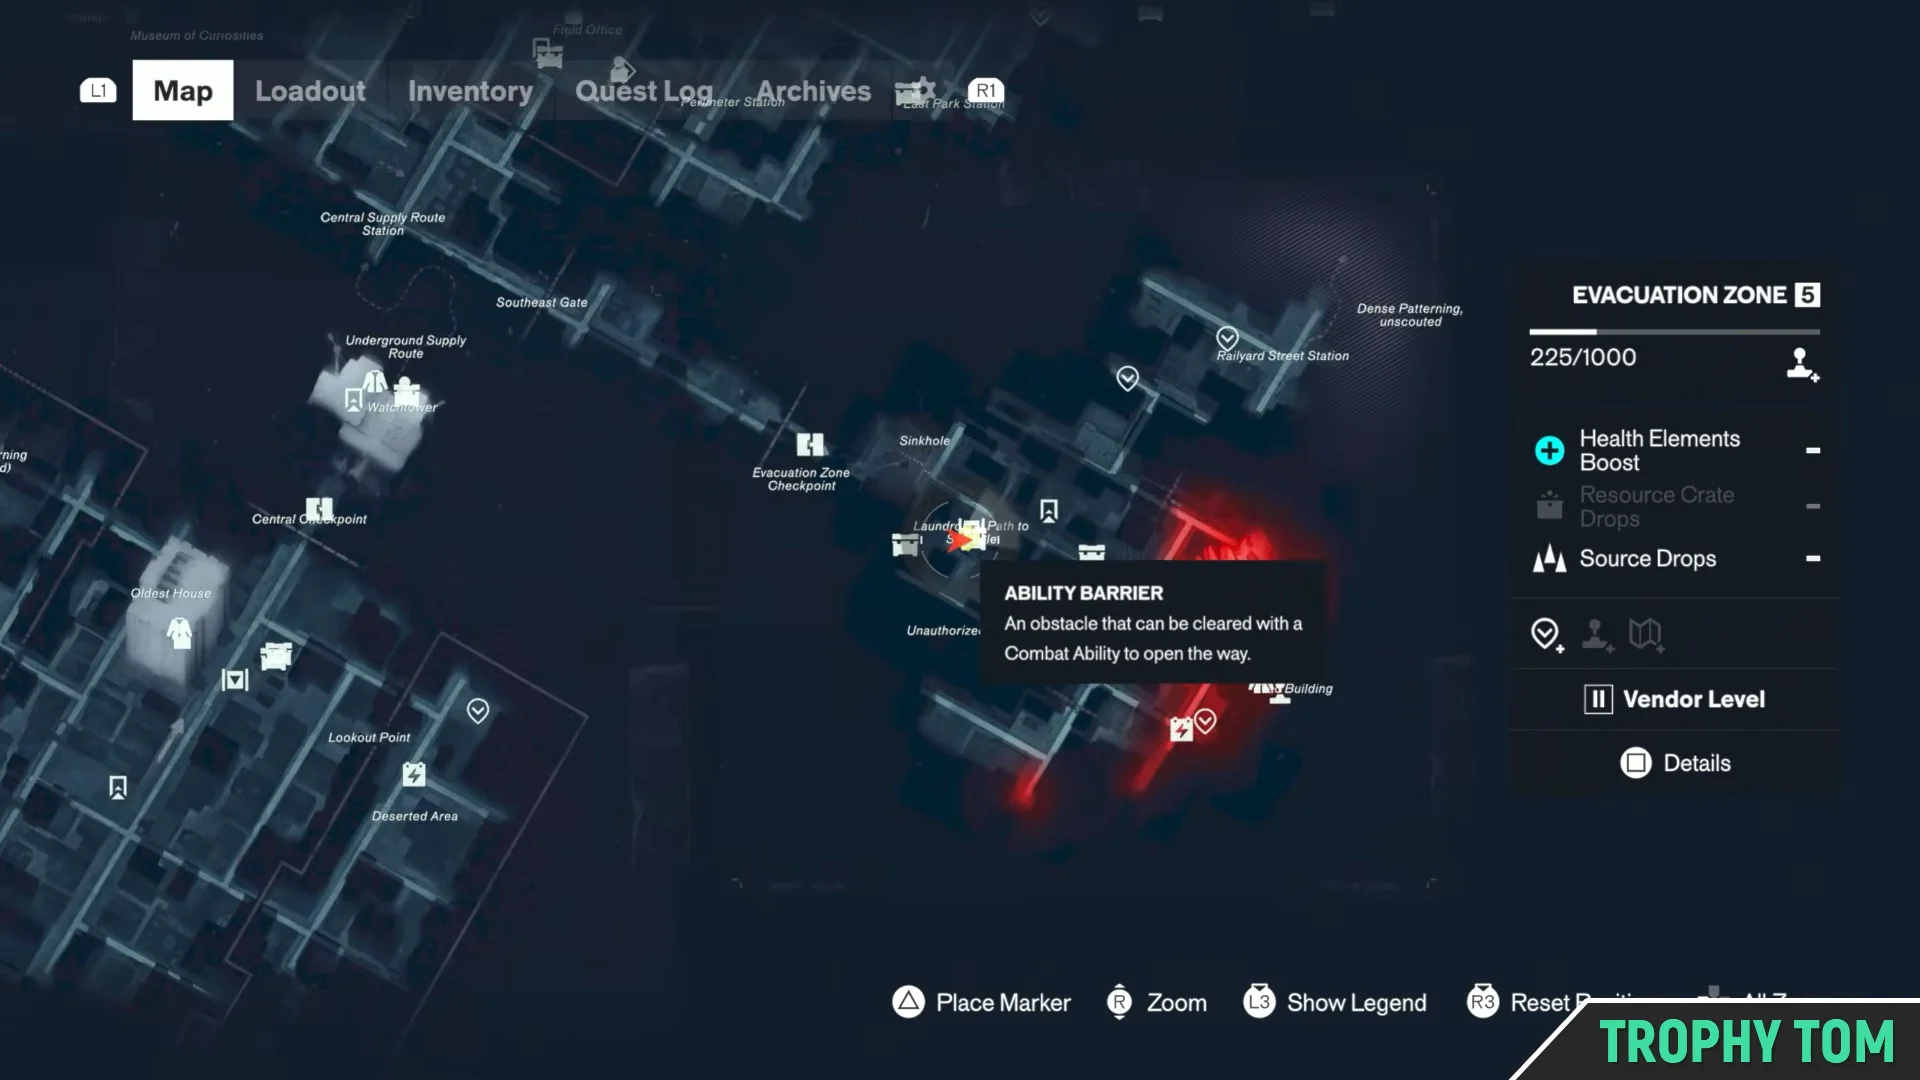
Bring up the map again if you get turned around. The Evacuation Zone 5 map marks the Sinkhole, with the Laundromat you need on the neighboring street.
01:16Checking Laundromat LocationThe Evacuation Zone 5 map marks the Laundromat path to the Sinkhole, so you can glide straight to the entrance. Shown at 01:16 in Trophy Tom’s video. Image: Remedy Entertainment
Head down to the street and enter the Laundromat. FBC agents among the machines may speak to you, but they do not obstruct your progress. Pass the security screening and break room, then reach the stairs at the rear.
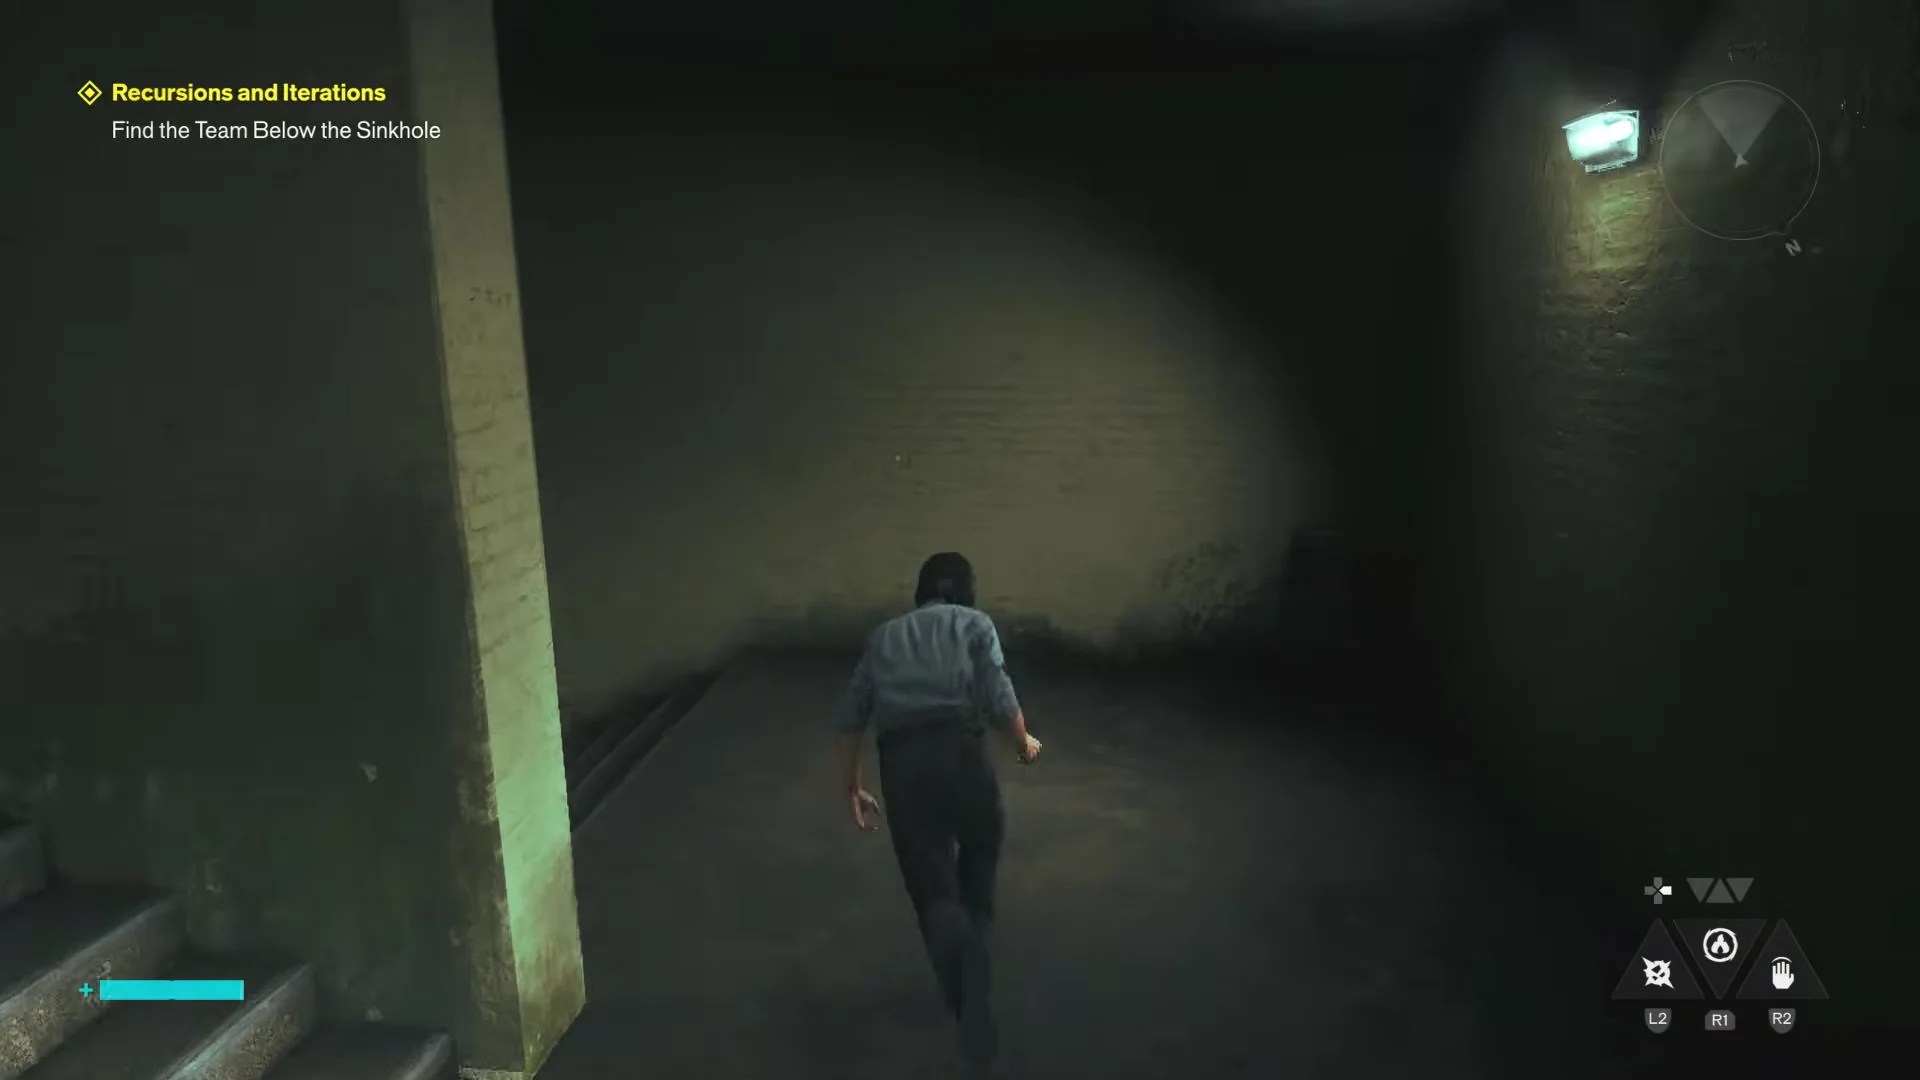
Go downstairs into the basement and proceed along the service corridors. At the large double doors, open them and continue.
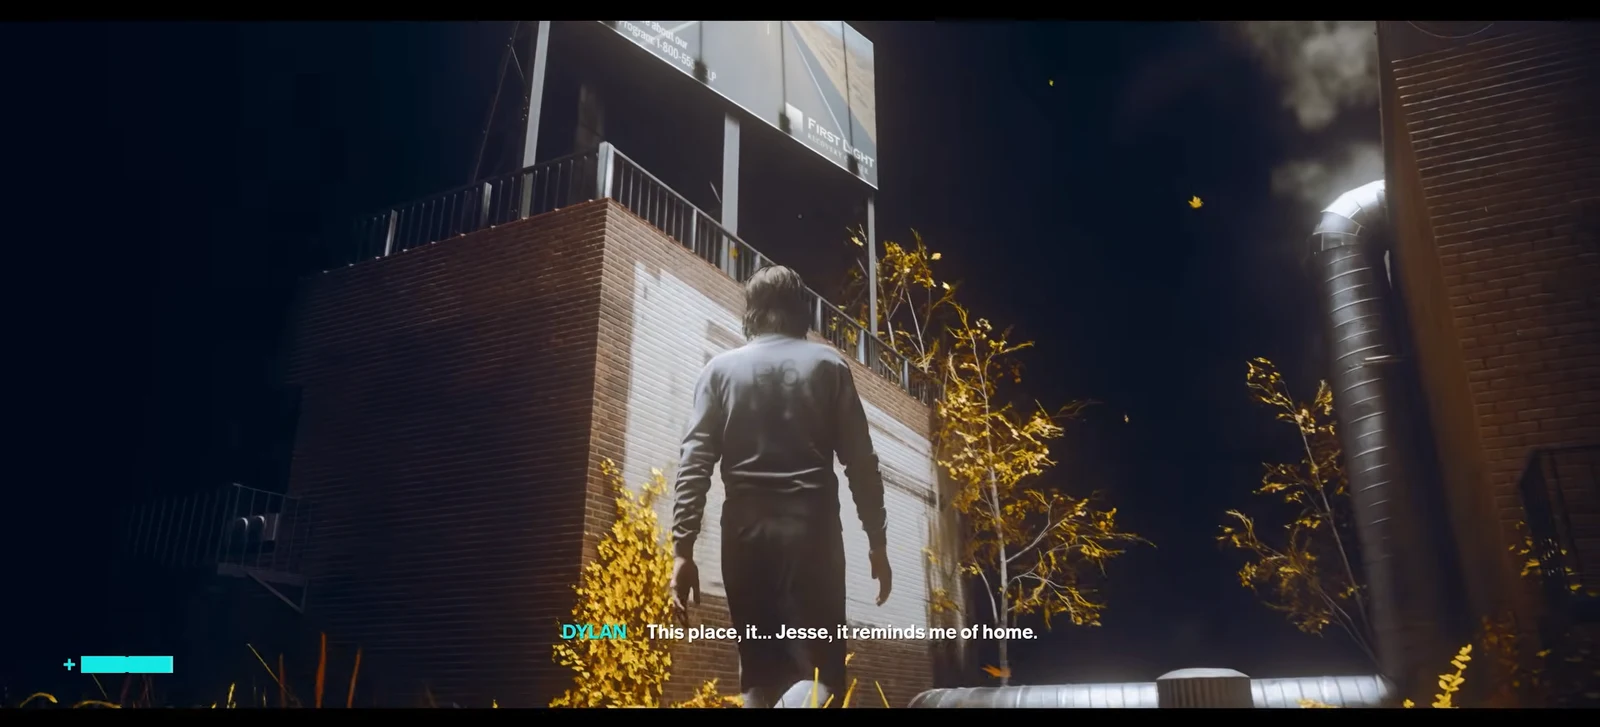
00:27Descending StairwellsThe Laundromat's back stairs feed into dim concrete maintenance corridors that lead deeper underground. Shown at 00:27 in WoW Quests’s video. Image: Remedy Entertainment
The corridors beyond become yellow-striped passages leading into a surreal apartment block. Use the yellow marks on the walls and floor as the game’s route guidance and follow them onward.
Go on to the room where CHASM AHEAD is painted on the floor. A vertical shaft of floating apartment rooms lies beyond. Jump and glide between the platforms as you descend.
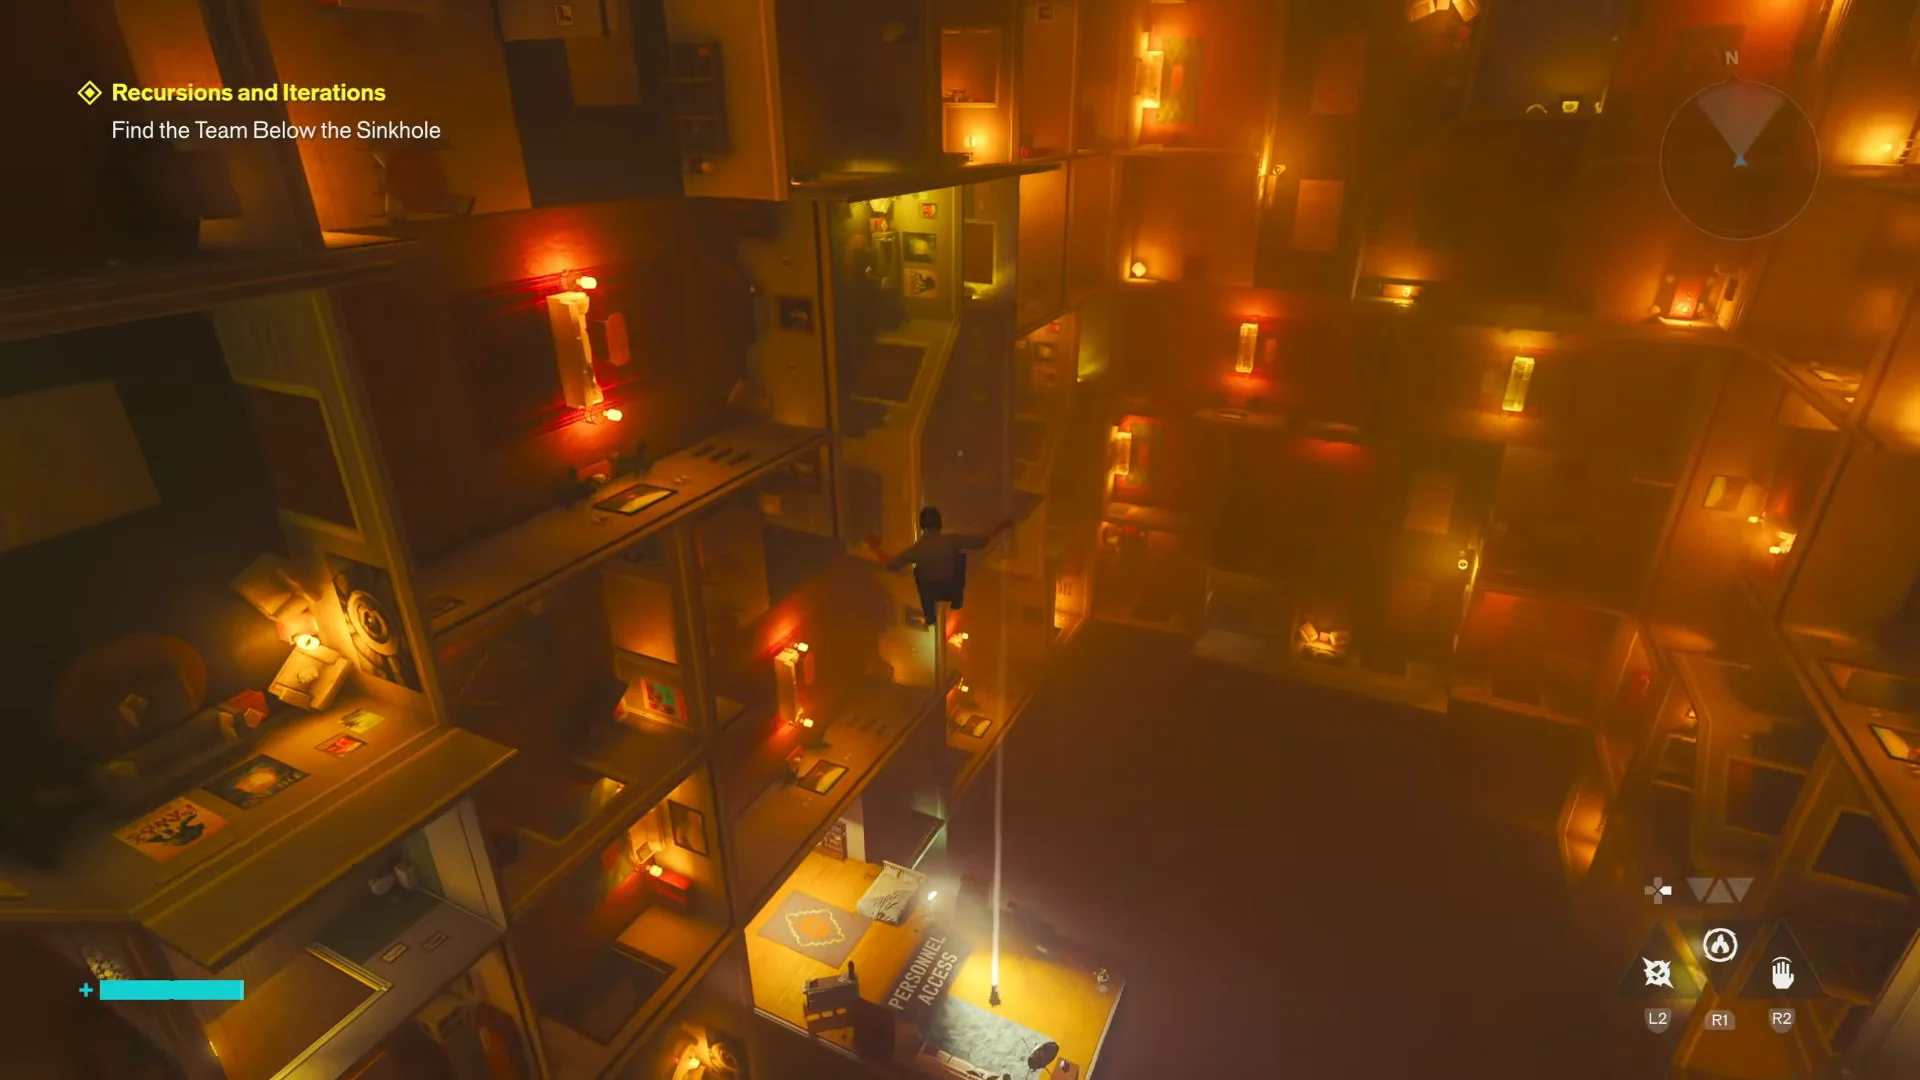
Descend to the ledge labelled PERSONNEL ACCESS. Then cross through the shifting rooms on the opposite side; red arrows on the walls indicate which surfaces you can climb rather than which ones are decoration.
00:46Vertical Room Shaft DropGlide down the chasm of floating rooms and land on the PERSONNEL ACCESS platform to continue the descent. Shown at 00:46 in WoW Quests’s video. Image: Remedy Entertainment
You’ll come to another ledge marked CHASM AHEAD. Leap to the platform with the control panel and activate it. Move the crate out of your path, then fall through the square hole at the floor’s centre.
The next shaft is a long one, with yellow shipping containers along its sides. Keep gliding during the extended fall to slow your descent, then land on the wooden platform.
Make another drop through a shaft surrounded by floating structures with blue windows. You’ll arrive in a muddy cave underground.
The two major shafts look deadly, but neither will kill you. You won’t be able to climb back out, and there’s no lift to return you to the top, so collect anything you need before descending farther.
Before moving on, smash the glowing orange object in the cave to collect a Power Upgrade Point. Three of these are what it takes to raise Dylan’s Power, and there is plenty of combat waiting deeper in the mission.
Keep going down until the route opens into a long concrete hallway. Pass through the last blast doors, then descend the ramp into the high-ceilinged passage beyond.
How to confirm you reached the research team
Entering the long concrete hallway triggers the update. Zoe radios in about the Sinkhole’s new basement expansion, a Quest Updated prompt appears, and “Find the Team Below the Sinkhole” becomes Locate the Research Team. You have reached the Underpass.
An unchanged objective means you need to descend farther. Neither the apartment maze nor either shaft triggers completion by itself; continue down until Zoe’s radio message comes through.
The mission now leads farther into the Underpass in pursuit of Schultz’s crew. Several objectives are active there at once, so check the quest title in the corner before following a marker—the closest one often belongs to a different mission.