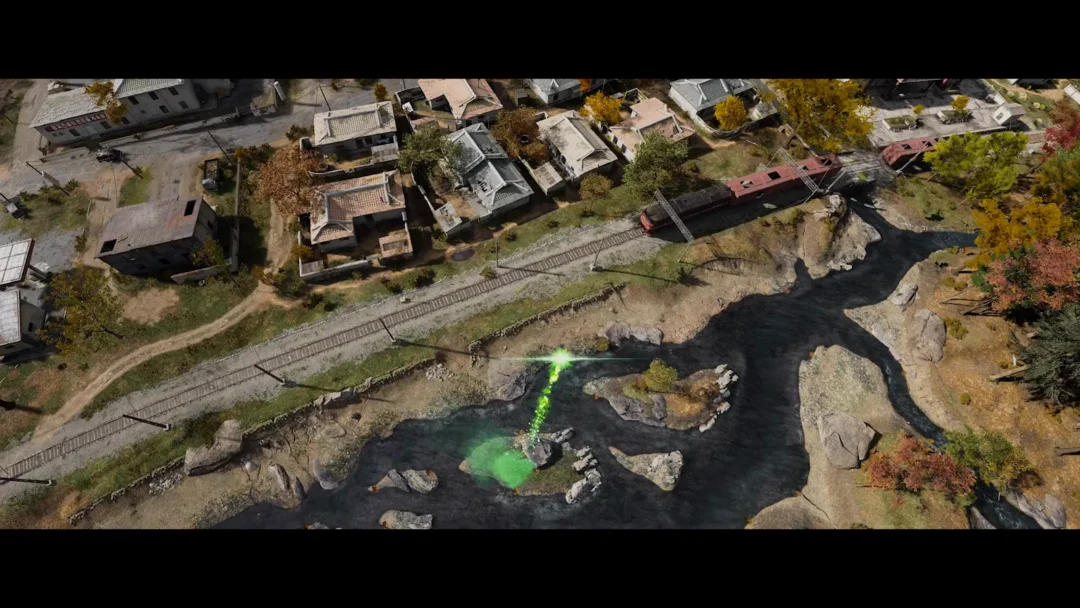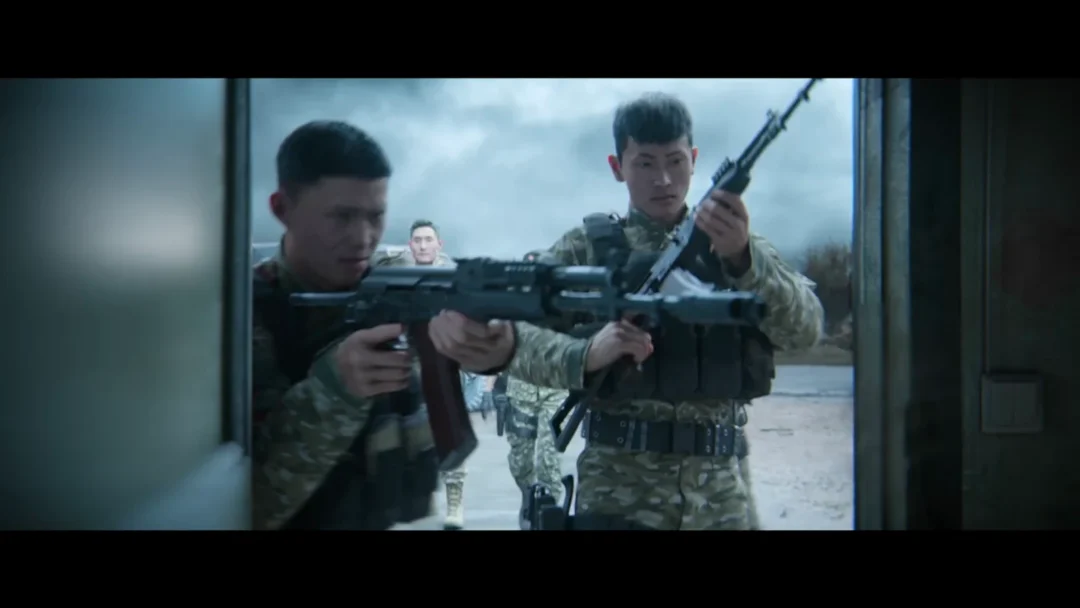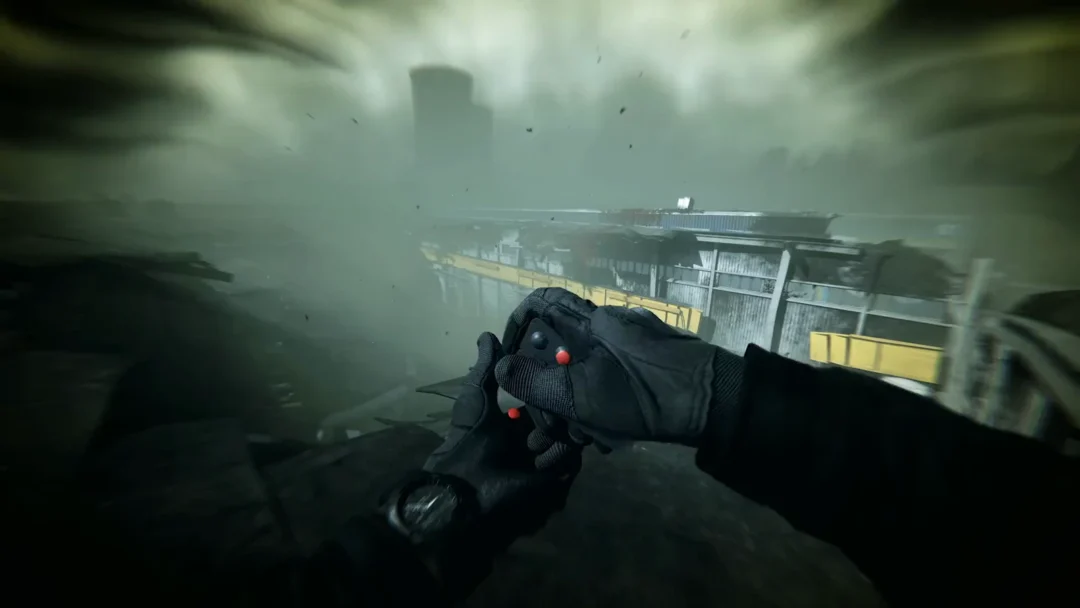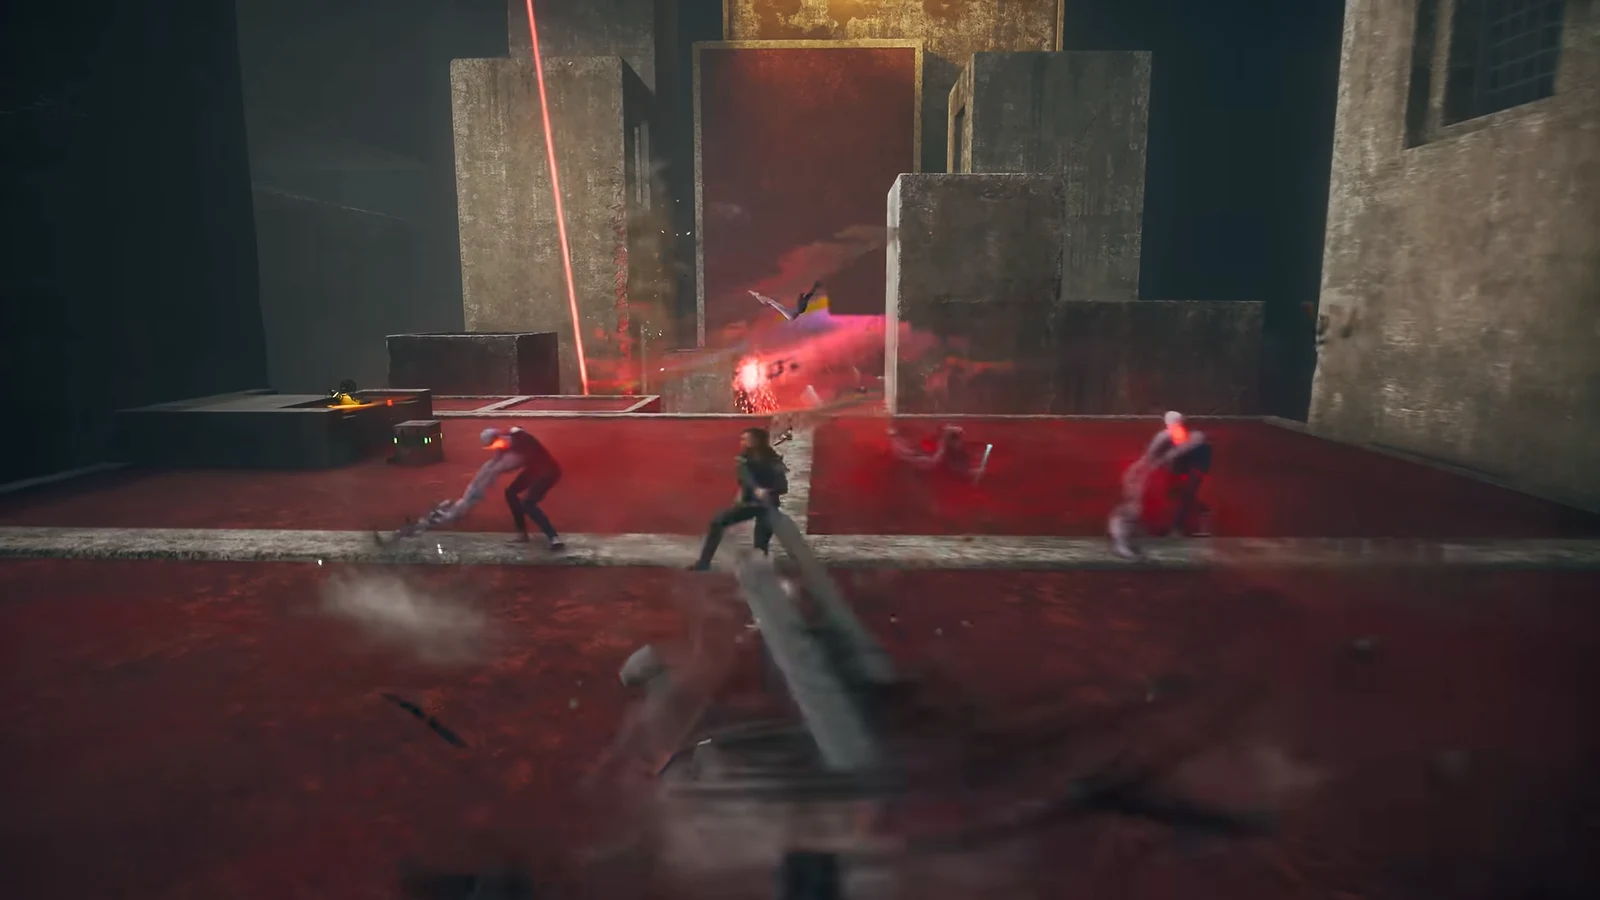
Enemy of My Enemy is a mid-campaign main mission in Control Resonant that turns a controlled science experiment into a reality-bending disaster. Playing as Dylan Faden, you agree to help fire the CFD (Charged Field Device) against the Hiss in the Evacuation Zone, only for the machine to overload and rip the district apart. The mission is as much a story beat as a fight, and it ends with Dylan making a choice that lands him back in a containment cell.
Quick answer: Enemy of My Enemy has Dylan defend and activate the CFD, chase the malfunctioning device through a distorted zone, and destroy its core by hand. Completing it grants +1 Talent Point and starts Recursions and Iterations.
Where Enemy of My Enemy falls in the campaign
This assignment appears around the game’s midpoint and completes the Contain the Crisis objective. It becomes available at the Field Office only after you finish a group of earlier tasks. If talking to Pope leaves the quest unchanged, you have almost certainly missed a prerequisite.
- Clear the Power Lines path through the subway stations.
- Complete the Plan of Attack tracker by finishing Into the Sinkhole.
- Take down The Deserter, the Patterned Factory’s Central Resonant.
- Defeat The Dancer, the West Incursion Zone Resonant.
The quest is locked until you defeat the Central and West Incursion Resonants. If reaching the Field Office triggers no progress, those two bosses are the most likely obstacles.
The setup: Pope, Arish, and the CFD plan
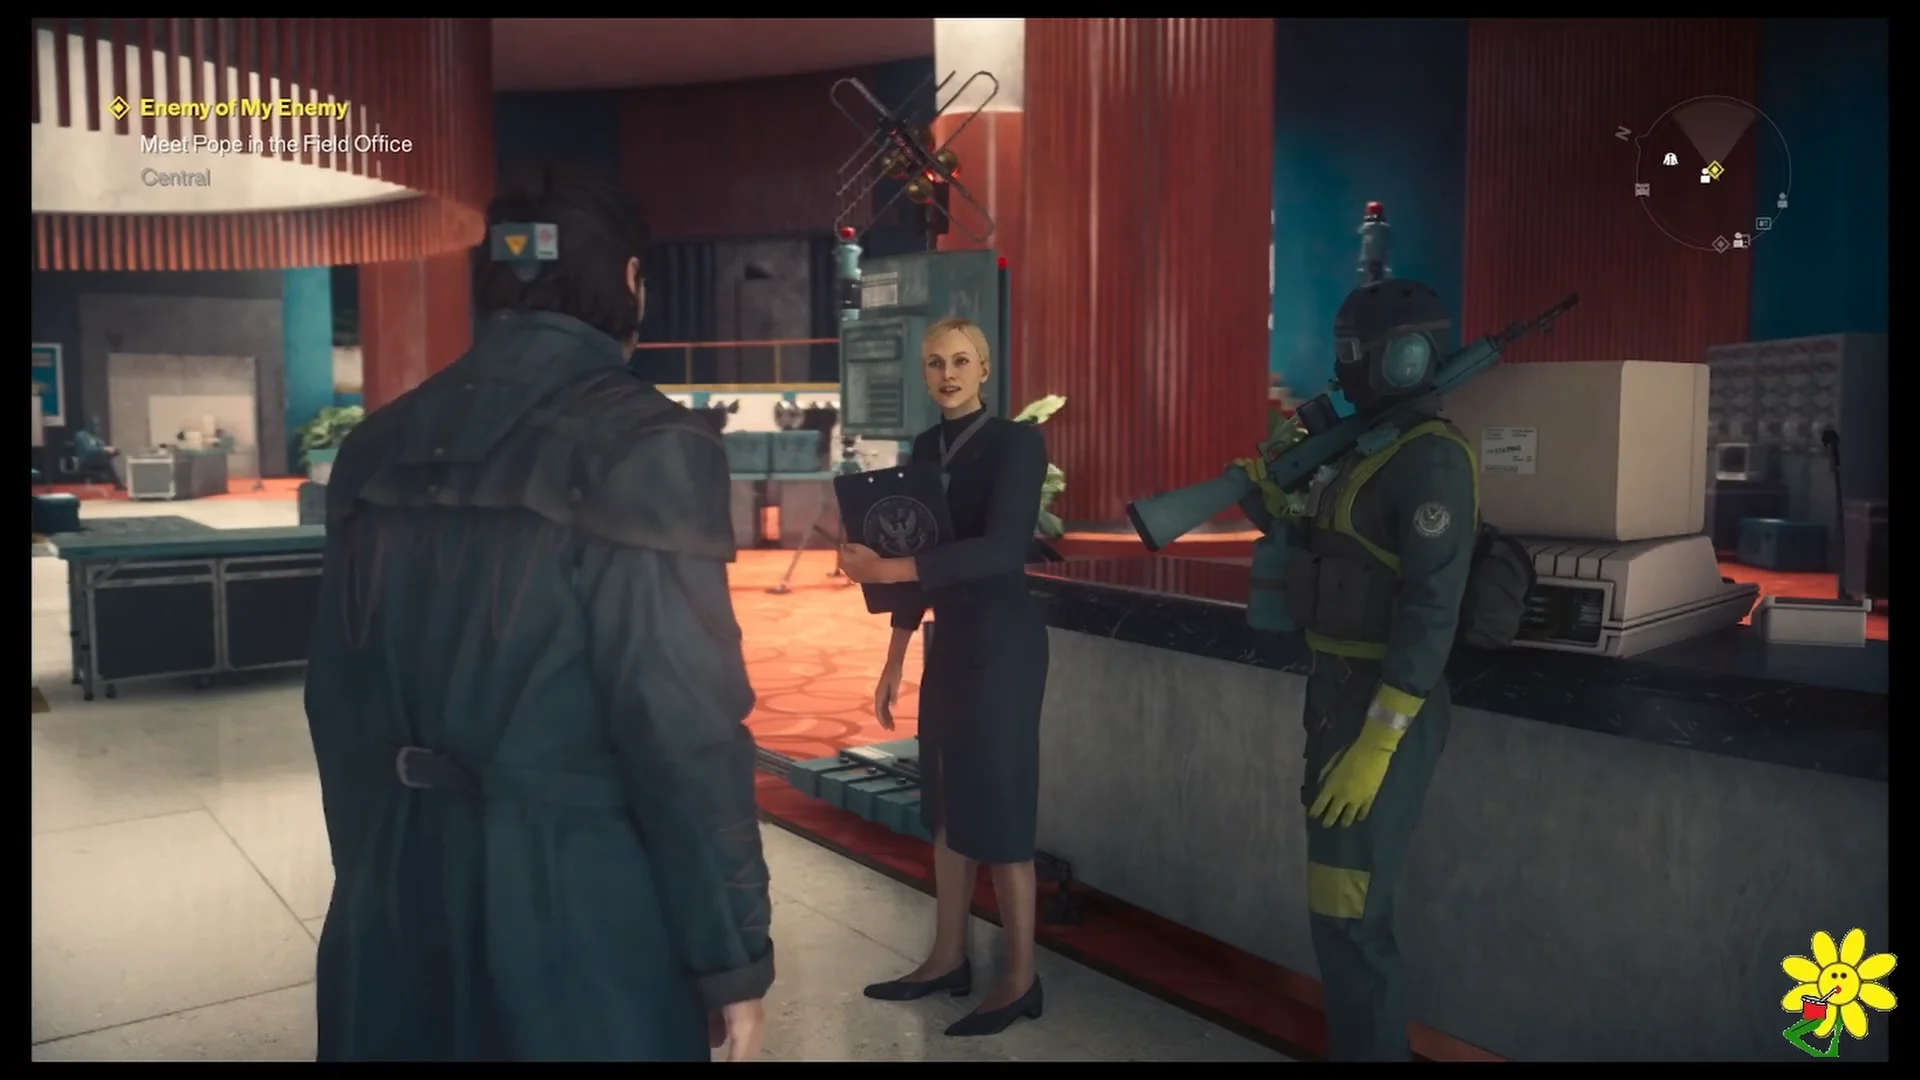
The mission opens in Central, where Emily Pope meets Dylan at the Field Office to talk through the CFD’s calibration. Pope wants real Hiss resonance drawn to the device to speed up testing, and she asks Dylan to help win over Simon Arish, who is reluctant to put Dylan anywhere near the machine.
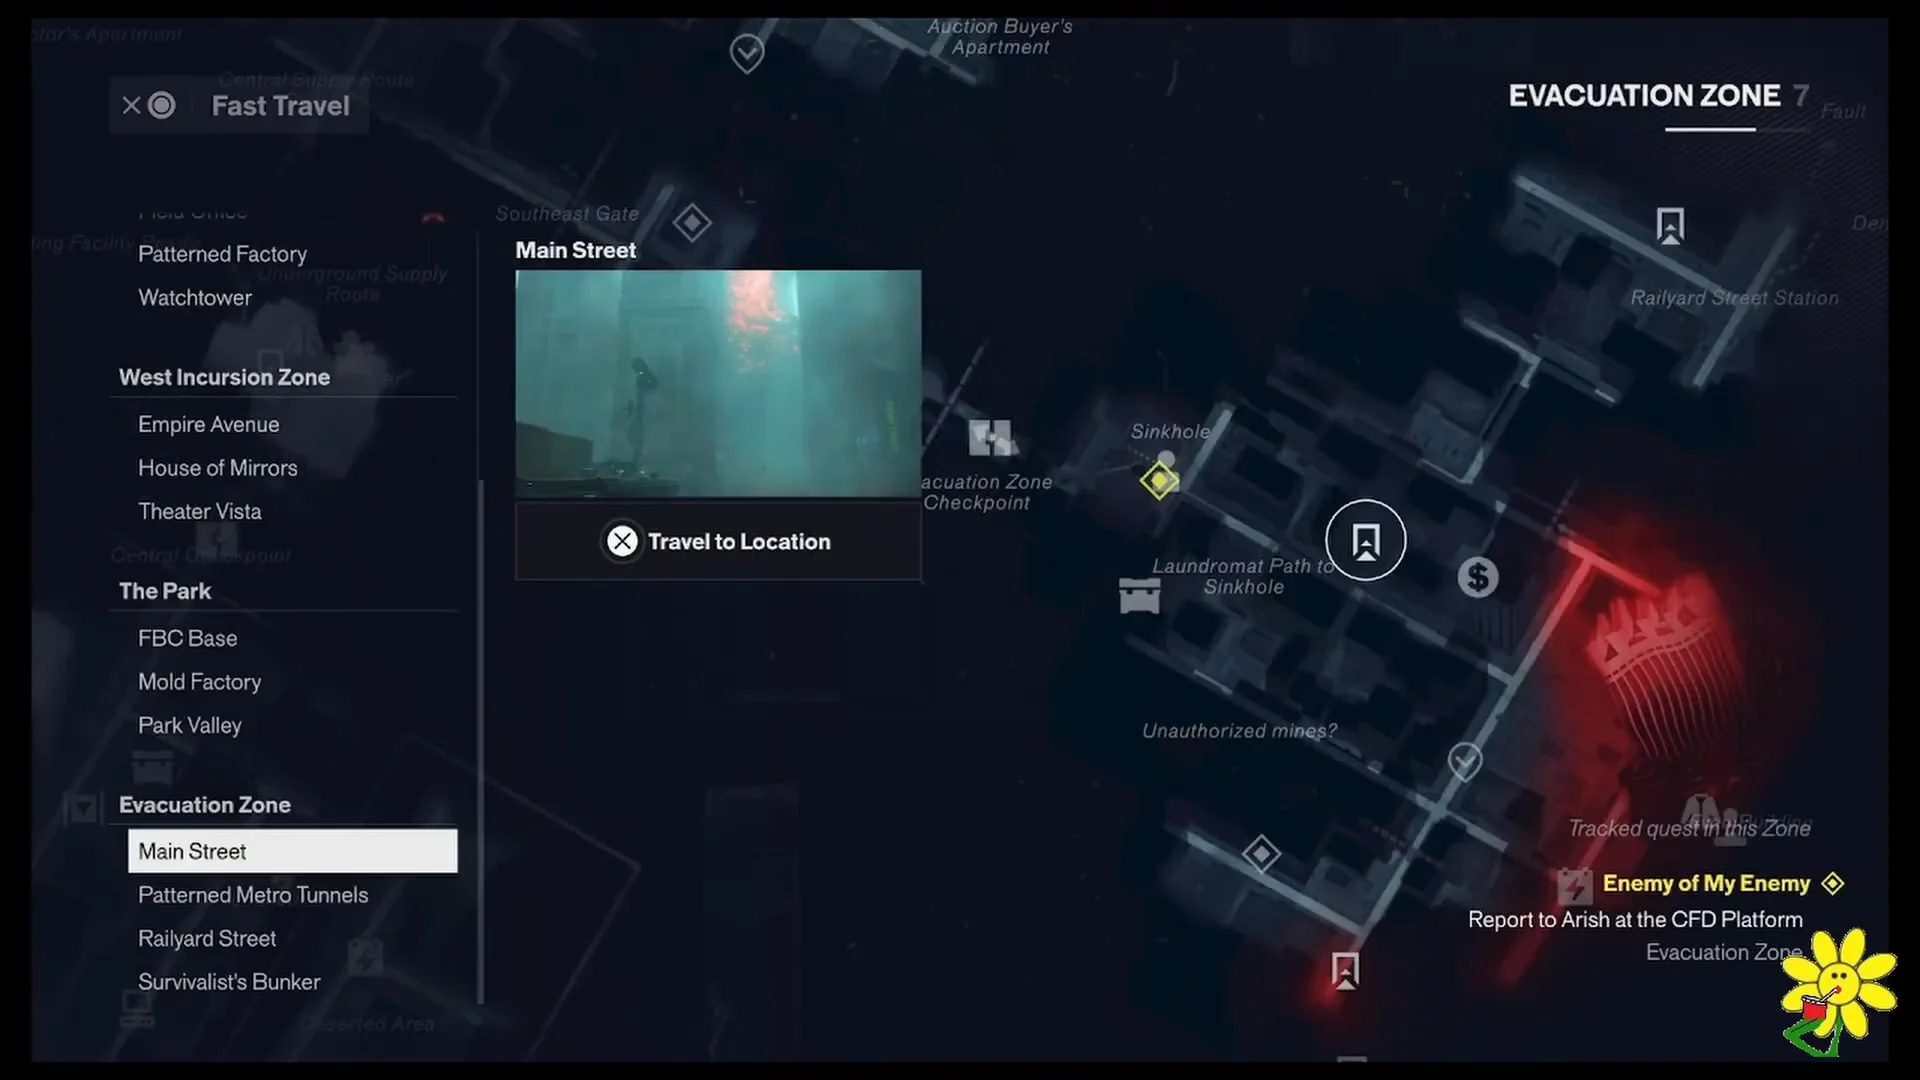
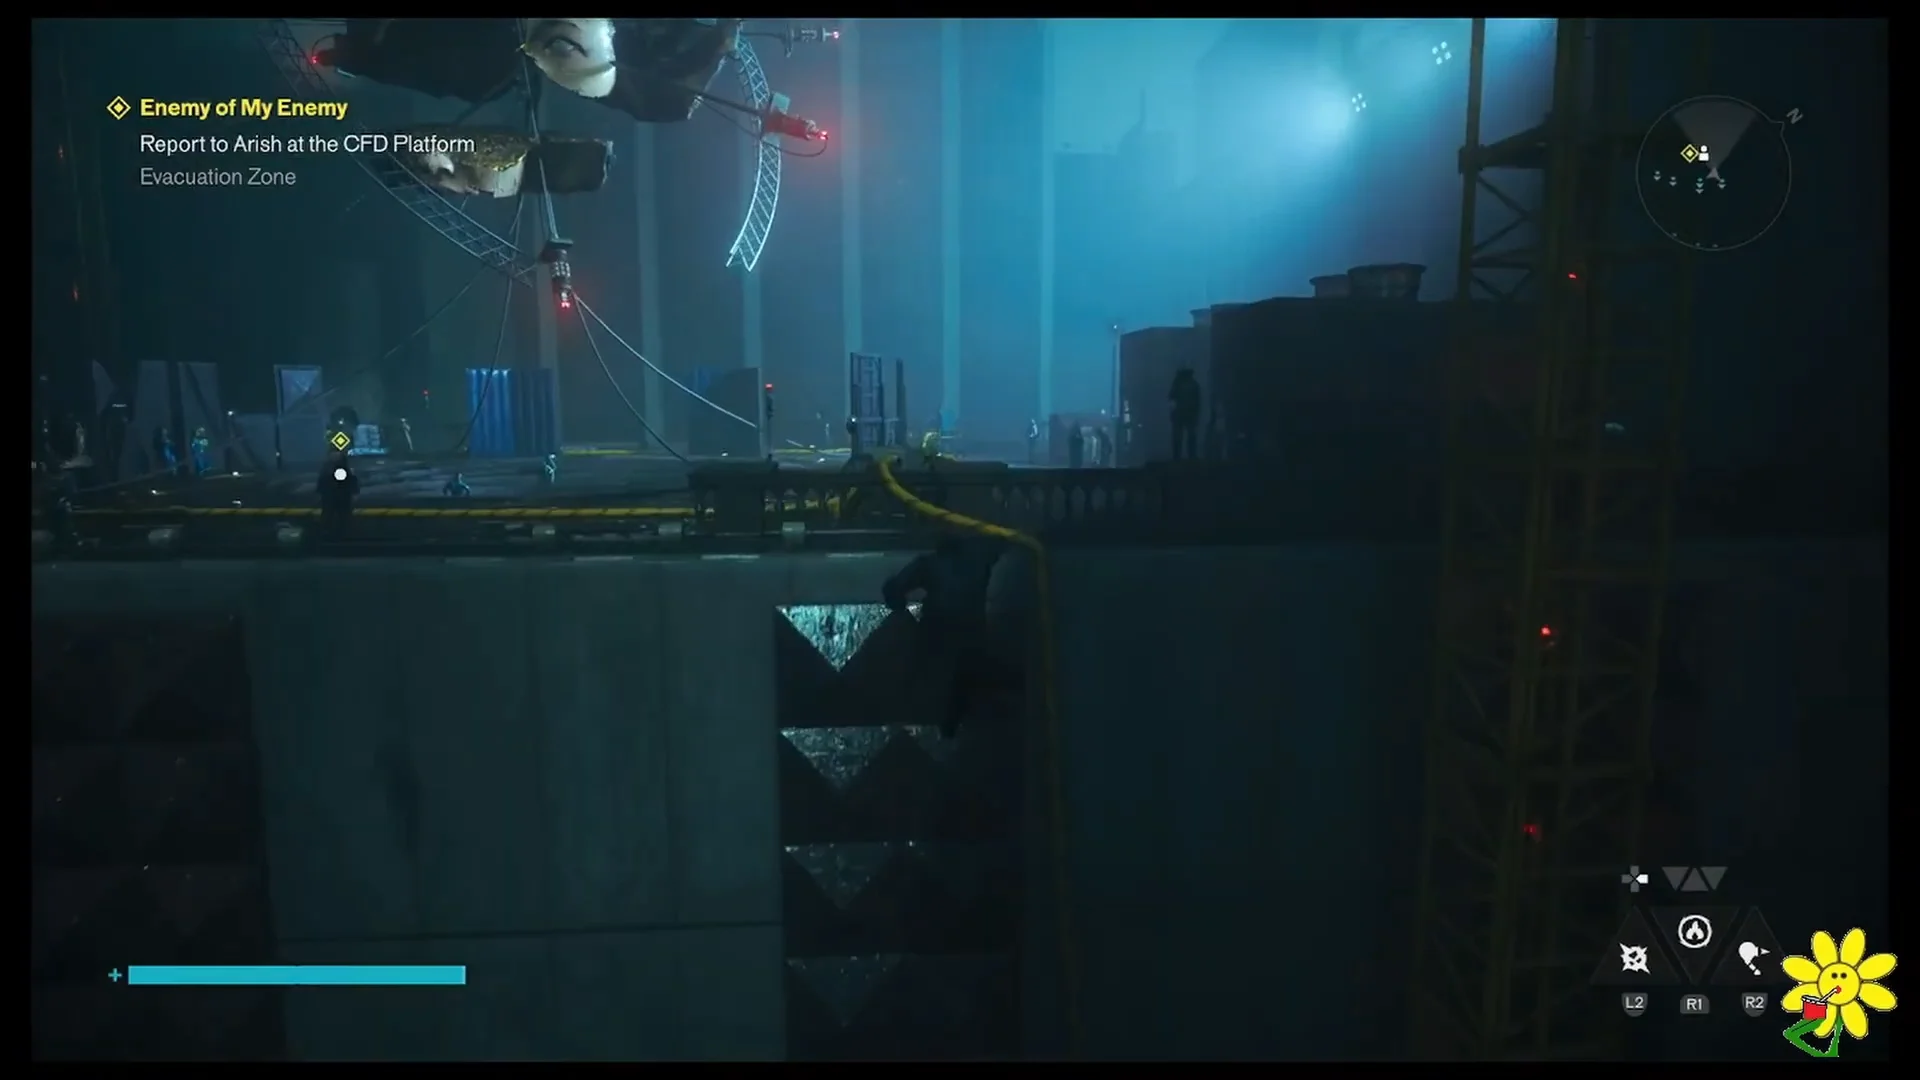
From there the objective points to the CFD Platform in the Evacuation Zone. The fast-travel route runs through Main Street in Evacuation Zone 7, followed by a climb through the industrial rooftops and platforms to reach Arish’s post.
The reunion is tense. In a cutscene, Arish reveals that Agent Zoe de Vera has been suspended for abandoning her post to save Dylan, and he tries to sideline Dylan from the operation. The argument is cut short when a Hiss breach tears open behind them and floods the area.
Defending the CFD in the Evacuation Zone
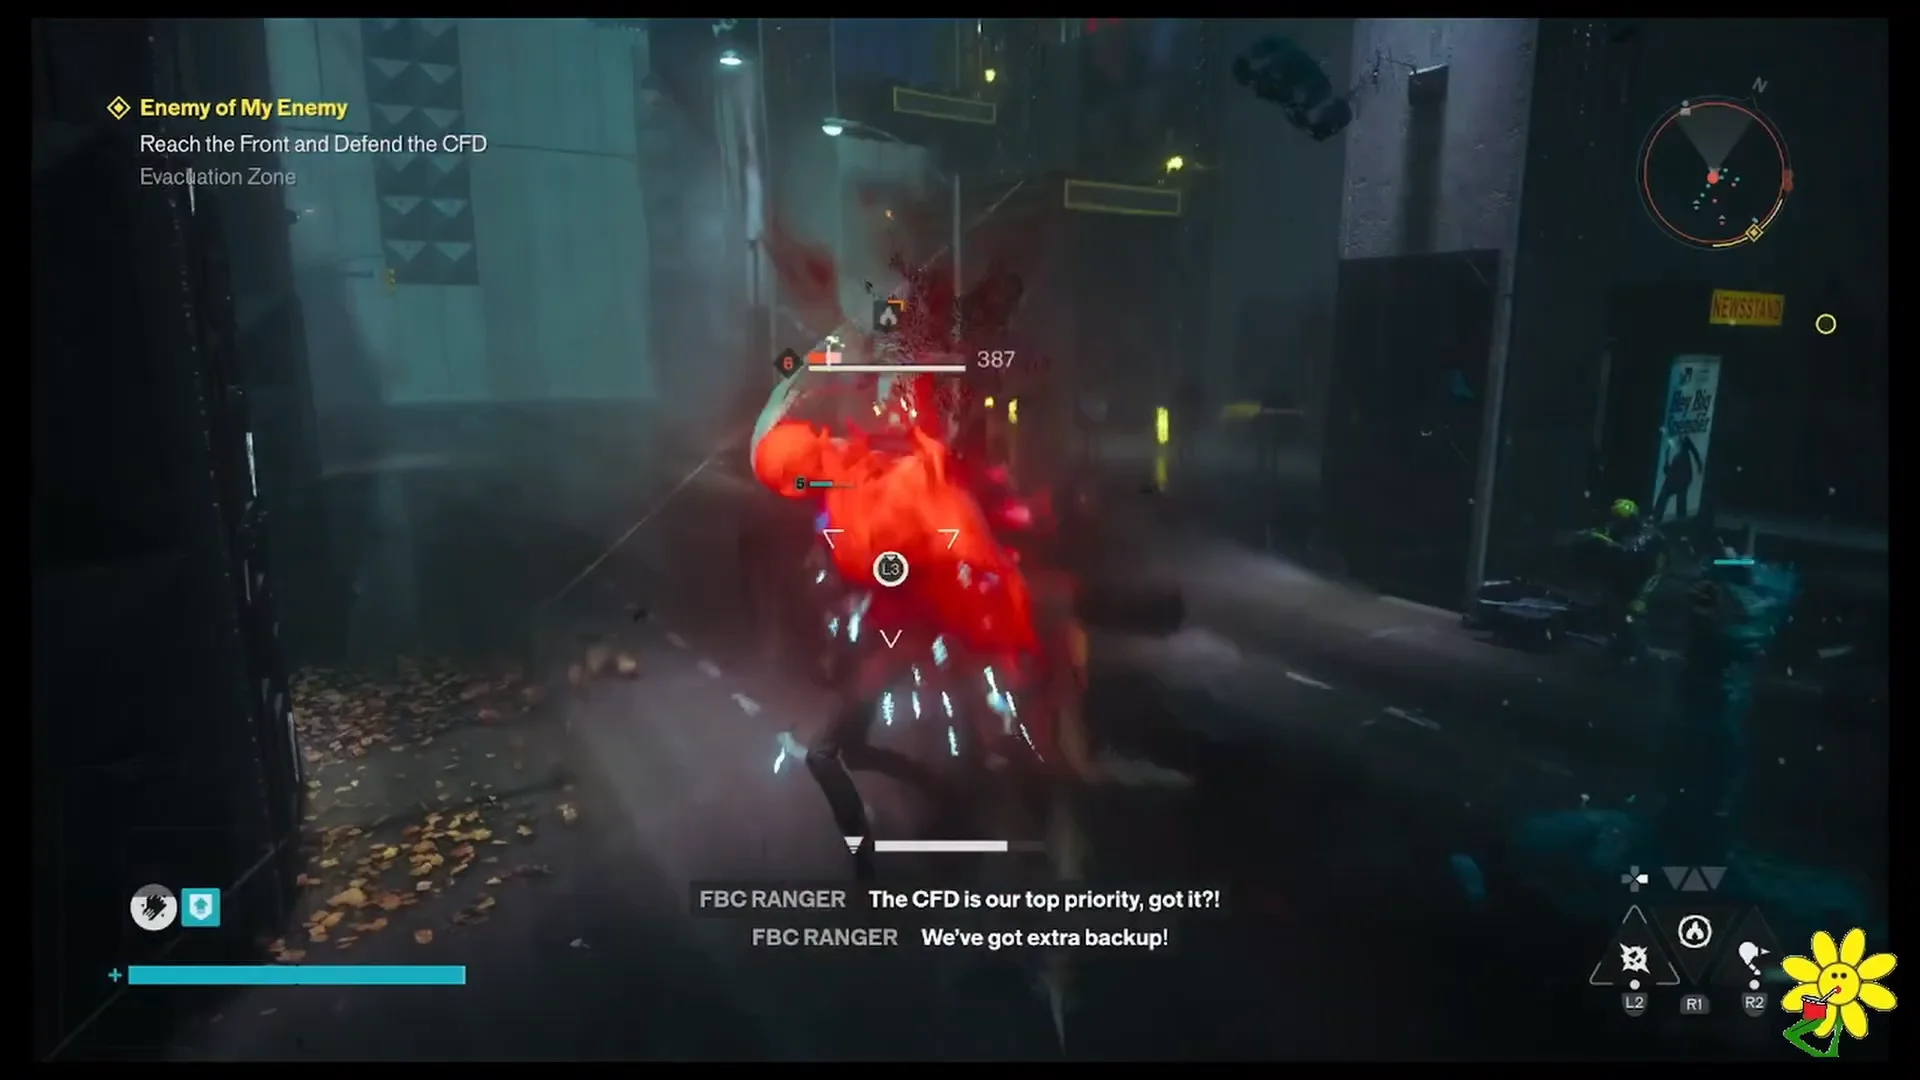
The middle of the mission is a running defense fight. Dylan drops into the street to protect the FBC Rangers from waves of grounded and airborne Hiss, with the objective shifting from the front line to a blockade further down the road. You handle most of the fighting yourself, so enemy positioning matters as flying and shielded variants close on the device.
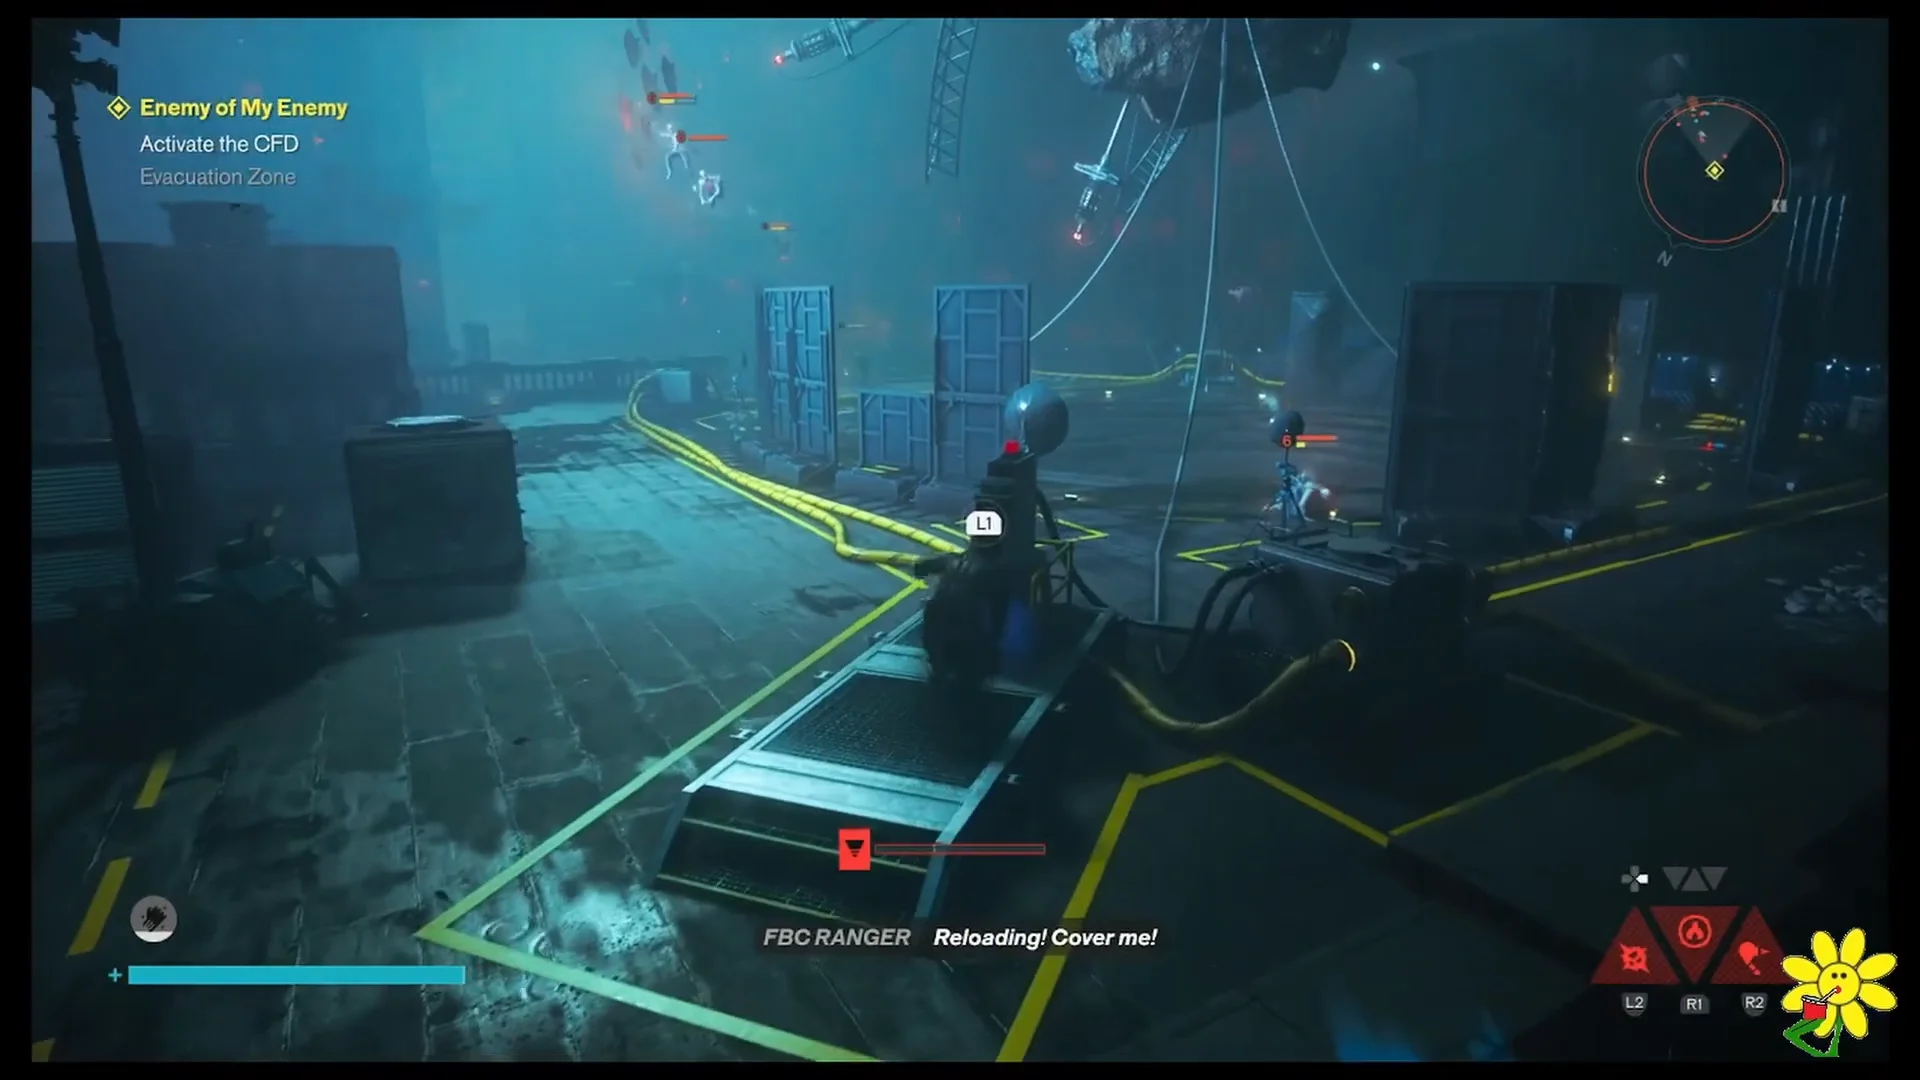
Once Arish calls the retreat, Dylan climbs back to the elevated platform and reaches the activation console. Pulling the large yellow switch starts the CFD’s startup sequence and triggers the mission’s turning point.
The CFD malfunction and the Patterned zone
The device fires a massive beam that vaporizes the nearby Hiss, then overloads. Instead of neutralizing the threat, the CFD unleashes unstable Patterning energy across the district, warping geometry and inverting gravity as it collapses into a spiraling portal.
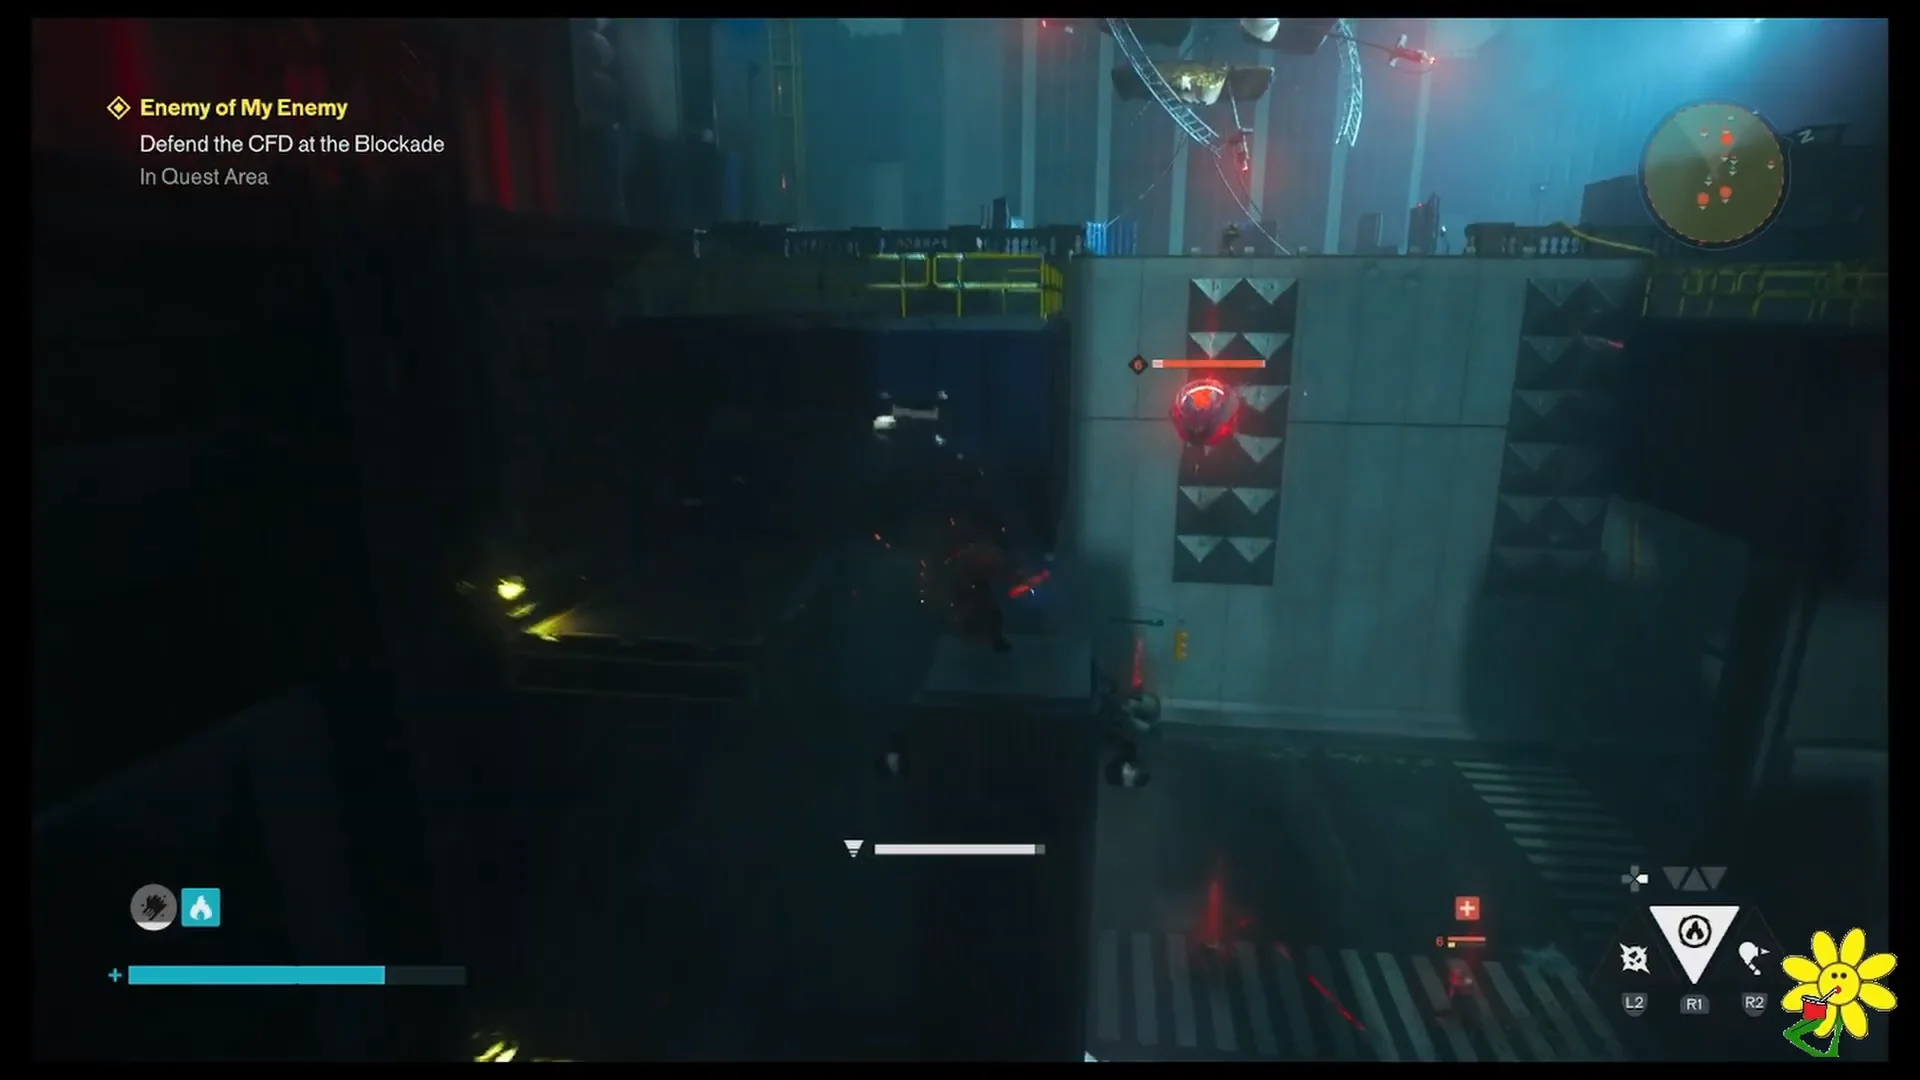
What follows is mostly traversal through a reality-warped version of Manhattan. Dylan chases the drifting device across floating trucks, tilted roadways, and suspended crane platforms, following yellow power conduits deeper toward the core. Red Hiss resonant nodes block the path in places and have to be destroyed, and most other enemies can be ignored to save time.
Destroying the core and what it unlocks
At the top of the shaft, Dylan reaches an emergency terminal and tries to shut the machine down. The switch fails. Over Arish’s protests, Dylan charges the core and destroys it with a melee strike, fracturing the CFD and sending the entire Patterning structure into collapse as he falls into a white void.
Before control returns to you, an archival recording plays: Dr. Darling’s presentation “Falling Short,” which covers the limits of Dylan’s training. Dylan next awakens inside a glass containment cell in Evacuation Zone 8. Over the radio, Zoe de Vera gets in touch and gives him an update on Pope’s status.
Waking up marks the mission’s completion. You earn +1 Talent Point, and “Falling Short” becomes available in the Archives under the Dr. Darling category. This also completes the Contain the Crisis objective and kicks off Recursions and Iterations, advancing the campaign toward the Underpass.
The objective markers you pass through, in order, are a useful shorthand for the whole mission:
- Meet Pope in the Field Office
- Report to Arish at the CFD Platform
- Reach the Front and Defend the CFD
- Defend the CFD at the Blockade
- Retreat to the CFD Platform
- Activate the CFD
- Follow the CFD and Use the Switch
- Destroy the CFD
Control Resonant is available on PC, PlayStation 5, and Xbox Series X and S.