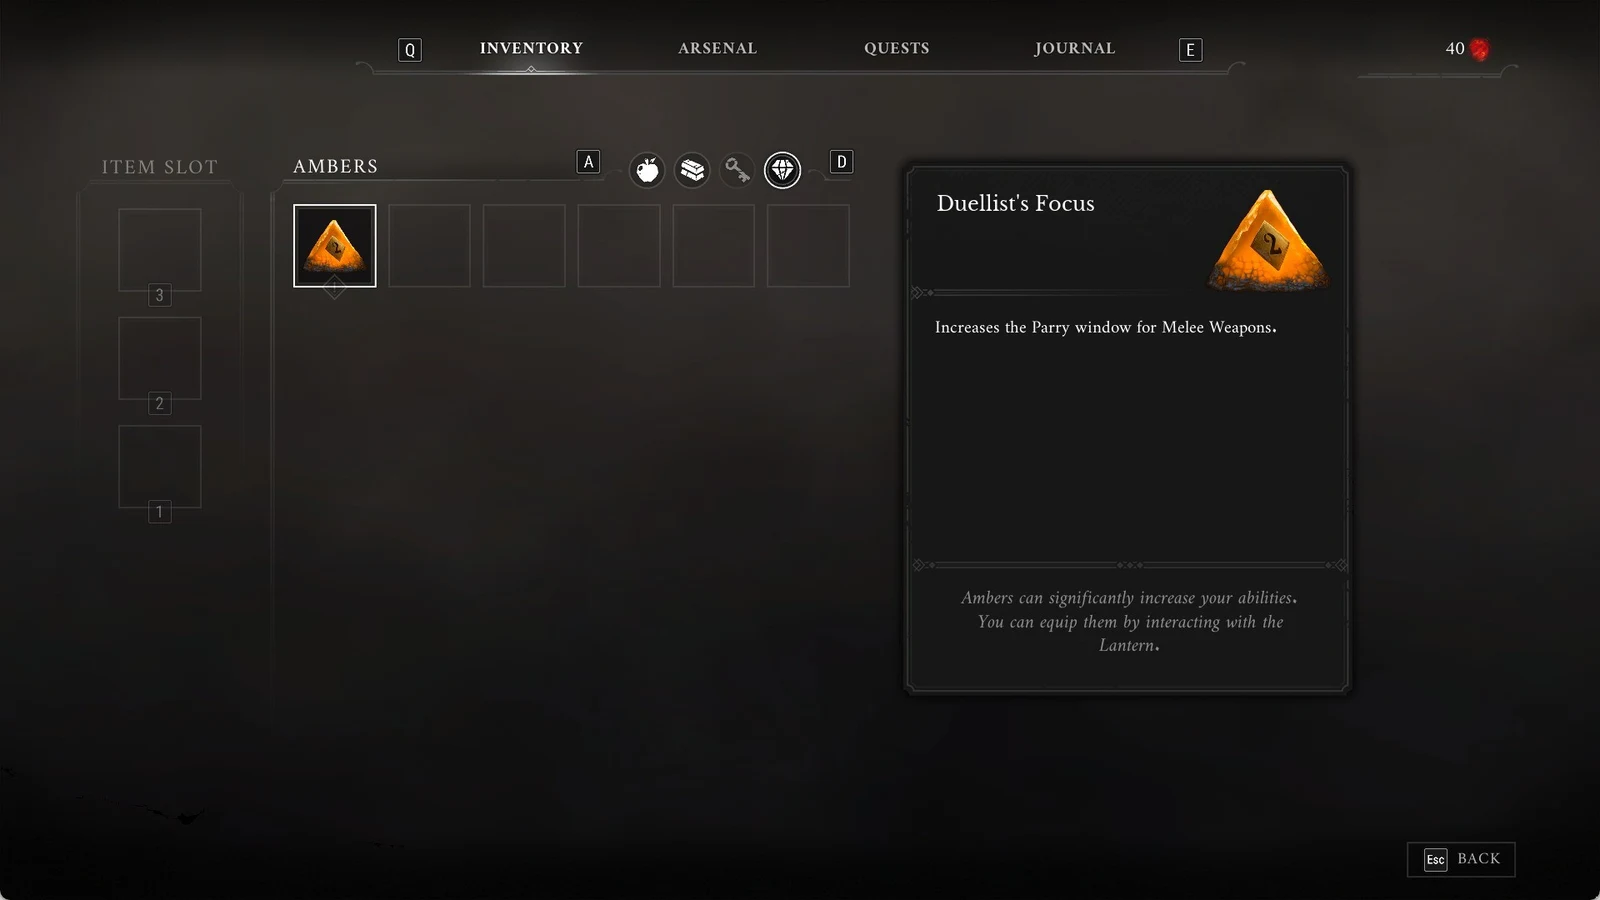
Evacuation Procedures is a main story mission in CONTROL Resonant that pushes Dylan Faden out of the Central hub and into the quarantined Evacuation Zone. It carries two objectives from the moment it opens, Reach the Evacuation Zone and Find the Source of the Tremors, and it ends inside a Hiss-infested office tower where the real target is Federal Bureau of Control Security Chief Arish.
Quick answer: Evacuation Procedures takes Dylan into the quarantined Evacuation Zone, ends with escorting Security Chief Arish out of a Hiss-filled office tower, and unlocks the follow-up quest Arish’s Briefing.
What the session sets up before the mission
Before the main quest kicks in, the footage closes out the Urban Survival side quest. Dylan recovers the Survivalist’s Car Keyfob and Apartment Key from a black SUV parked in a frozen, teal-lit tunnel, then works through mold-covered scaffolding and a burned barrier to reach the brother’s brownstone apartment.

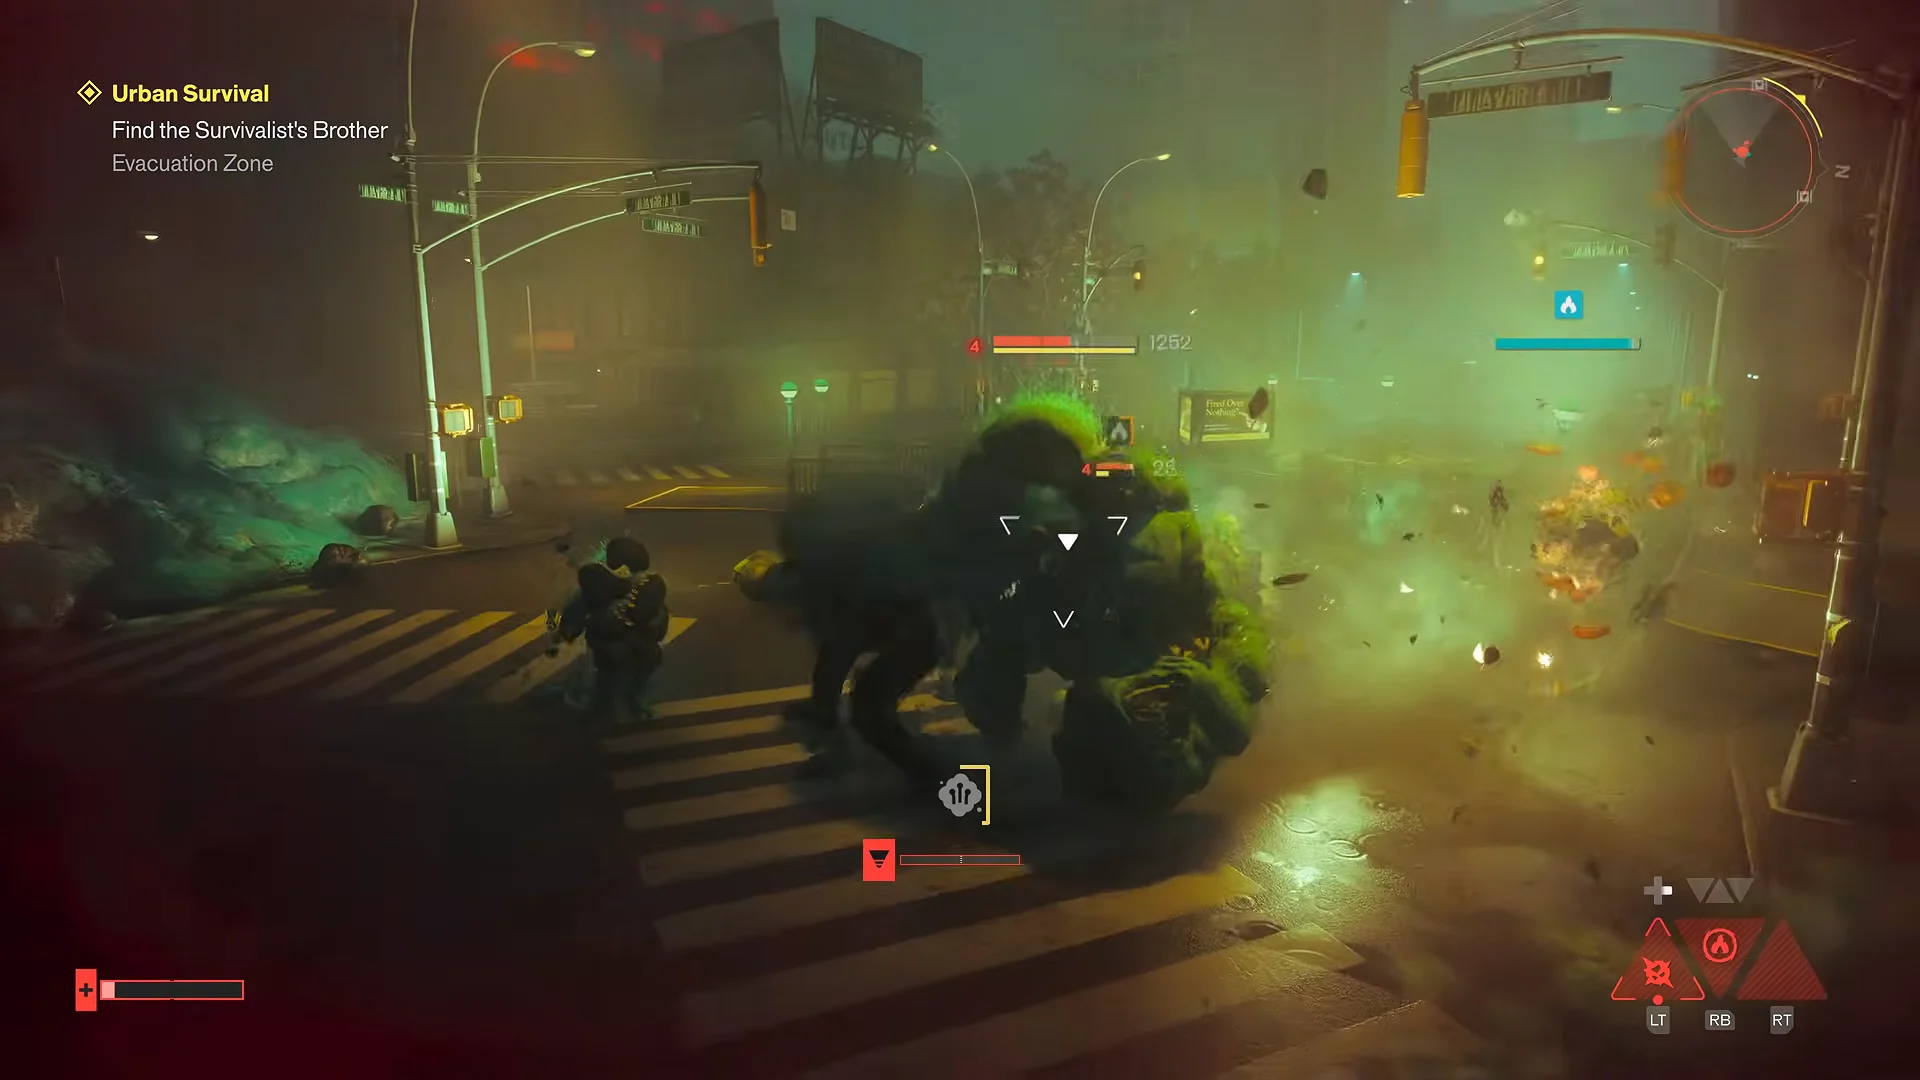
A large toxic Mold behemoth ambushes Dylan on the roadway during the trip, taken down with Ignite fire slashes and melee. Inside the apartment, he collects the Framed Photo beside the brother’s floating corpse and delivers it to the Survivalist’s Bunker, which completes Urban Survival and awards an Untapped Heart Monitor and the Plate Carrier M1 cosmetic.
Gearing up at the Gap: Ornate Buckle and Resurgence
Between quests, Dylan travels to the Astral Gap below the upside-down pyramid monolith. The Board speaks in obscure lines there, and the Artifact Formation workbench becomes available. This station crafts the Ornate Buckle, an artifact that changes how aggressively a fight can play out.
- Ornate Buckle recipe — 8 Fungal Growth, 750 Source, 5 Mourning Echoes.
- Ornate Buckle effect — executions recover a large amount of Power, but damage taken rises by 30%.
- Fungal Growth — dropped by heavy mold enemies, or bought for 200 Source at the Ice Cream Truck vendor in Zone 4.
- Resurgence talent — marks enemies who hit Dylan during Ignite or Shield with Vengeance, adding +50% damage and Falter from melee and Shield Bash.
Shopping at the Ice Cream Truck also completes Health Upgrade Point 3/3, which expands Dylan’s maximum health before the building fight.
The route into the Evacuation Zone
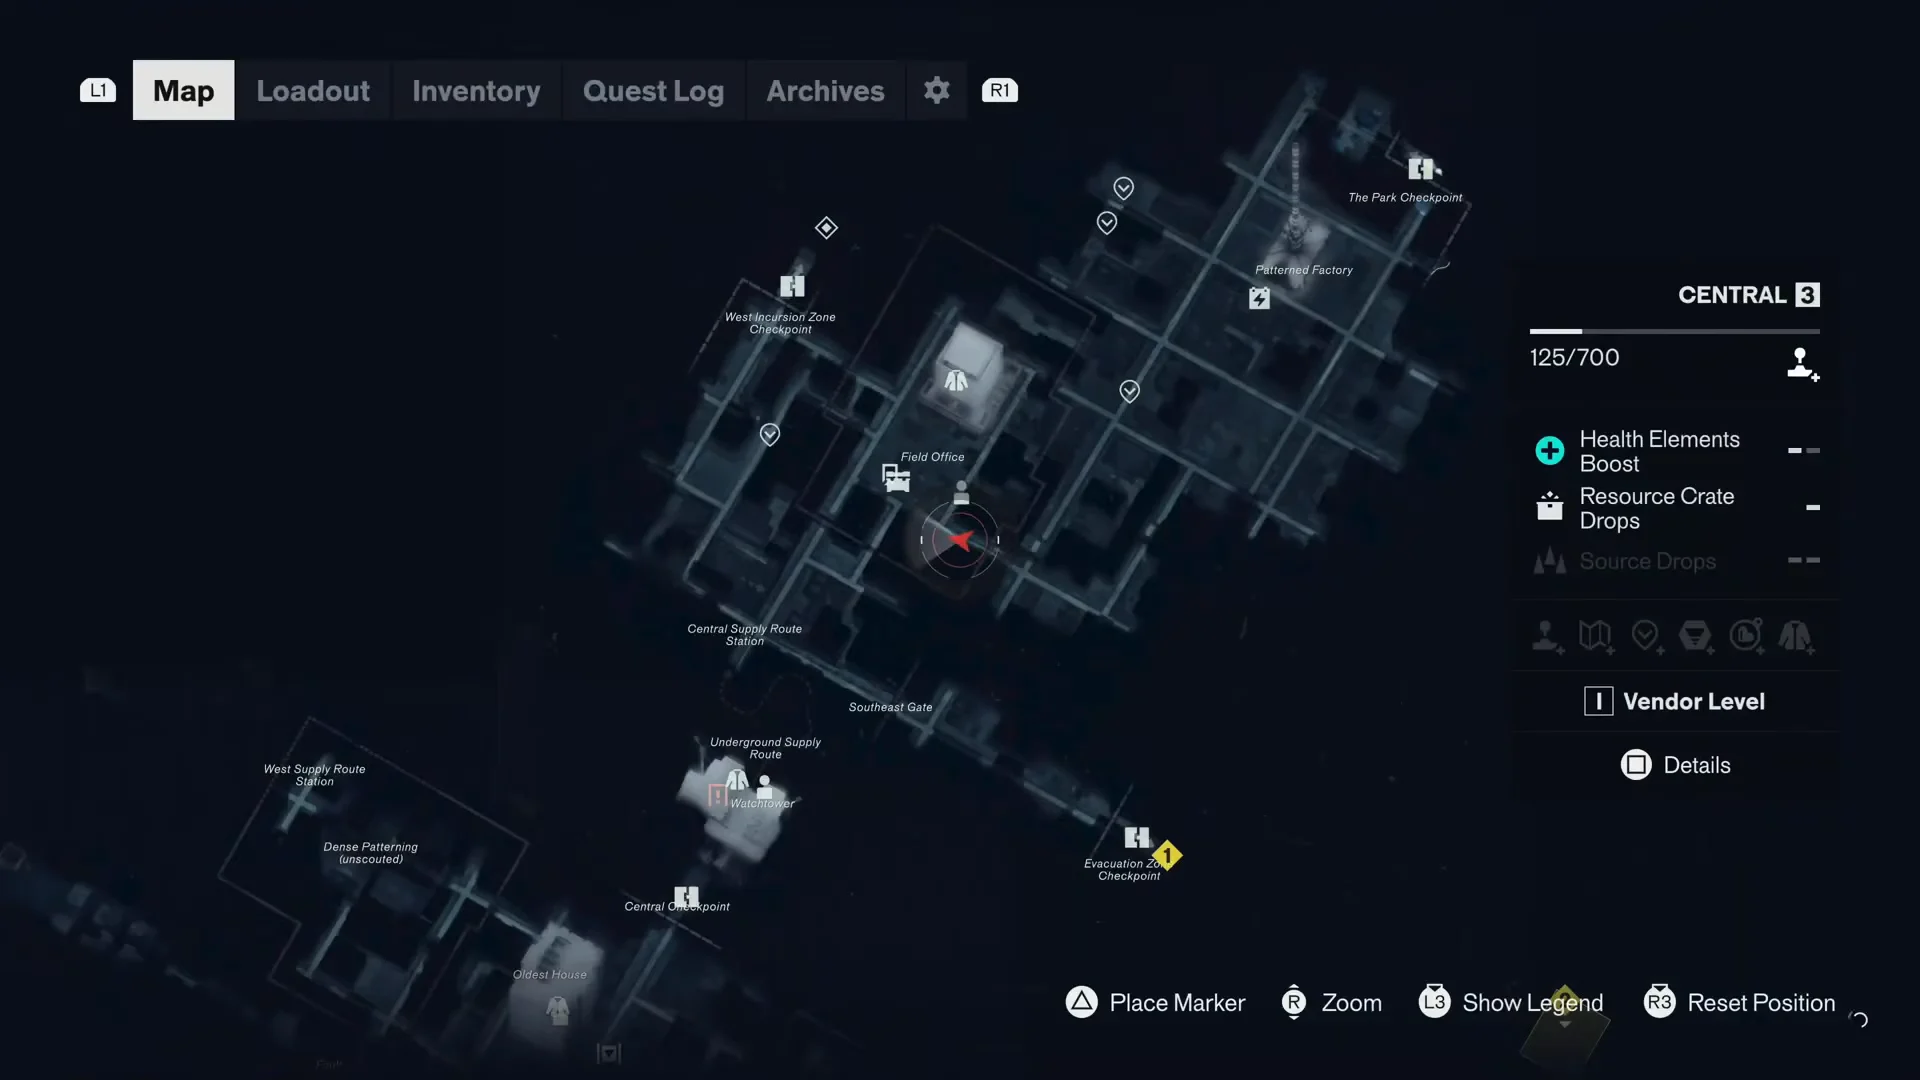
Reaching the zone runs entirely on the ground from Central. The Evacuation Checkpoint marker sits southeast of the circular central field office, and stepping out of that office awards a Talent Point along the way.
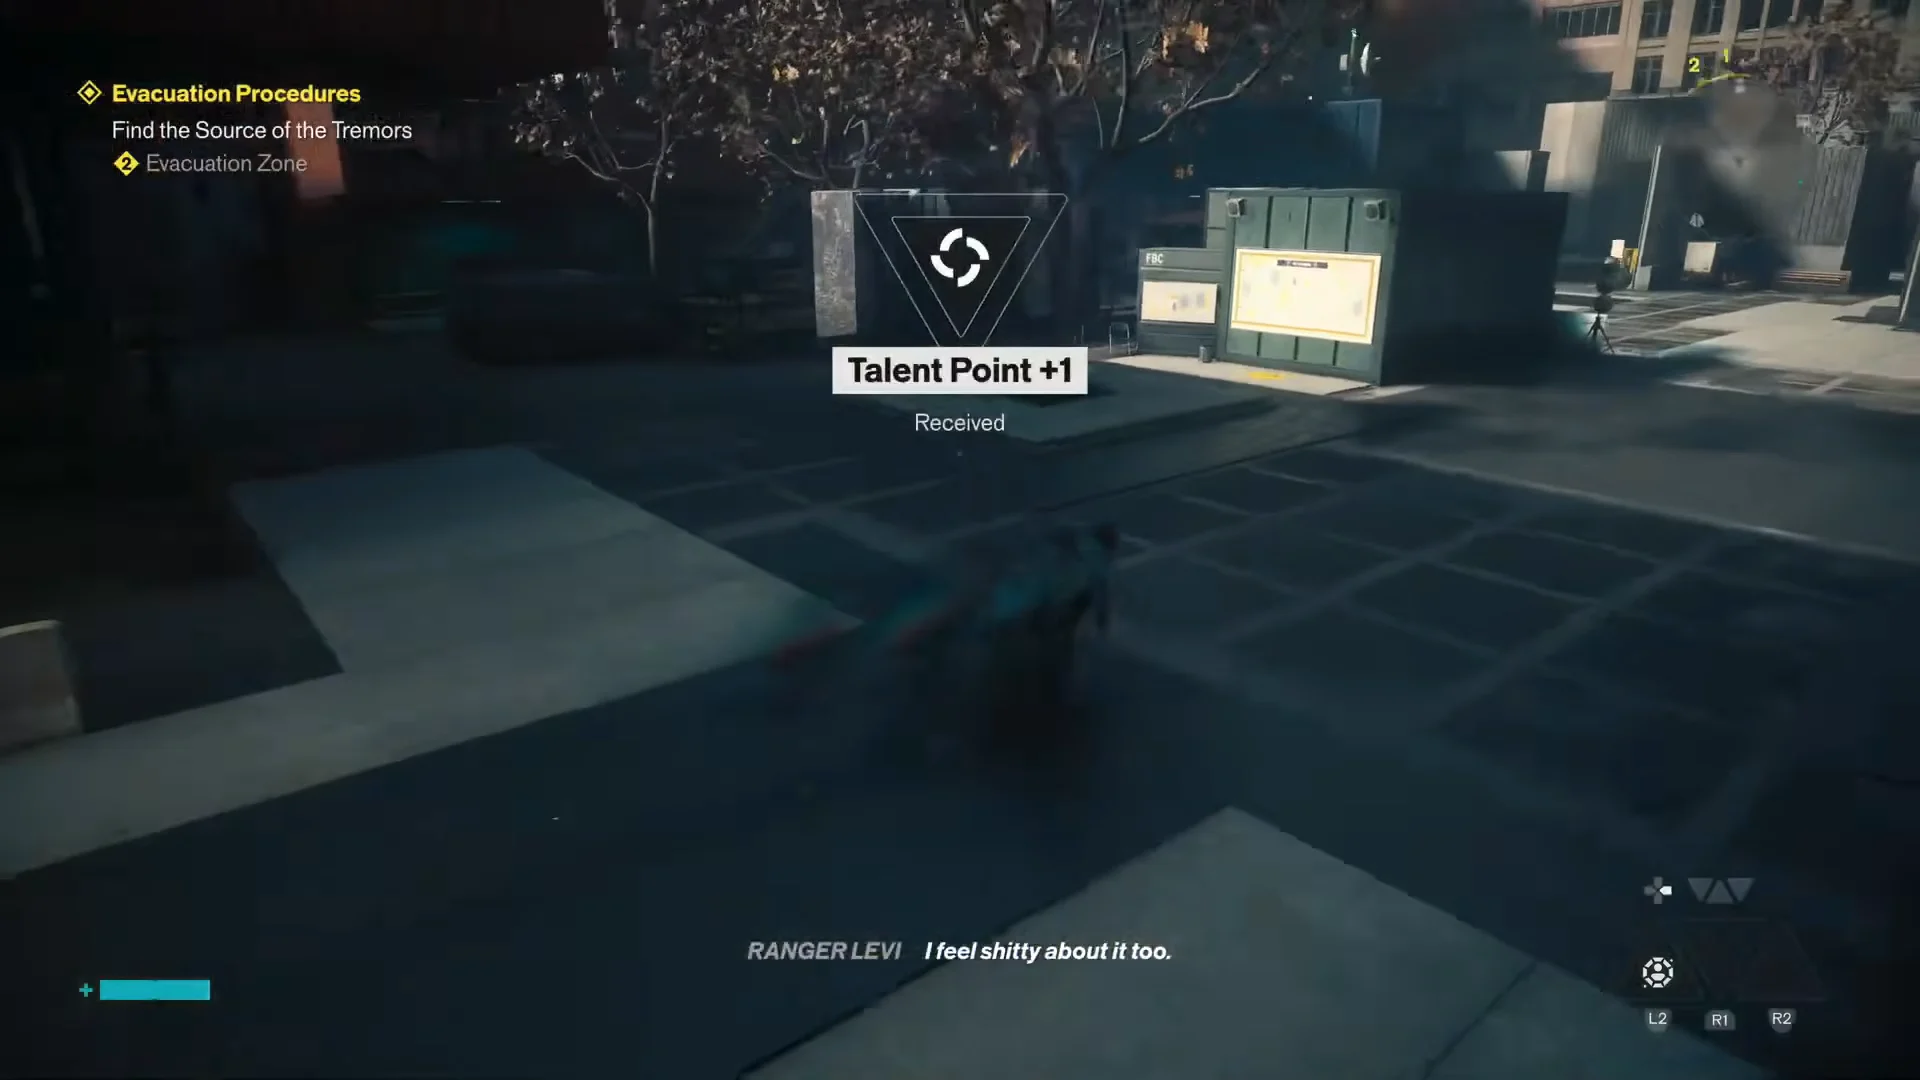
The fortified checkpoint gate is opened with the security access card carried over from Welcome to Manhattan. Beyond it, a Hiss ambush waits in the street, led by a floating Hiss Node that heals nearby enemies and needs to fall first. The path then threads through an intake facility, past a Formal Complaint document, and out to a foggy Evacuation Site with a massive sinkhole that Dylan drops into to reach the far side.
Climbing onto a rooftop in the zone activates the Main Street Fast Travel Door. Power up the three red-lit satellite dishes on nearby roofs; they turn green and reveal the complete Evacuation Zone map. An audio reel is also at the third dish.
Inside the Federal Evacuation Center
The source of the tremors leads to a red-lit Federal Evacuation Center, the Phithora Capital Partners office tower. The lobby is littered with dead FBC personnel, and an interactive FBC Terminal asks Dylan a set of surveillance questions, including confirming Hiss containment breaches and Director Jesse Faden’s survival, to register his identity and grant clearance.
From there the tower becomes a vertical grind. Dylan rides the elevator to the 12th, 14th, and 15th floors, clearing waves of Hiss across bloodstained corridors and open cubicles, dropping through an open elevator shaft, and burning through mold and Hiss nodes. Crossing zone thresholds hands out Talent Points, one of which is spent on the Resurgence talent.
Documents and Dylan Faden’s backstory
The tower doubles as a lore dump. Scattered notes and a full Civilian Records dossier fill in who Dylan is, and repeated red-void flashbacks show the day the Hiss breached the Oldest House seven years earlier, when Dylan recalls 536 people dying.
| Document | Where it turns up |
|---|---|
| An Internal FBC Comms Department Letter | Floor 12 offices |
| Mission Notes 3 (Caruso) | Floor 14 |
| Mission Notes 4 | Floor 15 triage |
| A Note To Mom | Floor 15 triage |
| Civilian Records: Dylan Faden | Menu dossier |
Civilian records identify Dylan as Prime Candidate P6 and say Dr. Casper Darling and Bethany Harrington raised him. They state that he used paranatural powers to kill an agent named Robert, remained confined in the Panopticon for years, then joined the Hiss when the breach occurred. The records also mention Helen Marshall, Broderick Northmoor, Polaris, Jesse Faden, and Kiran Estevez throughout.
Escorting Arish out alive
Floor 15 is set up for medical triage. Reaching it draws Dylan into a crimson psychic void, where Security Chief Arish points a shotgun at him. Once Dylan convinces Arish to cooperate, they return to the building, and Arish gives Dylan a Level 2 Keycard for the tower’s more heavily secured doors.
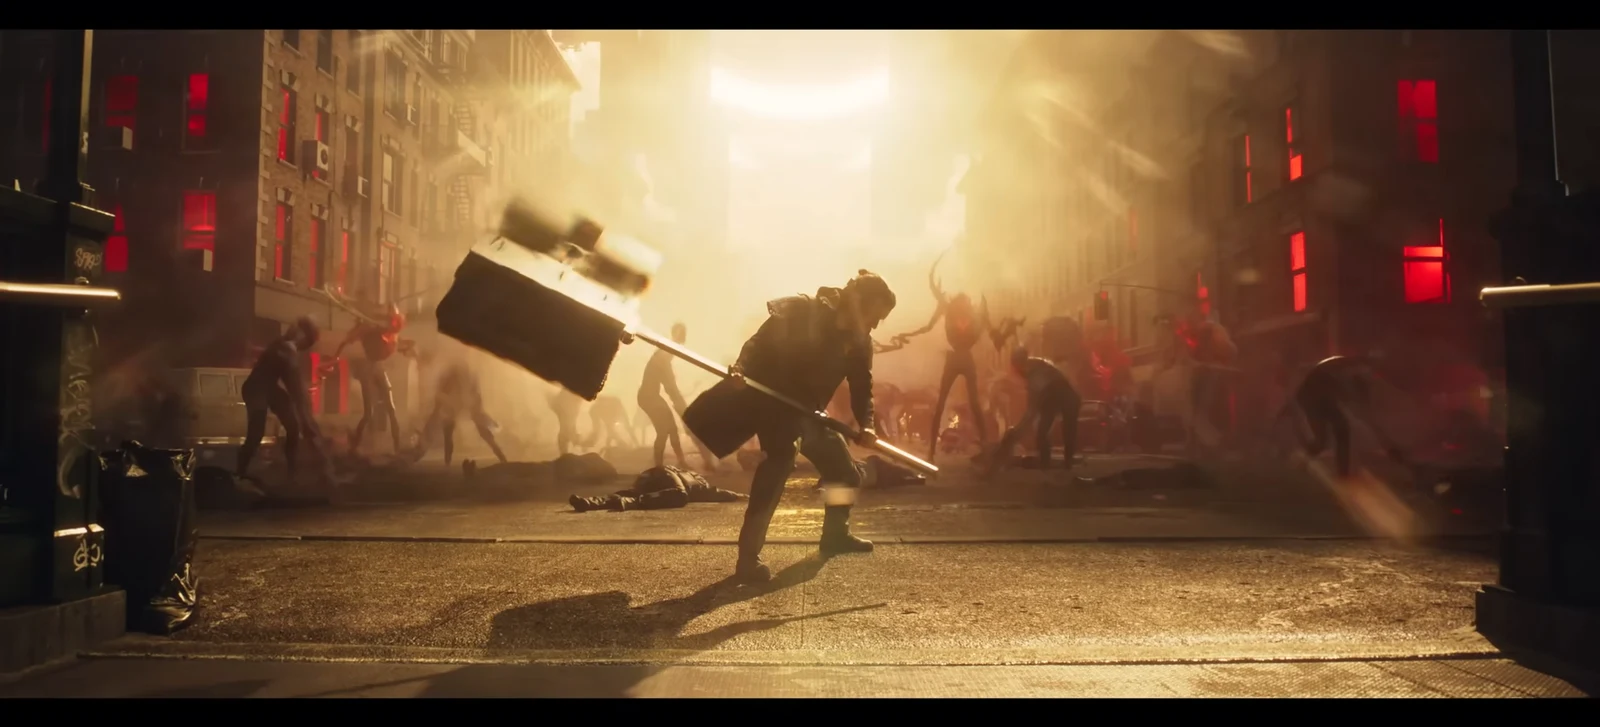
After Hiss growths seal off the elevator, escaping becomes the mission’s hardest fight. Enemy waves bring flying projectile casters, shielding clusters, snipers, brutes, and exploding dive-bombers. The footage shows several deaths before a successful attempt built around heavy Glaive combos and Ignite, with the Hiss healers as the priority. Zoe later radios that Arish got away and is on his way to the Field Office.
Rewards and Arish’s Briefing
Riding back to the ground floor reveals a hidden laundry room holding a SHÜM III arcade cabinet, which is tied to zone upgrade progression rather than the main path. Stepping into the courtyard triggers Quest Completed: Evacuation Procedures.
The mission pays out a Living Shard and the Agent Uniform outfit, and it hands off directly into the main quest Arish’s Briefing, which points Dylan to talk to Arish at the Field Office. Seeing that follow-up appear is the confirmation the mission closed out cleanly.