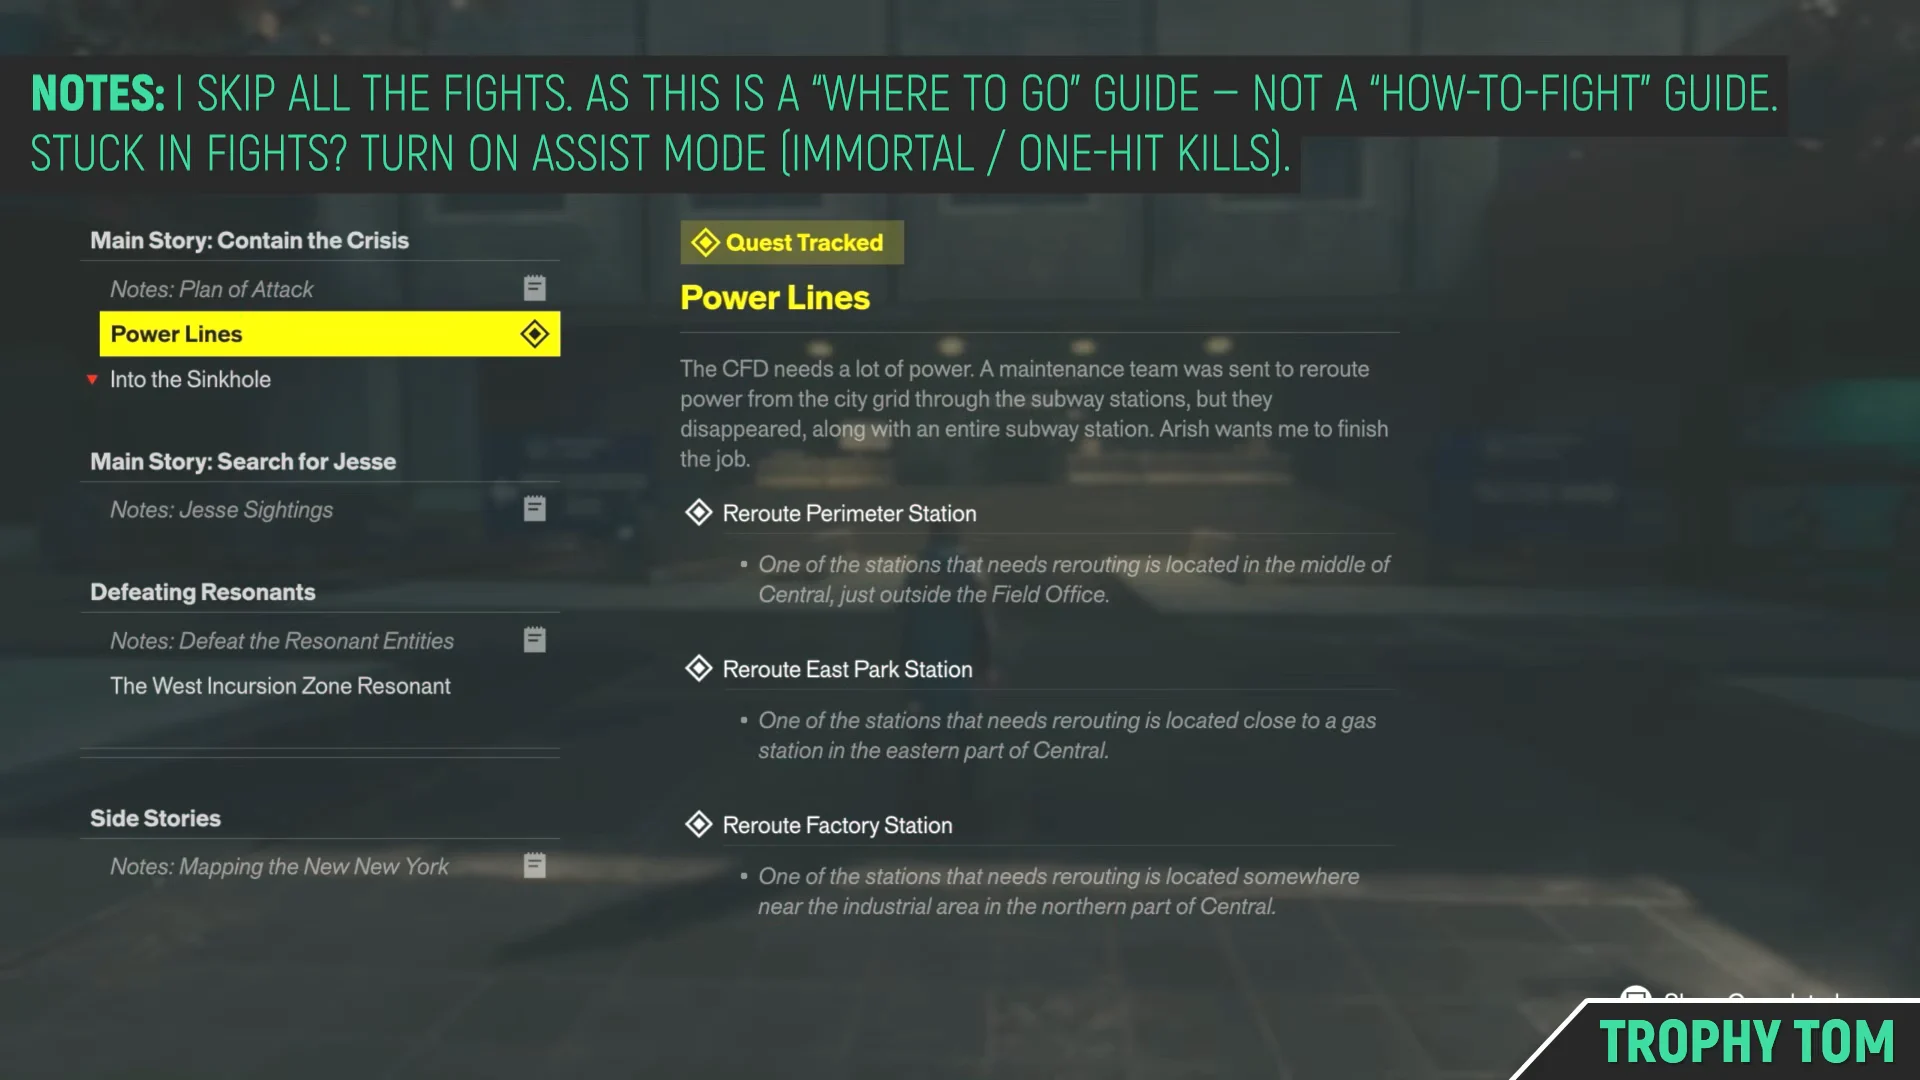
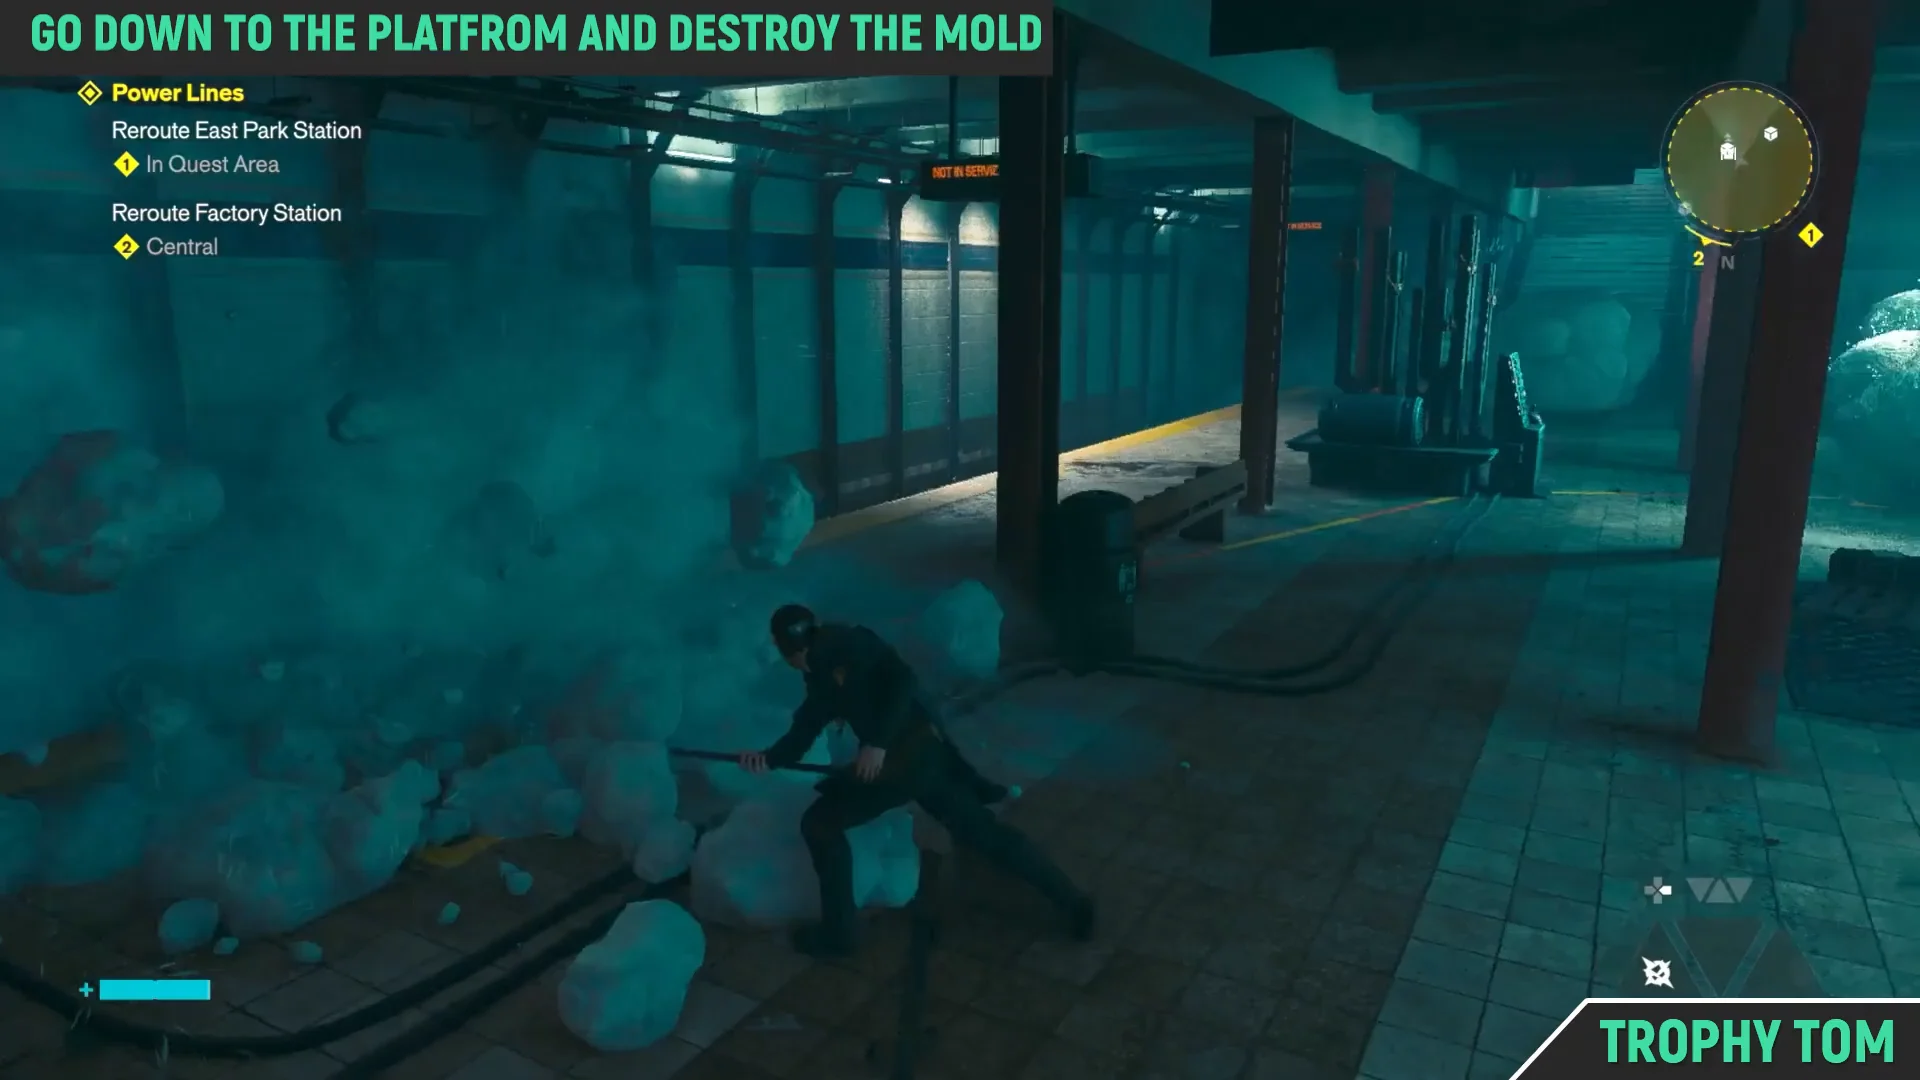
East Park Station is one of the four subway stops Dylan has to reroute during the Power Lines mission in Control Resonant, and it is the gentlest puzzle of the bunch. There is no riddle about which taped square goes with which unit here. The station’s only real trick is the Mold sitting on top of the squares, plus one Calibration Unit locked behind a shop gate that you can only reach by letting the Tuning Device throw you around the station.
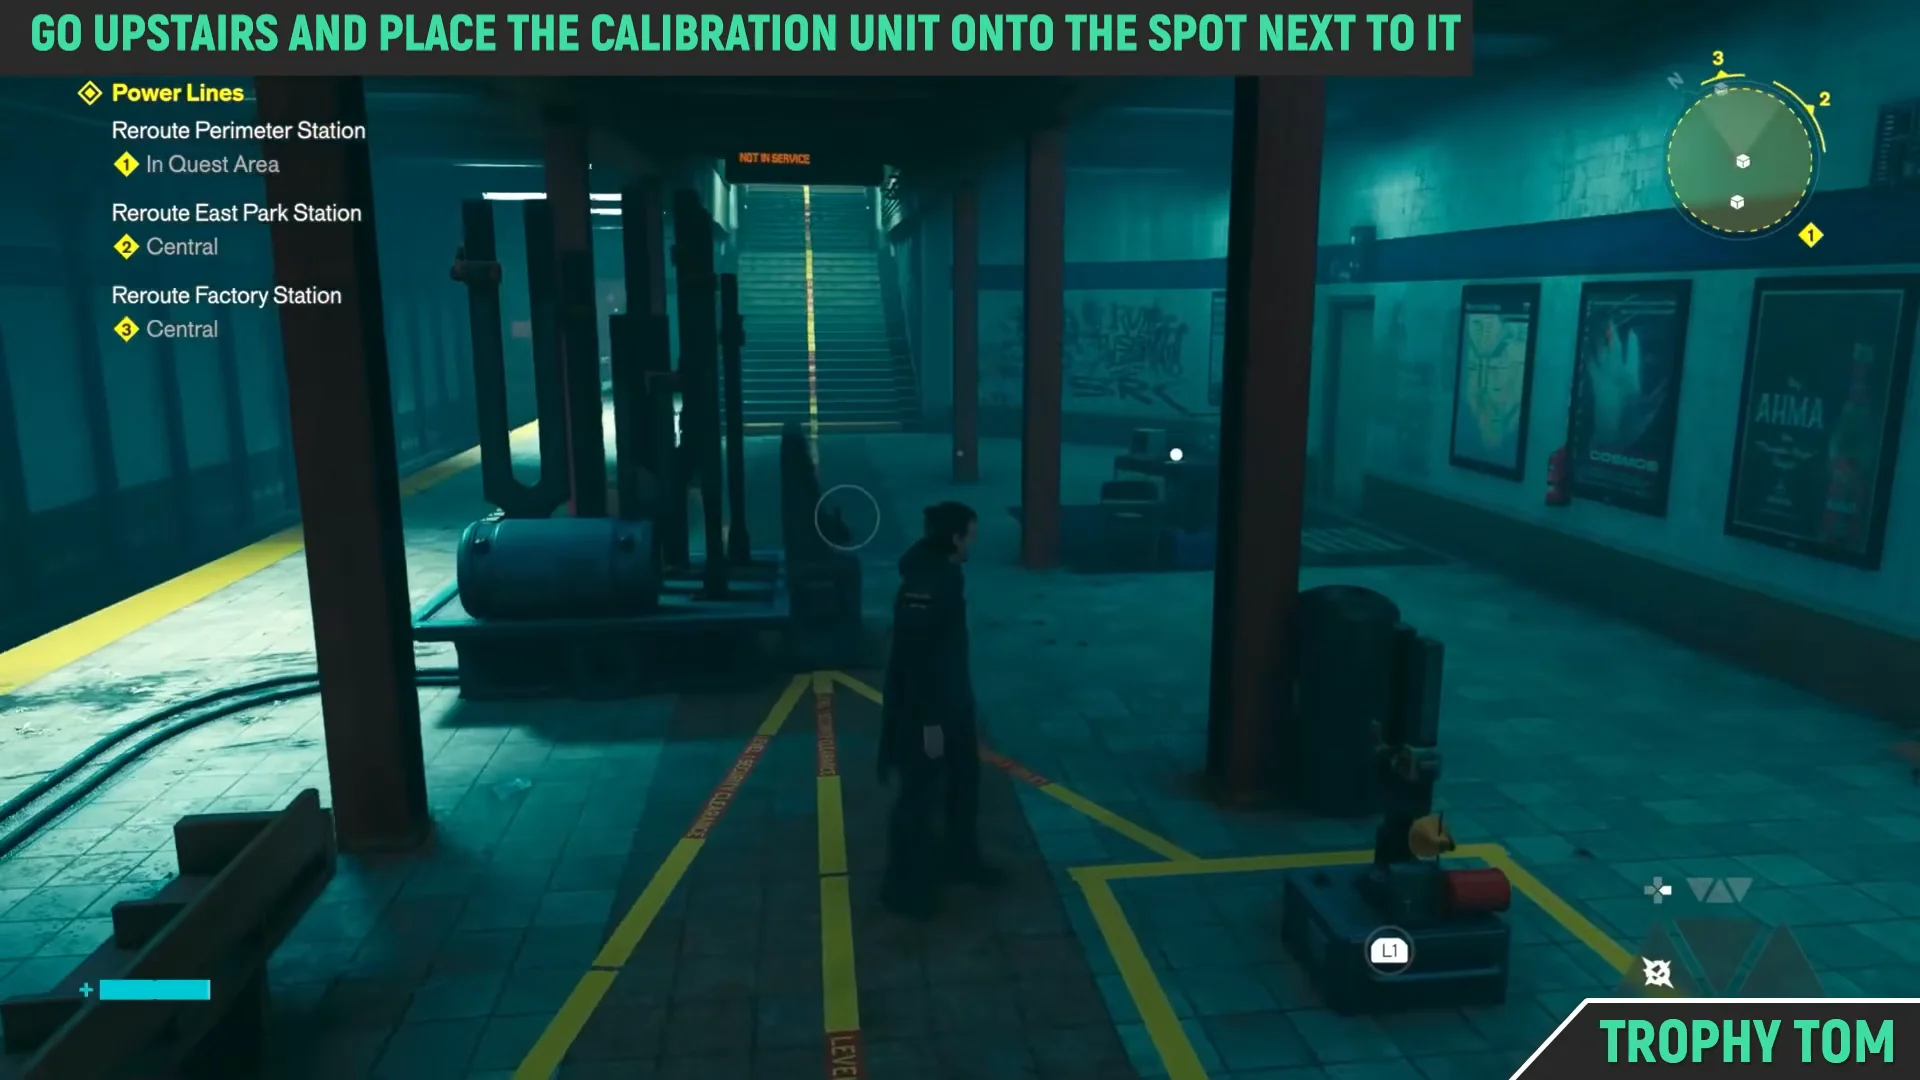
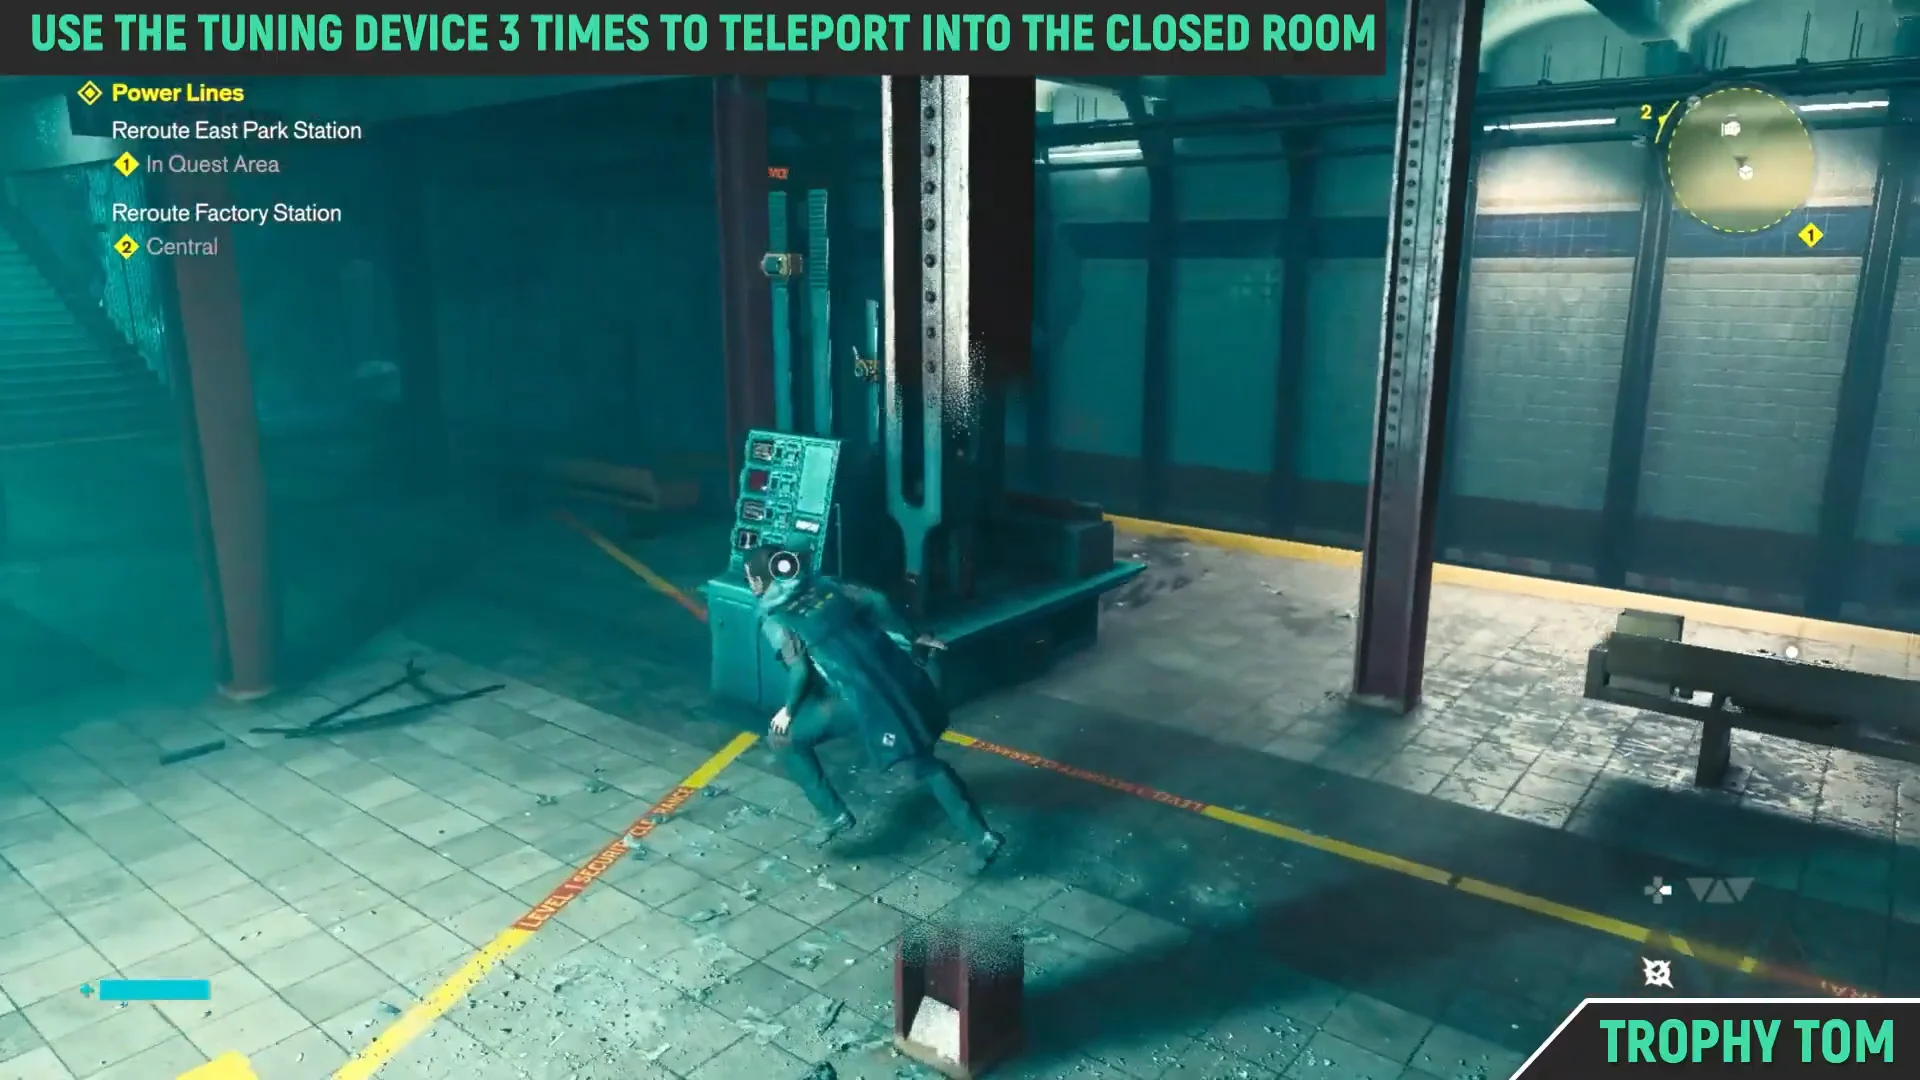
Quick answer: Shoot the Mold off the three taped squares, then fill each square with a Calibration Unit — one from the shop past the ticket barriers, one already on the platform, and one from the gated shop you teleport into via the Tuning Device.
Where East Park Station is on the Central map
East Park Station sits in the south-eastern corner of the slice of Central you reach by cutting through the building next to the FBC Field Office. Once you are out the other side, head right and then straight down. A petrol station sits near the subway entrance, so if you can see the pumps you are in the right block.
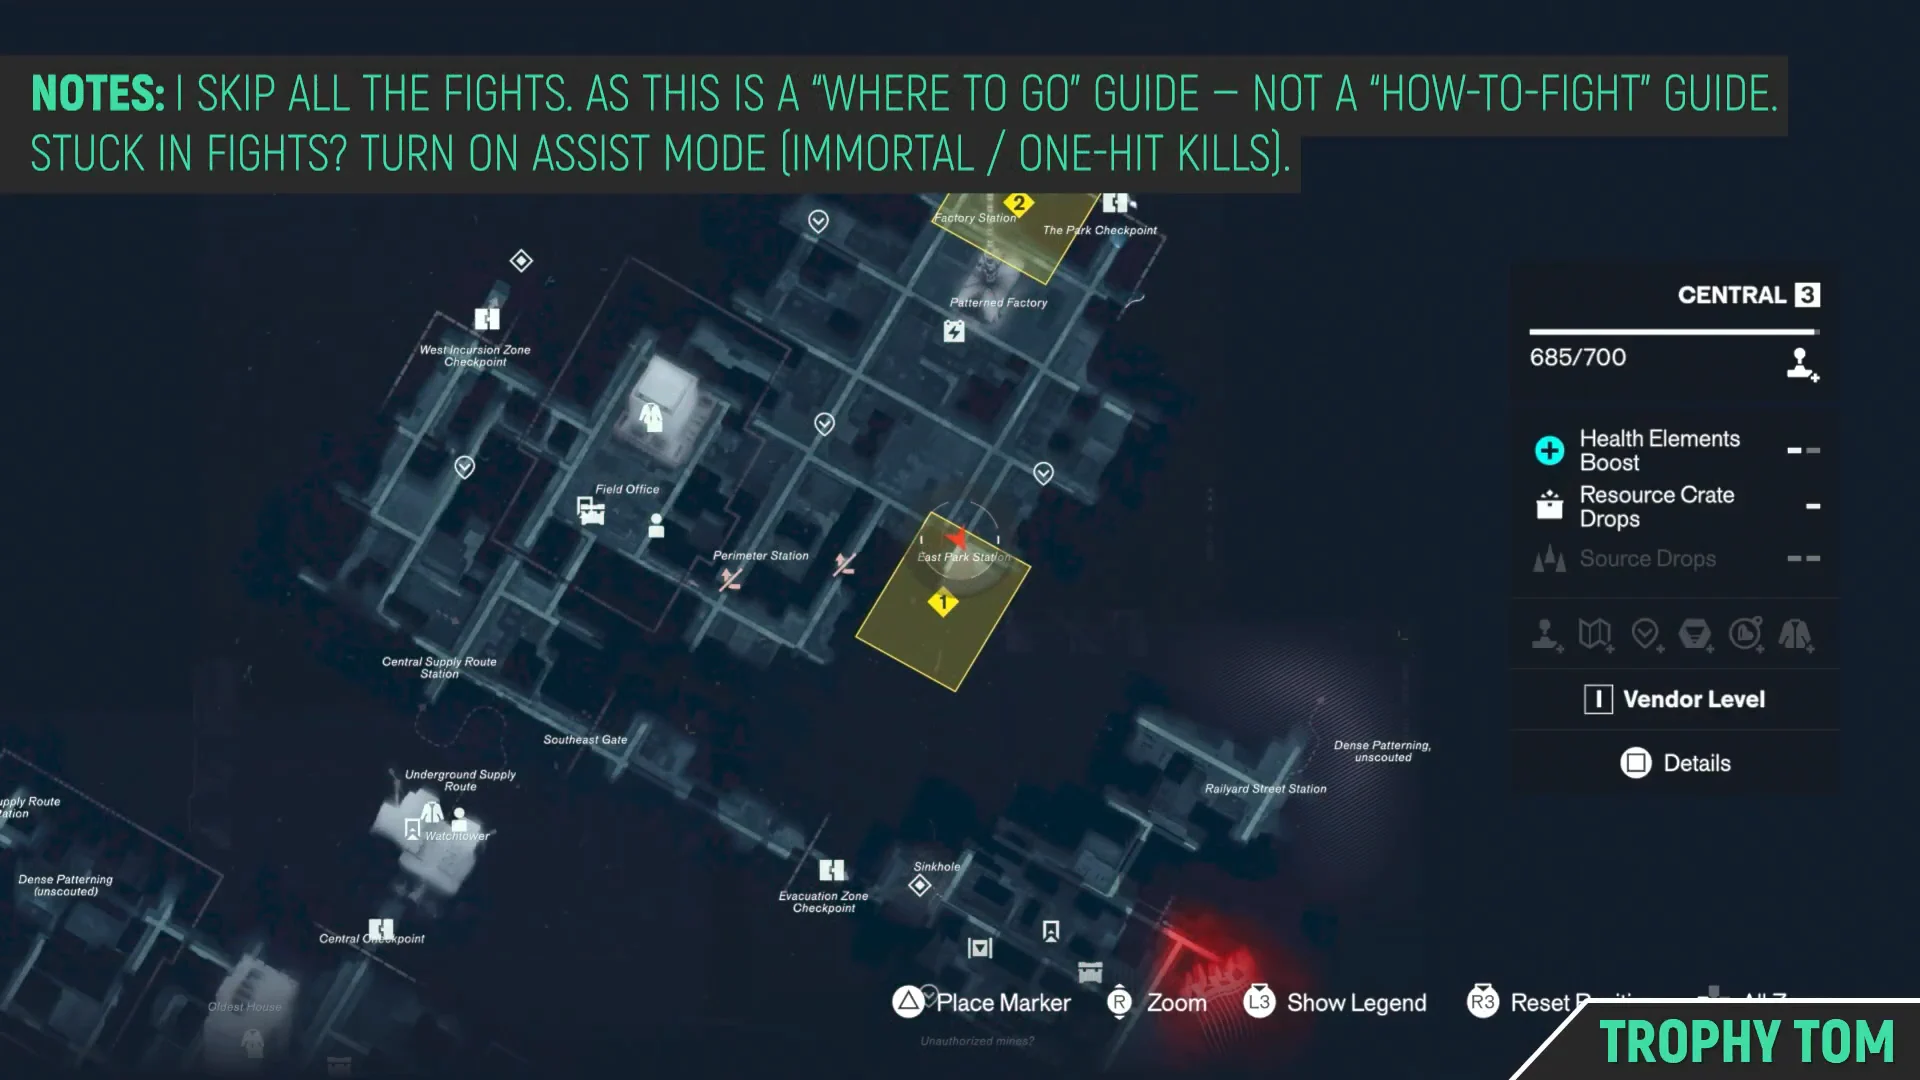
Coming from Factory Station instead? Take the road running directly past the Patterned Factory until you hit a crossroads, then turn down towards East Park. From Perimeter Station, the two stops are close neighbours — the road linking them is short.
The entrance seals off as you approach and a batch of Hiss spawns. You cannot walk down the stairs until they are all dead, and a Hiss Cluster in the group will keep healing the rest, so break that one first.
What the station puzzle asks for
Every station in Power Lines works the same way. A Tuning Device sits on the platform, three taped squares surround it, and the machine will only reroute power once a Calibration Unit is sitting in each square. Activate it before that and it teleports Dylan somewhere else in the station instead of doing anything useful.
East Park is the forgiving version of that setup. There are exactly three squares and exactly three units, so placement does not matter — any unit in any square counts. That is not true at Perimeter Station, where specific squares are required, so enjoy the break while it lasts.
All three Calibration Unit locations in East Park Station
| Unit | Where it is | What blocks it |
|---|---|---|
| 1 | Small shop on the right, past the ticket barriers | Nothing — walk in and grab it |
| 2 | On the platform near the Tuning Device | Nothing — already down there |
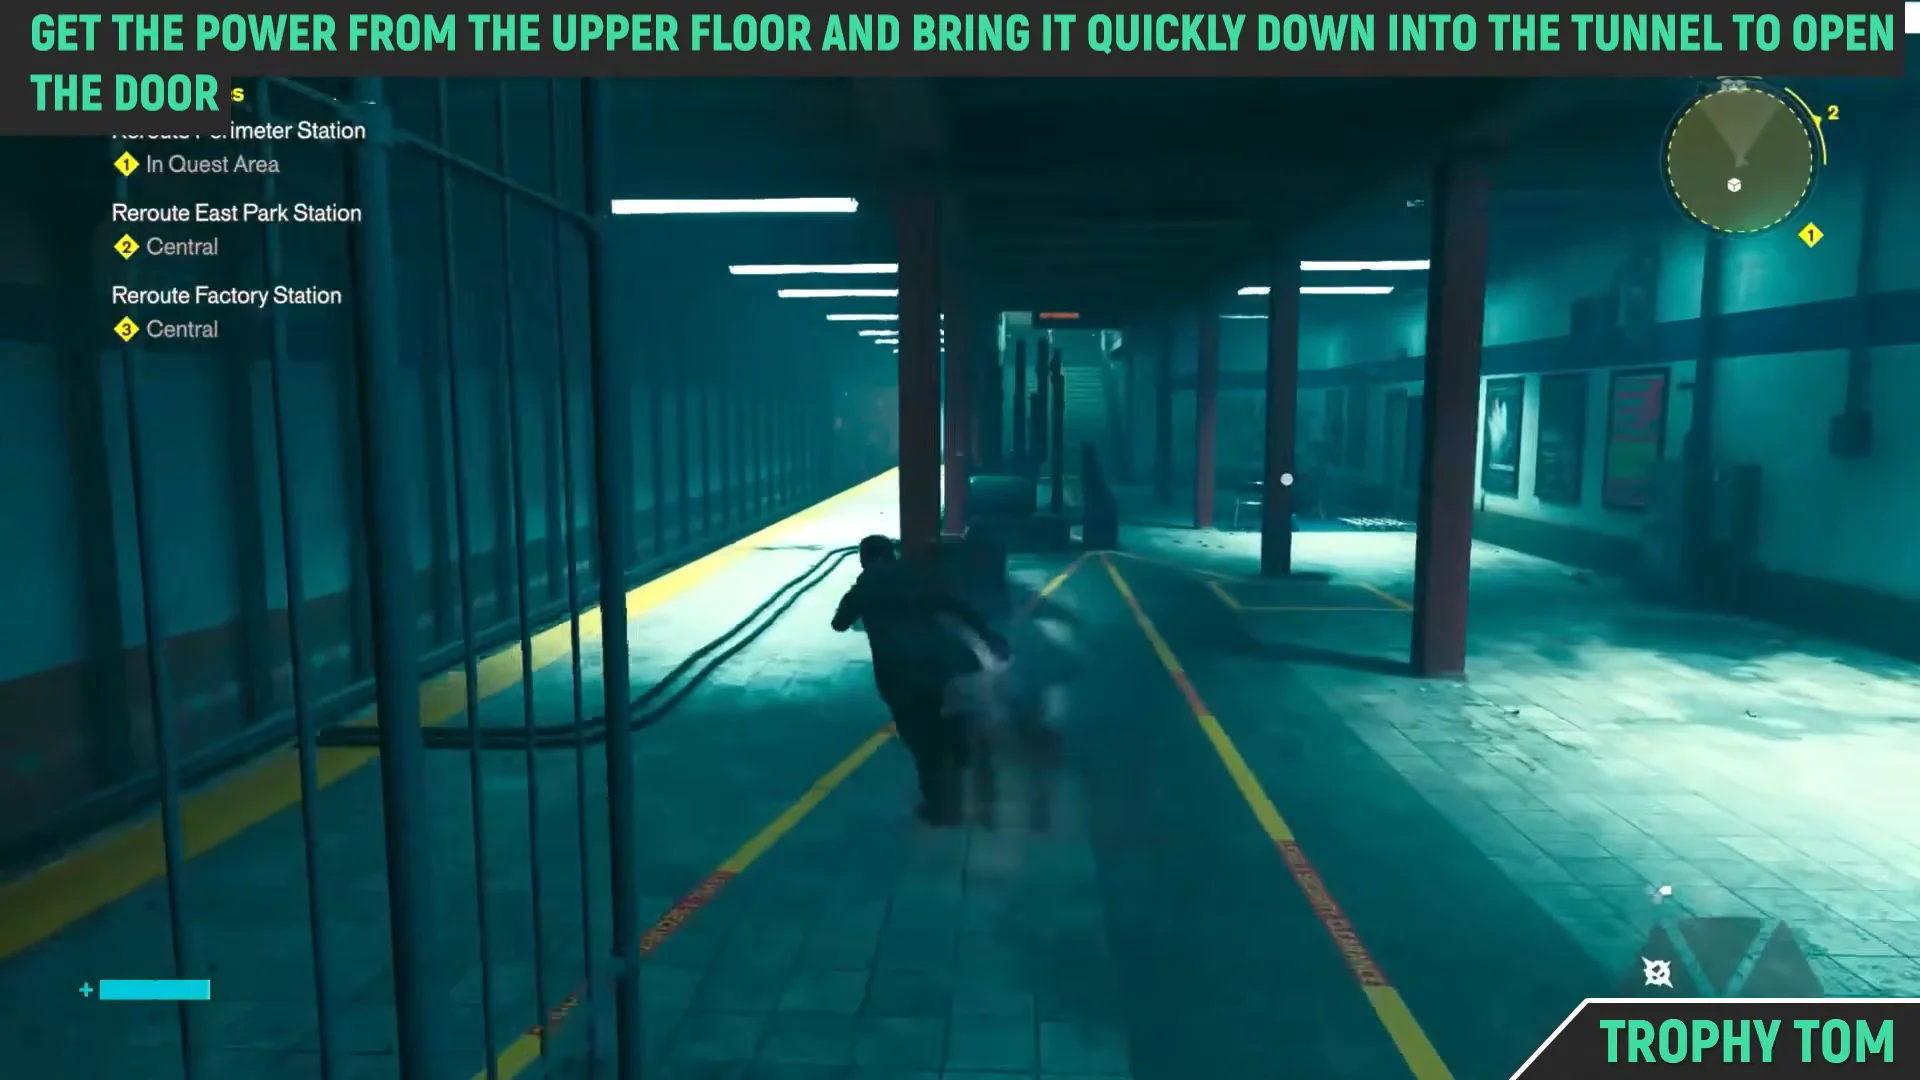
| 3 | The second, gated shop | Locked gate; reached by teleport |
The first two are a walk-and-carry job. The third is the only one that needs the Tuning Device, and it is also the reason people get stuck here — the gate has no switch on the outside, so there is no way to open it from the platform.
How to reroute East Park Station
How to tell the reroute worked
The confirmation is simple. If the Tuning Device teleports you, the puzzle is not finished and at least one square is still empty or blocked by Mold. If the power reroutes, the objective ticks over and the mission points you at the next station.
Stop at the intercom before you leave and have the conversation waiting there. Once that is done, Perimeter Station is the next stop on the Power Lines list, and its puzzle does care which square each unit goes in.