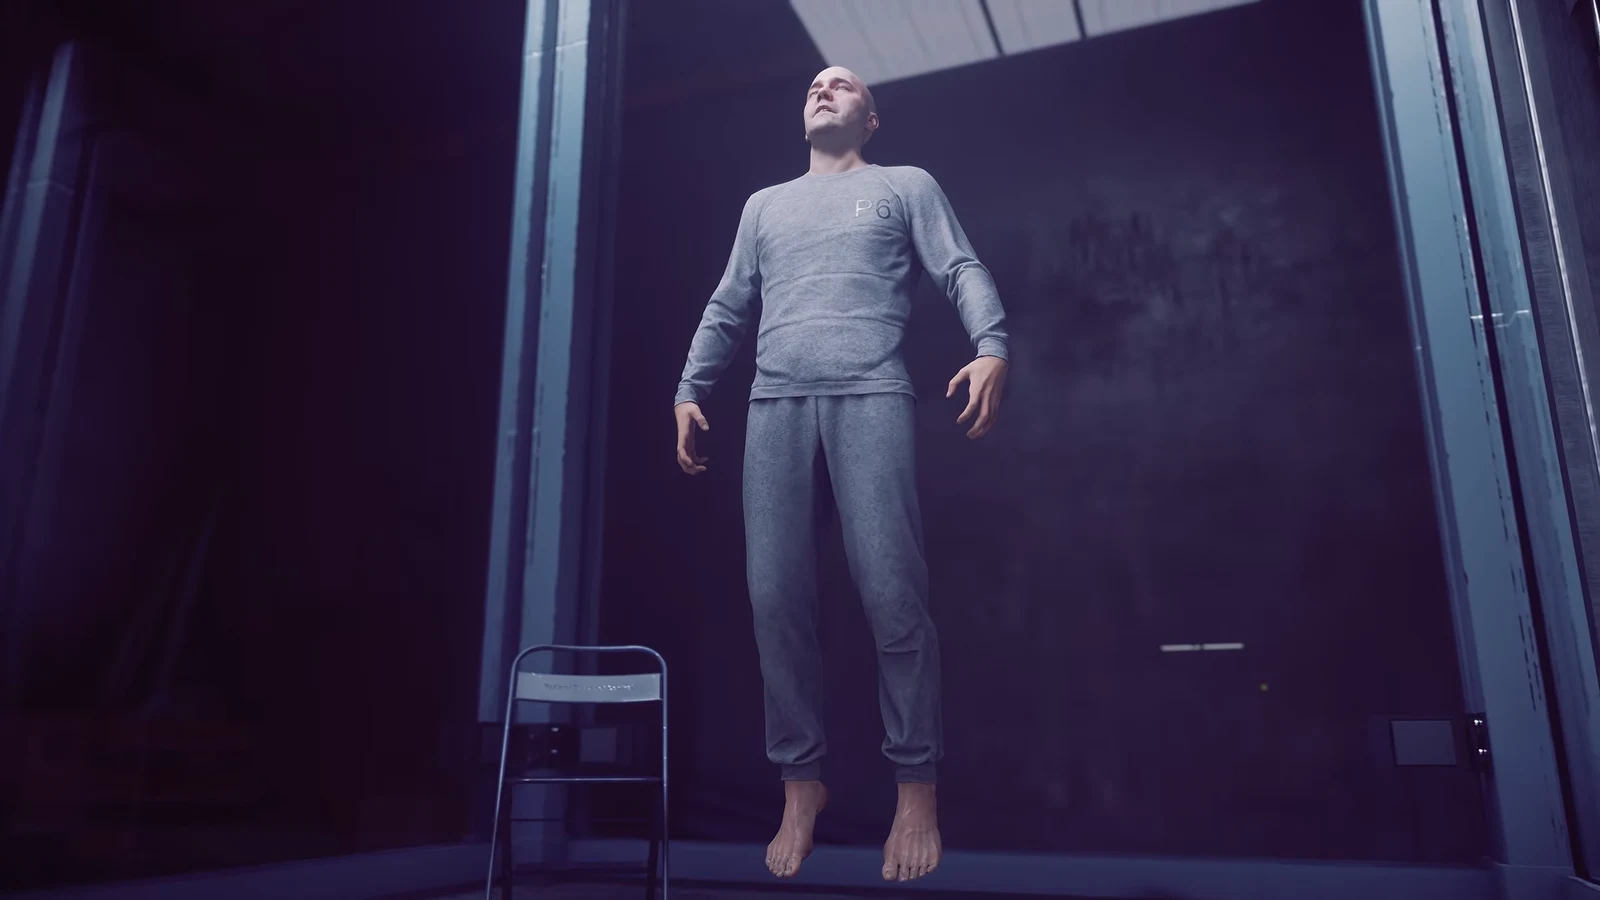
Langston’s Field Panopticon favor may seem like a minor fix, yet it involves three distinct challenges. The security terminal needs power, the containment-cell labels are mismatched, and the Altered Radio you must capture keeps teleporting until the correct broadcast is playing. Each challenge has a set solution; follow these steps to handle them all.
Quick answer: Feed the terminal with two battery modules plus a satellite dish. Tell Langston the category is D and the number is 04, then change stations until the New York World’s Fair announcement plays and put the radio in cell E-05.
Where to start Panopticon Service Request
The side quest becomes available after you arrive at the FBC Field Office in Central. Langston is based in the Field Panopticon Office, on the base’s southeastern side, and his map marker shows up when you approach. You might pass locked areas like R&C Storage, where a warning says “Insufficient Clearance Level.” Ignore those doors and continue; they aren’t involved in this job.
Speak with Langston, hear him out about the crew that left the place a mess, and accept the assignment. Any dialogue response works, including “Ready when you are.” Agreeing opens the containment room behind him and tasks Dylan with recovering and containing a nearby Altered Radio.
Repair the security terminal
Head east into the Panopticon and check the security terminal in the alcove on the left side of the room. Instead of a menu, the screen shows a flashing red battery warning, which means three parts are missing. All of them are in this room, and the table below shows where each one sits and where it belongs.
| Component | Where it is | Where it goes |
|---|---|---|
| Battery module 1 | Floor next to the terminal | Socket on the server rack |
| Battery module 2 | Beside cell A-01 | Second socket on the same rack |
| Satellite dish | Near cell C-03 | Mast above cell E-05 |
Solve the cell ID puzzle and give Langston D-04
Go to the cell labeled B-02 and try to confirm it. Langston attempts to open the door from his desk, but it won’t work: the cell plates and the IDs saved in the system don’t correspond. A crate next to cell A-01 contains the document “Note for Langston,” which explains the mix-up. The previous crew set the cells out counterclockwise instead of following the FBC’s clockwise standard, then changed the system programming without changing the physical plates.
To get a real ID, read the row from the other end and count the letters and numbers from left to right. That reversal gives you the following pairs.
| Plate on the wall | Real ID in the system |
|---|---|
| A-01 | E-05 |
| B-02 | D-04 |
| C-03 | C-03 |
| D-04 | B-02 |
| E-05 | A-01 |
Stand at the radio’s cell and use the intercom to call Langston. He asks for the category first and the number second, so pick “The category is ‘D’” followed by “The number is ’04’.” Once he enters D-04, the door opens straight away. Step inside and take the Altered Radio out.
Tune the Altered Radio to the World’s Fair broadcast
The radio won’t remain contained if the wrong program is on, and it distorts Dylan’s view of the room. The area may glitch, or containment may reset during an attempt. It only stays put with one particular broadcast playing.
To move to another station, drop the radio and back away; it changes automatically. Placing it on the pedestal in E-05 will also switch the broadcast. Keep trying until the announcer says that Sunday is October 17th and the New York World’s Fair is ending that night. This broadcast plays in the central yellow square outside the cell; placement fails if the radio is anywhere else.
As soon as that broadcast comes on, pick up the radio, hurry to cell E-05, and put it on the pedestal.
Enable subtitles before you begin switching stations. The announcer’s recordings are lengthy, and the room distortions can make the World’s Fair announcement hard to catch.
Rewards and how to confirm it worked
Completion triggers as soon as the radio remains in E-05 without resetting, followed by the “Quest Completed: Panopticon Service Request” banner. Rewards are granted immediately and appear in the Quest Log even as your last exchange with Langston continues.
| Reward | What it does |
|---|---|
| Untapped Feeding Bottle | Artifact recipe that adds +30% Power recovery while Dylan is Infected or Burning |
| Aramid Work Clothes | Cosmetic outfit for any Wardrobe in a friendly area |
| Talent Point +1 | One extra Talent Point |
| Source | A batch of Source currency |
The Feeding Bottle arrives as a recipe rather than a finished item, so you can’t equip it yet. Take it to the Gap and awaken it to create the usable Artifact, which suits status-effect builds that want faster Power recovery during Burning or Infected. After that, contact Langston over comms to claim the Talent Point and open the Panopticon door on your way out.