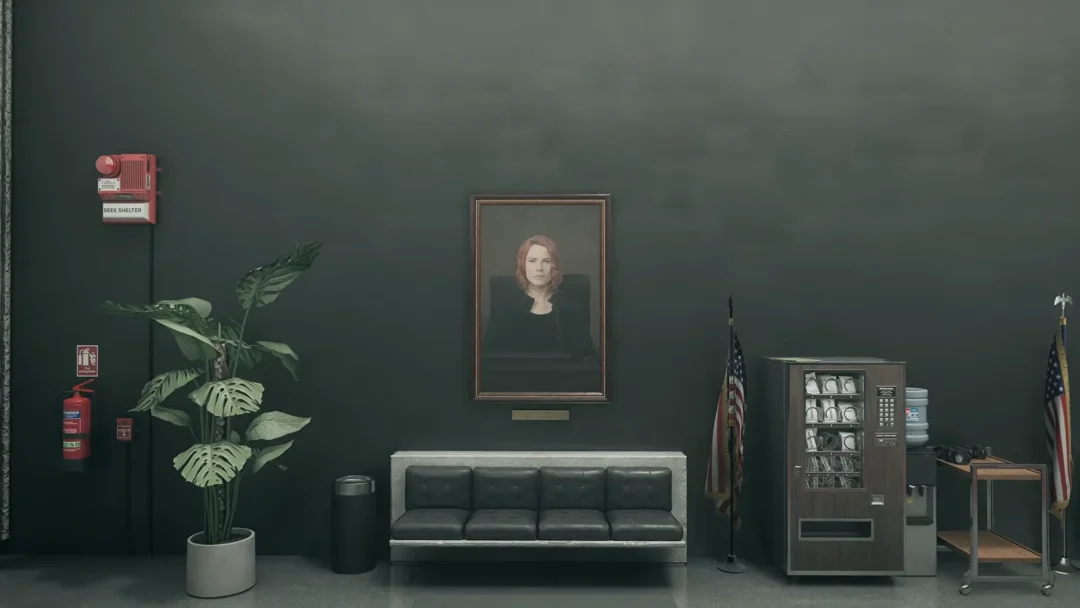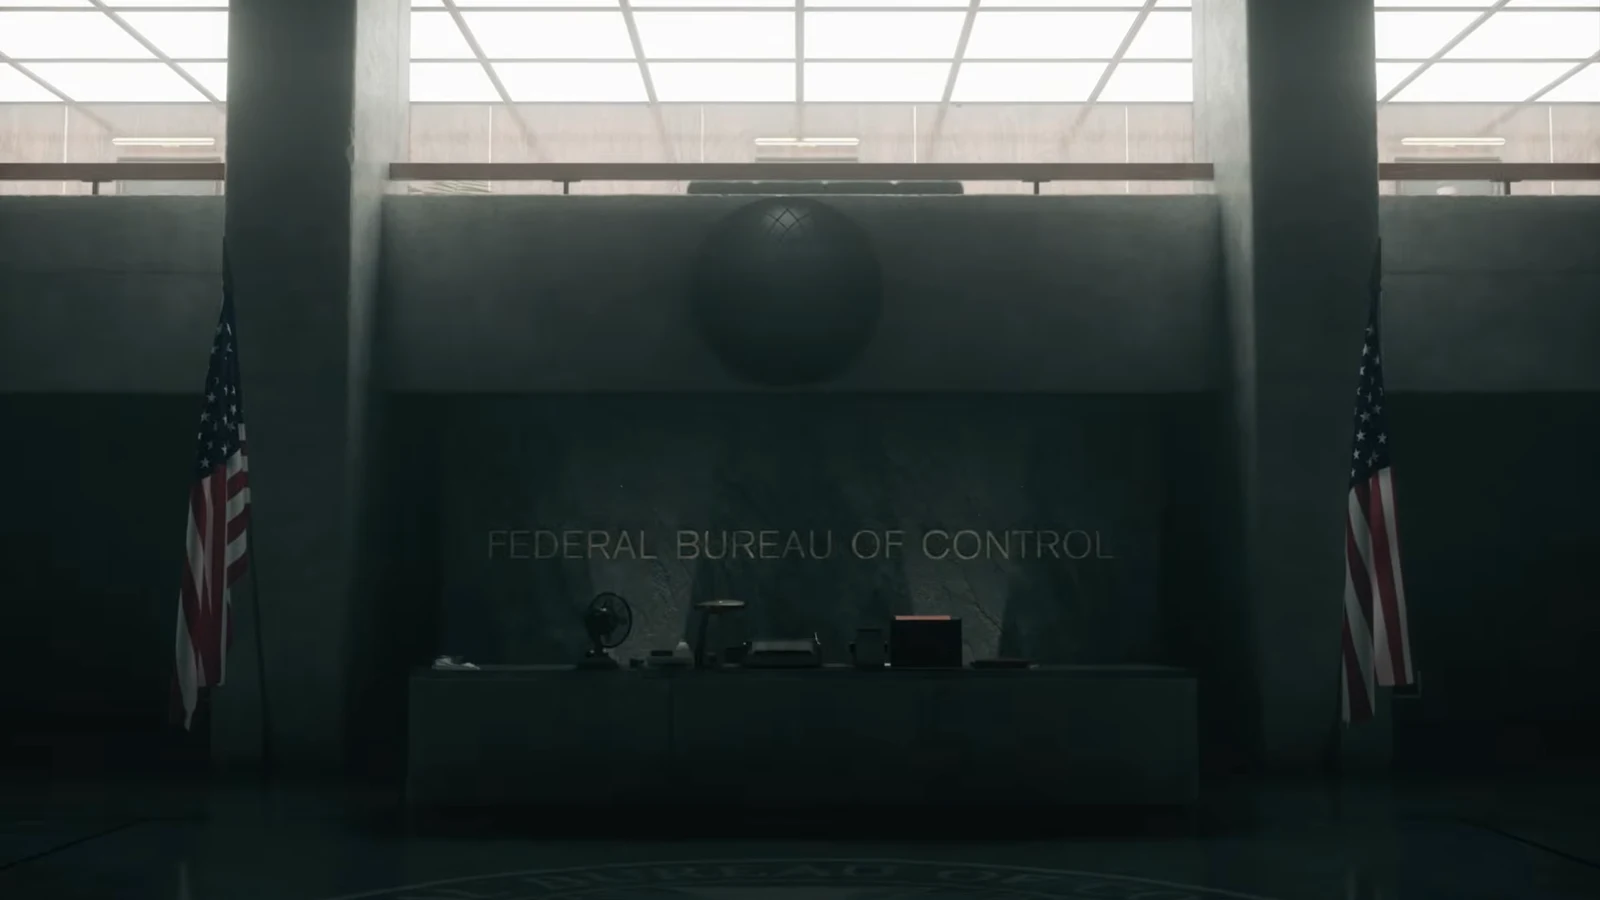
Recursions and Iterations is one of the longest main missions in Control Resonant, and it sends Dylan Faden below the Sinkhole to search for a research team that vanished in a region called the Underpass. It picks up right after Enemy of My Enemy, opens on a briefing with Emily Pope in the Oldest House Lobby, and quickly turns into a study of time folding in on itself. The people Dylan is looking for are alive, dead, and repeating their last moments all at once.
Quick answer: The mission cannot be finished on a single pass. A chasm in the Underpass blocks the way until Dylan earns the Reach ability in the Subway Fault, after which the story ends by planting a probe relay and rewards the Prime Candidate Restraint Suit and a Living Shard.
What Recursions and Iterations sets up
The quest begins with Pope explaining that Arish has stepped down and that a four-person expedition sent beneath the Oldest House has gone quiet. The team was led by Agent Schultz and Dr. Melanie Grist, and Pope wants Dylan to descend into the Sinkhole to find survivors. The exit used at the end of the earlier Sinkhole mission has been reworked into a proper entrance, so reaching the bottom is fast.
Below the Sinkhole is the Underpass, a vast chasm packed with floating concrete blocks, office spaces, and red-carpeted staging areas that sit directly under the Oldest House. Zoe takes over on comms and the objective shifts to locating the research team. The route through this space is marked by the climbing ropes and string lights the expedition left behind, which double as a breadcrumb trail through the void.
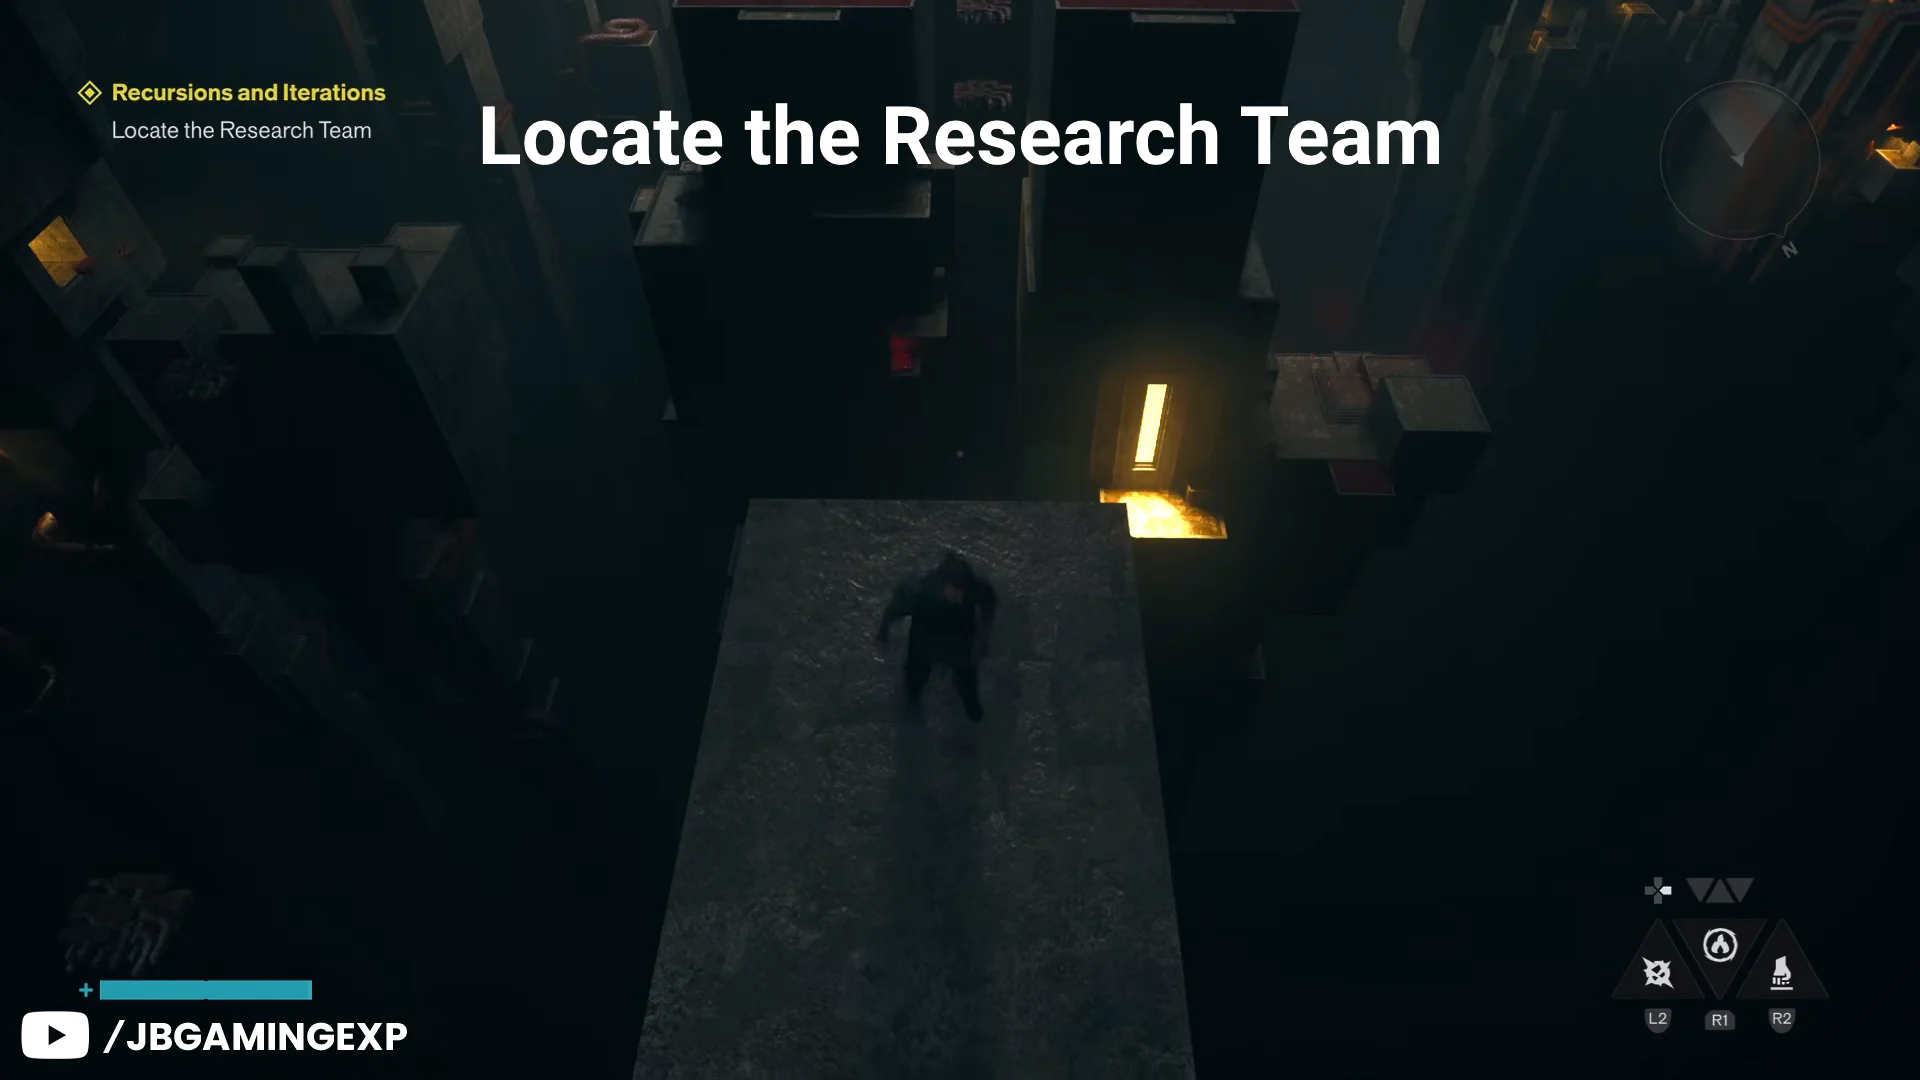
Early on, Dylan reaches the research camp, unlocks The Spire fast travel door, and picks up a physician’s log that opens the side objective tied to the Underpass. Activating a beacon dish clears the fog and reveals the local map, which makes the sprawling zone far easier to read.
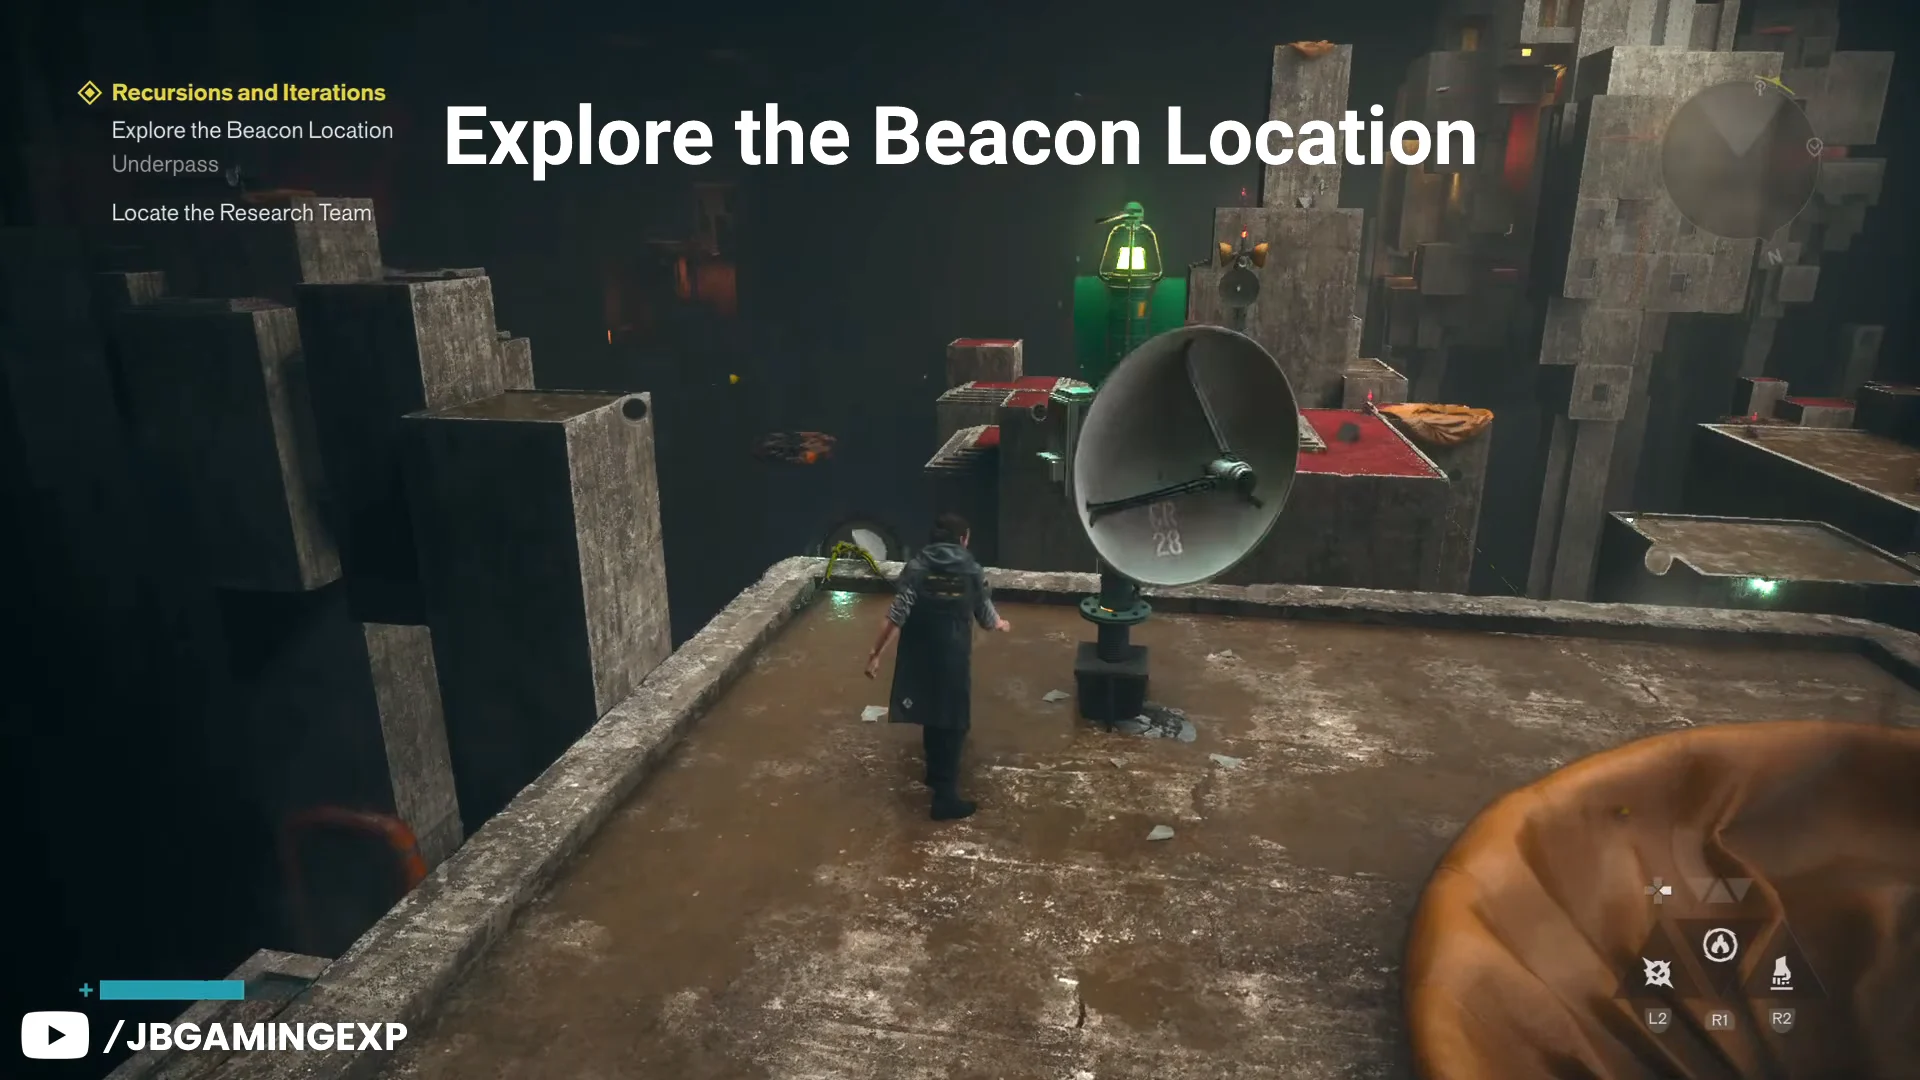
The Reach roadblock and the Subway Fault
Progress stalls at a huge gap just past the Halfway Trail fast travel door. Dylan cannot cross it, and Zoe’s radio chatter points toward anomalies in the Evacuation Zone subway. This is the moment the mission hands off to a required side quest, The Subway Fault, which is where the missing traversal power comes from.
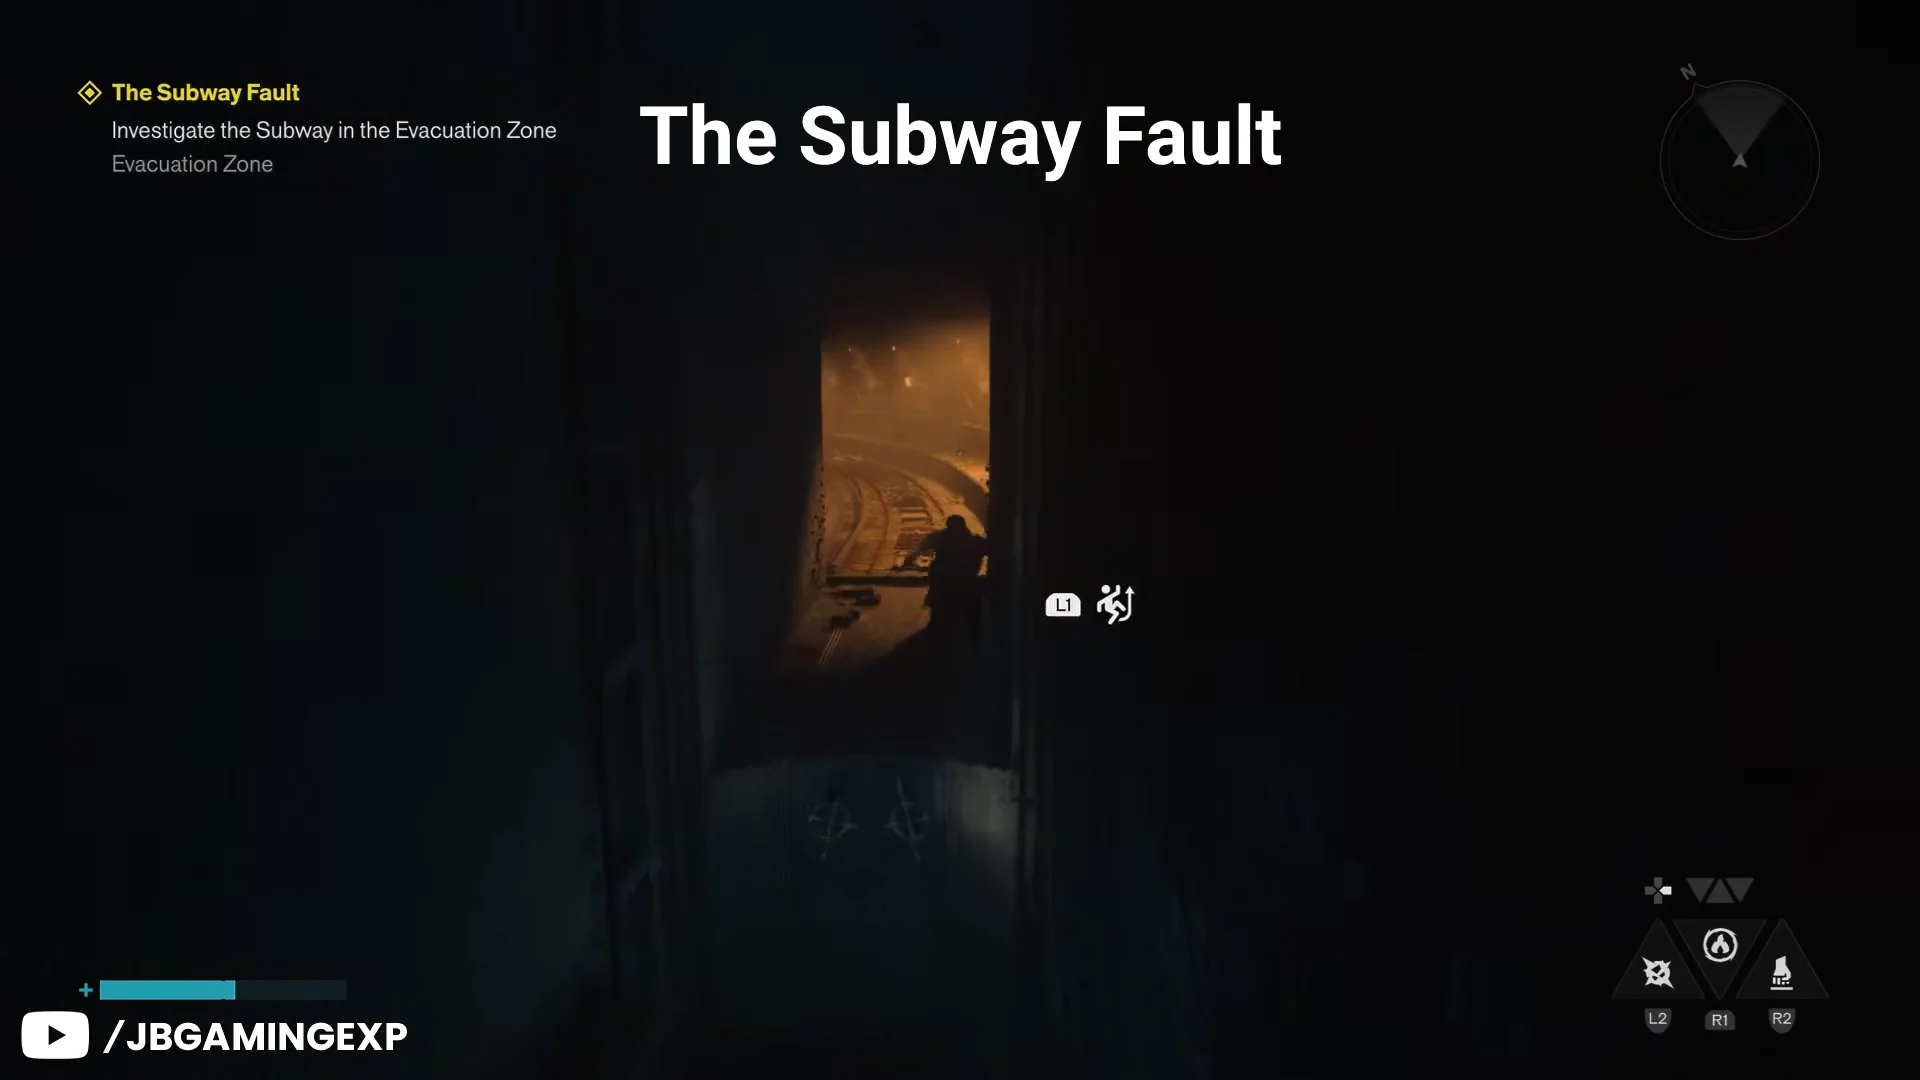
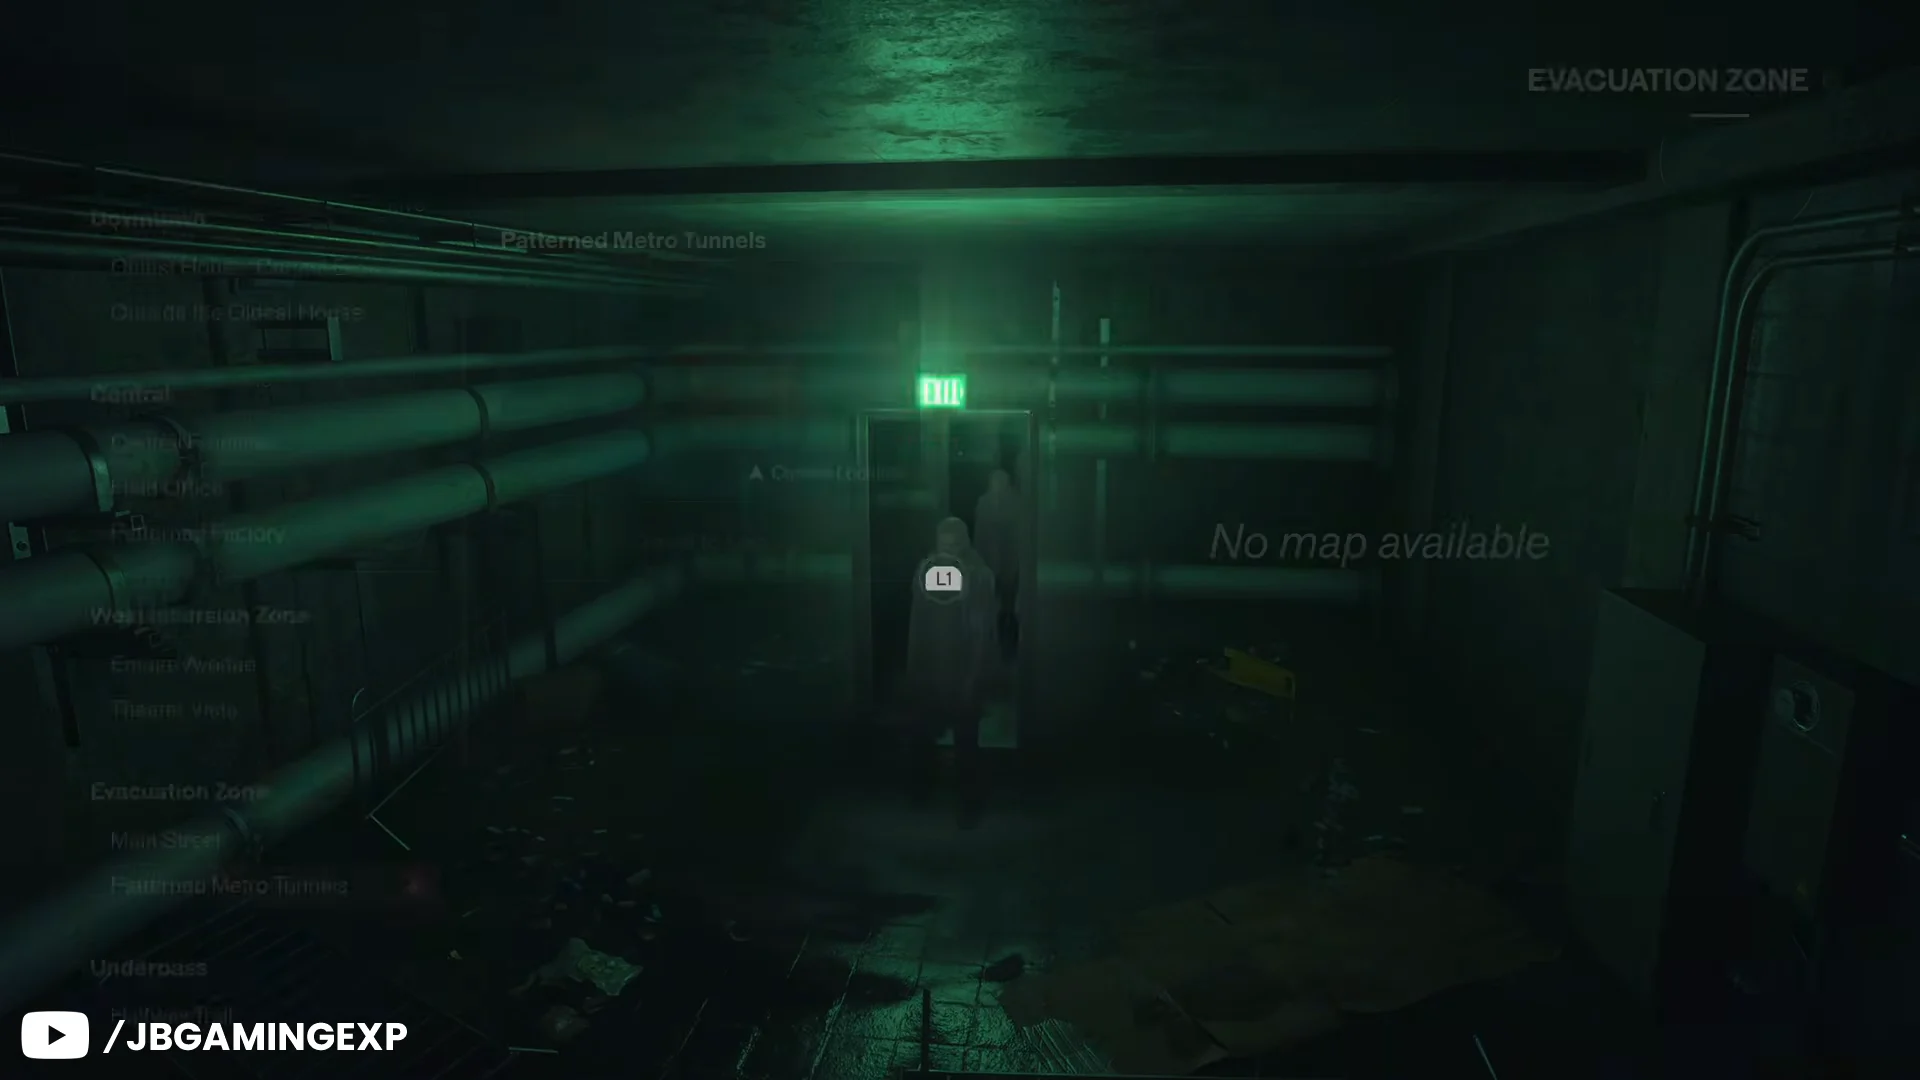
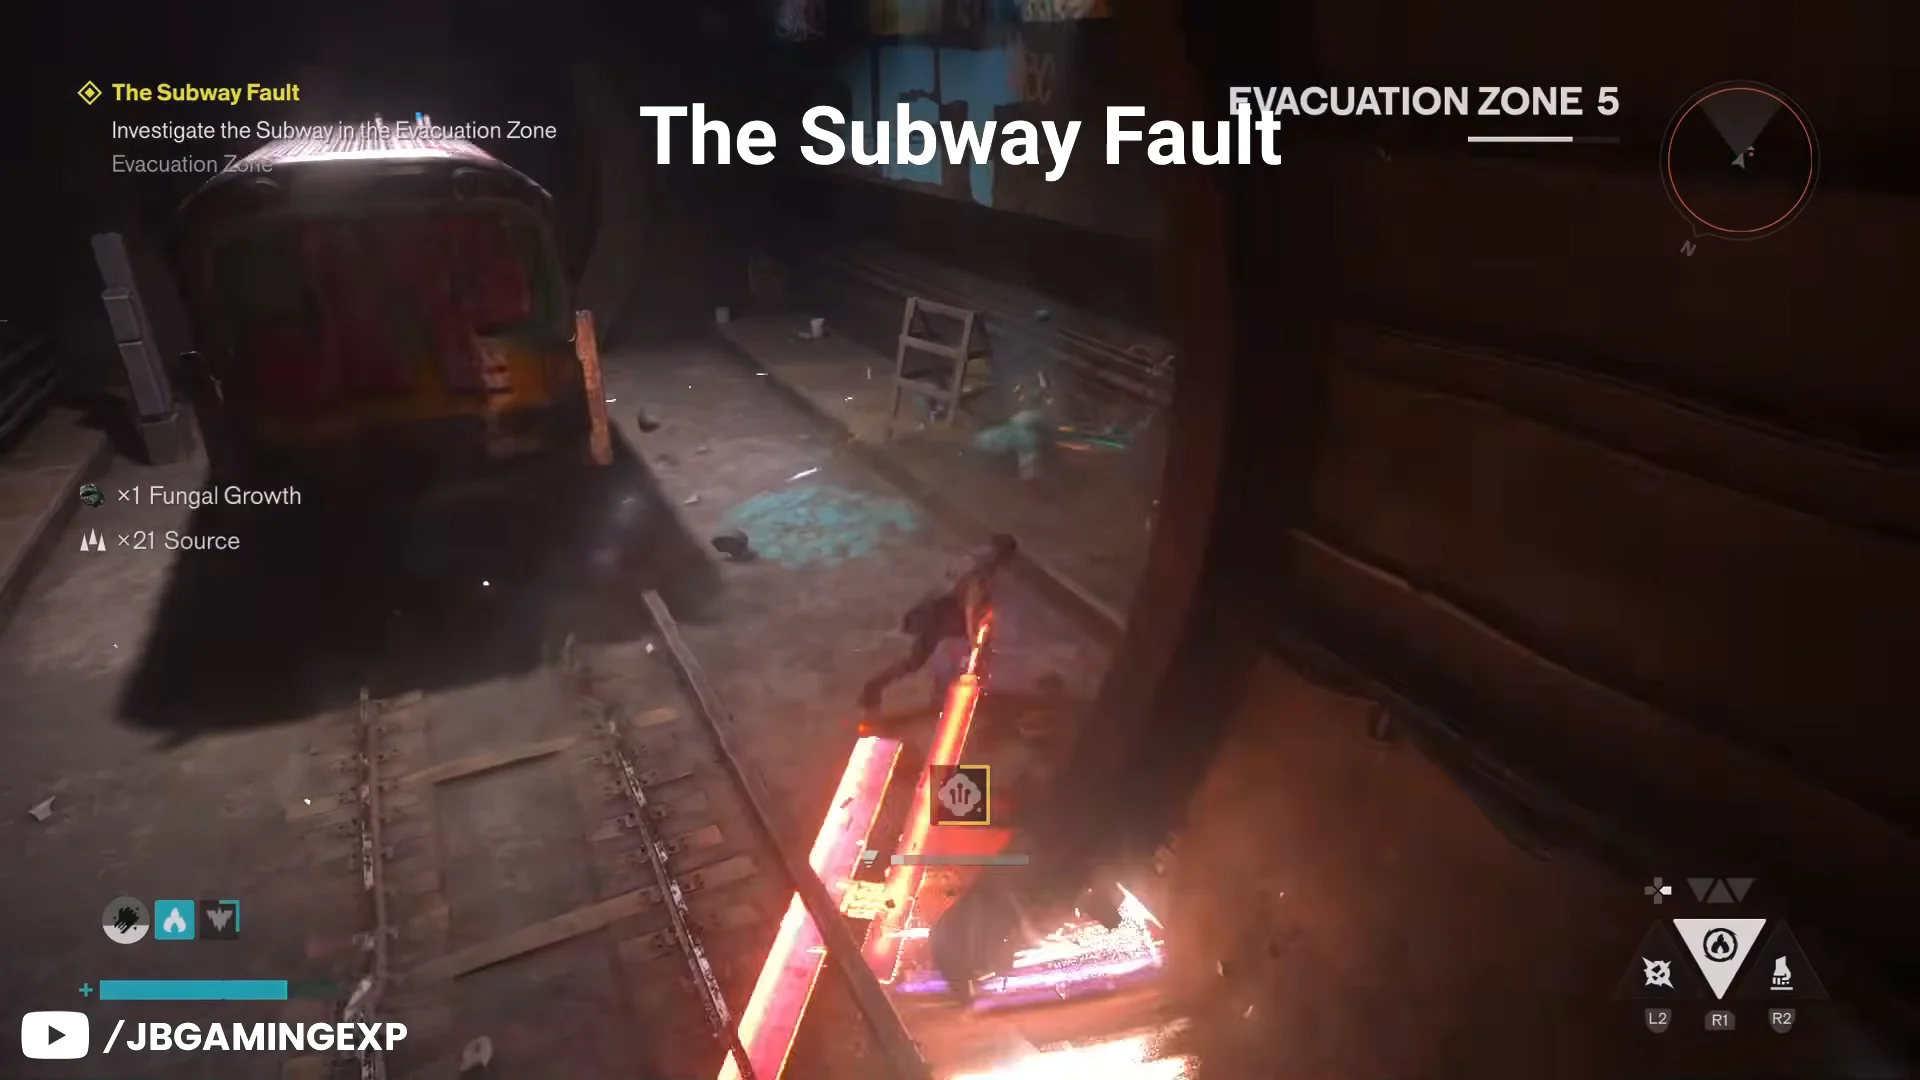
The Subway Fault runs through mold-choked tunnels in Evacuation Zone 5, past spectral trains that rush the tracks and waves of Hiss and Mold-infected enemies. The Board whispers as Dylan pushes deeper, and a golden flora pathway at the end of the line marks the entrance to the Fault itself.
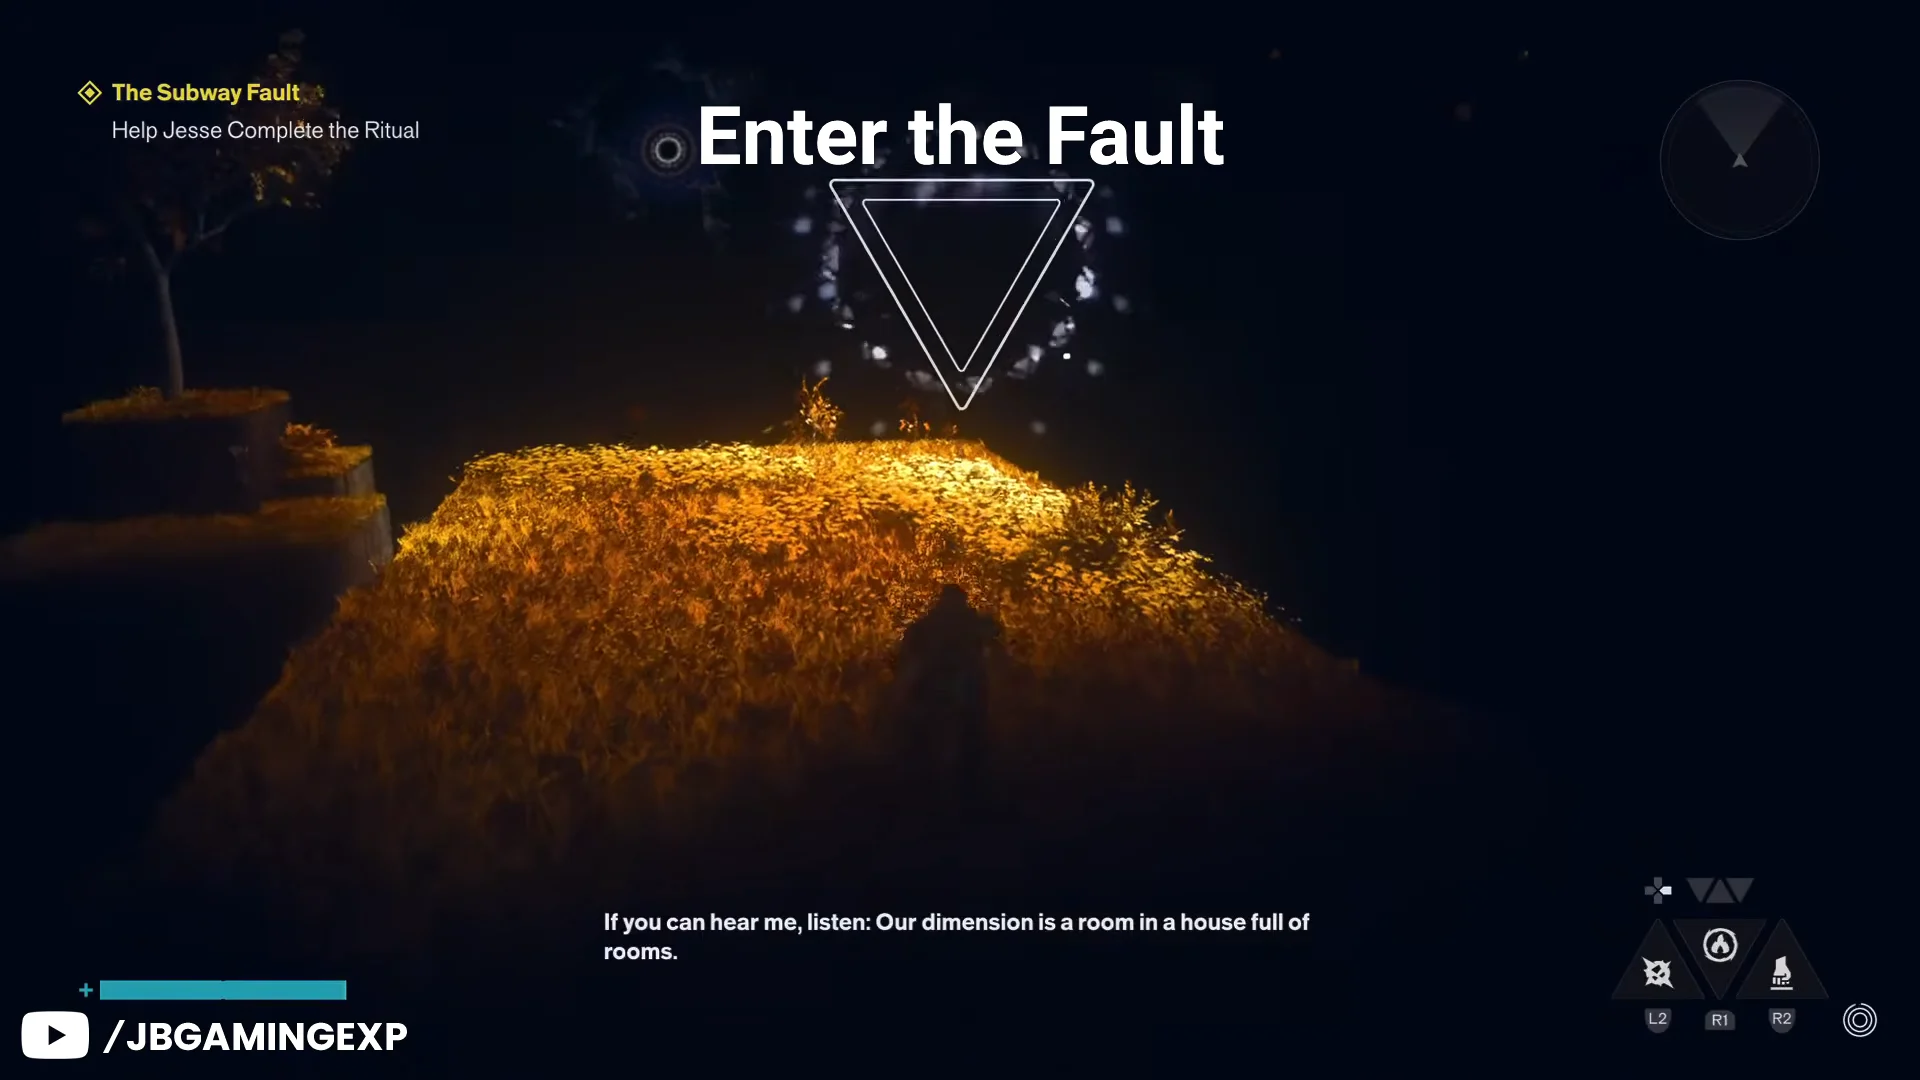
Within the Fault, Dylan encounters Jesse Faden in a dimensional memory and performs a ritual among floating golden meadows. He switches on television sets to bring the next platforms into view. The reward is Reach, a grapple that draws Dylan toward clear orbs and lets him redirect gravity to walls and ceilings. Finishing the Fault awards a Talent Point and unlocks the Patterned Metro Tunnels fast-travel door.
Skipping the Subway Fault leaves the mission softblocked. Without Reach, the chasm past Halfway Trail stays uncrossable, so the detour is mandatory rather than optional.
Overlapping timelines and the Patterning
The reason the Underpass feels so strange is the Patterning, which here distorts spacetime rather than just space. Once Dylan crosses the chasm and reaches the lower outposts, the research crew flickers between states. Agent Schultz and his group appear alive, speak, then collapse into corpses in front of him.
Dr. Grist turns up in one of these variant timelines and explains that time itself is being patterned before handing Dylan her tracking device. From there, radar pings guide Dylan between iterations of the same outpost, each one showing a different version of events. It is a mission built around meeting the same people repeatedly, each encounter slightly out of sync with the last.
The power puzzle and the transmission tower
Grist’s device points Dylan toward Ayad. The engineer says the power is out and indicates tape marks on the floor. In a small chamber are four charge cubes: one works, while the other three are inactive. Dylan can carry a charge only for a short time, and changes to the surroundings relocate the rooms containing live cores.
The yellow floor tape is the reliable reference. Each strip leads to an active core, and the charge has to be carried straight back to the room where the cables converge rather than into any other space. Several routes rely on Reach, which reshapes the surroundings and can make the layout look unfamiliar, so the tape matters more than landmarks. When Dylan returns to Ayad afterward, the engineer finds his own dead counterpart on the floor and collapses, triggering the next fluctuation.
Tracking the next anomaly brings Dylan to a version of Grist standing at the edge of the void, ready to jump. Talking her down leads to defending the transmission tower against a heavy Hiss wave to push her initial data through. Clearing the tower earns the Paranatural Agility trophy and confirms the transmission.
The cable car and the final probe relay
The last stretch opens at the cable car station, where Grist explains her plan to reach directly beneath the Oldest House and lays out her theory that the House is resisting the Patterning. She rides the car across the chasm with Dylan, then vanishes mid-transit like every other version of the team.
On the far side, red relay beacons trace a path through mold-filled tunnels and vertical shafts. Along the way Dylan finds the frozen corpse of another Dylan and a document about not minding dying, then reaches Grist’s fallen body with the final probe relay beside her. He carries the relay across a run of giant underground pipes, holding it through jumps and ledge grabs, and plants it beside a small green tree at the base of the Oldest House.
Switching on the relay by the tree sparks a cosmic sequence featuring redwoods, Oldest House corridors, and television screens as the data at last reaches Pope. The mission ends once Pope and Zoe confirm that the full transmission arrived and the quest closes. Its rewards are the Prime Candidate Restraint Suit outfit and a Living Shard; the Underpass Resonant and Underpass Fault objectives remain available for a later visit.