

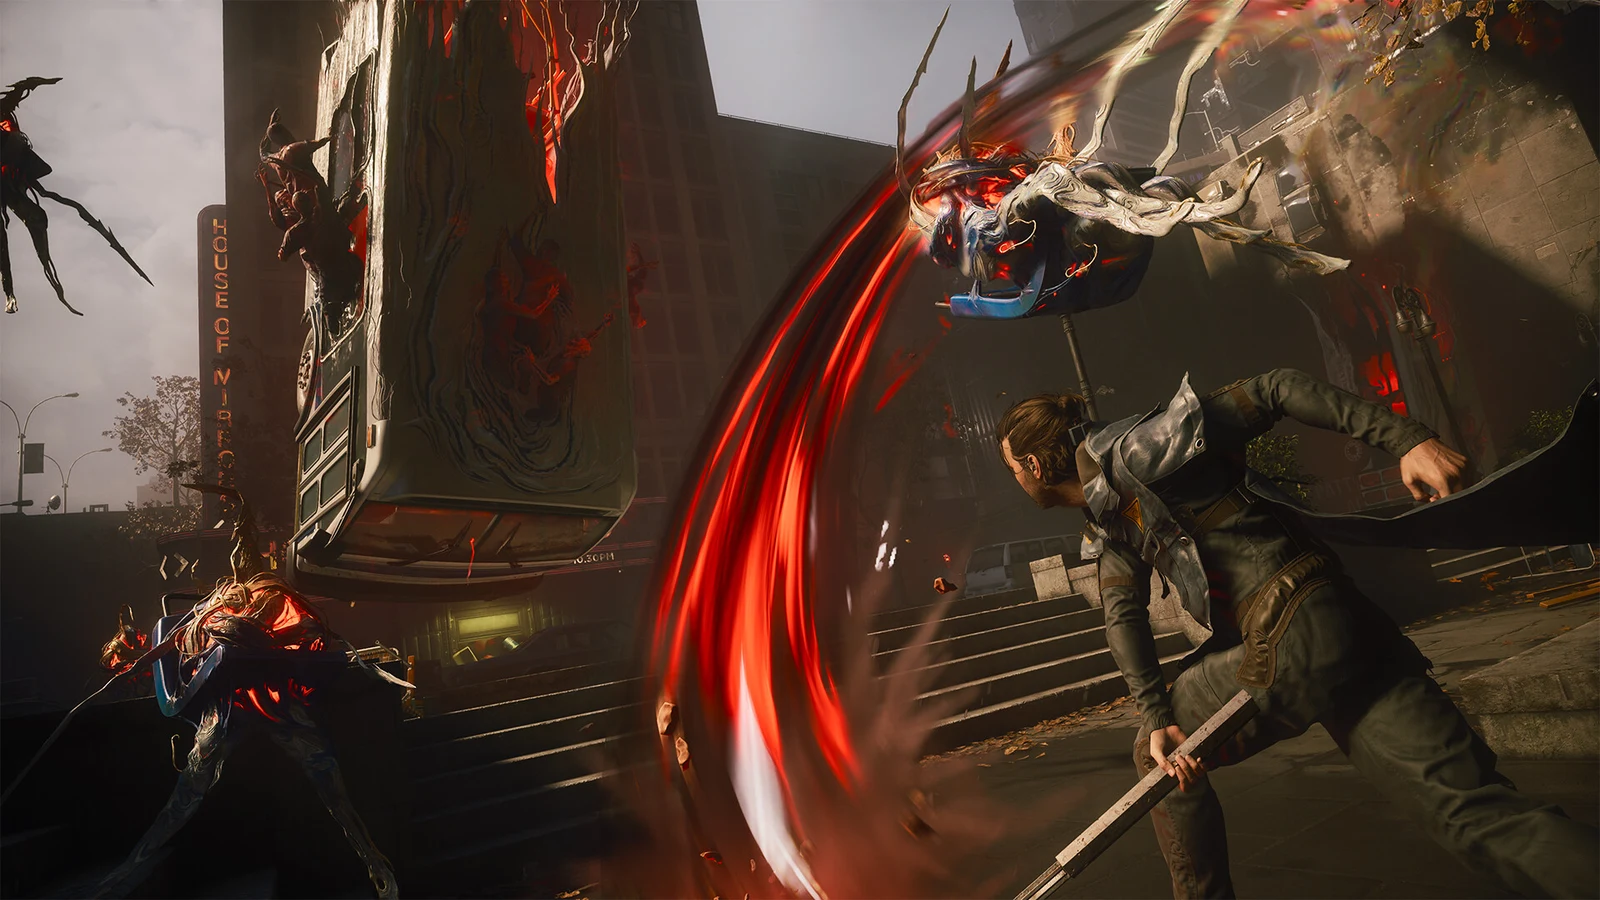
Remedy’s sequel drops the Service Weapon, hands the role of protagonist to Dylan Faden, and moves the whole thing out of the Oldest House and into a folded, paranatural version of Manhattan. It is an action RPG built around melee, and one of its first real tests is The Central Resonant, a quest that ends with a boss standing in a furnace.
Quick answer: Control Resonant launches September 24, 2026 on PS5, Xbox Series X|S, and PC. The Central Resonant ends when you defeat The Deserter inside the Patterned Factory furnace.
Control Resonant release date and platforms
The game arrives worldwide on September 24, 2026, across consoles, PC, and cloud, with a Mac version following later in 2026. Development wrapped early: the build went gold on August 18, 2026, and pre-orders for digital and physical editions have been open since the date was locked in.
| Platform | Release | Storefront |
|---|---|---|
| PlayStation 5 | September 24, 2026 | PlayStation Store |
| Xbox Series X|S | September 24, 2026 | Xbox store |
| PC | September 24, 2026 | Steam, Epic Games Store |
| Cloud | September 24, 2026 | GeForce NOW |
| Mac | Later in 2026 | Steam, App Store |
If you plan to pre-load on PC, start from the CONTROL Resonant Steam page. The game is rated ESRB M, and it is single-player only. Reviews landed on September 18, 2026.
Story setup: Dylan Faden, Jesse, and the Patterning
Seven years after the Oldest House was locked down to contain the Hiss, FBC Director Jesse Faden is missing. Containment has broken down so severely that these threats have reached downtown Manhattan, where the Hiss, the invasive Mold organism, and a newly emerging resonance are changing the city simultaneously.
With no one else available, the FBC releases Dylan from custody. Head of Research Dr. Darling raised him inside the Bureau as P6, a parautilitarian, and the agency still holds him responsible for the people he killed under the Hiss’s influence. Now he cooperates with the organization that took him as a child while searching for his sister and working to halt the Patterning’s spread. Agent Zoe De Vera serves as his handler, a new character designed to clash with him.
You do not need the 2019 original to follow this. The opening includes a recap covering the FBC, the Oldest House, and Jesse.
Combat changes: the Aberrant, Falter, and Dominance
The biggest break from the first game is that there is no third-person shooting at the center of it. Dylan carries the Aberrant, a piece of shapeshifting metal that reconfigures into different melee forms. You can have up to three melee weapons equipped at once and swap between them mid-fight.
| Form | Speed | Edge |
|---|---|---|
| Paired clubs | Fast | Critical-hit chance |
| Scythe | Slow | Wide sweeps |
| Mid-weight | Medium | Bonus damage from behind |
Combat revolves around building Falter and then deciding how to spend it. Hit an enemy until the meter is full, then use a Falter finisher to earn Dominance, which temporarily raises damage. A regular kill can drop health, whereas a finisher kill cannot; however, kills made during Dominance produce additional health. Every encounter therefore asks whether you need the damage boost or the healing drop.
- No parry and no block. The whole model rewards pressure.
- A well-timed dodge grants access to a counter window, and your build determines which additional buffs come with it.
- You may have six special abilities equipped at once, with options such as shields, telekinetics, and friendly summons.
- The sequel adds stats, multiple talent trees, and weapons that can be customised instead of following the original’s flat progression.
- Respec tokens are handed out often, so changing builds costs almost nothing.
The arsenal contains three main weapons, three secondary options, six combo finishers, and numerous ability pairings. Reviews fairly note that this range offers less depth than its size suggests. After identifying the priority target, encounters usually follow the same pattern regardless of your loadout.
Zones, traversal, and story length
Instead of one open map, the game is built from several sizable separate zones packed with side activities, hidden encounters, and discoveries you can walk past. Most of the Oldest House is off-limits now, though a few important sections are still explorable. What replaces it is a shifting, folding Manhattan rather than a faithful recreation of the city.
Movement is generous. Dylan can double jump, glide, and air dash twice in any order, which turns getting from A to B into light platforming. Zones also react to your progress. Clear an area and enemies stop spawning there, and FBC researchers and Rangers move into the safe blocks until you take down that zone’s Resonant Entity boss.
Expect the main story to take about 30 to 40 hours, before counting the substantial optional material. The side quests deliberately become bizarre, from pursuing a baby stroller across rooftops to deadly karaoke and a spot-the-difference challenge involving an extradimensional taxi.
Before you push the story forward, comb through every zone for upgrade materials. Early in the game, leaving optional objectives unfinished is the quickest route to falling behind the difficulty curve.
Difficulty and Assist Mode settings
The default setting is tough without turning the game into a soulslike, and the opening hours hurt most because your ability kit has not filled out yet. Assist Mode lets you adjust custom difficulty through separate sliders or choose from presets instead of setting everything manually. If the story is your main reason for playing, that is the intended route.
PC features: path tracing, DLSS 4.5, and RTX Mega Geometry
The sequel runs on Remedy’s in-house Northlight Engine, the GPU-driven renderer rebuilt for Alan Wake 2 with mesh shaders and single-pixel occlusion culling. The first Control leaned on reflective brutalist interiors. This one spends most of its time outdoors with more diffused materials, which is a harder lighting problem to solve.
Path tracing is supported on PC, developed with Nvidia. Remedy also integrated RTX Mega Geometry, which speeds up building bounding volume hierarchies for ray tracing in heavy scenes. It nests Cluster-Level Acceleration Structures inside the BVH instead of using low-resolution proxy geometry, and rebuilds only the affected clusters when level of detail changes, which cuts CPU overhead. GeForce RTX systems get the full DLSS 4.5 suite at launch, including Ray Reconstruction and Dynamic Multi Frame Generation on RTX 50 Series cards, with a Game Ready Driver available for the launch.
How to claim the free copy with a GeForce RTX 50 Series GPU
Qualifying purchases cover GeForce RTX 5090, 5080, 5070 Ti, and 5070 desktop systems and graphics cards, plus laptops with an RTX 5090, 5080, 5070 Ti, or 5070 Laptop GPU. Nvidia bundles a Steam copy with those purchases while supplies last.
Before the quest: power up the Central Checkpoint
The Central Resonant is handed to you during the second mission, Welcome to Manhattan, after you speak with Zoe at the watchtower. Getting to that watchtower means solving the power core puzzle at the Central Checkpoint first, which is also where the Aberrant learns to carry an electric charge.
The Central Resonant walkthrough: Patterned Factory route
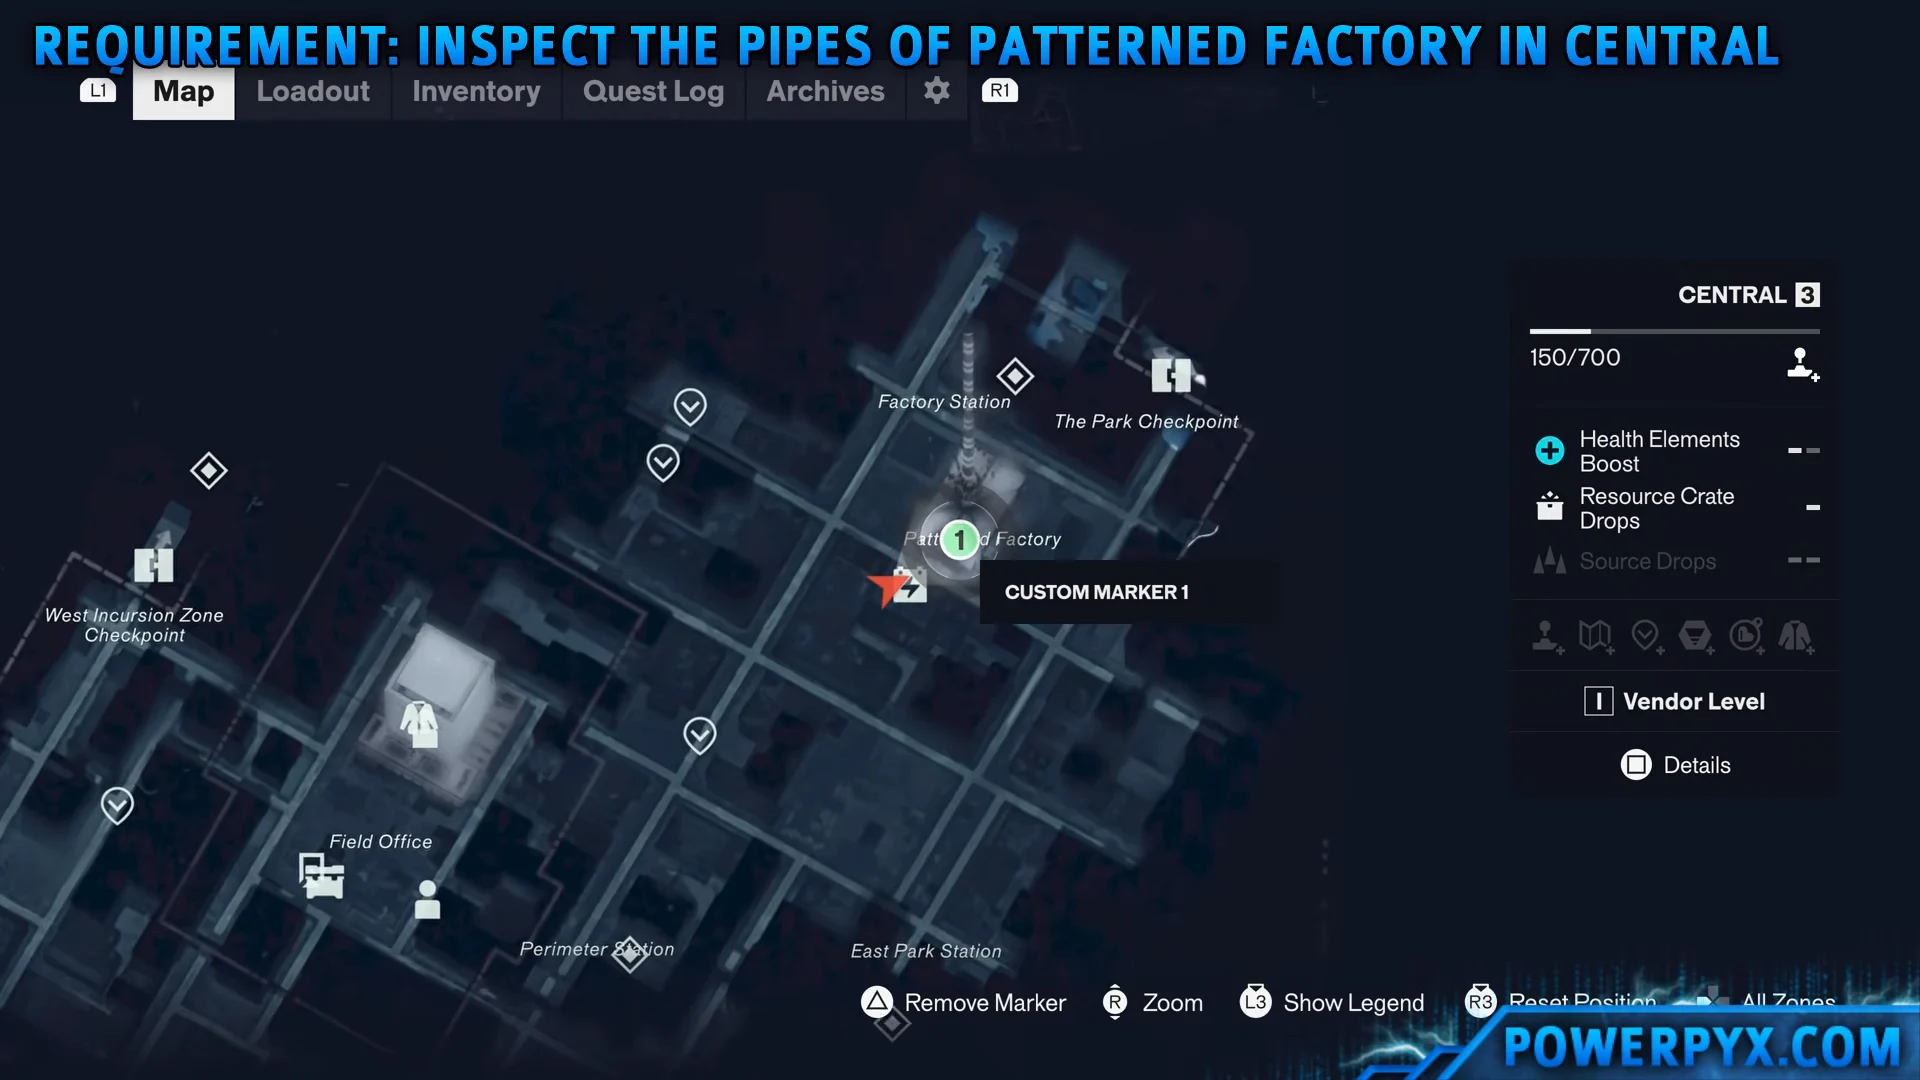
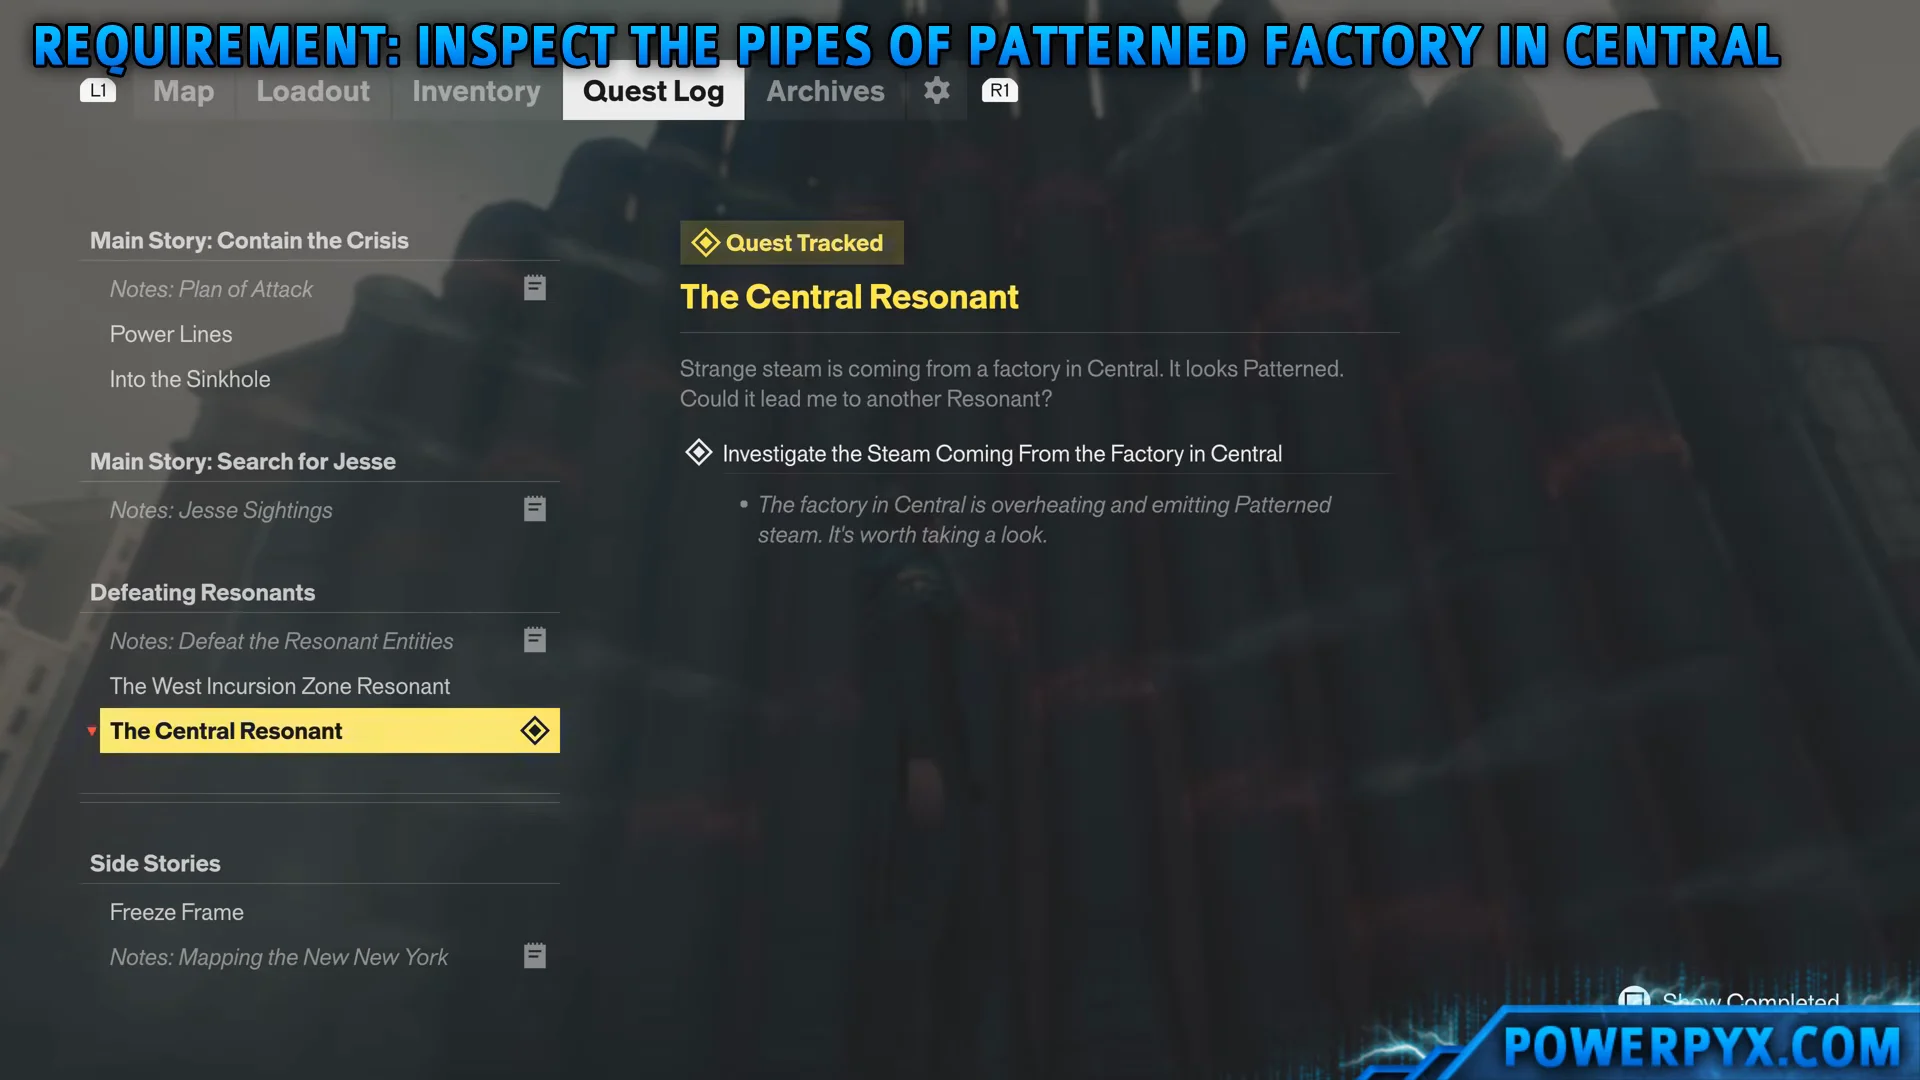
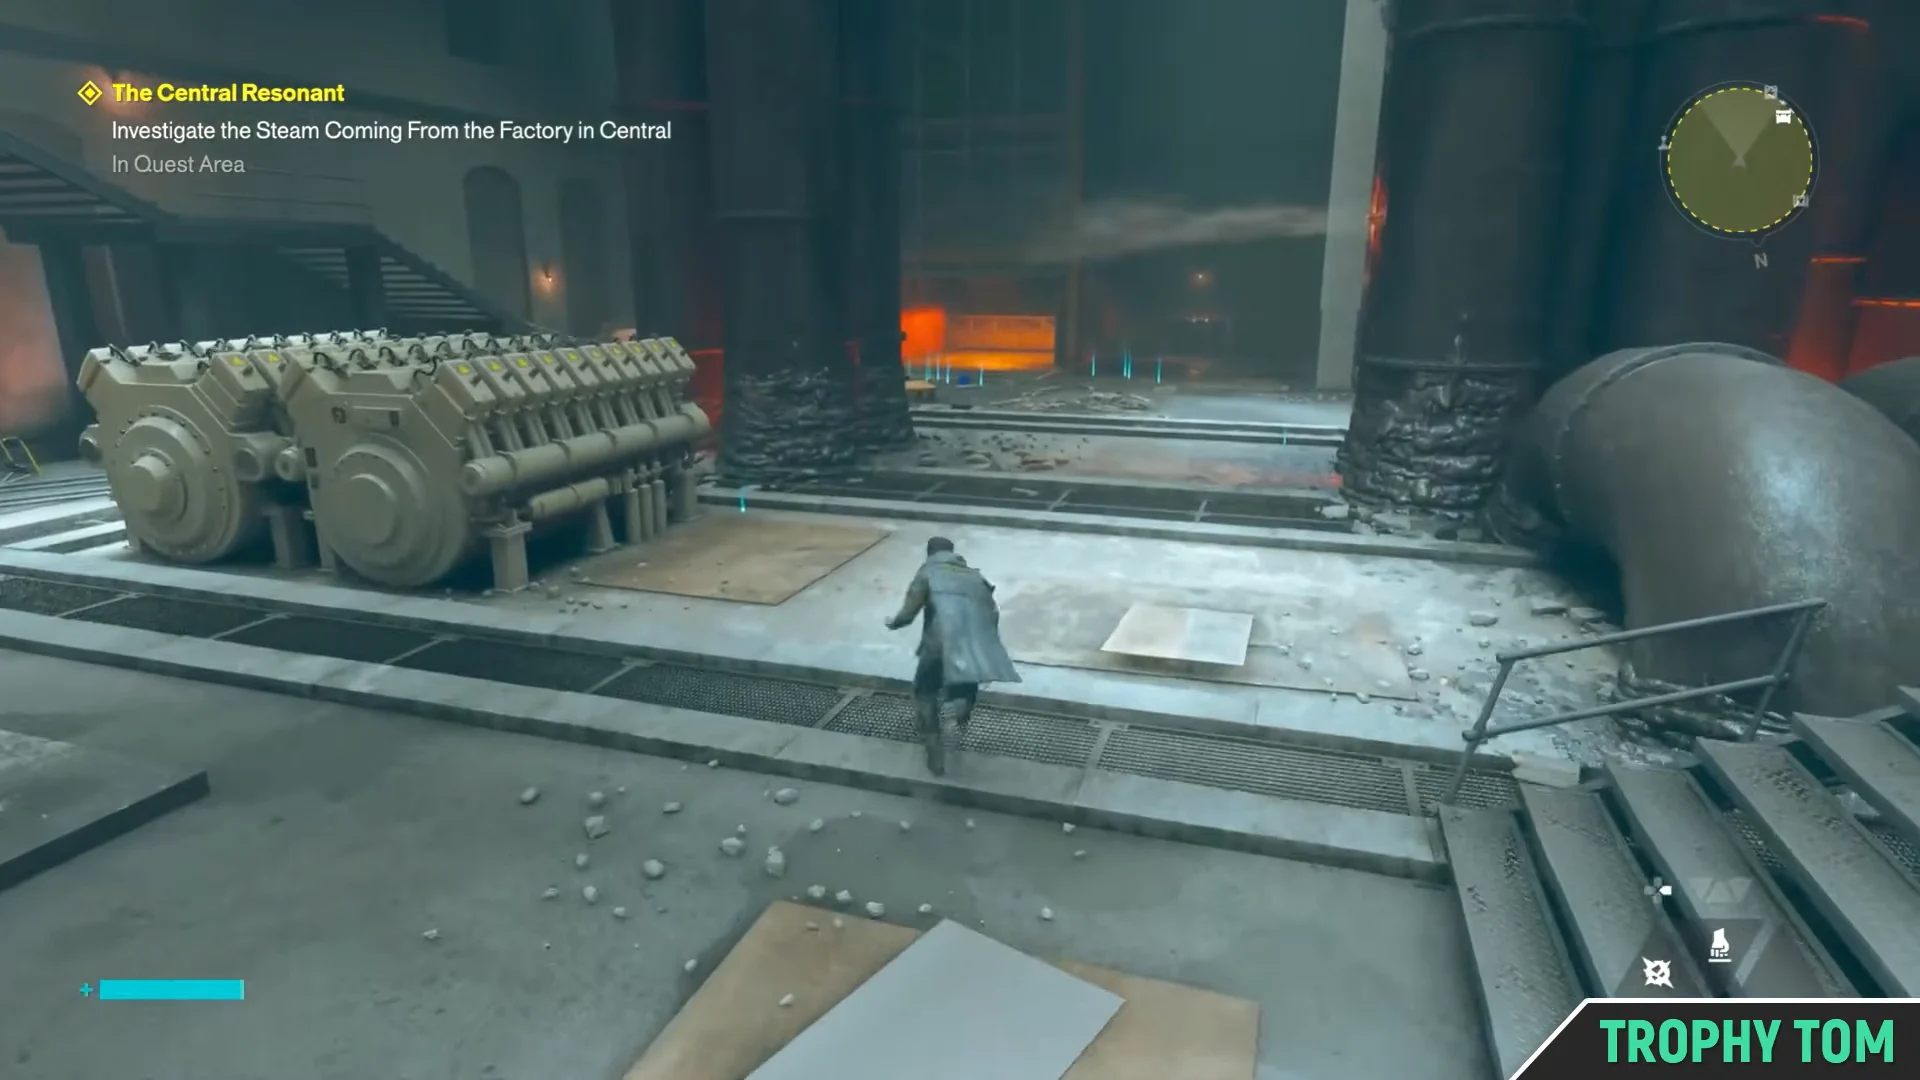
The quest sends you to the Patterned Factory in Central and then straight down into a maze of service tunnels. The level design loops back on itself constantly, so the single most useful landmark is the long staircase just past the elevator. Almost every branch returns to it.
The Patterned Factory stays locked until you finish the Evacuation Procedures and Power Lines quests. If the door will not open, those are why.
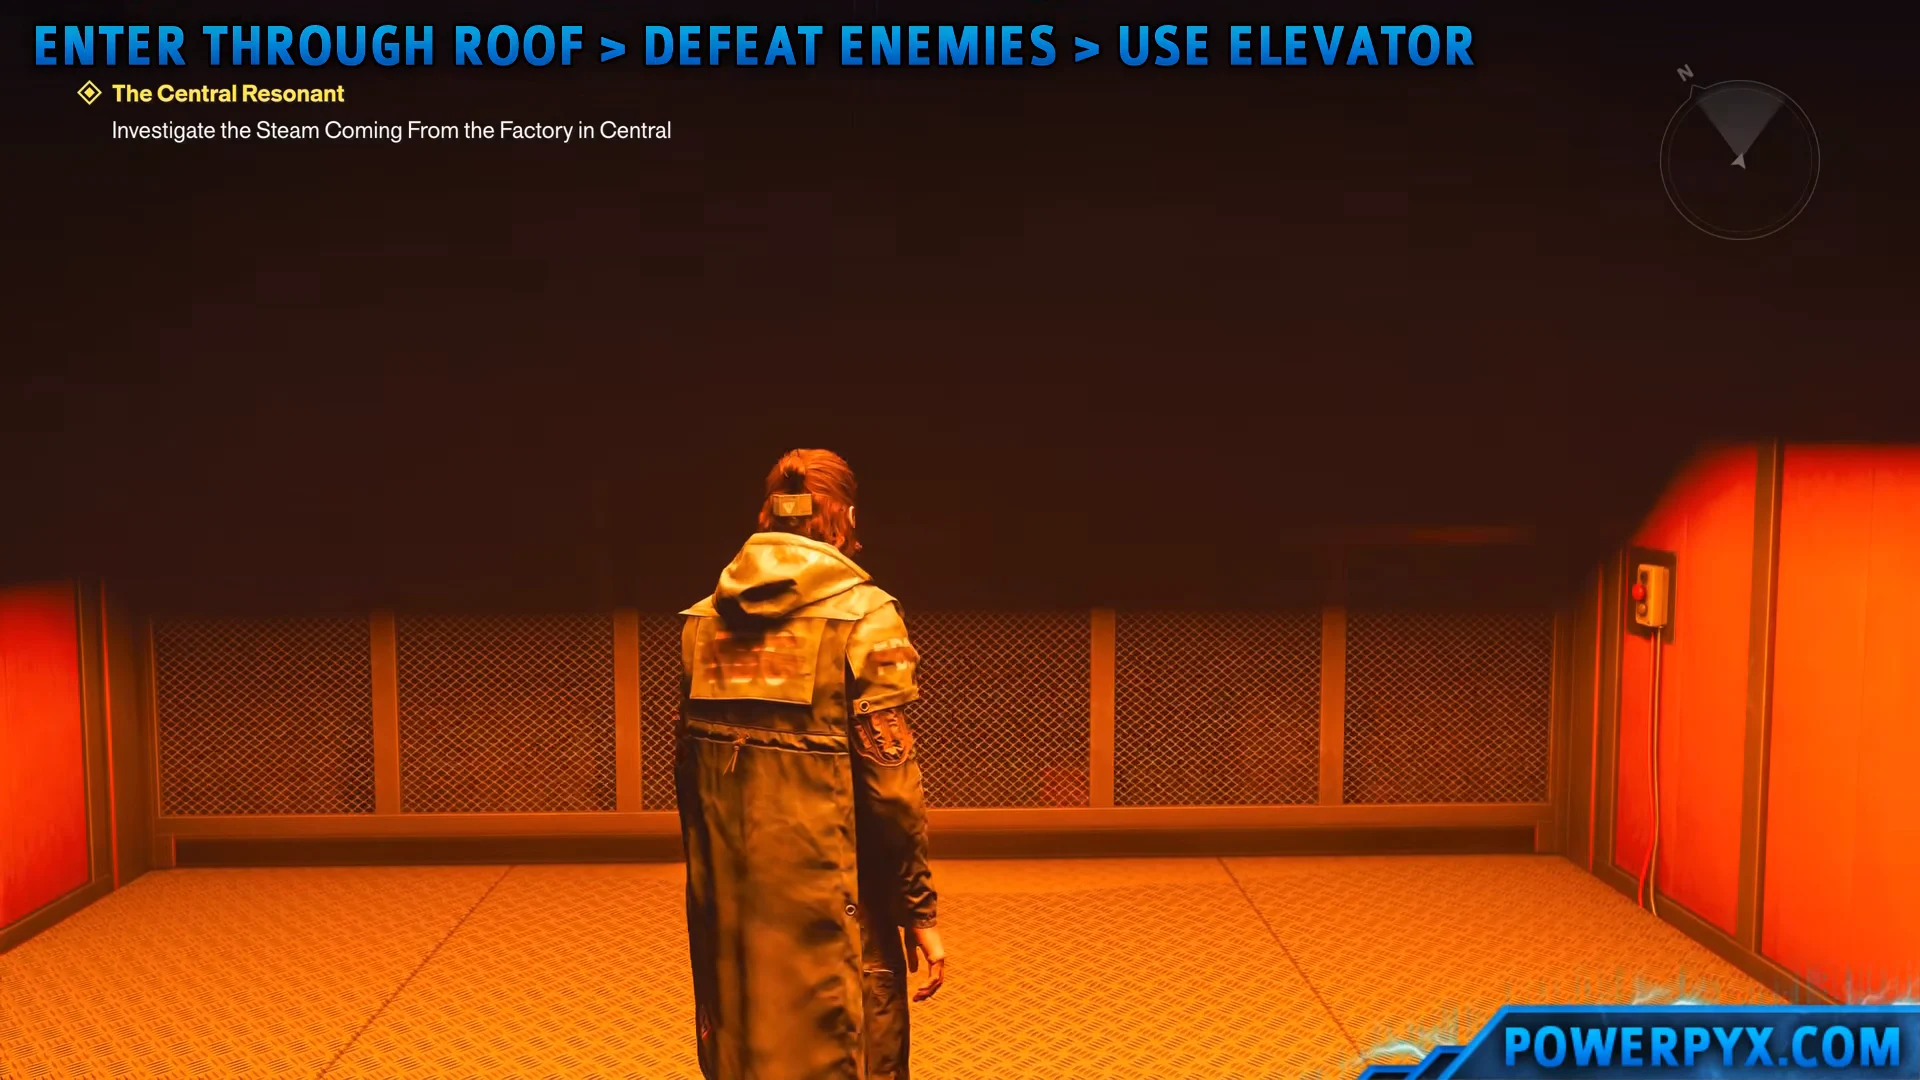
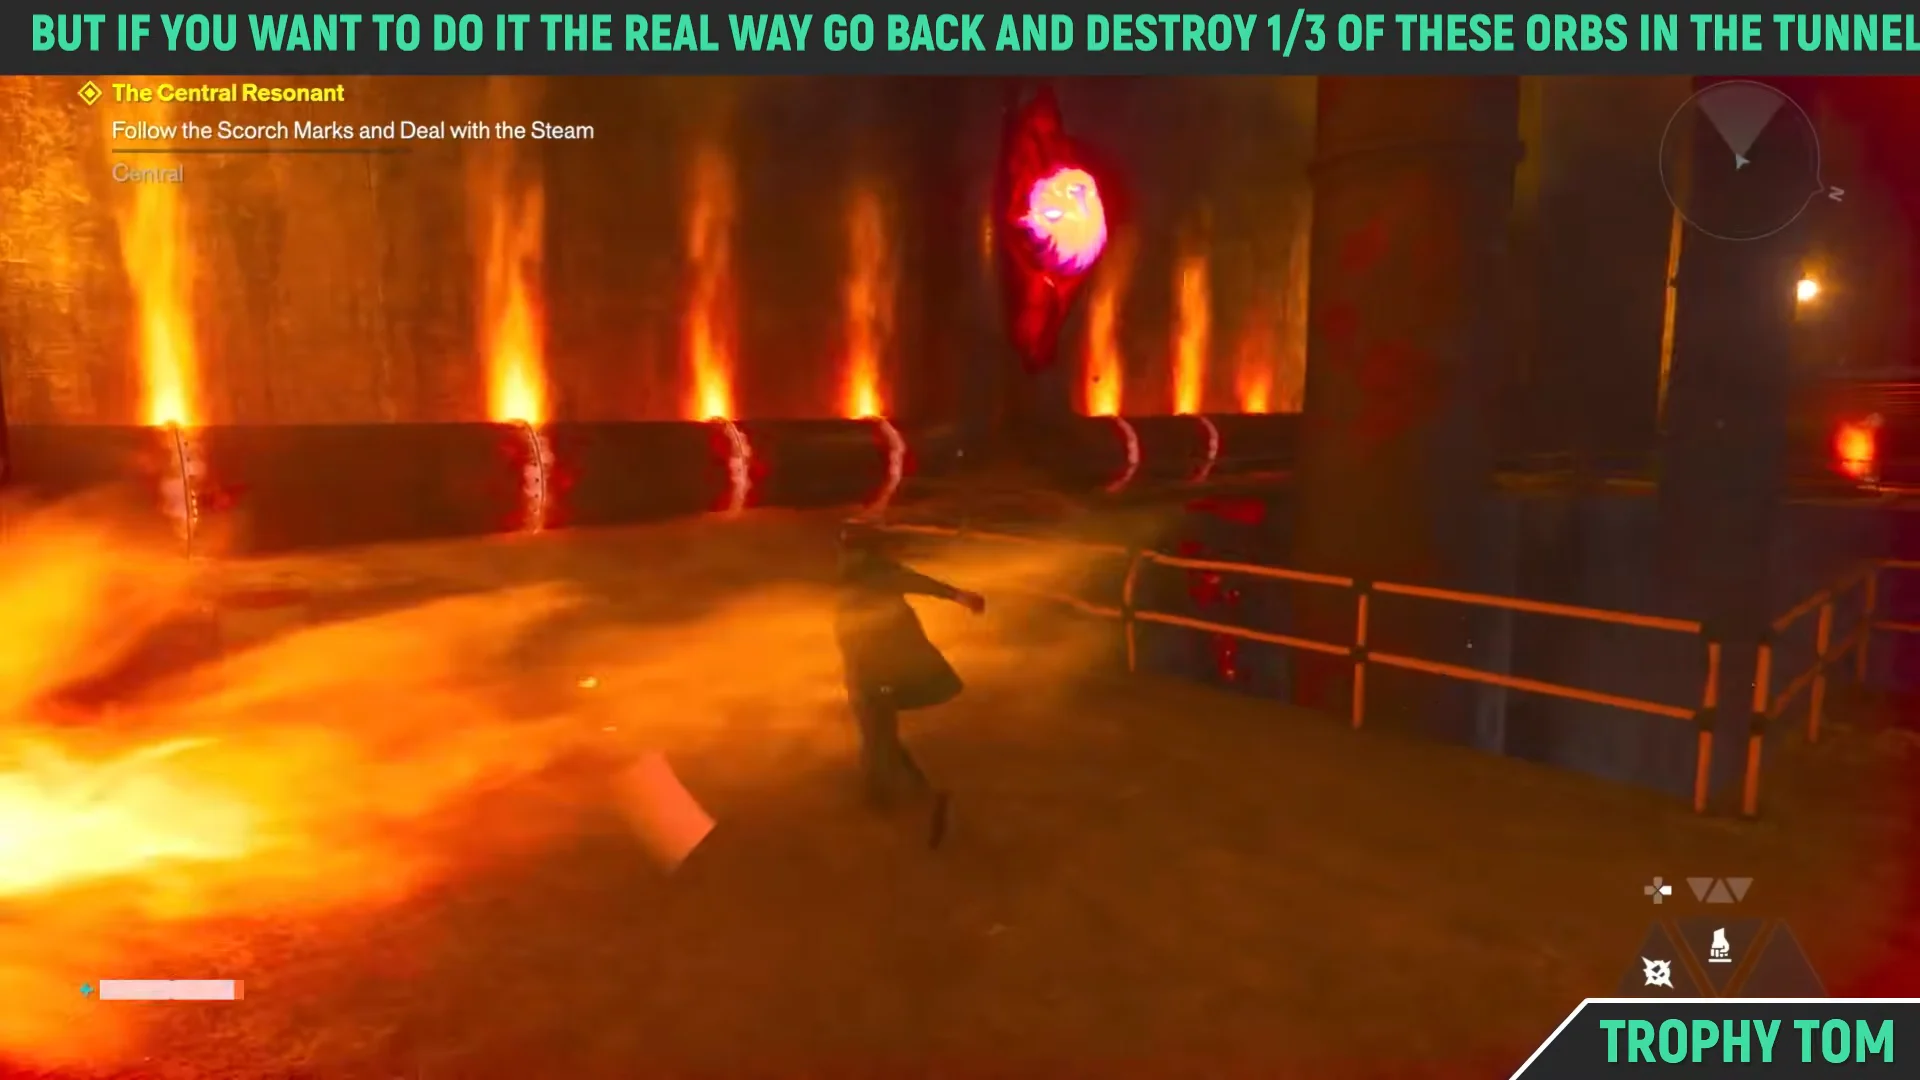
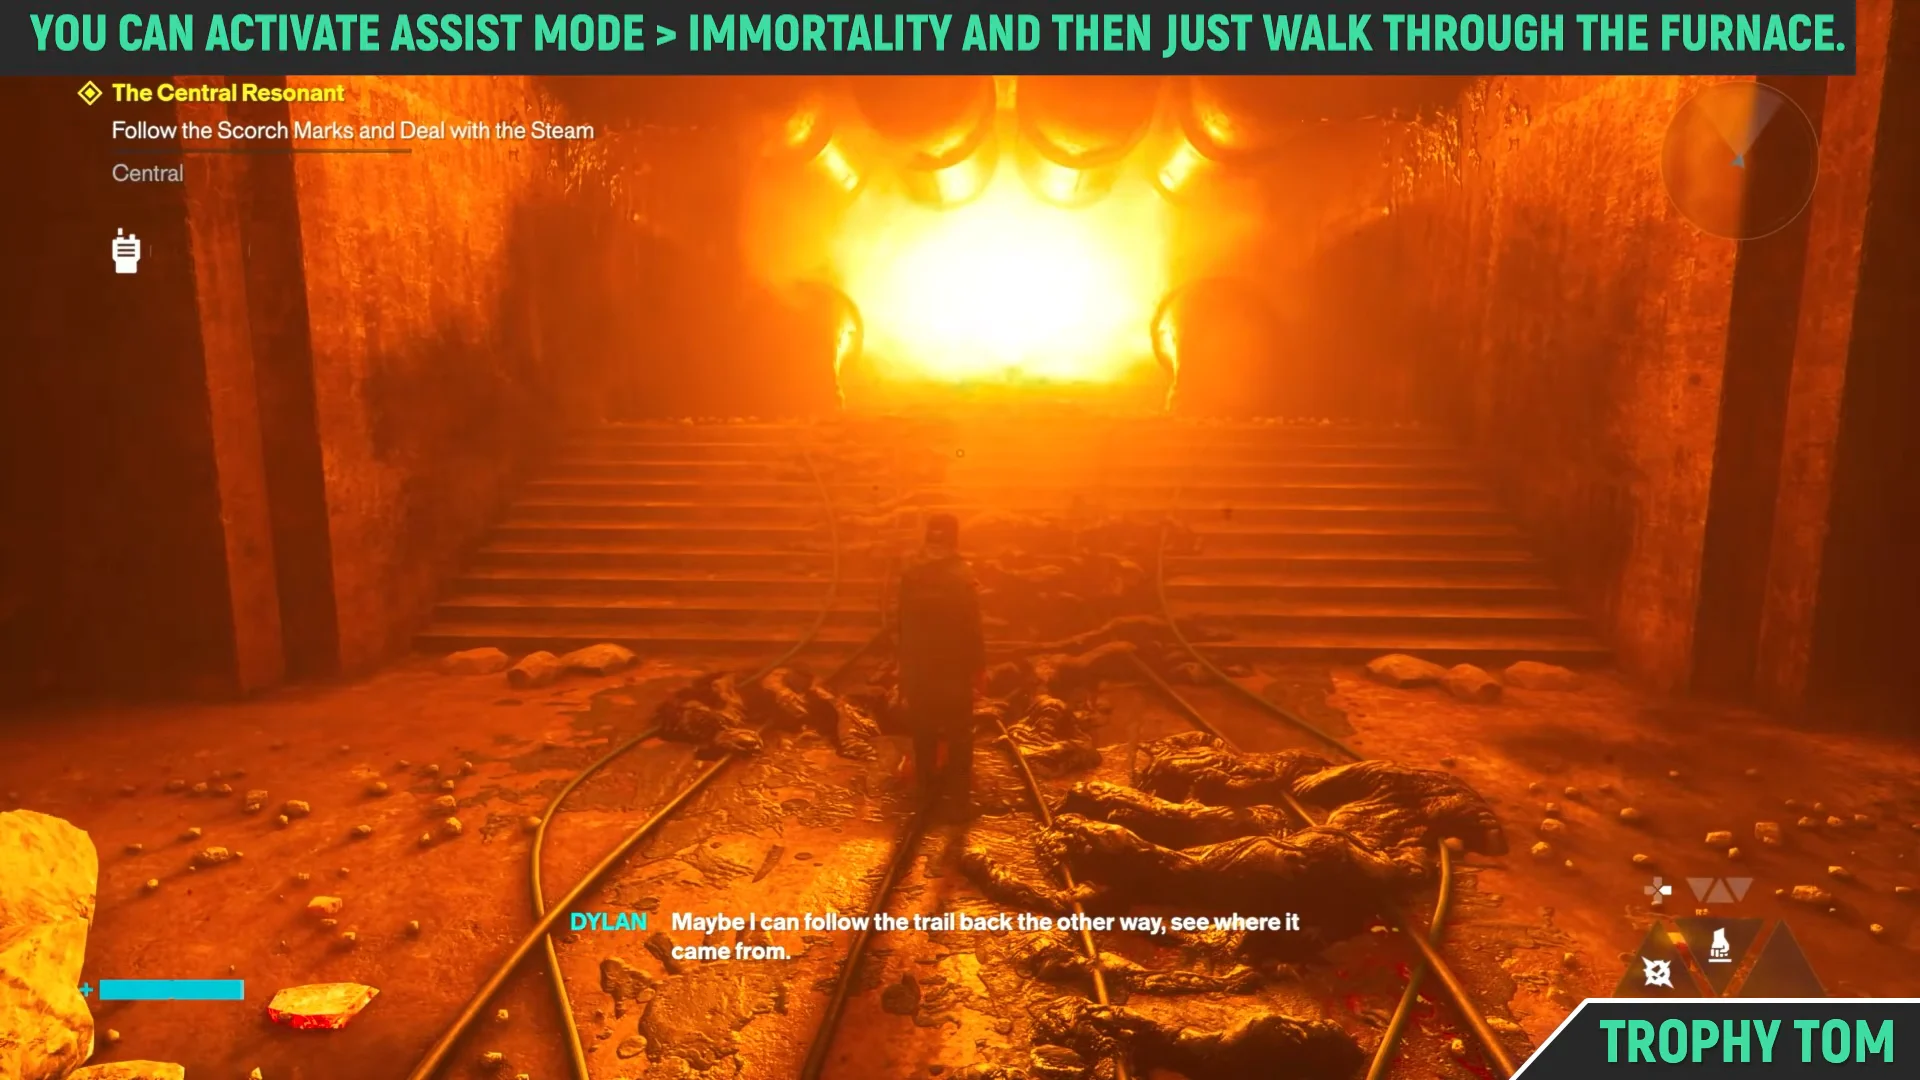
How to beat The Deserter boss
The cutscene puts you in front of The Deserter, and the fight opens with the boss spitting lava across the arena. The safest place on the field is directly underneath it, so sprint for the legs the moment you regain control and stay there.
Circle the legs and keep swinging. When the boss spins to catch you, back off a little further, because that spin is usually followed by a full body slam. Dodge that slam and you get a long opening, several seconds where you can unload everything you have while it is grounded.
Occasionally The Deserter sets the whole arena on fire. Stay off the grates and stand at the edge of the room until it passes, then go straight back to the legs. Chipping away at them is enough to finish the fight without ever needing to reach anything higher up. The combat ability menu also opens around this point, letting you pick up Ignite.
How to confirm the quest is complete
When The Deserter goes down, the quest closes out immediately and the game surfaces two tutorial screens, Resonant Cycle and A World Changed. Those popups are the confirmation. Seeing them means the Central zone’s Resonant Entity is dealt with, and from here FBC researchers and Rangers begin moving into the blocks you cleared on the way in.





