

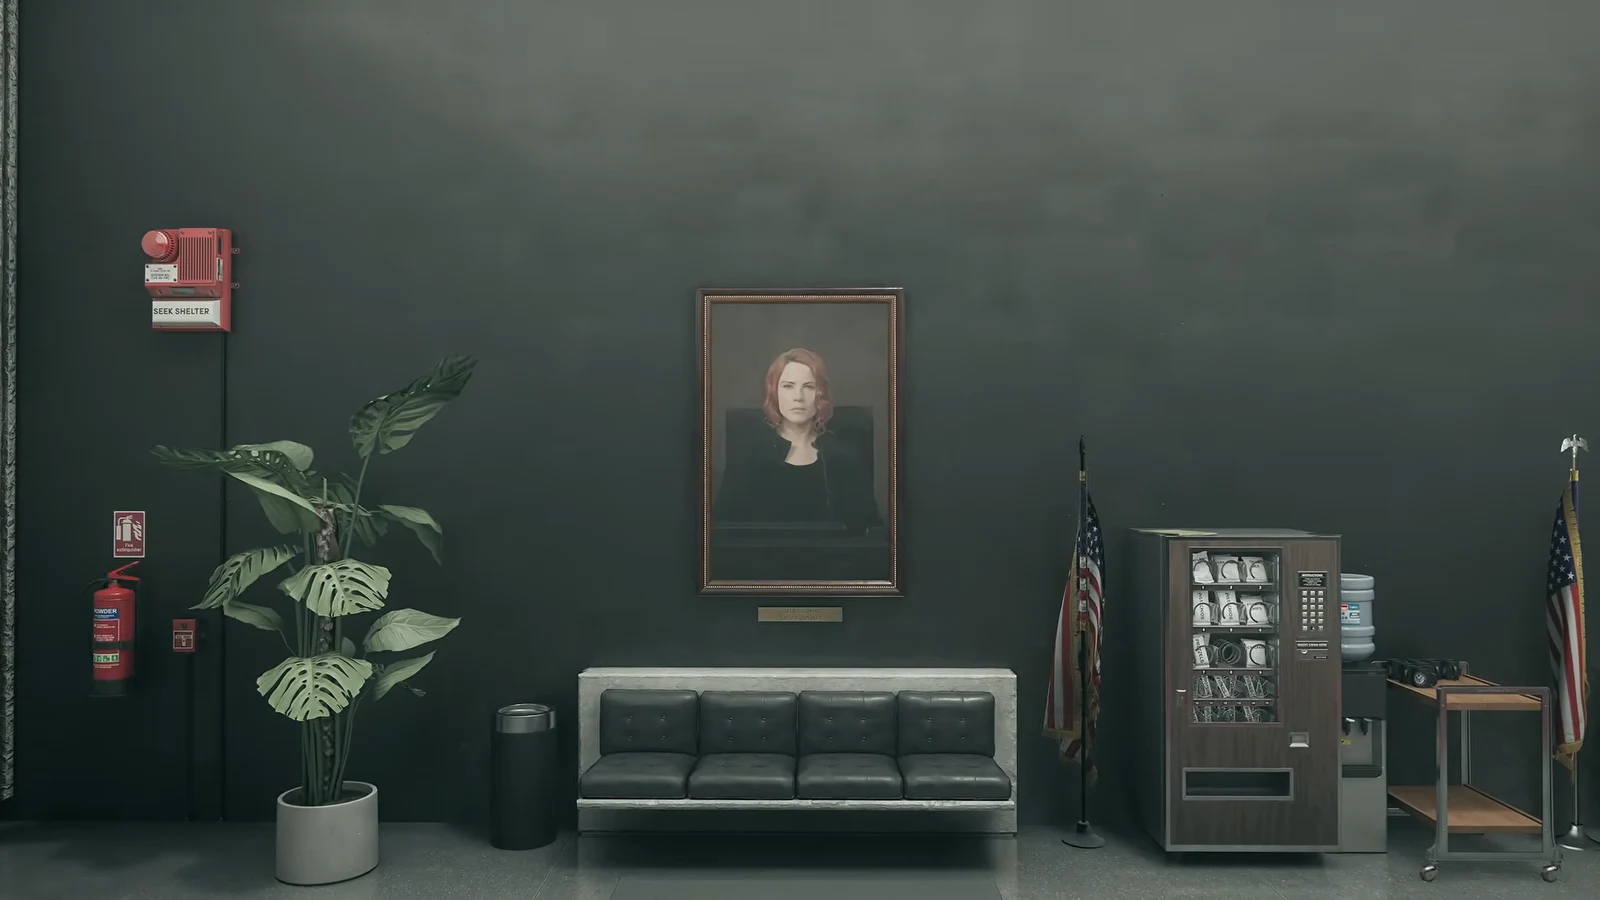
Testing Facility Pearl in Evacuation Zone 8 hides an Impermanence puzzle that blocks a locked research room. To open it, you have to turn five shifting objects into Soda Dispensers and lock them into their marked floor squares. The catch is that the objects don’t start as dispensers, and their starting shapes are randomized, so a fixed route rarely matches your run.
Quick answer: Set all five yellow-taped Impermanence squares to a Soda Dispenser (“Thirst Station”), then pull the console lever. Carrying an object across a yellow line cycles it printer → sink → oven → drink dispenser.
Where to find the puzzle in Evacuation Zone 8
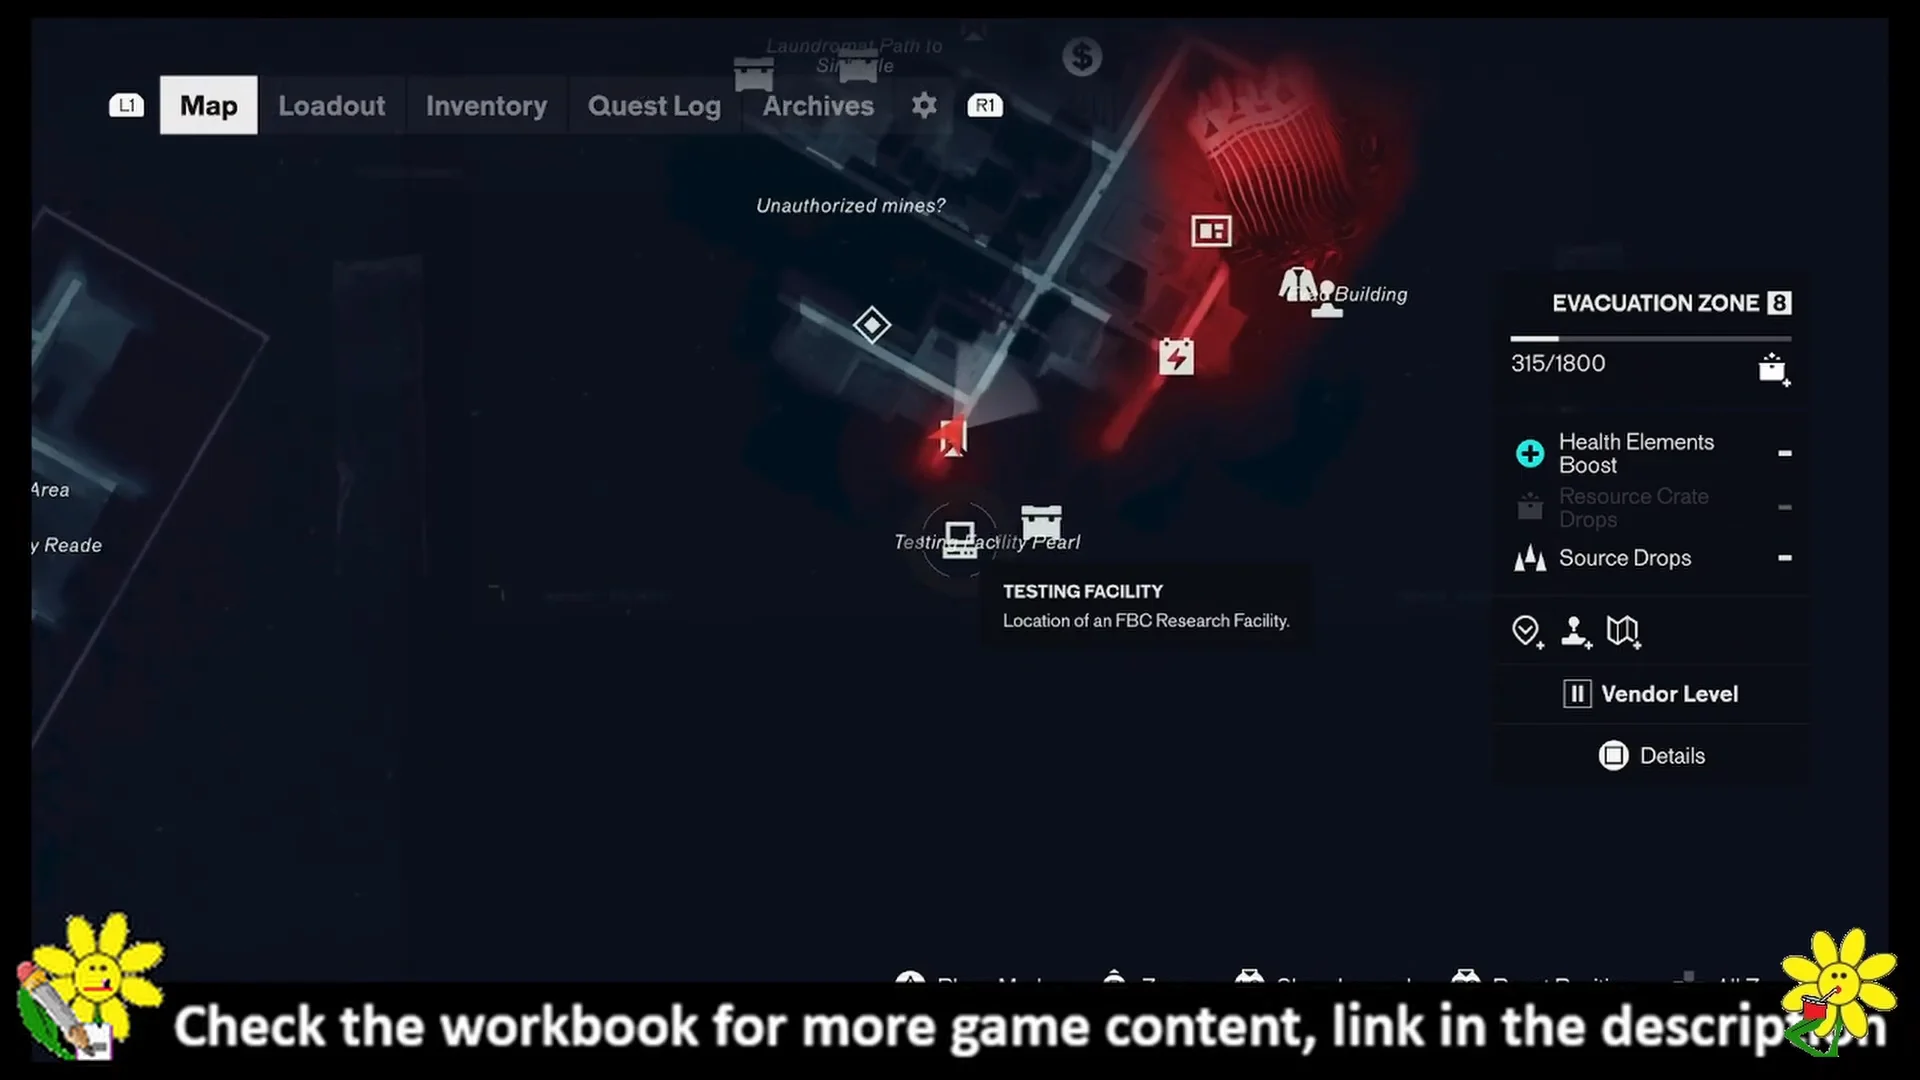
The facility sits in the southern part of Evacuation Zone 8, near the survivalist bunker door on the street. Enter through that door and follow the drainage pipe down from street level into the test chamber. A fast travel door lets you return to Testing Facility Pearl later without repeating the tunnel route.
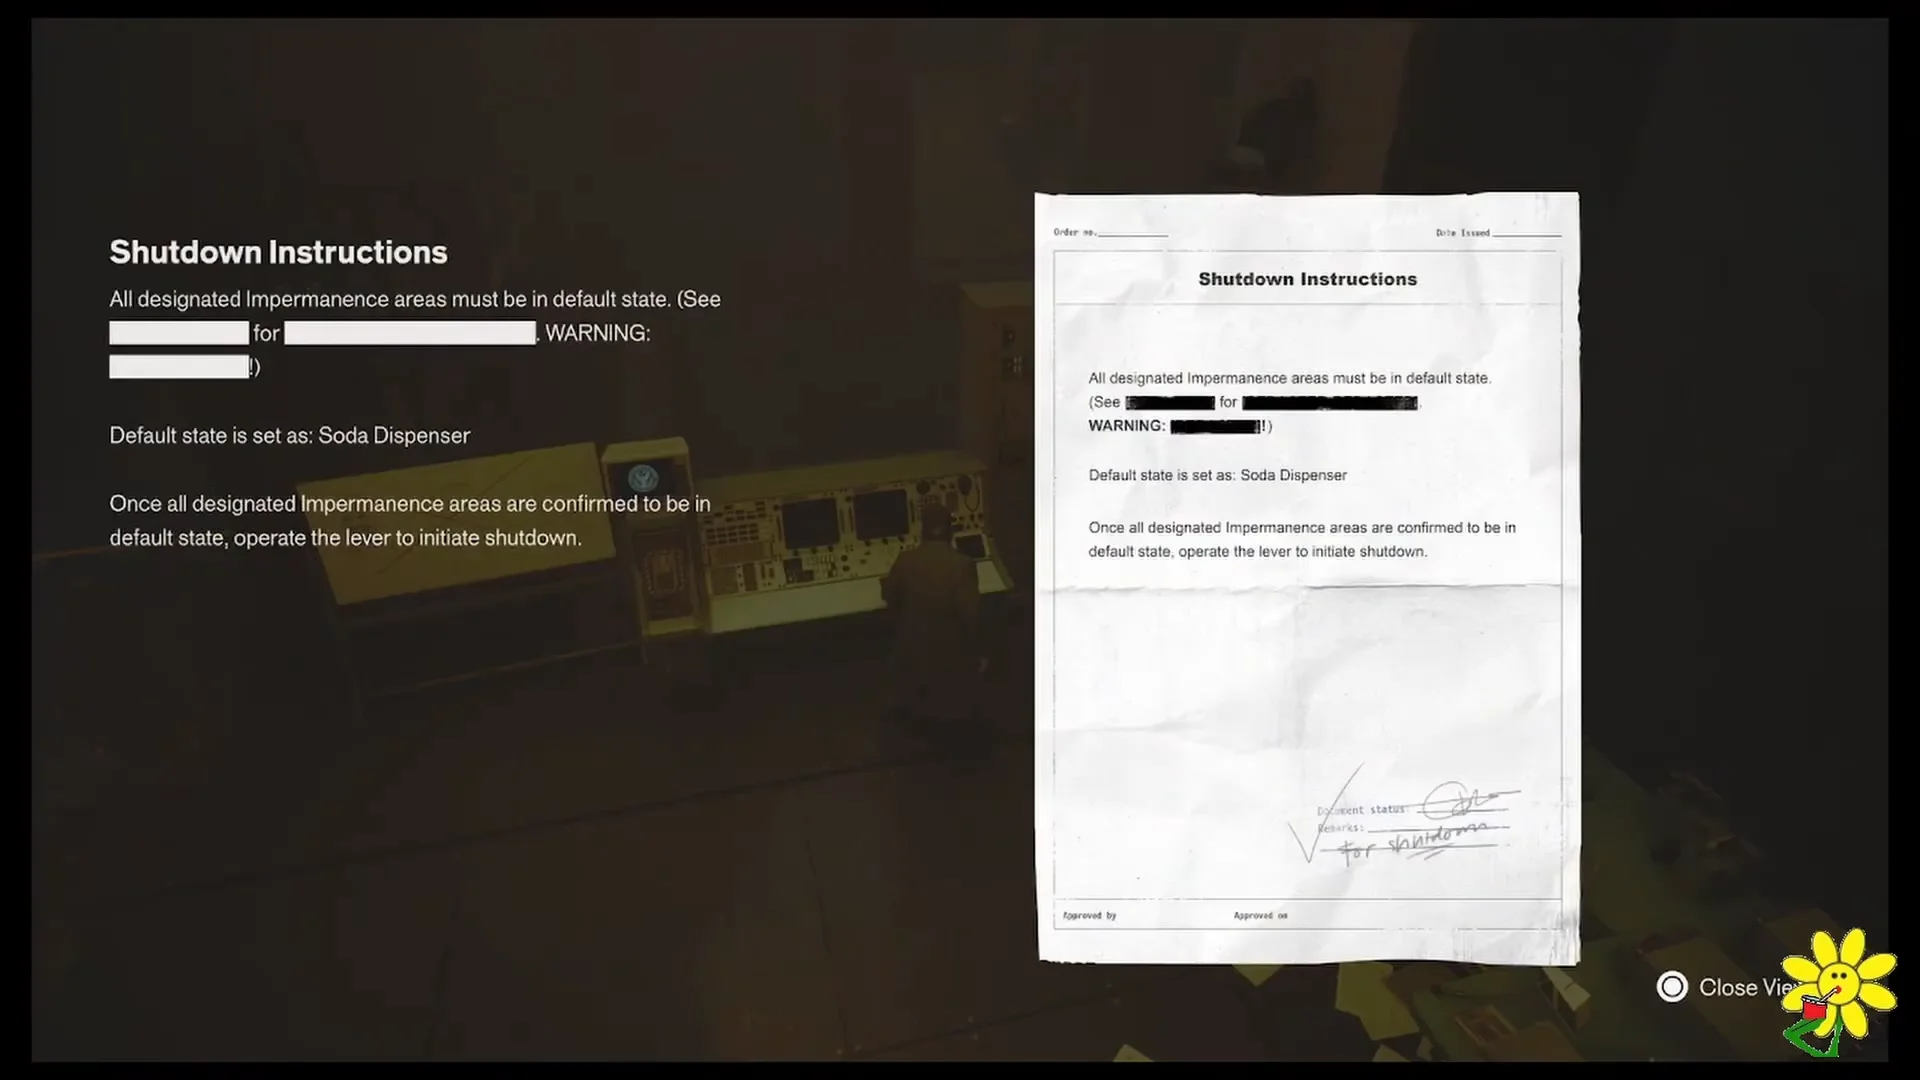
Inside the main room, read the Shutdown Instructions document at the terminal console before touching anything. It confirms the rule that drives the whole puzzle: every designated Impermanence area must hold an object in its default state, and that default state is listed as Soda Dispenser. Only then will the lever initiate shutdown.
How the Impermanence cycle works
Every movable item in the chamber is an Impermanence object. When you pick one up and carry it across a yellow boundary line on the floor, it changes into the next form in a fixed sequence. Cross another line moving forward and it advances again. Cross a line while backtracking and it reverts to the previous form.
| Step in cycle | Object form |
|---|---|
| 1 | Printer |
| 2 | Sink |
| 3 | Oven / Stove |
| 4 | Soda Dispenser (“Thirst Station”) |
The Soda Dispenser only appears after the oven stage, so plan your crossings to land on that fourth form. If an object overshoots or sits on the wrong shape, walk it back over a line to step it down, then move forward again until the “Thirst Station” appears.
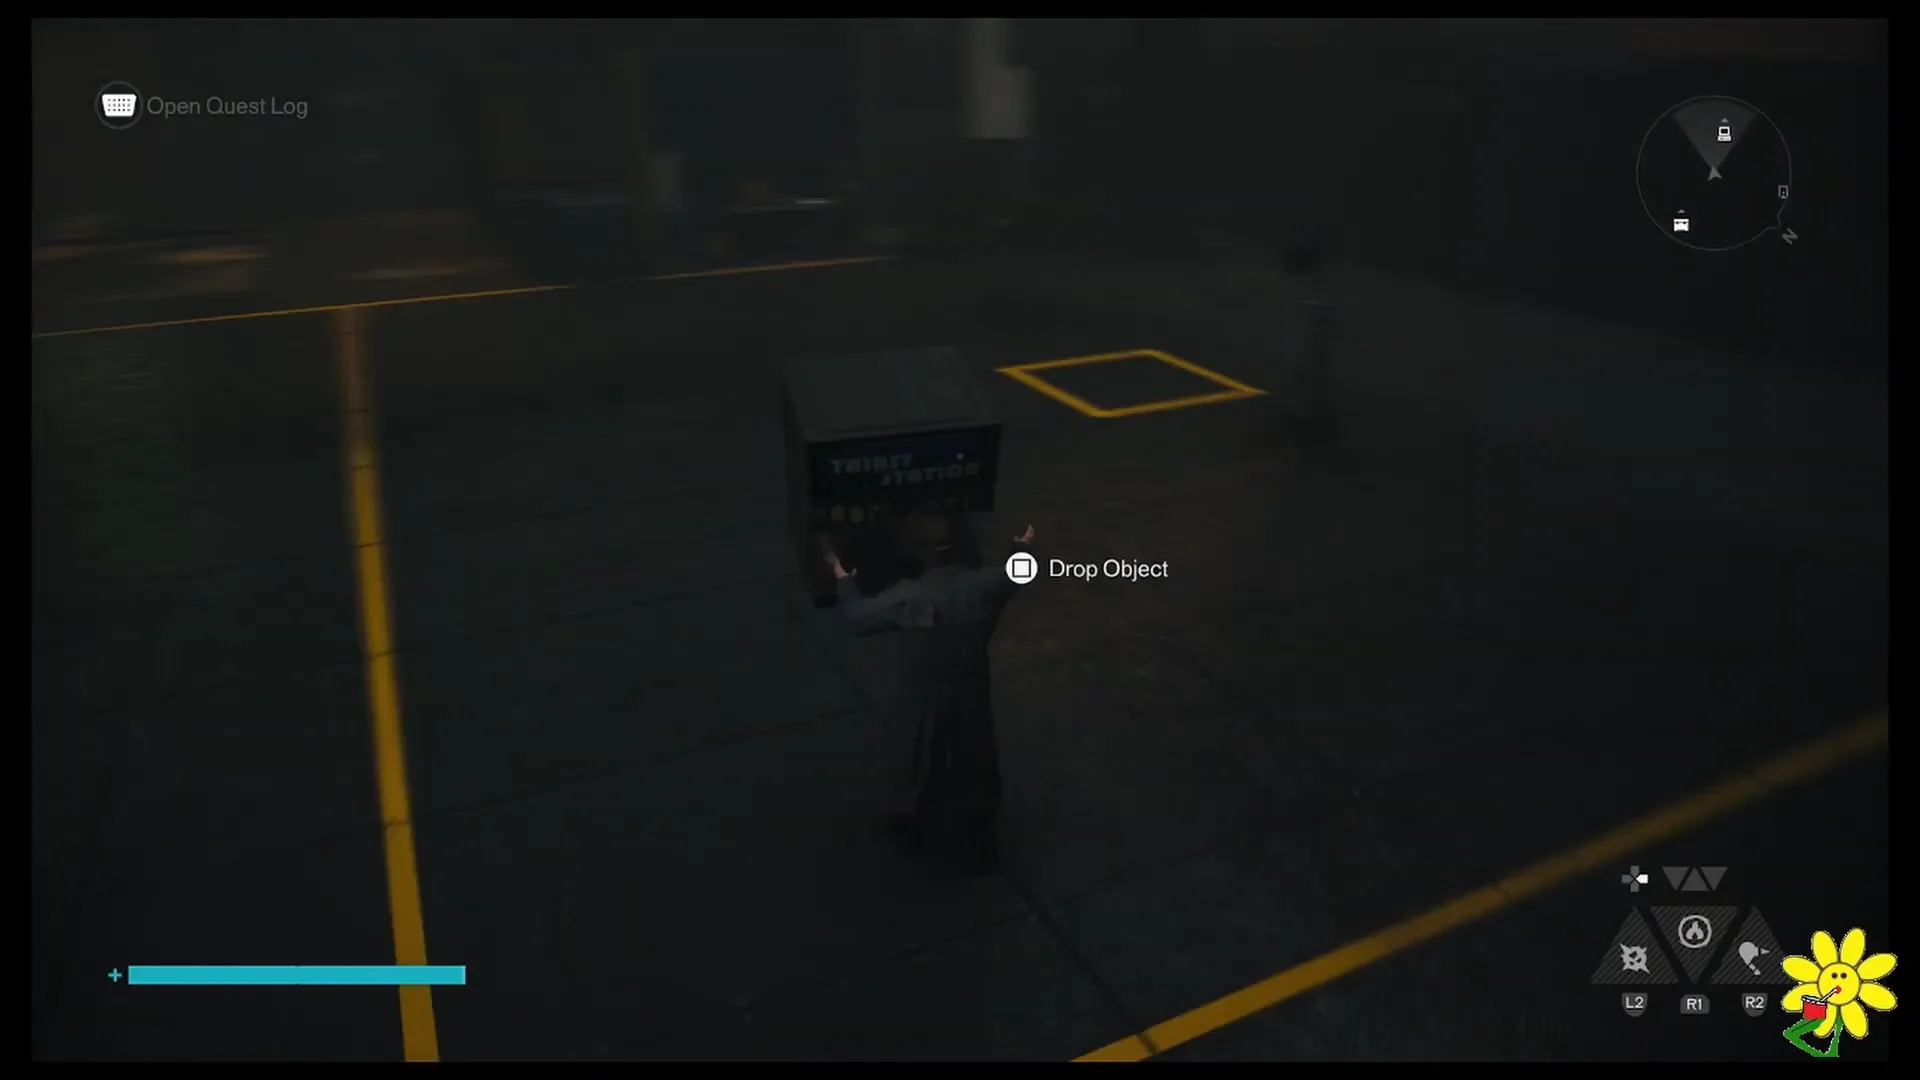
There are five yellow-taped squares spread across the chamber floor and the raised walkways. Locate all five first so you know how many dispensers you need and where each one has to end up.
Solve the Soda Dispenser puzzle
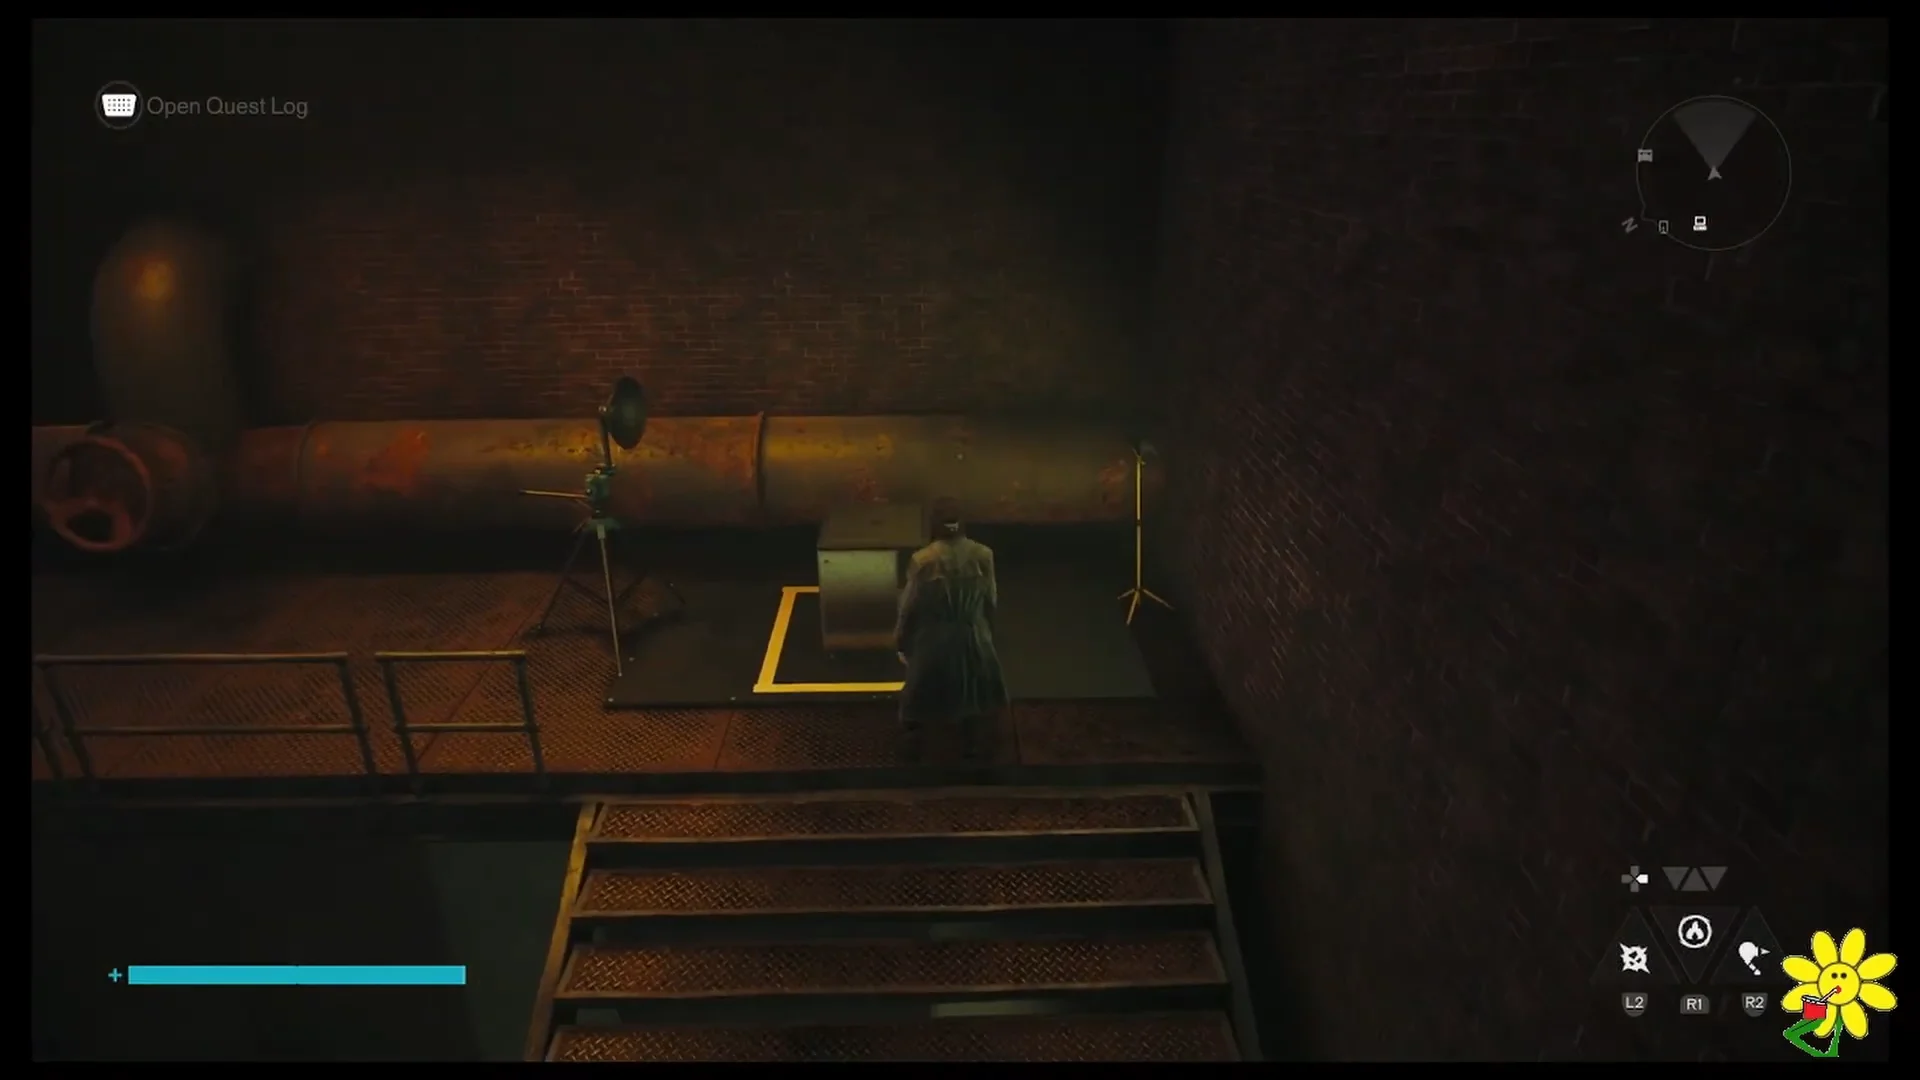
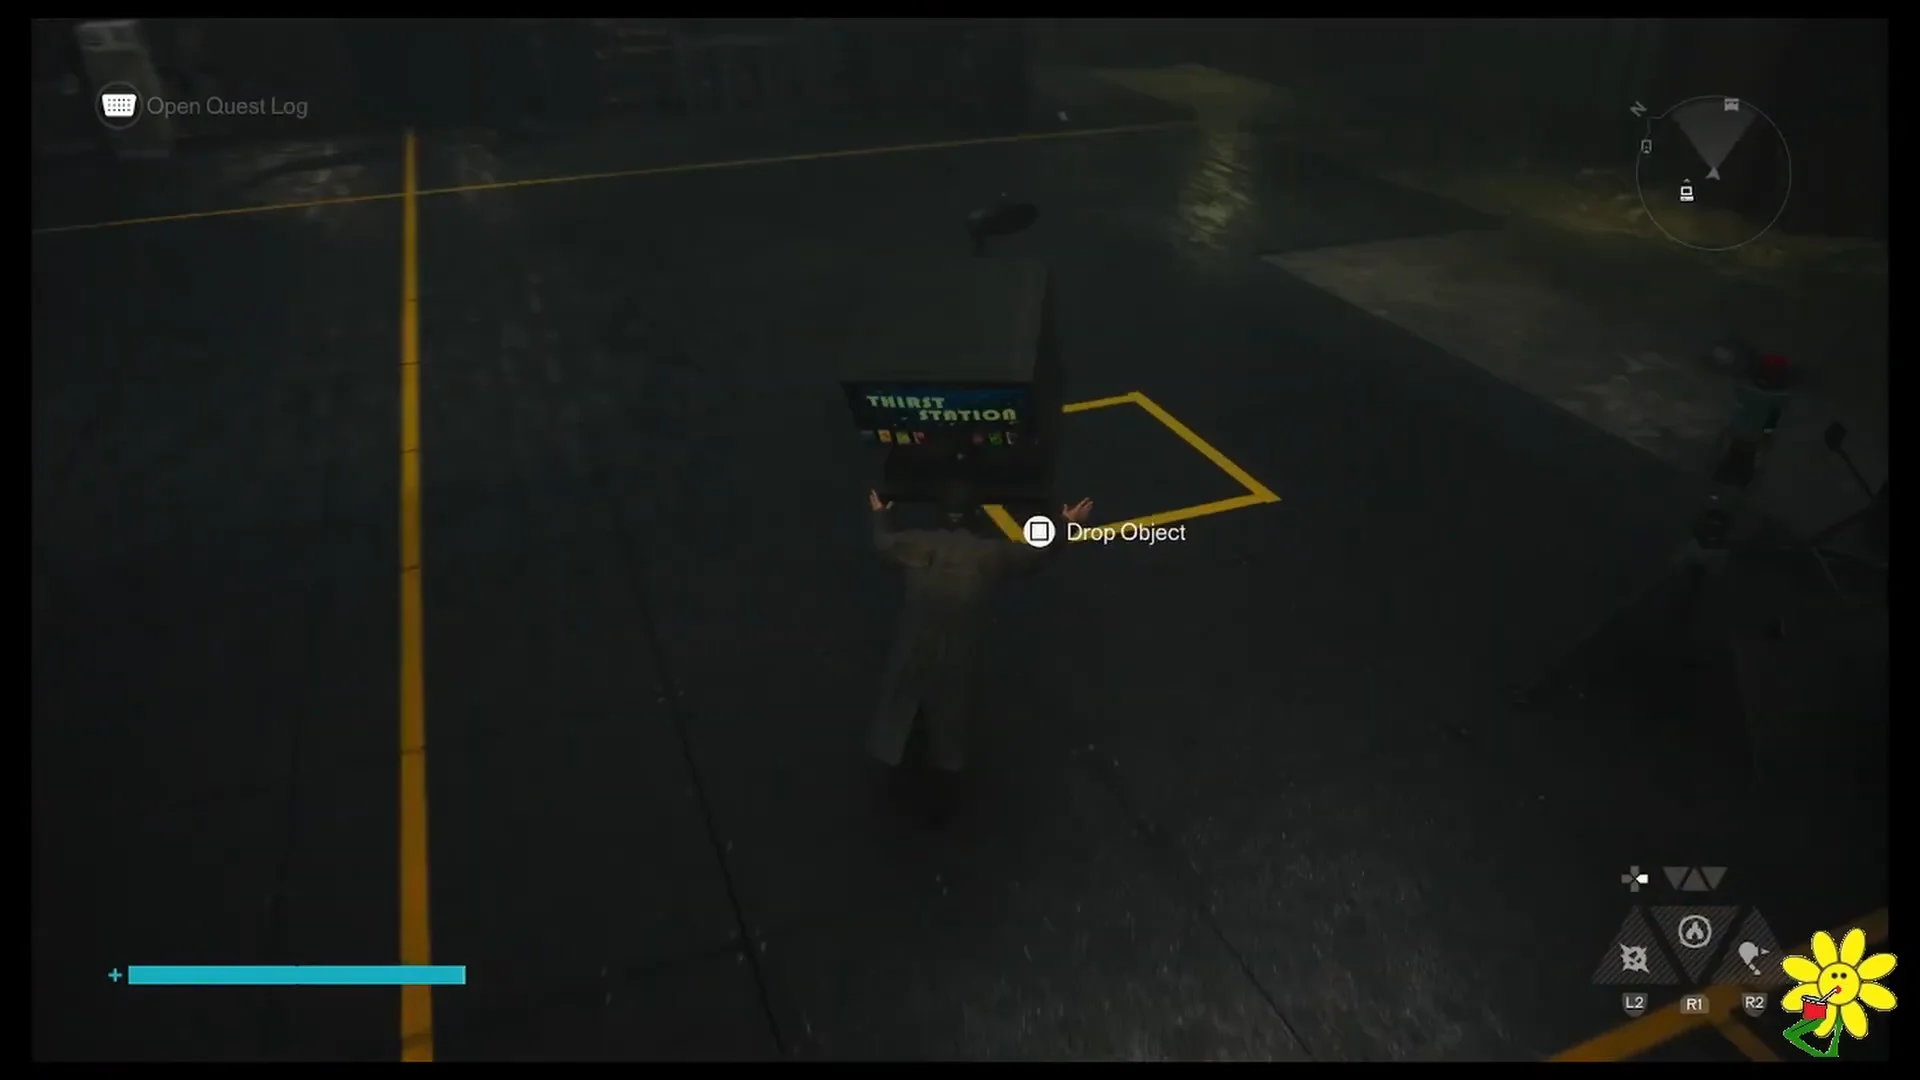
Confirming the shutdown and rewards
When the lever registers a valid setup, the console status changes from red to green and the sealed research room opens. If the light stays red, one square is still holding a printer, sink, or oven, so re-check each square and cycle any wrong object back to the dispenser form.
Step into the unlocked chamber and cleanse the Altered Item to claim a Power Upgrade Point (1/3). Collect three of these to improve your Power. On the side table you can also pick up the collectible note “Notes From Technician Washland”.
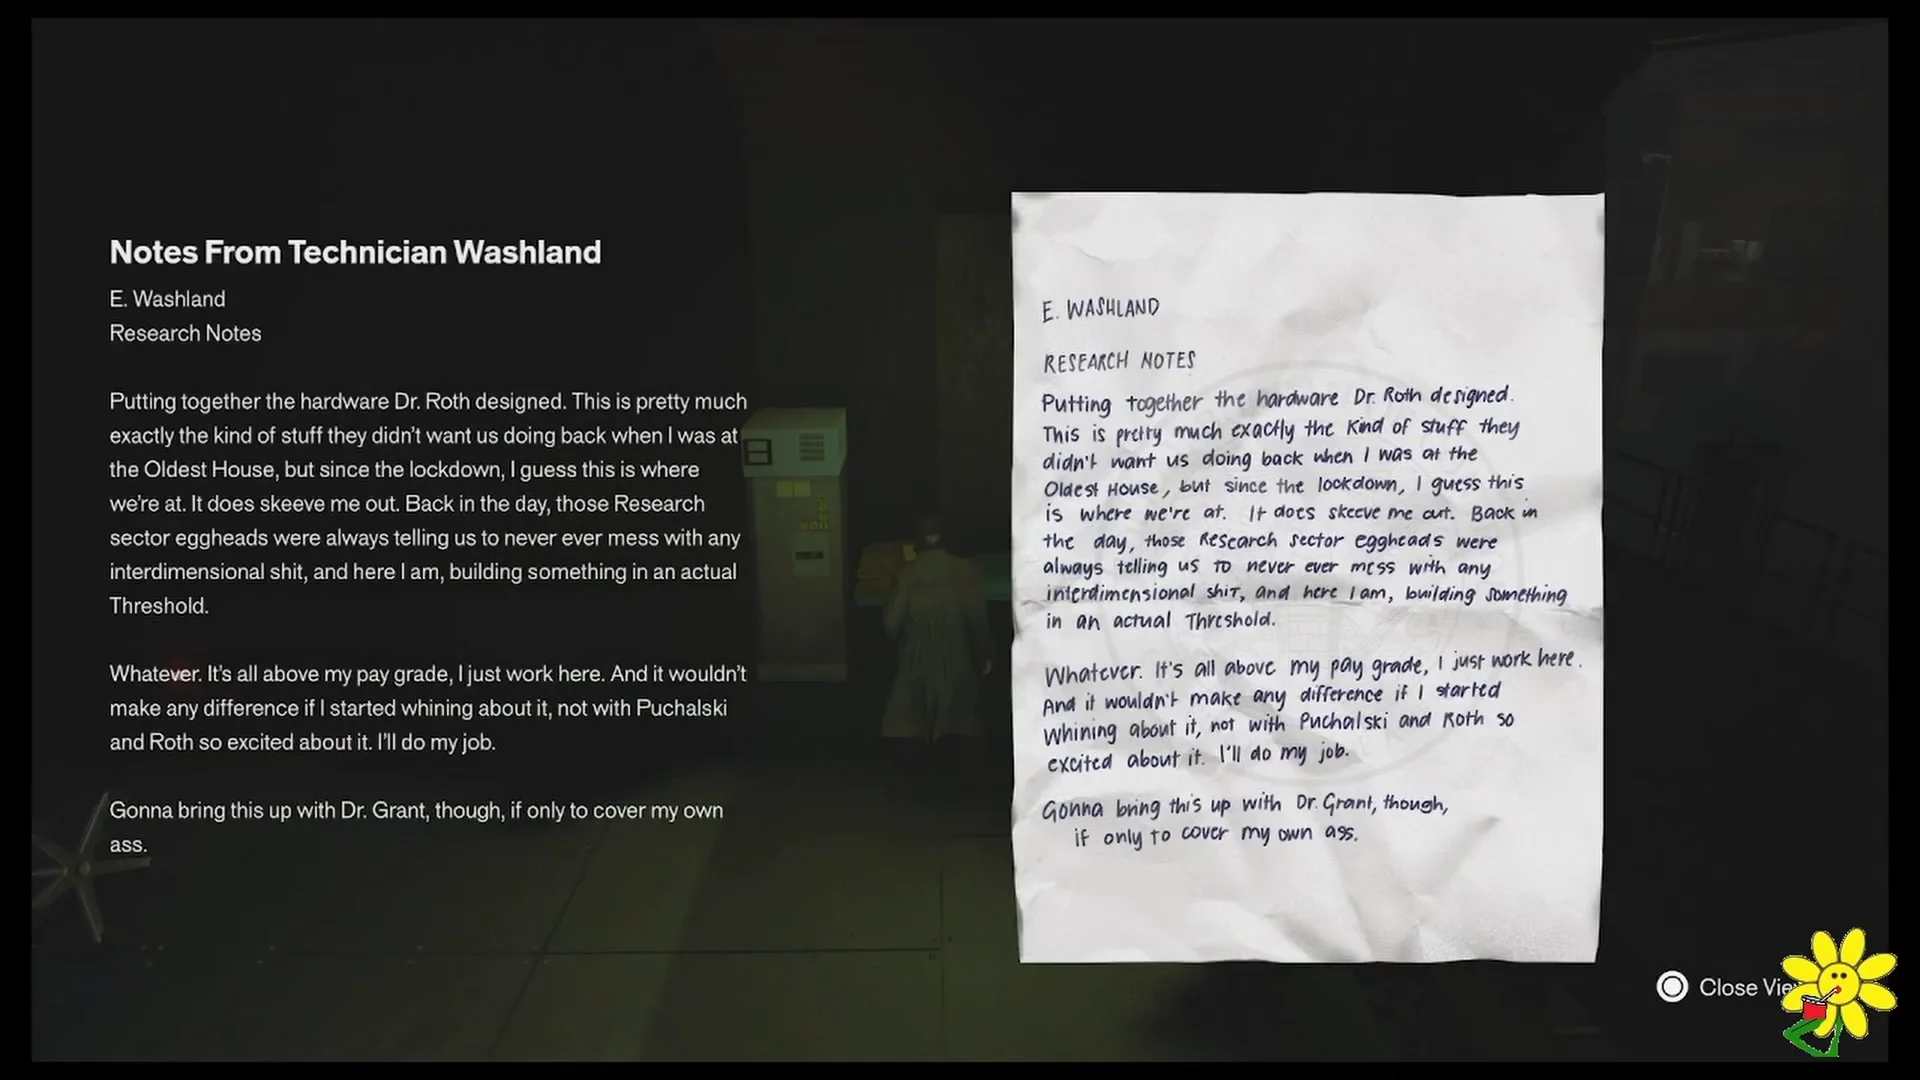
To verify the pickup, open the Archives menu and look under the “Impermanence Threshold” category, where “Notes From Technician Washland” appears alongside other entries such as the Testing Facility Coordinates and Dr. Grant’s Voicemail. Seeing the note logged there confirms the room was cleared and the reward secured.





