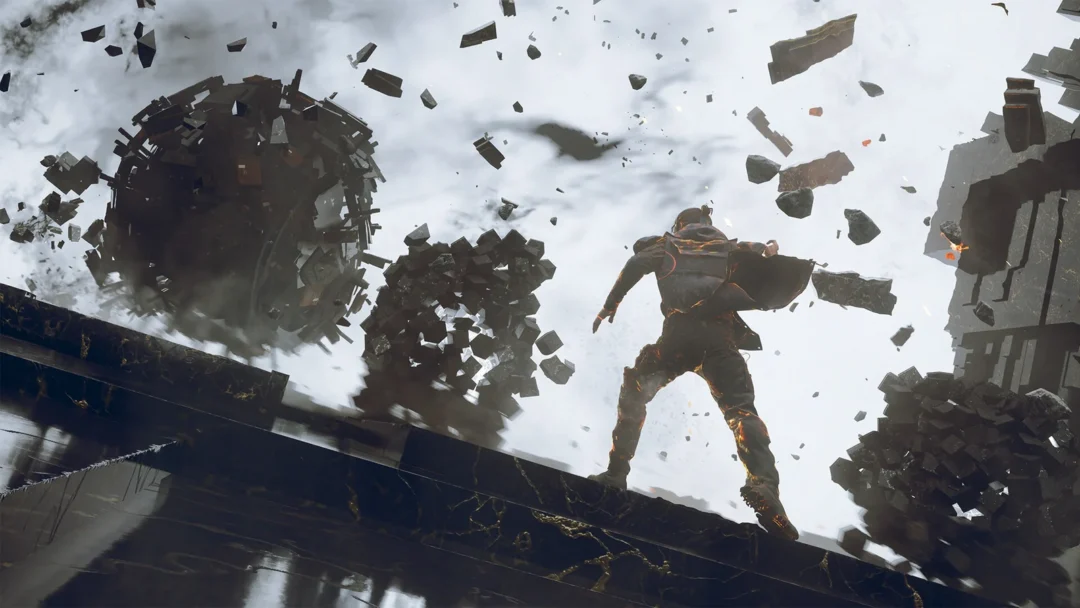
The Dancer is the Resonant waiting at the end of the West Incursion Zone in Control Resonant, and she is a very different opponent from The Artist you likely fought first. She is faster, she has two sharply separated phases, and for most of the opening she barely acknowledges you at all. That calm does not last. Once her first health bar drops, she turns aggressive, gains a fresh health bar, and starts throwing the theater’s audience at you.
Quick answer: Stay close and aggressive, dodge diagonally instead of straight back, and punish her right after her spins and slams. In phase two, stay inside her spotlight and hit the execution when she is staggered.
Prepare before you enter the theater
Handle your upgrades before the arena door closes behind you. Stop by The Gap first to spend any spare Talent Points and finish last-minute upgrades, because there is no second chance once the fight starts. Aim for at least Aberrant Strength 30, and lean into talents that reward a clean, perfectly timed dodge with bonus damage. This is a fight built entirely around evasion, so those perks pay off constantly.
Your weapon form matters too. Both Strike and Glaive perform well here. Strike lets you dart in for quick hits and retreat, while Glaive keeps you dangerous at range. If you already unlocked a second form, you can freely swap between them mid-fight. The Drill secondary weapon is worth upgrading before you arrive, since it applies Weaken and lets you push more damage through The Dancer’s health bars.
Your Combat Ability choice from The Artist also shapes your approach. With Barrage, you can chip at her from a distance before closing in to restore power. With Shield, you attack her directly and then raise the shield to soak her return blows.
Do not rely on rolling straight backward. Her sweeping attacks travel along your retreat line, so a diagonal dodge that carries you past her is far safer than trying to create distance.
Starting the fight
When you reach the theater, The Dancer is kneeling in the center of the stage. She will not react until you strike her, so land the first hit to begin the encounter and grab a few free swings while she is still stationary. Once she rises, the first phase begins at a slow, almost lazy pace.
Phase one: read the dance and punish
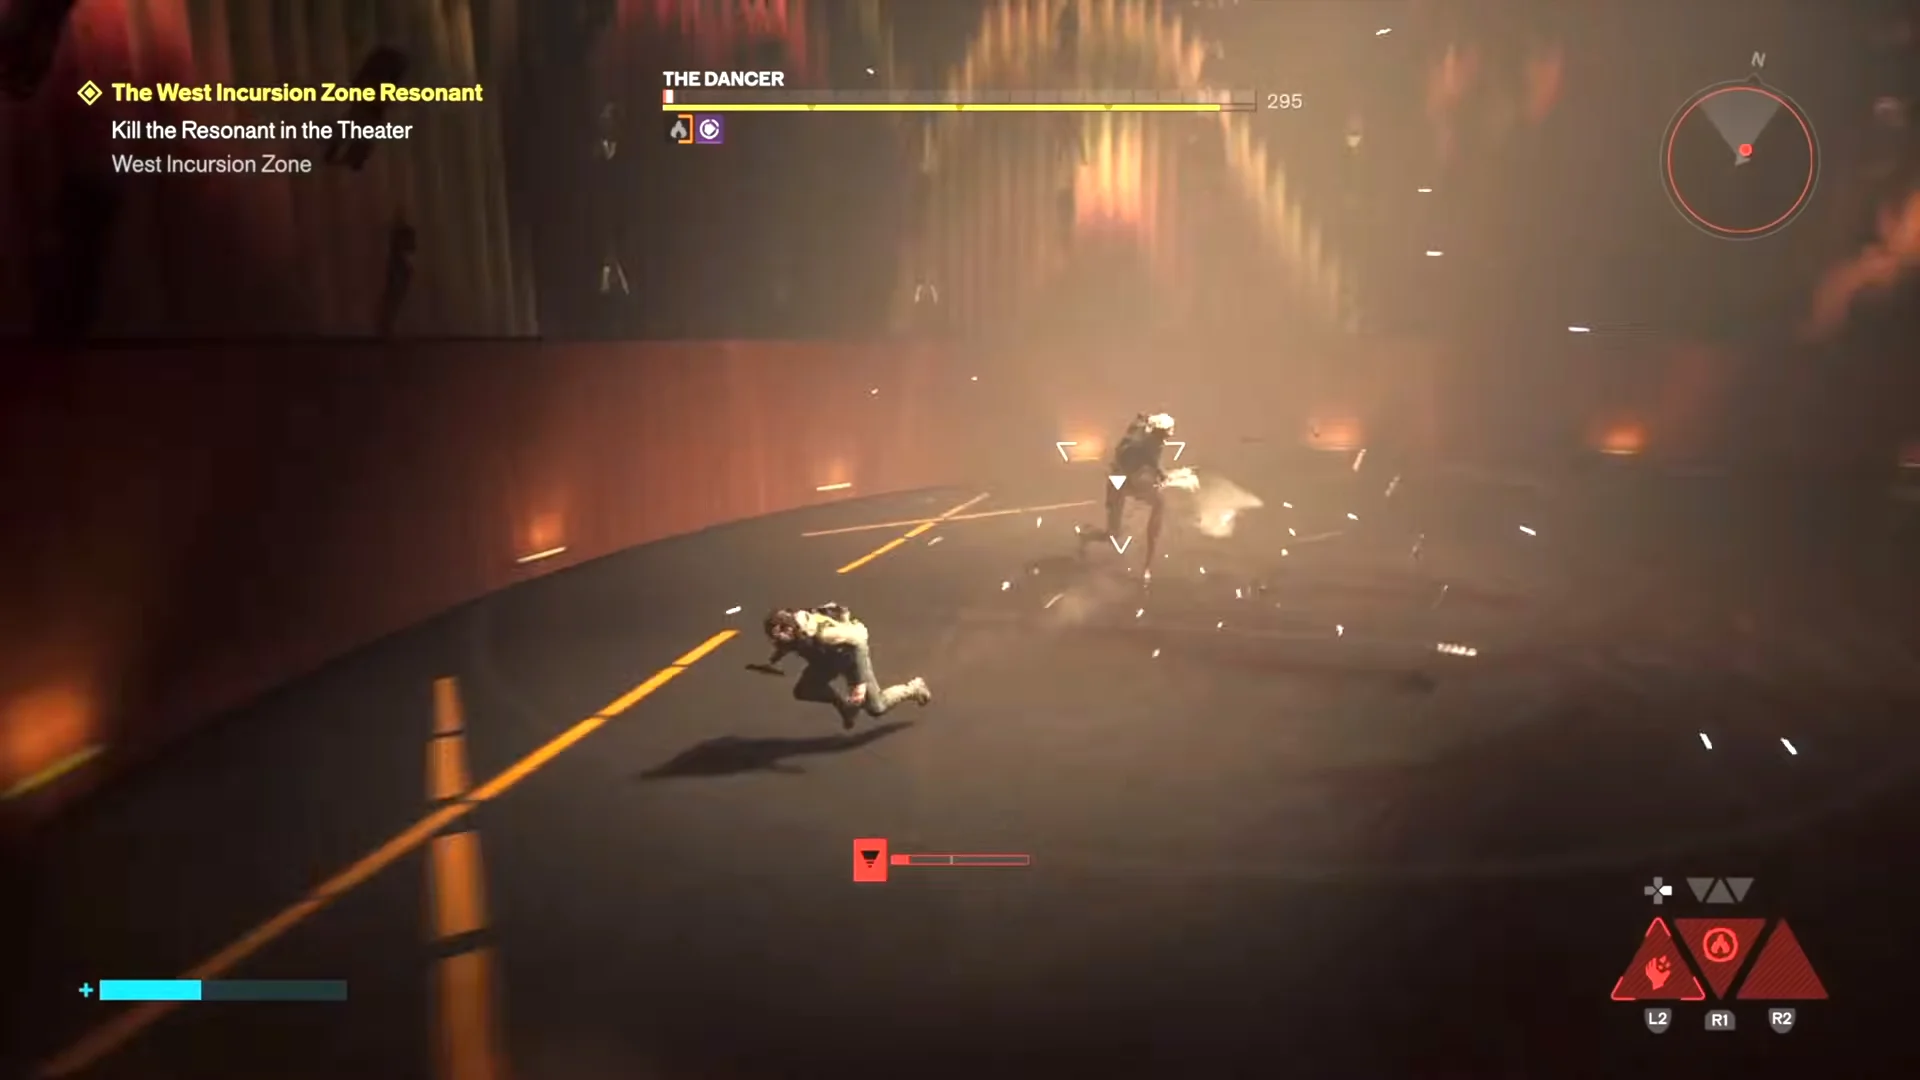
For most of this phase, The Dancer moves around the arena almost unaware of you. She has a small pool of attacks, all of them easy to sidestep once you learn the tells. Move left or right to slip her spins, and take your openings right after she finishes a move.
| Attack | What she does |
|---|---|
| Baton thrust | Jabs both batons forward, usually right after you attack |
| Forward attack | Short lunge with batons spinning around her upper body |
| Spinning in place | Drops to her knees and spins quickly on the spot |
| Spinning while moving | The same spin, but travels across the arena |
| Jump attack | Two quick spinning jumps toward you, from mid-fight onward |
Play it safe. After she loses about a third of her health, her baton thrust can chain into two follow-up strikes, so once you see the thrust, keep dodging rather than committing to a counter. The spin attacks always leave her paused for a moment afterward, and that pause is your window to run in and land damage.
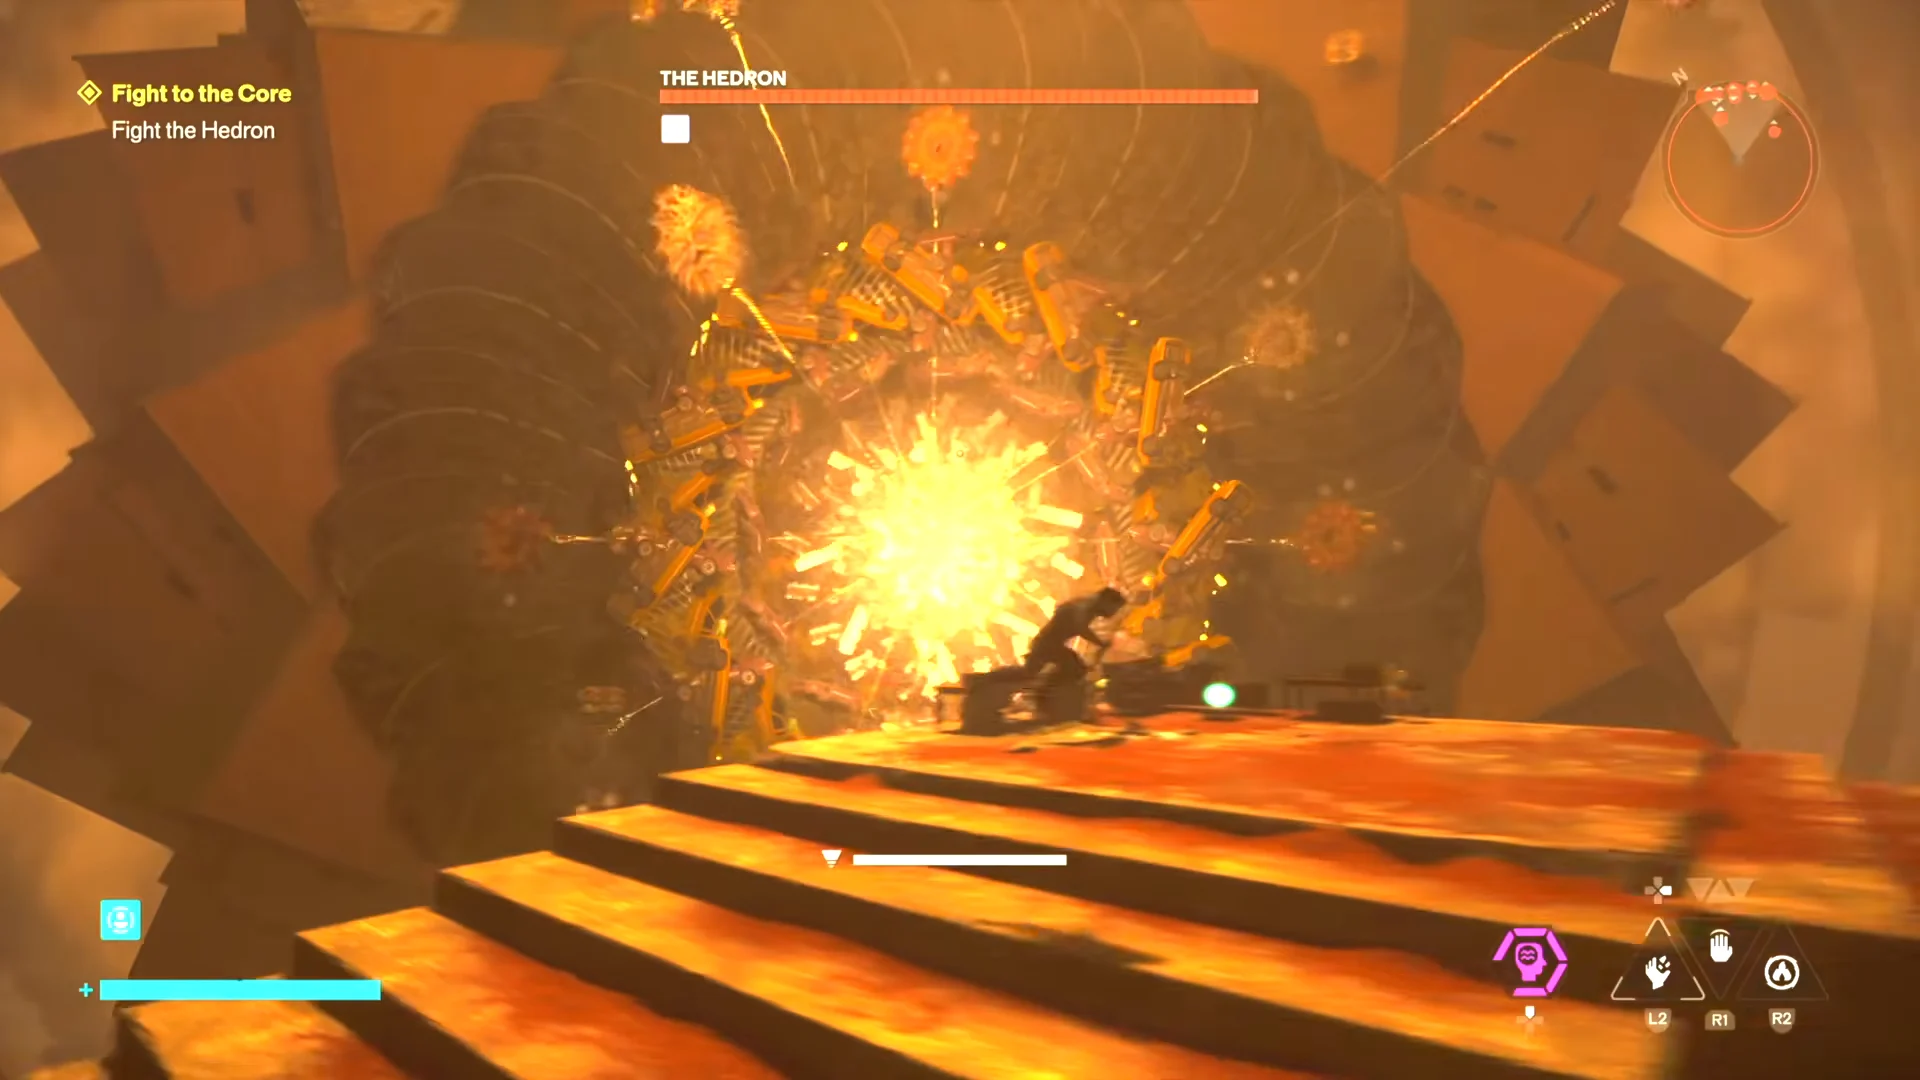
The single most important goal here is to finish phase one with as much health as possible, even if that means playing slowly. The next phase resets her health bar and any progress you made on her falter bar, and she becomes far more punishing. Every point of health you carry over is worth the extra caution.
Phase two: escalated attacks and the audience throw
The second phase opens with a cutscene. The Dancer sprouts many arms, levitates, and hurls two members of the audience at you. Dodge these on reaction, because they hit hard. From this point she is genuinely fighting you, mixing quick, painful attacks with the occasional pause to keep dancing.
| Attack | What she does |
|---|---|
| Audience throw | Levitates and tosses two bodies at you (phase opener) |
| Ground slam | Small hop into a single-foot stomp |
| Quick baton swing | Two fast swings, usually after you land hits |
| Big ground slam | Fakes the arm animation, then slams your position; dodge on reaction |
| Baton and floor combo | Wide moving swings ending in a ground slam (from half health) |
| Spotlight drag | Pulls you beneath her if you stay out of the light too long |
Your damage windows are the moments she fully commits, especially the ground slam. She can also side-step to dodge in this phase, which means ranged options like Barrage may whiff, so favor getting in during her recovery frames. Bait her close-range stomp by dashing in, then dash out the instant her leg raises. That opens a clean window to land several hits before she recovers.
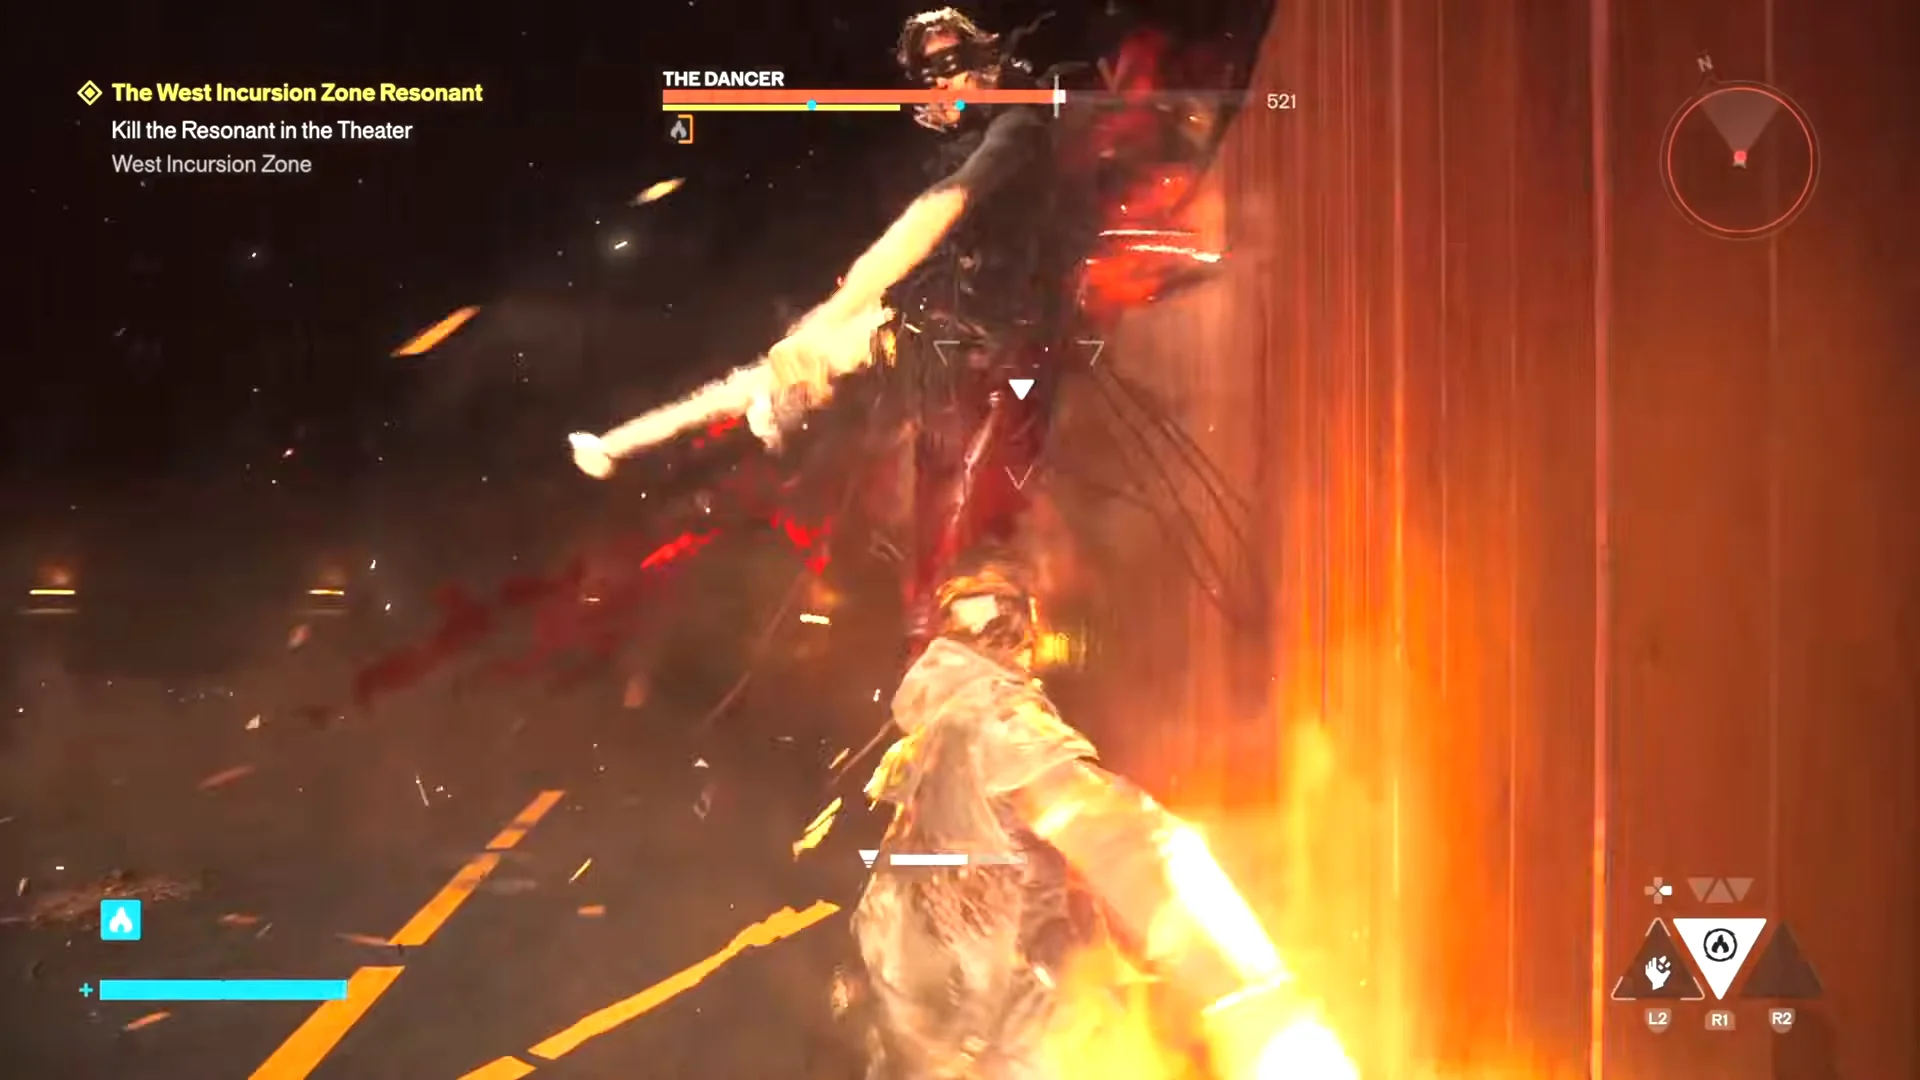
Staying near her actually helps. When you back off, she leans on her flying slam and audience throws, both of which cost you position. Keep the pressure on and she uses those long-range moves far less. The one exception is the big ground slam, where she copies her opening arm animation but drops onto wherever you are standing. Dodge the moment you register it.
At around half health she gains her deadliest attack, a four-hit baton combo that ends in the ground slam. A single clean hit from this usually chains into the rest and can erase half your health, so this combo is the main thing that kills players. Never dash toward her during the slam, because dodging into it still connects. Always dash away.
Surviving the spotlight attack
At around one-quarter health, The Dancer triggers a blackout, leaving a spotlight on her alone. Stay outside its circle too long and an orange warning appears beneath you. Ignore it, and she pulls you below her before striking with her batons—a mistake that can end the fight if your health is low.
You have three ways to avoid it. Dip back into the spotlight to refresh the timer, or cancel the pull outright by attacking or dodging. The whole point of the mechanic is to force you into melee range for the finish, which is exactly where you want to be anyway. The catch is that your dodging room shrinks, making the four-hit combo even more dangerous.
Prioritize dodging the melee combo above everything else while the lights are down. Weave in and out of the spotlight, take your hits only after she finishes a combo, and never swing while she is mid-attack.
Landing the kill
Keep attacking during the spotlight phase until your damage stuns her. Then press L3 to perform the execution and end the encounter. This is a melee finisher at close range, not a cutscene that plays automatically, so keep up the pressure while her health is nearly gone. Retreating at low health lets her recover and begin another attack cycle.
If you still can’t win, your damage output is probably the issue, not your technique. When it takes too many hits to break her, leave the fight, use upgrade materials and skill points, then return with stronger stats. With your numbers too low, you have no block or parry to rely on.
Push or Ground Slam: which ability to pick
Defeating The Dancer unlocks one of two Combat Abilities. Here is how they compare.
| Ability | Damage (Raw) | Falter | Power Cost |
|---|---|---|---|
| Push | 52–105 | 6–17 | 200 |
| Ground Slam | 241–483 | 23–35 | 630 |
Ground Slam is the stronger pick for most players. Push sends enemies flying, which sounds useful for crowd control, but its value depends on fighting near a ledge or hazard, and plenty of enemies in Control Resonant can fly and simply return after being knocked off. Ground Slam costs more Power, yet it hits a solid cluster of enemies when timed well and slots into far more encounters. The game’s heavy verticality also lets you drop from height to boost its area and damage.
Neither choice locks you in. If you end up disliking the one you picked, you can respec at any point and swap over, so treat the decision as a preference rather than a commitment.