The House in Distress sends Dylan Faden back into the Oldest House to meet Zoe and track down Jesse, and it stalls almost immediately. Walk into the Prime Candidate Training wing too early and the Fault you came for simply is not there. The mission is gated behind a separate Jesse quest, and the rest of it hinges on a power puzzle in an abandoned test chamber.
Quick answer: Complete The Underpass Fault at The Spire first. Then return to Oldest House: Central Executive, restore power in the Interactions Lab, clear three Electrokinesis Test patterns, and touch the TV in Main Test Chamber V-E2.
Why The House in Distress stops at Main Observation
The opening leg is short. Fast travel to Outside the Oldest House, cross the Downtown rooftops to the Federal Bureau of Control lobby, and ride the elevator up to Central Executive. Activate the fast travel door there before you go anywhere else, because you will be coming back to this exact spot twice.
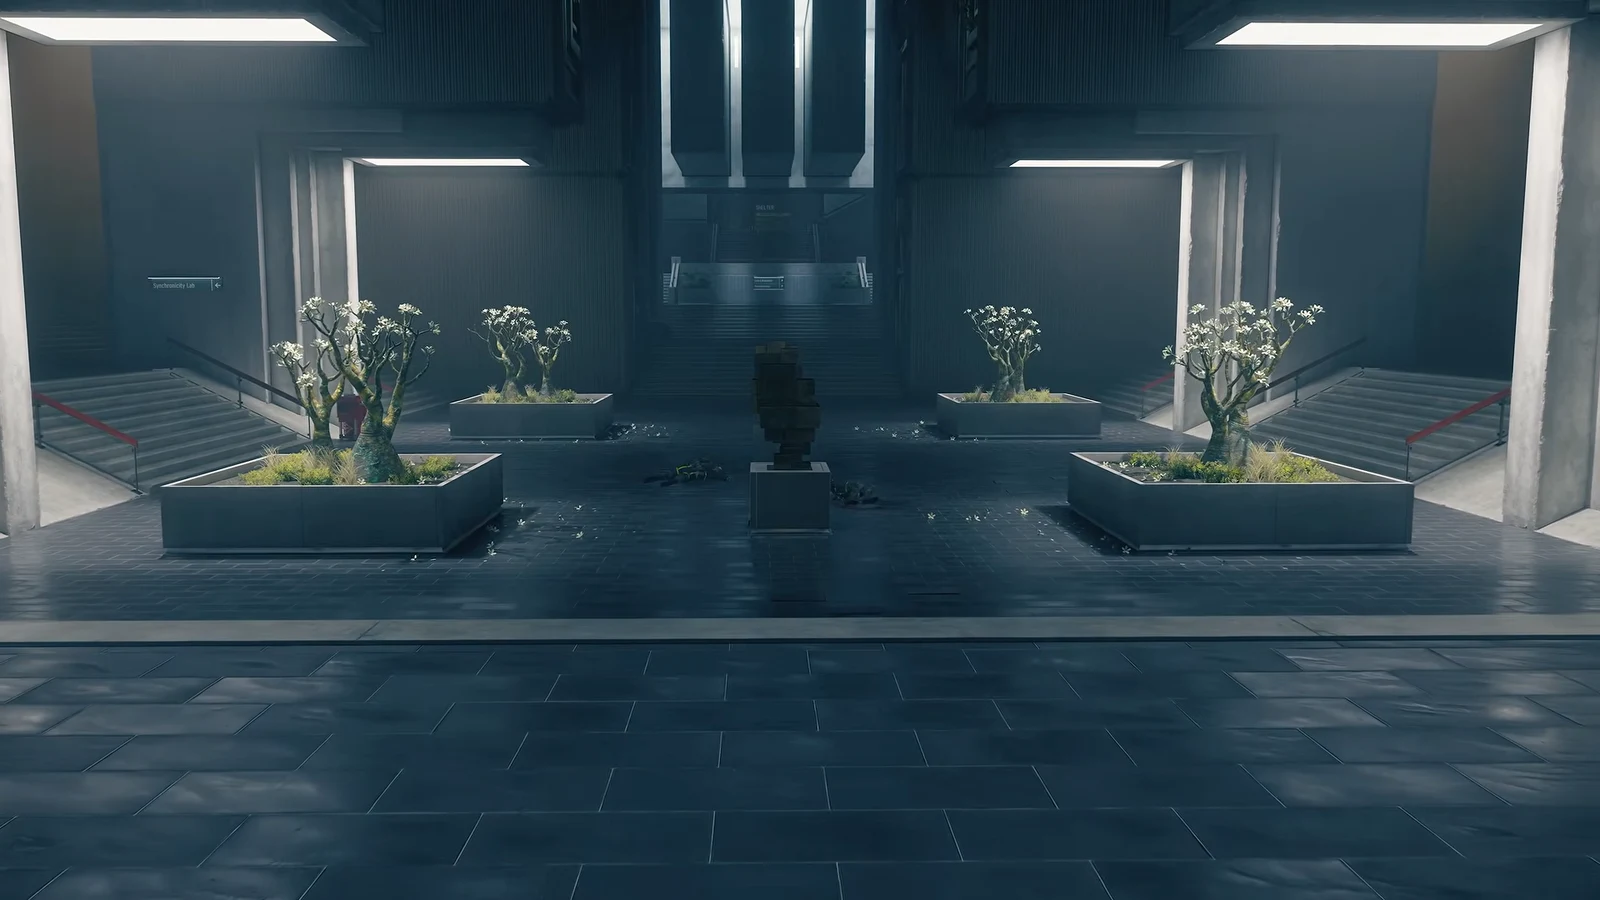
From Central Executive, take the elevator down toward Executive Research and follow the corridors to the Clearance Level 18 door, where Zoe is waiting. She badges you into Prime Candidate Training, the objective flips to Locate the Fault, and she opens the Main Observation door for you. Dylan’s verdict on the room is blunt: it is the right place, but the Fault is not here.
Open the Quest Log and the block is spelled out. Find and Seal the Remaining Fault is locked until The Underpass Fault is done. Nothing in the Oldest House will advance until then, so backtrack to the Central Executive fast travel door and leave.
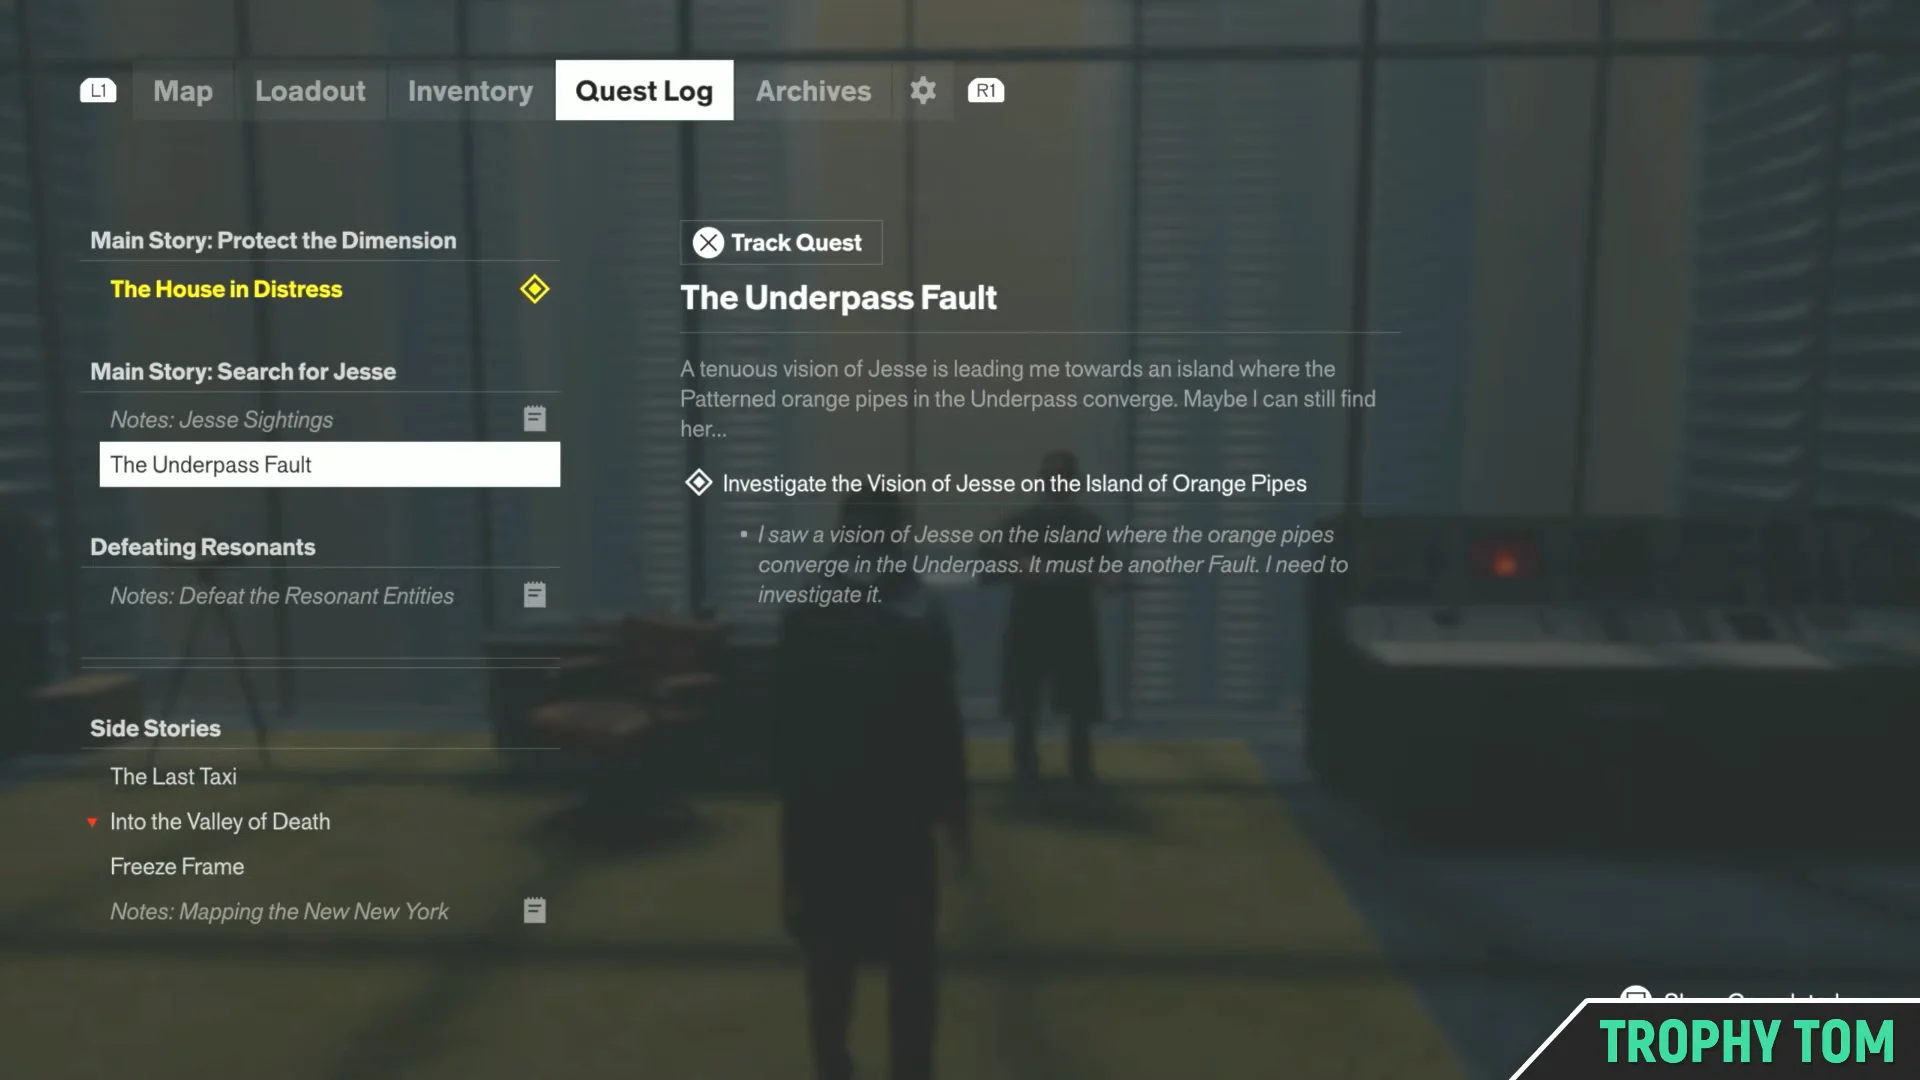
The Underpass Fault: The Spire to the Island of Orange Pipes
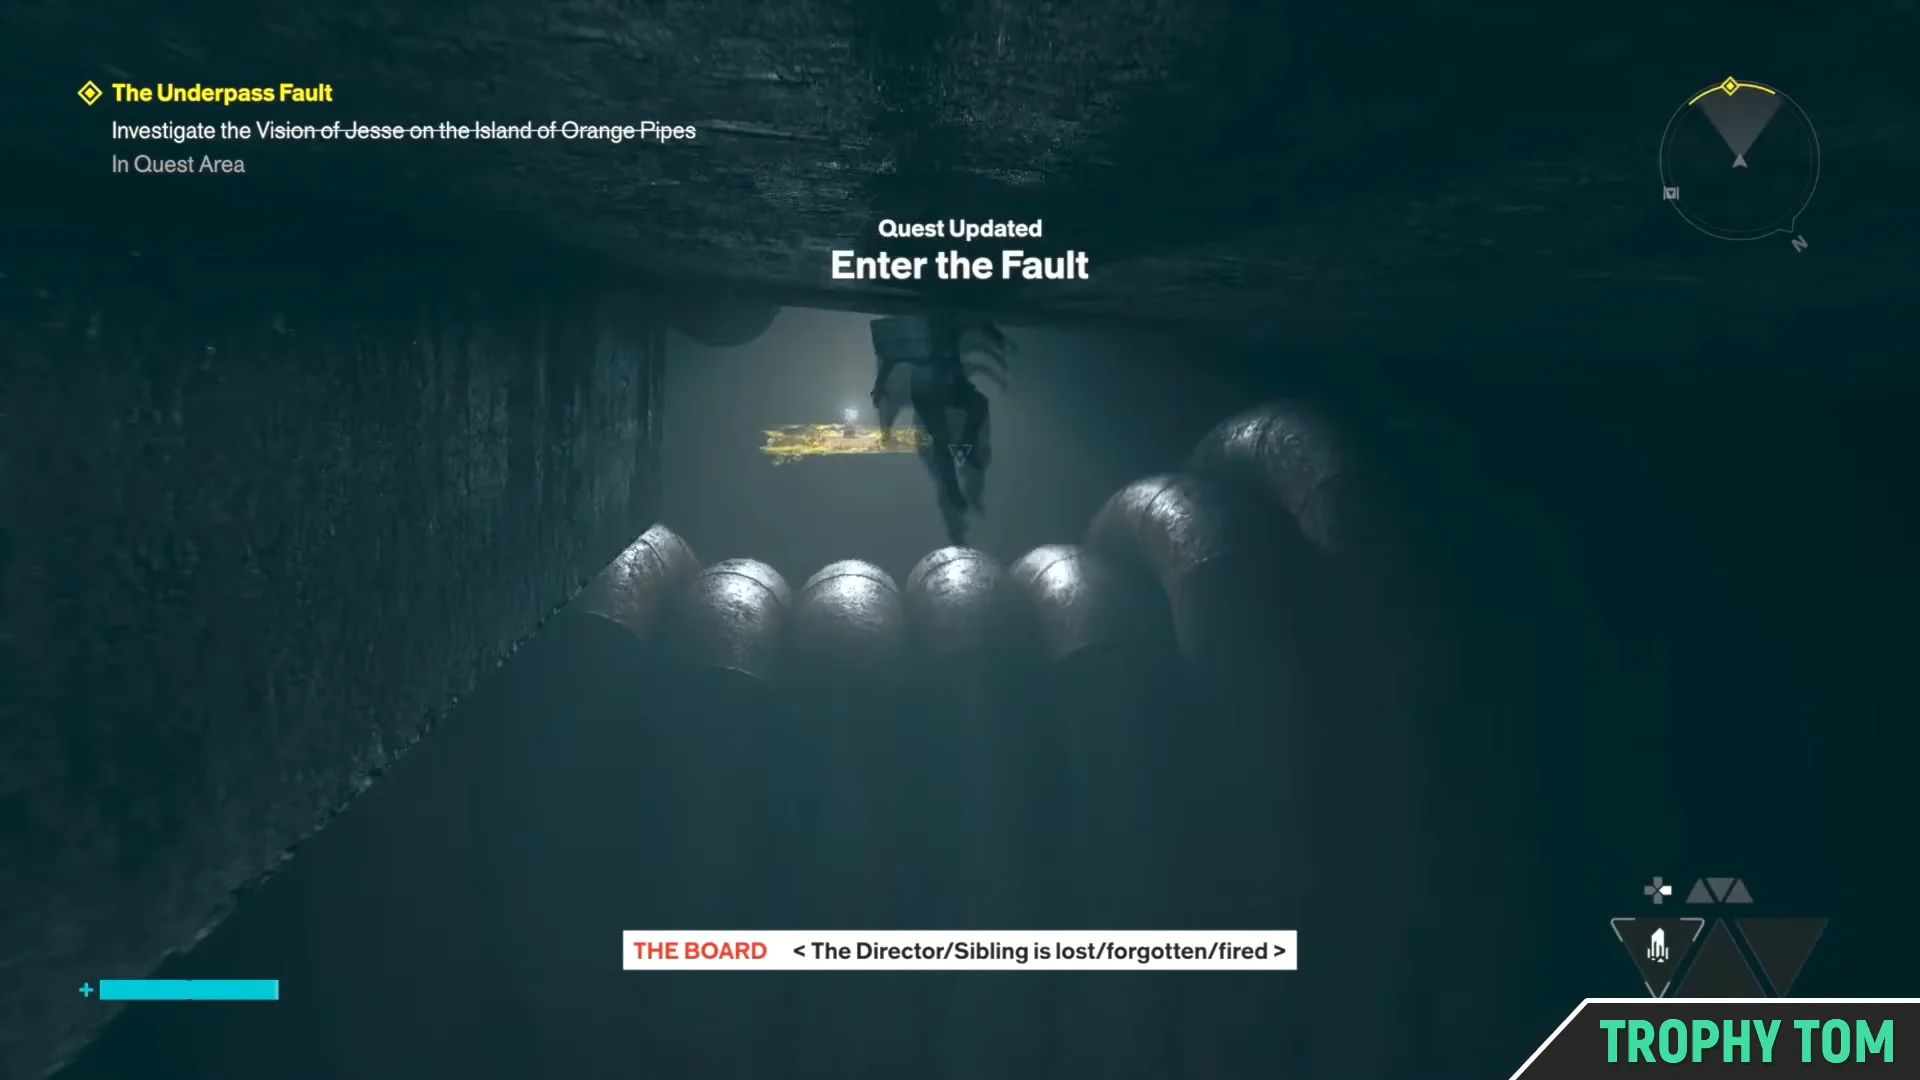
Inside the Fault: memories and the light-projected children
There is no combat to solve here. The Fault is a chain of memory interactions, and each one moves the path forward. Work through the shadow monoliths in order, following the glowing golden trail between them.
- Three opening monoliths: “I remember Mom”, “I remember Dad”, and “We were happy”.
- “Everything was simple back then”, which starts Guide the Light-Projected Children.
- The parental shadows at the family home ruin: “They didn’t recognize us anymore”.
- The twin figures on the final altar, which completes Reunite Young Dylan and Jesse.
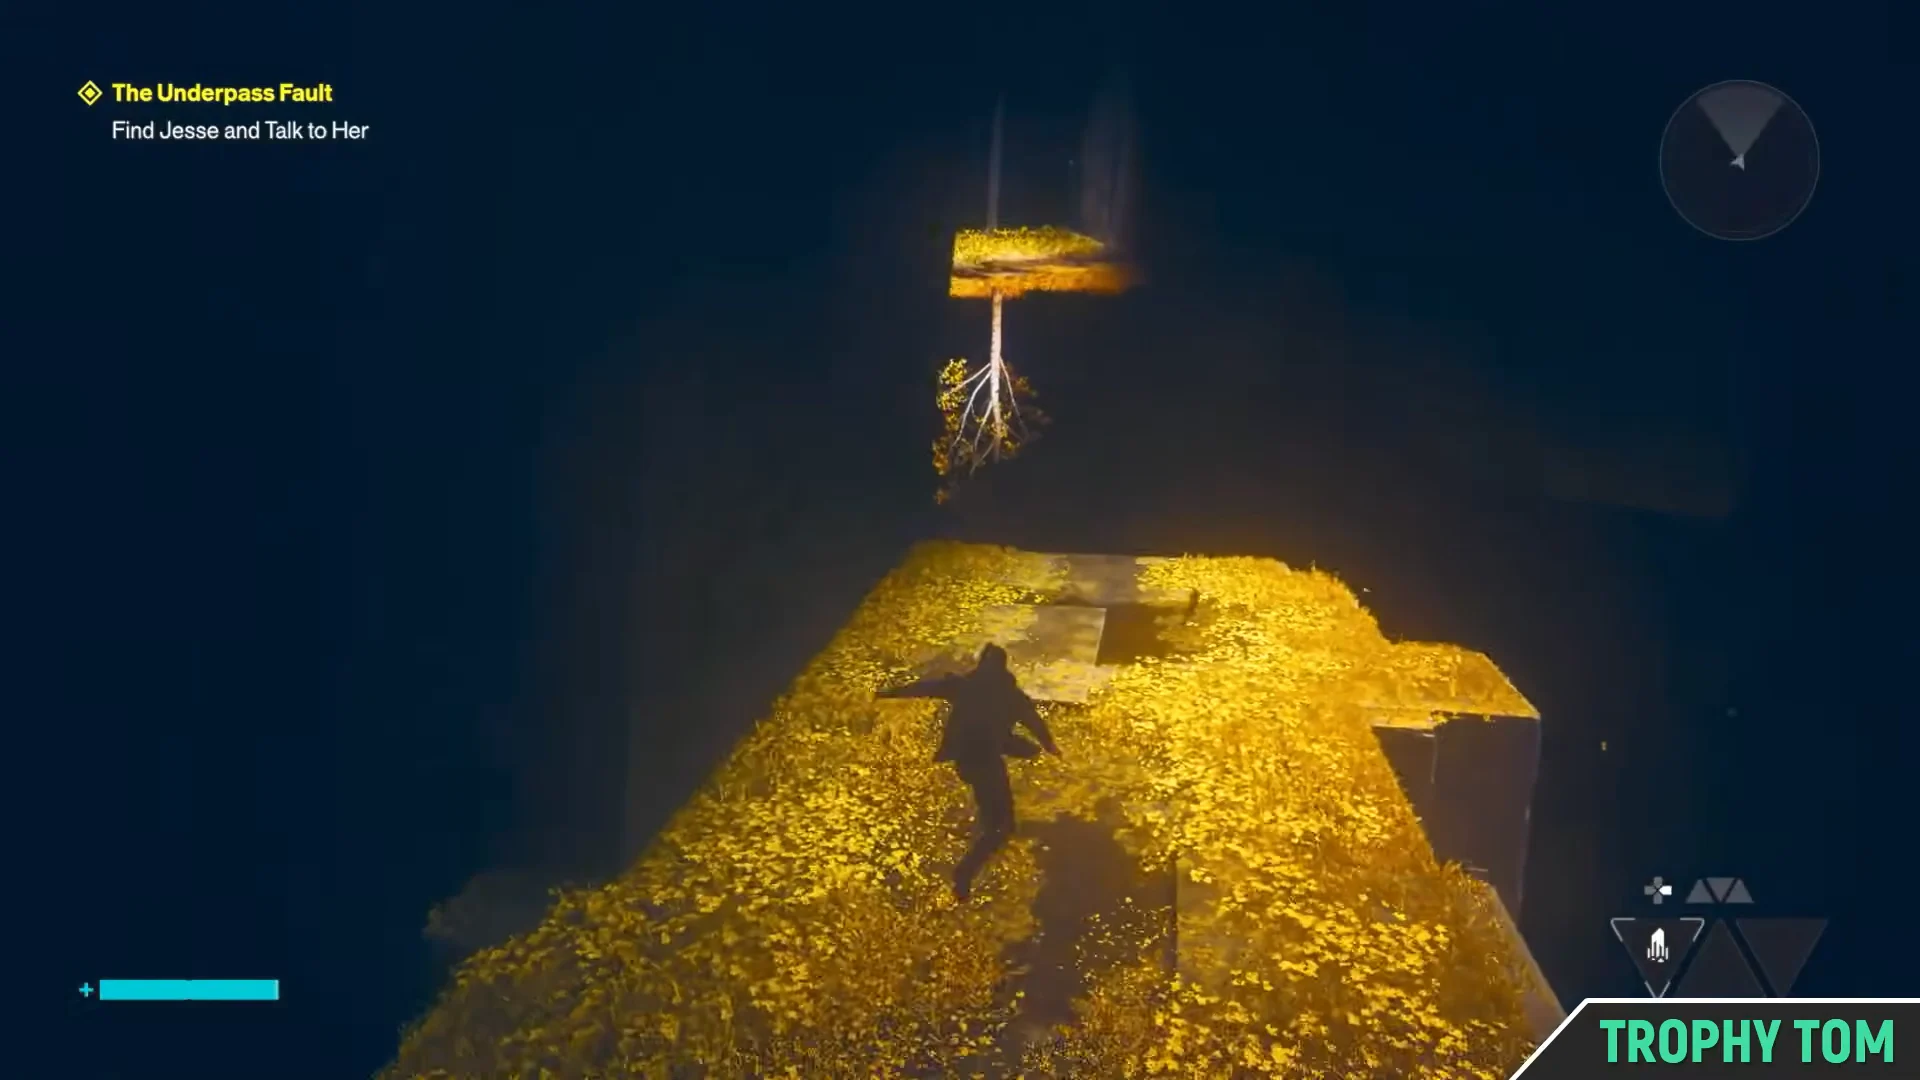
Guide the two glowing child silhouettes across raised stone platforms and broken pillars between the projections. After they come together, Jesse appears in adult form; select the Help Jesse Complete the Ritual dialogue prompt, then witness the night their mother seized their father’s rifle. Follow the ascending golden bridge and enter the white portal, which brings you to Jesse beside the slide projector and TV.
The Underpass Fault pays out +1 Living Shard and a Talent Point on completion, so bank the skill point before heading back.
Restore power to the Interactions Lab
Once the Fault seals, Zoe contacts you over the radio. Fast travel back to find Central Executive filled with red Hiss resonance, and the objective changes to Reach the Oldest House Fault. Take the elevator down to Executive Research again, go past the Level 18 door, and peer through the Main Observation glass at the bodies suspended in the test chamber.
The Main Test Chamber V-E2 door is dead. The whole wing is running on emergency power, and Zoe cannot override it, so she redirects you down the stairs toward the Classrooms and the Interactions Lab.
Electrokinesis Test solution: all three power core patterns
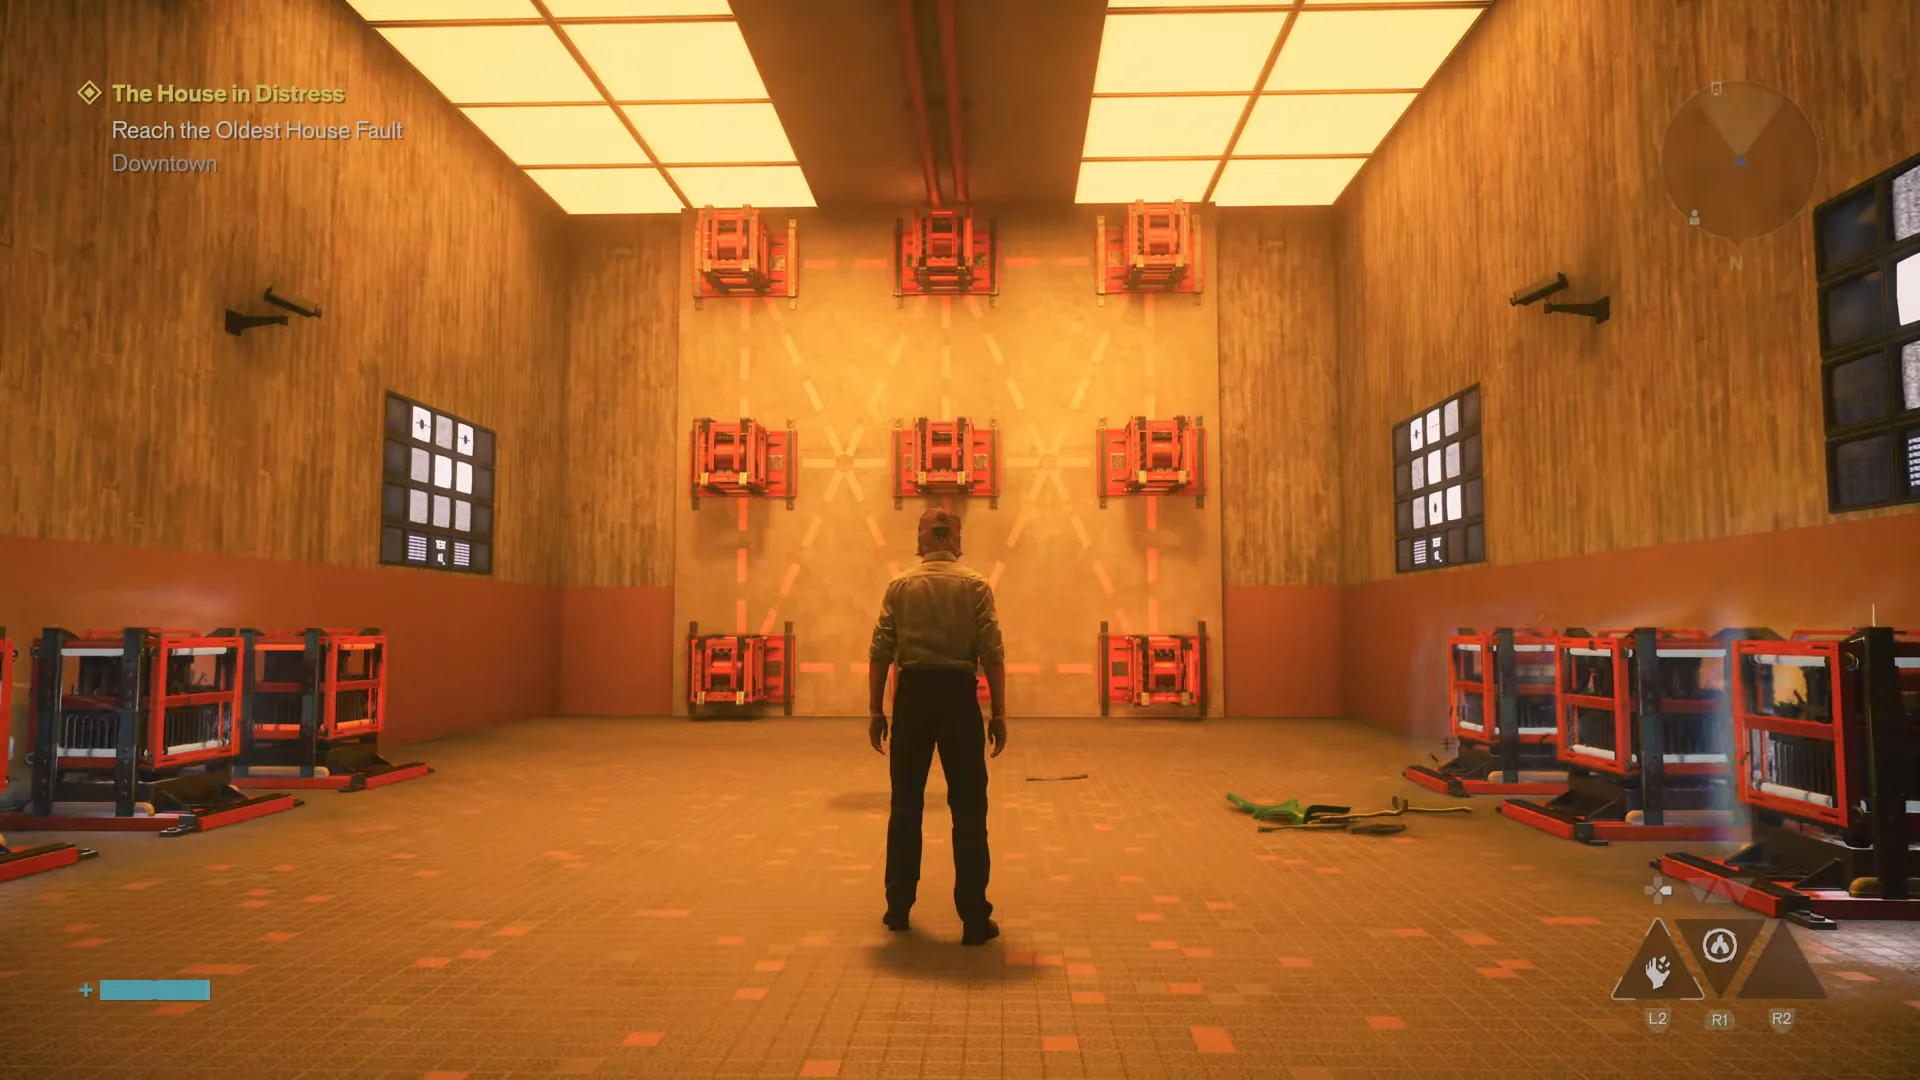
The wall holds nine Power Cores in a three-by-three grid, and the monitors around the room show the pattern you have to reproduce. There are three tests in a row. Read the wall as a simple grid and the combinations are short.
| Test | Shape | Cores to activate |
|---|---|---|
| 1 | Two top corners plus base | Top left, top right, bottom middle |
| 2 | All four corners | Top left, top right, bottom left, bottom right |
| 3 | Plus sign through centre | Top middle, middle left, middle, middle right, bottom middle |
Use the red floor console to cycle the diagrams on the wall monitors between attempts. If a configuration goes wrong, reset from the console rather than trying to force the next pattern on top of the old one.
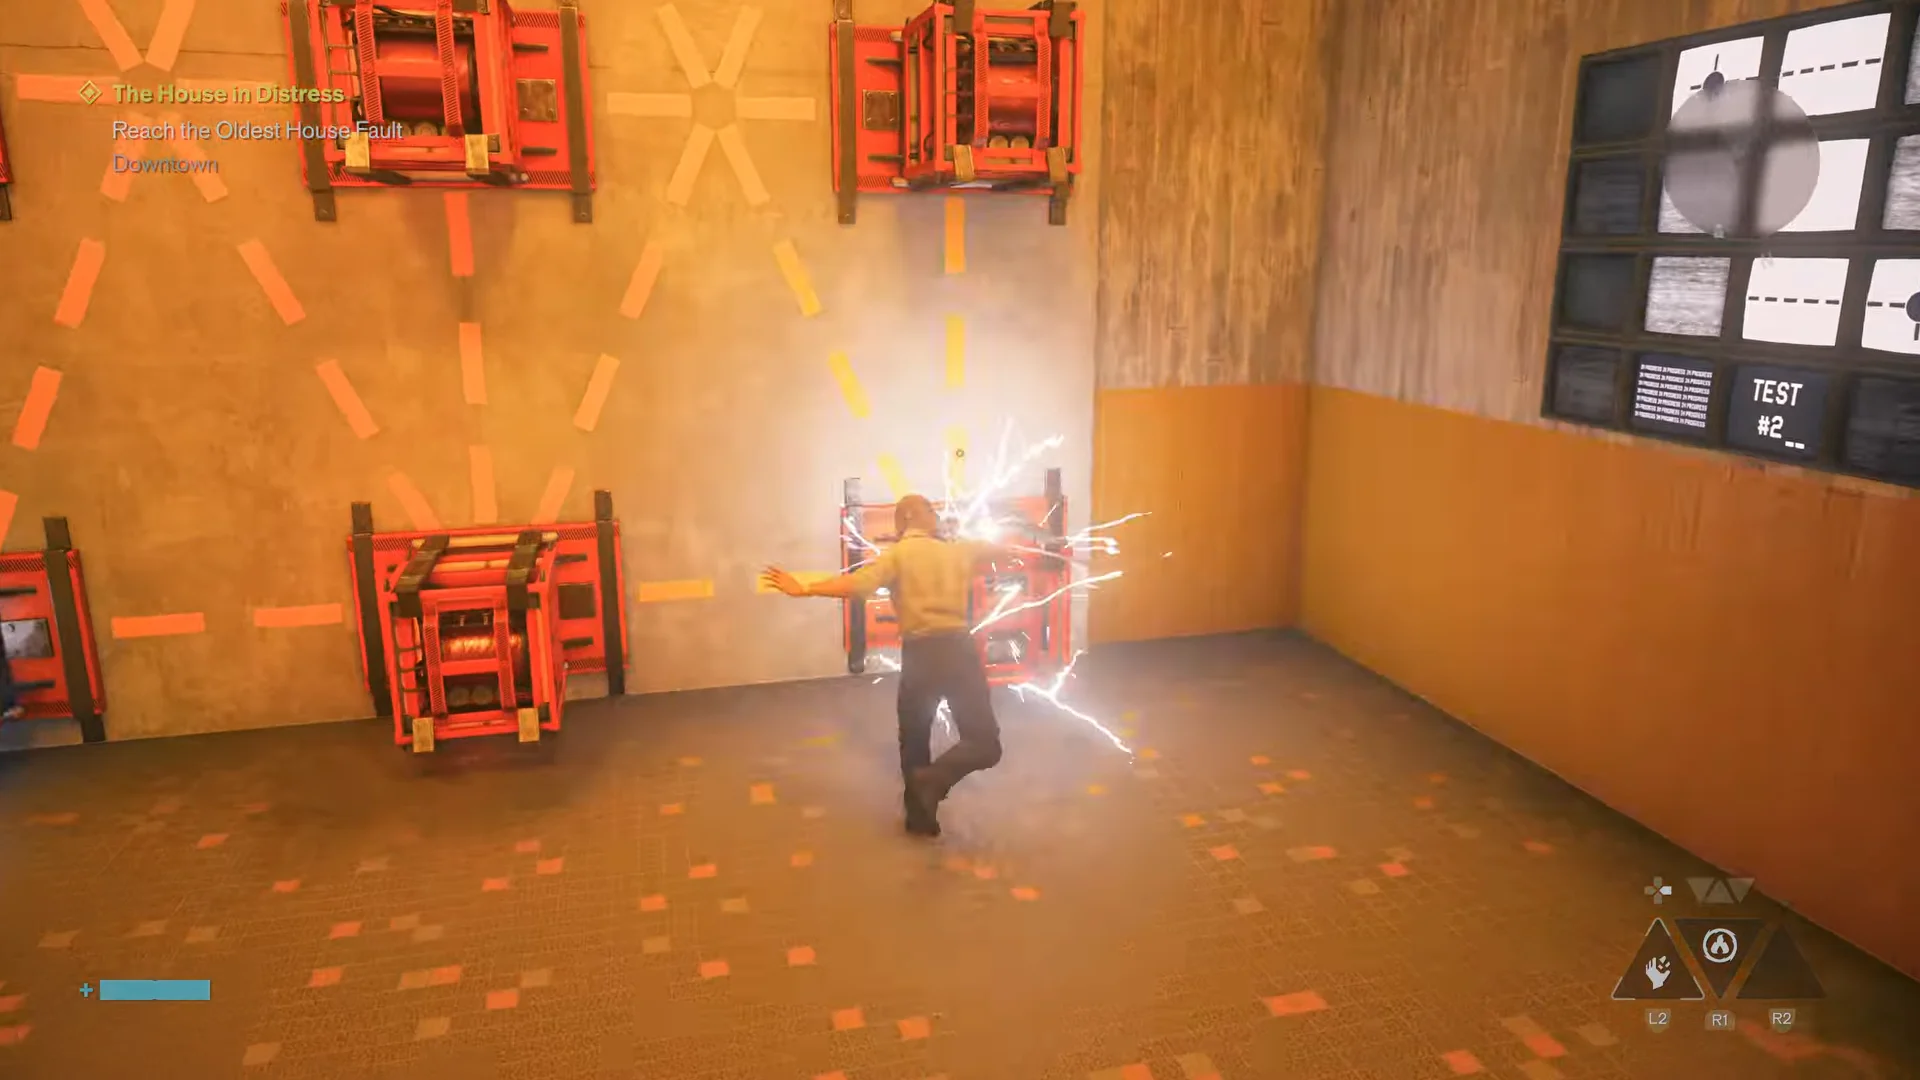
Hitting the wall mounts extends them into platforms, so the grid doubles as the climbing surface. Strike the lower mounts first, then jump between the middle row to reach the top corners instead of trying to line everything up from the floor.
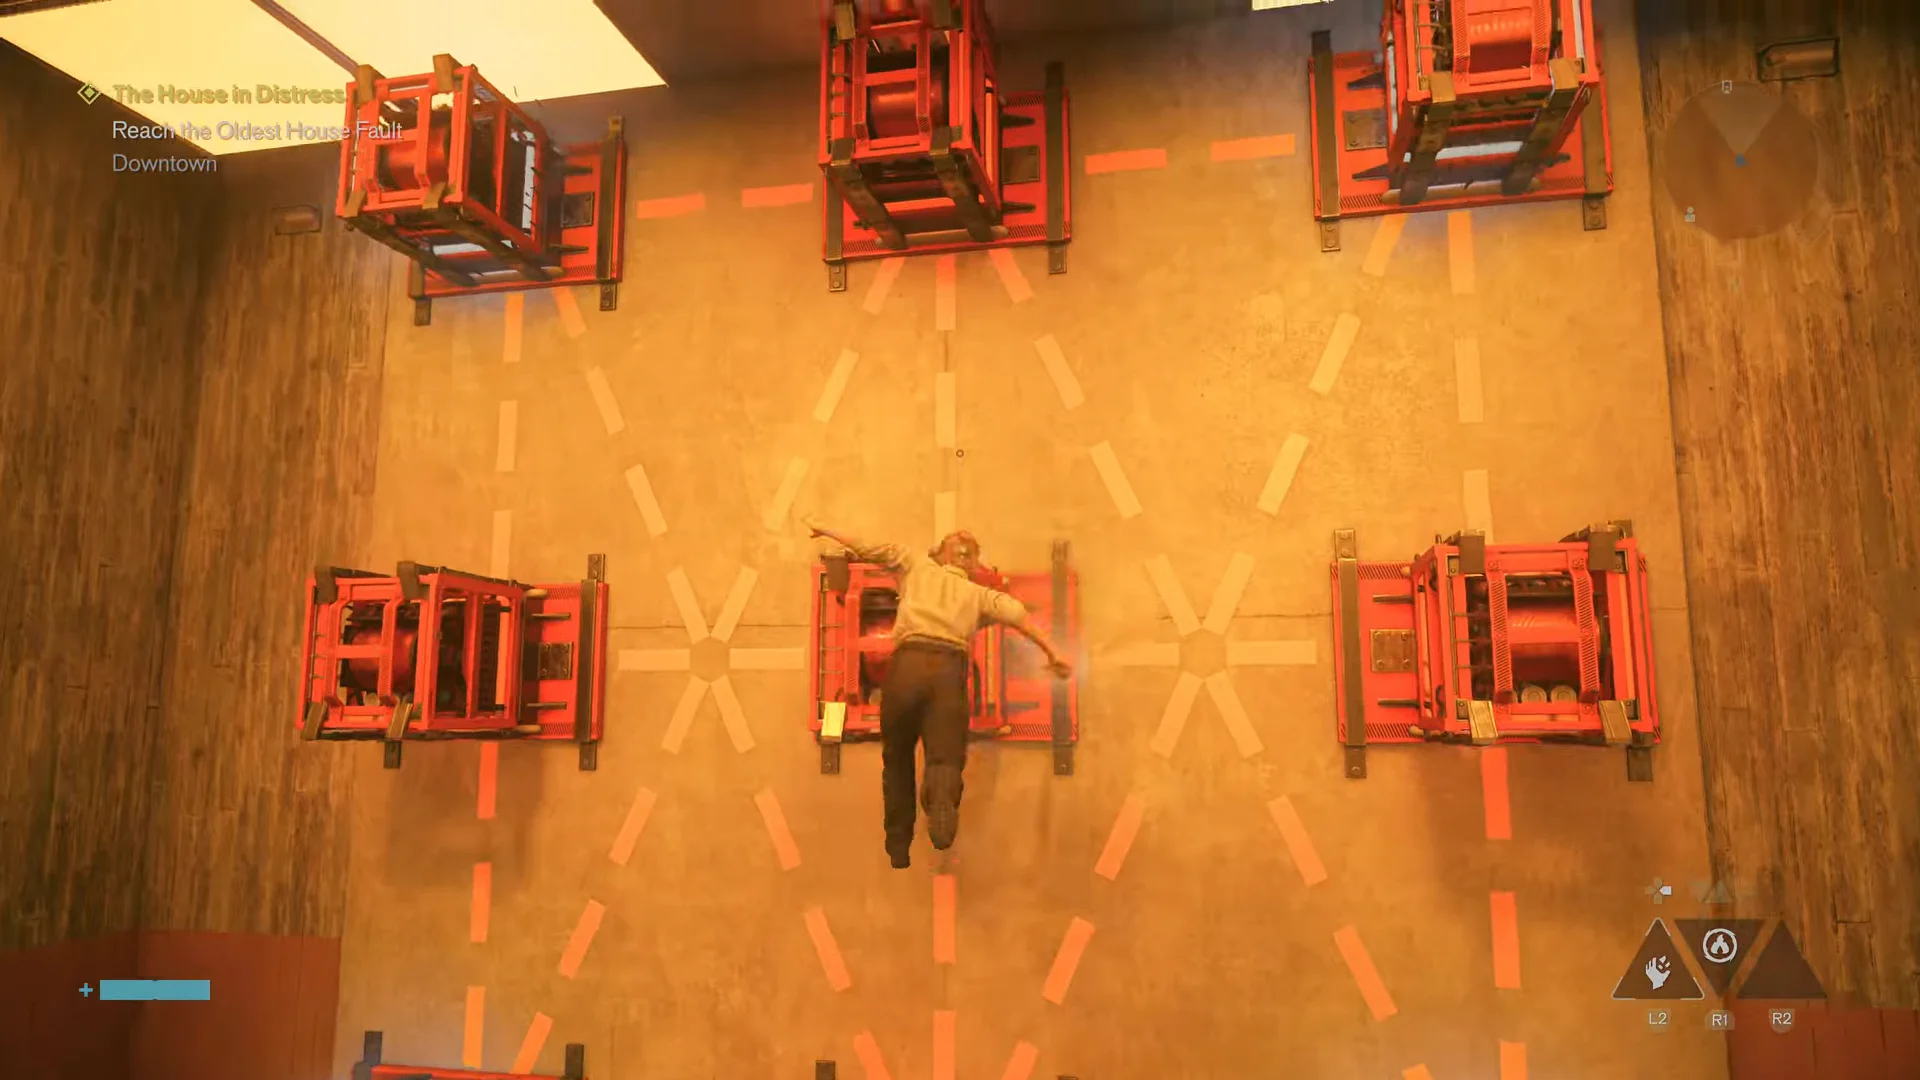
You know the sequence is finished when the monitors turn green and the intercom calls out “Test number 82: Success!” The exit doors unlock straight afterwards. Check the adjacent storage room before you leave for Power Upgrade Point 1/3.
Route to Main Test Chamber V-E2
Complete the Ritual in the Oldest House Fault
The chamber centres on a TV altered item ringed by mannequins and golden foliage. Touching it makes The Board flash a warning, “< Stop/Cease/Turn Back >”, and then pulls you into the Fault anyway. The objective updates to Complete the Ritual.
Traversal now takes place inside an inverted Oldest House. Jump from floating corridors to doorframes, cross classrooms rotated ninety degrees, and hop across separated red-carpet sections suspended in the void before gliding between frost-covered monoliths. Ascend toward the glowing celestial ring, then dash along the lengthy red-carpet span that reaches into the rift.
Most of this stretch is a fall risk rather than a fight. If the platforming is the problem rather than the enemies, Assist Mode options such as immortality are available in the settings.
How to confirm the mission is finished
Reaching Jesse at the top of the bridge triggers three confirmations in quick succession. The Sibling Reunion trophy pops for completing all Fault Rituals, a cutscene with Zoe plays inside the glass cell as the Oldest House evacuation is ordered, and the HUD shows Quest Completed for Notes: Jesse Sightings with another Living Shard.
If the trophy does not appear, the ritual chain is not finished. Sibling Reunion is tied to completing every Fault Ritual, not just this one, so check the Quest Log for any Jesse Fault still sitting open before assuming something has gone wrong. With the Ritual done, Zoe’s push to leave Manhattan and Dylan’s refusal set up where the story goes next.