The Park Resonant is the Mold-themed boss chase in Control Resonant, and it starts the moment Dylan eats the unusual Mold sitting beside a sealed Gateway in the middle of The Park. Doing that reveals three more strains hidden around the district. Consume all four and the Gateway opens, letting you drop into the Collective’s arena.
Quick answer: Eat the four unusual Mold samples in The Park — the one beside the sealed Gateway in the central pit, plus the Minimart, Pizzeria, and Gym samples — then return to the pit to open the Gateway and fight the Collective.
How to reach The Park and start the Resonant hunt
The Park is an optional area northeast of Central, becoming available once you complete the Jesse Sighting quest in the Evacuation Zone. Use the Park Checkpoint to enter, then take the FBC-controlled route toward the district. Mold has already overtaken the entire zone before Dylan reaches the objective.
Make for the large hollow at the zone’s center. A Mold- and Patterning-covered Gateway waits at its lowest point, with a strange Mold sample next to it. Dylan detects an impossible food combination: bread and butter, followed by jam, candy, popcorn, plus honey. Zoe warns him not to touch it, but consuming the sample starts the objective. After he recovers, Dylan can detect three additional strains throughout The Park.
Crossing the Gateway later commits you to the Resonant encounter and makes the radio link with Zoe unreliable. Spend any Talent Points and confirm your Combat Ability and Aberrant setup can handle a large target plus swarms of Mold enemies before you go through.
All four Mold sample locations in The Park
You need four Mold samples total. The first is beside the Gateway; the other three can be collected in any order. Each of the remaining three sits inside a building tied to an active combat state, so clear the enemies around it before the interaction becomes available.
| Sample | Location | How to reach it |
|---|---|---|
| Gateway sample | Central pit, near East Supply Route | Drop into the middle depression, next to the sealed Gateway |
| Minimart | Urban Fresh Mart, southwest | Clear enemies, enter, eat off the checkout counter |
| Pizzeria | The Park Pizza Place, northwest | Take the sewer route in, eat off the corner booth table |
| Gym | 24/7 fitness gym, northwest | Drop into the pit by the gym, eat off the reception desk |
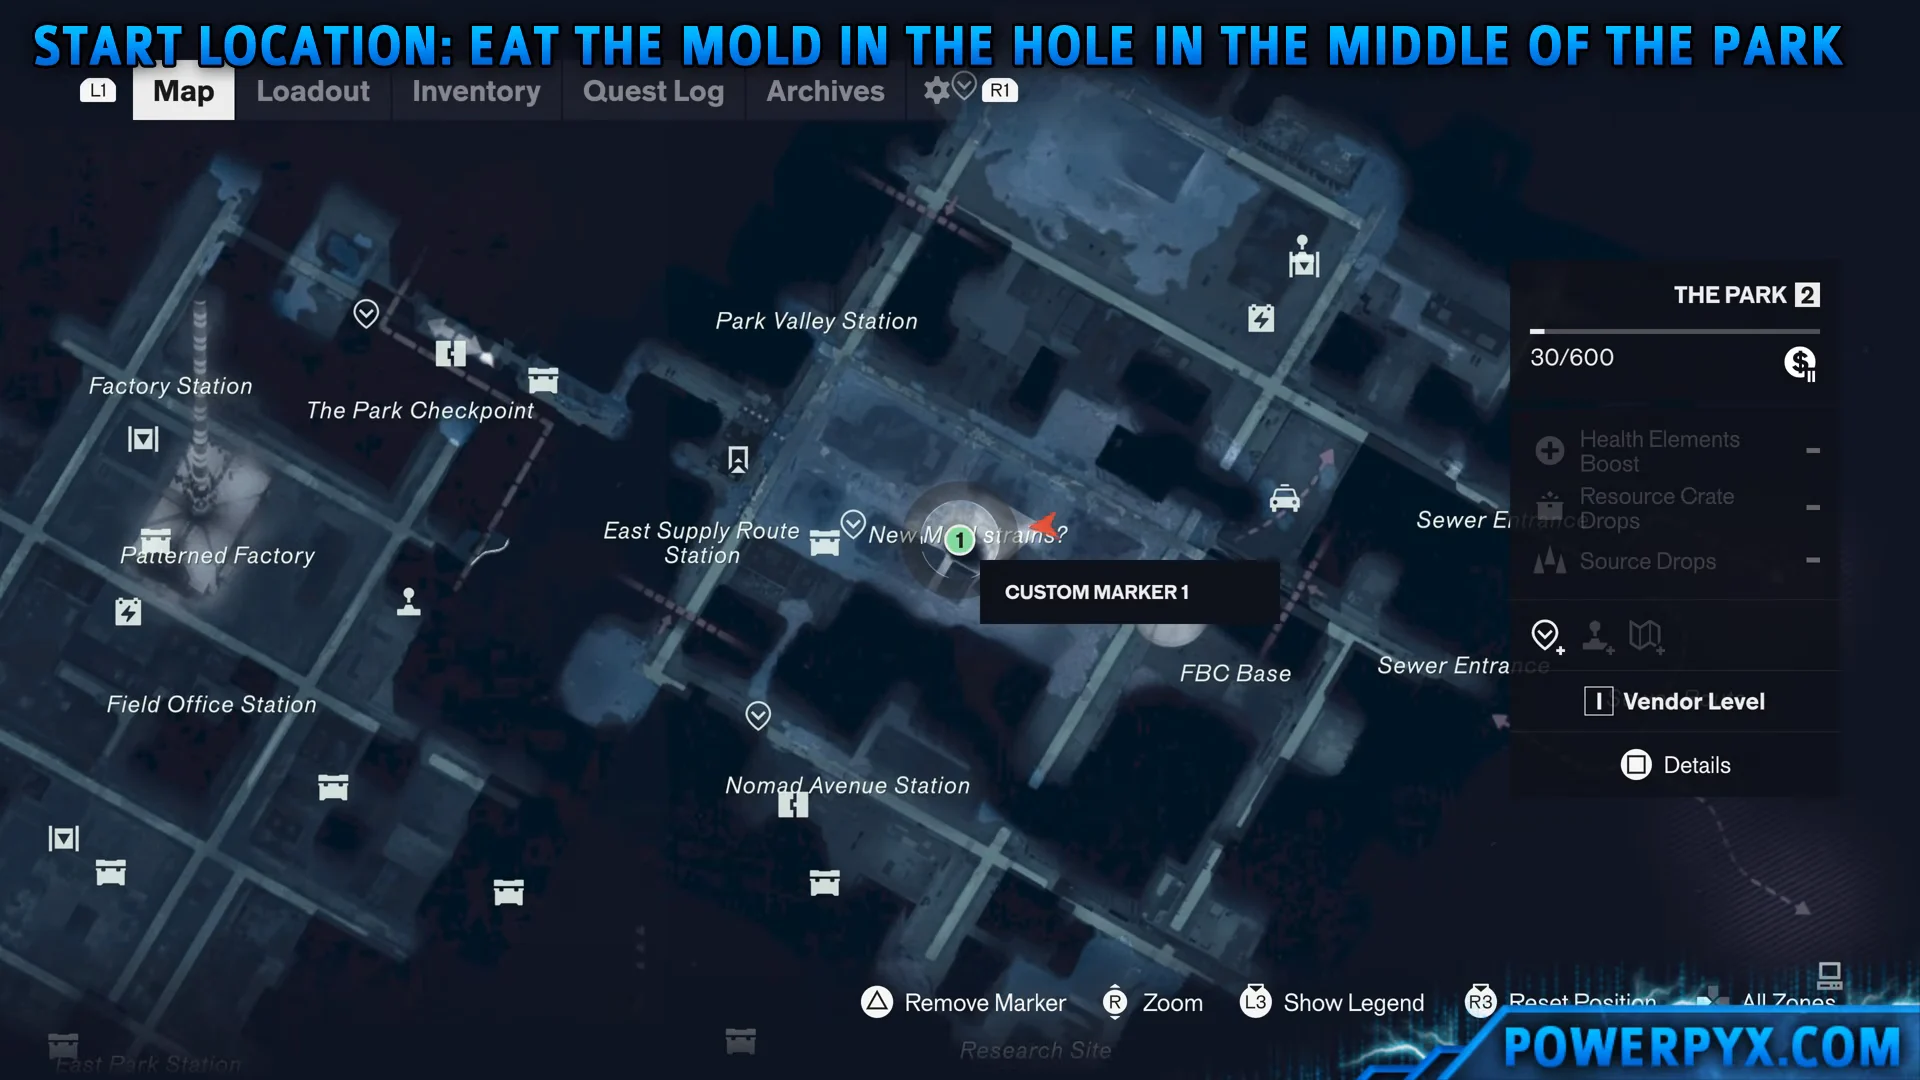
Gateway sample (central pit)
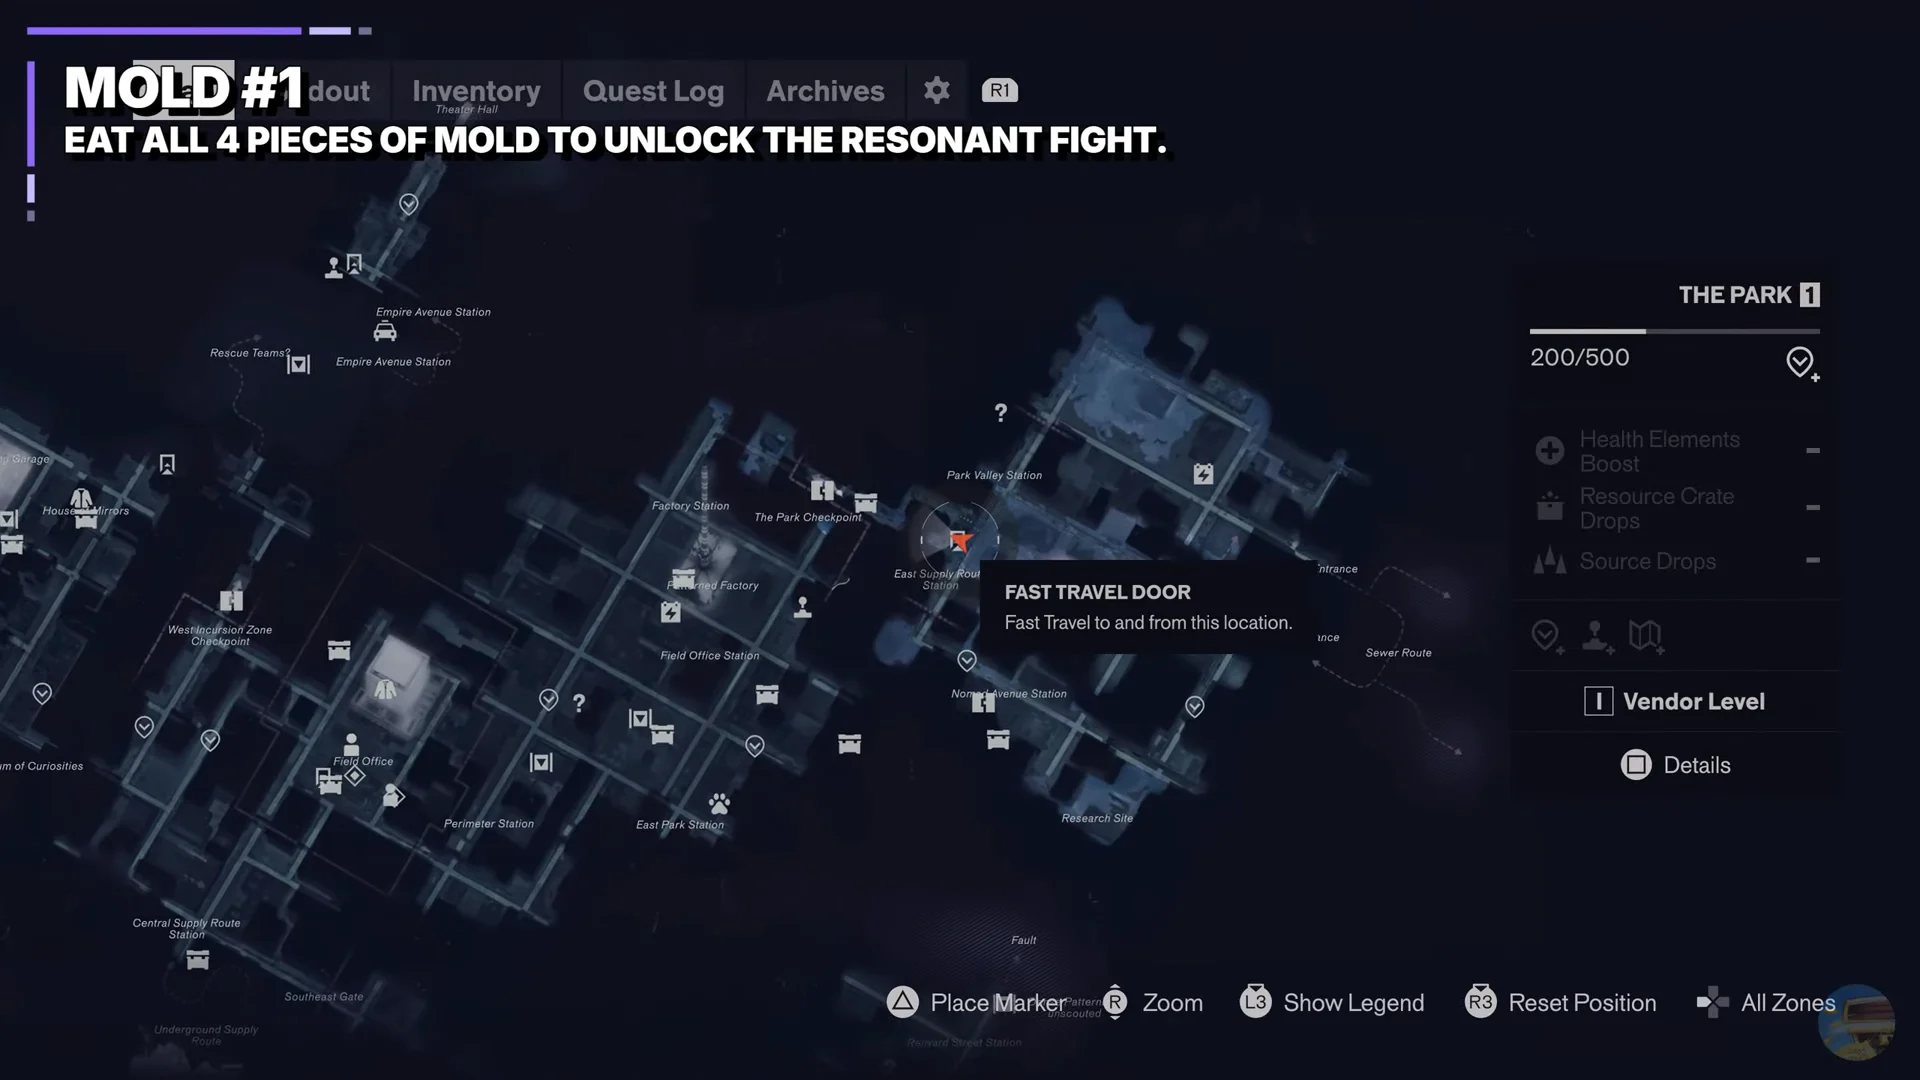
Fast travel to the East Supply Route door and drop into the mold-covered crevasse ahead. Look for the alcove beside the yellow “DO NOT INGEST THE MOLD” sign and eat the Piece of Delicious Mold on the small dining table. This triggers a hallucination sequence and reveals the other three strains.
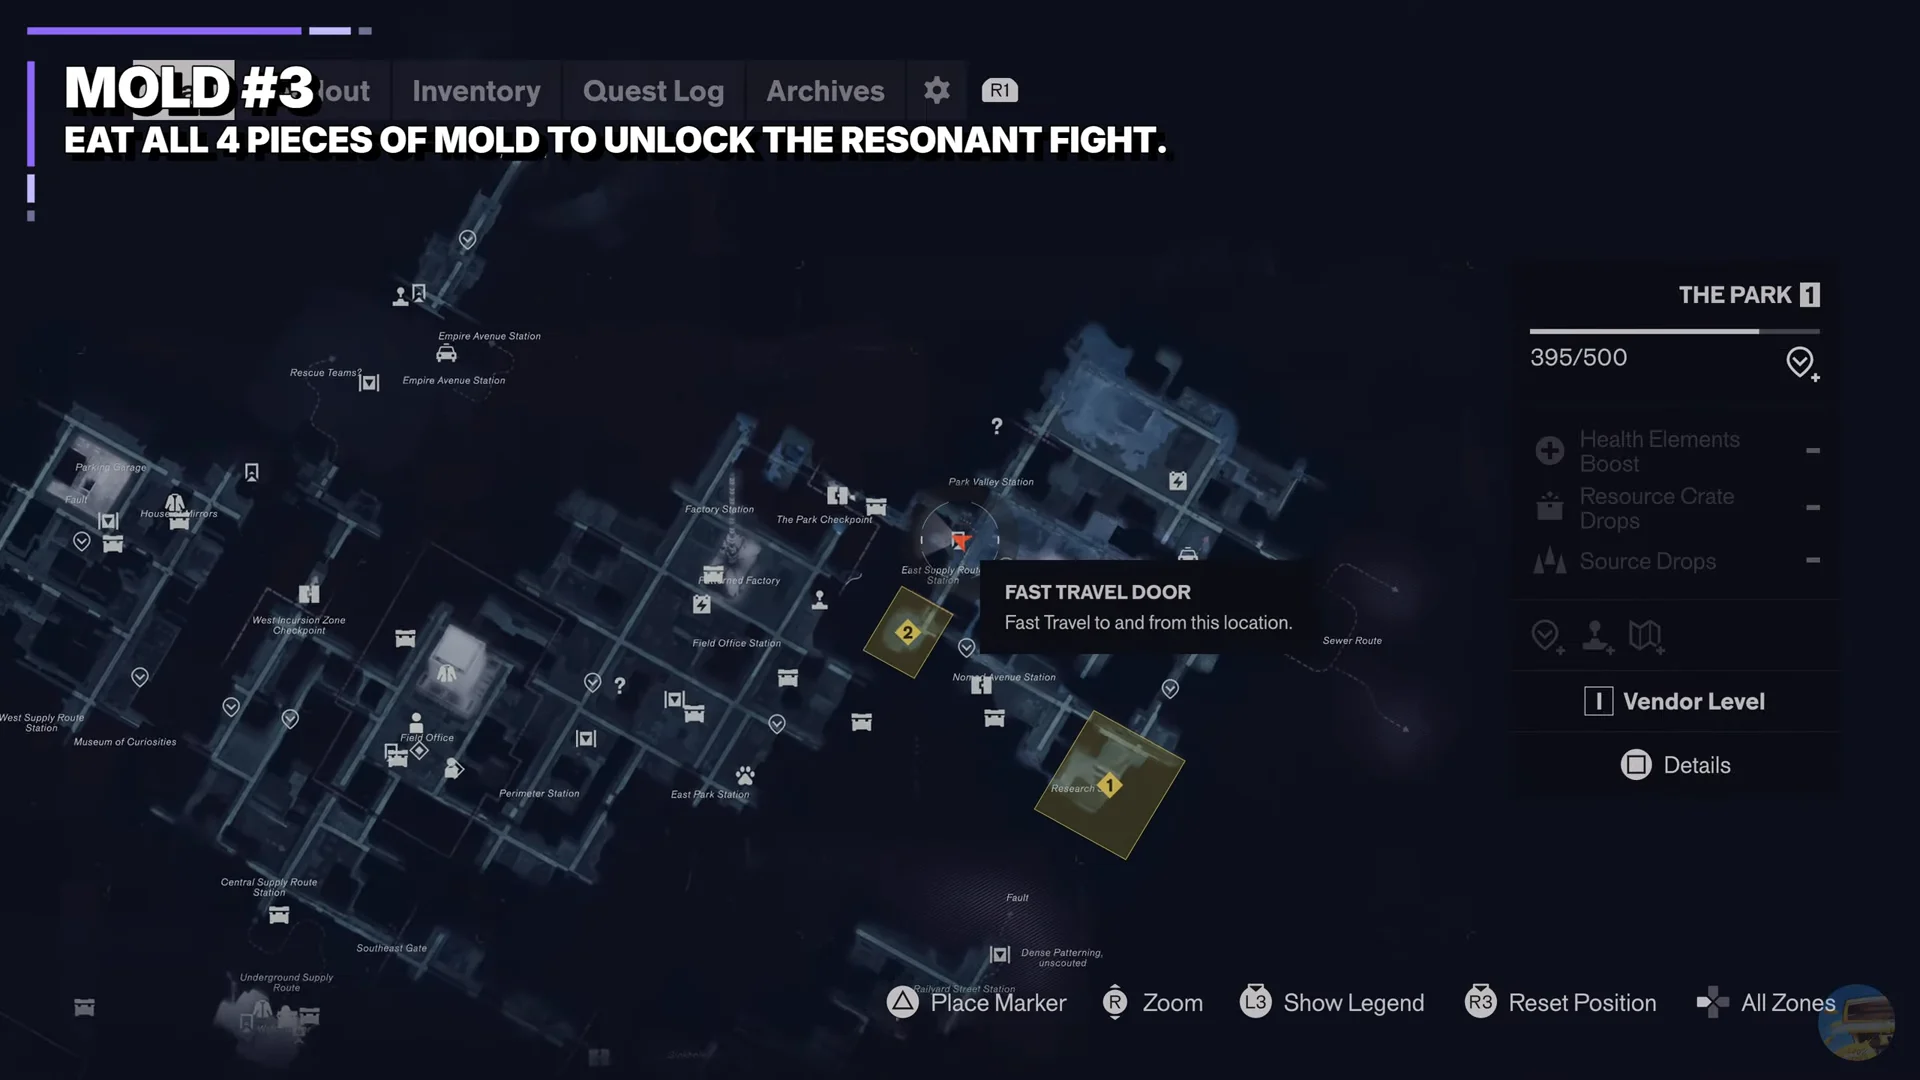
Minimart Mold (Urban Fresh Mart)
On The Park’s southwest side, close to the Research Site, you will find the Minimart sample. Go to the marked Urban Fresh Mart and defeat the enemies outside, because the door remains linked to the encounter until every hostile is gone. Then enter the shop and consume the Mold on the checkout counter.
Pizzeria Mold (The Park Pizza Place)
The Pizzeria sits in the northwestern side of the district, but the street entrance can be misleading. Find the nearby sewer entrance and follow the drainage pipe underground until it brings you up into the Pizzeria area. Fight through the infected Mold creatures in the tunnel, then climb the wooden ramp back to street level and enter the restaurant. Eat the sample on the corner booth table for +1 Talent Point and a World Tier Cap Increase.
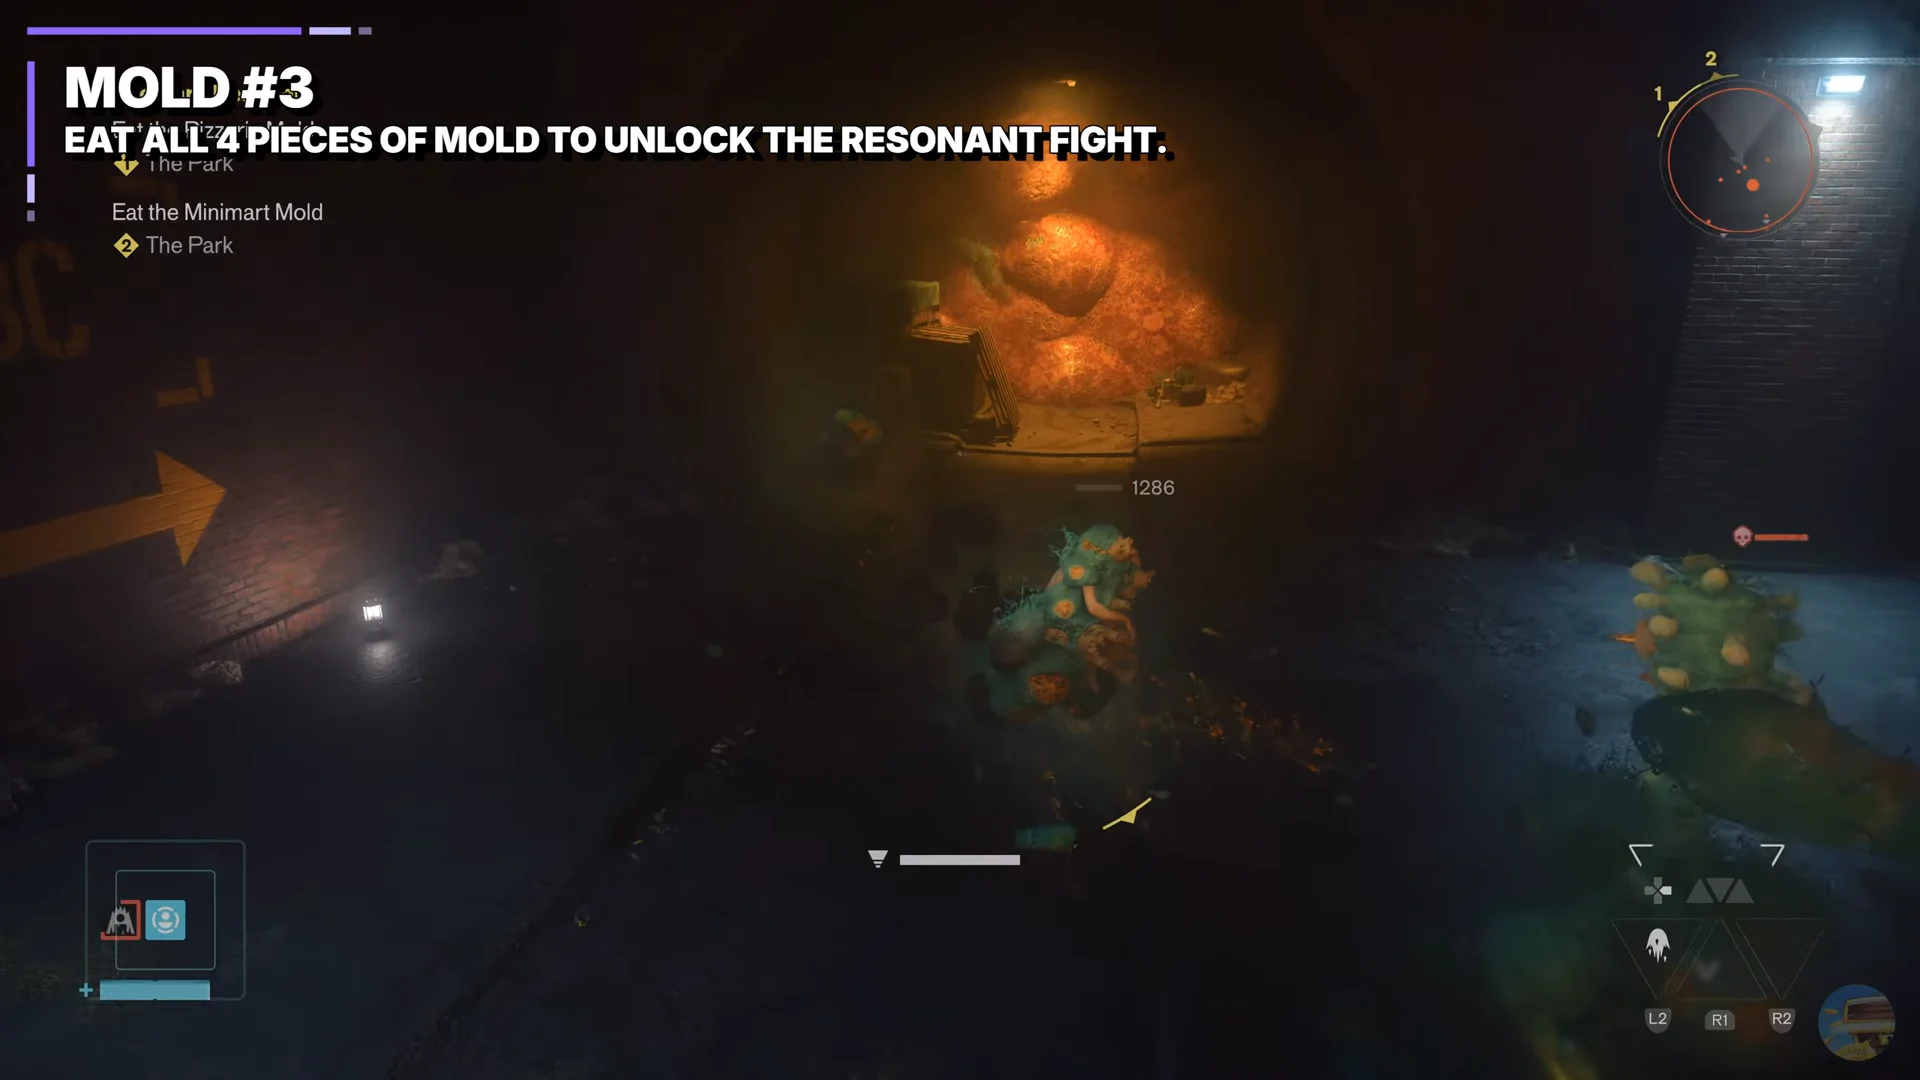
When the Mold can be seen but offers no interaction prompt, step outside and smash the Pizzeria windows. This removes the remaining yellow contamination from the room and brings the prompt back, meaning you do not have to reload or leave the quest.
Gym Mold (24/7 fitness gym)
Northwest of East Supply Route Station, in The Park’s northwestern area, the gym holds the final strain. Beyond the “Strong” sign, jump into the open pit and go into the fitness gym covered in Mold. Eliminate the enemies surrounding the building, then consume the sample on the reception desk.
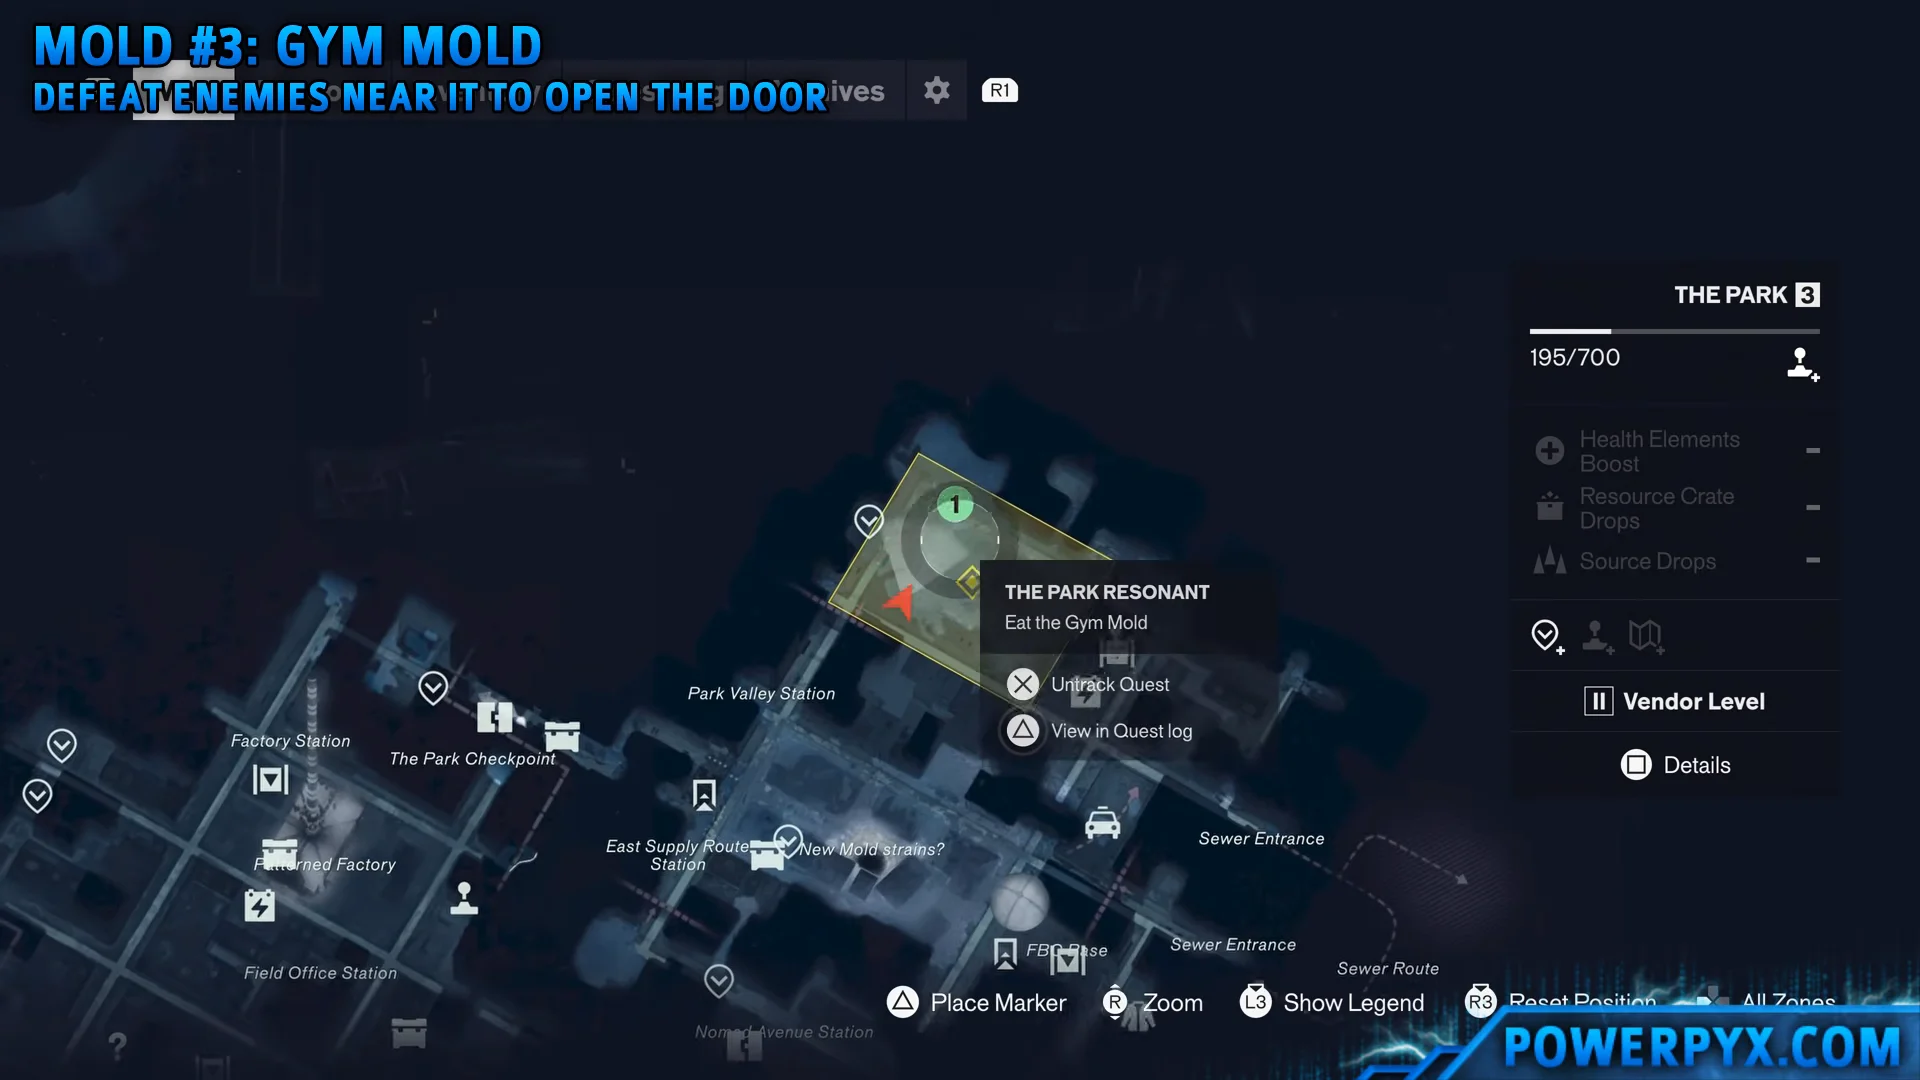
Open the Mold Gate and enter the arena
Return to the central pit near the first sample. With all four strains eaten, the Gateway that was sealed earlier now opens on approach. There is no code, key, or extra puzzle here. If it stays shut, one of the Minimart, Pizzeria, or Gym samples has not been consumed yet.
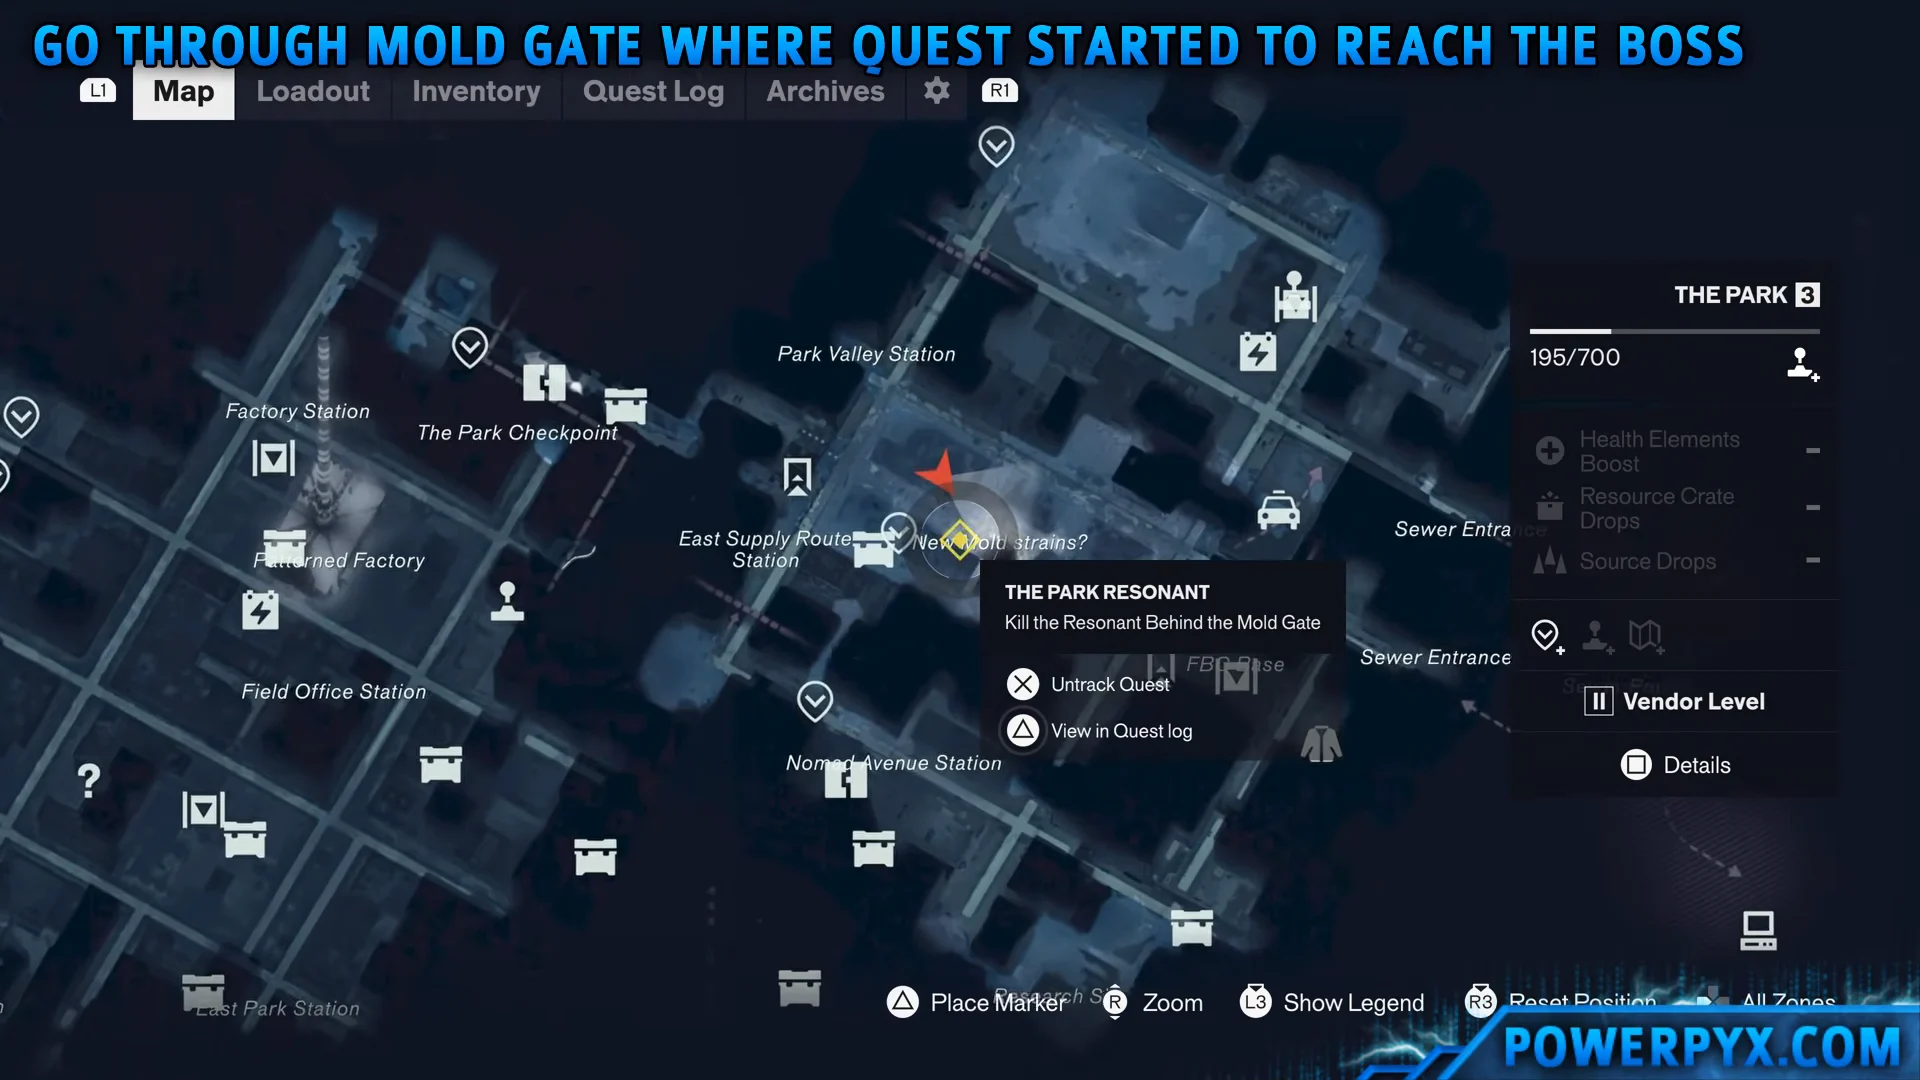
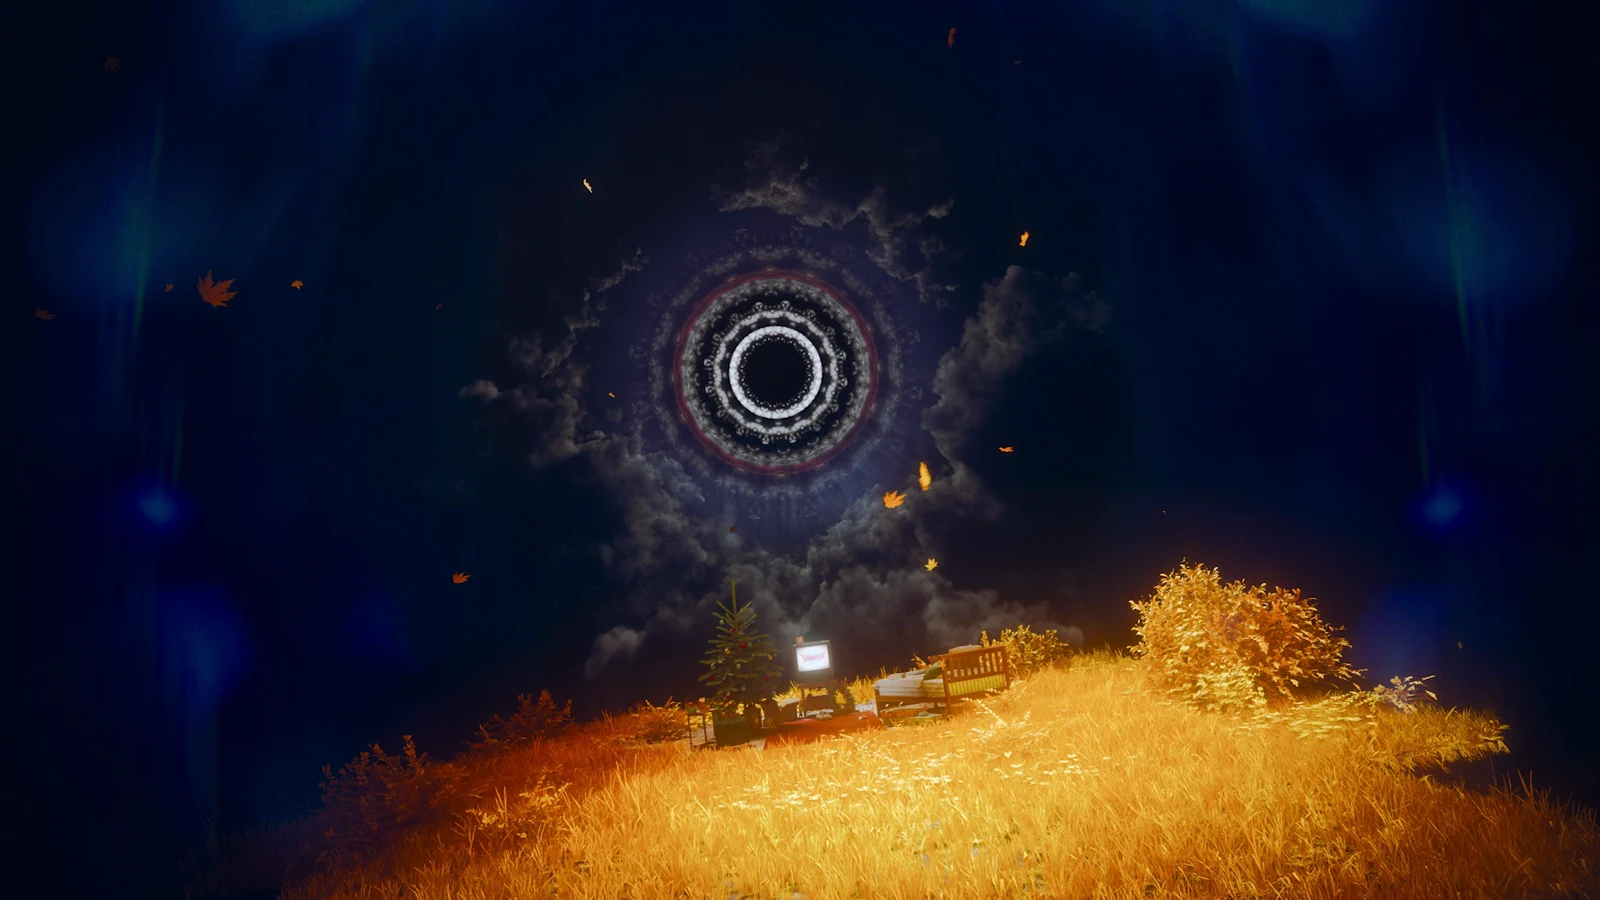
Take the route you just opened into the deep cave, sprint through the blue-lit tunnel, and pass through the huge portal formed by floral tendrils. A cutscene follows, after which Dylan lands on the Collective’s battlefield.
Beat the Collective
The entity behind the outbreak is the Collective. Hitting its central mass directly is inefficient. Instead, the fight works in a loop: destroy the tentacles connected to the arena, then damage the weak points that open up afterward.
- Use the altered gravity surfaces to reach a wall tentacle and destroy it fully before switching targets.
- Clear the small Mold enemies between phases before crossing the arena.
- Return to the Collective and break the swollen, discolored Mold orbs on its lower body — those are the real weak points.
- Back away after each orb bursts, since a new contamination and enemy wave follows.
- As the later phases begin, deal with the tentacles on the walls and ceiling separately. Once those are handled, destroy the last two tentacles so the final weak point becomes exposed.
When the last weak point is destroyed, the Collective becomes vulnerable to a finishing Execution. Take the prompt to end the fight.
Rewards and the Spore Burst or Growth choice
After the Collective is defeated, Dylan reaches the Gap and must select one of two Mold-based Combat Abilities. Spore Burst allows him to launch Mold projectiles and inflict Infected on the target he chooses, letting you decide exactly which enemy gets hit. Growth creates an autonomous Mold growth that attacks and accumulates Infected on its own, leaving you free to concentrate on melee, movement, or a different target.
You know it worked when the screen confirms Quest Completed: The Park Resonant, along with the Untapped Face Mask, +1 Reset Item, +3000 Source, and the Casual Outfit: Resonants. Whichever ability you pick is added to your loadout at that point.