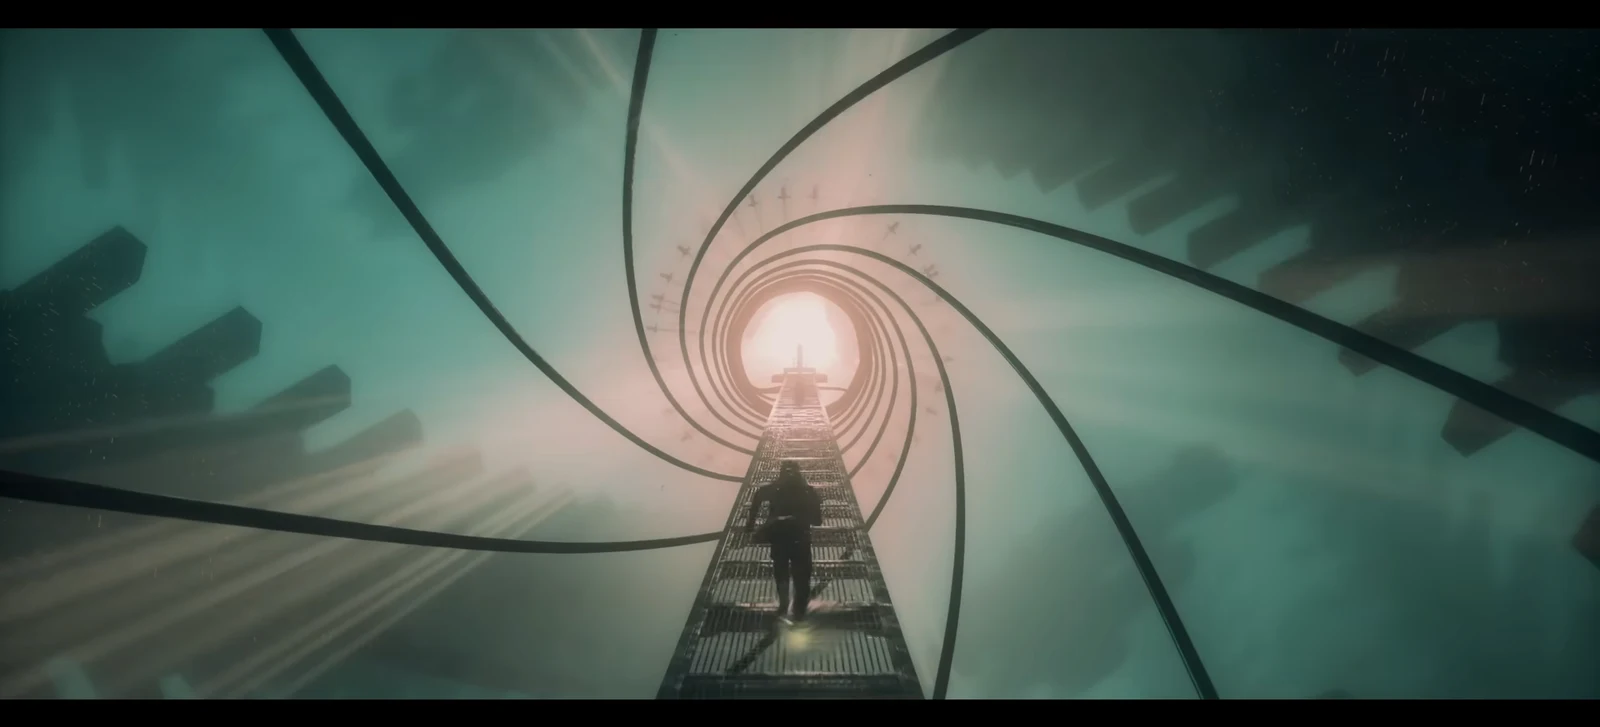
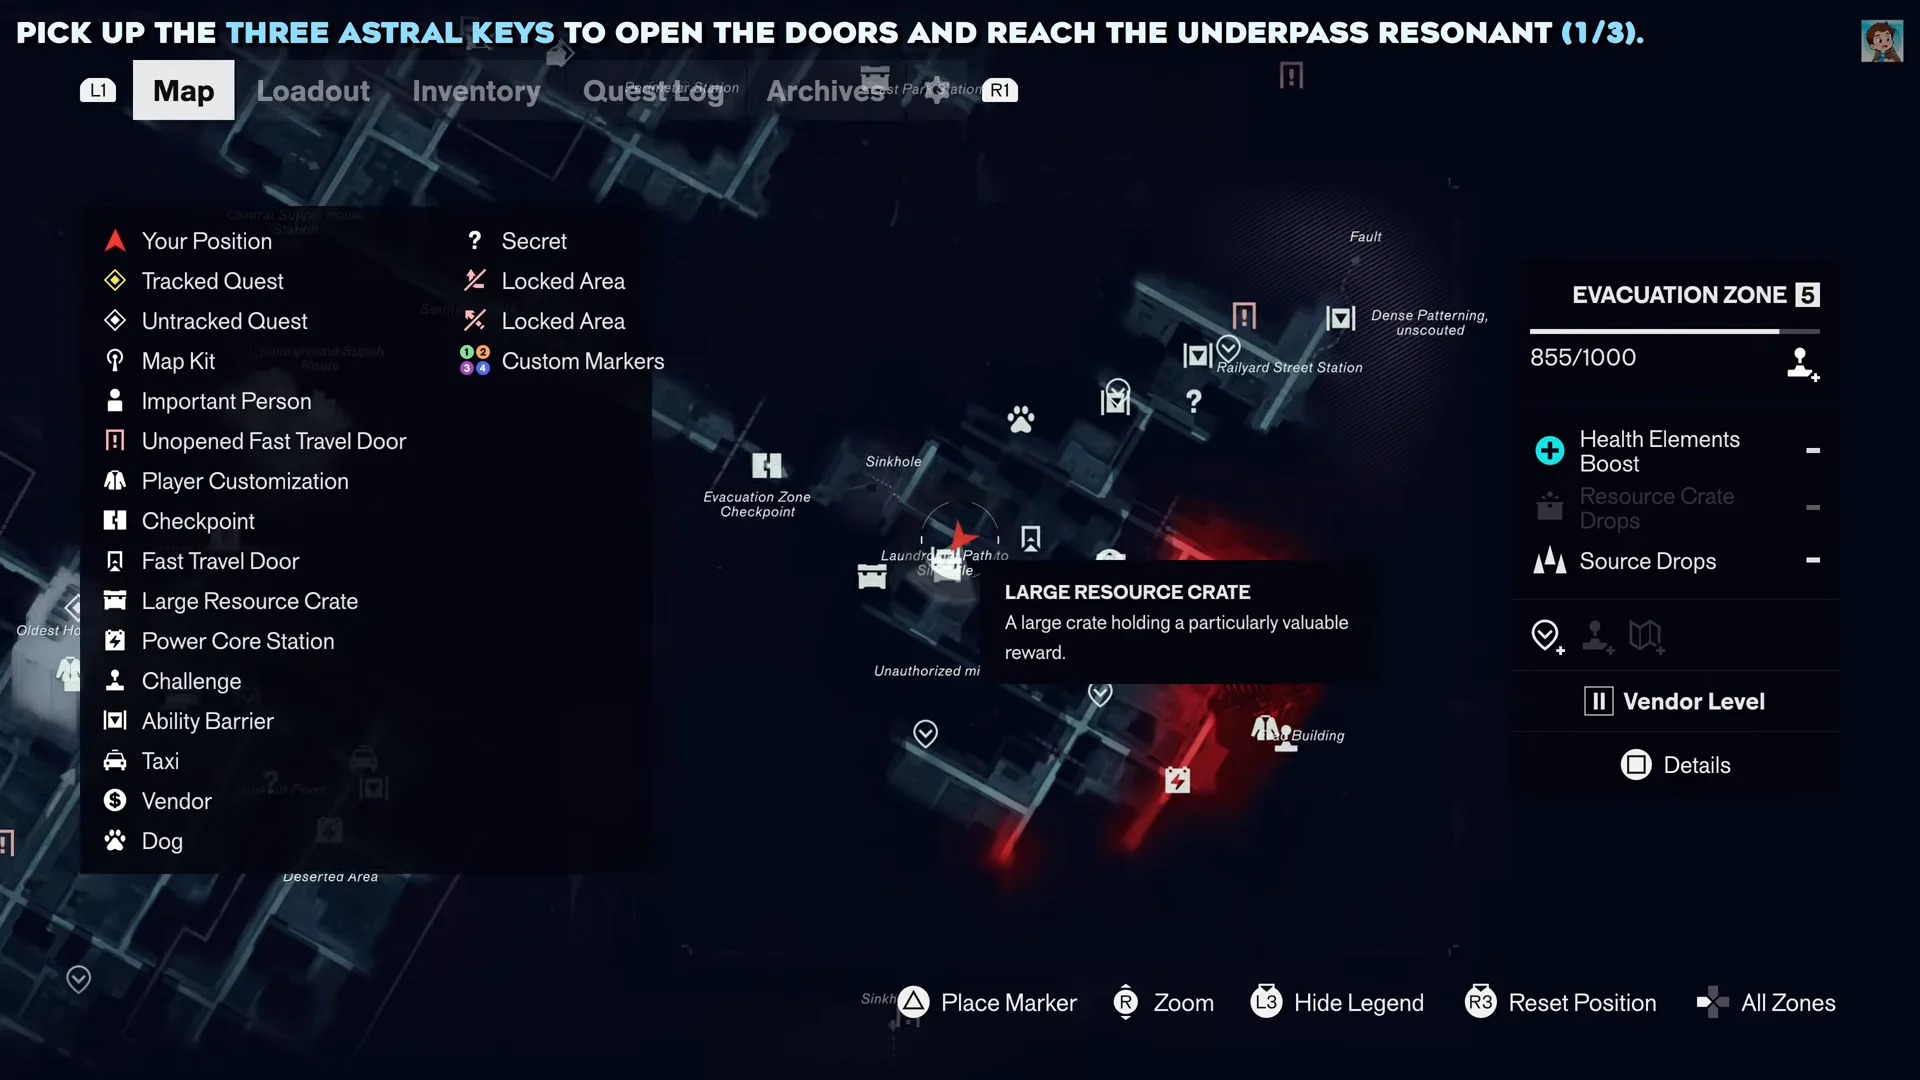
The Underpass Resonant is a regional boss at The Spire’s summit, hidden in a floating section of the Astral Plane. The Physicist itself is easy to fight; reaching it is the real challenge. Three doors block the boss room, and their Astral Keys are not marked on your map.
Quick answer: Reach the Astral Plane through The Spire, then unlock the three doors one after another. Each lock takes a different Astral Key; leave the door hub via a branch to find each one, then loop back before confronting The Physicist.
Before you start the Underpass Resonant quest
This side quest does not appear in your log until you reach the Recursions and Iterations story mission, which runs after the Enemy of My Enemy main quest. Once you are in The Underpass and standing inside The Spire, check the file on the table there to add the objective, which reads “Kill the Underpass Resonant”.
The Astral Plane section leans heavily on movement tools, so if a platform looks impossible to reach, you are usually missing an ability rather than a path. Bring the following before you commit to the climb.
- Shift, which changes which surface counts as the floor and lets you walk upside down.
- Gravity Anomaly, used constantly here to run up walls.
- Bring a Blunt damage weapon to break the armored mini-boss you encounter on the ascent.
- Make sure The Underpass Resonant objective is active in your Quest Log.
The Underpass can hold several objectives at once, including a Jesse Fault and a research-team route that all cross the same tangled geometry. Watch the quest name in the upper-left corner before you move so you know you are tracking the Resonant and not another task.
Reach The Spire and enter the Astral Plane
Travel to the Spire Fast Travel point if you have unlocked it. Otherwise, set out from the Underpass Fast Travel Door and follow the marker across the region’s shifting platforms and rotated roads.
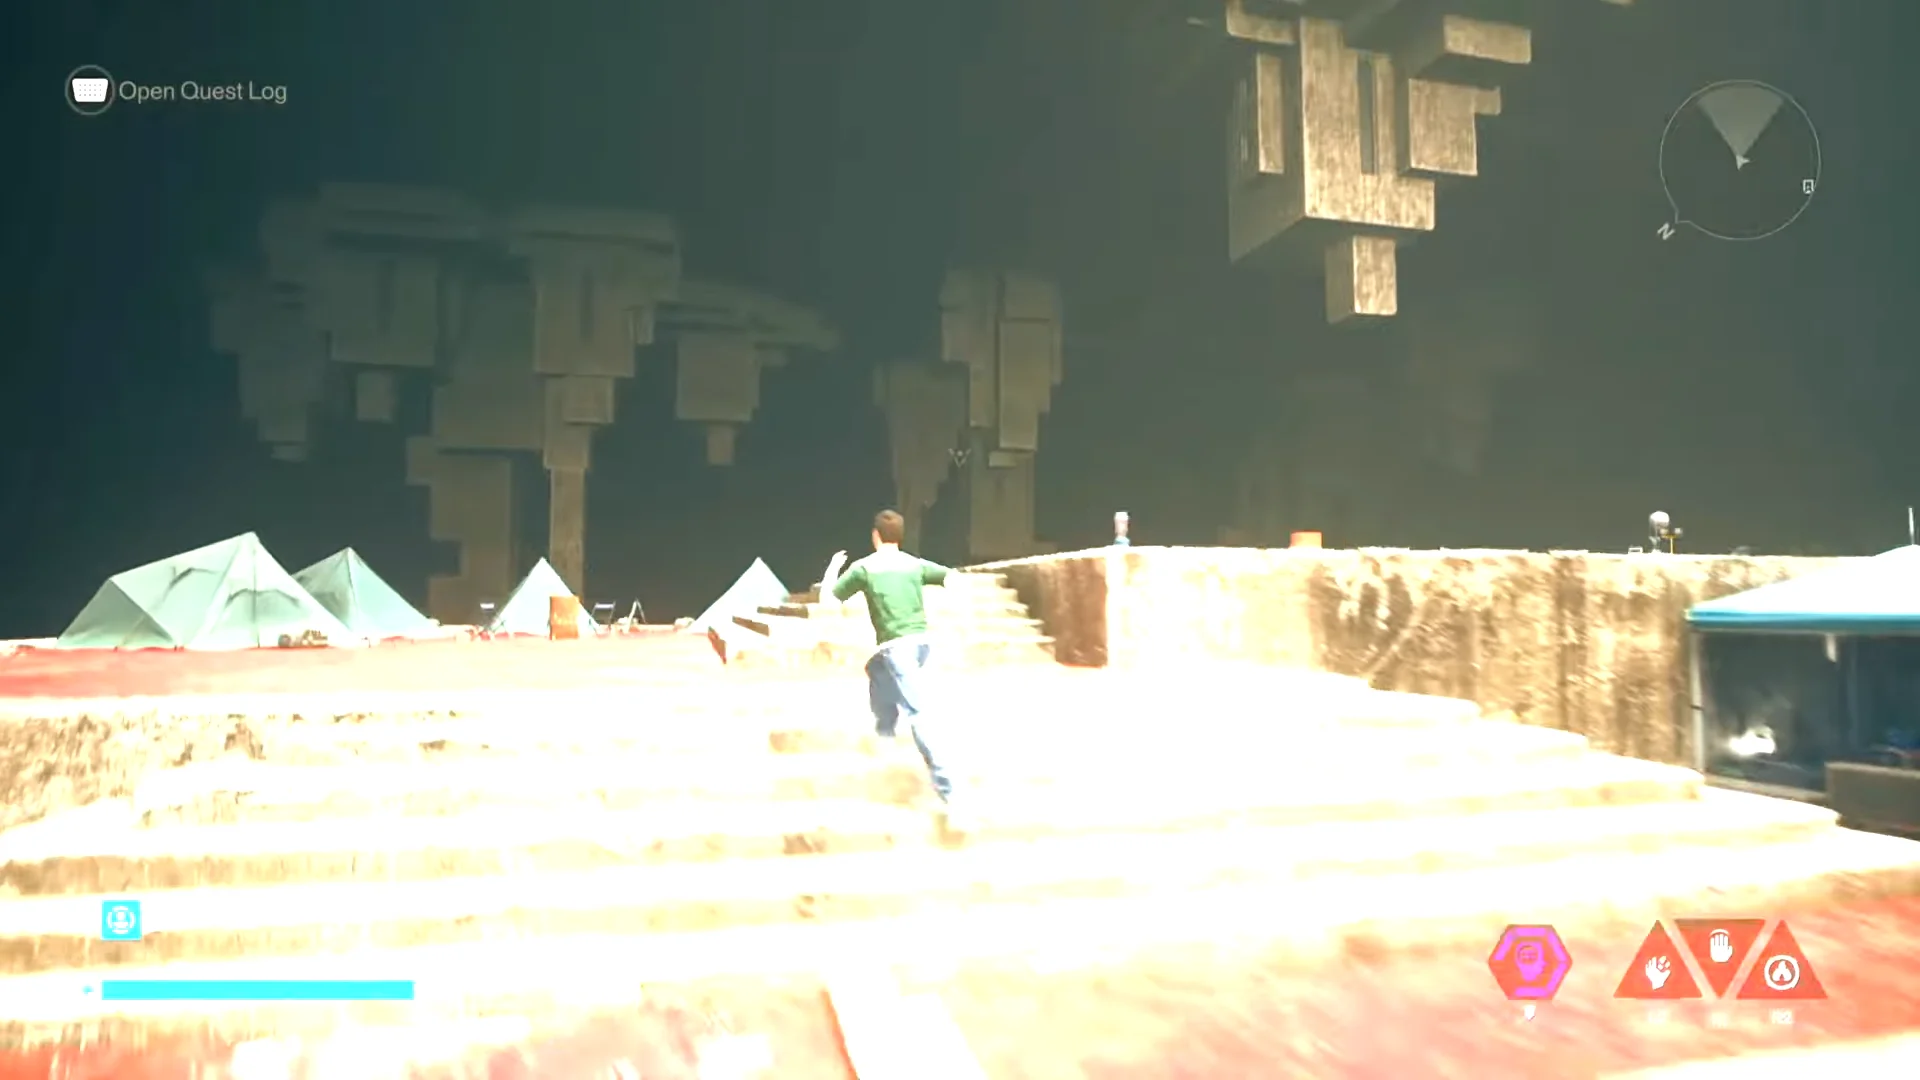
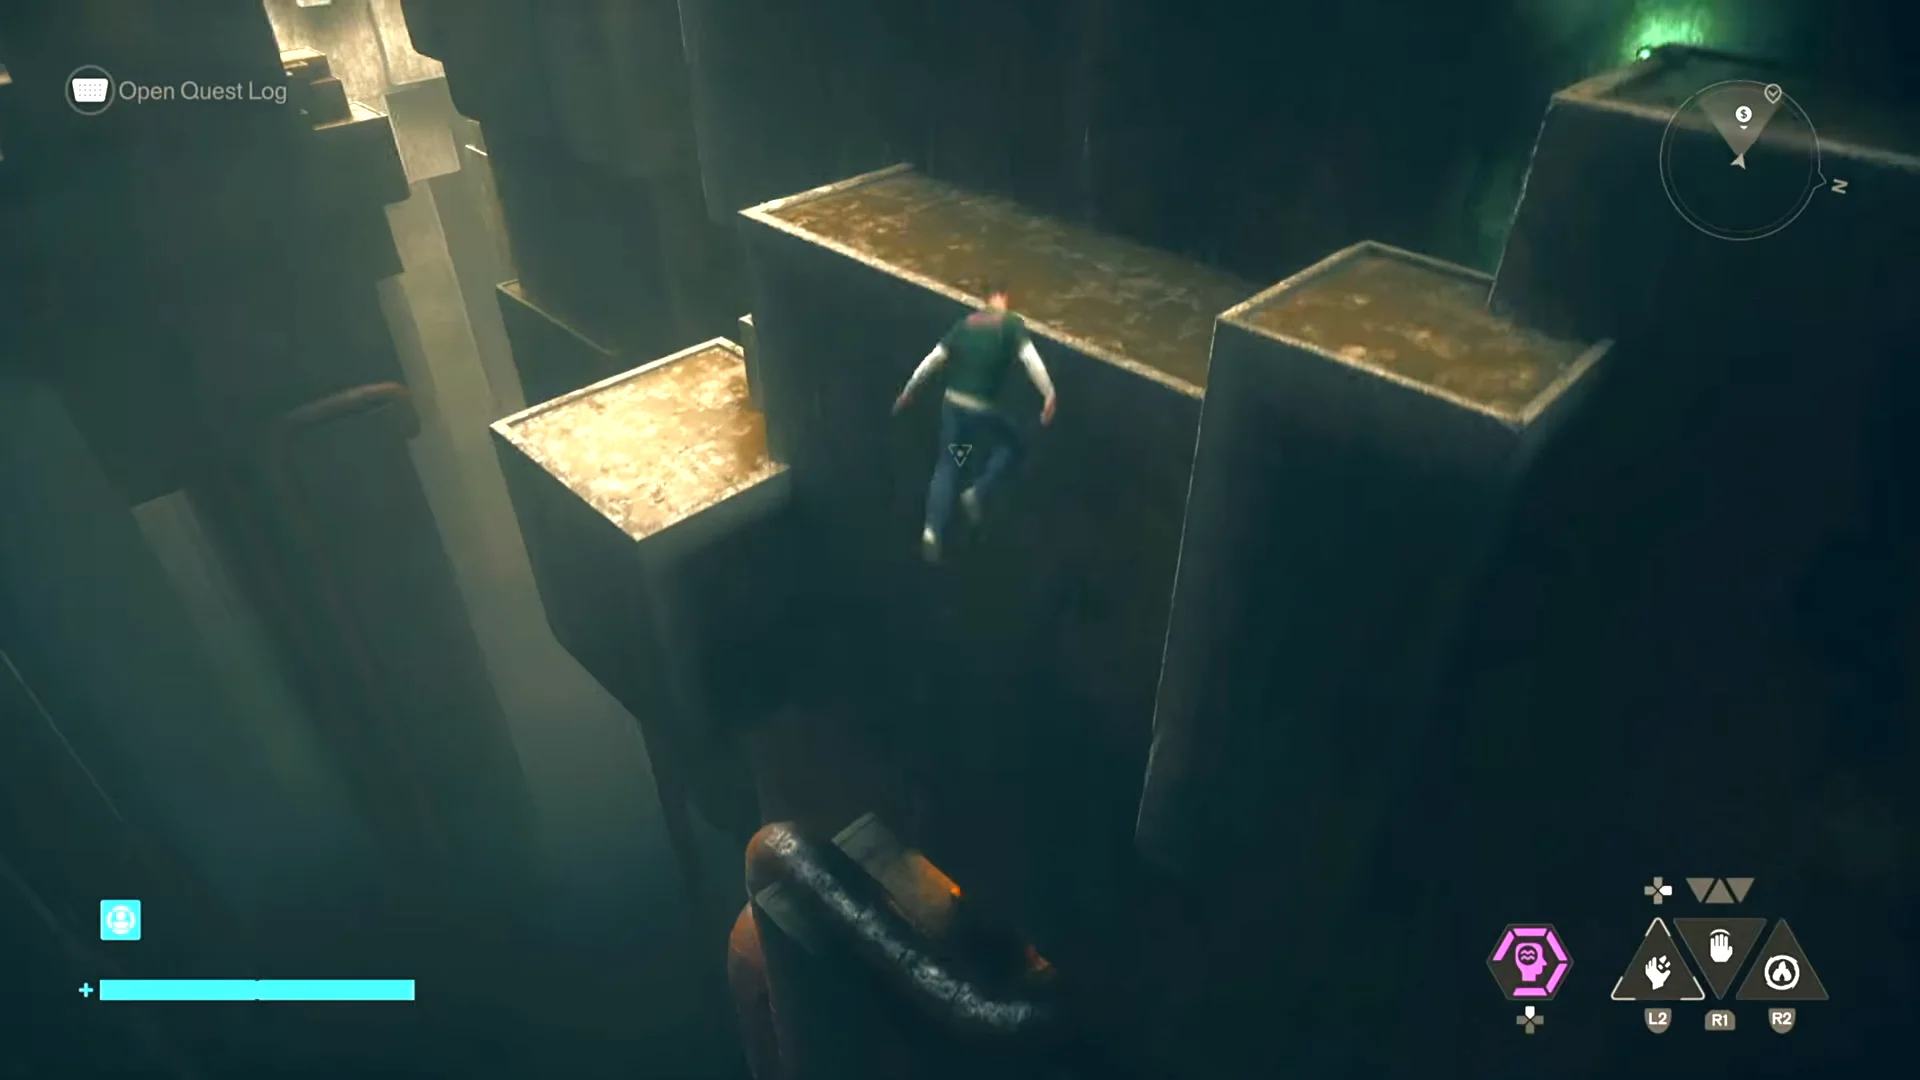
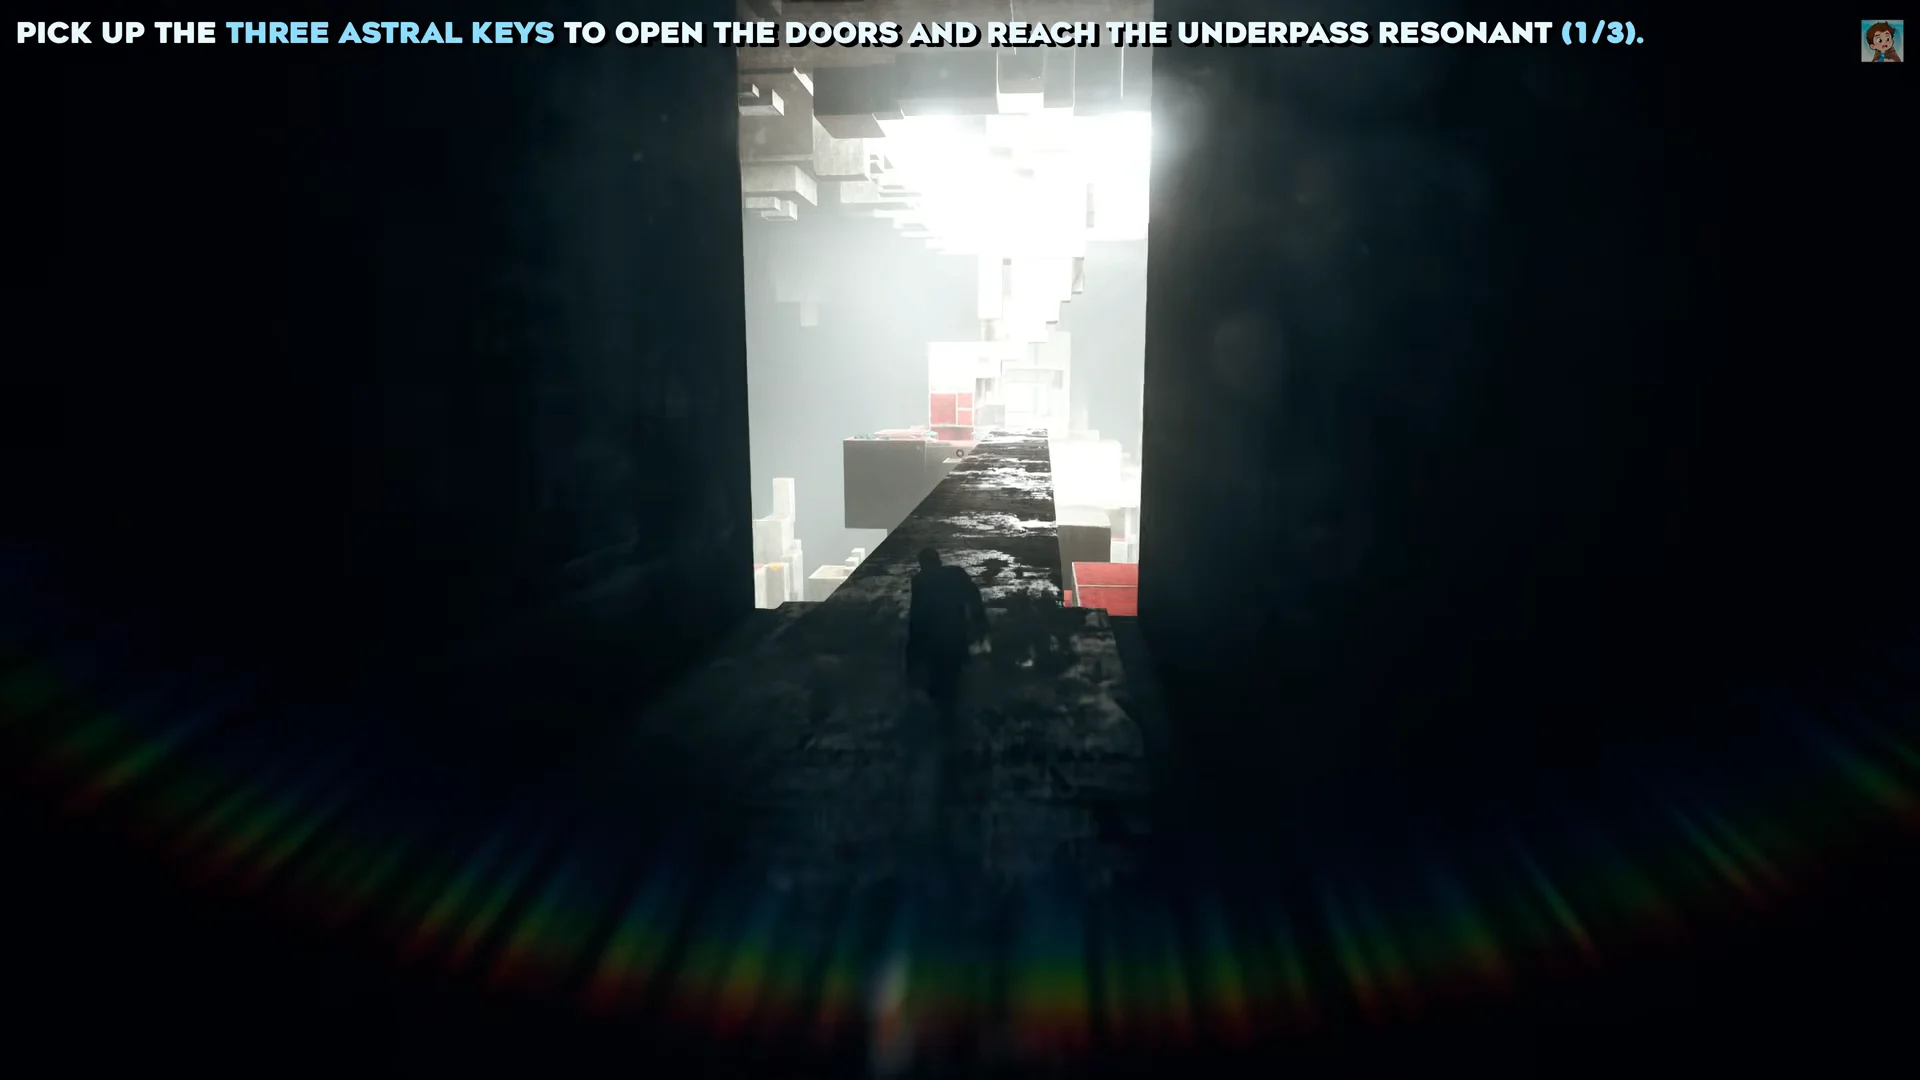
If you miss a landing, you’ll fall into the void and respawn on the ledge above. Take your time with the vertical jumps instead of rushing from platform to platform.
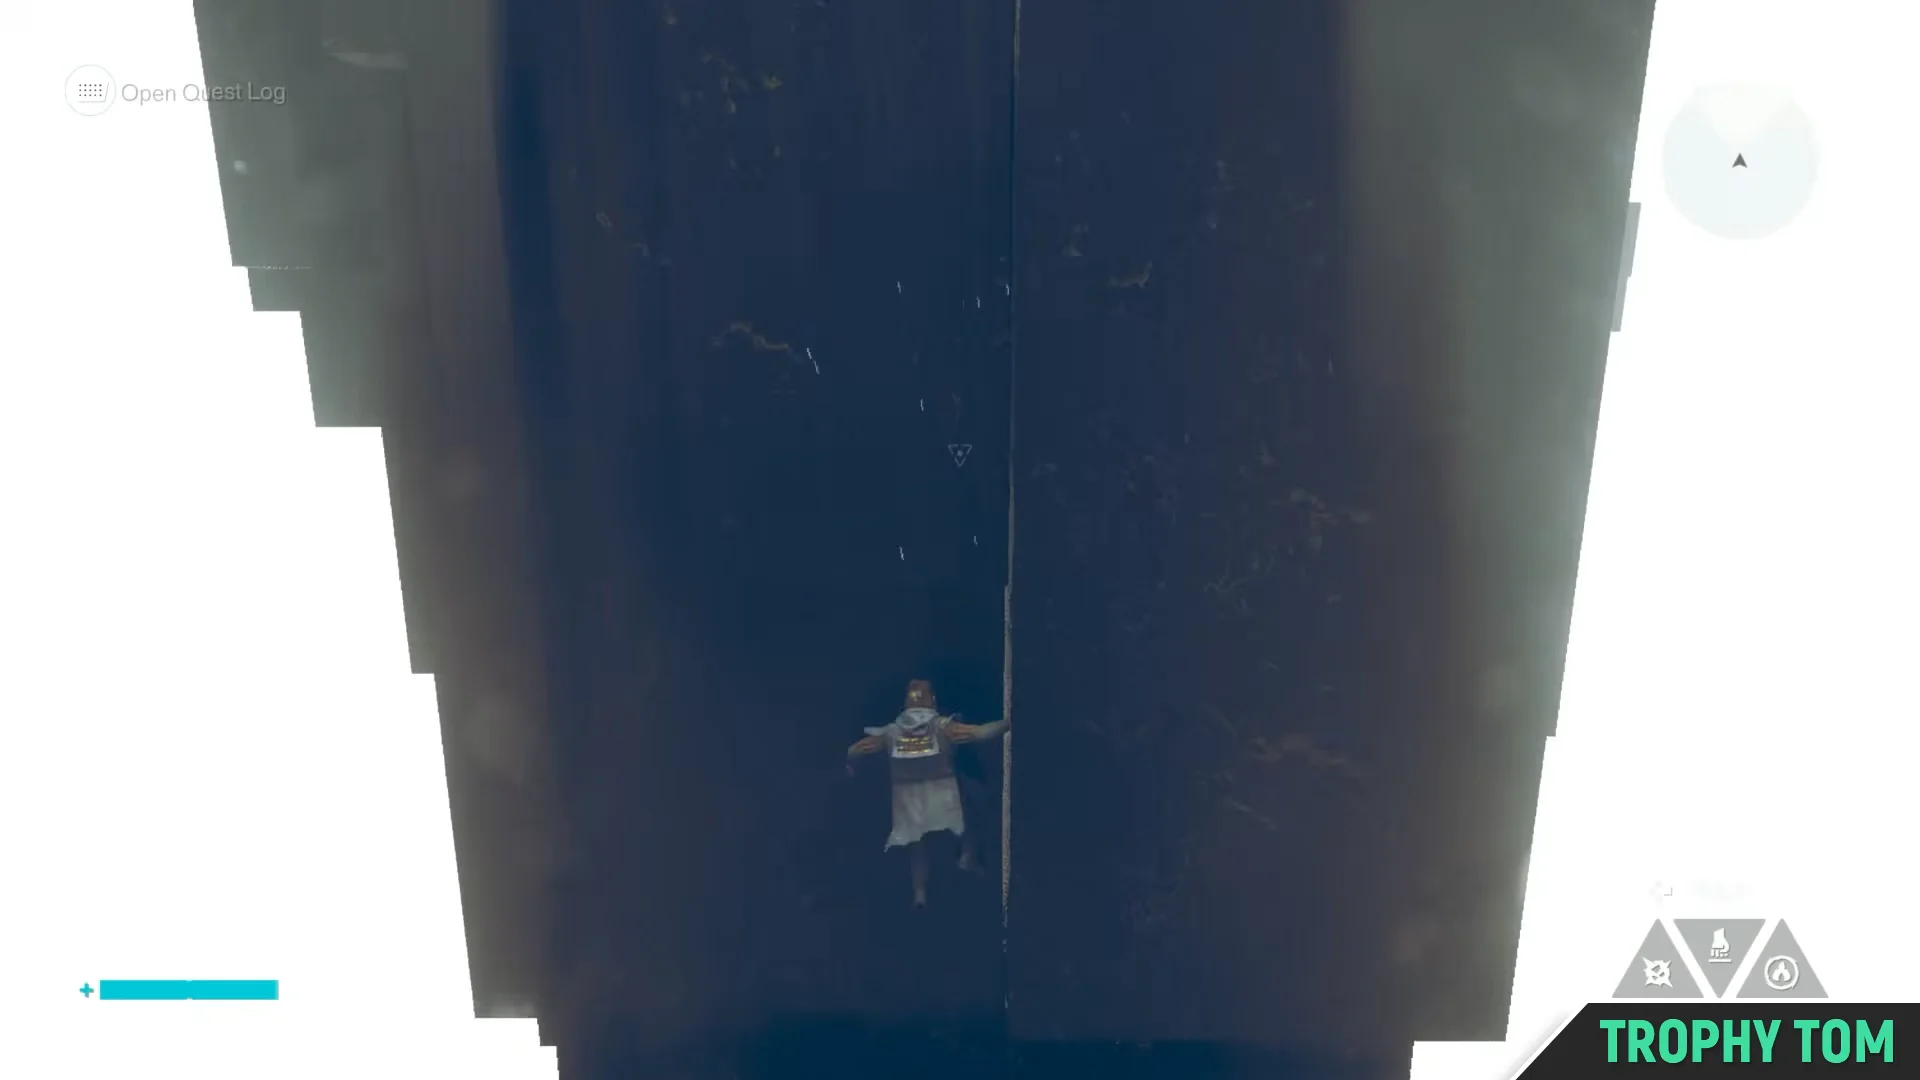
All three Astral Key locations
The doors are arranged one behind another: opening one reveals the next locked door. Each time, you must head back into the void to find a different key. At the end of each branch, look for a glass box or container holding the key; collecting it displays a +1 Astral Key pickup message. Start each branch from here.
| Key | Where to break off | Landmark at the key |
|---|---|---|
| First | Drop to the lower platforms beside the door | Trail of desks and office gear |
| Second | Turn around, run to the far end of the path | Upside-down platform past the cubes |
| Third | Turn around, drop onto the platform on the left | Four chests next to the glass box |
First Astral Key
First interact with the double doors to register that they’re locked. Then descend to the lower floating platforms, using the carpet and clothes rack as your guide. Drop onto the platform below, double jump and dash over the gap, then Shift up the wall.
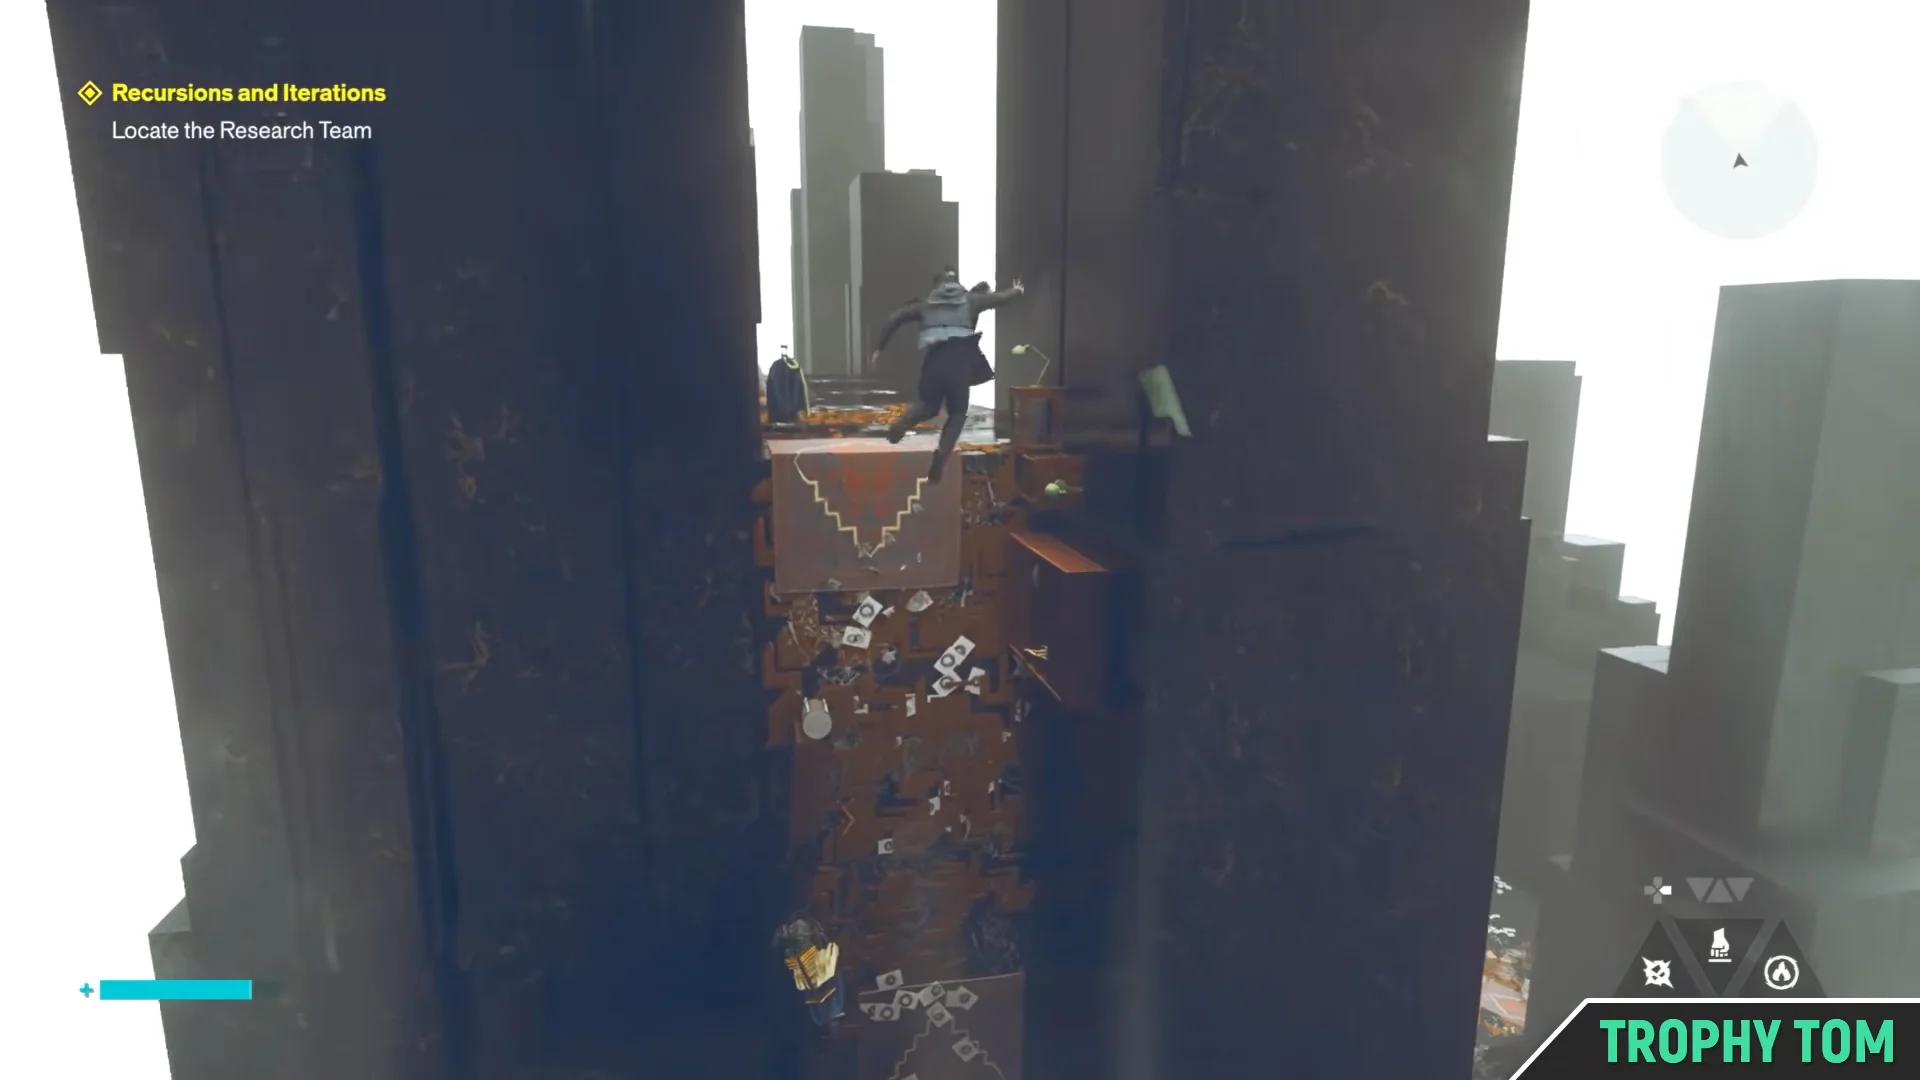
The first chest releases three geometric orbs that pursue you and ram you. Their hits deal solid damage, but they have no other attack, so stay mobile and take them out individually. Follow the left-hand path, jump the gap, and open the next chest to trigger a sweep of spikes across the floor. Retreat until it passes.
Turn right twice, then Shift up the climbable wall. Follow the desks and office equipment until you reach the dead end. On the central table, a glass box holds the Astral Key; “A Collections Letter” and “Physicist’s Log #3” are nearby. Bring the key back and unlock the door, then look to the right of the entry for “Physicist’s Log #4”. The second locked door is just beyond.
Second Astral Key
With your back to the door, sprint along the path and leap the gap at its end. As you approach the checkpoint marker, a purple skull appears and three more geometric enemies spawn. Defeat them, cross to the right, and turn left. Approach the next marker slowly, because it activates ground spikes.
Once the spikes retract, run up the wall, jump the gap, and head left. Climb the cubes on the right, cross the next gap, and use Gravity Anomaly at the edge to walk along the walls until you are fully upside down. Turn 180 degrees and the platform holding the second glass box comes into view.
Remove the Astral Key from the container on the bed in the center of the room. Four chests hold Source and materials, and “Physicist’s Log #6” is on the left. Jump off the edge onto a platform that takes you back to the door; unlock it to reach the third locked door.
A Health Upgrade Point (1/3) sits along this stretch, tucked in a yellow cat dispenser near a stove and refrigerator on a raised ledge. Collect three across the game to raise your maximum health, so grab it while you are already here.
Third Astral Key
Turn away from the door again and head back toward the start of the passage, where a tower stands in the distance. Instead of Shifting down at the end, jump across the gap toward the platform, using glide, double jumps and dashes to make it. Fight the enemies at the back, then turn right and jump across to continue.
Reach the end and turn left to find a checkpoint. Spike traps spawn in the corridor ahead, so Shift onto the wall to avoid them. The checkpoint teleports as you approach and spawns more foes. Clear them, then climb the ascending black marble pillars on the left, cross the passage, and Shift instead of jumping to the other side. You will now be facing downwards.
Do not drop down. At the path’s edge, Shift again to walk upside down. Follow the route to “Physicist’s Log #5”, then turn back and return to the edge without changing perspective. Jump across to the platform ahead and take the final Astral Key from the table.
Return to the door and unlock it to enter a residence. “Letter from Howie” rests on the table to your left, and “Physicist’s Log #7” is on the right. Activate the glowing mirror at the back to start a cutscene and the boss fight.
How to beat The Physicist
The Physicist is the Underpass Resonant: a huge, warbling chaos orb, named at the top of its health bar. Greedy attacks are what get punished, so strike in brief openings. After one of its attacks, dash in for a few hits and withdraw. A build that inflicts status damage, such as Burn, brings its health down noticeably faster.
Phase one
Start moving as soon as the fight begins. The enemy pursues you and sets off a large area-of-effect blast when it gets close, repeating this several times before taking to the air. From above, it launches three volleys of four projectiles. Sprint in a wide loop around the arena to outrun them all.
- Charge Up: it charges briefly, then launches a shockwave outward. Do not be near it when it fires.
- Projectile attacks: it flies up and rains debris. Keep moving in a wide circle.
- Sweeping arm: up close it swings a telegraphed arm. Jump or hover above it.
After an explosion detonates, dash in, hit the boss about three times, and back away. Repeat this pattern until it pounds the ground, turns the arena circular, and retreats down a path that has just opened.
Phase two
You’ll arrive in the new circular arena, where the boss divides into smaller versions of itself. Handle them like the geometric orbs along the key routes: focus on one at a time, since a pair of quick hits can stunlock you. As you clear them, stay safe on the pillars rising around the arena’s edge.
After the copies are defeated, The Physicist returns with its previous moves and some new attacks. Ground-level spike waves sweep across the arena; dodge to either side while moving closer for free hits. It also sometimes slams the ground and sends out a pulse without an explosion, causing spikes to burst up under your feet. Attack during its wind-up, then dash sideways as soon as the pulse begins.
Final phase
When its health is low, it retreats to one last platform and summons two orb minions while remaining in the fight. This is the most dangerous stretch: eliminate the minions first, use the gaps between the boss’s attacks to strike, and value survival over damage. Once they are gone, no new attacks are added, so keep punishing its explosion, sweep and spike moves until its health reaches zero. Press the button prompt to finish the fight.
Rewards and confirming the quest is complete
Defeating The Physicist opens a Combat Ability selection screen in the Gap and gives you the Untapped Golden Earrings artifact recipe. Choose one of two abilities that automatically target enemies and build up Astralized, making negative status effects stack on foes faster.
- Spike: summon an Astral Spike to attack enemies. It can be directed to strike and knock down a target, and builds up Astralized.
- Astral Rebuke: Send out a homing spike that bursts up beneath enemies, launching them and applying Lifted and Astralized.
Either ability is a strong choice, so pick the one that suits your build. Claim it from the Astral pillar and try it on a dummy foe, then hold Up on the D-pad to leave the Gap. Back in the Underpass, the Astral Reconfiguration trophy pops on PlayStation. It’s the clearest confirmation that the full door-and-key sequence registered and the quest is complete.