Urban Survival ranks among the more involved side quests in Control Resonant’s Evacuation Zone, a fog-filled area of distorted Manhattan. The investigation begins with finding whoever has been laying mines around the neighborhood, then becomes a series of personal tasks for a survivalist unwilling to abandon his bunker. Dylan Faden must identify the trap-setter, retrieve two belongings important to him, and locate his missing brother.
Quick answer: Read the Investigation Order by the parking garage, use door code 8521 to speak with the survivalist, bring back Olivia and Granny, then use his car fob to find the apartment key and return his brother’s framed photo to complete the quest.
Where Urban Survival starts in the Evacuation Zone
Head to the southern section of the Evacuation Zone and look for an underground parking garage marked by a large yellow parking sign, with a hot dog stall out front. A document called the Investigation Order sits on the ground just past the entrance. Interact with it to add Urban Survival to your quest log. Your first objective is to find whoever is setting the traps.
Activate the fast travel points at Main Street and the Survivalist’s Bunker as early as you can. You cross this zone several times during the quest, so both points cut down on backtracking.
Clear the parking garage and reach the bunker
Recover Olivia from Pulse Fitness
Pulse Fitness on Main Street is the closer objective, so start there. A group of enemies holds the entrance and keeps the door locked, so clear them out first. Once inside, take the first door on your left into the back office. Olivia is on the desk, and she turns out to be a potted plant rather than a person. Pick her up.
You can find two optional rewards along this same street: a free Violent Echo in the laundromat, and the Konstig art shop. Complete the painting puzzle inside the shop to uncover a hidden hideout. Pick up both finds as you pass.
Recover Granny from the survivalist’s apartment
Granny sits in the northeastern part of the Evacuation Zone, and the route is heavily defended by nearly every Hiss type. As you near the Evac Building, avoid the patrolling hostiles and dash to the left side. At the end, take a left toward the Wear’em and Wash’em laundromat.
Get onto the laundromat roof, then cross to the higher roof on the left to find the entrance to the survivalist’s apartment. Alternatively, enter through the building’s main doors and take the elevator up. Descend the stairs into the open apartment and search the bedroom. Behind the shelving, Granny—now an urn filled with ashes—rests on a table. Pick her up.
Before departing, search the apartment for the Missing Dog audio recording and a sizable stash of canned goods.
Return both items and take the brother’s task
After collecting Olivia and Granny, fast travel to the Survivalist’s Bunker and speak through the intercom. He tells you to place the two items gently on the table next to the door. Each item you set down updates your objectives. He then asks Dylan to locate his brother; first, however, you need the apartment key to get into the brother’s home.
Find the apartment key and the survivalist’s brother
The quest’s most challenging section crosses a zone overrun with mold. If you haven’t learned Inferno or Ignite from The Dancer Resonant in Central, get one of those skills before proceeding; either lets you burn through the mold enemies quickly.
Complete Urban Survival and claim the rewards
Return to the Survivalist’s Bunker one last time and report the news over the intercom. Set the framed photo on the table next to Olivia and Granny. A completion prompt confirms Urban Survival is finished and the rewards drop into your inventory.
| Reward | Type |
|---|---|
| Plate Carrier M1 | Outfit |
| Untapped Heart Monitor | Artifact recipe |
Before continuing, search the side room beside the bunker for extra Source and an Aberrant Shard.
Combat notes and encounters along the way
As you travel between objectives, some Evacuation Zone encounters can happen again. Completing World Feats on the way also rewards extra crafting materials and Source. Be alert for flying Hiss outside the parking garage; they can approach without warning.
| Encounter | Where | What to do |
|---|---|---|
| Suspended Extermination | Open streets | Destroy floating volatile Hiss before they detonate |
| Hiss Hive | Garage and alleys | Destroy the possessed vehicle or glowing node |
| Lenny | Street ambush | Elite brute with high health, backed by snipers |
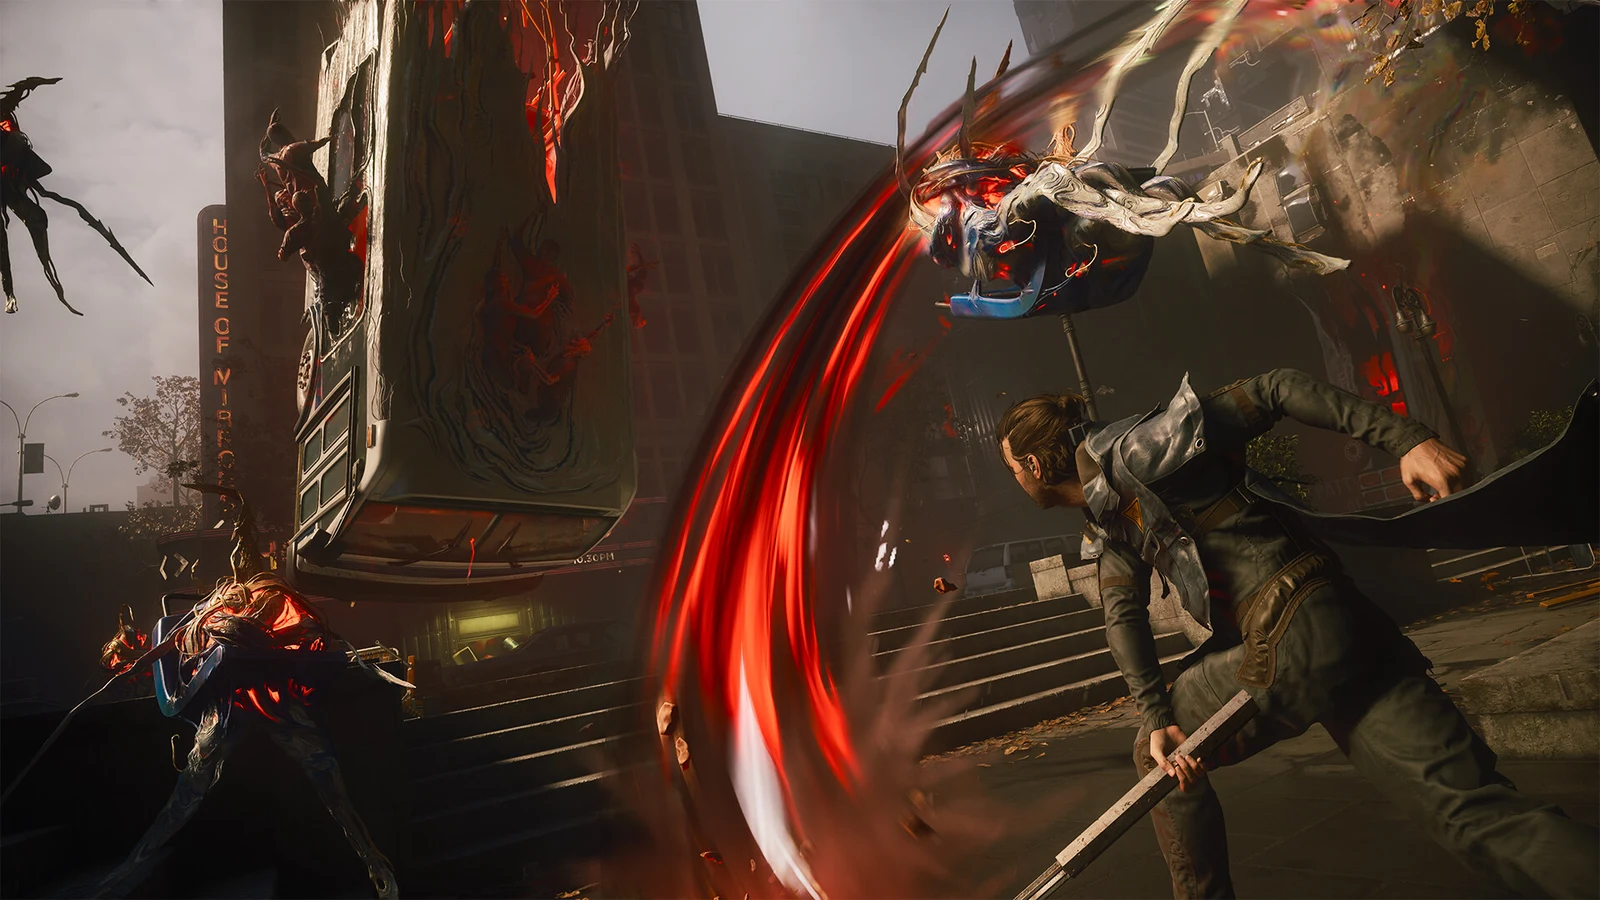
Lenny’s ambush in the street is the area’s toughest encounter. Snipers with laser sights cover Hiss that rush in to attack at close range, creating a dangerous crossfire. Upgrade your weapon in advance, and use Source in the Primary Forms tree to boost damage and mobility with skills such as Cleave and Dodge Glaive. These upgrades help you wear Lenny down while dodging the snipers.
Check your inventory before using upgrade materials to ensure you have every required component, including Distorted Form, Corrupted Element, and Aberrant Slivers. Vendors on the zone’s streets will trade echoes, shards, and artifacts for Source if you’re missing anything.