Dylan lands in a warped version of Manhattan with a shapeshifting weapon fused to his arm and almost no guidance on what matters first. The early game in Control Resonant is open-ended enough that you can wander for two hours and end up underpowered, or spend twenty minutes on the right setup tasks and walk into the first real fights with extra damage, extra health, and a full map.
Quick answer: Unlock the zone map at the central pylon, find the district vendor, then head into The Gap to craft, buy a combo finisher at Aberrant Strength 15, and unlock a second weapon form.
Unlock the zone map first: pylon and three satellite dishes
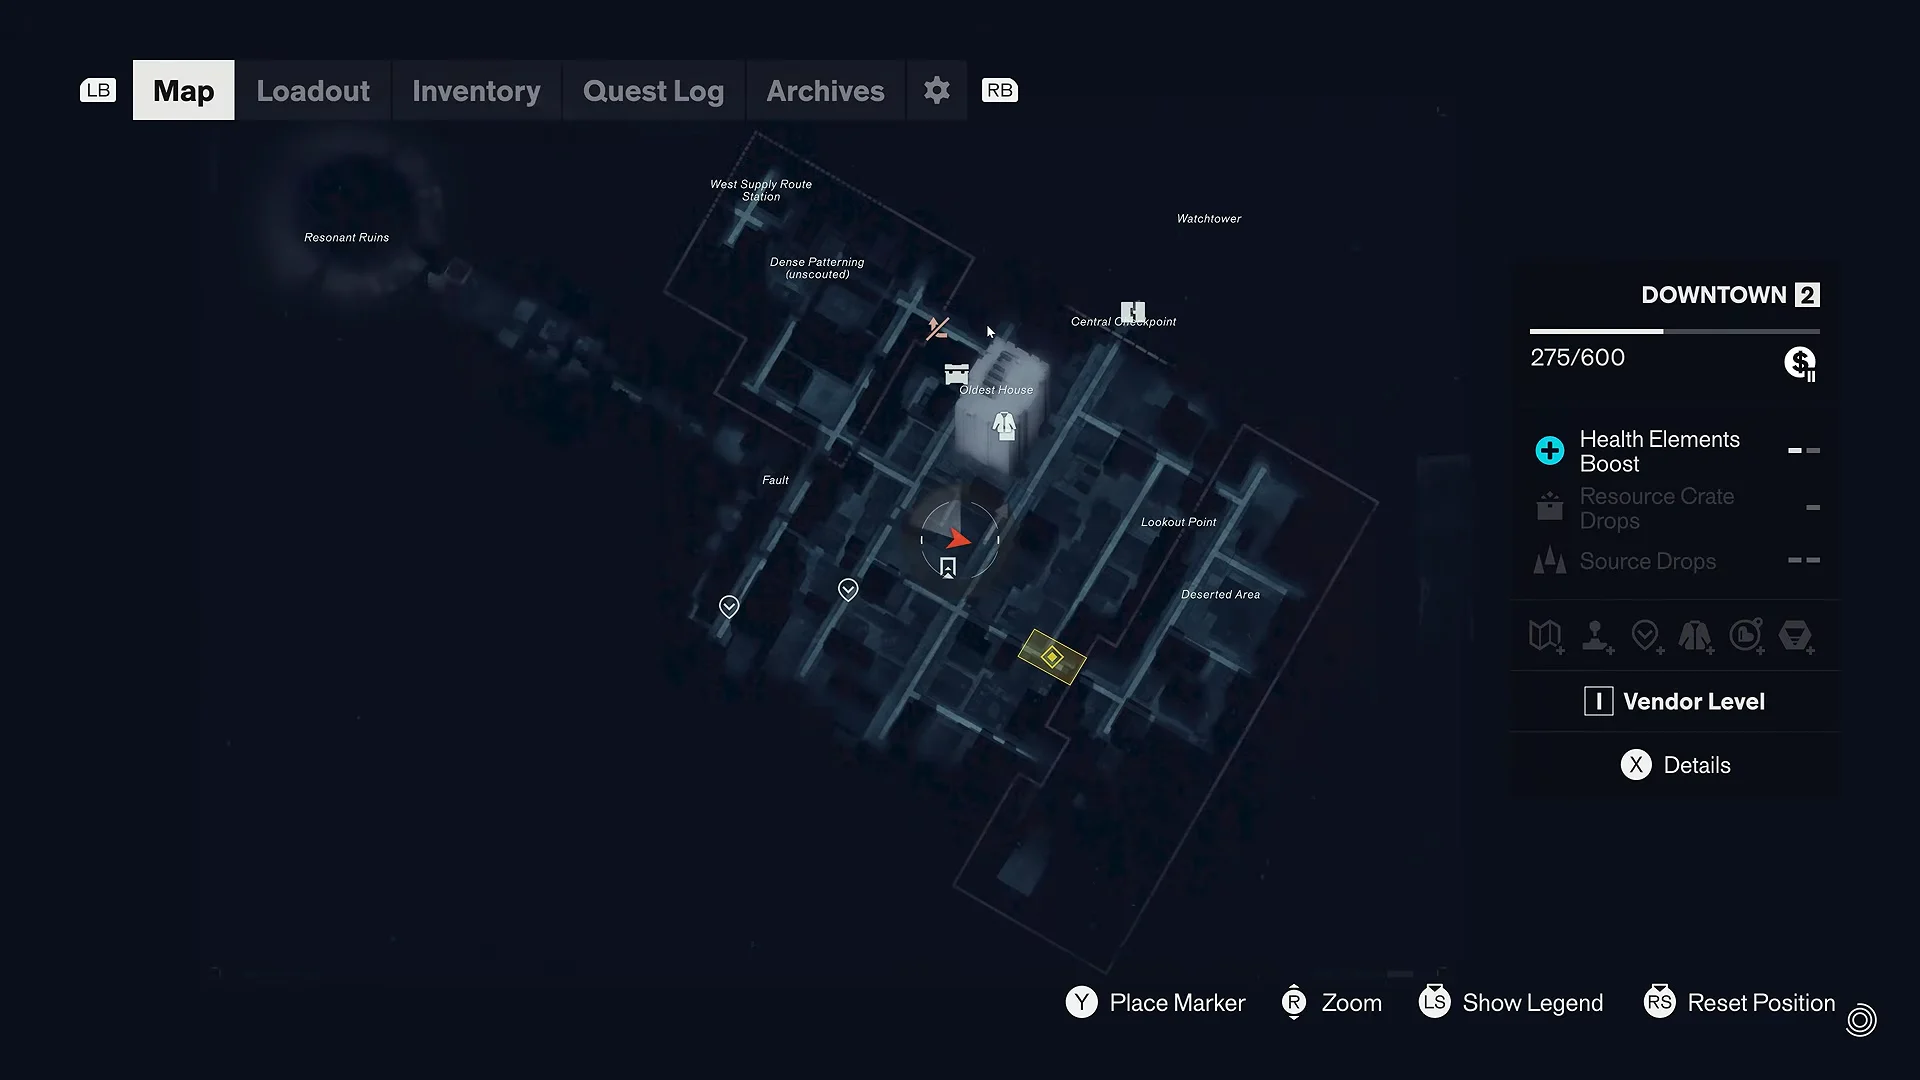
Every new zone starts blacked out. To reveal it, calibrate the three satellite dishes scattered around the area, then activate the central pylon they feed into. Do this before you commit to anything else in a district, because everything below is easier once the icons exist.
You’ll know it worked when the map screen fills in with markers: points of interest, World Feats, side quests, treasure chests, vendor locations, and the areas you cannot reach yet because you’re missing a traversal ability. That last category is useful on its own — it tells you which walls to stop throwing yourself at.
The Gap: crafting, powers, and the Aberrant skill tree
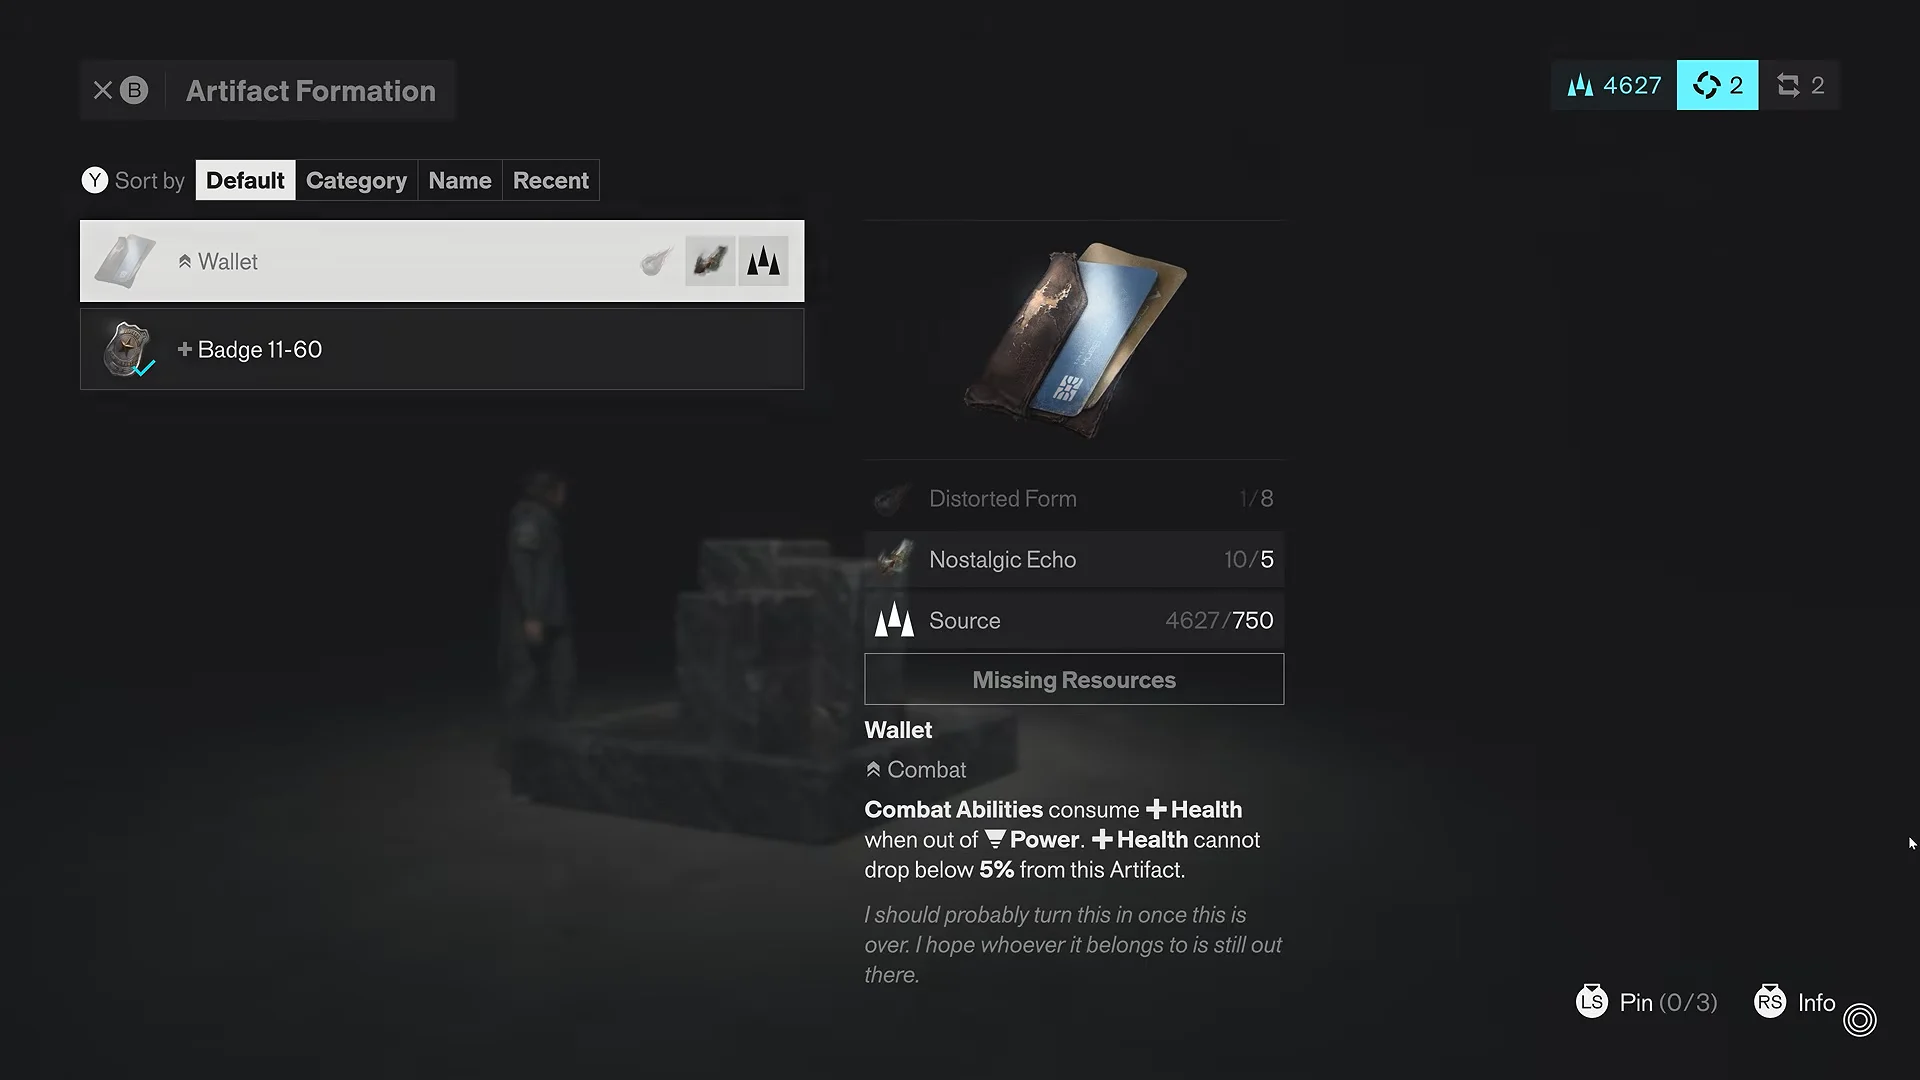
Hold down on the D-pad to drop into The Gap, a pocket dimension that works as your hub. You can enter it almost anywhere, and it holds four things you’ll return to constantly.
- The Artifact Formation station, where you craft artifacts from materials.
- The power selection slab, for swapping which combat power is equipped.
- The Aberrant weapon tree, covering weapon forms and combo finishers.
- The talent tree stone, where skill points go.
Visit it the first time you have spare materials rather than saving up. An equipped artifact and a couple of weapon upgrades both feed directly into Dylan’s build power, which is what the game checks when it decides how badly a given enemy will hurt you.
Raise Aberrant Strength: combo finishers and extra weapon forms
Aberrant Strength is the stat that decides how much damage Dylan deals, and it is cumulative. Anything you unlock in the Aberrant menu raises it, including forms you have no intention of using. If you need a fast damage bump and your current form is fully invested, buying into a different form still counts.
| Purchase | Requirement | Payoff |
|---|---|---|
| Combo finisher | Aberrant Strength 15 | Extra attack after the three-hit combo |
| New weapon form | Materials | New damage type, large Strength boost |
| Form upgrades | Materials | Incremental Strength on every node |
The combo finisher is the single best early purchase. Grab it the moment you hit Aberrant Strength 15, since it adds a free extra hit to the basic string you’re already throwing in every fight. After that, spread into a second form. Enemy types resist different damage, and Blunt damage in particular cuts through armored targets like the Mold.
Find the district vendor for materials and respecs
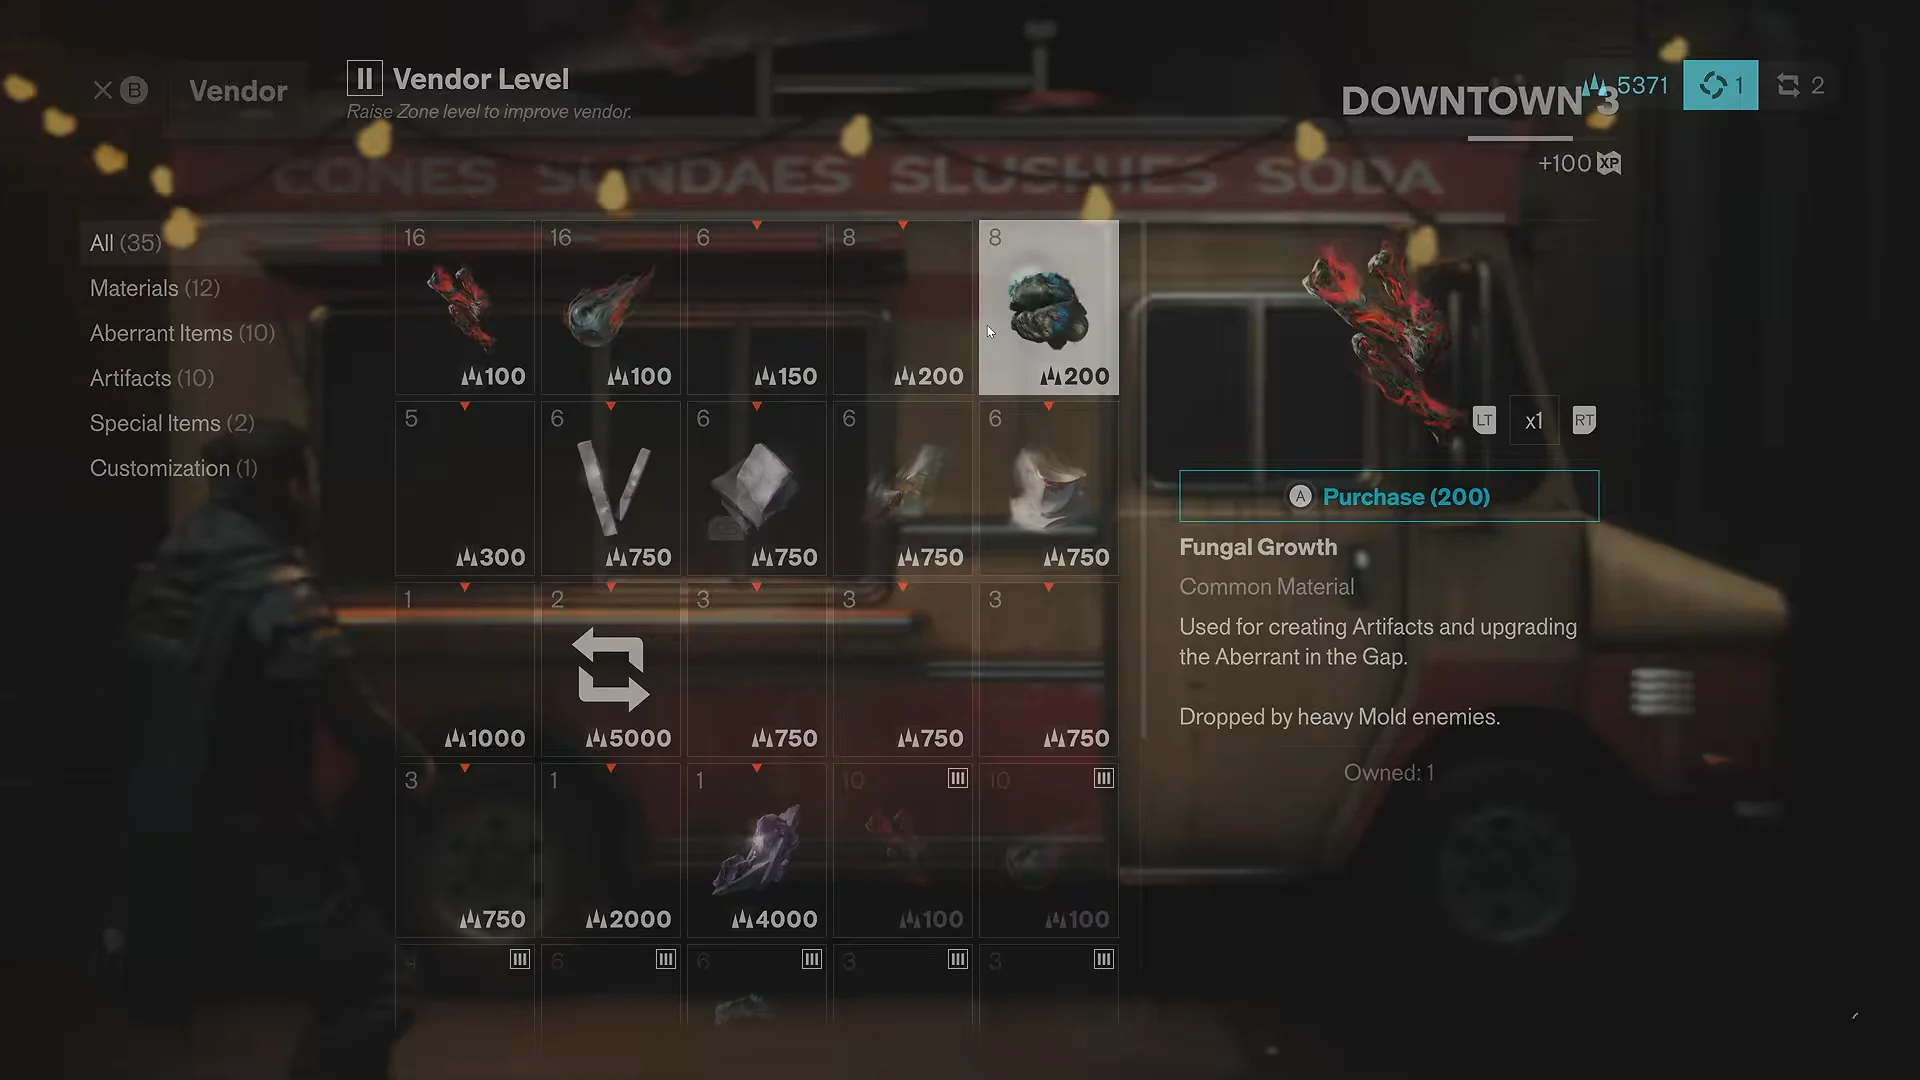
Each district has one vendor, and they’re all ice cream trucks. They sell upgrade materials for Source, plus cosmetics for Dylan and reset items if you want to redistribute skill points. Buying the exact material you’re short on beats farming a specific enemy type and hoping for the drop.
Stock is gated behind the district’s world level, so a truck that looks thin on your first visit will have more to sell later. Buy only what unblocks a specific upgrade — materials become easy to accumulate from enemies further in.
Clear streets and World Feats to raise the zone level
Here’s the part that confuses people early: XP from killing enemies and finishing World Feats does not go to Dylan. It goes to the zone you’re standing in. Push a zone to its next level and you get a talent point out of it, which is how Dylan actually grows.
Higher zone levels also stack passive benefits. Quests and events in that district award more XP, enemies drop more Source, and containers start producing better-quality materials. Roaming mini-bosses, airdrops, and cache defenses alongside FBC troopers all feed the same meter. Eventually a district can be reset, refreshing its activities and enemies at a higher level.
Collect HP and Power upgrade points from hidden chests
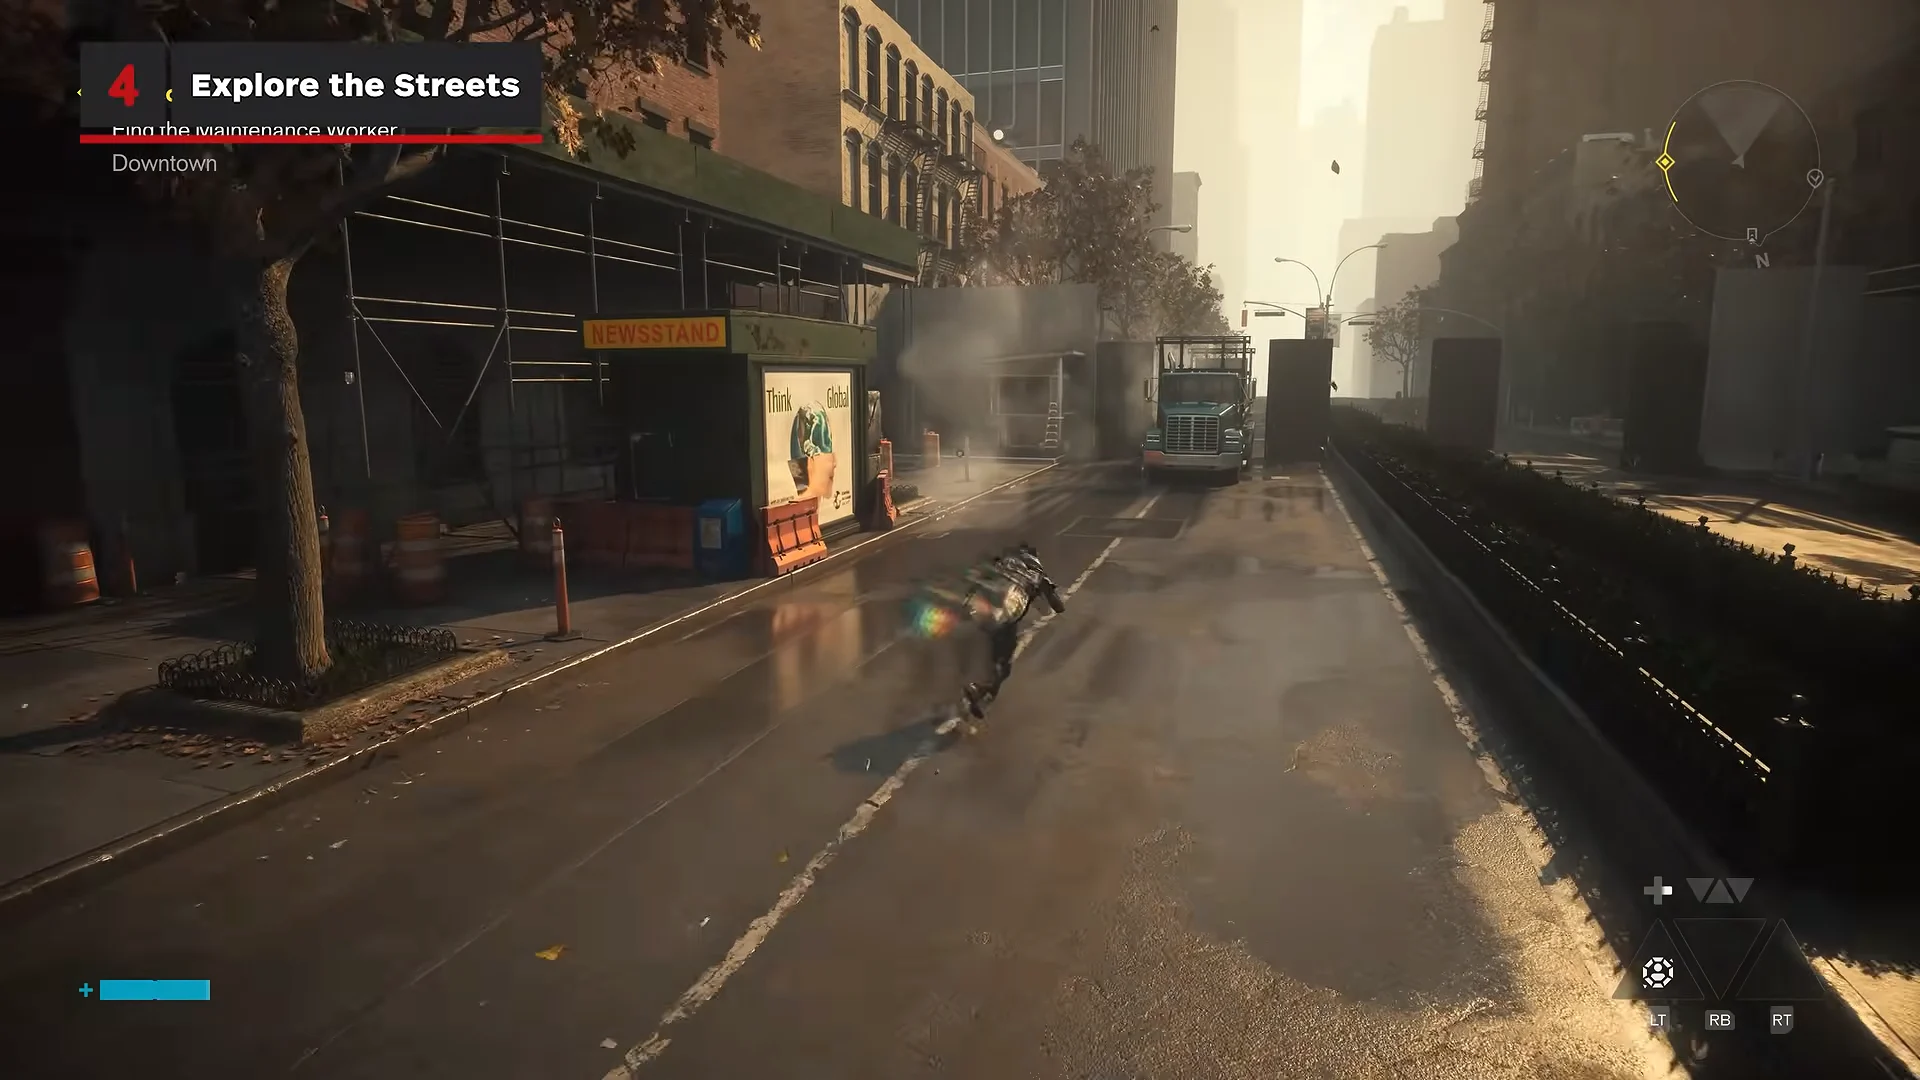
Health and Power gauges expand through upgrade points found in rare storage crates, and you need three of the same type to earn one increase. Missing these is the easiest way to end up fragile.
Several are within reach immediately. Check the construction site for a power upgrade point, revisit the prologue boss arena for another, and hit the loot vending machines on the street for Source and reset items. One is usually near the first vendor you meet in any area.
Walk through any door that isn’t barred. Secret hideouts and stashed crates hide behind ordinary storefronts, and some need a small puzzle first — a diner early on asks you to switch on appliances in the right order. The dog toy side quest also starts out here on the streets.
Complete the FBC Access Terminal in the Oldest House lobby
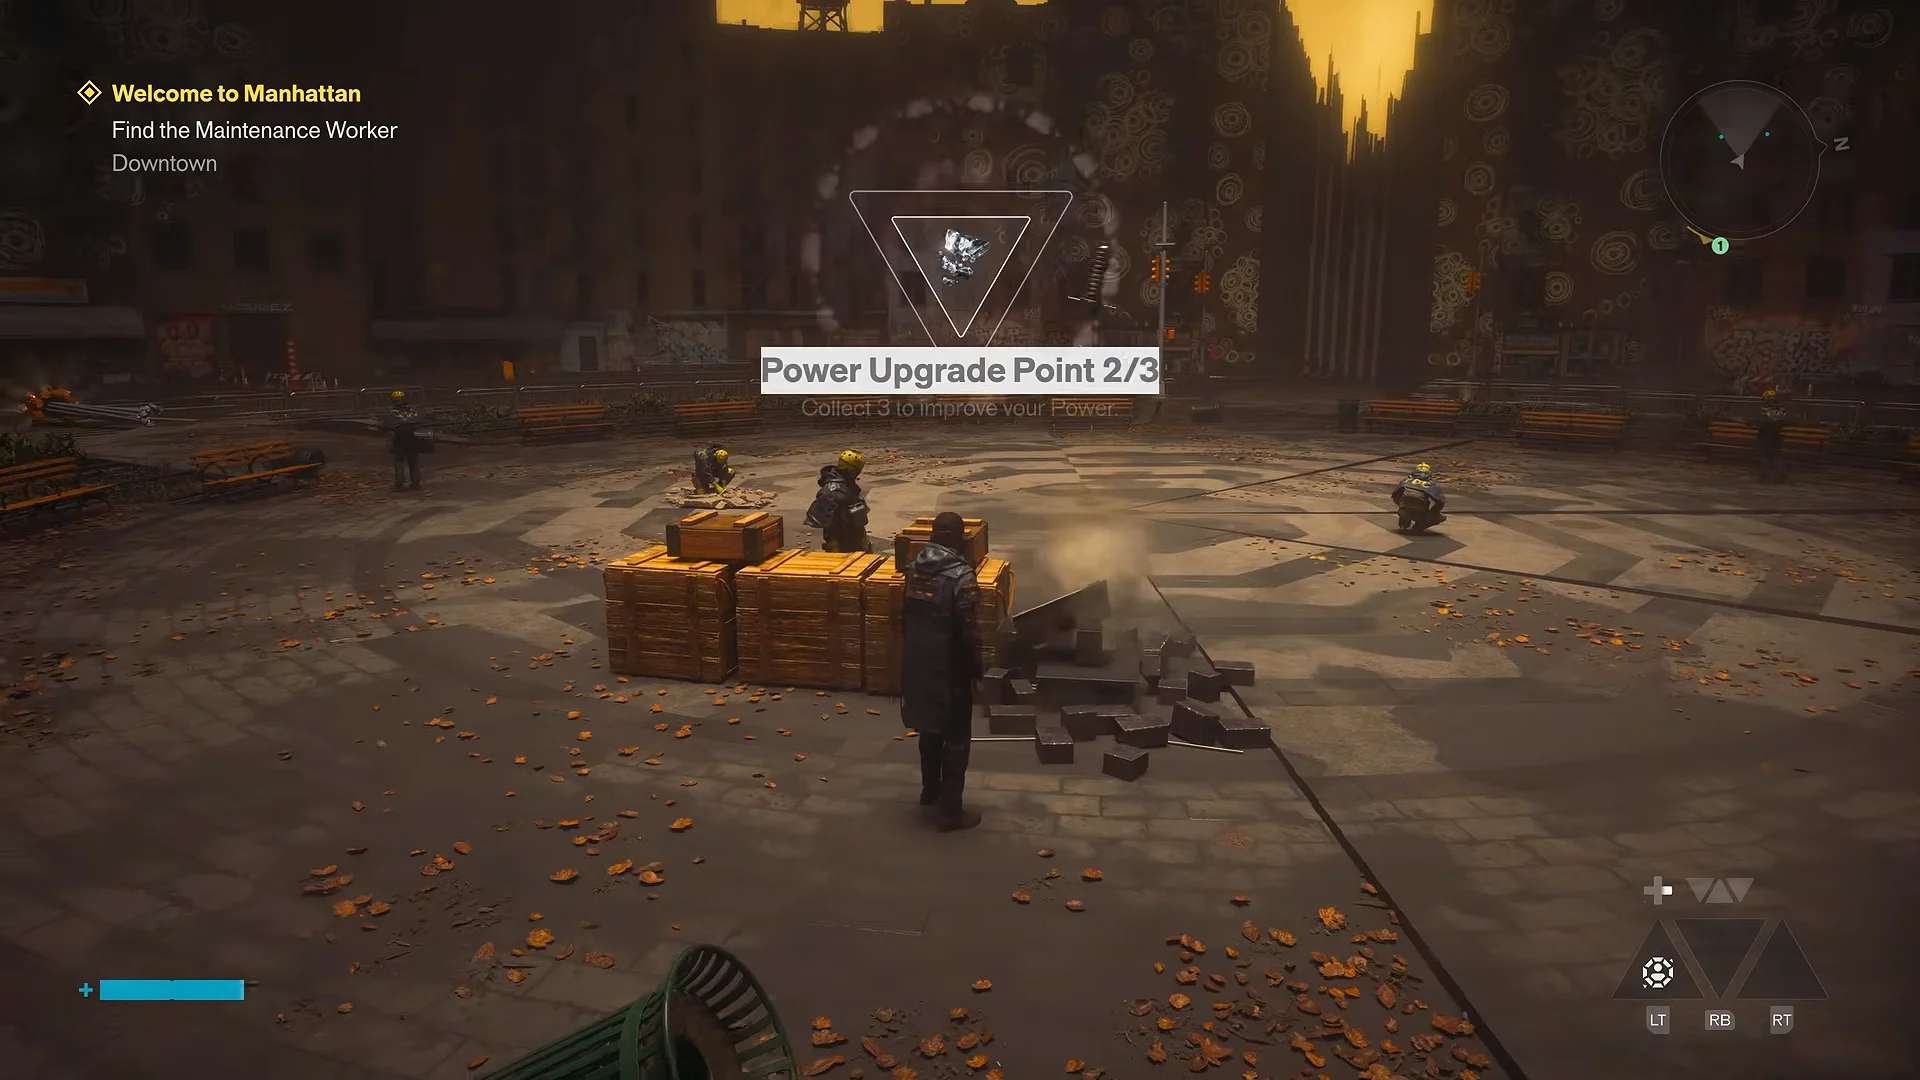
Tucked into a small office off the Oldest House lobby is an FBC Access Terminal. Interact with it and answer its three questions. Finish the sequence and it pays out Source and upgrade materials — a free chunk of early resources for about a minute of work.
Meet Zoe at the Watchtower to open the questlines
Follow the main quest to the Watchtower and meet Zoe. Looking through the binoculars lets you scout distant points of interest, and each one you tag adds a quest to your log. This is the moment the game stops being a corridor.
From there you can choose a direction: continue the main story, go after a Resonant boss for a new combat power, or head to the West Incursion Zone for a gravity-based traversal ability. Local side quests get added at the same time. Do not skip them — Side Stories are a main source of artifact recipes and exclusive outfits, and they level the zone while you’re at it.
Traversal abilities: Reach, Shift, and Extended Rush
Traversal abilities come from Dimensional Faults, the objective areas that drop Dylan into fragmented landscapes while tracking Jesse’s movements. They open locked parts of the map and solve specific puzzles, so grabbing them early saves backtracking.
| Ability | Where | What it does |
|---|---|---|
| Reach | Evacuation Zone, near Railyard Street Station | Zip to gravitational orbs on buildings |
| Shift | Parking Garage, West Incursion Zone | Walk on vertical roads and shifted structures |
Shift is what gets you into the Gravity Town area back in the starting district, so it’s worth the trip. You’ll already have Rush, the sprint ability, and the Extended Rush talent triples how long it lasts. Take it early — it pays off in traversal, puzzles, and repositioning mid-fight.
Early talents worth your first points
The talent tree is enormous and your first handful of points are scarce. The left side favors direct combat, while the right side leans toward a summon-focused playstyle. A dependable early spread for a dodge-and-counter build:
- Perfect Dodge
- Retribution
- Agile Response
- Decisive Step-Up
- Reactive Detonation
If you’d rather lean on a summon, the Volatile Anomaly power pairs with Guarded Formation, Restorative Summons, and Enduring Ally, which extend its lifespan and add damage reduction and healing. Either way, vendor reset items exist, so a wrong pick is not permanent.
Check enemy levels before committing to a Resonant fight
Every enemy displays a level next to its health bar. When that number turns red, and especially when it becomes a skull icon, you are outmatched and will likely end up in a death loop. Open the Stats & Effects screen in the loadout menu to see where Dylan currently sits.
Resonants are the large-scale bosses, and most must eventually fall to advance the main story. They can be tackled in any order, and each one rewards a new combat ability — fire imbuement and a force push among them. The catch is what happens afterward: beating a Resonant resets the world at a higher difficulty, so the regular enemies you were clearing comfortably become a problem.
That’s the real argument for front-loading everything above. Zone levels, upgrade points, a second weapon form, and a stack of side content all take an afternoon, and they’re the difference between a Resonant kill that opens up the map and one that leaves you stuck fighting fodder you can no longer handle.