GingerCraven hits hard enough that most damage-focused lineups fall apart in the first few seconds, and a recent balance change made the problem worse. The adjustment to how Skill AMP applies stripped the scaling off enemy debuffs, which quietly deleted a chunk of value from the teams players had been leaning on for this boss. The fix is not more damage. It is a lineup that survives the opening burst long enough for healing to catch up.
Quick answer: Anchor the front line with Ion Cookie Robot and Dark Choco Cookie, keep Grapevine Cookie and Milk Cookie as the healing pair, run Brightseeker Cookie as the single-target damage dealer, and equip the SR pet Icy Birdie for its +9% ally damage reduction. Stop building around Skill AMP to scale defense down or attack down, because it no longer does.
What the Skill AMP change does to debuffs
The balance notice, titled [Notice] Adjustments to Skill AMP Application & Sugar Rune Refunds, removed Skill AMP’s ability to scale effects that lower enemy stats. Defense reduction, attack down, and damage down are all affected, and defense reduction can no longer push an enemy below zero defense. In practice, a debuff now applies at its printed value and nothing more.
GingerBright is the clearest casualty. Her skill, Jolly Candy, still reads the same on paper, but the numbers no longer inflate with Skill AMP investment, so the attack reduction she brings to a GingerCraven fight is a fraction of what it used to be.
| Jolly Candy (GingerBright) | Value |
|---|---|
| Cooldown | 2.75 sec |
| DMG Dealt | 154.9% of ATK |
| ATK Down Chance | 45% |
| ATK Down | -25% |
| ATK Down Duration | 2.5 sec |
The second rule that matters here is buff stacking. Identical buff types no longer stack, so two cookies supplying the same kind of attack buff means one of them is wasted.
The defensive core: Ion Cookie Robot and Dark Choco Cookie
Ion Cookie Robot is the single most important addition. Ion Shield hands the team a flat 35% damage reduction alongside a shield worth 12% of the caster’s own HP, which is exactly the kind of blanket protection that survives a nerf to debuff scaling. Nothing about that number depends on Skill AMP.
Dark Choco Cookie takes the slot Devil Cookie used to hold. Devil Cookie’s problem is that his survivability was always low and his defense down was the reason to tolerate it. With that debuff no longer amplified, he dies quickly and gives back less. Dark Choco Cookie is dramatically tankier and still applies stacking defense reduction through Dark Sword Strike.
| Skill | Key numbers |
|---|---|
| Ion Shield (Ion Cookie Robot) | 7 sec cooldown, 182.3% of ATK, shield 12% of caster’s HP for 4.25 sec, 35% DMG reduction, transformation at 30 sec |
| Dark Sword Strike (Dark Choco Cookie) | 6 sec cooldown, 48.2% of ATK per strike, DEF Down -8.5% at 20% chance, stacks up to x10, 5 sec duration |
Healing and buffs: why Milk Cookie stays and Cheesecake Cookie goes
Grapevine Cookie handles the sustained group healing with Overly Rich Juice, recovering 233.7% of ATK on a 5.5 second cooldown across a 2.5 effect radius, and supplies Rapid Fire Synergy 2 for ten seconds. Milk Cookie pairs with it for a healing-over-time effect plus a ramping attack buff that builds up to ten stacks.
Cheesecake Cookie is the drop. Cheerful Invitation! grants a flat 56% attack increase, and because identical buff types no longer stack, Milk Cookie’s ramping buff simply overrides it. Running both wastes a slot. Cheesecake Cookie still has a place in short fights and in the Arena, where a flat buff lands immediately and the ramp never gets time to build, but a long boss fight favors Milk Cookie.
Pinot Noir Cookie is a similar case of redundancy rather than weakness. Shadow Bind provides Rapid Fire Synergy 2 and a healing down debuff, but Grapevine Cookie is already covering the Rapid Fire requirement while healing at the same time, so Pinot Noir Cookie does not earn the slot in this particular lineup.

Damage dealers for a single-target boss
Because so many slots are spent on survival, the damage that remains has to be concentrated. Brightseeker Cookie is the pick, and she performs well even at zero stars, which makes her accessible without heavy investment. Satellite Shock summons two drones on a 9 second cooldown, dealing 63.9% of ATK per laser tick alongside a 174% of ATK shockwave.
Melon Soda Cookie and Rye Cookie are the sensible alternatives if Brightseeker Cookie is not available. Macaron Cookie supports the damage side with Mighty Macaron Parade, stacking a 10% critical rate increase up to ten times.
| Role | Cookie | What it contributes |
|---|---|---|
| Front line | Ion Cookie Robot | 35% damage reduction plus a shield |
| Front line | Dark Choco Cookie | Durable body with stacking defense down |
| Debuff | GingerBright | Attack down, weaker post-patch |
| Healing | Grapevine Cookie | Group healing and Rapid Fire Synergy |
| Healing / buff | Milk Cookie | Healing plus a ramping attack buff |
| Crit support | Macaron Cookie | Stacking critical rate, Range Synergy |
| Damage | Brightseeker Cookie | Single-target pressure, strong at zero stars |
| Damage (alt) | Melon Soda or Rye Cookie | Substitutes if Brightseeker is unavailable |
Pet setup: Icy Birdie and the remaining slots
Icy Birdie is an SR pet with an Ally DMG Reduction +9% companion effect, and it stacks neatly on top of Ion Cookie Robot’s reduction without depending on any synergy activation. That passive is worth more here than a marginal offensive companion effect.
For the remaining pet slots, weight toward defense while you are still dying, and shift toward critical hit stats once the team consistently survives the opening. That single decision usually determines whether a run ends in a wipe or a clear.
Surviving the opening seconds and confirming the clear
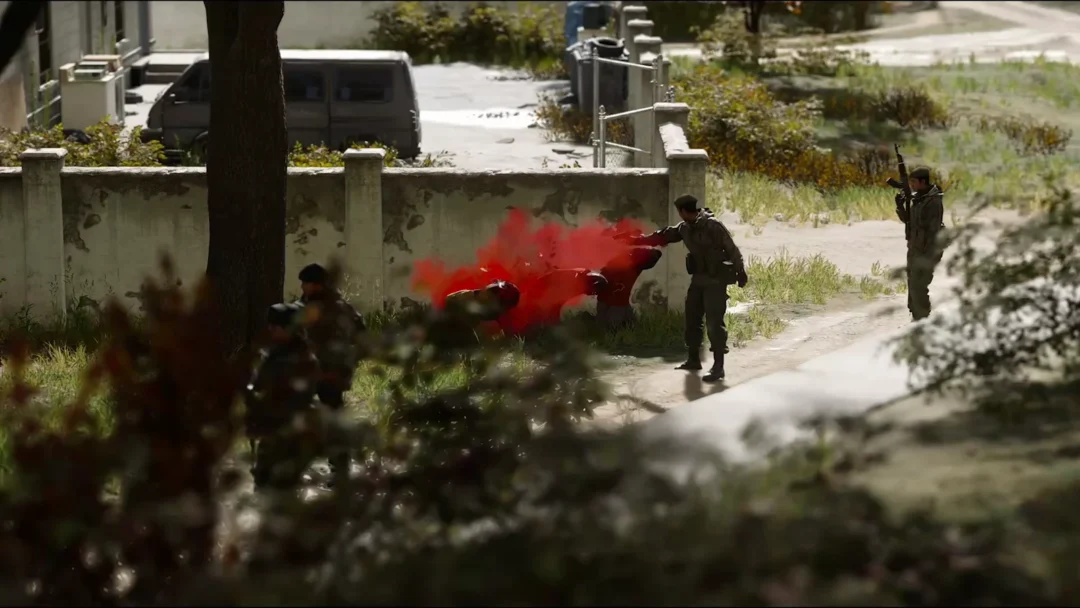
The fight is decided almost entirely at the start. A failed attempt typically looks the same every time, with Macaron Cookie and Milk Cookie going down before the healing cycle spins up. That is opening RNG, not a broken team, so repeat the same lineup a few times before you start swapping cookies.
Once the squad absorbs those first attacks, the run stabilizes and Brightseeker Cookie has time to work through the boss’s health. You know it worked when the post-battle screen shows a Crispy Clear rather than a defeat screen.
Note: change one slot at a time. Replacing several cookies at once makes it impossible to tell which change actually fixed the run.
If the team still dies: swap Dark Choco Cookie for a third sustain cookie
When the front line holds but the squad still crumbles, drop Dark Choco Cookie and add another healer or shielder instead. Losing his defense down costs less than losing the run.
| Cookie | Skill | What it adds |
|---|---|---|
| Angel Cookie | Celestial Light | 484.5% of ATK burst heal on a 6 sec cooldown plus 30% damage reduction for 4.5 sec |
| Rockstar Cookie | Legend of Rock | Shield worth 8% of caster’s HP for 9 sec, 10 sec cooldown, Pierce Synergy 2 |
| Lime Cookie | Beach Ball Surprise | 133.7% of ATK healing across a 2.75 radius plus a 48% critical rate increase |
Angel Cookie is the safest of the three because the damage reduction is a flat value that the patch did not touch. Rockstar Cookie is the choice when the problem is burst rather than sustained chip damage, and Lime Cookie is worth testing when you need a little damage back alongside the healing.
Keep in mind that this lineup is tuned specifically for a boss that punishes the whole team at once. Once you move to encounters with larger health pools and gentler damage output, hand those defensive slots back to damage dealers.