Chapter 4 of Crimson Desert drops you into Octavius’s experiment at the Scholastone Institute with almost no explanation of how his machine works. Once the underground lock switch is thrown, the quest hands you a new objective — insert the batteries to activate the device — and points you back up to the round plaza with the dome. The four cubes sitting near the pillars are the batteries, and the reason so many players get stuck here is that the ability you use to pick them up is not the ability that puts them in.
Quick answer: Grab a cube with Axiom Force, float it in front of the square socket on its pillar, let go, then hit it with Force Palm to punch it inside. Do that on all four pillars around the dome.
Before the batteries: activate the lock device switch underground
The battery objective only appears after the machine has power. That means heading counter-clockwise around the dome behind Octavius, taking the lantern-lit path down the stairs in the north-east corner of the plaza, and solving the nine-button grid panel set into the wall. Every button has to end up pressed in, and each press flips the rest of its row and column. Pulling the handle afterwards boots the machine and sends you back upstairs.
Where the four batteries and pillars are
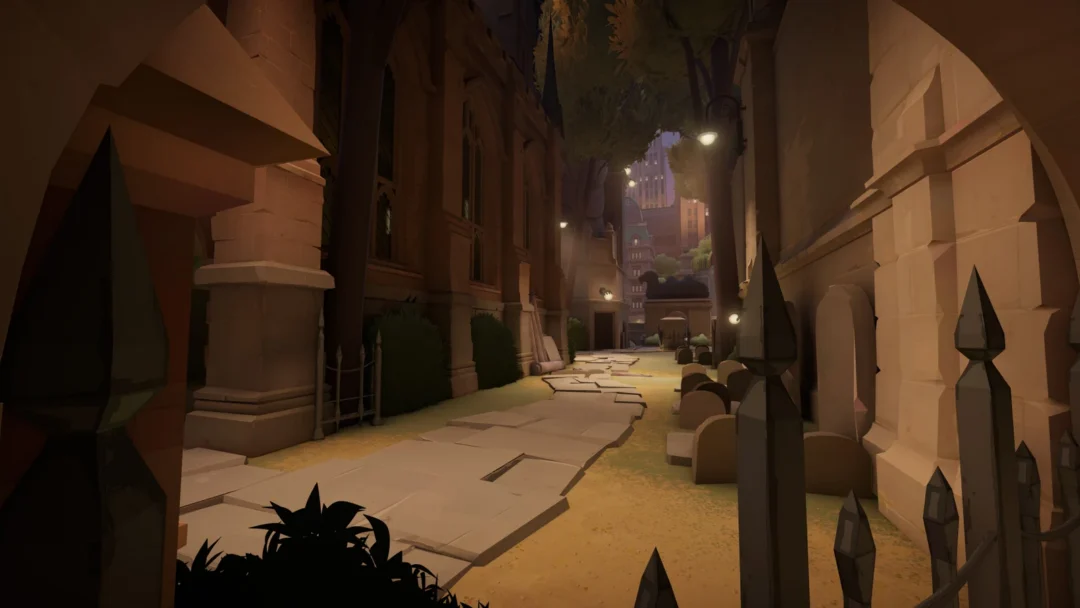
Everything for this step is in the circular plaza where Octavius gave his presentation. Four stone pillars ring the dome, and each one has a glowing blue cube resting in a stone container a few feet away. Every pillar has a square opening cut into its face — that is the socket the cube goes into. The objective markers show up in orange on your minimap, so you can work around the ring without missing one.

How to insert a battery into a pillar


Controls for Axiom Force and Force Palm
| Action | Controller | PC |
|---|---|---|
| Grab the battery (Axiom Force) | Click and hold left stick | Hold Tab |
| Move it toward the pillar | R2 / RT | Scroll wheel (Pull/Push) |
| Fine adjustment | — | Shift for Precise Control, left and right click to rotate |
| Release the battery | Click left stick again | Drop Axiom Force |
| Insert it (Force Palm) | Click and hold right stick | Middle mouse button |
How to know the device activated
With all four batteries seated, every pillar shoots a beam into the floating blue orb above the centre of the plaza, and the objective clears on its own. A cutscene plays in which Octavius announces the gate is at last perfected. If one pillar is still dark and the quest text has not updated, that battery never went in — walk back to it and repeat the Force Palm step.

Why the battery won’t go into the pillar
There are only a few things that stop this step from working, and the first one catches nearly everyone.
- You are trying to shove the cube in while still holding it with Axiom Force. It will not enter that way, no matter what angle you try, and it feels like an invisible wall is blocking the socket. Let go first, then Force Palm.
- The cube is too far from the opening. Bring it close enough that it auto-rotates before you release it.
- You missed the cue. When a floating object is positioned correctly for Force Palm, a subtle green leaf effect appears around it. That visual applies to every object puzzle in the game, not just this one.
- You clipped one of the scholars wandering the plaza with an attack. Hitting an NPC here can fail the mission and send you back to the start of it.
What happens immediately after
The experiment goes wrong, and the cutscene leaves you with a new task: remove the unstable core. Aim at the blue orb in the middle by holding Axiom Force, then hold L2/LT and push the right stick up for a few seconds to drag the core out. A void being called Tenebrum spawns straight afterwards, so keep Force Palm on hand — it is the only thing that damages it.
Note: the same grab-release-Force Palm pattern shows up repeatedly later in Chapter 4, including inside the Spire of the Stars. Once it clicks here, the rest of the quest’s object puzzles stop feeling like bugs.