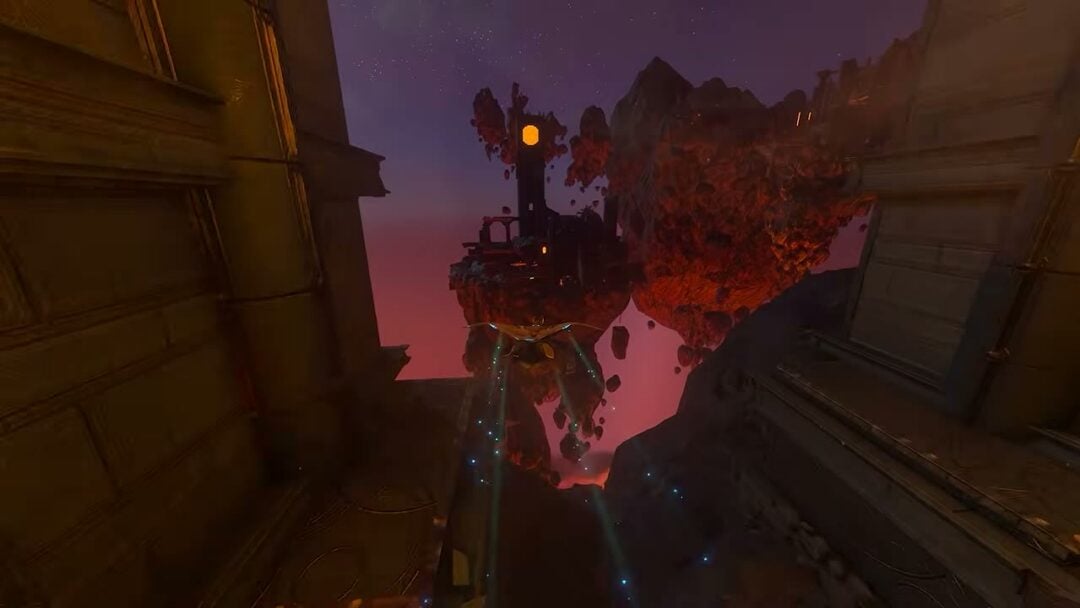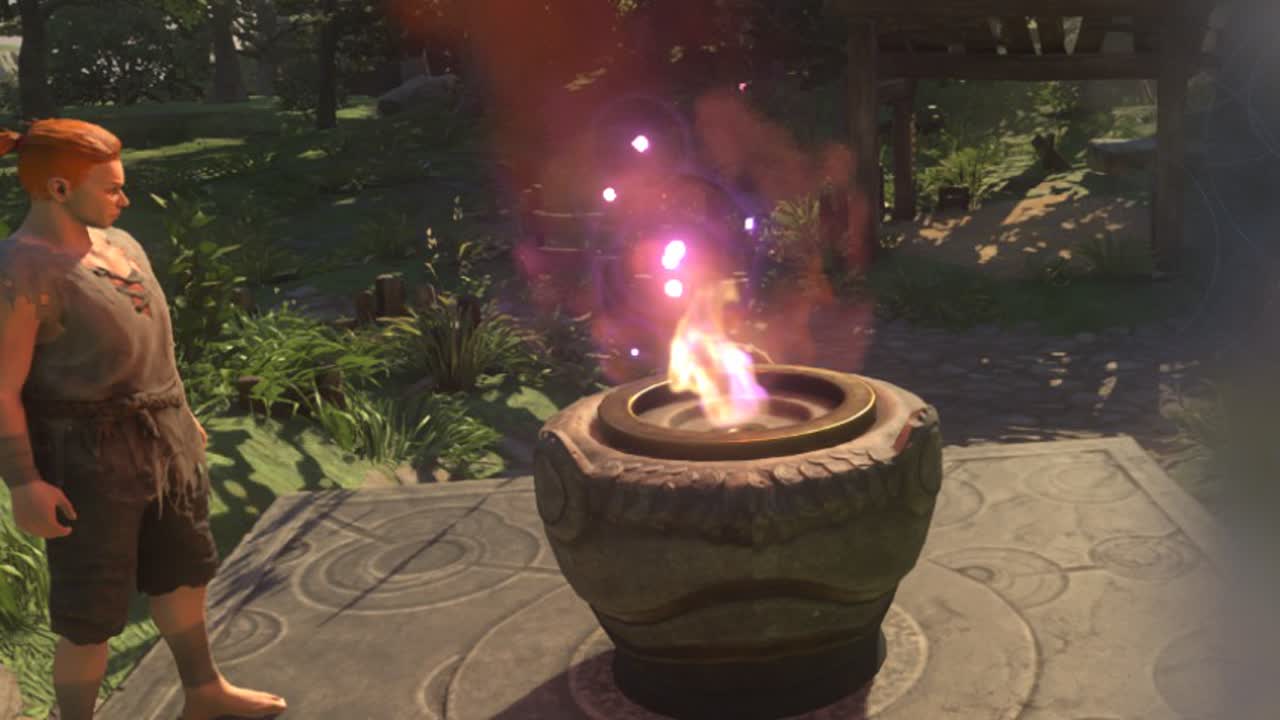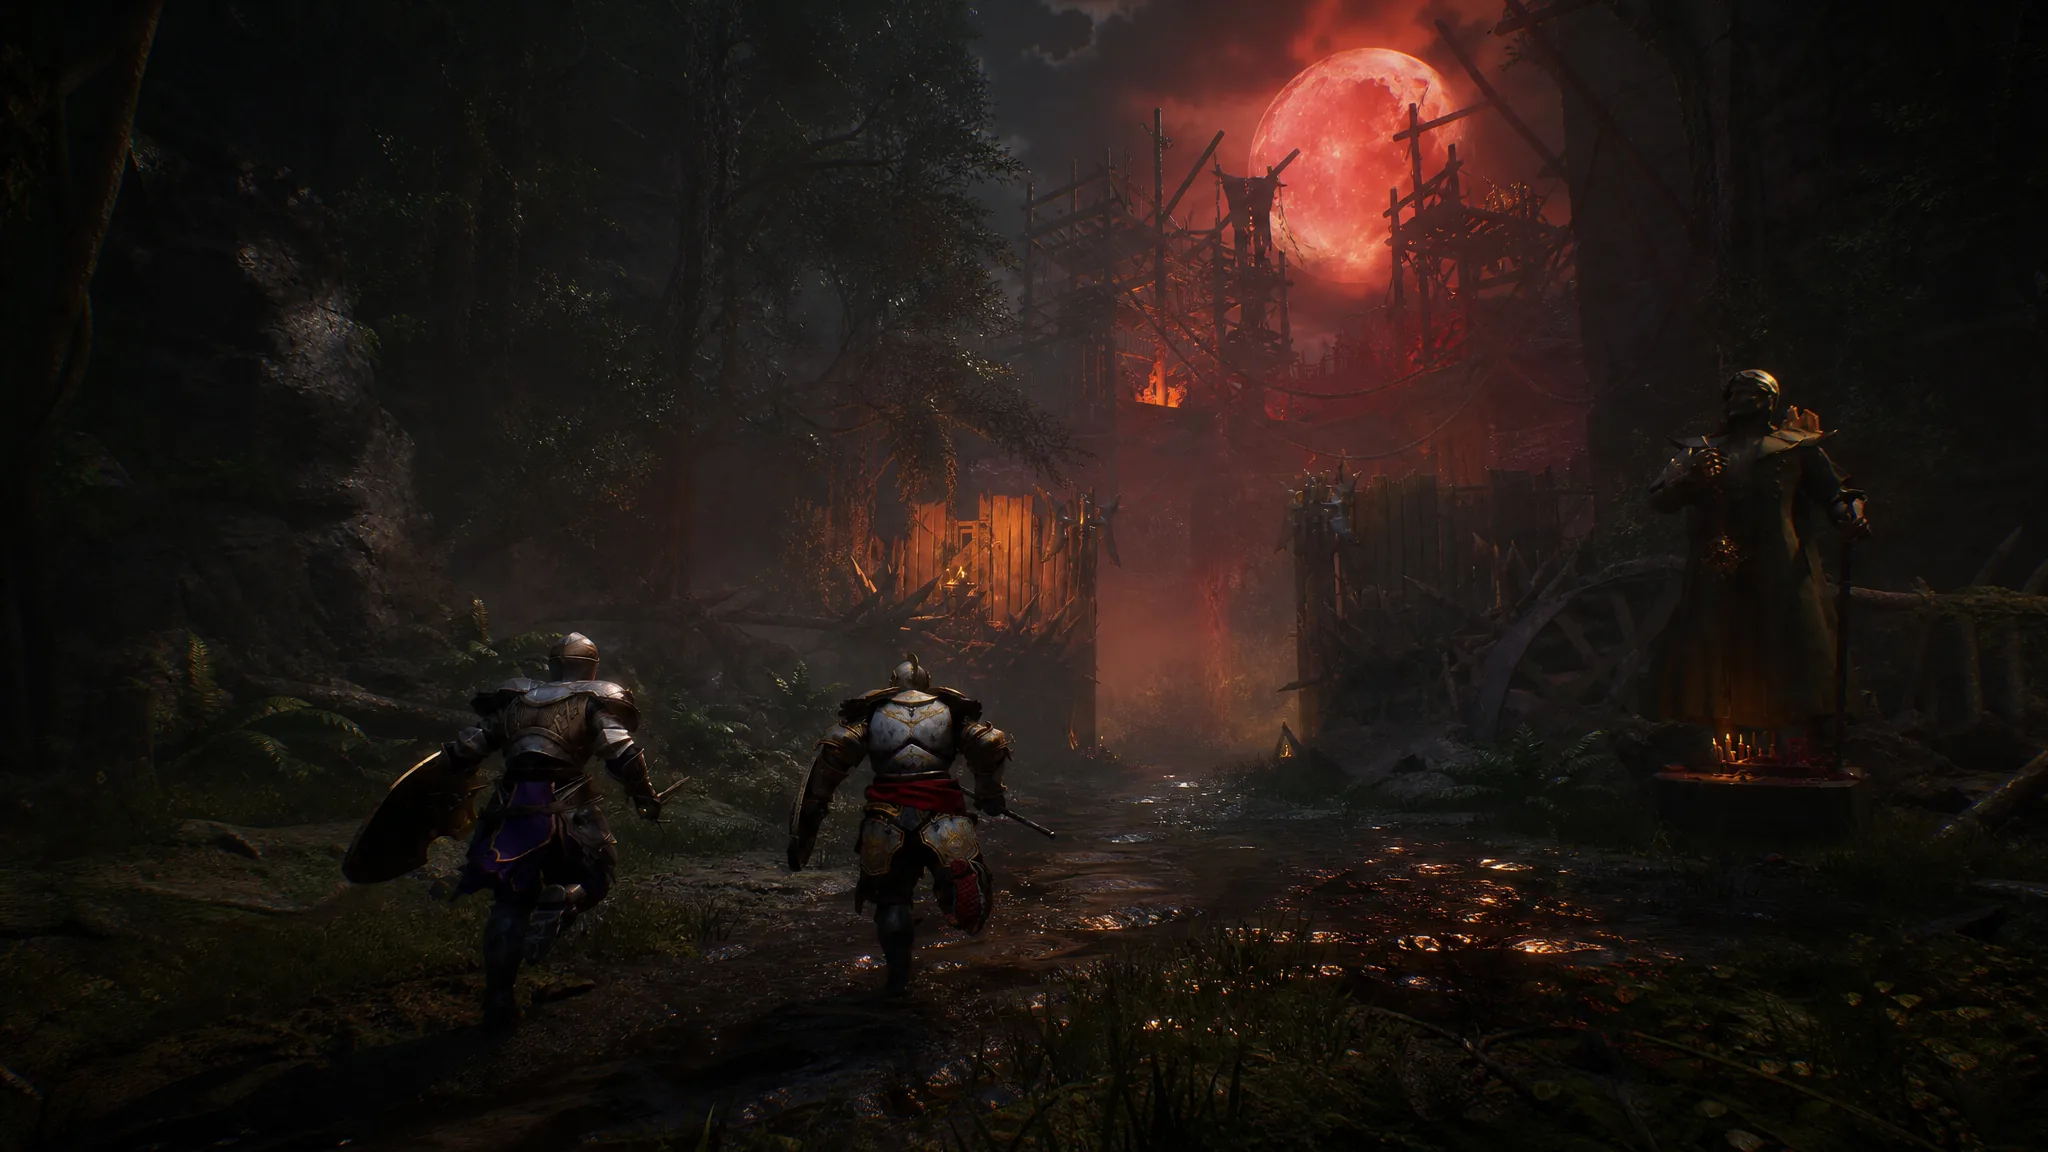
Status effects in Crimson Moon decide how much damage you deal, how enemies move, and how quickly a fight ends. They trigger from the attacks you land, the Weapon Arts you use, and the Boons you pick up during a run. Enemies can apply them to you as well, so knowing what each one does is the difference between a clean kill and a punishing counterattack.
Quick answer: There are eight status effects. Bleed, Burn, and Poison deal damage over time. Frost slows and adds bonus damage before turning into Frozen, which locks enemies in place. Marked and Sunderance increase the damage a target takes, and Rage raises the damage a target deals.
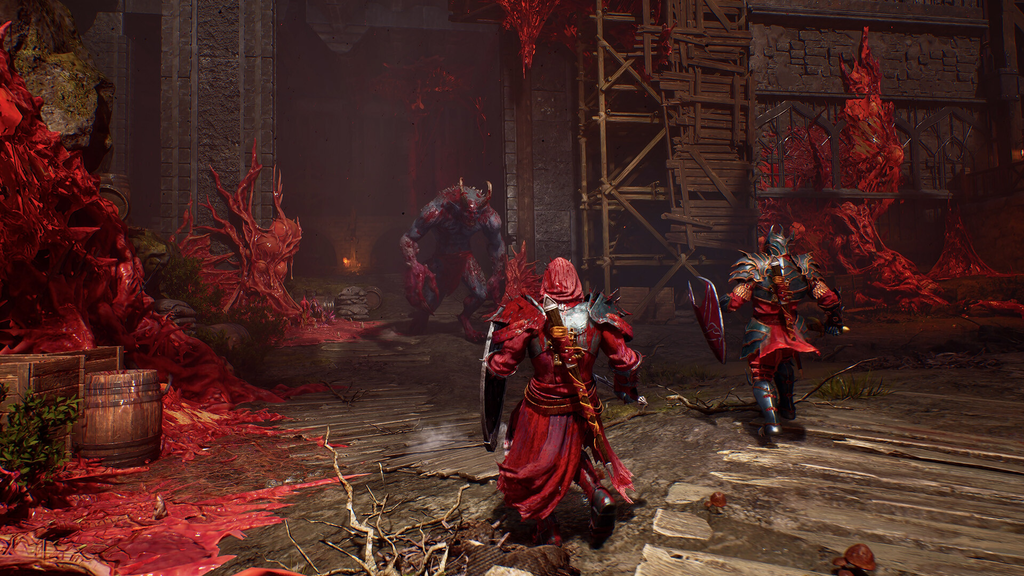
Every Crimson Moon status effect at once
| Status Effect | Effect on target |
|---|---|
| Bleed | Damage over time; duration and damage scale with your build |
| Burn | Damage over time based on Fire stacks; can be removed by dodge rolling |
| Poison | Increasing damage over time based on the number of stacks |
| Frost | Slows the target and makes it take bonus damage |
| Frozen | Stops all movement and physical actions after enough Frost stacks |
| Marked | Target takes higher critical damage |
| Sunderance | Target takes more damage from every attack and resists other effects less |
| Rage | Raises the damage output of whoever holds the stacks |
Damage-over-time effects: Bleed, Burn, and Poison
Three effects chip away at enemy health after the hit lands rather than all at once. They reward you for keeping stacks applied instead of relying on a single big swing.
Bleed makes an enemy lose health continuously once applied. How much damage it deals and how long it lasts both scale with your build, so investing in bleed-focused gear directly increases its value.
Burn also drains health over time, but its damage is tied to the number of Fire stacks you have applied. The catch is that Burn can be cleared. Dodge rolling deactivates it, which matters when an enemy uses the same trick to shake off your fire damage.
Poison deals rising damage over time, and the total depends on how many stacks you have inflicted. Stacking it high on a tough target turns a slow drain into serious pressure.
Frost and Frozen: crowd control that pays off
Frost and Frozen work as a pair. Applying Frost stacks slows the target down and makes it take bonus damage while chilled, which softens enemies before you commit to a heavy attack.
Push those stacks far enough and the target becomes Frozen. A frozen enemy cannot move or perform any physical action, giving you a free window to reposition, land executions, or focus a more dangerous foe. Frost builds are strongest when you can reach the Frozen threshold reliably rather than just applying a light slow.
Damage amplifiers: Marked and Sunderance
Two effects do no direct damage themselves. Instead, they increase everything else you throw at the target.
Marked raises the critical damage a target takes. It pays off most in crit-focused builds, where the bonus multiplies each critical hit you land rather than adding a flat amount.
Sunderance makes a target take more damage from every kind of attack and lowers its resistance to other status effects. That second part is important. Applying Sunderance first makes it easier to stack Bleed, Burn, Poison, or Frost afterward.
Rage: the offensive buff
Rage is the outlier. Rather than weakening a target, its stacks raise the damage output of whoever carries them. It functions as a positive effect, boosting the attack power of the individual who holds it.
How status effects get applied
Status effects come from more than just your weapon’s basic swings. Weapon Arts and Boons both feed into what triggers during a fight, and the way you combine them shapes your entire run.
- Weapons and Weapon Arts apply effects tied to their specific attacks, such as fire bursts, bleed projectiles, or frost sweeps.
- Boons can make light attacks apply Frost or Bleed, or make weapon hits trigger Burn, layering effects onto your normal combat.
- Stack requirements vary. Some effects activate the moment they land, while others only take full effect once you build up a minimum number of stacks.
Spreading yourself across every effect at once rarely works. Focusing on two that support each other, such as Sunderance to lower resistance and a damage-over-time effect to exploit it, keeps your stacks high enough to matter. Chasing three or more different effects usually means none of them reach their threshold, and your damage falls short right when you need it.