

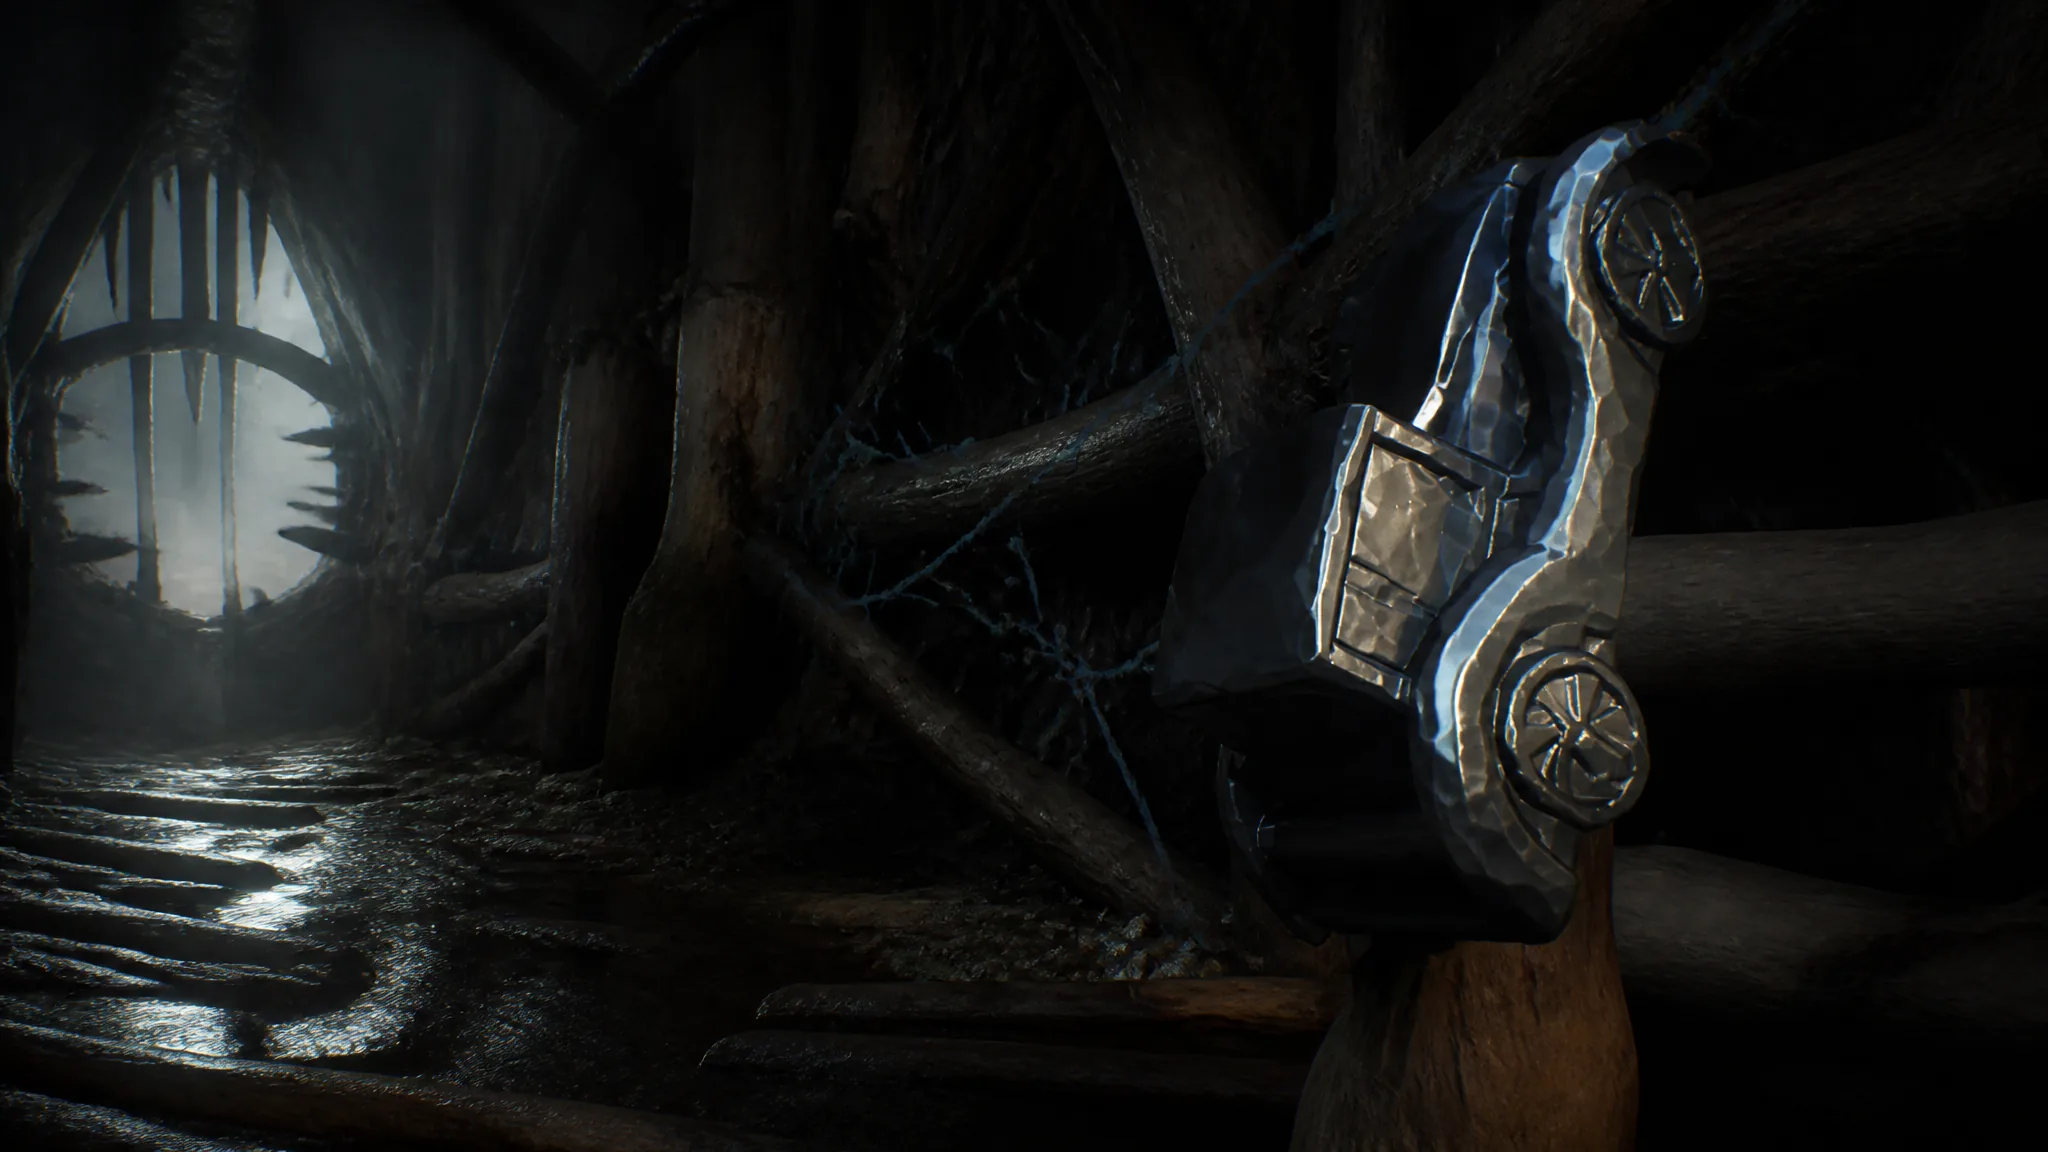
Nightmare Door #10 in Marvel’s Wolverine sits behind a small environmental trigger, which makes it the one door in the campaign that players walk past without seeing. The trial behind it, Crucible of Tears, is the longest combat gauntlet in the set: 25 straight waves of Hand ninjas in a snowbound forest, broken up by timed modifier rounds.
Quick answer: During Sinister Tidings, interact with the bathroom sink, then head to the balcony upstairs to find the door. Crucible of Tears runs 25 waves, and an Adamantium clear lands around 47,905 points.
Nightmare Door 10 location in Sinister Tidings
The door appears in Mission 21: Sinister Tidings, the final Japan chapter, during the objective prompting you to check the kitchen. It is the only Nightmare Door in that mission, which also holds a single Material Crate.
Nothing here is missable. If you finish the story without it, load Sinister Tidings from chapter select by using the bed in the Nightmare Cabin, and the door is still there.
How Crucible of Tears is structured
The trial does not open with combat. A 15-second countdown starts the moment you land in the forest, and three tree statues glowing purple stand in the arena. Slash all three before the timer runs out to lock in the first set of modifiers and begin Wave 1.
That same statue phase repeats after every fifth wave, with a 14-second window each time. Two named modifiers are shown on screen at each break, and they stack onto the fight that follows. A completed run drew these pairings.
| Phase | Starts before | Timer | Modifiers |
|---|---|---|---|
| 1 | Wave 1 | 15 sec | Primal, Selfish |
| 2 | Wave 6 | 14 sec | Wrathful, Doomed |
| 3 | Wave 11 | 14 sec | Calculating, Exhausting |
| 4 | Wave 16 | 14 sec | Frantic, Companionable |
| 5 | Wave 21 | 14 sec | Selfish, Frantic |
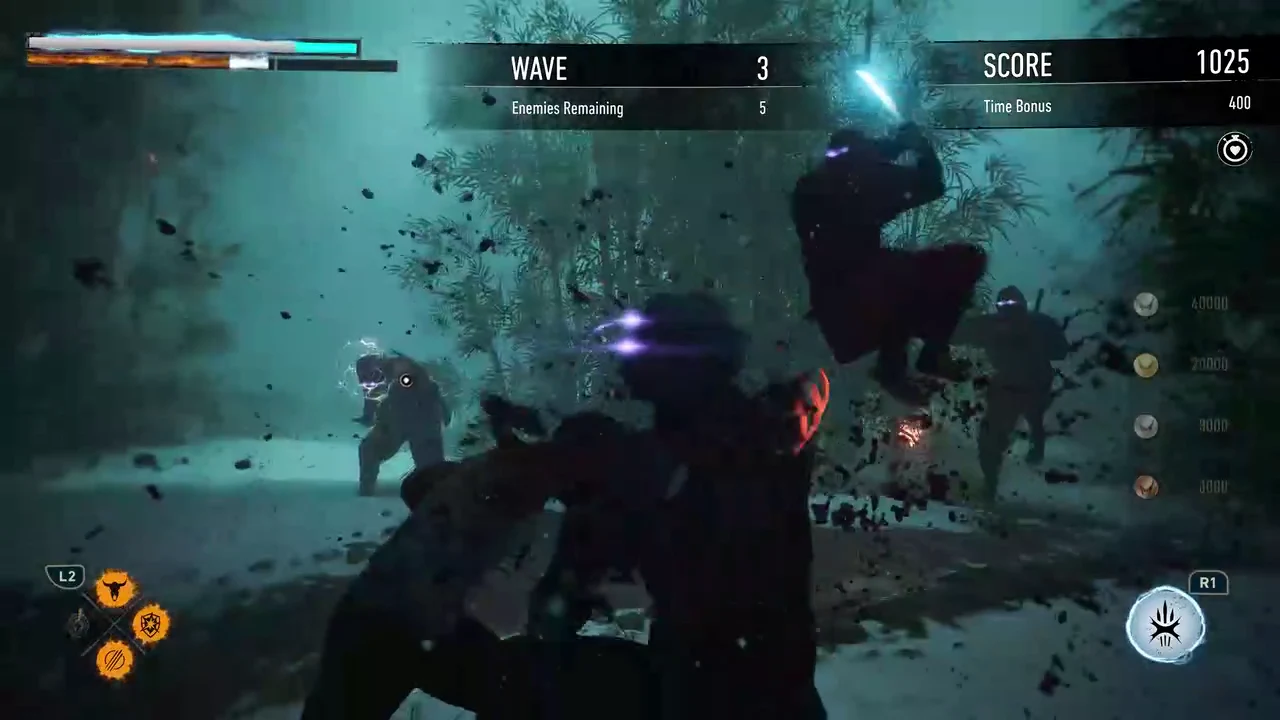
Enemies are all Hand ninjas, and the mix widens as you go. The opening waves are standard red-clad fighters. Archers join in Wave 2, and a heavier brute-type ninja shows up in Wave 3. Clearing a wave does not always respawn enemies on top of you — in several waves you need to push forward through the forest to find the next group.
Wave-by-wave score pacing
Score carries over between waves, and each clear adds a wave bonus plus a Time Bonus for finishing quickly. Use the running totals below to check whether you are on pace during a run.
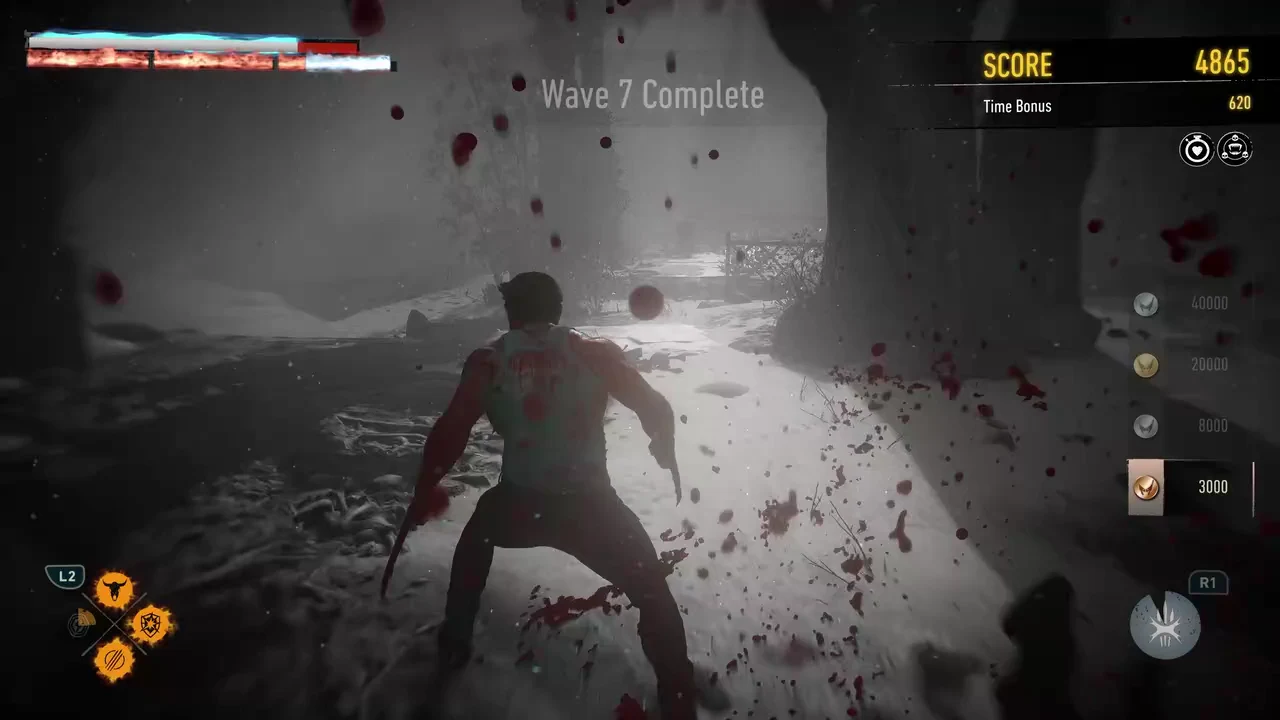
Waves 1 to 5
| Wave | Enemies | Running score |
|---|---|---|
| 1 | 5 | 470 |
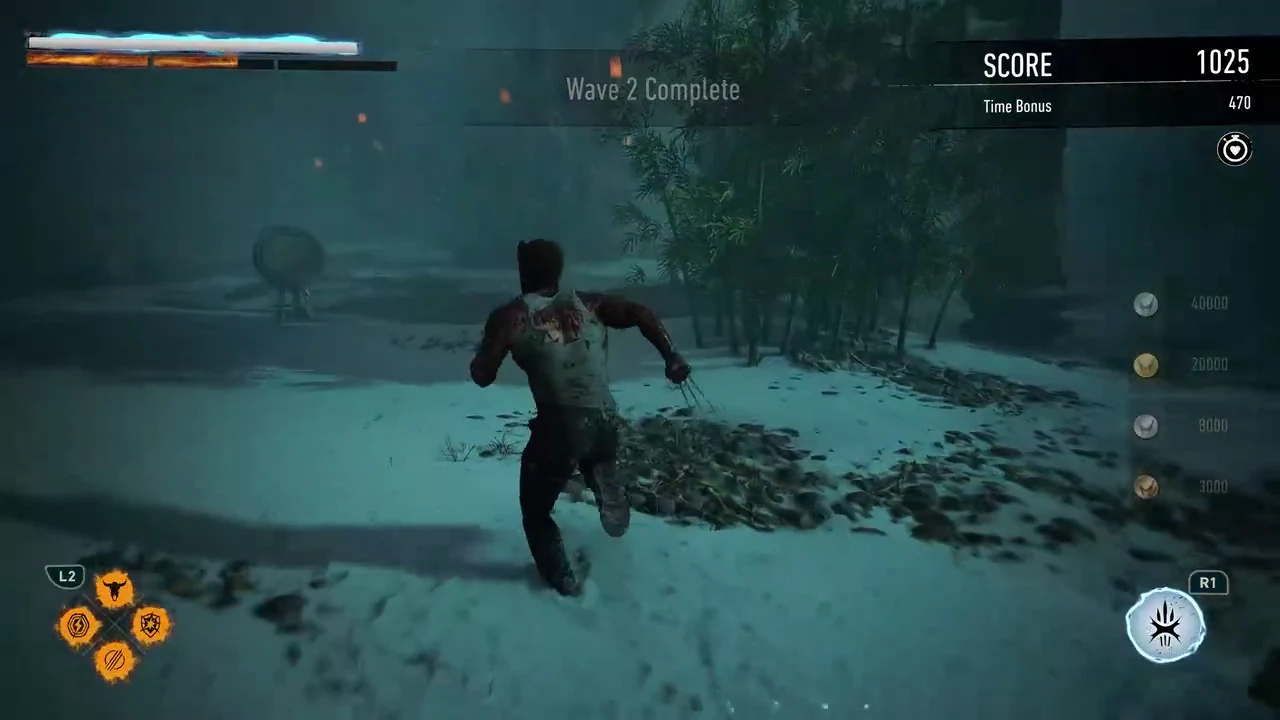
| 2 | 5 | 1,025 |
| 3 | 5 | 1,525 |
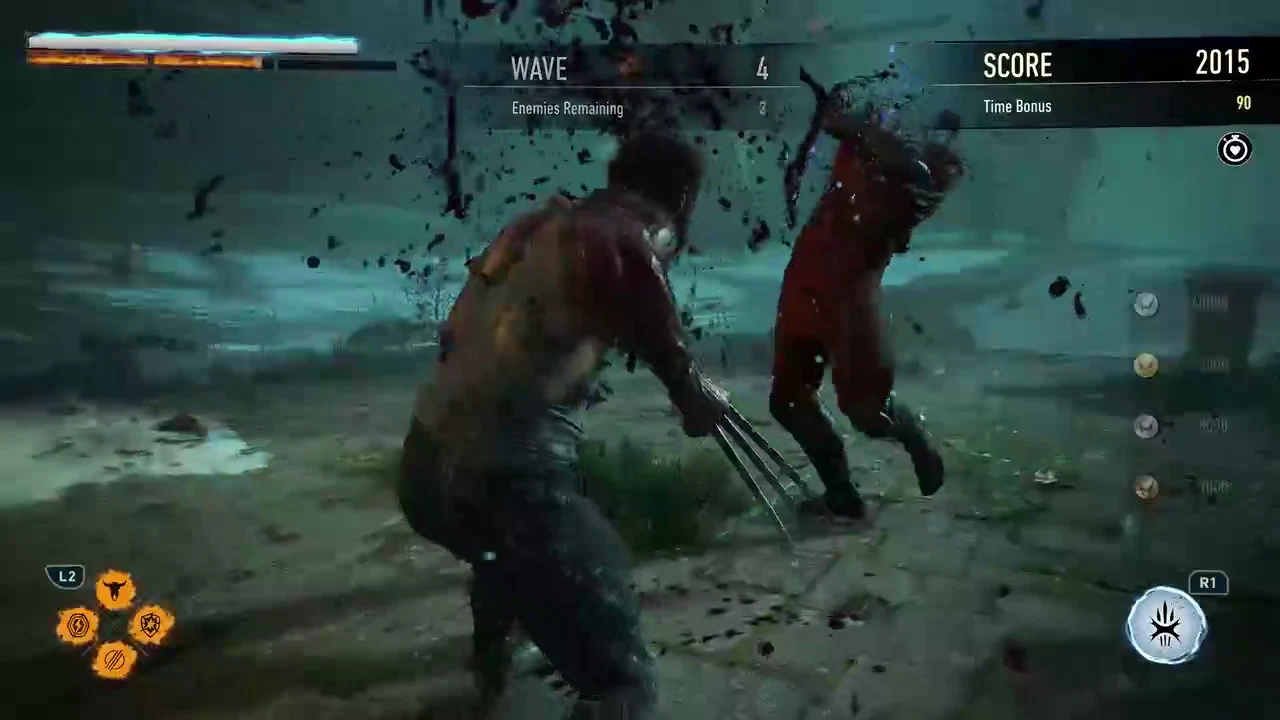
| 4 | 4 | 2,015 |
| 5 | 6 | 2,650 |
These five waves are the cheapest on the board and the fastest to clear — claw strings, parries, and finishers handle them without any special setup. Roughly half a minute per wave is normal here.
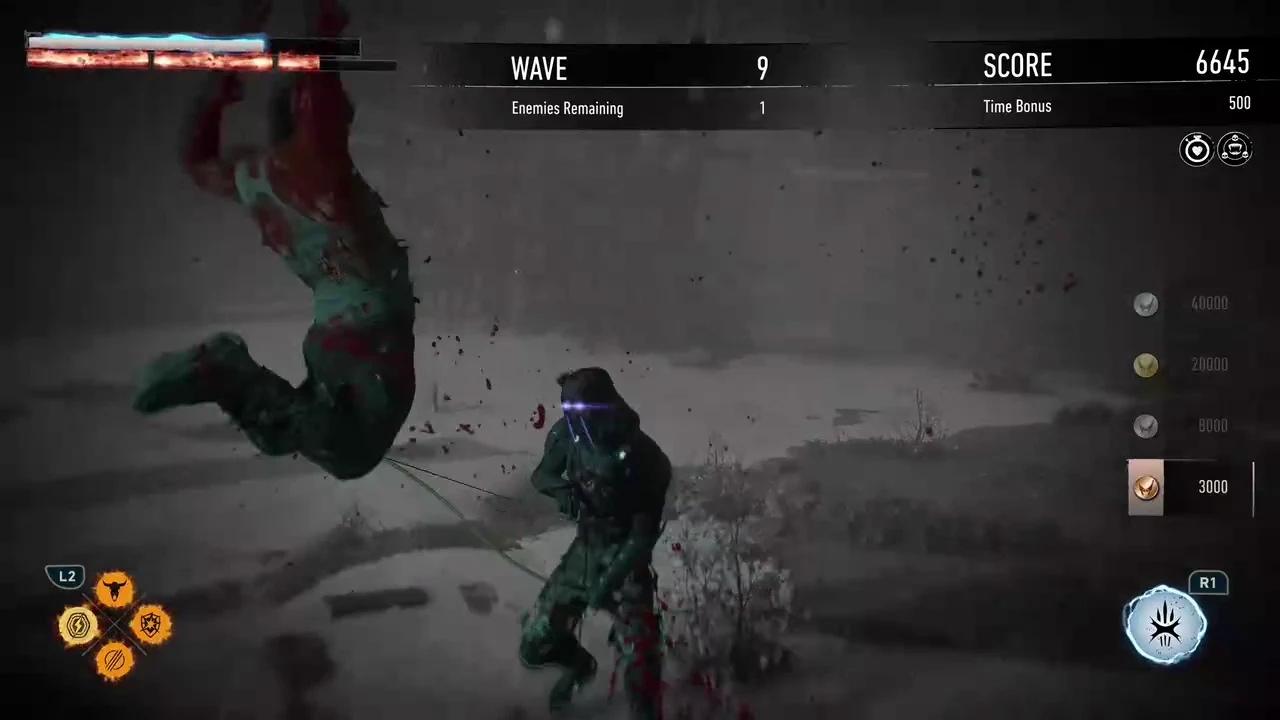
Waves 6 to 10
| Wave | Enemies | Running score |
|---|---|---|
| 6 | 5 | 3,745 |
| 7 | 7 | 4,865 |
| 8 | 8 | 6,045 |
| 9 | 9 | 7,260 |
| 10 | 8 | 8,480 |
Once the second modifier pair is active, each wave is worth noticeably more than the ones before it. Group sizes climb into the high single digits, so crowd control matters more than single-target damage.
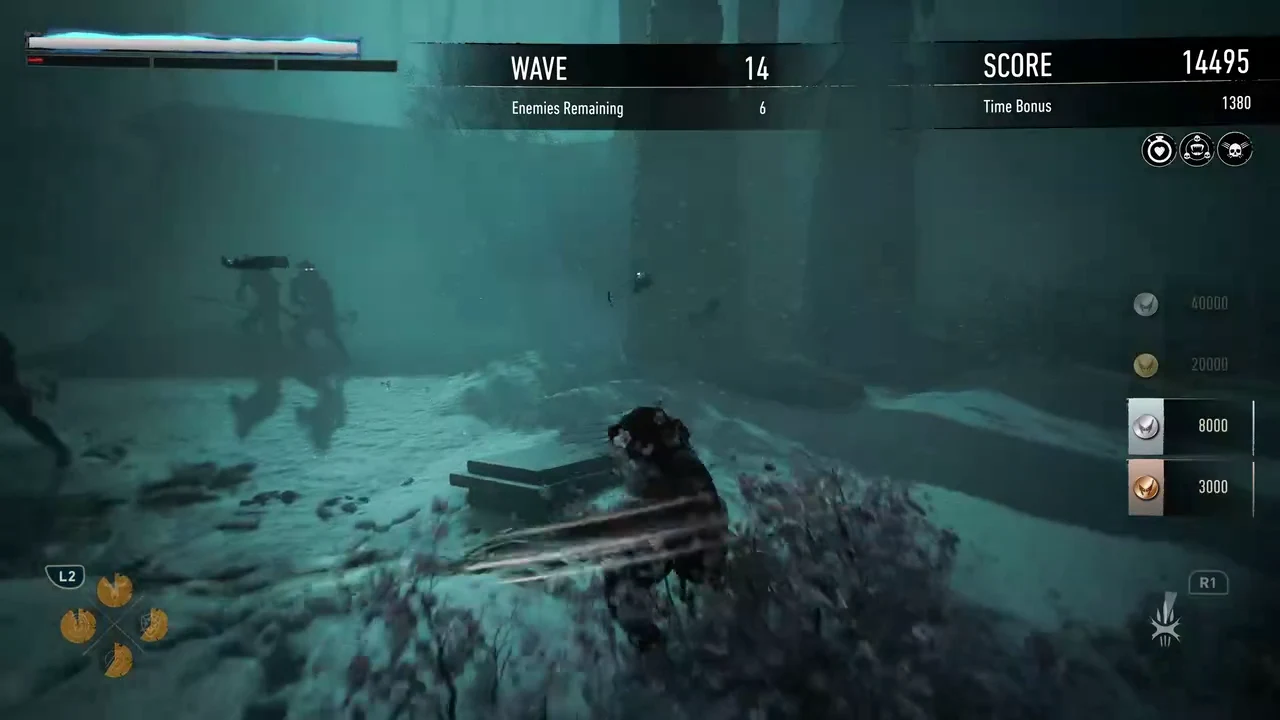
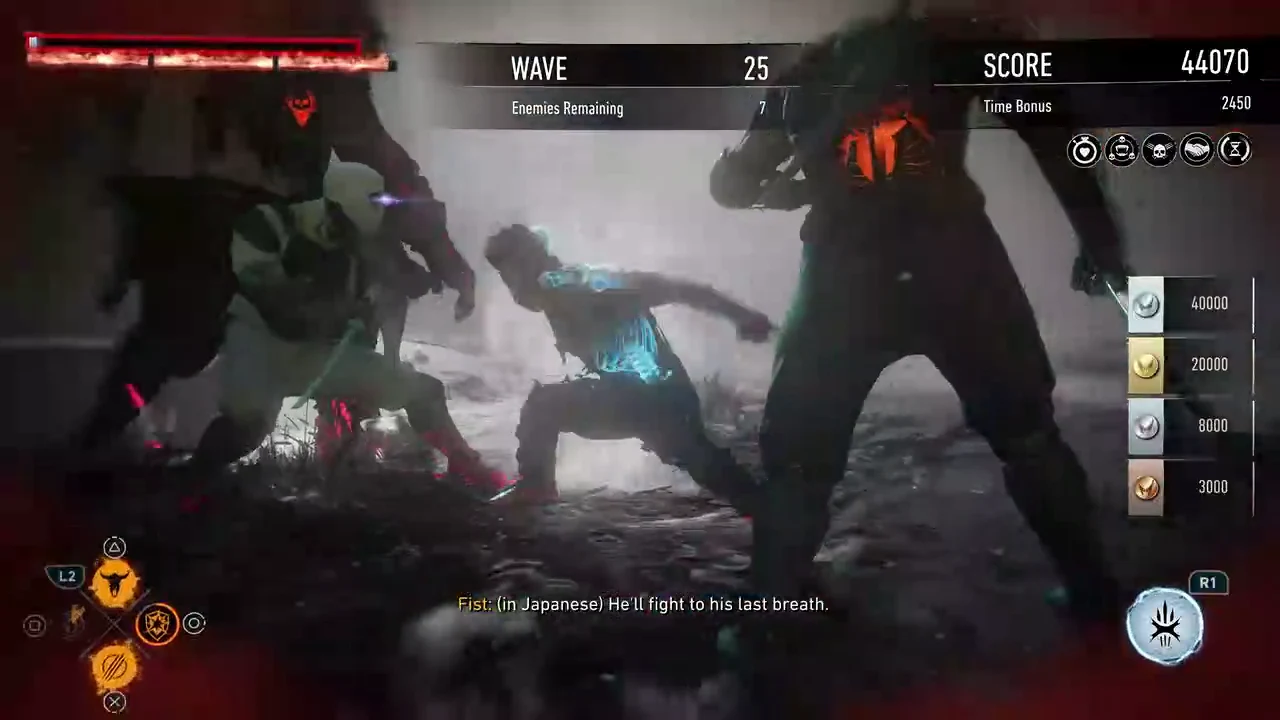
Waves 8 and 9 are the first real attrition test, with eight and nine enemies respectively and archers mixed into the crowd.
Clearing Wave 10 puts the total past 8,000 and rolls straight into the third statue phase, where Calculating and Exhausting come online.
Waves 11 to 15
| Wave | Enemies | Running score |
|---|---|---|
| 11 | 7 | 10,265 |
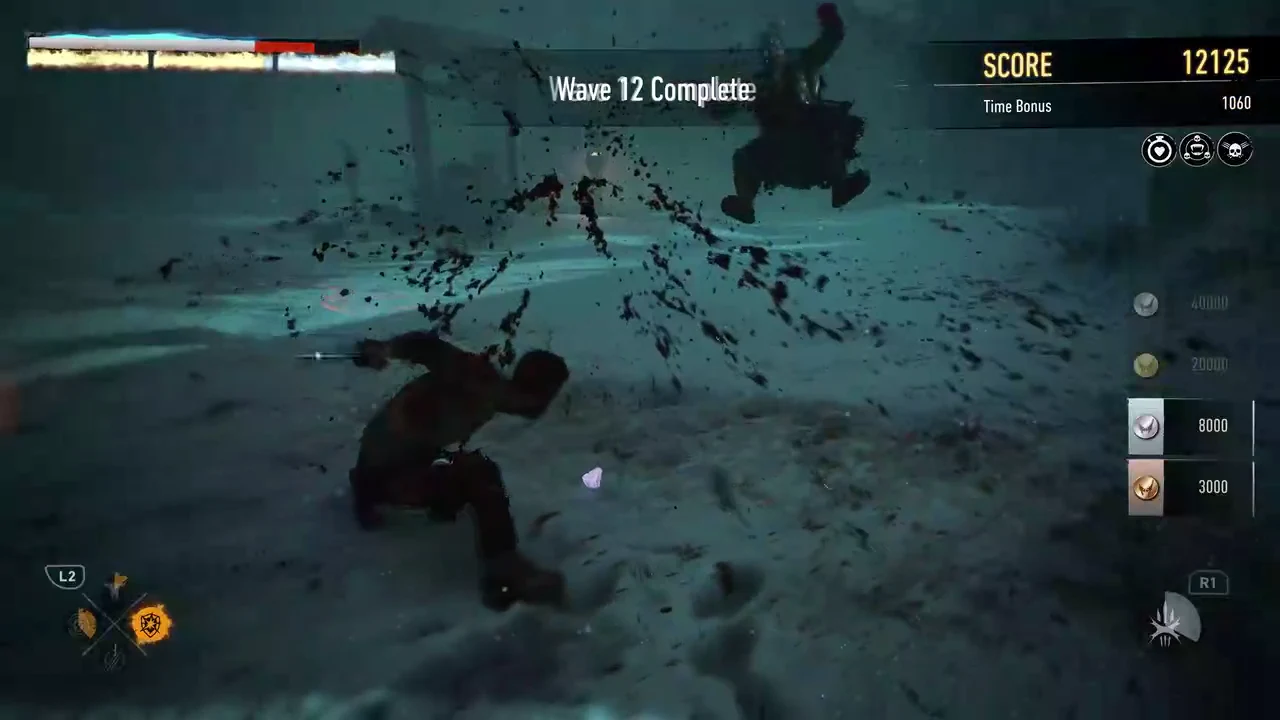
| 12 | 7 | 12,125 |
| 13 | 8 | 14,245 |
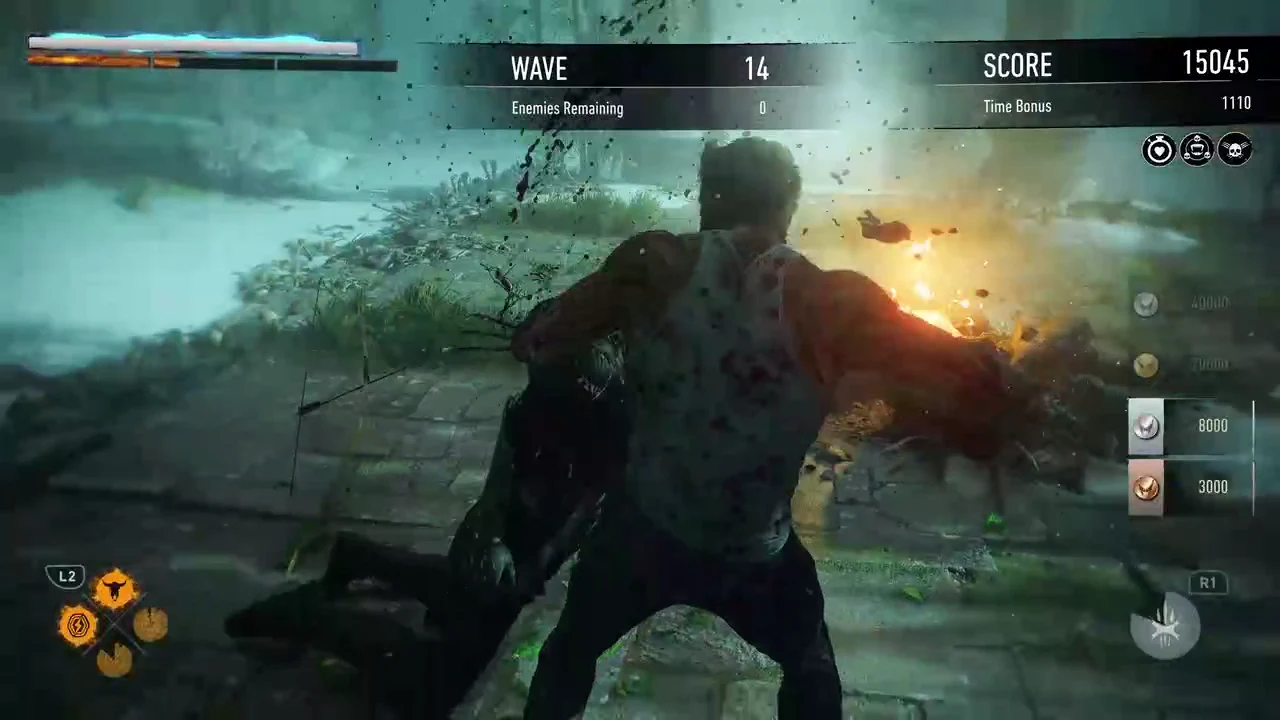
| 14 | 8 | 16,155 |
| 15 | 8 | 18,245 |
This is where the run becomes a rhythm. Each wave adds close to 2,000 points, and clear times sit between 30 and 45 seconds.
Wave 15 is the halfway checkpoint in scoring terms. Finish it and the fourth statue phase follows immediately.
Waves 16 to 20
| Wave | Enemies | Running score |
|---|---|---|
| 16 | 7 | 20,640 |
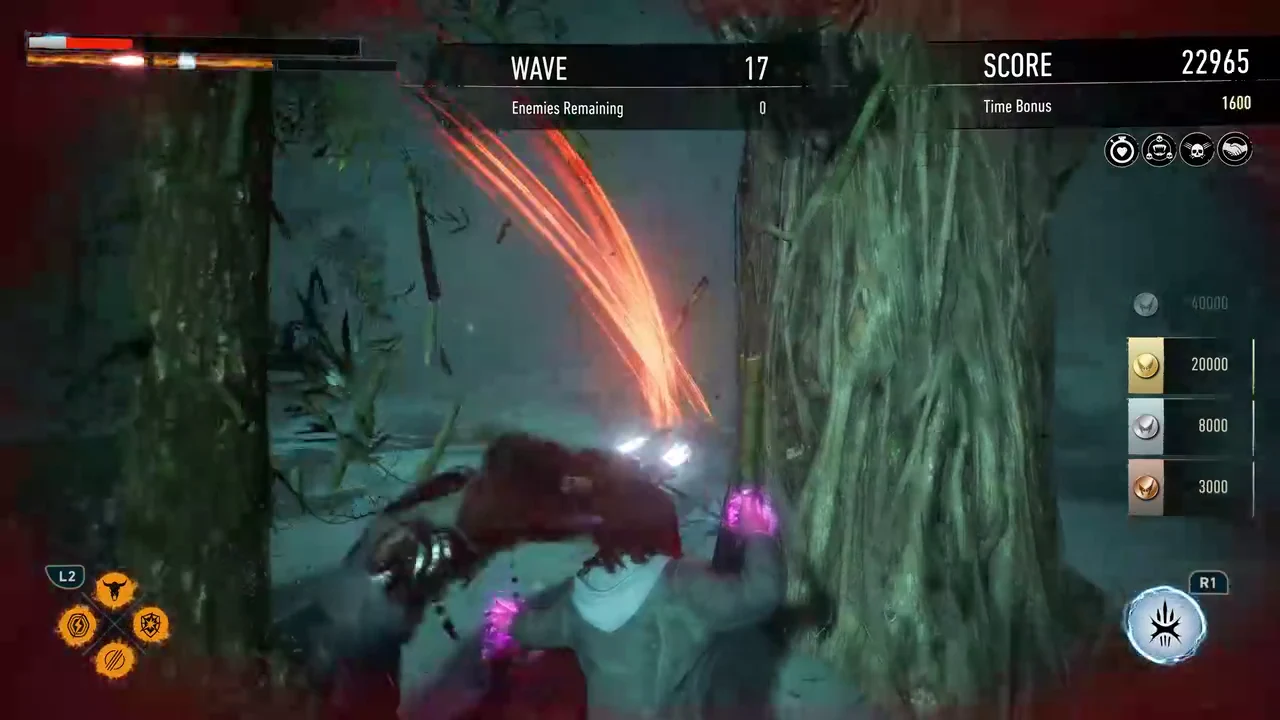
| 17 | 10 | 22,965 |
| 18 | 10 | 25,410 |
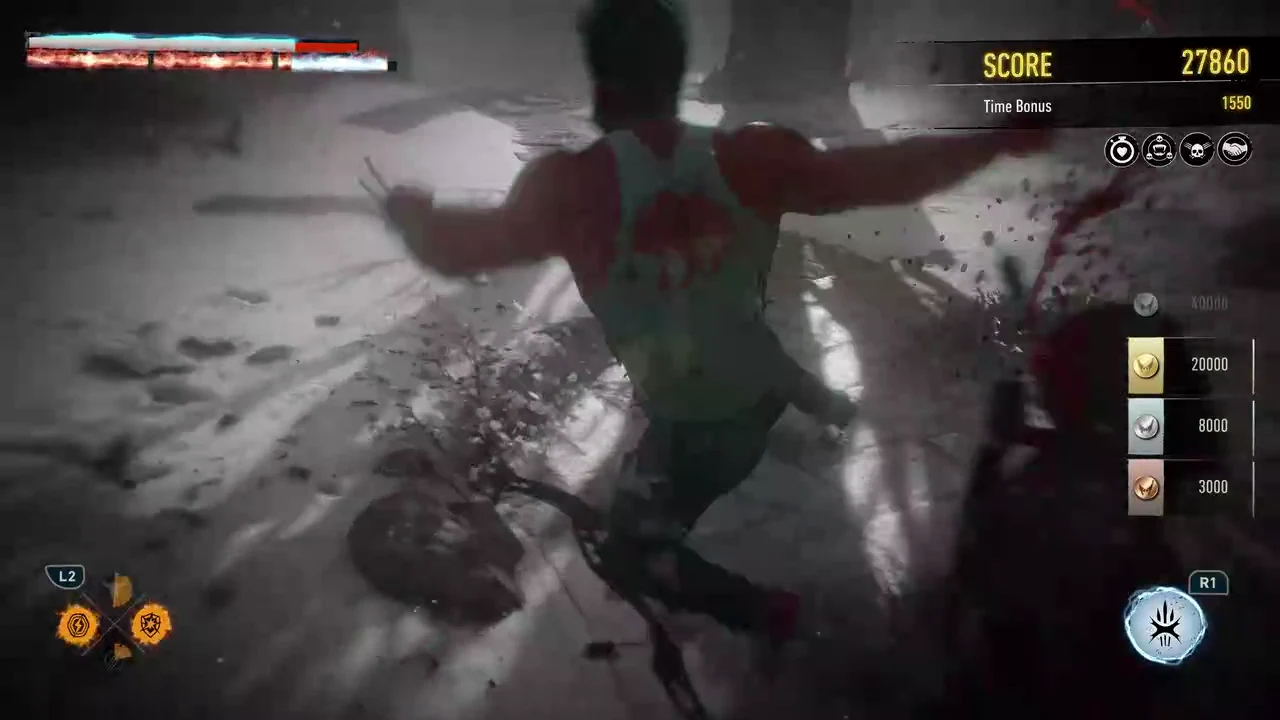
| 19 | 10 | 27,860 |
| 20 | 8 | 30,825 |
Ten-enemy waves become the norm from Wave 17 onward. Keeping the counter moving is what protects the Time Bonus, so committing to long finisher animations against stragglers costs more than it looks like it does.
Waves 21 to 25
| Wave | Enemies | Running score |
|---|---|---|
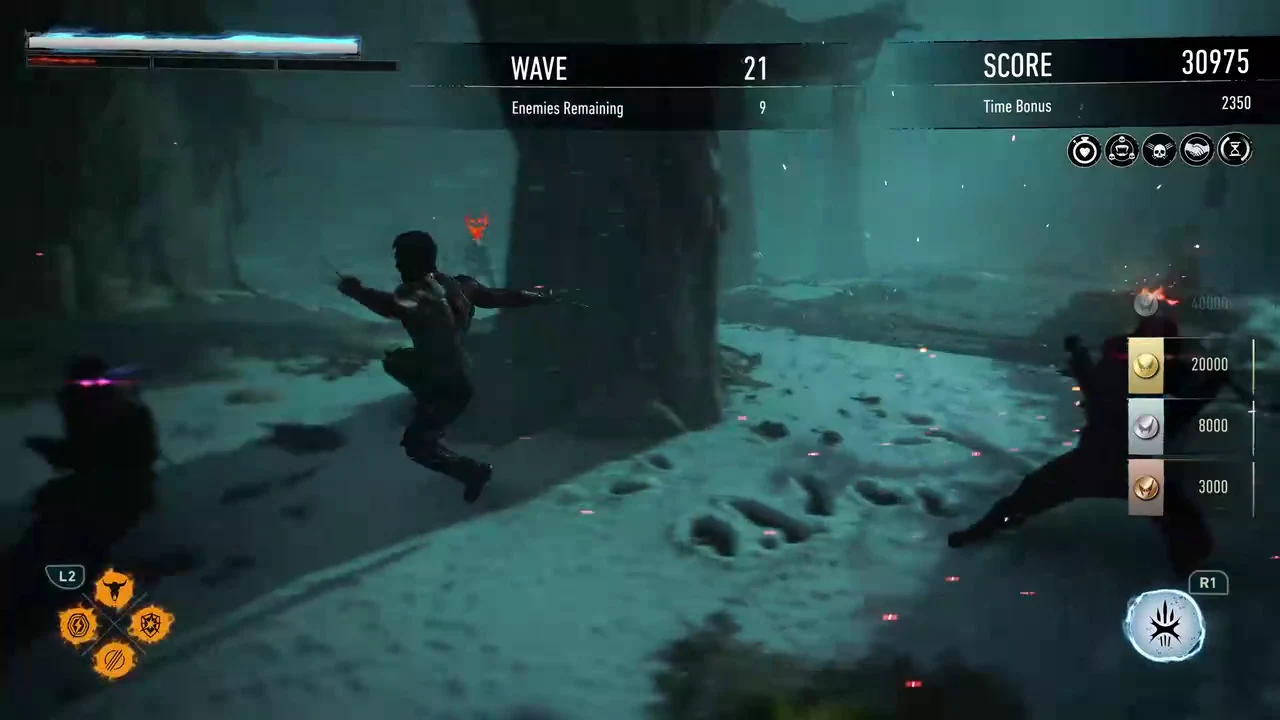
| 21 | 12 | 33,665 |
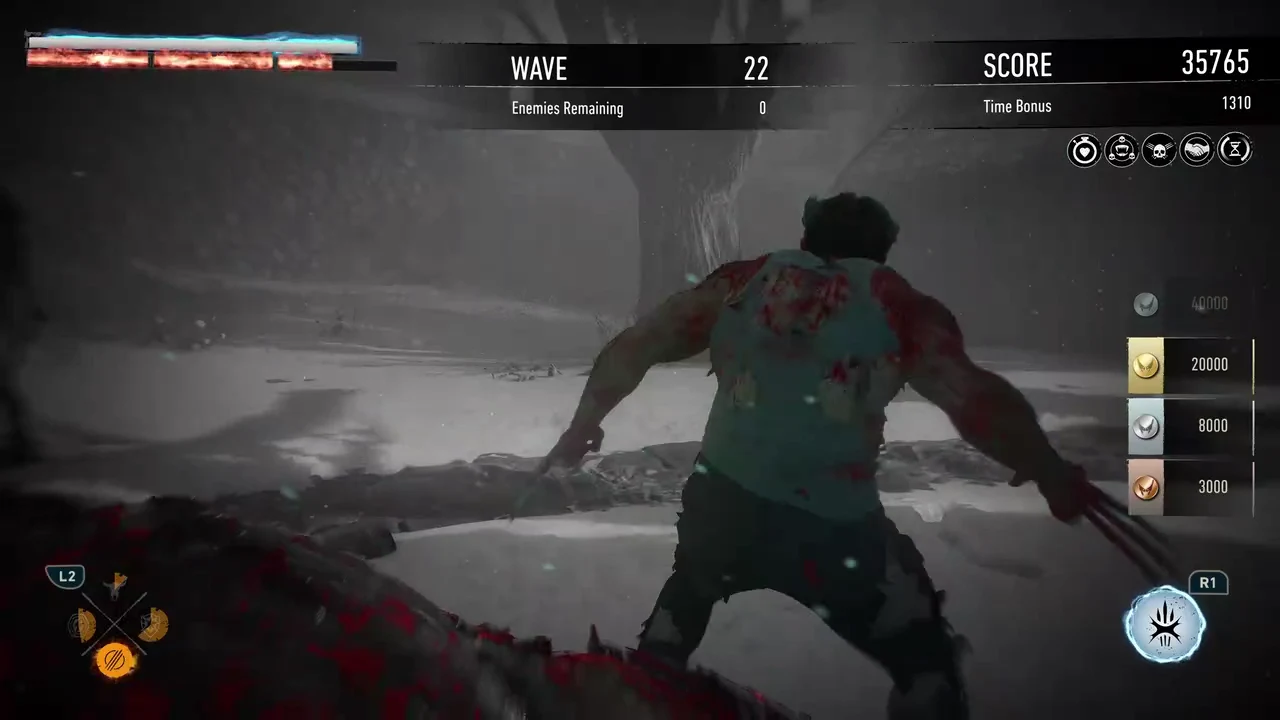
| 22 | 10 | 37,075 |
| 23 | 12 | 40,025 |
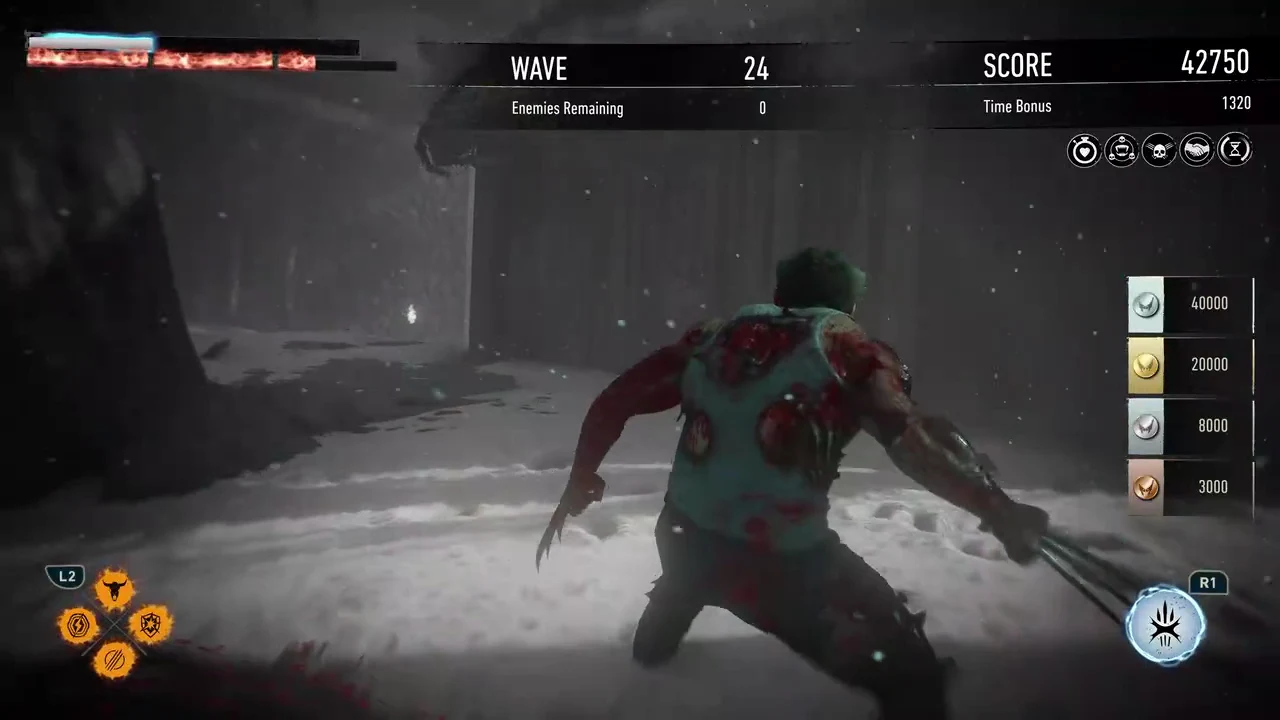
| 24 | 7 | — |
| 25 | — | 47,905 (final) |
The last block is where wave length spikes. Wave 21 opens with twelve enemies, and Wave 22 took a full two minutes to clear in the run that reached Adamantium — roughly four times as long as an early wave. Wave 24 lists only seven enemies but runs just as long, because the survivors are heavier types rather than basic ninjas.
Reaching the Adamantium medal
Adamantium is the top medal tier in the Nightmare Trials. For Crucible of Tears, a clean run through all 25 waves landed at a final score of 47,905, which was enough to take it. Two things feed that total: the points each wave is worth, which scale up as you progress, and the Time Bonus added for clearing quickly.
You only need Adamantium in one trial across the whole game for the Platinum, so this is a reasonable one to pick if you have the patience for a 20-minute run. Every other trial just needs bronze to register as completed.
Gauntlet trials become trivial on the easiest difficulty, “The Man”, where you cannot die. Build the score up there, then switch to a higher difficulty in the gameplay settings once you have what you need, so you can die and end the trial.
What the trial gives you and how to confirm it counted
Door 10 pulls double duty. Finding it counts toward discovering all 14 Nightmare Doors, which unlocks the Pathways of the Mind trophy, and clearing the trial with at least bronze counts it toward the 15-trial total needed for the hidden memory behind Repressed Memories. Higher scores also hand out more Adaptation XP, which pushes you toward Adaptation Level 10 faster.
- The Collectible Tracker in the pause menu updates the Nightmare Door count for Sinister Tidings.
- The Nightmare Cabin tracker reflects the same progress outside of missions.
- Trial progress totals can be checked through the trophy progress counters in the trophy list.
- The end-of-trial screen shows your final score and the medal tier awarded.
If your first attempt lands short of Adamantium, the trial can be replayed from the Nightmare Cabin at any point after the story, with every skill you have unlocked by then. That later run is considerably shorter than the first one.





