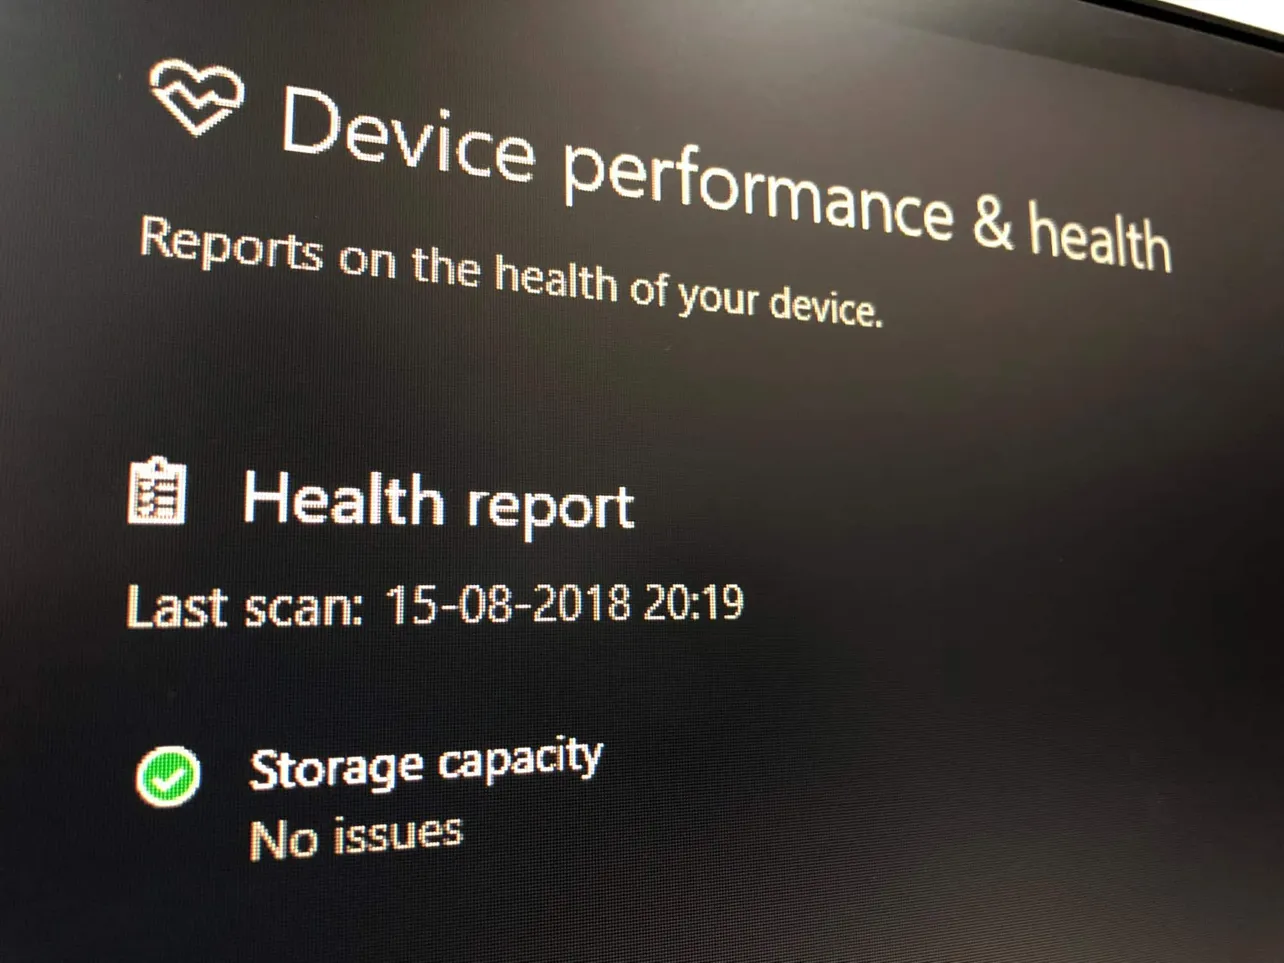
If you're using Windows 10 and notice that the Device performance & health report indicates "an app has stopped working," it can be frustrating not knowing which application is causing the issue. While Windows doesn't directly reveal the problematic app, you can use the Event Viewer to identify it.
Using Event Viewer to find the faulty application
Step 1: Open the Event Viewer application. Click on the Start menu, type Event Viewer into the search bar, and select it from the search results.
Step 2: In the Event Viewer window, look to the right-hand pane under the Actions section and click on Create Custom View.
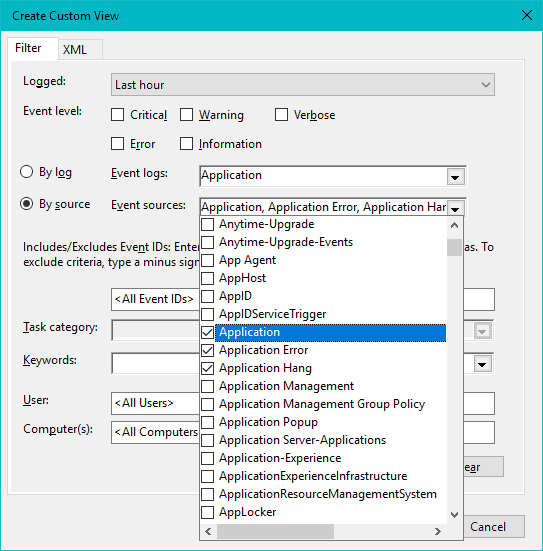
Step 3: In the "Create Custom View" dialog box, find the drop-down menu next to Logged and select Last hour to view recent events.
Step 4: Under the Event level section, ensure that Error and Warning are checked. Then, choose the By source option. In the Event sources list, scroll through and check the boxes next to Application, Application Error, and Application Hang.

Step 5: Click the OK button to proceed.
Step 6: When prompted to save the custom view, enter a name such as Application Error Report, and then click OK again.
Step 7: In the left-hand pane of the Event Viewer, under Custom Views, you'll see the custom view you just created. Click on its name to open it.
The center pane will now display a list of application errors and hangs from the past hour. By reviewing these events, you can identify which application has stopped working on your system. Click on an event to view detailed information, including the name of the faulty application and possible error codes.
By following these steps, you can pinpoint the malfunctioning application and take appropriate action to resolve the issue or uninstall the app if necessary to maintain your system's health.

