

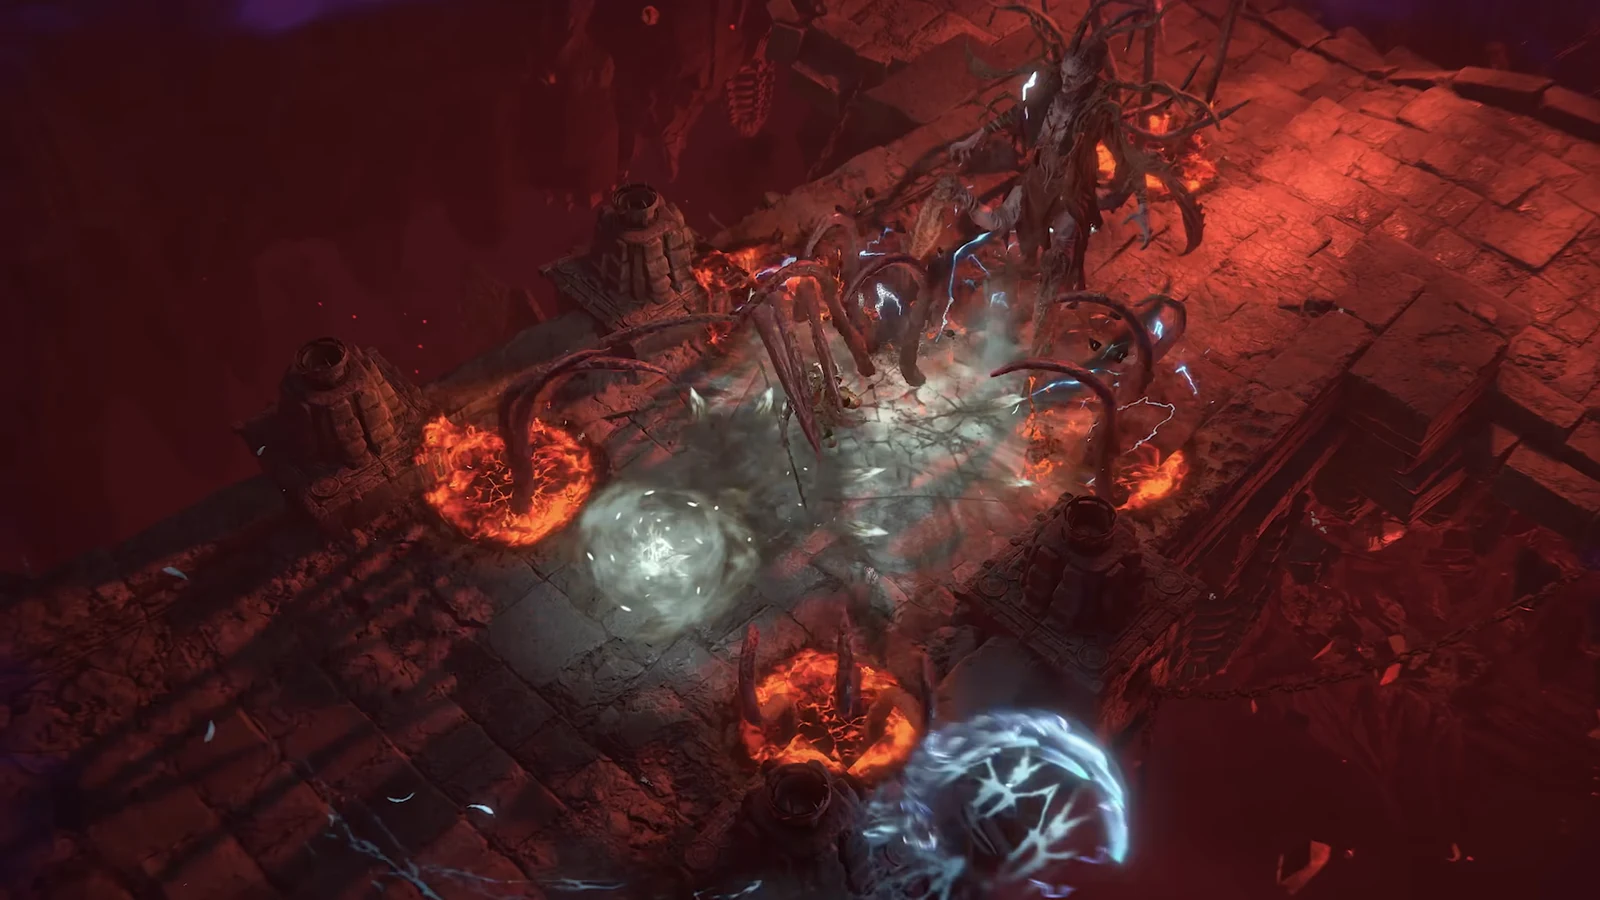
Blazing Scream is the highest-damage Warlock skill in Diablo 4 Season 15, but the channel eats Wrath faster than most setups can generate it. Two interactions solve that, and they also fix the survivability problem that Metamorphosis creates by burning your own Life on every cast.
Quick answer: Socket the Tir Rune and let Bombardment’s Hellfire demons expire. Their deaths count as kills, stacking Tir to +8 Primary Resource on Kill, which funds a nonstop Blazing Scream channel.
Why Blazing Scream drains Wrath
Orbital Scream keeps the skill cheap because you cast it and let it orbit. The moment you switch to manually spamming Blazing Scream for raw damage, your Wrath bar empties on a training dummy in seconds. Nothing in the base kit refills it fast enough to sustain the channel through a Pit boss room.
That is the wall the first tech removes. Once resource generation is solved, the channel becomes the only button you press during a damage window.
Tech 1: Tir Rune plus Bombardment demons for endless resource
The Tir Rune costs 300 Offering and grants +2 Primary Resource on Kill for 8 seconds, stacking up to +8. The problem with kill-based buffs is that they fall off between packs. Bombardment fixes that by giving you kills on demand.
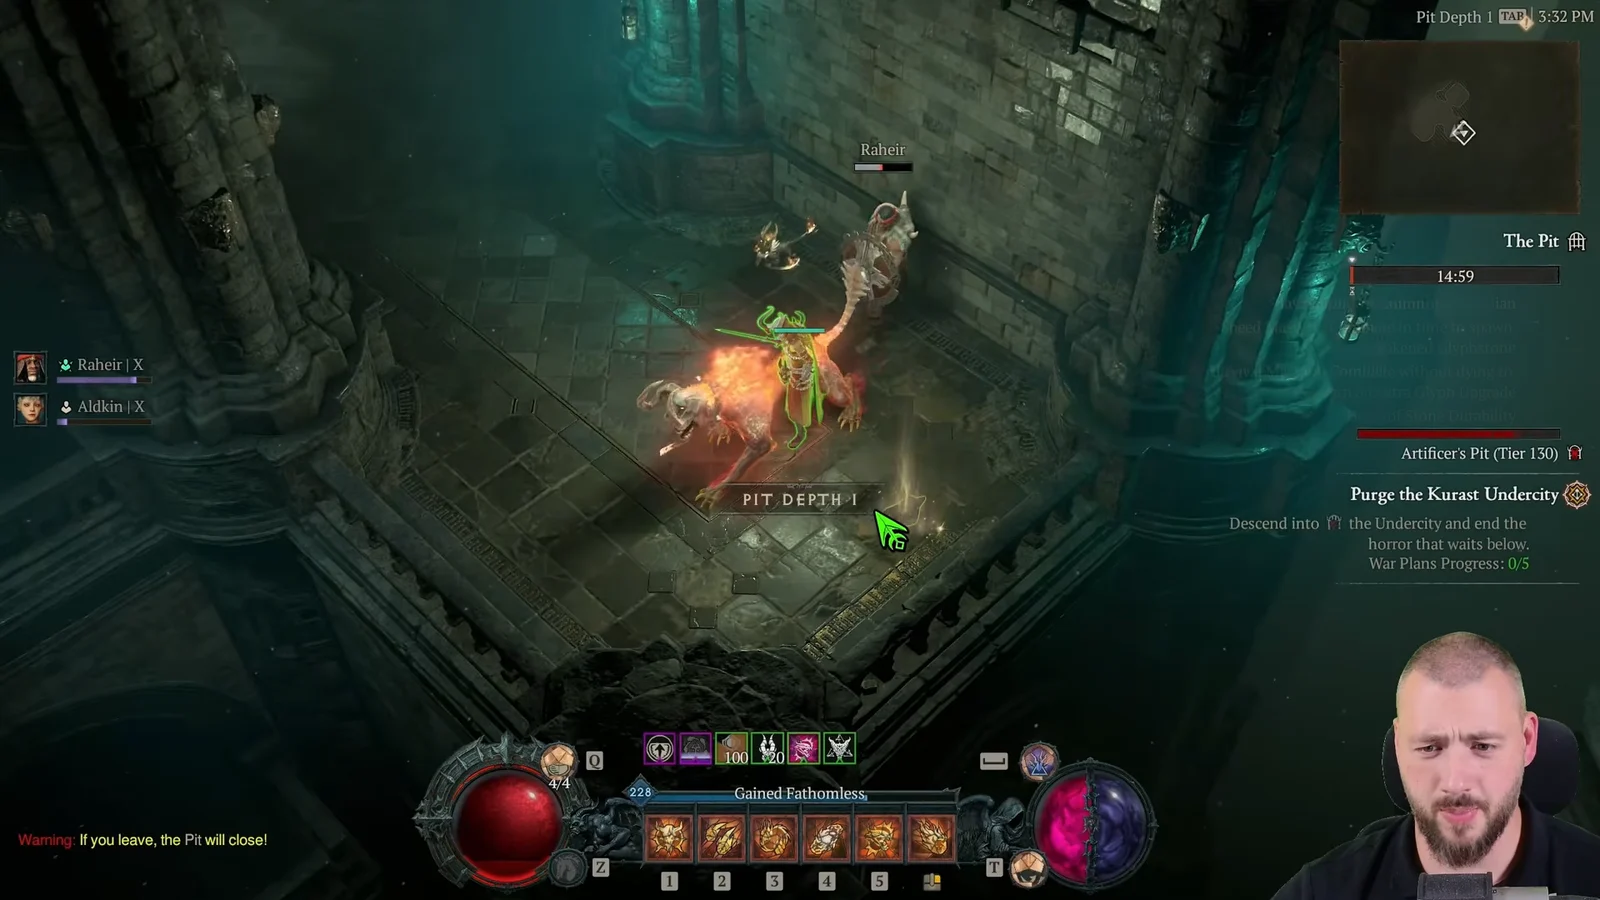
Metamorphosis is what turns that uptime into damage. The node grants +9.60% Hellfire and Demonology skill damage per cast, paid for with 8% of your Maximum Life burned each time you use a skill. Spamming is the point, so the buff stays near its ceiling.
Tech 2: Temerity barrier uptime while Metamorphosis burns Life
Burning 8% of your Maximum Life per cast should be lethal in high Torment content. Temerity pants turn it into a defensive engine instead. Any healing above your Life cap becomes a Barrier worth 130% to 150% of the overhealed amount, so the constant self-damage is immediately repaid as a shield.
The loop needs a large, repeating heal to feed it. That comes from Life on Kill, which you roll at the Occultist and then amplify with two effects.
- Sadistic Boneweave Treads give killed demons a 48% to 50% chance to count as two kills, doubling many healing procs.
- The Sadistic aspect adds 1% of Maximum Life to your Life on Kill, which scales with the huge Life pools this build stacks.
- Bombardment demon deaths already count as kills, so the barrier refreshes even when no enemies are dying.
Stack Maximum Life aggressively. It raises the Life on Kill value, the Sadistic bonus, and the Demonology damage you get from Hand of Apotheosis all at once.
Kill-stacking multipliers: Black Soulstone and Wendigo Brand
Because the rotation manufactures kills constantly, every kill-stacking effect in the game becomes reliable rather than situational. Two of them carry most of the boss damage.
| Source | Effect per stack | Cap |
|---|---|---|
| Splinter of the Black Soulstone | 3.0% damage per kill | 200 stacks (600%) |
| Wendigo Brand | +2% damage, +1% attack speed per 15 kills | 60 seconds duration |
The Black Soulstone splinter sits in Leoric’s Crown and takes a short ramp before it pays out, which is why you build stacks before committing to a boss phase. Wendigo Brand matters just as much for feel, since the attack speed portion visibly shortens the channel’s ramp on targets like the Torment XII Echo of the False Prophet.
Key gear for the Blazing Scream Warlock build
| Slot | Item | Why it is there |
|---|---|---|
| Helm | Leoric’s Crown | Damage Reduction, hosts Black Soulstone |
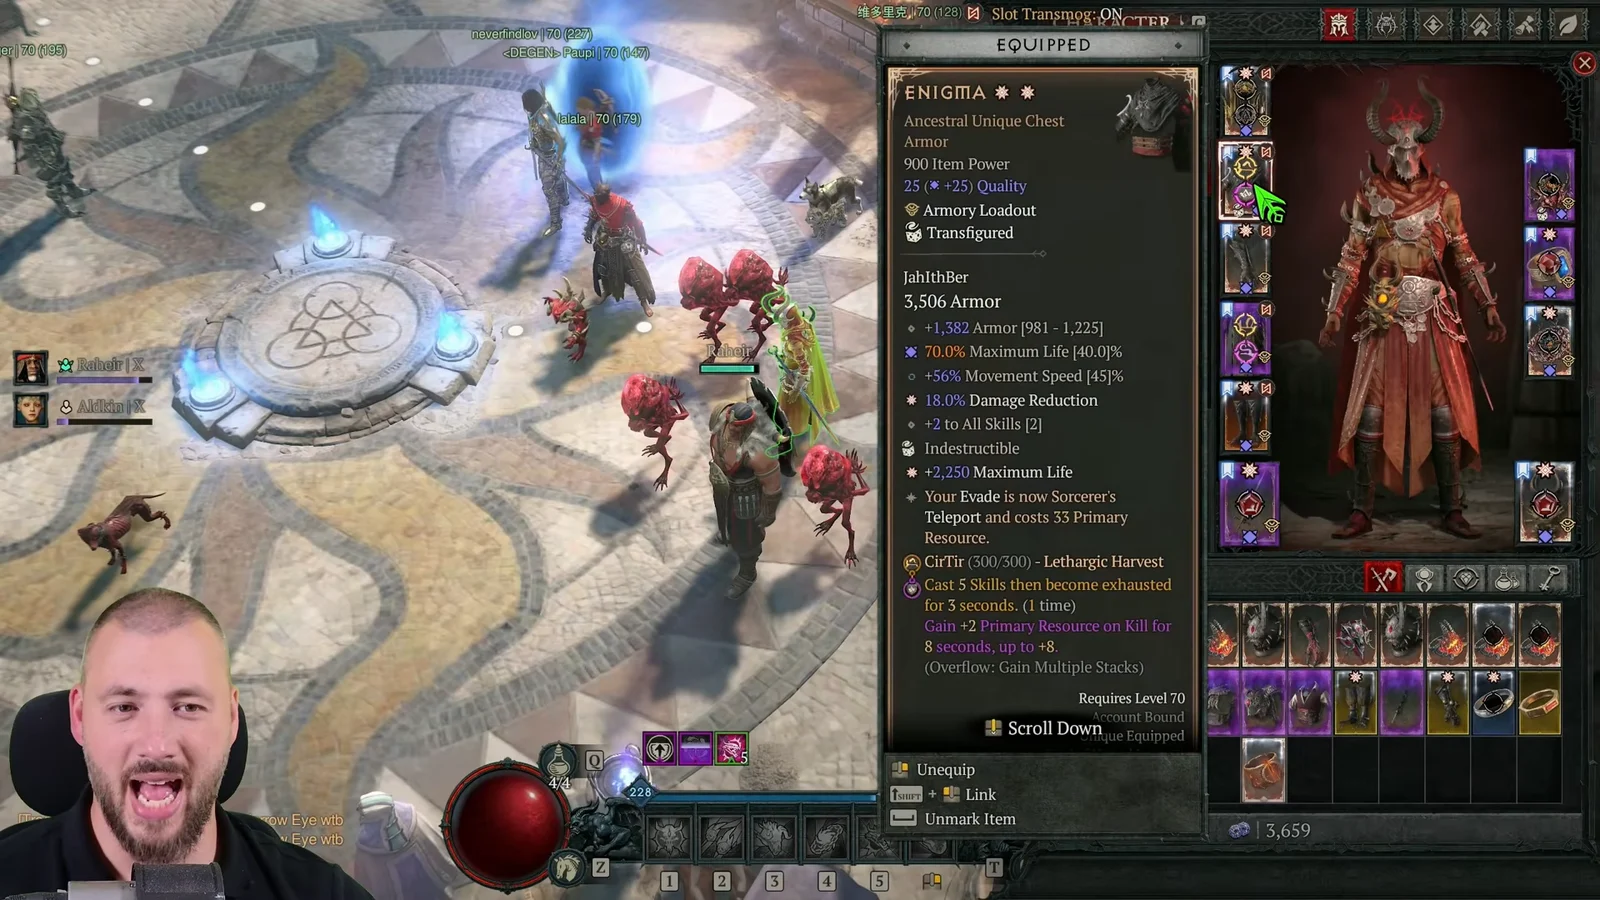
| Chest | Enigma (Cen-Tir runes) | Movement Speed, Max Life, rune slots |
| Gloves | Hand of Apotheosis | Free Metamorphosis upgrades |
| Pants | Temerity | Converts overhealing into Barrier |
| Boots | Sadistic Boneweave Treads | Double-kill chance, Life on Kill |
| Weapon | Lord Zir Elegy | Blazing Scream becomes an Archfiend skill |
| Off-hand | Infernal Homunculus | Archfiend skill damage multiplier |
| Ring | Stone of Jordan | Maxes elemental resistances |
Hand of Apotheosis is the single biggest quality-of-life piece. The gloves hand you every Metamorphosis upgrade for free and at higher potency, including 2% Demonology damage per 1,200 Maximum Life, 38% Maximum Life, and 38% Dominance cost reduction. Temper the Lord Zir Elegy weapon for Critical Strike Chance.
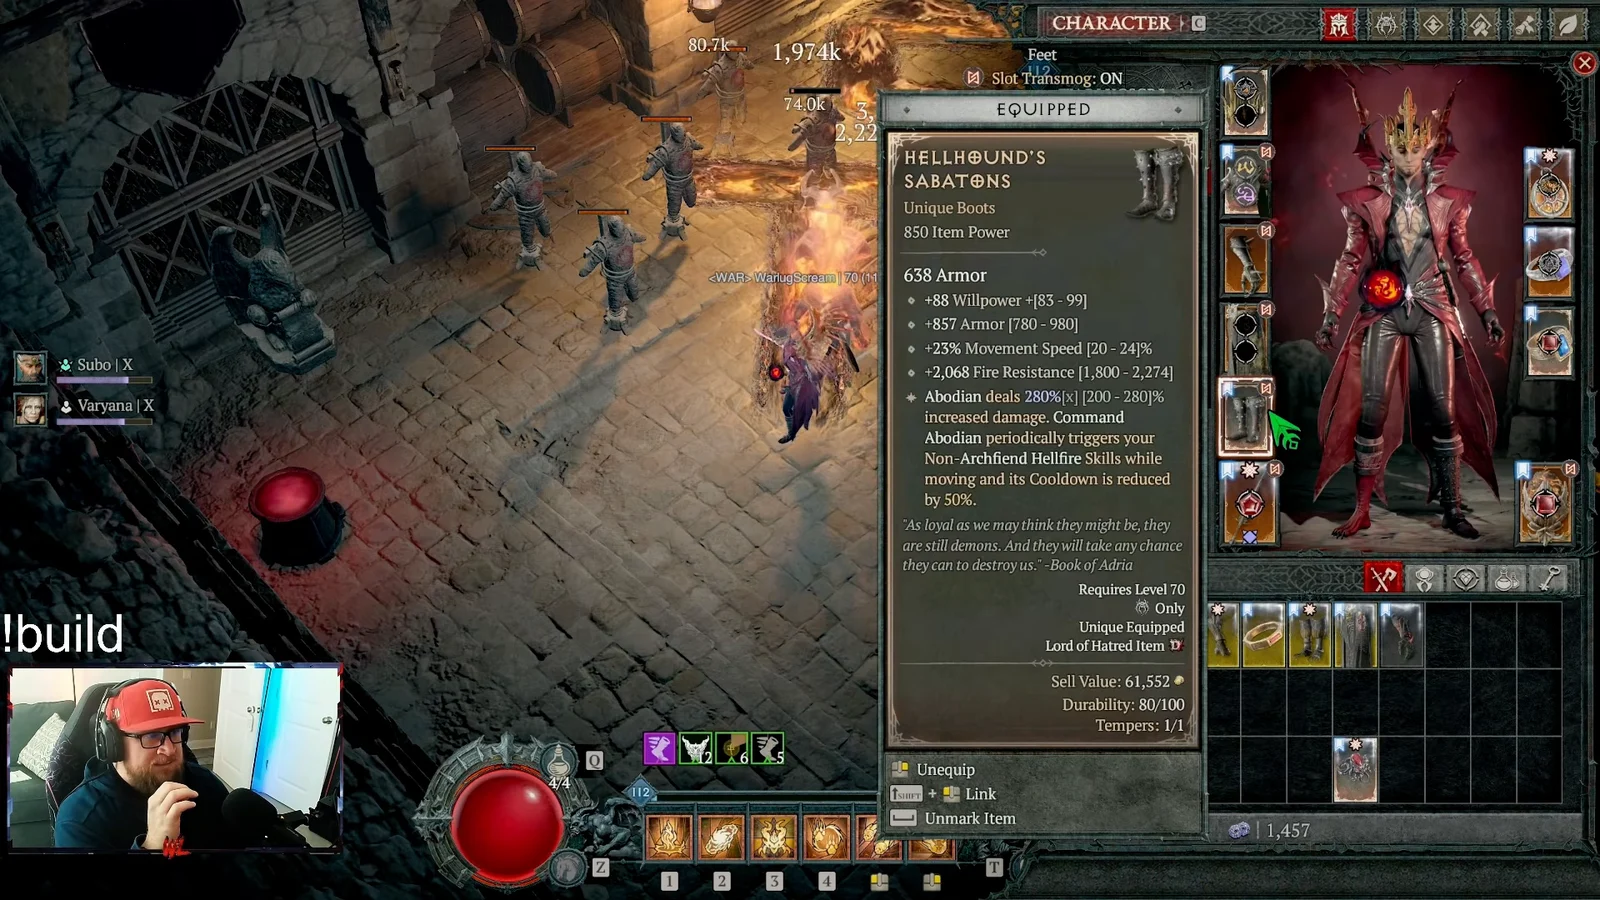
Boots are the one slot with real competition. Sadistic Boneweave Treads support the kill-stacking loop described above, while Hellhound’s Sabatons instead fire your Hellfire skills automatically as you move under the Abaddon command, which belongs to a different, automated playstyle.
Skill tree and Paragon setup
On the skill tree, take Blazing Scream with its Hellfire, Lesser Demon, and Archfiend nodes, add Command Fallen, and route around Rampage. Skipping Rampage keeps your Dominance pool free for Dynamism, Dark Prison, and Metamorphosis, which is where the multipliers live.
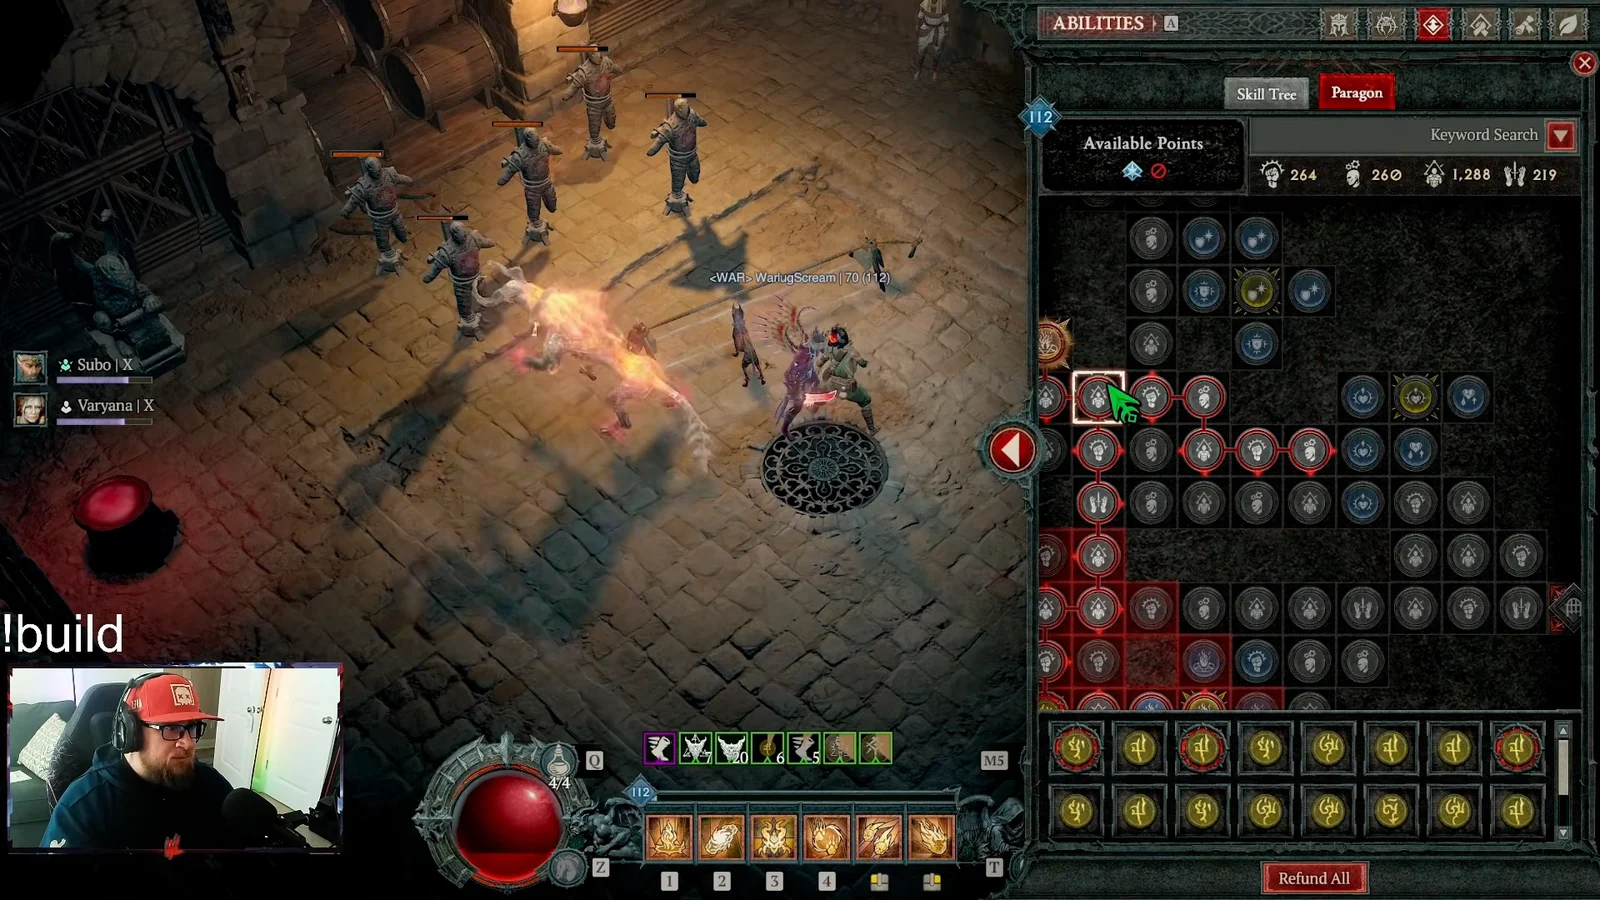
Paragon follows a simple glyph plan across five boards.
- Starter board with the Headhunter glyph.
- Dynamism legendary node with the Death Aura glyph.
- Demonic Spicules board with the Demonologist glyph.
- Fathomless board with the Wrath glyph.
- Greater Hex board with Unbound, or Hellforge as the alternative.
Crafting Hand of Apotheosis, Wendigo Brand, and Enigma
Talisman, charms, and the ring choice
The Talisman runs the five-piece Flesh of Abaddon set alongside the Seal of the Golden Epiphany mythic seal and the Hellfire Torch mythic charm. Linta of the Nameless and The Furnace are the usual swaps if you want to shift the balance between damage and utility.
For the second ring, Stone of Jordan is the safe pick because it maxes all elemental resistances without any fitting work. The Eightfold Idol trades that comfort for +80% Hellfire damage and Sigil of Subversion trails, which is the direction leaderboard setups tend to take once they accept lower resistances.
How to confirm both techs are working
Take the setup to a training dummy and watch three things. Your Tir Rune buff should sit at its +8 stack ceiling shortly after you cast Bombardment, your Wrath bar should hold steady rather than drain while you hold Blazing Scream, and a Barrier should be visible above your Life globe for as long as you keep casting.
If all three hold, the channel is self-sustaining and you can take it straight into high Pit tiers. Top Warlock Pit 150 clears mostly separate themselves from there through deeper Masterworking, Transfigured stats, and level 150 glyphs rather than a different core loop.





