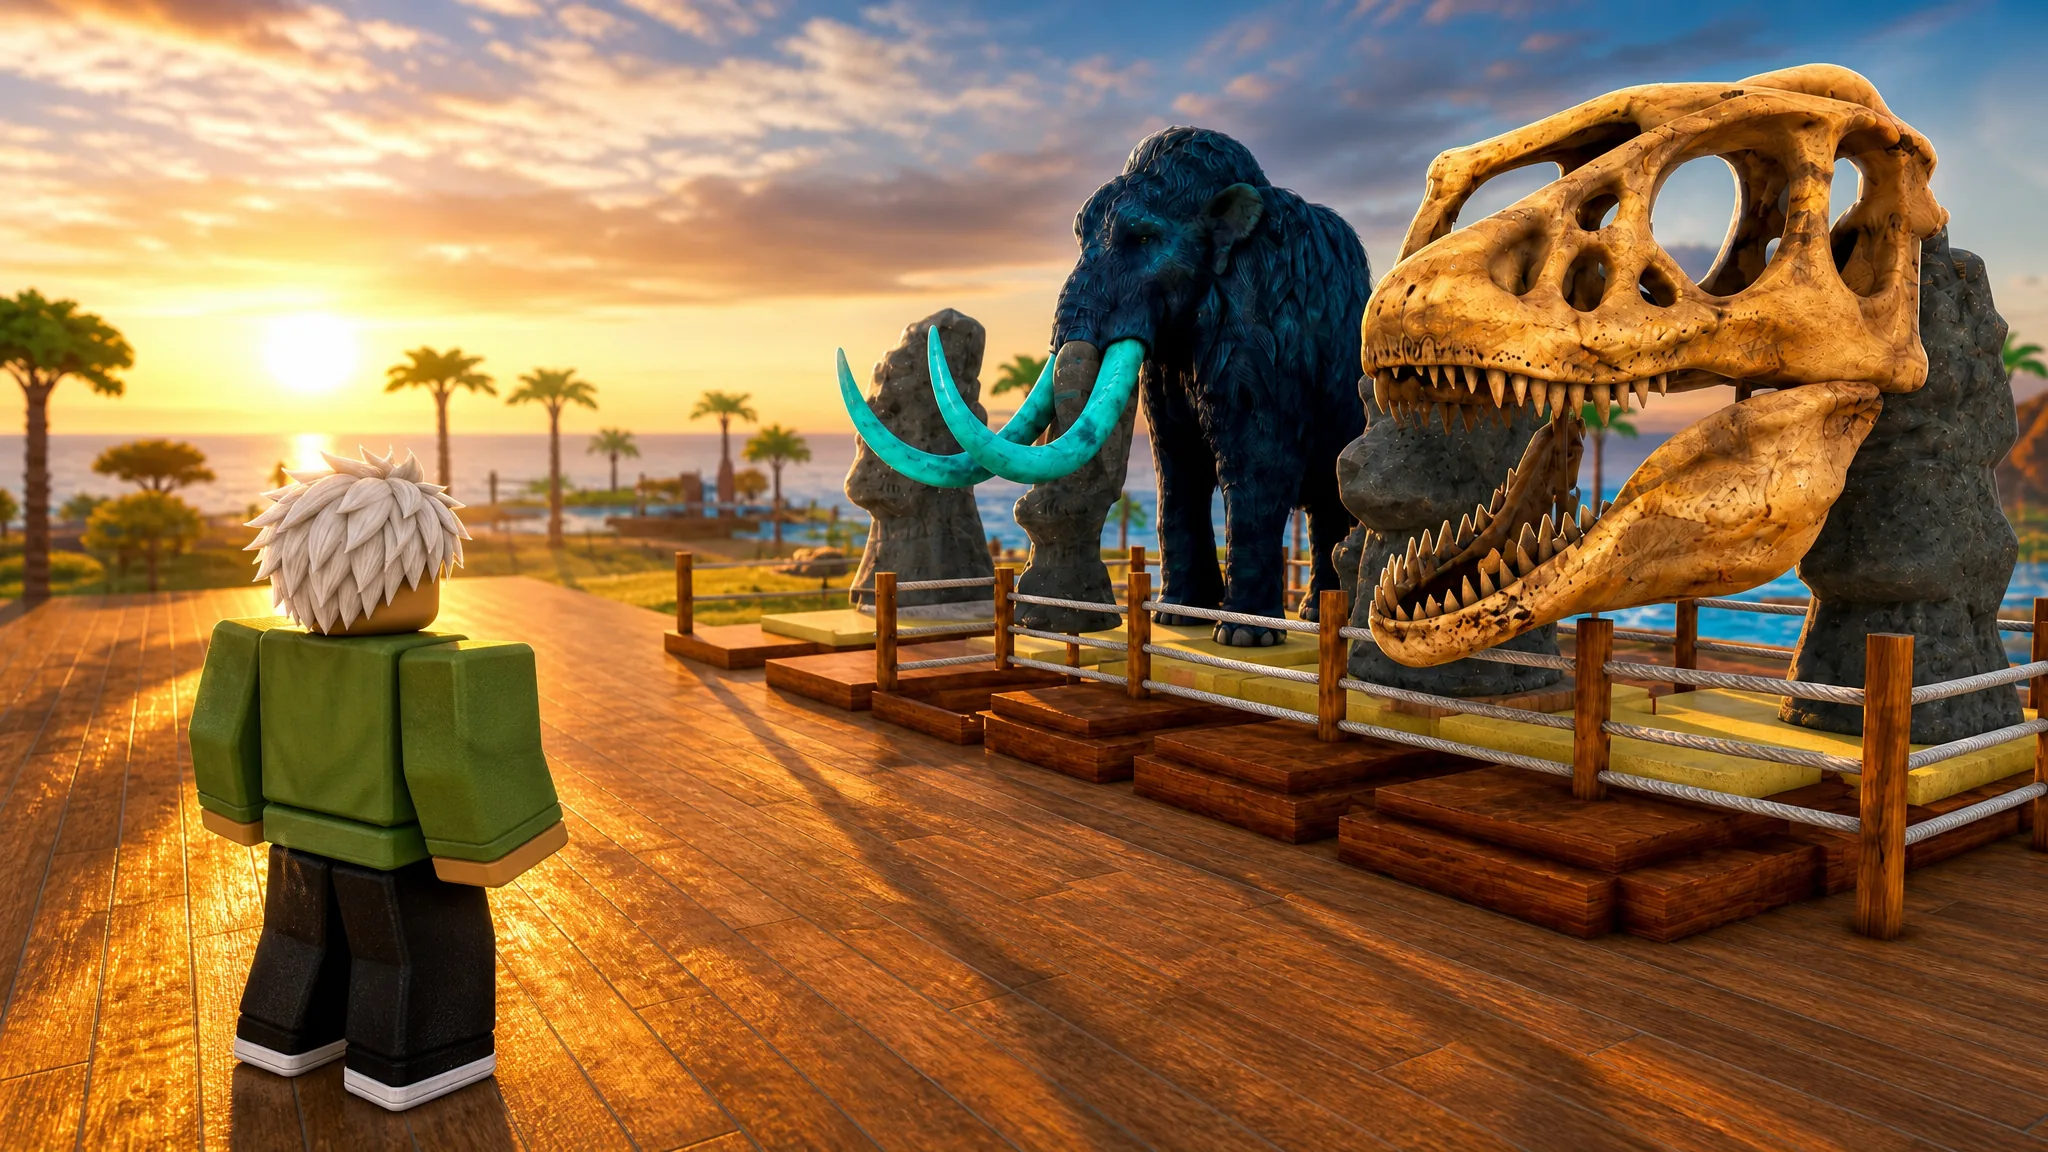
Money in Dig & Clean comes from two places that work against each other, and picking the wrong one at the wrong time slows your whole run. The trick is knowing when a cleaned item belongs in your museum and when it should go straight to the sell station for cash.
Quick answer: Clean every item fully, fill all empty museum slots first for passive tourist income, sell duplicate and low-value junk for instant cash, and stack that money toward the Shipwreck Cove trip instead of small tool upgrades.

Museum vs. sell station: where your money comes from
The museum and the sell station pay you in completely different ways. The museum is your long-term engine. Tourists arrive while you are out hunting, and displayed items keep generating income in the background. The sell station is the opposite. It hands you cash the moment you drop an item, but that item is gone for good and stops earning.
| Source | Payout type | Best used for |
|---|---|---|
| Museum | Passive income from tourists over time | Rare, high-value, unique finds you want on display |
| Sell station | Instant one-time cash | Duplicates and low-value junk you don’t need |
The rule is simple. If an item is better than something you already display, it belongs in the museum. If it is a duplicate or plainly worse, sell it for immediate money.

Fill every museum slot before you get picky
Early on, an empty display slot earns nothing. Fill all of them as fast as you can, even with mediocre finds. A cheap item on display still pulls in tourist money, and that beats leaving the slot blank while you wait for something better.
Once every slot is full, switch to upgrading. When you dig up something rarer or higher-value than a piece already on show, swap it in and sell the old one. Your museum income climbs steadily as the low-value placeholders get replaced by real treasures.
Always clean an item before you decide
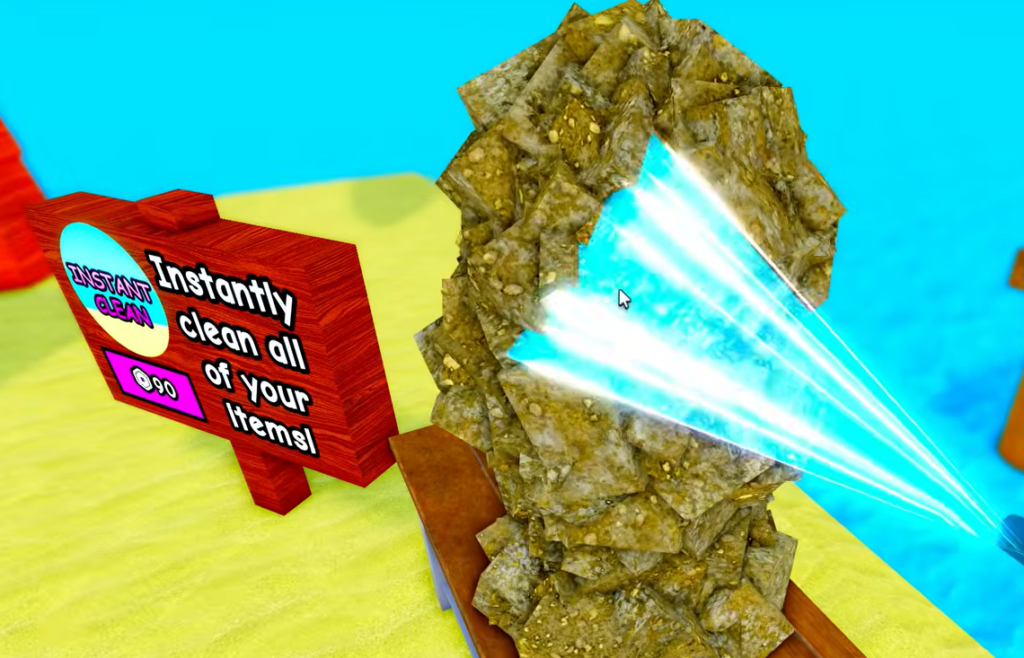
Never judge a dirty find. Its true type, value, and rarity only appear after a full clean at the Workstation. An item that looks like junk in the dirt can reveal a strong Condition rating and a low drop chance once sprayed. Selling or placing something before cleaning it means guessing blind.
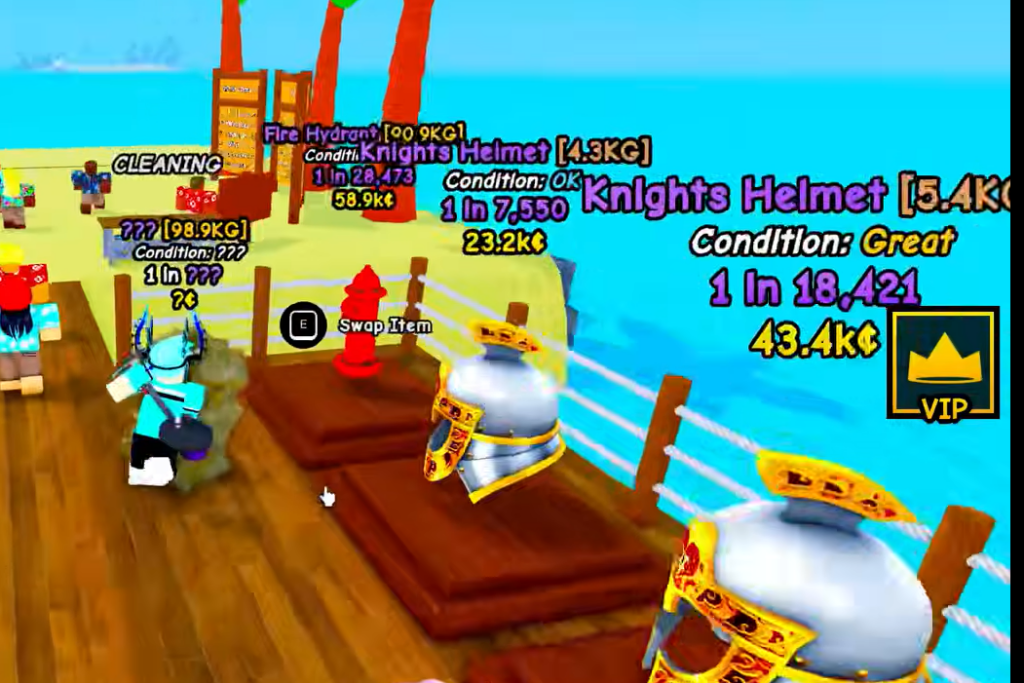
Cleaned items show a Condition grade, from OK up to Perfect, along with a rarity readout like 1 in 500. A Bear at 11.1KG in Perfect condition with a 1 in 500 rarity is a museum piece. A Duck at 1 in 22 is sell fodder. High-value crystals such as an Amethyst Crystal can clear five figures in cleaned cash, so finishing the scrub is what tells you which pile an item goes in.
| Cleaned find | Condition | Rarity | Move |
|---|---|---|---|
| Bear (11.1KG) | Perfect | 1 in 500 | Display |
| Bear (4.2KG) | Great | 1 in 80 | Display or hold |
| Duck (2KG) | OK | 1 in 22 | Sell |
Chase colorful detector signals, skip the weak ones
The metal detector marks where to dig. Not every signal is worth your time. While you are still filling museum slots, dig anything to build up displays. Once the museum is full, tighten your filter.
Colorful signals point to the rarer, higher-value items you want. Weak white and green signals usually lead to common junk. After your museum is stocked, ignore white and green hits and only dig the colorful ones. This keeps every dig aimed at either a museum upgrade or a worthwhile sale.
Upgrade the tool that is actually holding you back
Spending on upgrades feels productive, but small bumps waste money. Only upgrade the single piece of gear that is slowing you down the most right now. If cleaning is your bottleneck, put money into the spray bottle. If digging is the wall, improve the shovel. The Amethyst Shovel is the standout shovel unlock on Starter Island and a strong target.
Skip the minor in-between upgrades. Instead of buying every small step, save and jump straight to a higher-tier tool. You end up spending less overall and get a bigger jump in dig speed or cleaning rate for the money.
Save for Shipwreck Cove instead of small upgrades
The biggest progression jump is not a tool. It is the pirate trip that unlocks the second map, Shipwreck Cove. A new map means better finds and faster money than any minor upgrade on Starter Island would give you.
Some higher-value dig spots require a stronger shovel before you can break ground, shown by the prompt telling you that you need a stronger shovel. Keep enough gear to actually dig what the new map offers, then funnel the rest of your cash toward the Cove.
The money loop to repeat
Every efficient run follows the same cycle. Sweep with the detector, dig the spot, clean the item fully, decide whether it displays or sells, then reinvest into the one upgrade that matters. Repeat that loop, and your museum income and cash reserves grow together.
You know it is working when tourist income keeps climbing between digs, your museum slots hold rares instead of placeholders, and your cash pile is heading toward the Shipwreck Cove unlock rather than draining into small upgrades. Clean first, display the best, sell the rest, and save for the next map.