Doom The Dark Ages Revelations: Chasm of Xal’Goroth Walkthrough (Chapter 4)
Clear both Power Cores, escape the collapsing labyrinth, and finish the flashback to claim the second Ascension Stone.
Clear both Power Cores, escape the collapsing labyrinth, and finish the flashback to claim the second Ascension Stone.
by AllThingsHow Staff
The Chasm of Xal’Goroth is the fourth chapter of Doom The Dark Ages Revelations, and it drops the Slayer into a puzzle-heavy dungeon built around the shield and the Chain Spear. Your goal is the second Ascension Stone, but two Power Cores stand between you and it, each locked behind an Eldritch Key you have to earn. The chapter closes with a human-enemy flashback that sends you back to Purgatory.
Quick answer: Reach the shrine at Labyrinth’s End, destroy both Power Cores using the Blue and Red Eldritch Keys, escape the collapsing labyrinth, then grab the second Ascension Stone and finish the flashback bombing run to complete Chapter 4.
In this episode of “The Art of Slaying” Hugo talks us through concept art of Chasm of Xal'Goroth.
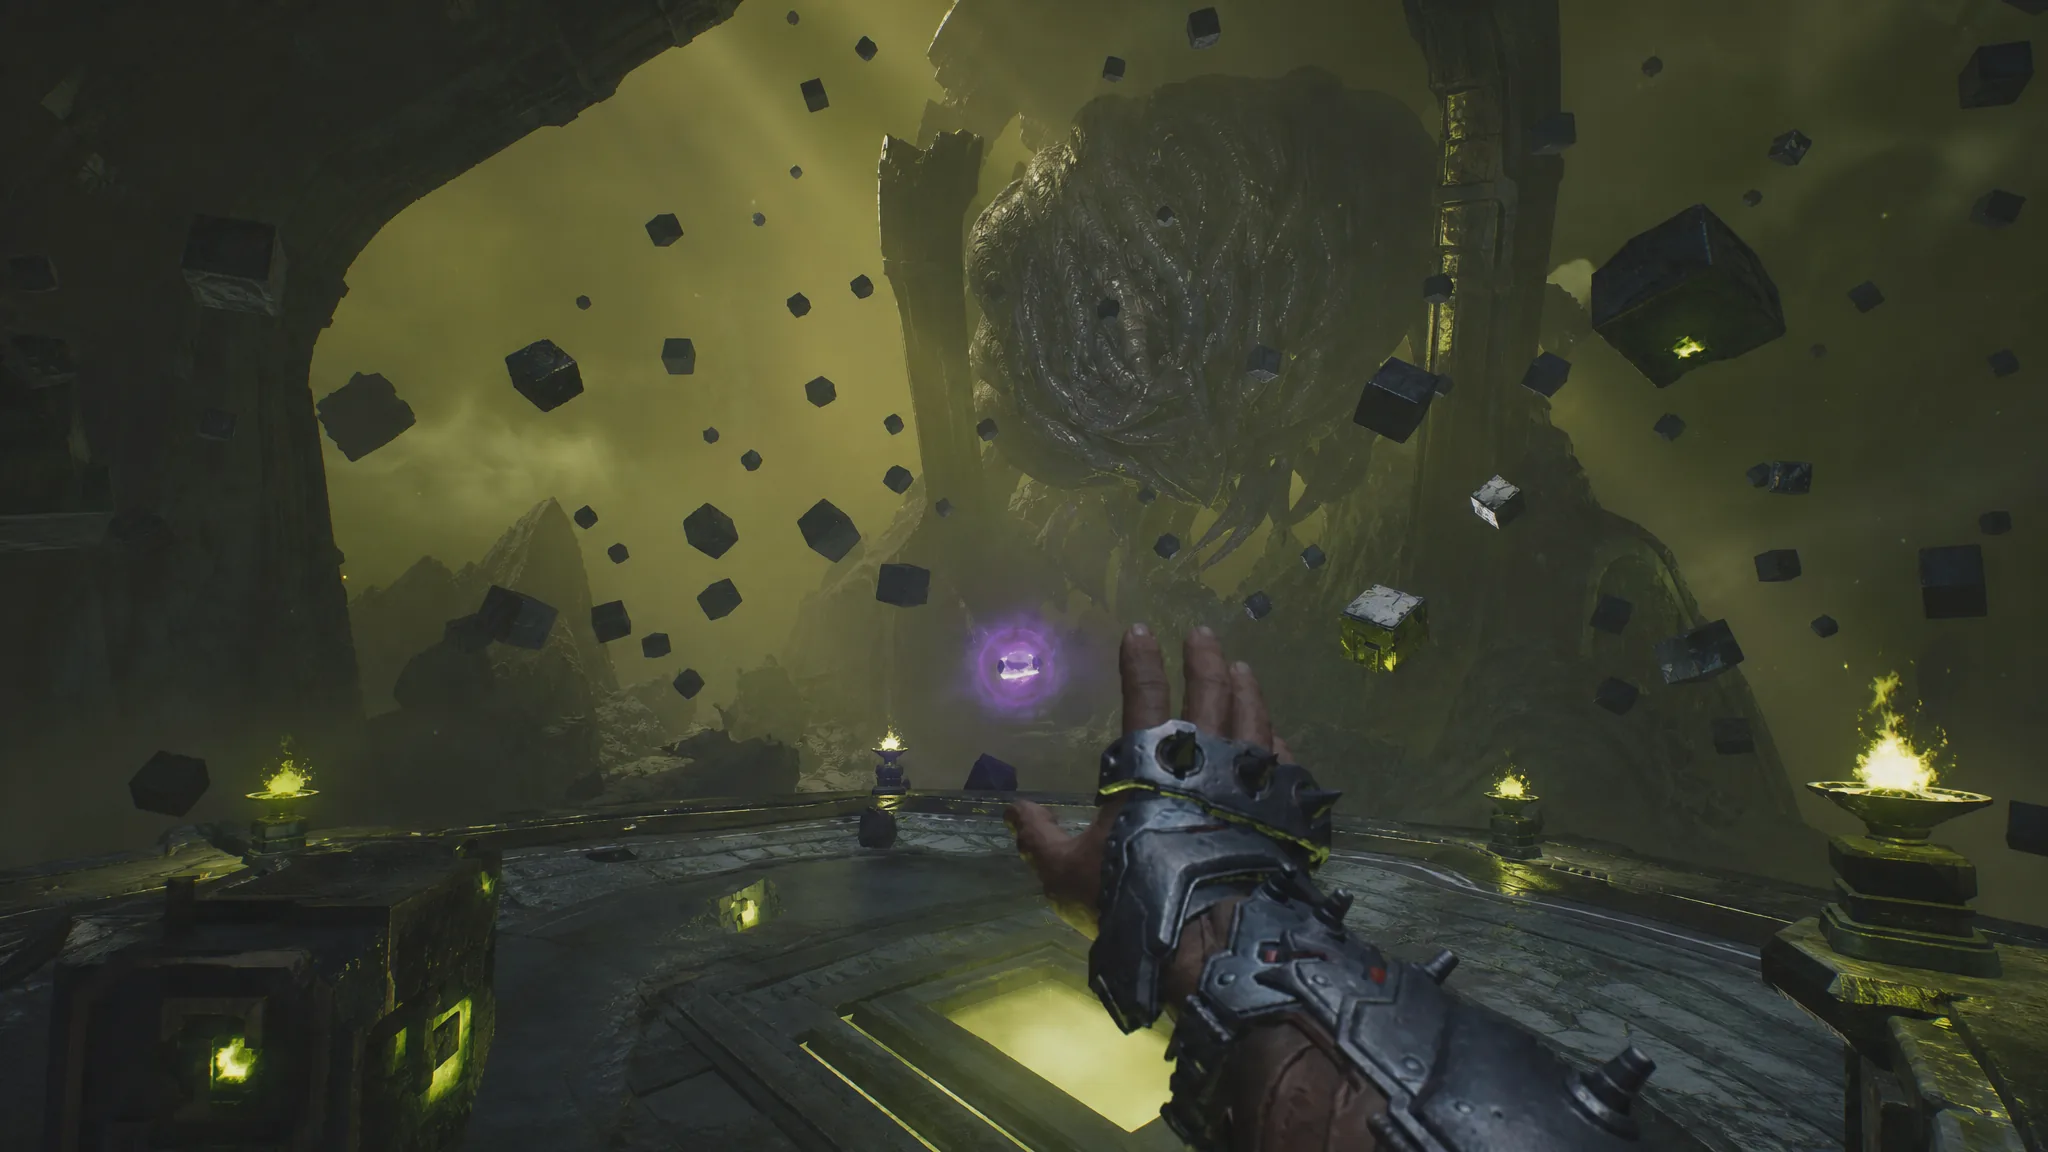
You arrive from a portal after finishing Hell’s Core. The opening stretch is a long platforming run where the shield clears obstacles and the Chain Spear acts as a grappling hook. Follow the objective marker and keep moving.
Walk into the hallway and pick up the Codex “Trial of Will” directly ahead. The nearby door is locked, so continue to the end of the hall and interact with the stone sealed inside the stone casing to teleport into the next zone.
Turn around and take either staircase up. On the next platform, look right and use the shield to fling yourself through the circular gate. Land, enter the room, and clear the enemies that spawn.
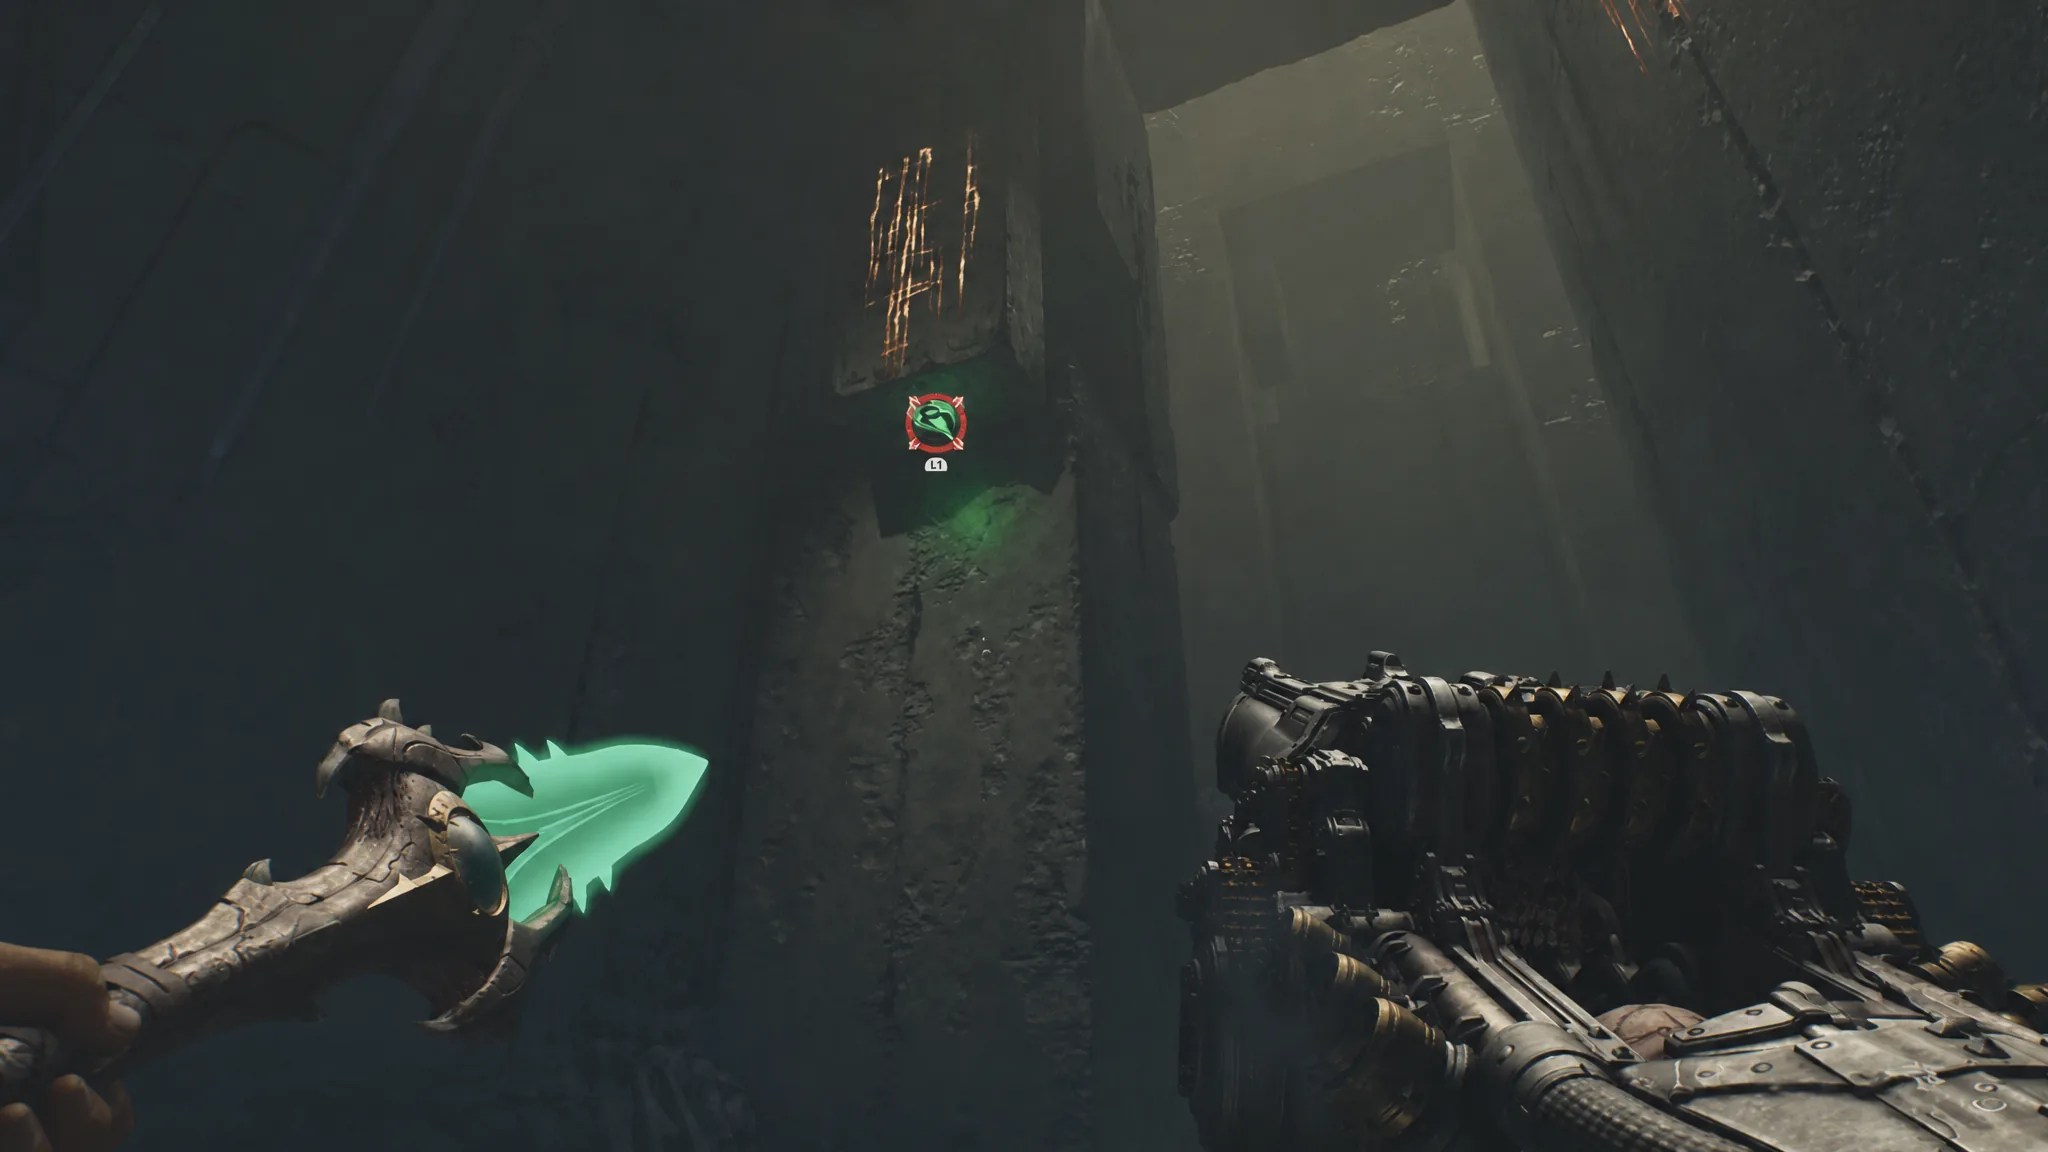
Take the left path from the purple door and defeat the enemies at the end of the corridor. Throw your shield at the blue club to open a new path above on the right, then grapple up with the Chain Spear.
Exit the corridor and shield-bash through the next green ring. After the fight, follow the trail of white pickables down to the level below, then turn around to grab the Mask Relic piece in the corner.
Use the jump pad to return to the upper area and keep following the marker through more green rings. Climb the wall, then look up and left for a grapple point that pulls you higher. The final ring throws you into a water-filled hole. Swim toward the light, climb out, clear the ruins, and go through the door.
Destroy the first Power Core (Blue Eldritch Key)
The objective updates to destroying two Power Cores. Each one sits behind a blue floor switch you cannot reach until you find the matching key and solve a block puzzle.
Go through the marked door and push the large block so it flies across the gap. Throw your shield at it to activate the bridge, which also summons enemies. Clear them, then take the path to the left of the block.
You reach the room with the first core on the left. The blue switch on the ground is out of reach, so follow the marker into the next room and fight through the waves. Use the two jump pads for mobility as the arena expands and spawns tougher demons.
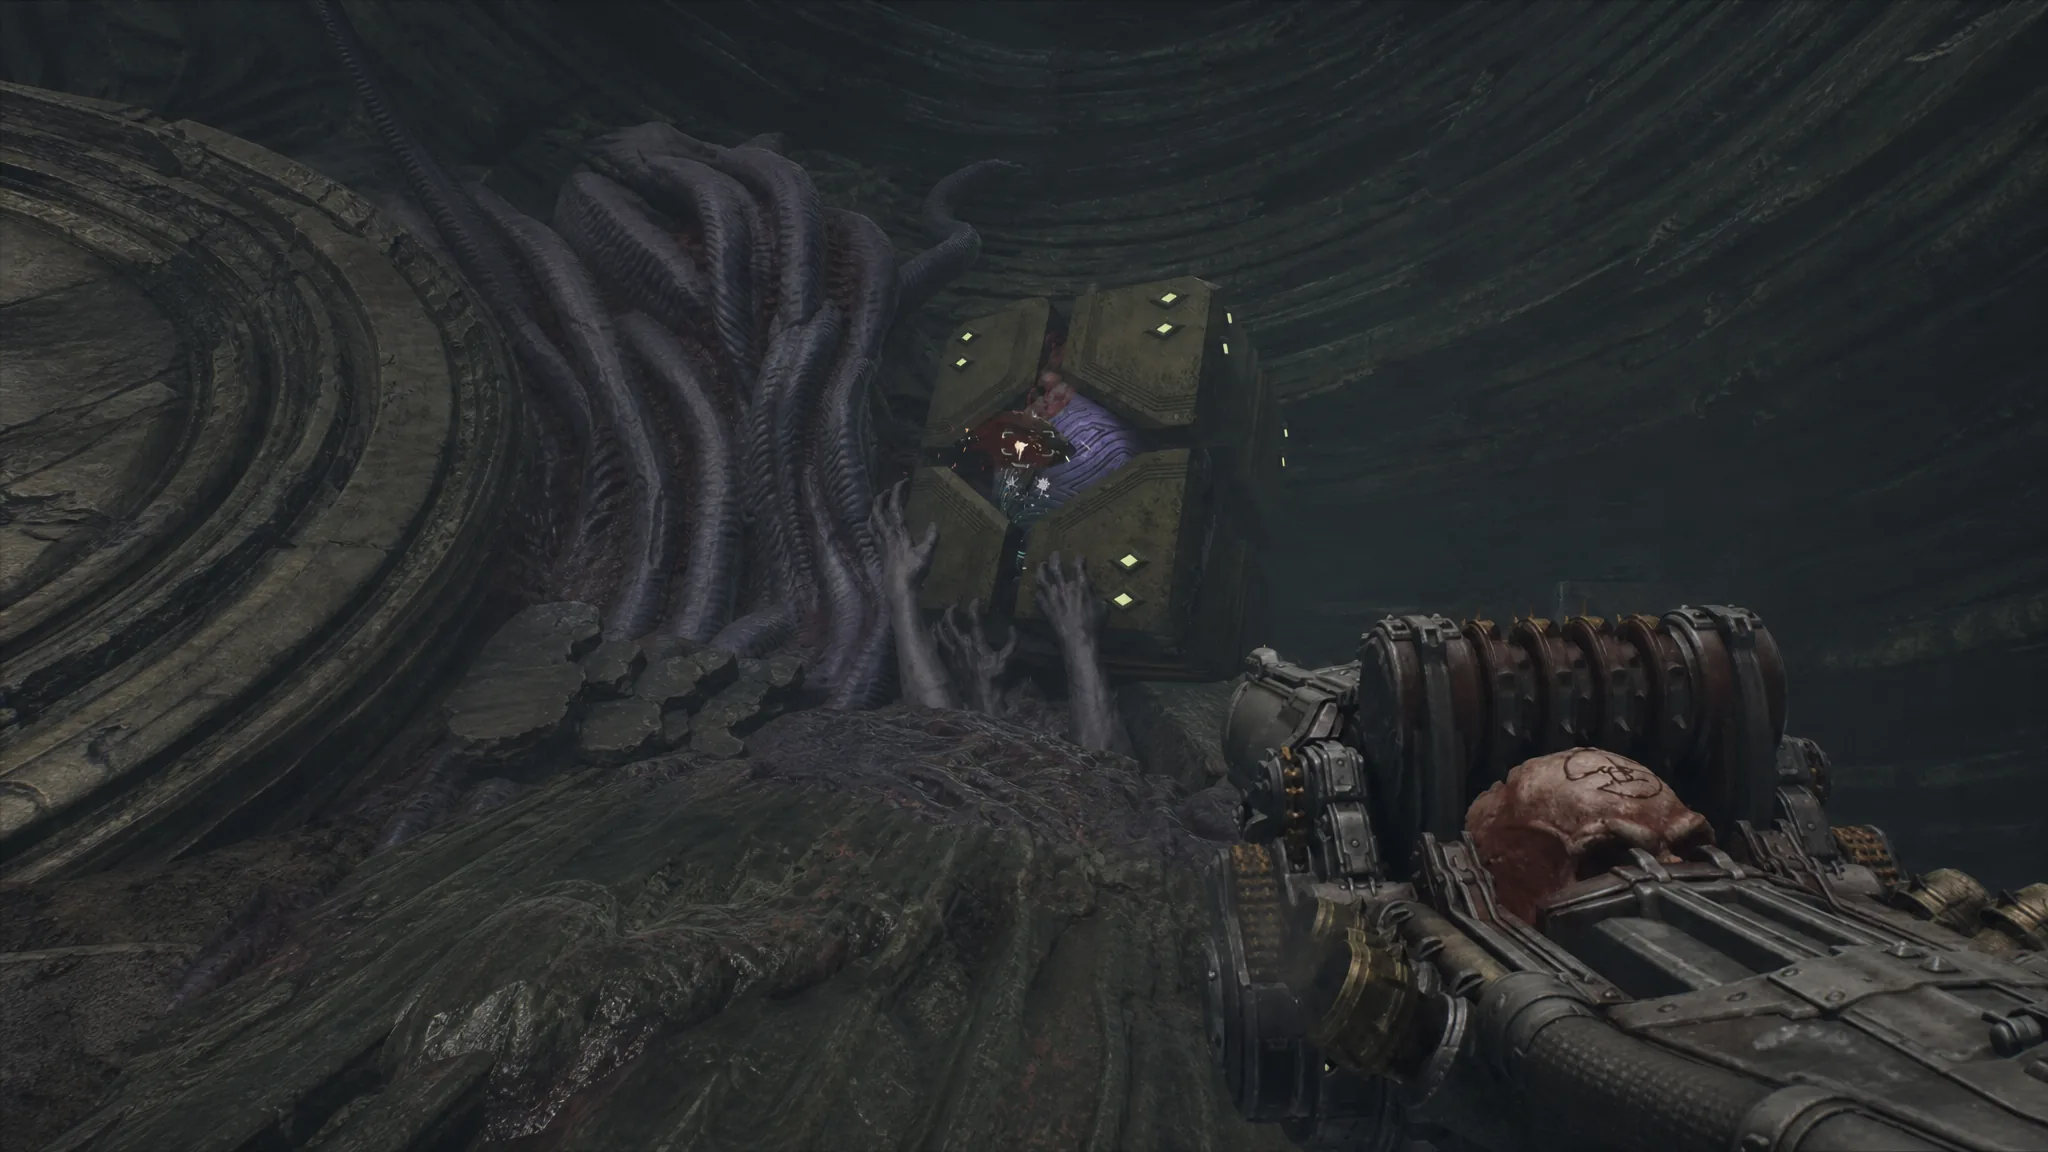
Enter the puzzle room. Detach the block with your shield so it drops onto the arm, then pull it left with the Chain Spear. Bash the green-glowing side of the block so it slides along the arm and rests against the wall.
Climb the wall grapple to the left, look back down at the block, and pull its grapple point to slide it right. Throw your shield at the blue part of the block to raise a platform above it, then cross to reach the Blue Eldritch Key.
Return to the large arena, clear the fresh spawns, and go back to the core room. The blue switch is now active. Use the shield to draw out the core’s defenses, remove them, and launch the shield into the core before it returns to destroy it.
Destroy the second Power Core (Red Eldritch Key)
The second core needs the Red Eldritch Key, and the route to it runs through a moving-platform puzzle plus a short parkour section.
Follow the marker through the now-unlocked door and fight the waves along the way. At the end of one passage, large blocks slide into place to block you. Turn around, grapple onto the platform above, and hop across the blocks to the door on the other side.
Enter the second core room and note it needs the Red Eldritch Key. Follow the marker into the large puzzle room full of moving platforms. Use the Chain Spear to shift the narrow platform in the center sideways.
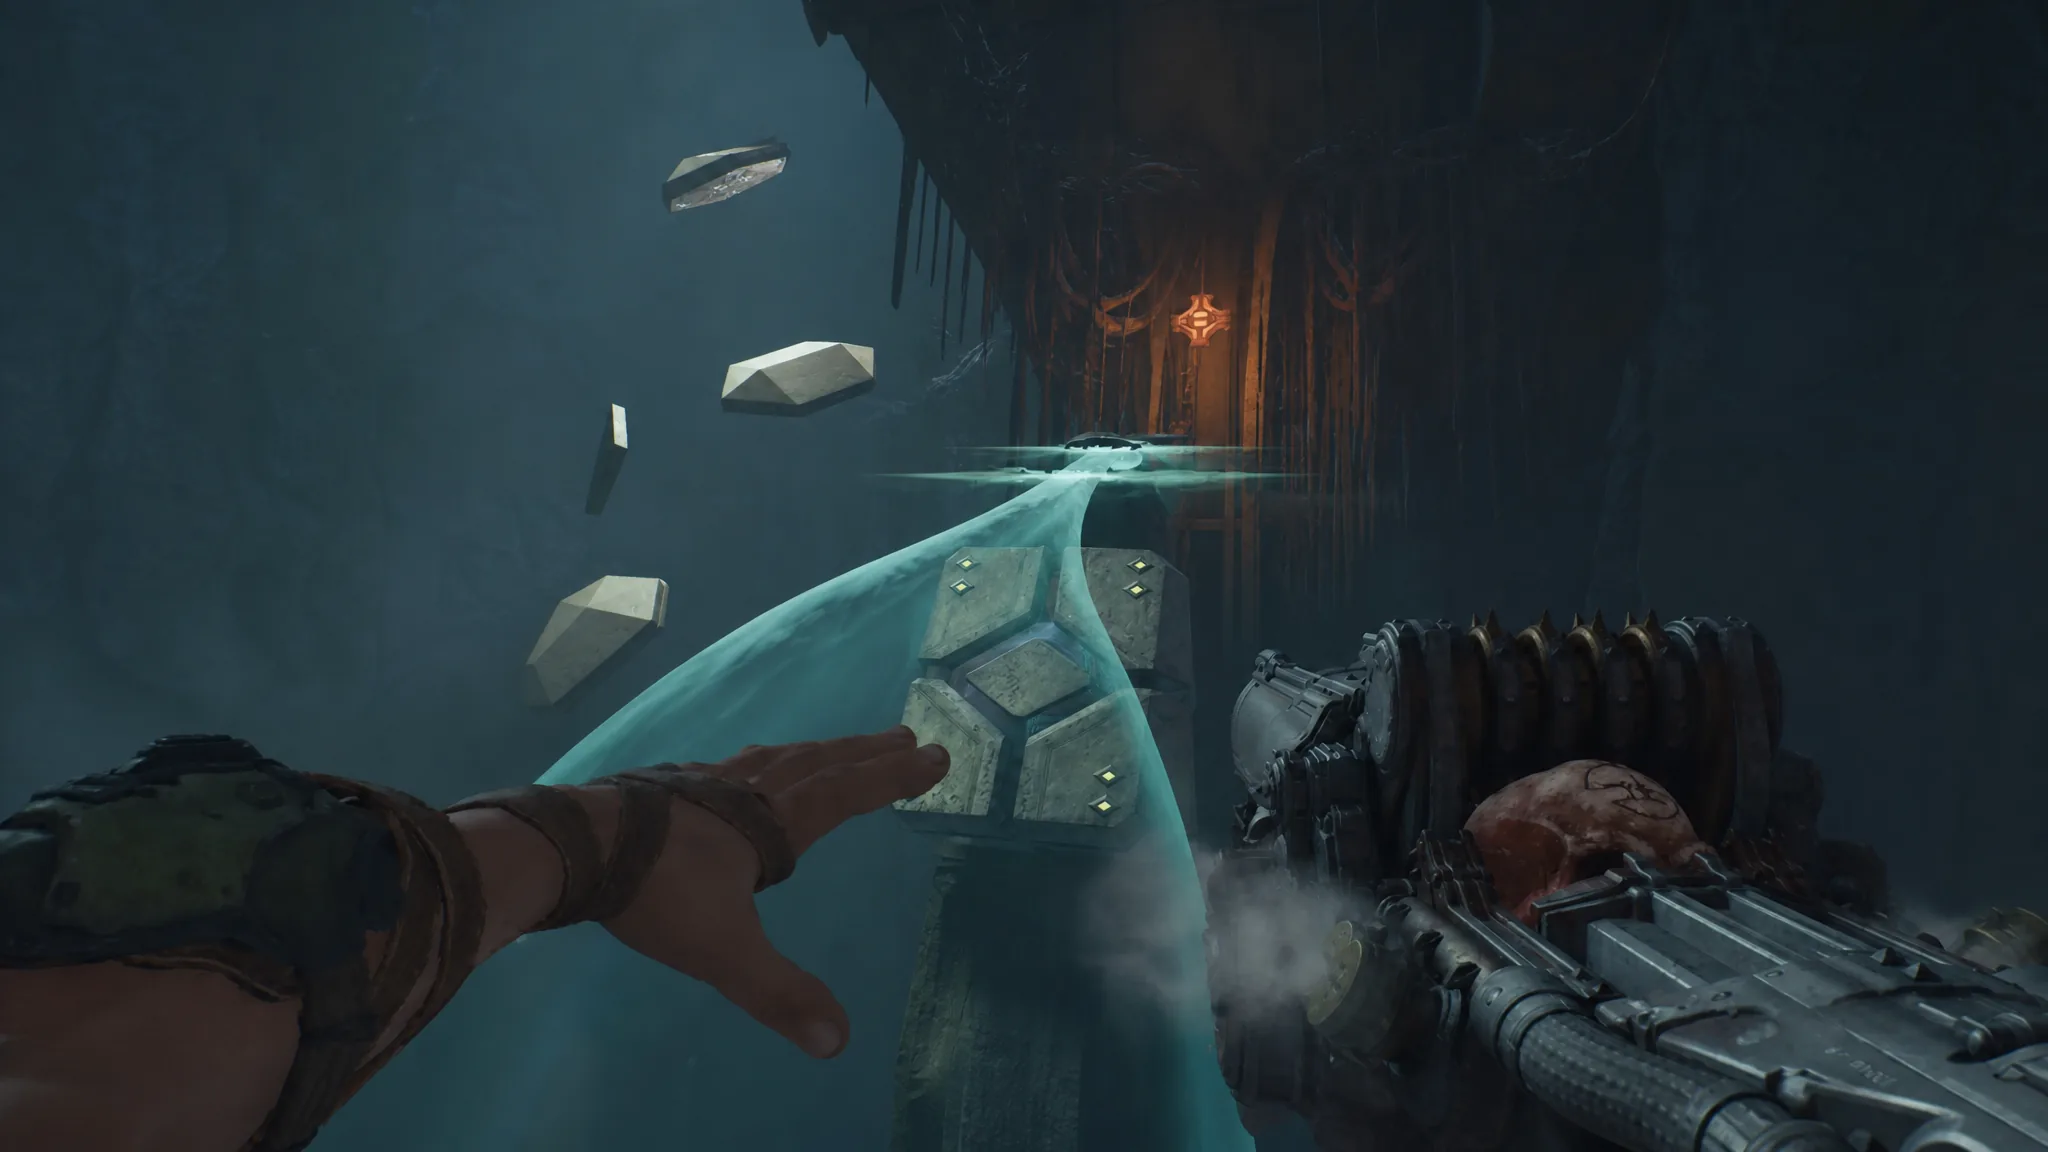
Ride the vertical platforms to the big block, stand behind it, and push it onto the narrow platform while it is level with you. Climb the block, hop to the higher platform on the left, then move the block counter-clockwise so it faces the exit.
Jump to the third platform above and throw your shield into the blue side of the block to raise a platform. Dash across it to the top. Take the unlocked door on the right (the left one stays locked), grabbing the Relic piece beside the doorway.
Shield-bash through the barrier into the arena, clear the demons, then fling through the green ring to reach the Red Eldritch Key. Grab it and take the left path back into the puzzle room.
Head to the previously locked door for the parkour run. Jump and dash left, fire the Chain Spear at the grapple point, and land ahead while dodging the moving fireballs. Go through the door back into the second core room, lure its shields as before, and destroy the core.
Escape the labyrinth and claim the Ascension Stone
Destroying both cores returns you to the room where the Red Key hunt began. Defeat the enemies there, then follow the marker across a linear parkour stretch while the labyrinth collapses around you. Dash and grapple through the falling platforms, jump through the green ring, and go through the door.
You arrive at the hallway holding the second Ascension Stone. Take it. This triggers a flashback vision you have to finish before the chapter ends.
Complete the flashback (Face Your Pain)
The flashback swaps the demon roster for human enemies who fire projectiles you weave through. It is a straight, linear path with no exploration or collectibles, so the shotgun and steady forward movement carry you through.
Move through the large red EMERGENCY sign to spawn the first enemies. Push forward room by room following the marker, placing the remote explosives where prompted.
Reach the elevator, drop down, and continue through the sewers into the next part of the facility. Hit the switch to set off the final cutscene.
When the cutscene ends, you are back in Purgatory holding a new Relic piece for the Master Key. That transition confirms Chapter 4 is finished, with the second Ascension Stone secured and Osseus opening up as the next chapter.
Chapter 4 objective checklist
Objective
Key requirement
Enter the Chasm of Xal’Goroth
Shield flings and Chain Spear grapples through the platforming run
Find the Labyrinth’s End
Clear enemies to reach the hollow shrine
Destroy the first Power Core
Blue Eldritch Key, then shield the core’s defenses
Destroy the second Power Core
Red Eldritch Key, then repeat the shield method
Escape the labyrinth
Parkour out as the level collapses
Face Your Pain
Grab the Ascension Stone and finish the flashback bombing run
The whole chapter leans on the same two tools, so treat the shield as your way to activate blue energy nodes and defenses and the Chain Spear as your grapple and block-mover. Once the Master Key Relic piece lands in your inventory back in Purgatory, you are ready to head into Osseus.