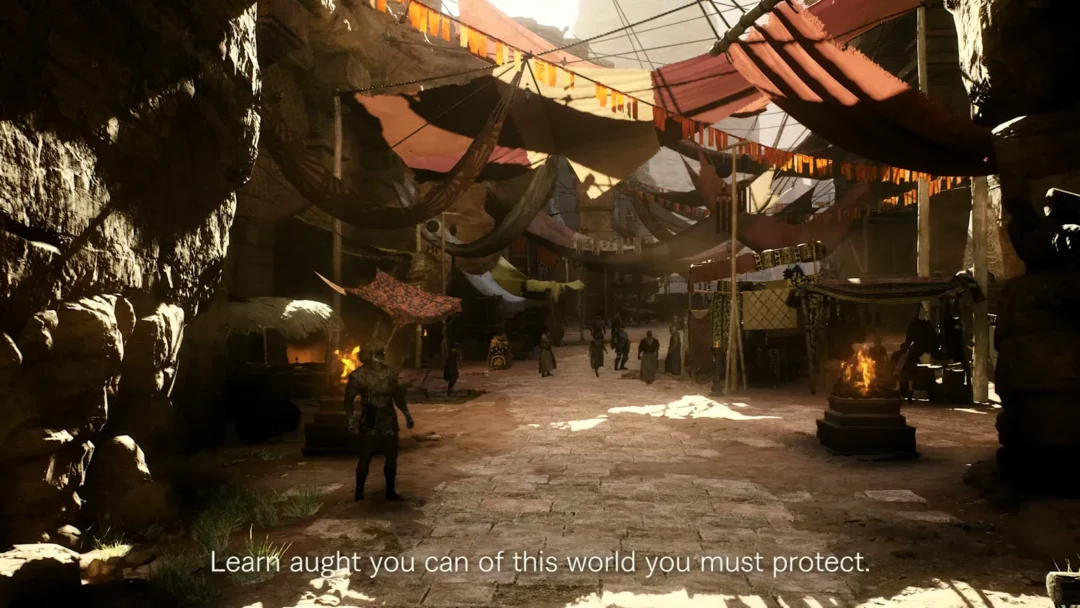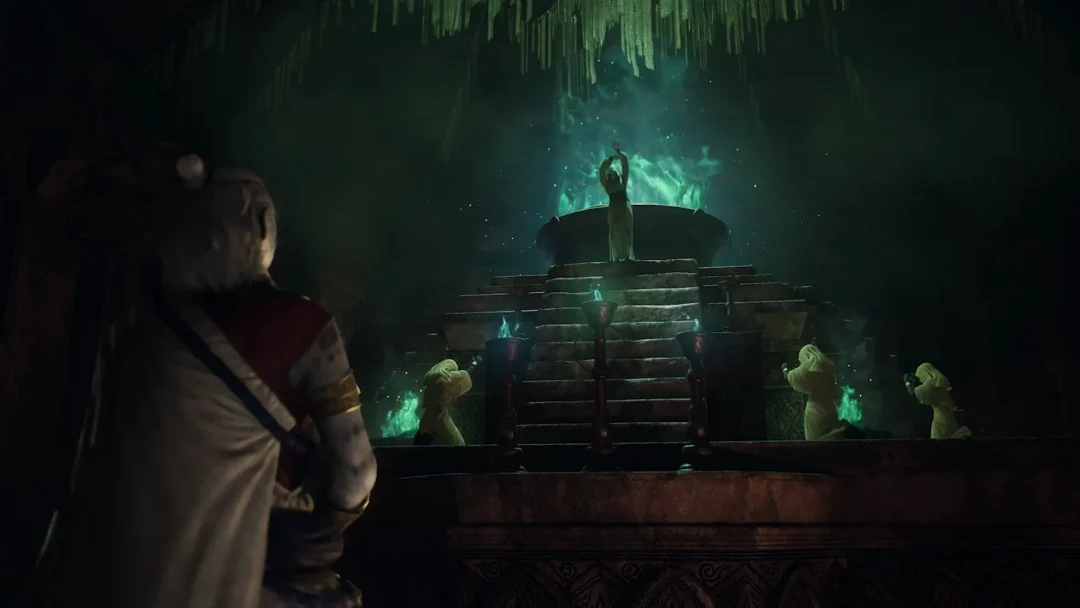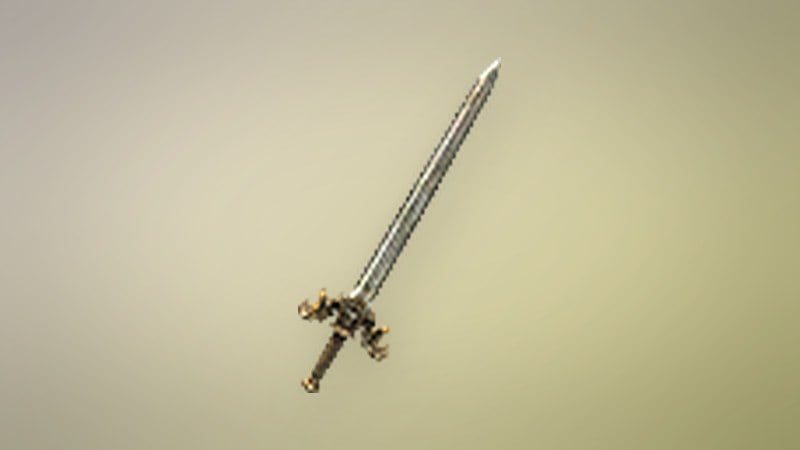
Satanachia closes out the Forsaken Dominion quest “Into Rancor” at the bottom of Niflhel, a flying demon with ten bars of health and no cover to hide behind. The leap leads straight into the fight, so stock up beforehand. You win by chipping its lower body on foot, surviving its arena-wide bombardment with Wakestones, and using attack grimoires at three pips to bring it down to one before finishing the last bar with the sword.
Quick answer: At Abyss Ridge, use the Blade of Rancor, then jump down to Niflhel. Drink Stoutness and Savagery Extracts, target the legs after Satanachia lands, bring pawns back up, and use Wakestones to withstand its ring attack. Once three pips remain, use attack grimoires; finish the last bar with the sword.
How to reach Satanachia in Niflhel Depth
You cannot stumble into this fight. “Into Rancor” has to be at its final steps, with the Blade of Rancor complete and the objective reading “Brandish the Blade of Rancor at Abyss Ridge.” Since the leap drops you straight into the battle with no shop or save point in between, stock up on everything before you touch the blade.
Go to the edge of the cracked stone platform at Abyss Ridge, facing the thin pillar of light, and raise the Blade of Rancor there. The quest log confirms that the route to Niflhel is open and updates the objective to “Take the leap into Niflhel.”
Run off the edge. A short fall carries you down into a dark, flooded depth where Satanachia appears, and the objective becomes “Defeat the wickedness in Niflhel Depth.”
The arena is an open floor under shallow water, ringed by swirling mist with a vortex overhead. There is no cover, so block the orbs with your shield, sidestep the ice rain, and use Wakestones for the arena-wide bombardment.
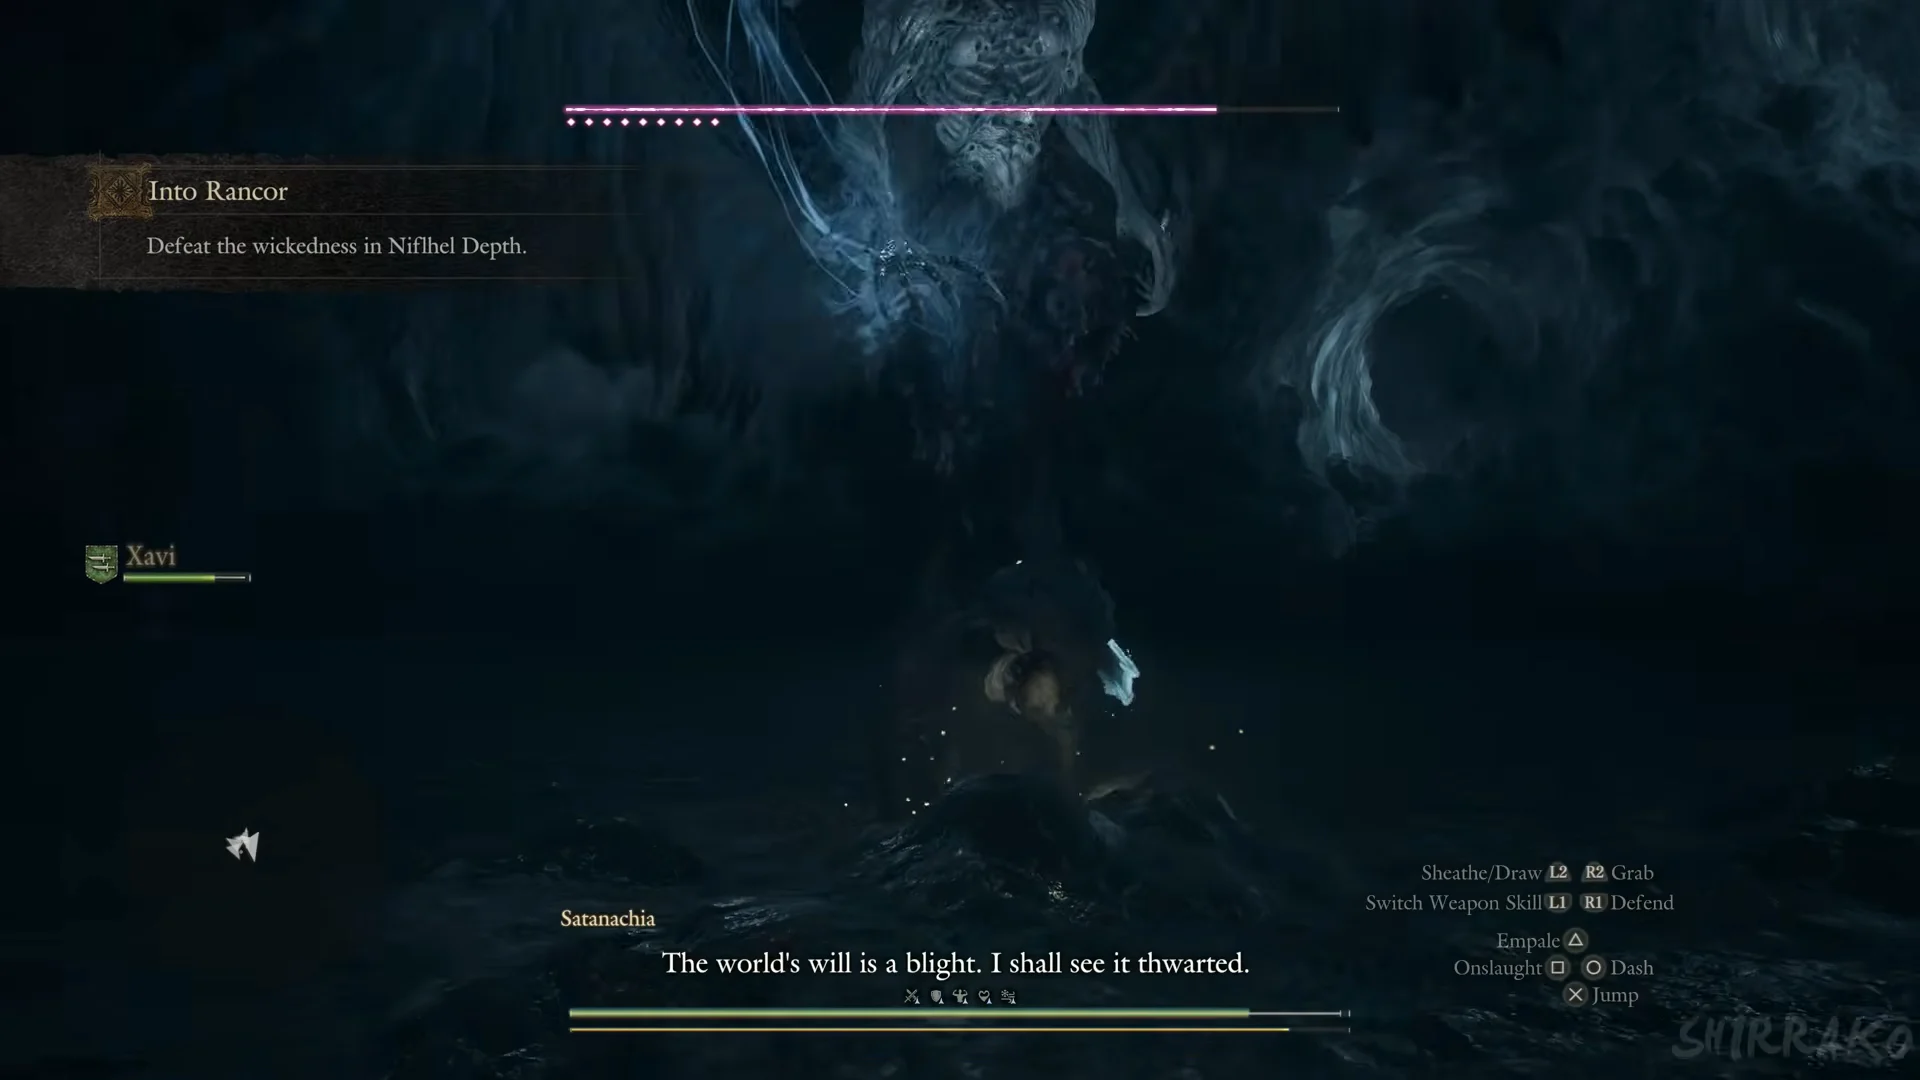
Reading the health bar and the boss’s attacks
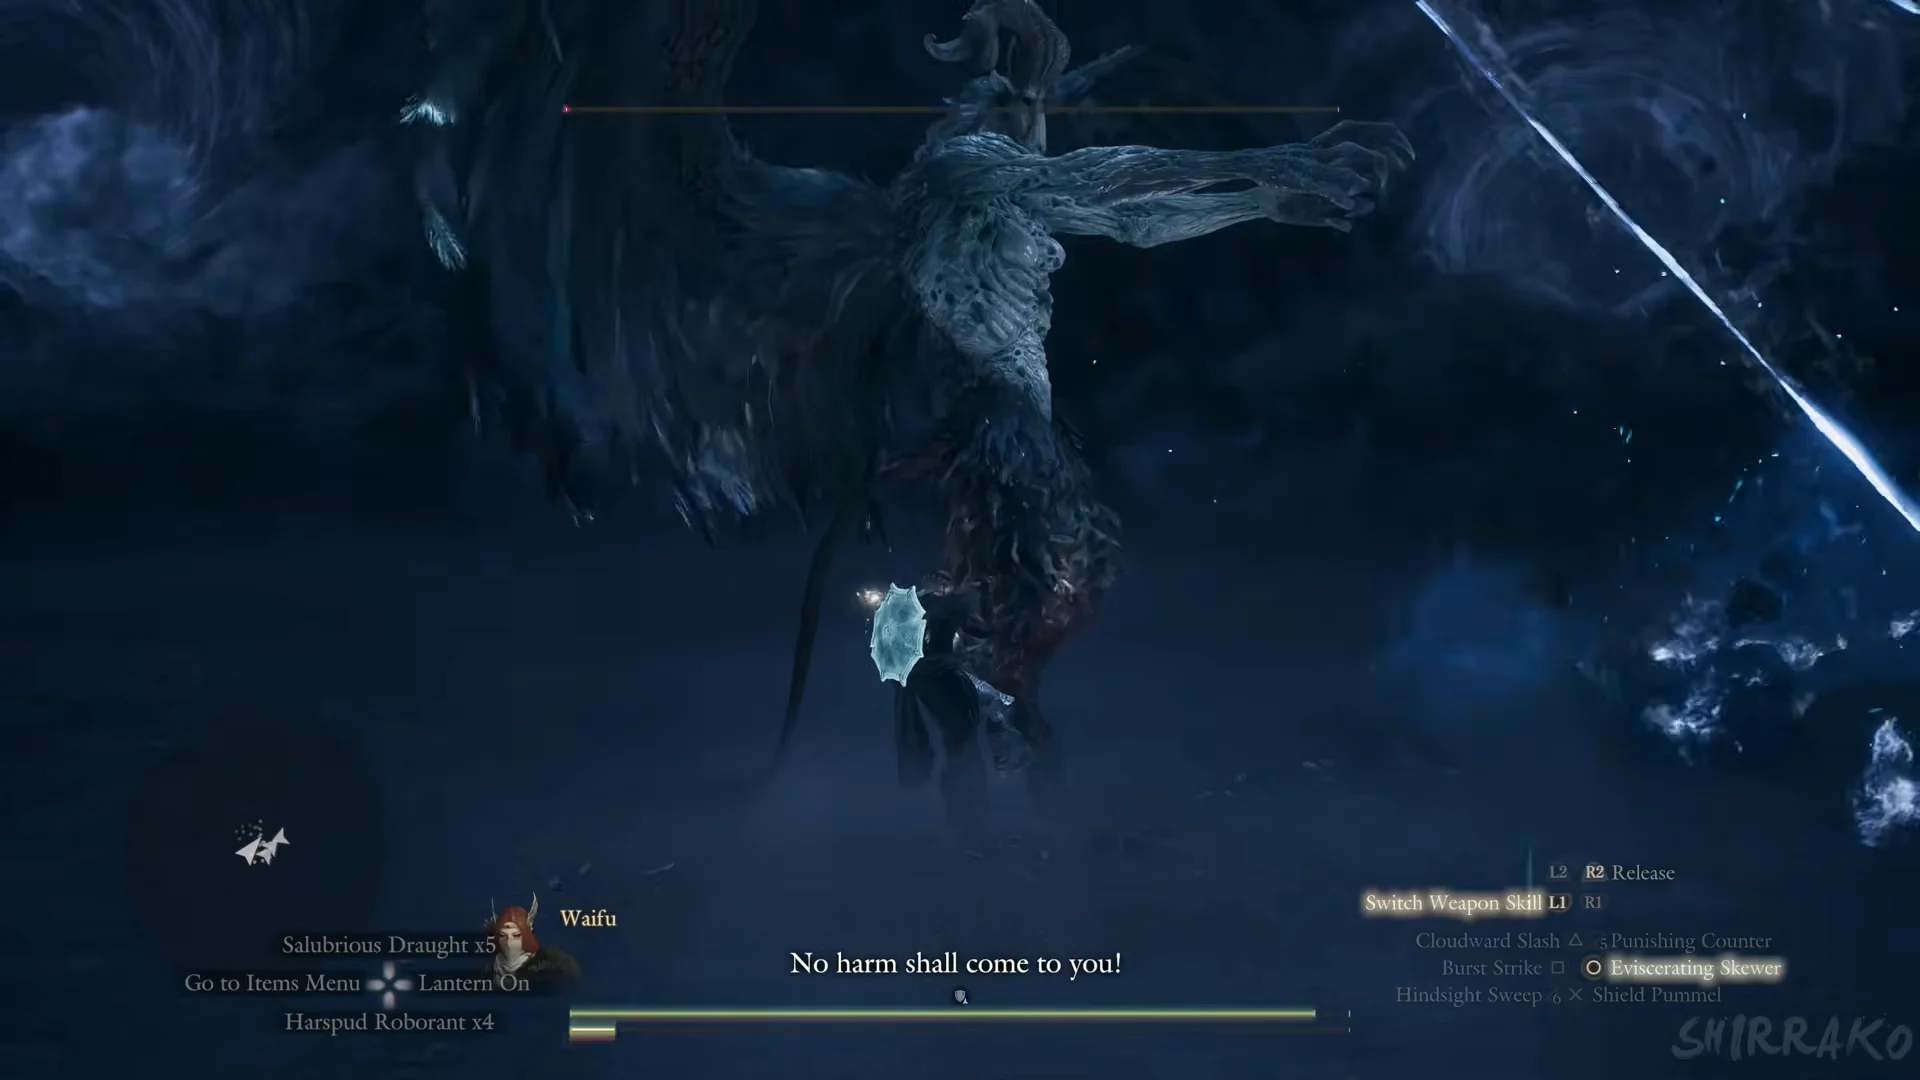
The demon is tall and horned with large feathered wings, and it spends most of the fight airborne or gliding low over the water before vanishing into the mist to reappear elsewhere. Its moves break down by range:
- On the ground, it uses claw swipes, wing sweeps, and stomps against anyone beneath it.
- At a distance, it sends out rotating rings, groups of blue-white orbs that track targets, and beams that skim along the floor.
- While airborne, it showers a broad area with ice bolts; keep sidestepping until the attack stops.
- A spell that takes over one of your pawns for a while, turning an ally against you.
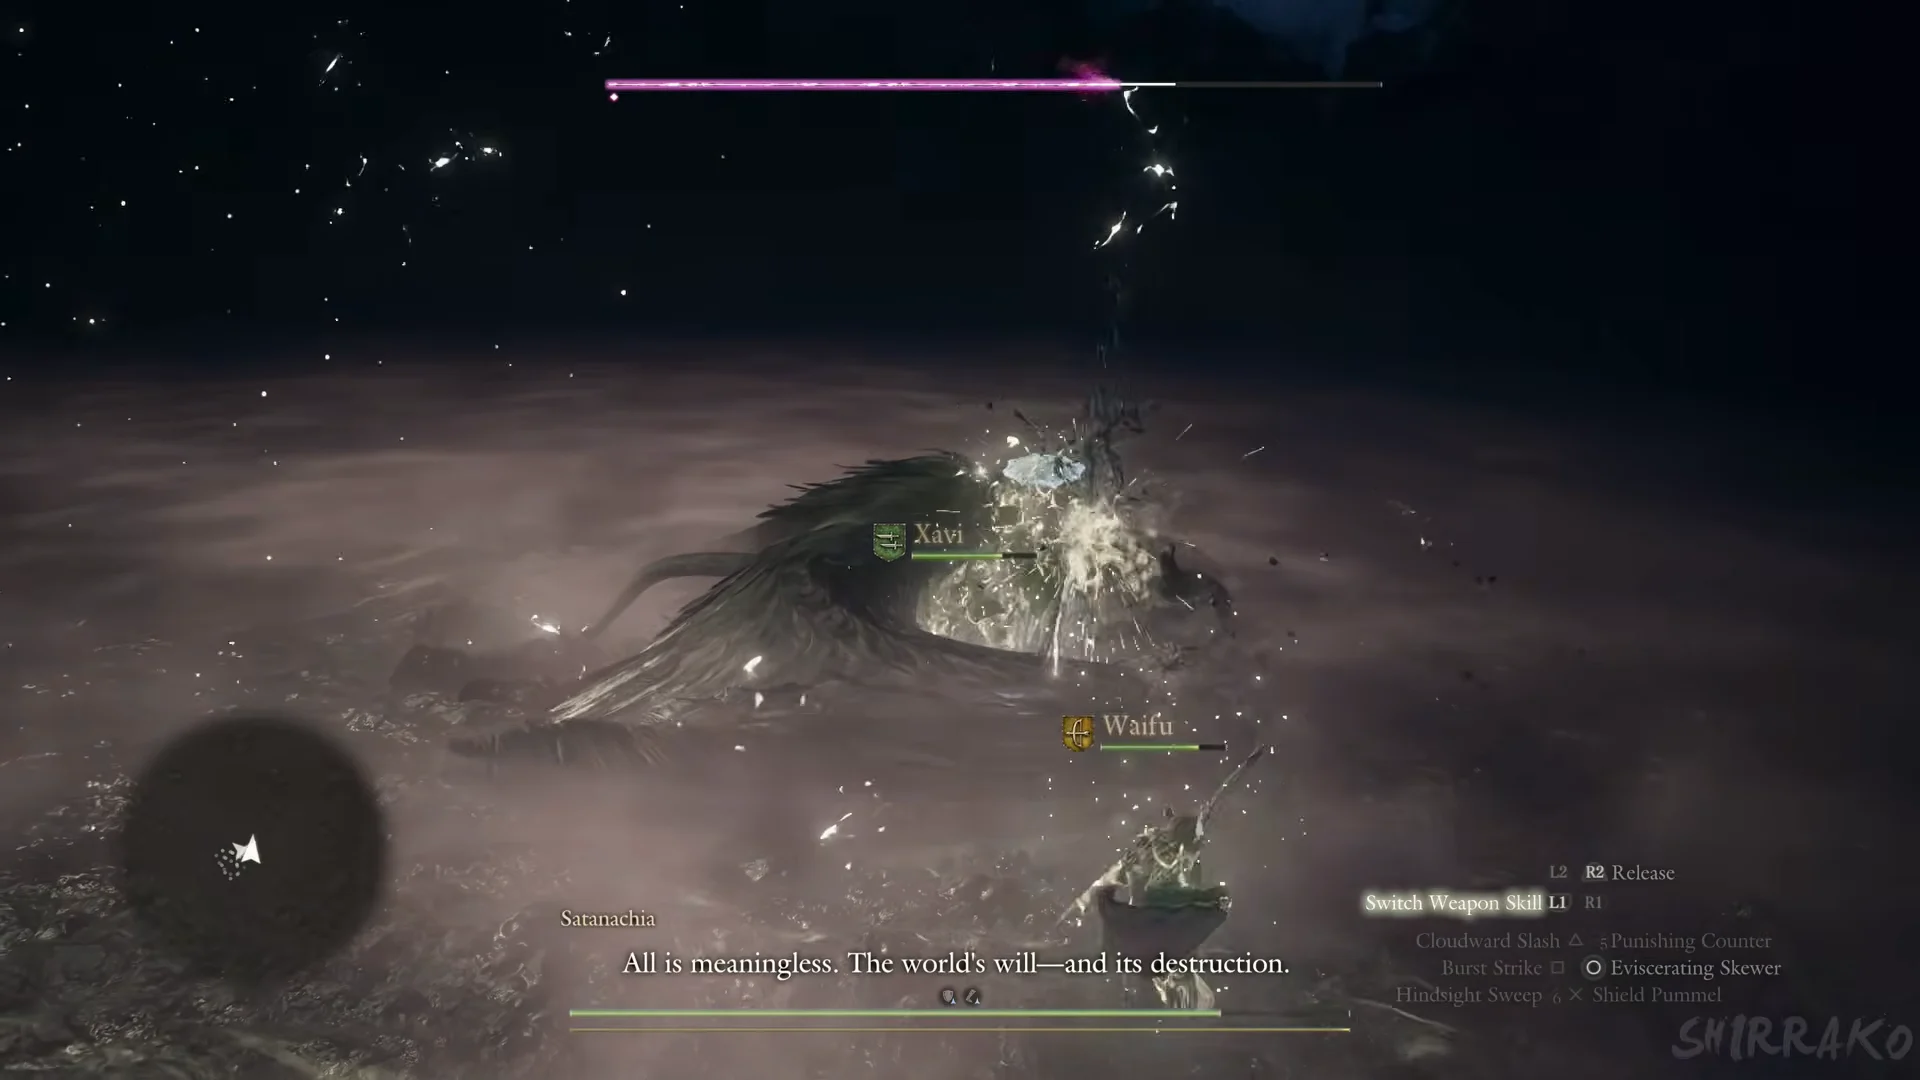
The arena-wide bombardment is the attack most likely to end a run. Satanachia ascends beneath the vortex’s bright white circle, then blankets the floor with projectiles and beams. It can kill even a Level 131 Fighter outright through an active Defense buff, making this the moment to rely on your Wakestones.
Your maximum Health shrinks as the loss gauge climbs over the fight, dropping from around 2,750 near the start to roughly 2,141 by the end. Pawns go down often, so plan to revive them whenever the boss is busy casting at range.
The Fighter approach: sword, shield, and extracts
One reliable way through uses a Fighter with sword and shield backed by three pawns. A party around Level 114 and up can clear it in roughly thirteen and a half minutes. A workable skill palette is Cloudward Slash, Burst Strike, Eviscerating Skewer, Hindsight Sweep, Punishing Counter and Shield Pummel, with Onslaught and Empale as basic attacks and Defend on R1.
Attack grimoires any vocation can use
A grimoire is an item, not a skill. Open the Items menu, select it, choose “Use”, and the spell goes off when the menu closes. Each copy is consumed in the process, and the menu pauses the fight while you pick. Several carry the line “Usable even by those incapable of magick,” which means a Fighter, Warrior or Thief can cast them exactly the same way a mage would.
Read in sequence with three pips left, these can take Satanachia from three pips down to one in under two minutes. Here is what each one does:
| Grimoire | Spell | Effect |
|---|---|---|
 Threshing Blaze Threshing Blaze | High Salamander | Fire attack |
 Winter’s Path Winter’s Path | High Frigor | Wall of ice spikes bursts up in front of you |
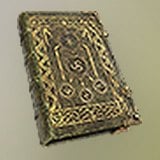 Thunderous Concord Thunderous Concord | Lightning Boon | Applies a lightning enchantment to weapons as a buff rather than dealing damage. |
| Bolide Barrage | Meteoron | Rocks rain down around the boss |
| Galvanic Eruption | High Thundermine | Purple lightning arcs across the boss |
| Terrene Ire | High Seism | Eruptions of stone |
The order matters at the end. Seconds after the first Terrene Ire goes off, with High Thundermine’s lightning still arcing, Satanachia collapses sprawled on the floor. That is the one clear knockdown of the whole fight and your window to hit the head, which takes extra damage from slash and strike. A second Terrene Ire later keeps the pressure on.
“Use” can grey out on a grimoire for a second or two. If it does, back out of the menu and try again a moment later rather than assuming the item is broken.
Several merchants stock Threshing Blaze and Winter’s Path, usually for 800 G and 900 G, respectively. Appraising Abandoned Supplies can yield the Dark Arisen items Bolide Barrage, Galvanic Eruption, and Terrene Ire.
Satanachia’s stats and what does not work
Satanachia is a Demon-type enemy and exists in two versions. Knowing the numbers helps you judge how hard to push and why certain tactics fail outright.
| Stat | Standard | Stronger version |
|---|---|---|
| Health | 427,330 | 619,000 |
Damage to the body is consistent across elements and attack types: slash, fire, strike, holy, lightning, and ice each deal x1, so none offers an elemental advantage. The head is the exception, taking x1.2 damage from slash and strike.
Satanachia shrugs off Blighted and Sleep, along with Caught Fire and Drenched; Tarred and Frostbite are ineffective too, as are Unconscious, Petrification and Silence. Leave items designed to inflict any of these conditions out of your inventory.
What to bring
Stoutness Extract temporarily raises Defense and Magick Defense, while Savagery Extract raises Strength and Magick. Each weighs 0.25 kg and sells for 1,500 G in shops; pack at least two of each. Bring Wakestones for protection: four is a sensible amount to have when you enter, and each is made from three Wakestone Shards. The leap takes you directly into the fight, so stock up before brandishing the blade.
How you know it worked and what you get
The last bar empties to melee hits and a scene takes over. The quest closes with the line “You felled Satanachia.” That is your confirmation the fight is done.
The rewards all land at once when you regain control. The kill itself pays roughly 412,000 XP and 2,900 Dcp, and “Into Rancor” pays out 500,000 XP, 100,000 G and 15,000 Rift Crystals. Four Level 5 spoils arrived alongside: Ancient Long Weaponry, Ancient Bowstaff, Ancient Light Weaponry and Ancient Helm.
Satanachia’s own drop table can include Norgan Ducat, Ring of Clarity, Ring of Serenity, Ring of Offense, Ring of Preservation, Ring of Rejuvenescence, Wakestone Shard, Wakestone, Morbid Glare, and Abandoned Supplies in both Normal and Rare forms.
Fighting it again
After the ending, a tutorial titled “The Blade of Rancor” appears. Return to Abyss Ridge and brandish the blade to send Norgan into Ruin-Night again; the rancor’s vortexes return, and you can challenge the power inside Niflhel once more. This Ruin-Night ends only after you leap into Niflhel and win the fight again. For each rematch, stock up before dropping in cold, just as you did the first time.