Dragon’s Dogma 2: Dark Arisen features the Interminable Corridor as Lost Rites trial 4. In the Misty Marshes, a sealed entrance lies within Dead-End Curve; it opens only if every party member is travelling light. Past it, ruined chambers and cave passages lead through three sealed archways, each watched by a powerful foe, to a coffer containing rare gear.
Quick answer: Reach the door at the back of Dead-End Curve in the Misty Marshes with all four party members at Very Light weight, examine it to break the seal, then clear three guarded archways to reach the end coffer.
Where the Interminable Corridor is
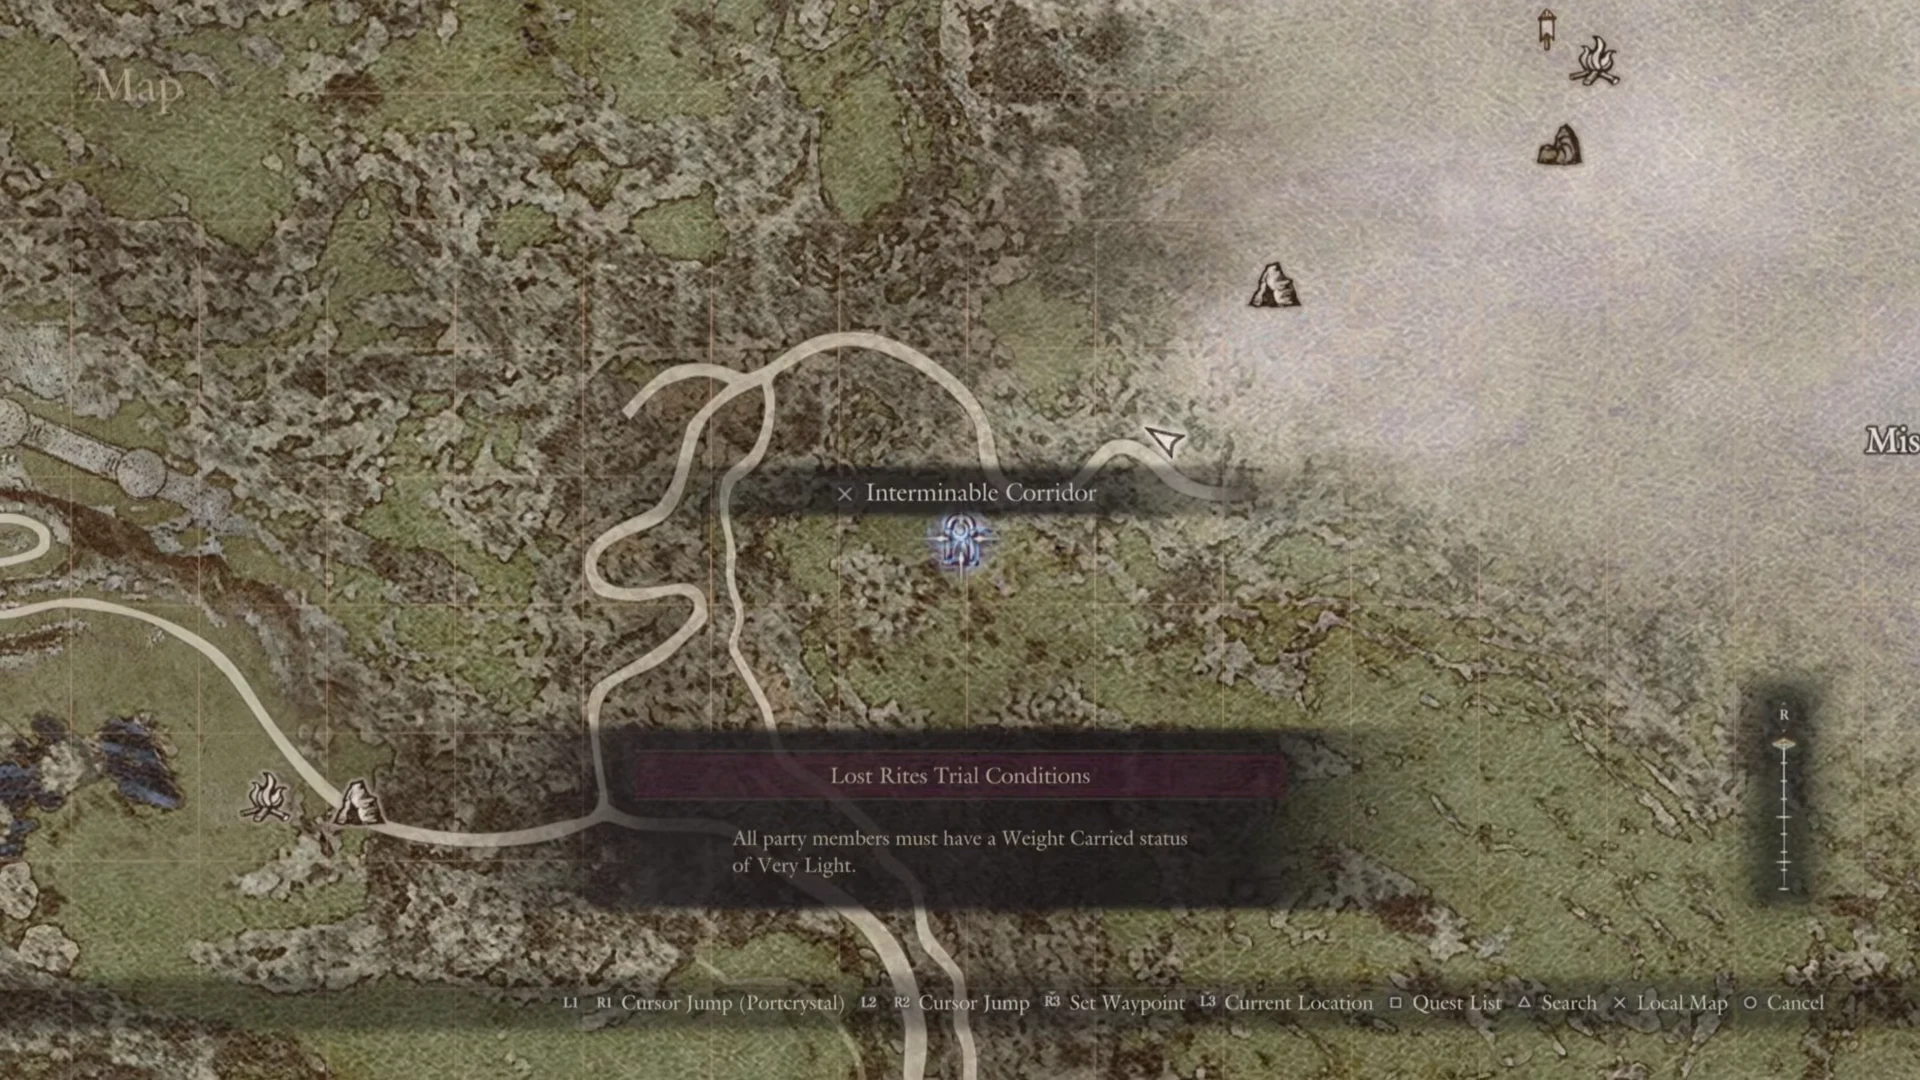
Move the world-map cursor over the proving ground symbol to identify it. Its name is Interminable Corridor, and the Lost Rites Trial Conditions box displays the requirement for entry. Look for the symbol beside the foggy marsh, immediately south of a road bend.
The on-foot location indicator names the area Misty Marshes. A cave opening in a rocky slope leads inside; the Dead-End Curve banner appears upon entry. The route is brief, passing through a tunnel and a mine-timber-supported section before reaching the door. A bright blue pinwheel and runes mark the circular stone seal.
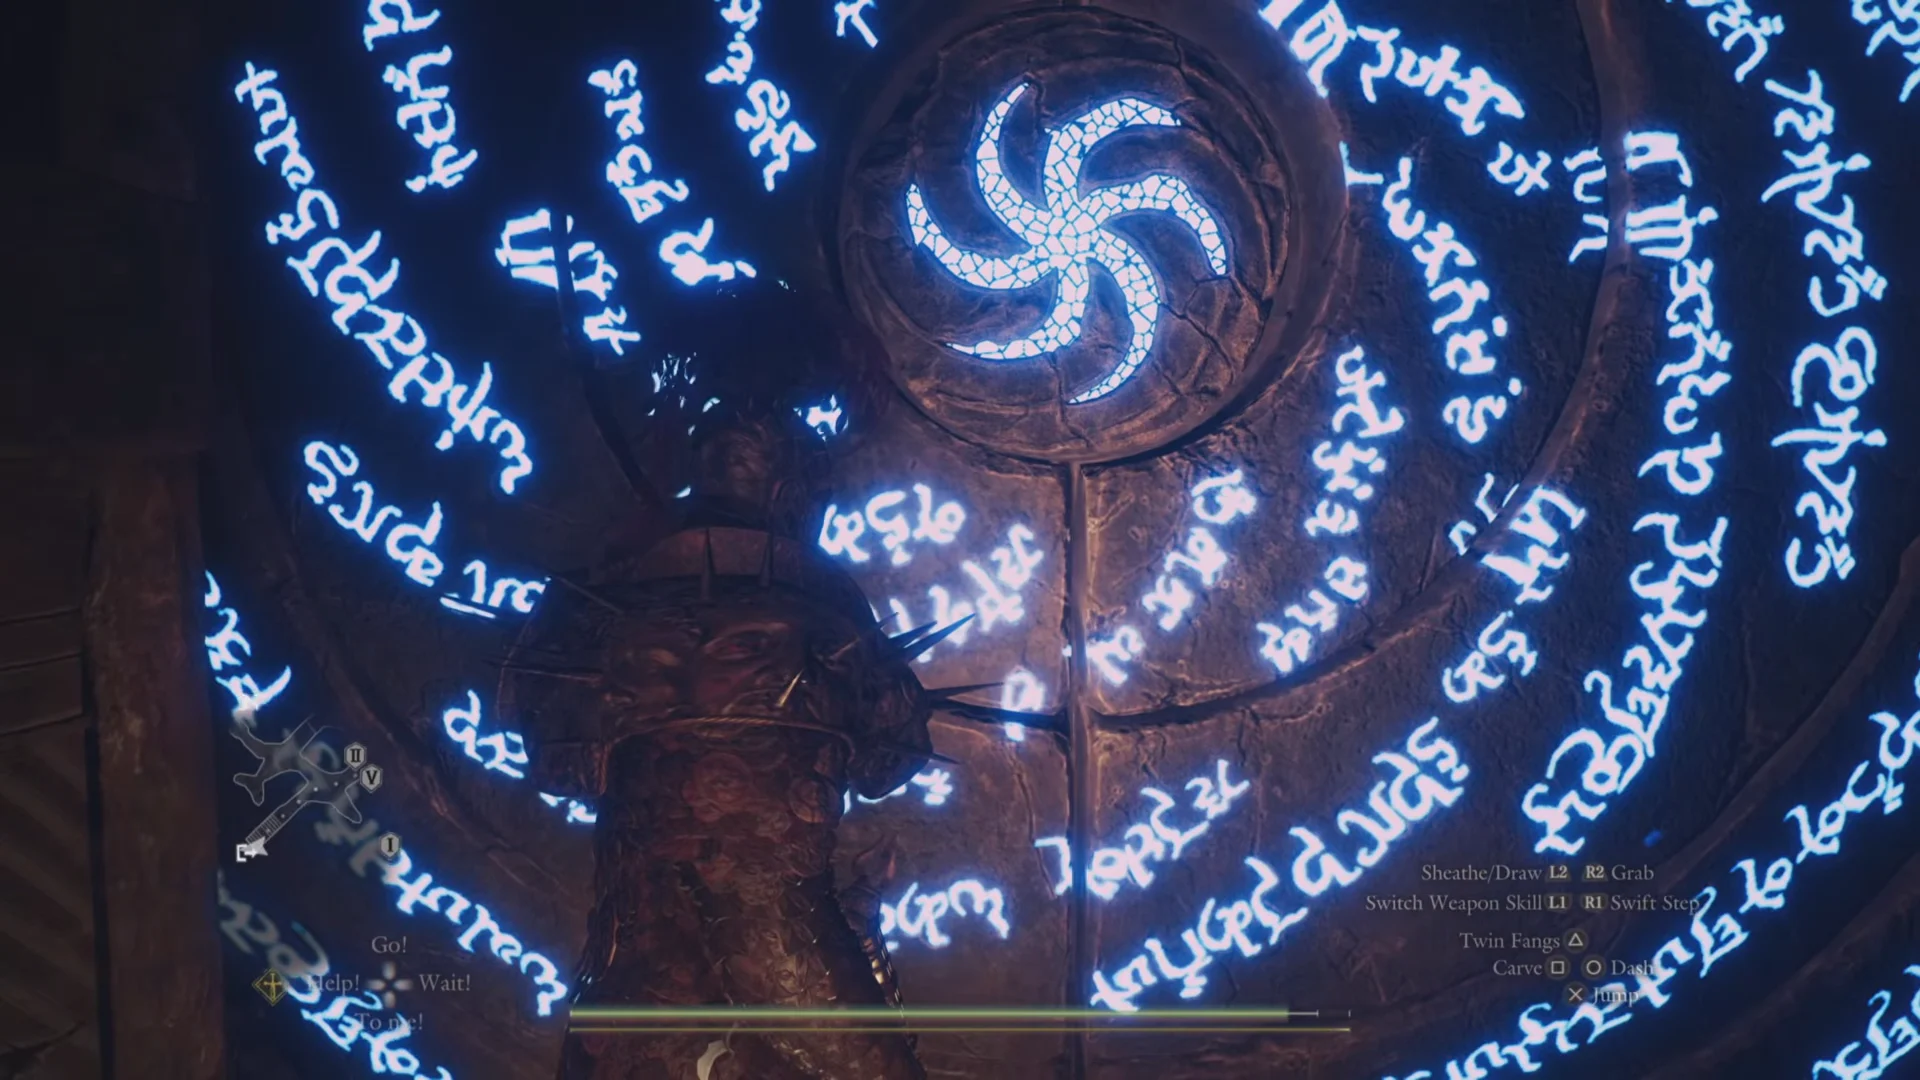
Meeting the Very Light weight condition
At the door the prompt reads Examine. The game then shows the rule as it is worded on the map and here: “All party members must have a Weight Carried status of Very Light.” That means you and all three pawns, each showing Very Light in the Items menu. Confirm with all four at Very Light and the runes light up, the seal opens, and the banner Interminable Corridor appears as you step through.
Before setting out, check the weight shown for every party member in the Items menu. Removing extra camping kits, lantern oils, and curatives will usually do the trick; plenty of these can be looted inside.
You only need to meet the weight requirement when examining the door. After entry, collect whatever you find: the Arisen can become Average or even Heavy without affecting progress.
Breaking the three sealed archways
The route forward is blocked by three sealed archways. Each seal dissolves the moment the big enemy standing in front of it dies. Between them are winding corridors, breakable walls hiding side chests, and several fire rings where you can Make Camp to rest and cook.
First seal: the chained cyclops
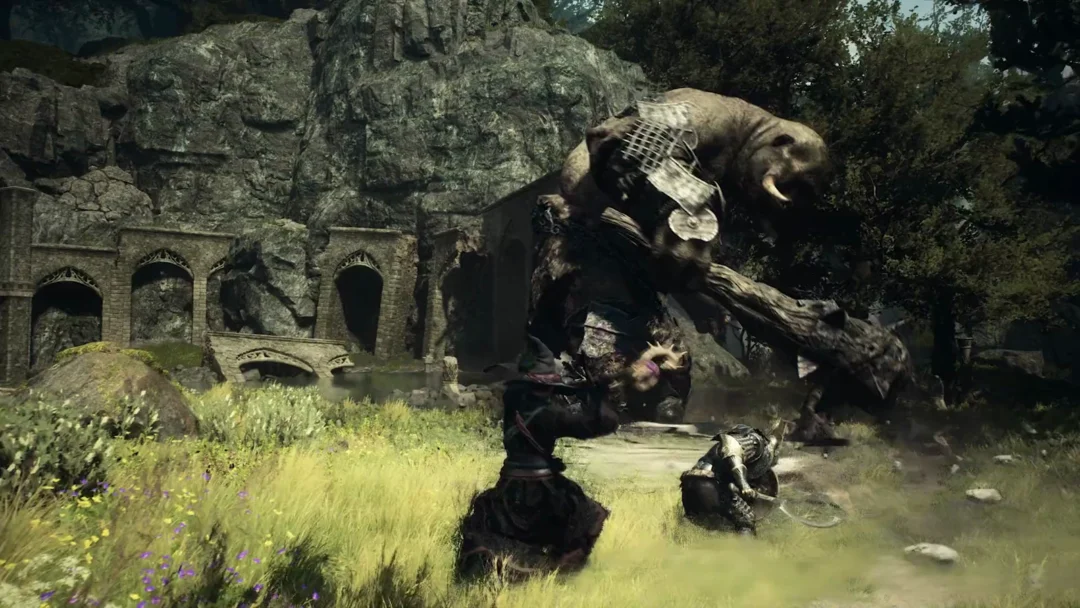
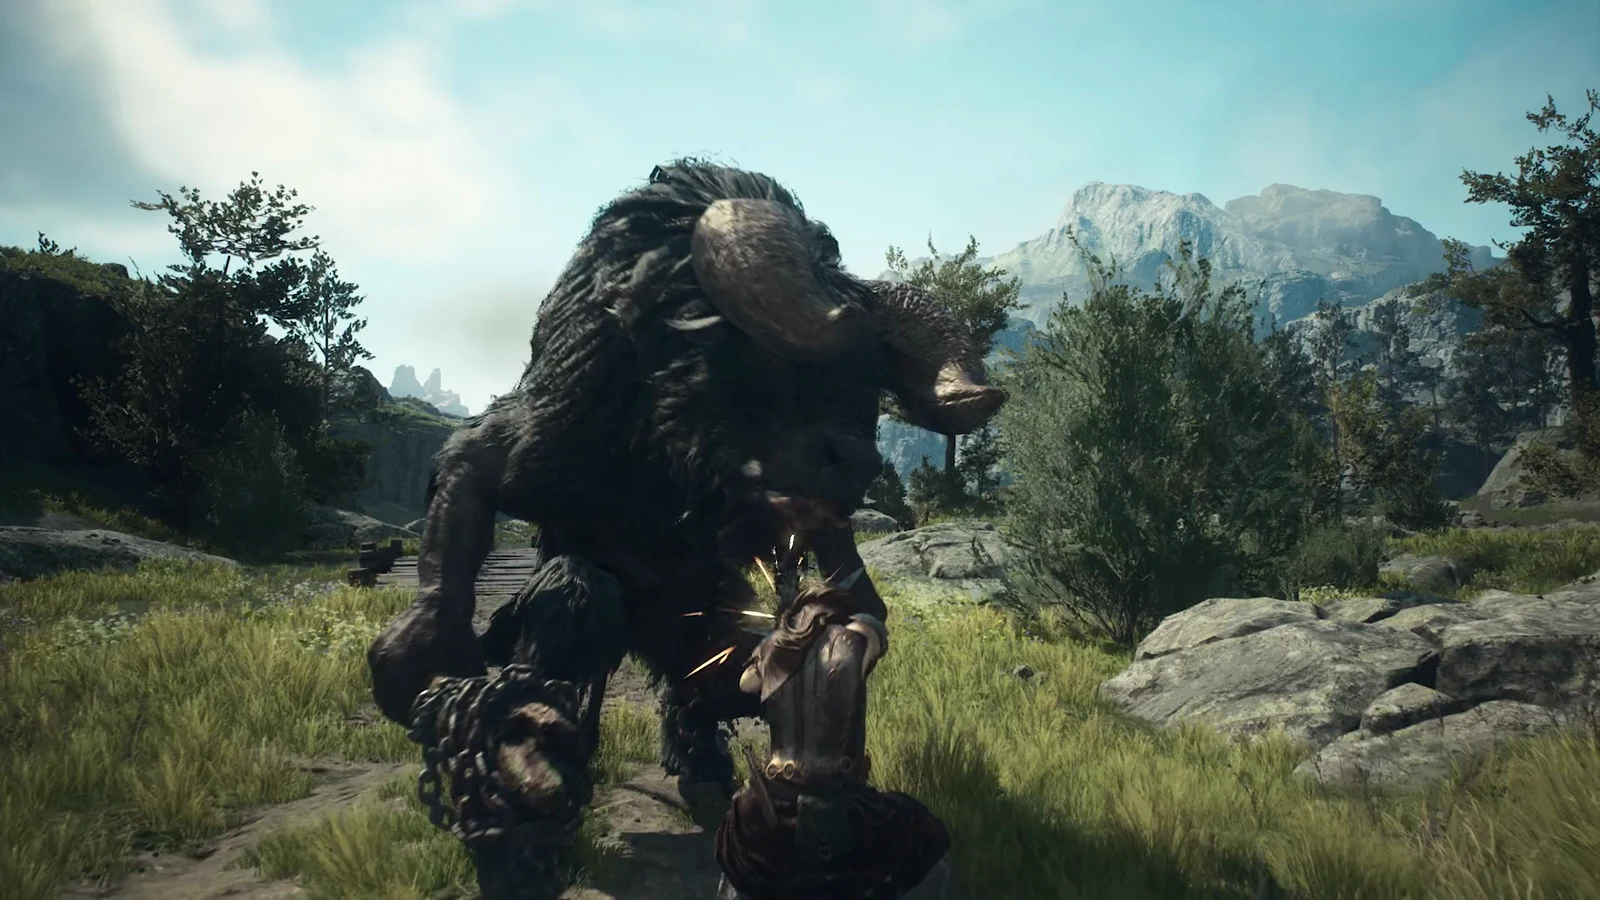
The circular arena sends in waves of minor enemies before a chain-bound cyclops lands, its boss bar marked with dots. Focus your attacks on its legs until it falls face-first, then target its head and eye while it is prone. Lightning spells cast by pawns can stagger it. On defeat, it drops Brinebeast Ore and Brinebeast Fragment, and the archway’s red seal disappears.
Second seal: two floating casters
Beyond the cavern archway, a pulsing pink seal blocks the way. Clear the small enemies, and a robed caster appears airborne with a four-dot bar; another caster stands before the seal. They stay out of reach, rain down purple lightning, and launch a slowly moving circle of purple orbs. Bring them down with jumping attacks and lightning from your pawns. Defeating the second caster breaks the seal and drops Brinebeast Ore.
Corridor spectre
After the ladder, a four-dot spectre surrounded by red mist attacks in the corridor. It can teleport and knock you down. An ornate double door farther along is locked from the opposite side, so leave it alone. Instead, step off the platform and pass through the archway into the descending cave.
The final fight
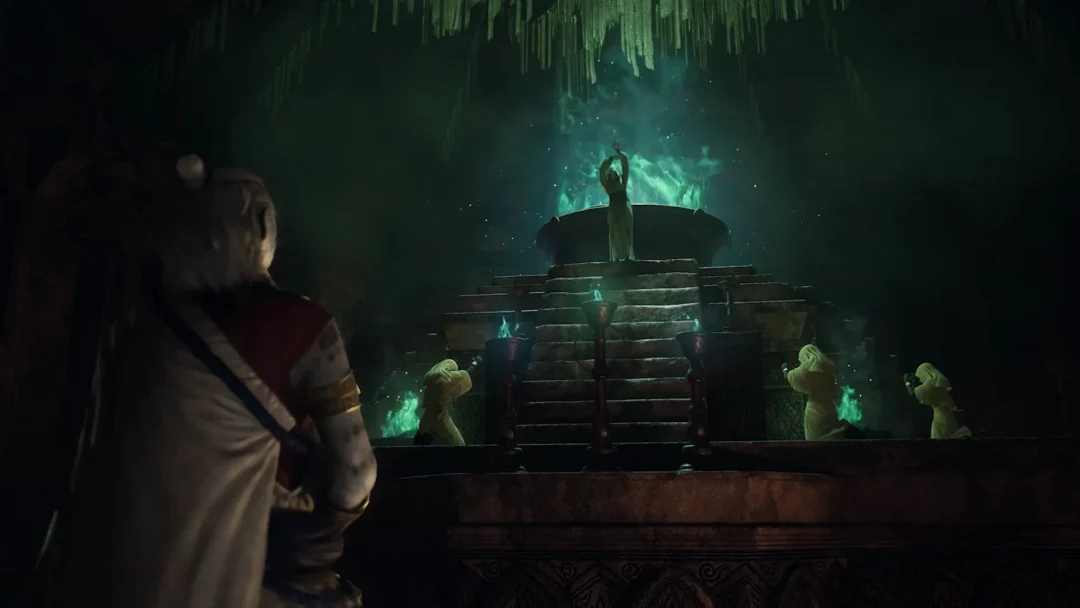
At the end, a red-sealed door carved with two warriors stands beyond a dark, lengthy hall lined with pillars and purple torches. Here, a four-dot spectre floats amid red-violet mist. It moves around by teleporting, launches tracking volleys of purple bolts, summons columns of purple lightning, blasts everyone back with a shockwave, and scatters slow, explosive purple orbs.
Take cover behind the pillars to stop the homing bolts. Attack when the spectre drops near the ground or appears beside you after teleporting; jump attacks can connect while it is airborne. Lightning from pawns will stagger it, leaving it immobile for a few seconds. Avoid waiting in the open as it casts, or you risk being killed.
This spectre can kill a high-level Arisen outright, and the game will offer a Wakestone to revive on the spot. Bring Wakestones, and hold the Revive prompt beside downed pawns.
Draining the spectre’s bar sends it bursting into purple sparks and finishes the fight. A short scene shows the red seal on the carved door shattering. It drops the Ring of Imperception, Brinebeast Ore, and Brinebeast Fragment. If its bearer faces danger, the ring hides them from hostile eyes for a moment.
The end coffer reward
Pass through the opened doorway and climb the steps to a stone coffer positioned between two statues of warriors with crossed spears. Opening the coffer confirms the trial’s completion.
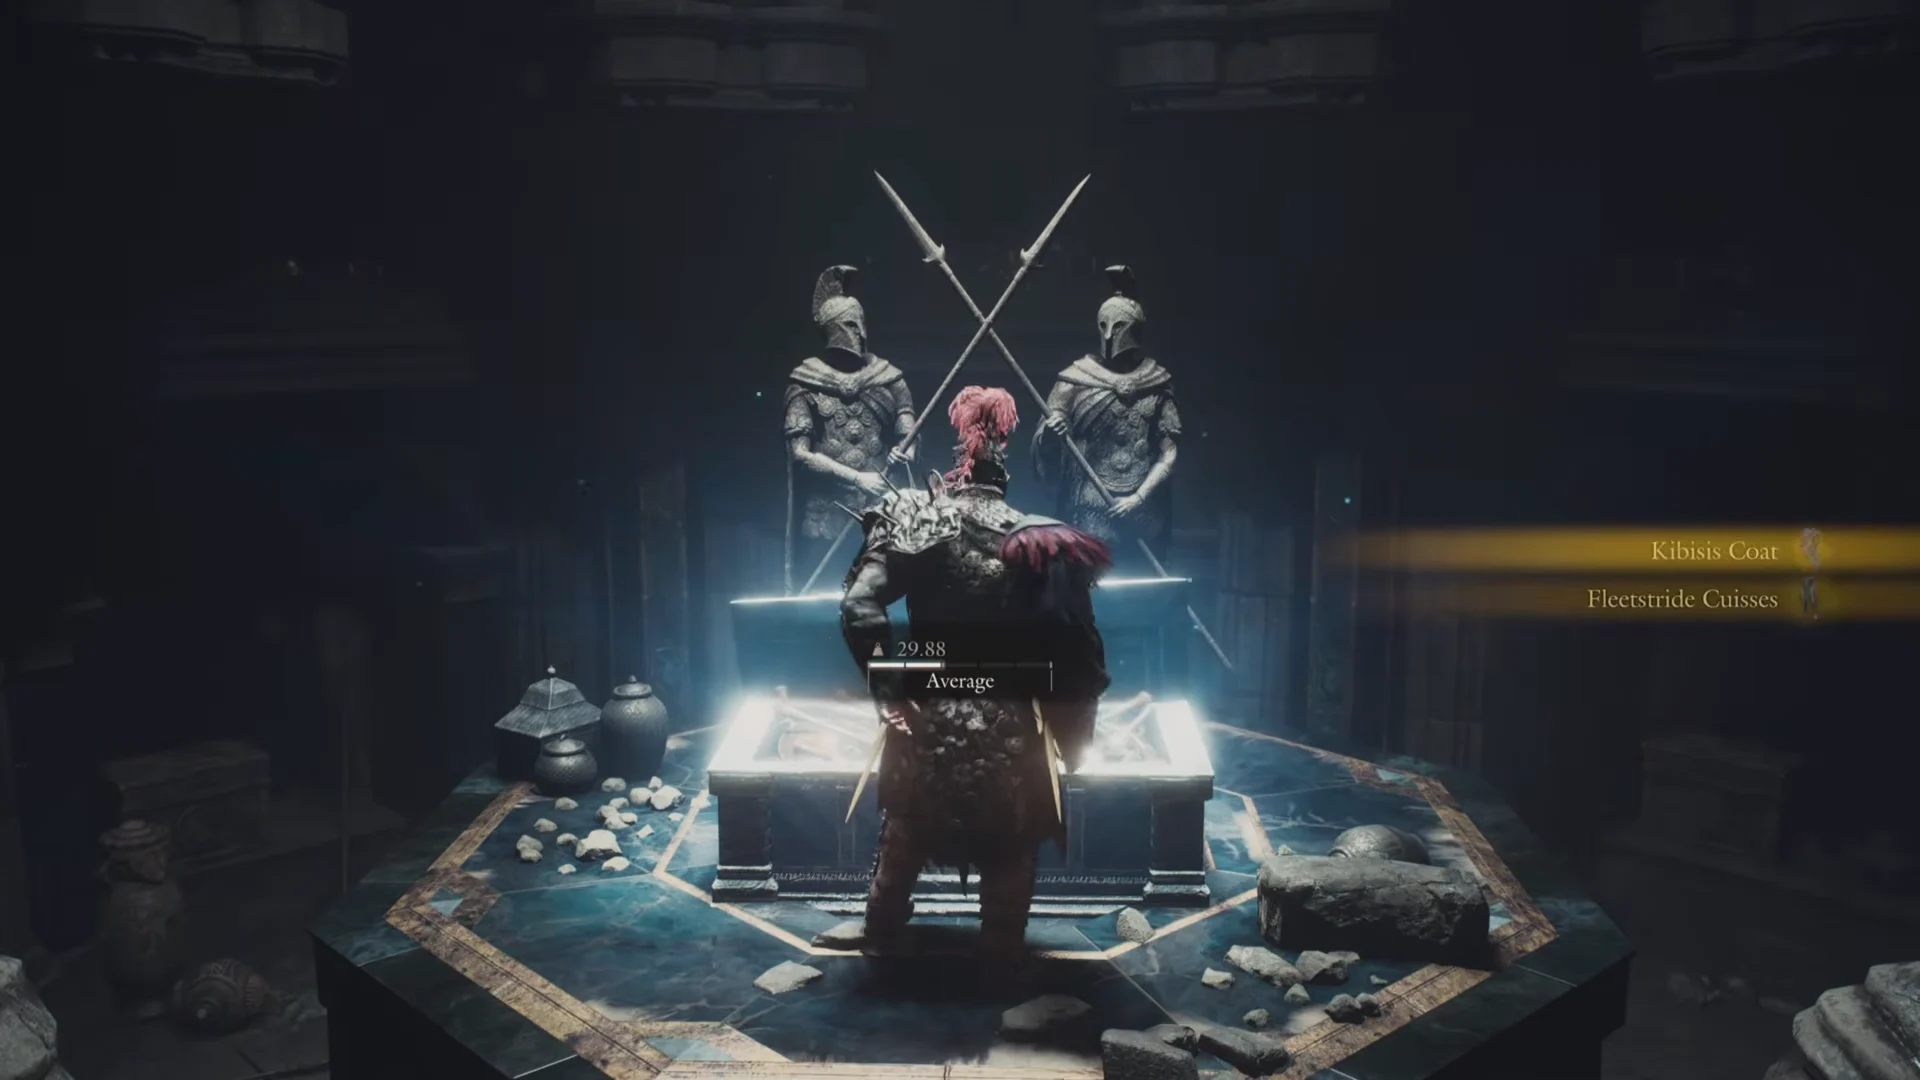
Three rewards await inside: the Offering Flame, Kibisis Coat (body armor), and Fleetstride Cuisses (leg armor). The Offering Flame stays alight in freezing conditions and lets its holder claim boons at the northern Obelisks of Benediction; it cannot be sold. Both armor pieces carry protection bestowed by the Lost Rites.
Every chest inside
There are 15 chests in the Interminable Corridor. Across all of them you collect the following:
- 80,000 G
- Wyrmslife Crystal x20
- Giant Hunk of Rift Crystal x10
- Tiger Eye x5
- Allheal Elixir x4
- Wakestone x2 and Panacea x2
- Band of Dunscaith, Lordly Eyepatch, Ophidian Diadem
- Griffin-Feather Cloak, Phantasmic Shawl
- Ring of Amplification, Ferrystone
Many of these sit behind cracked walls, so strike suspicious masonry as you move through. The gold and most of the rings and armor come from ornate chests tucked into side alcoves, dead-end caves and raised rock ledges. Plainer wooden chests along the way add food and curatives that help you cook and recover between fights.
Look out for a small altar chamber illuminated by braziers of purple crystal. Reach it by climbing the steps beyond a breach in the wall. A chest sits on each side of the altar: one contains Allheal Elixir x3, and the other contains a Ferrystone.
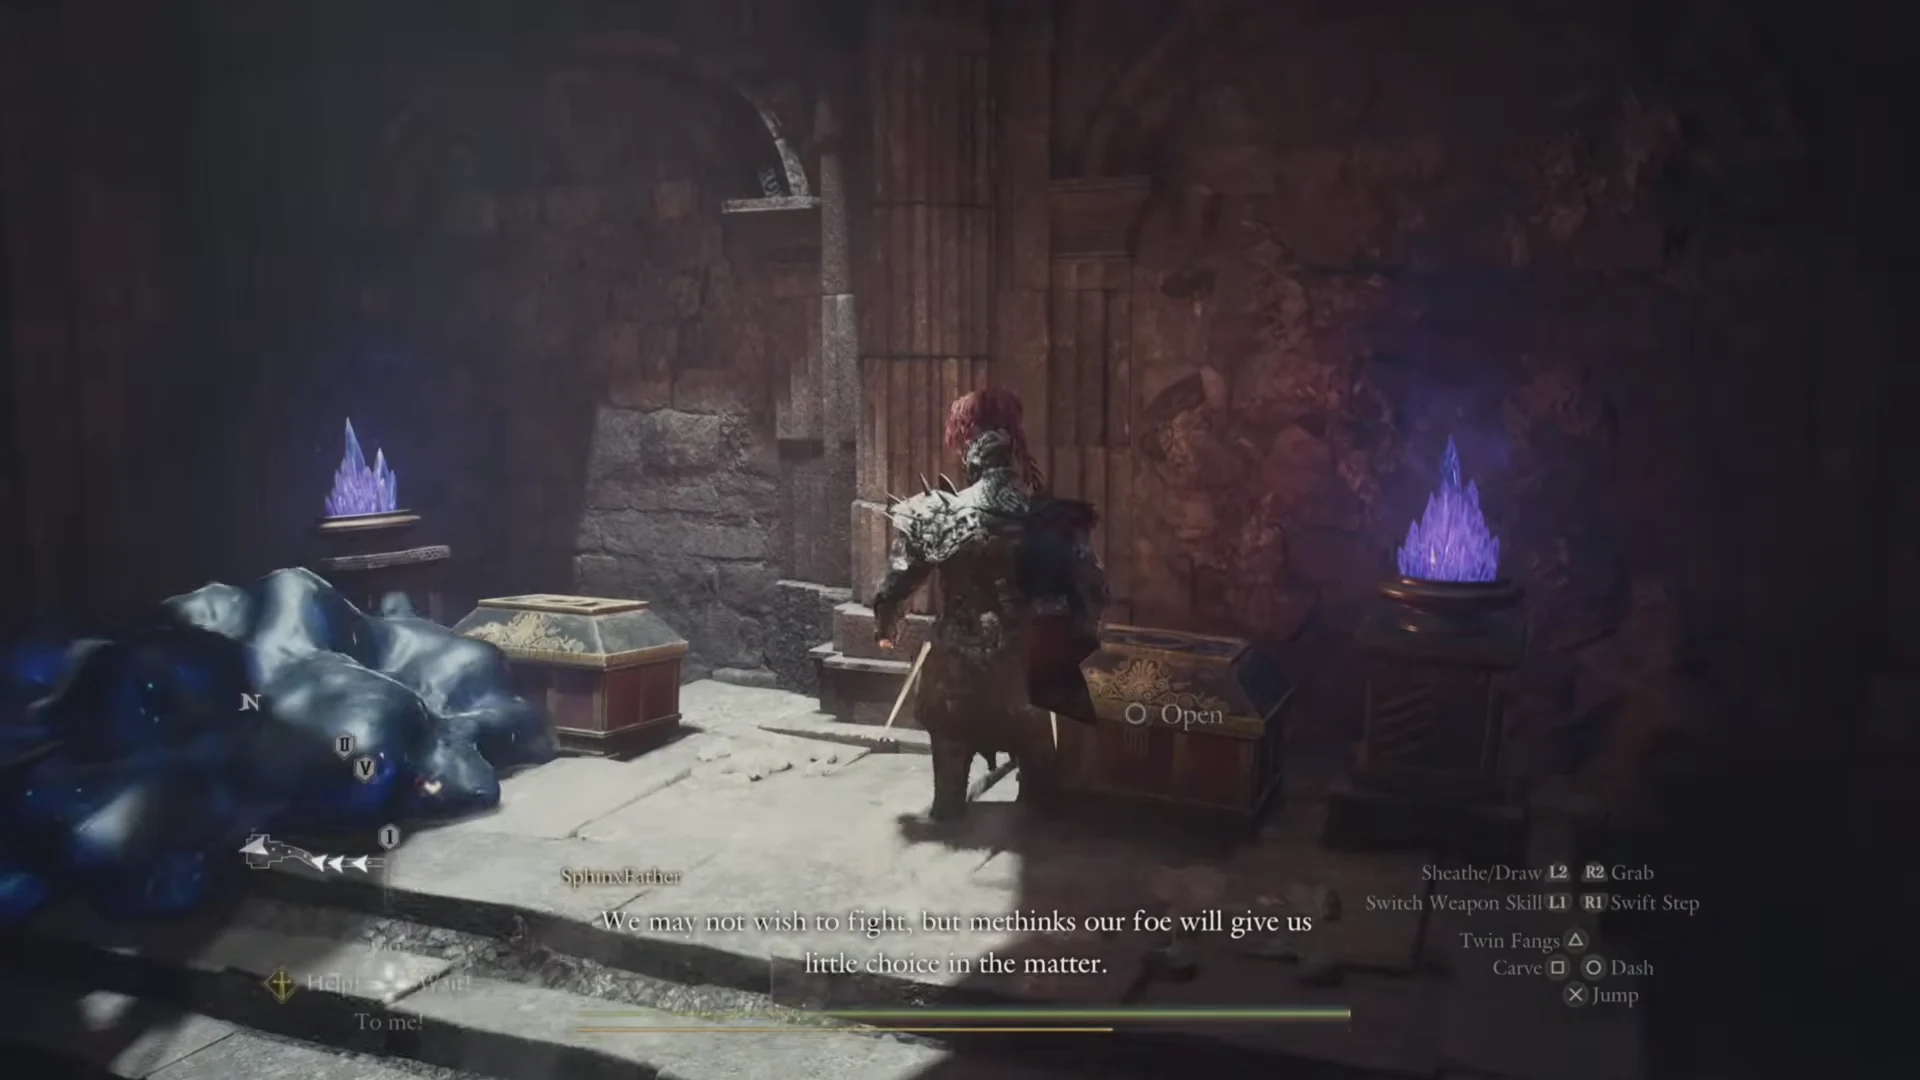
A gold-trimmed chest holding the Phantasmic Shawl sits inside a poison cloud. Carry something that cures poison before you grab it.
How the Interminable Corridor compares to other Lost Rites
All Lost Rites trials are found with the Proving Ground Compass and are part of Dark Arisen. The Interminable Corridor has 15 chests and a strict entry rule. Here is how the trials line up by number, chest count and entry condition.
| Trial | No. | Chests | Entry condition |
|---|---|---|---|
| Devilkin Hollow | 1 | 1 | None |
| Daemons’ Corral | 2 | 7 | None |
| Sunken Spire | 3 | 11 | None |
| Interminable Corridor | 4 | 15 | All party members Very Light |
| Wyrmsblood Arena | 5 | 6 | Arisen may set only two weapon skills |
| Mired Conduit | 7 | 13 | Complete four or more trials in total |
| Embersand Mine | 8 | 7 | No grimoires, enchanted weapons or elemental archmagicks |
| Shrouded Warren | 9 | 9 | Only the Arisen’s main pawn may enter |
| Molten Gauntlet | 10 | 9 | None |
| Seafloor Sepulcher | 11 | 16 | None |
| Final Proving Ground | 12 | 14 | Clear Molten Gauntlet and Seafloor Sepulcher first |
Some materials in the Interminable Corridor matter greatly in the endgame. A Wyrmslife Crystal sells for 1,500 G and costs 5,000 G to buy; it is also used for high-order enhancement, making a stack of 20 a valuable haul. The trial’s chests hold Giant Hunk of Rift Crystal x10.
Resting and resupplying along the way
There are at least four fire rings inside where Make Camp works, plus camping kits dropped on the ground and an Elite Camping Kit in a chest. Rest and cook between fights to keep stamina and health topped up. Because the trial is long and winds back on itself, use the rift spots and camps freely rather than trying to rush through in one push.
After the last seal breaks, pass through the opened door to reach the end coffer. After several in-game days, conquered proving grounds may repopulate; their enemies can differ, and they do not return indefinitely. Their map icons change when the beasts return.